You must be logged in to rate content!
15 minute(s) of a 417 minute read
10-1-2011
Got the pre-pump today, nice wrapping it was shipped in btw? 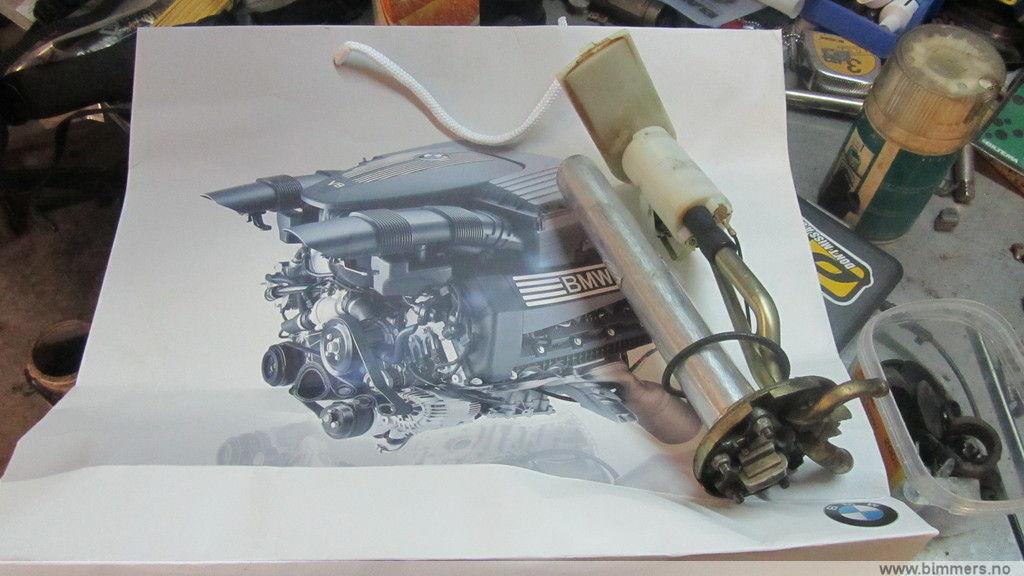
I had to modify it of course... Not bolt on, Alpina way... 
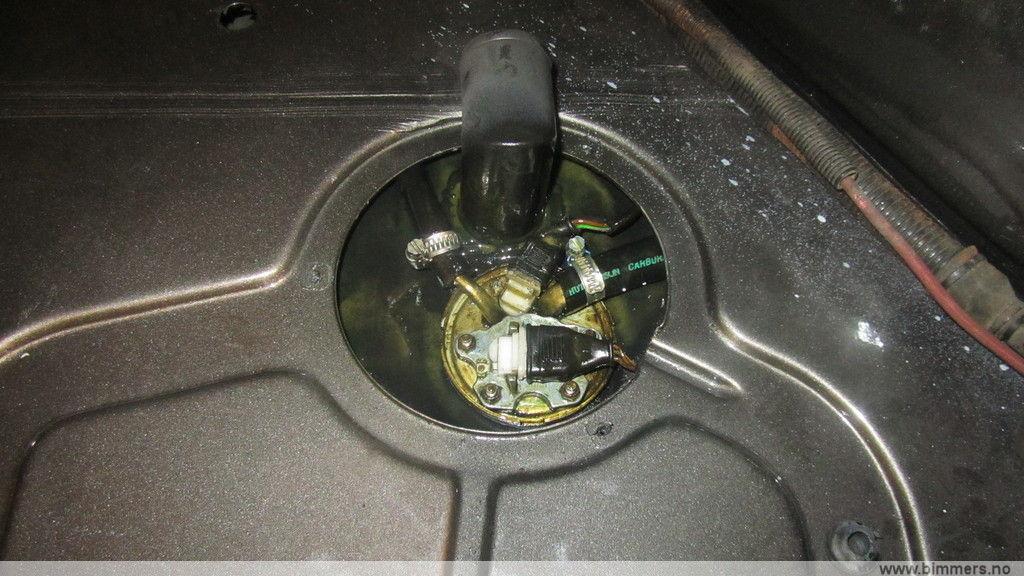
As the tank is in position, I can make new fuel-lines to the 044-pump. 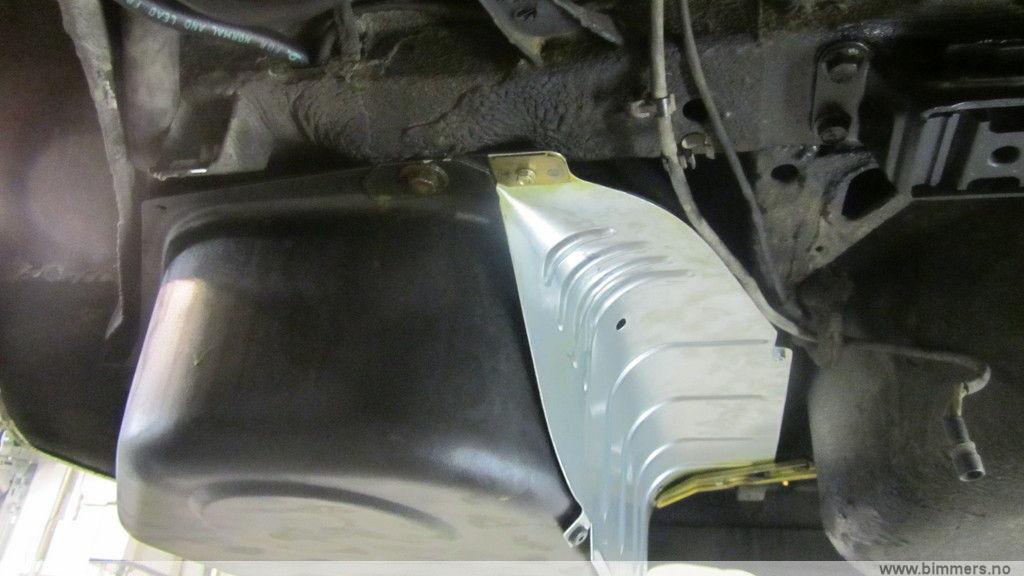
OK... Alpina tank next: 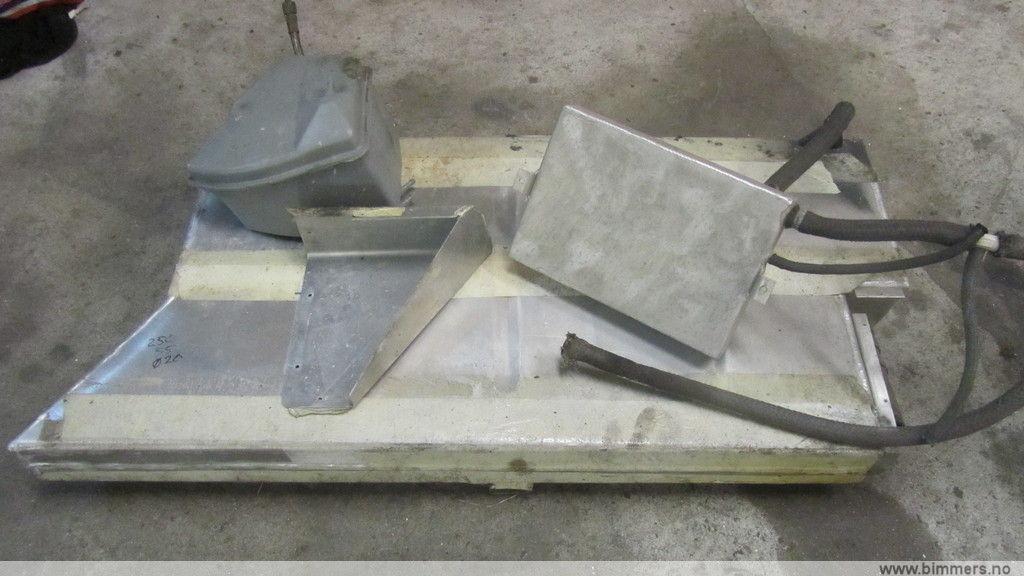
Some new parts: 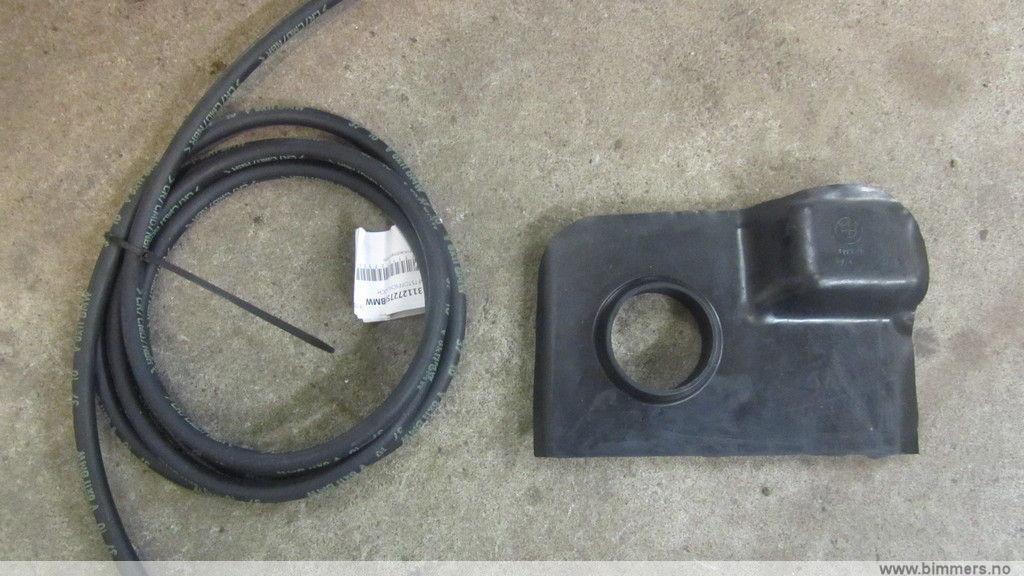
Measuring the support-holes: 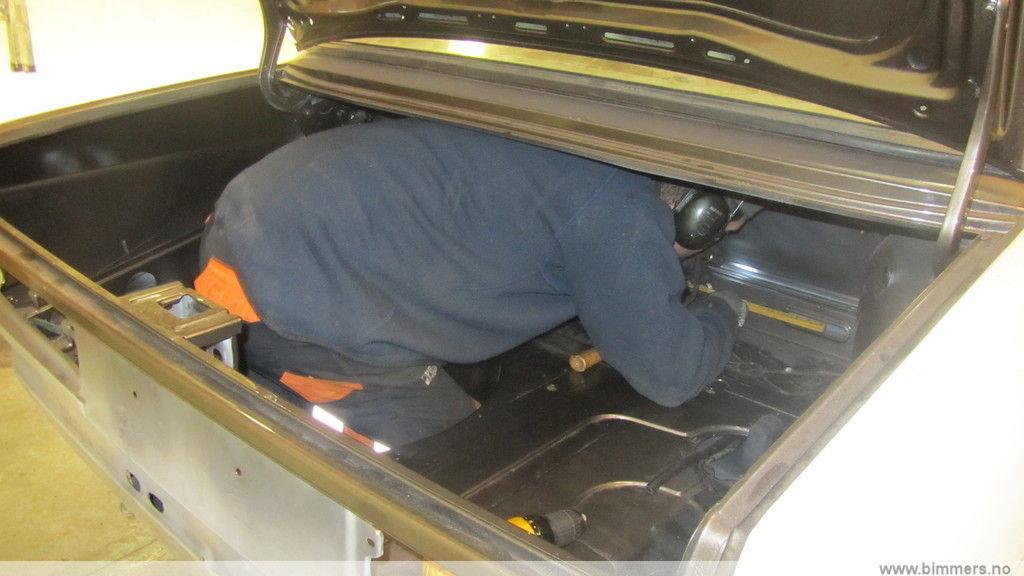
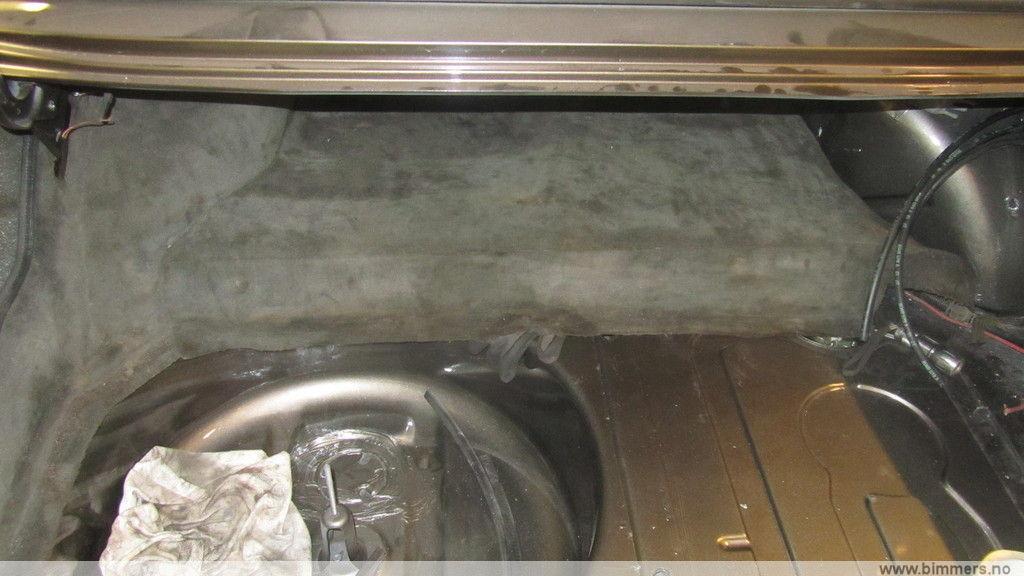
All set, gimme the tank!! 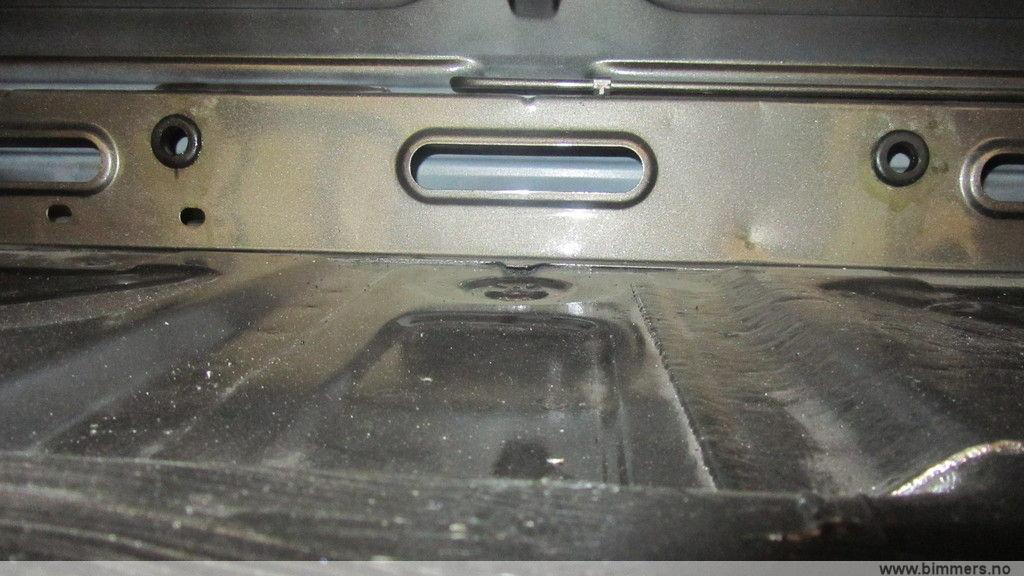
Tank in position, w/o the cover 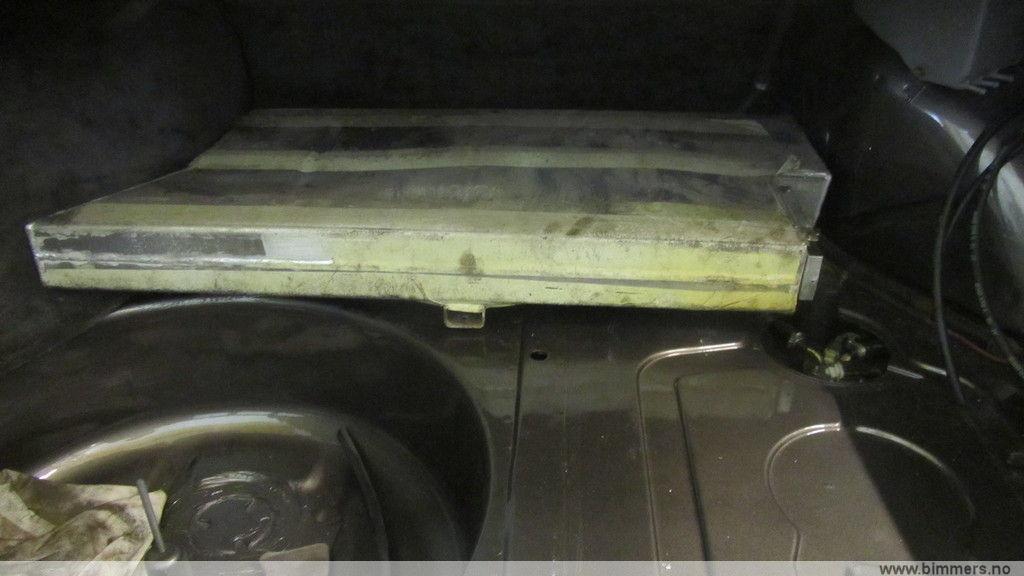
With cover: 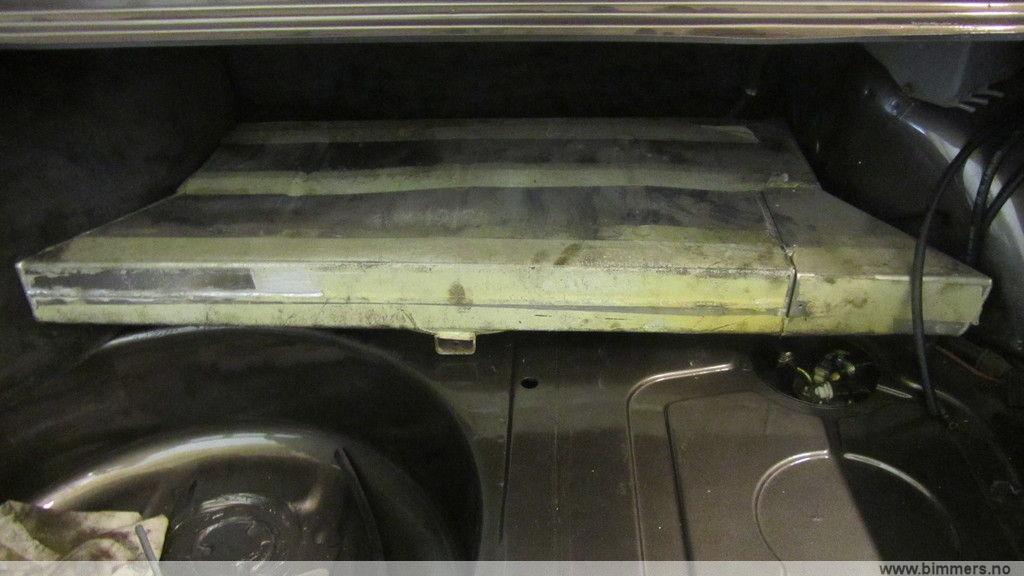
Alpina- and BMW vent tanks in position, with new hoses all the way. Not finished yet, will come later 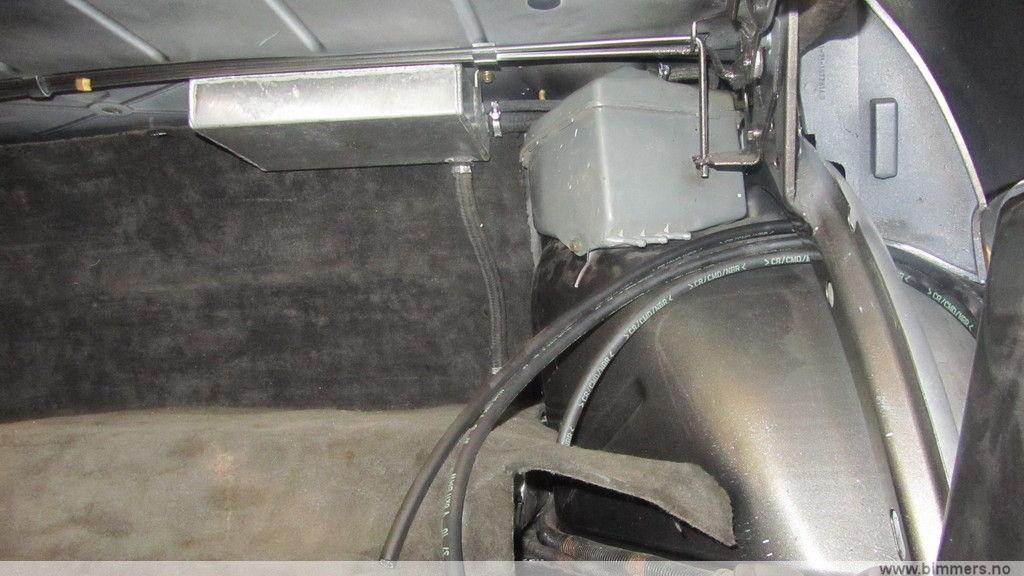
Just tried with some dirty rugs.. 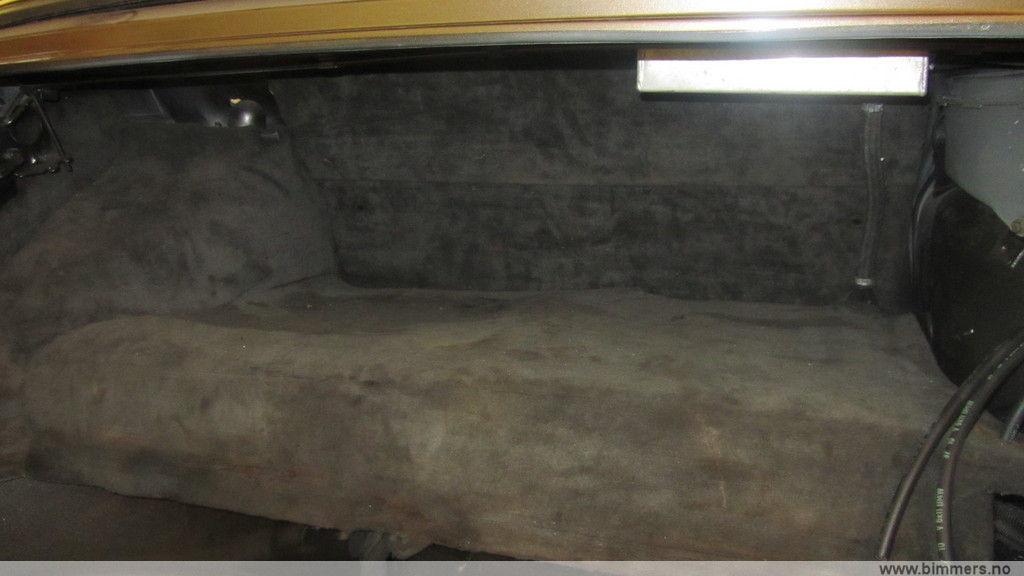
Getting better each time.
Anyone recognizes this little fella? 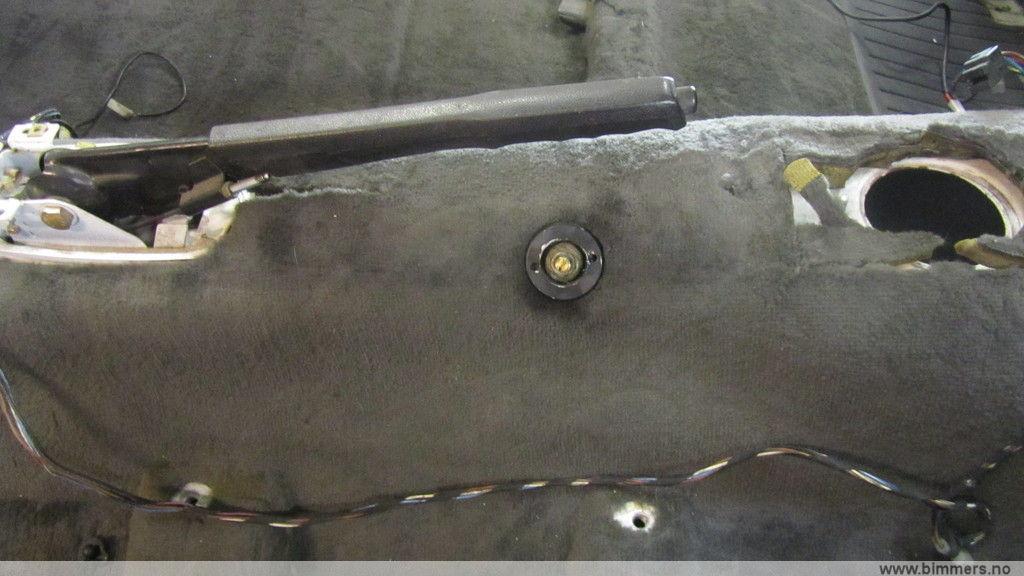
Not?
Now? Any bells ringing?? 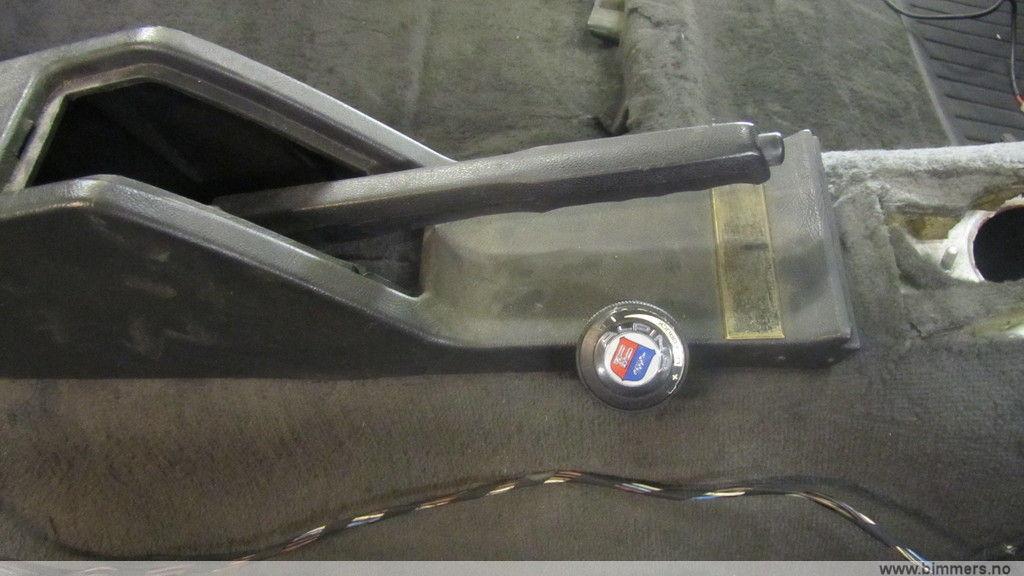
Yeeezzz!!! 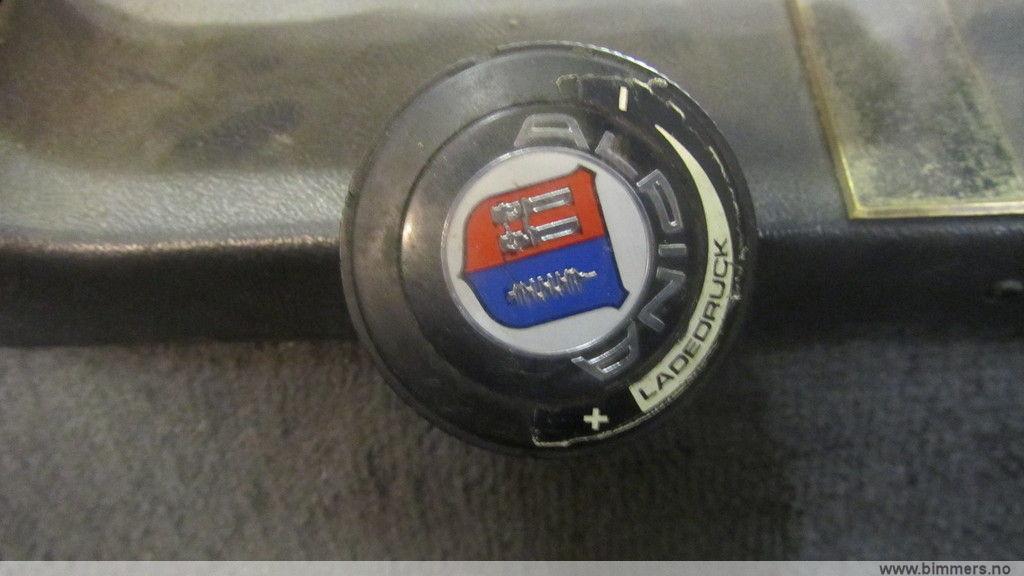
LADEDRÃœCK!!! "Sehr gut, Harry Klein!"
Men that's it for today.
Cut my finger severely, so I had to go easy some days: 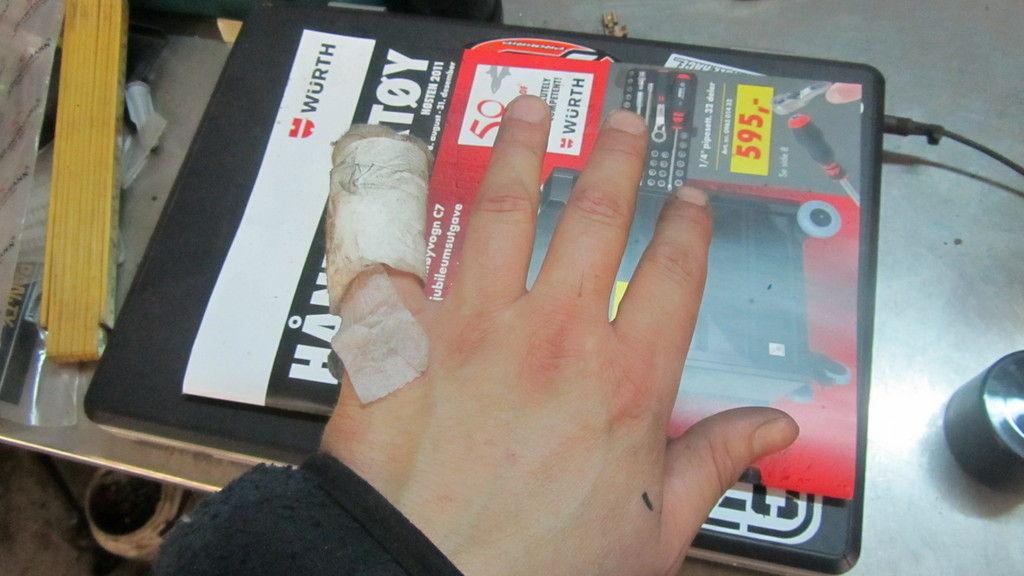
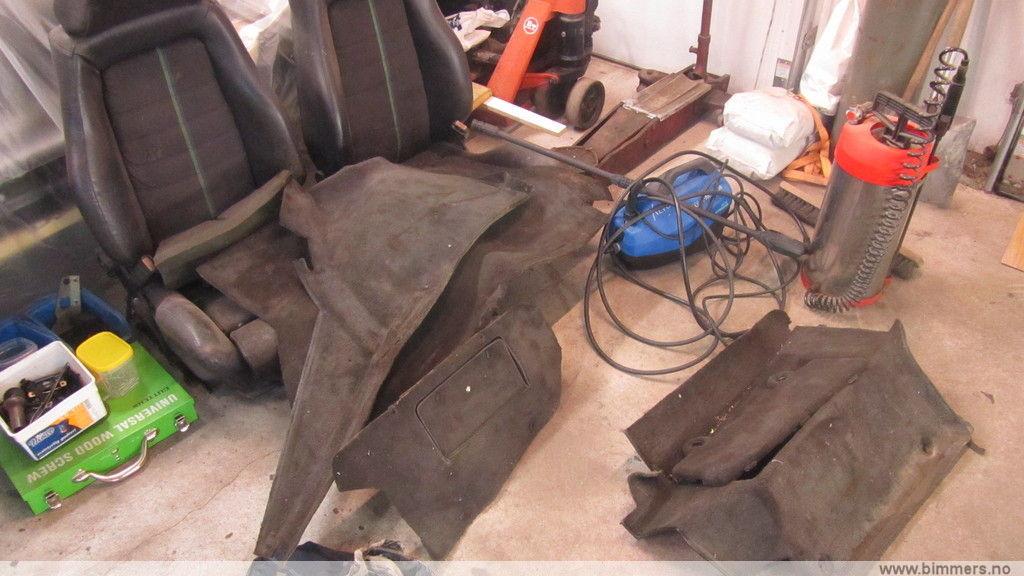
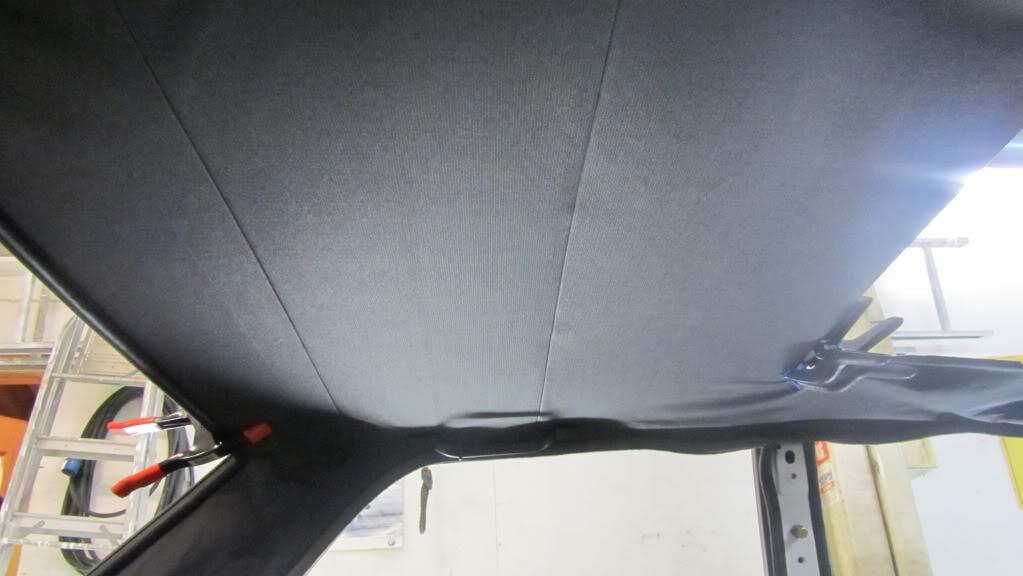
Old roof lining gone 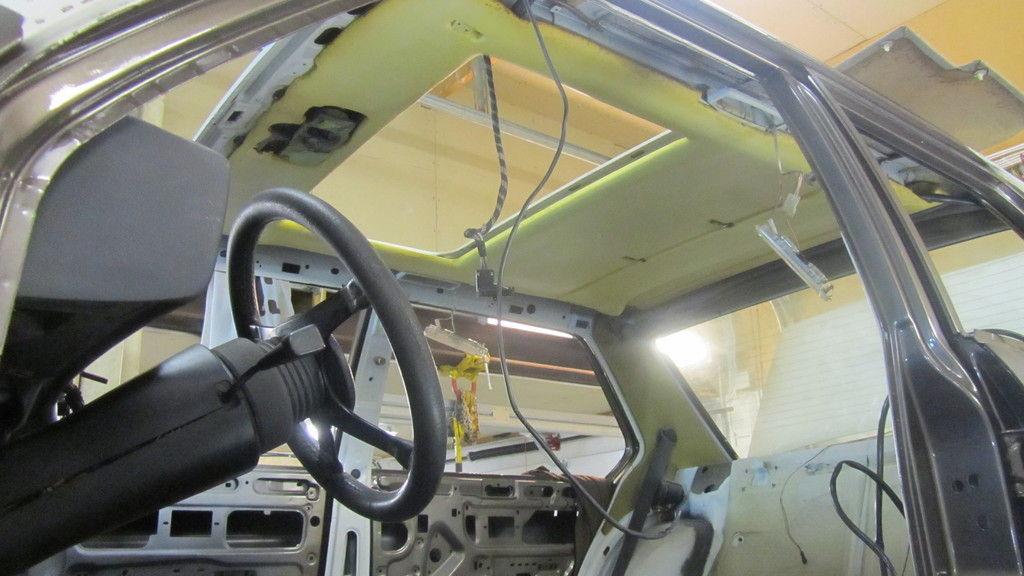
Painted the supports for the carpeting in the trunk. 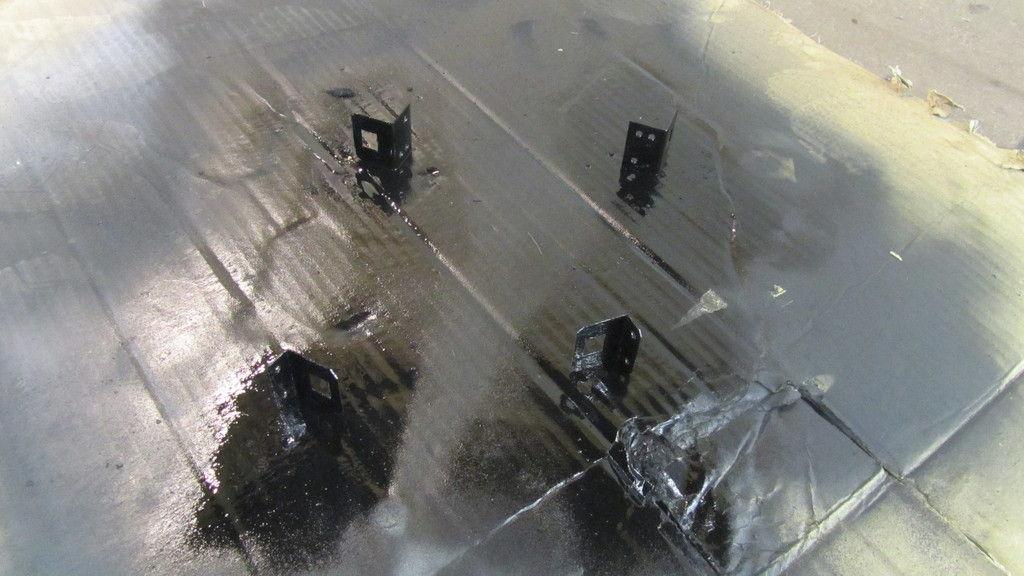
M5-battery tray rusty, as everything else from the Alpina... 
Not good, not good... 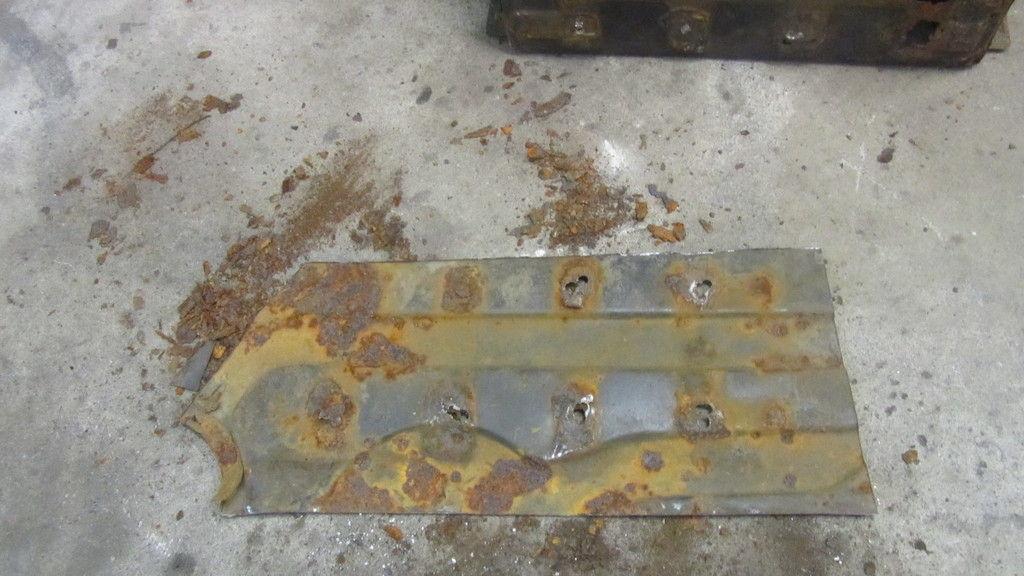
Took the engine down from the attic... 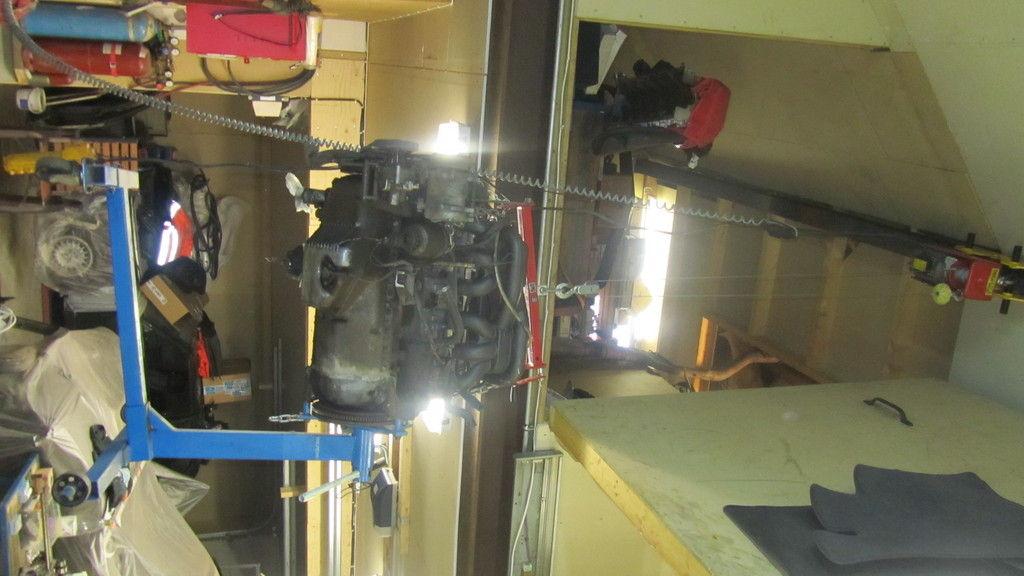
Would have been most easy to put it just right in at once... Don't you think? 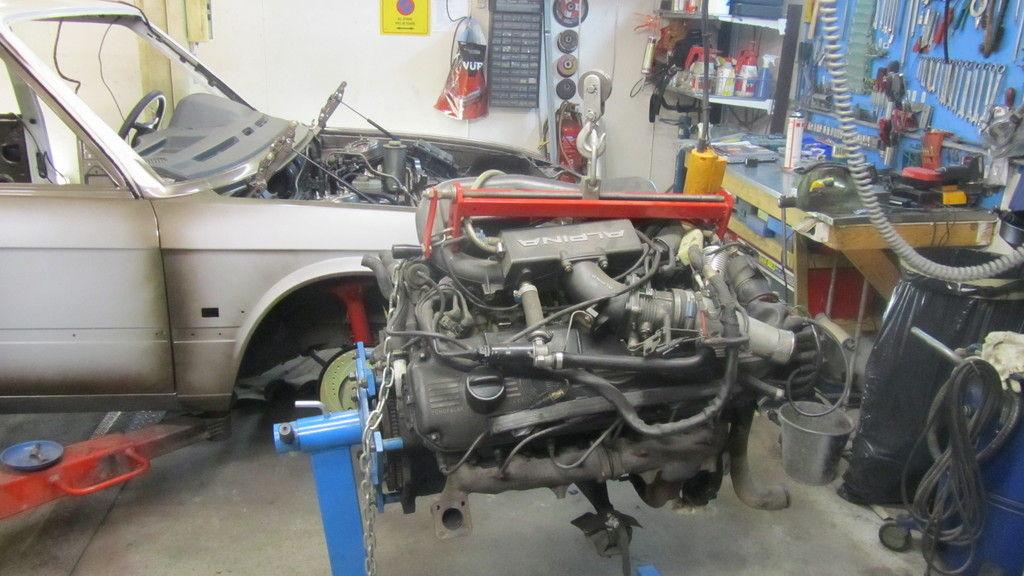
Ready for dismantling.... 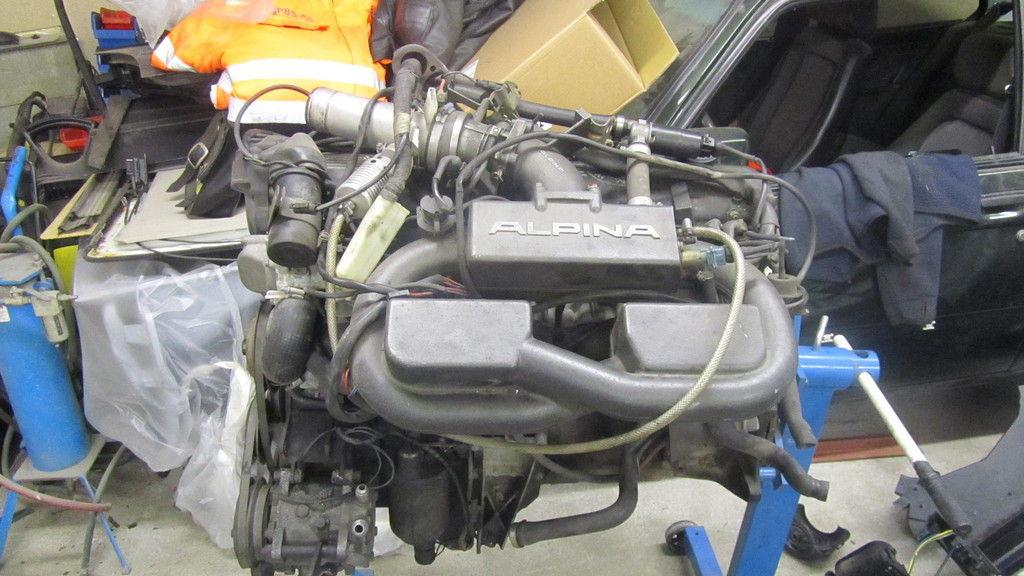
Engine: 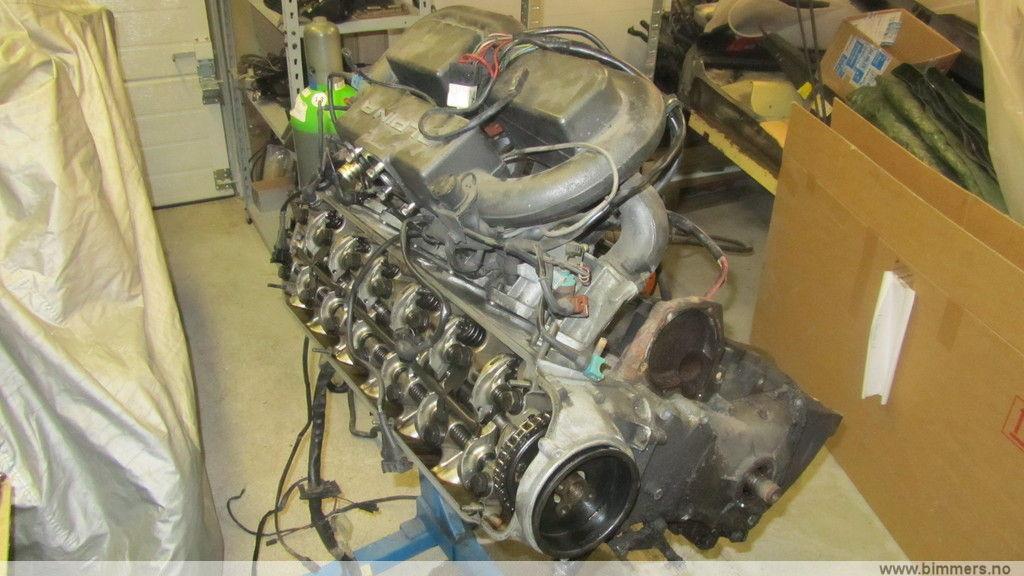

Some parts off.. 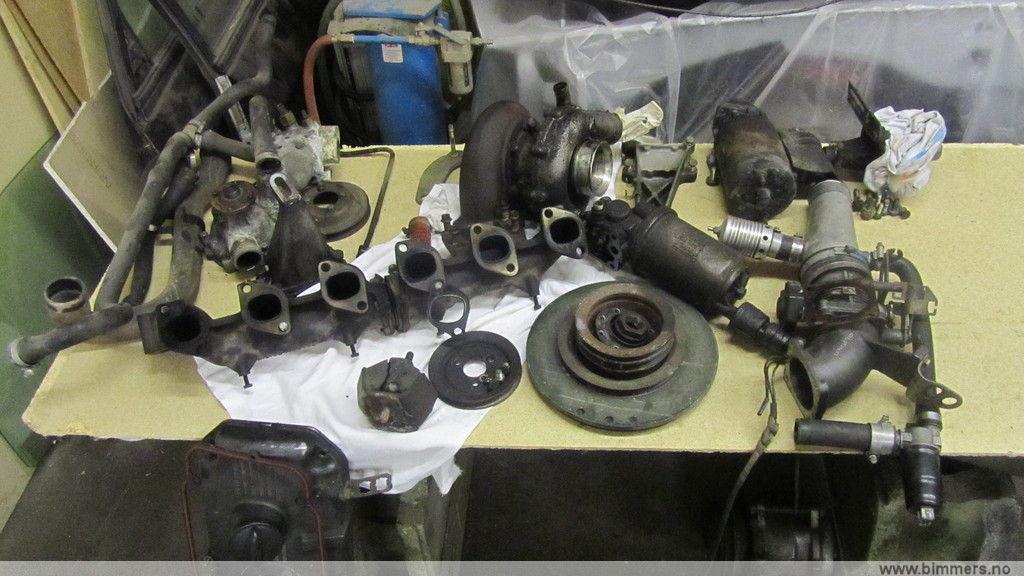
Flexi broken... 
Better now? 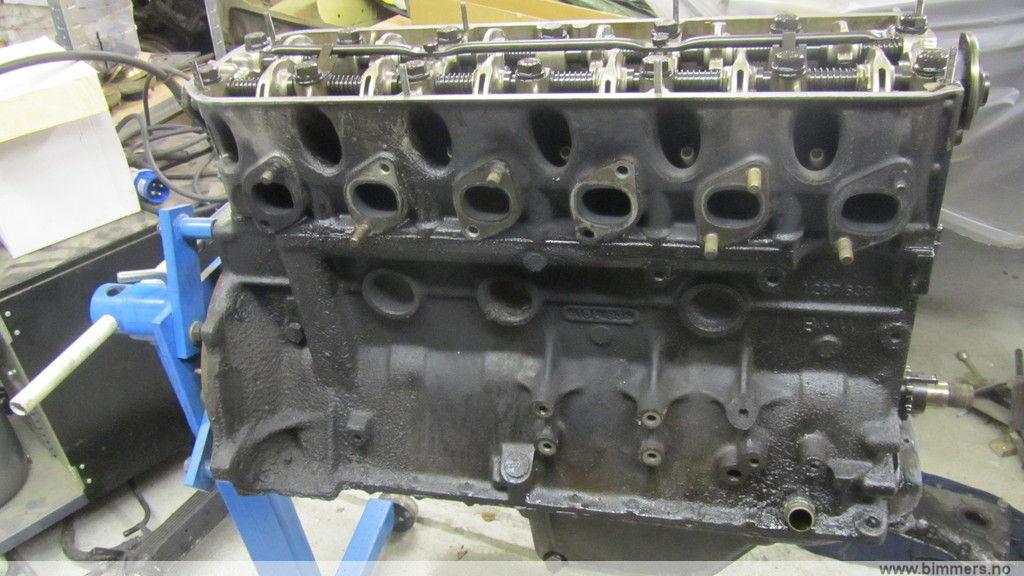

Head looks quite good, as a matter of fact. 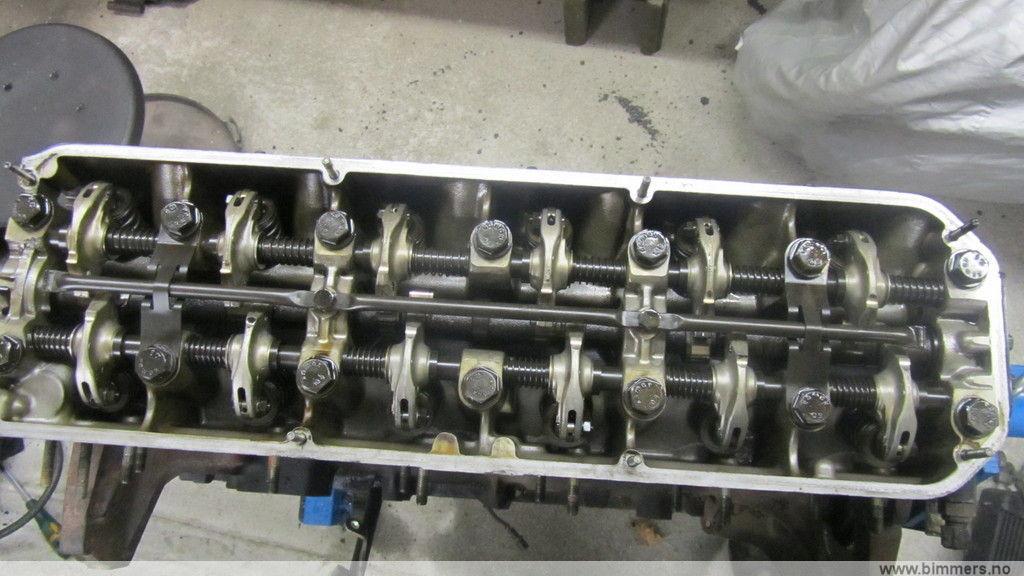
Oil sump and oil pump removed: 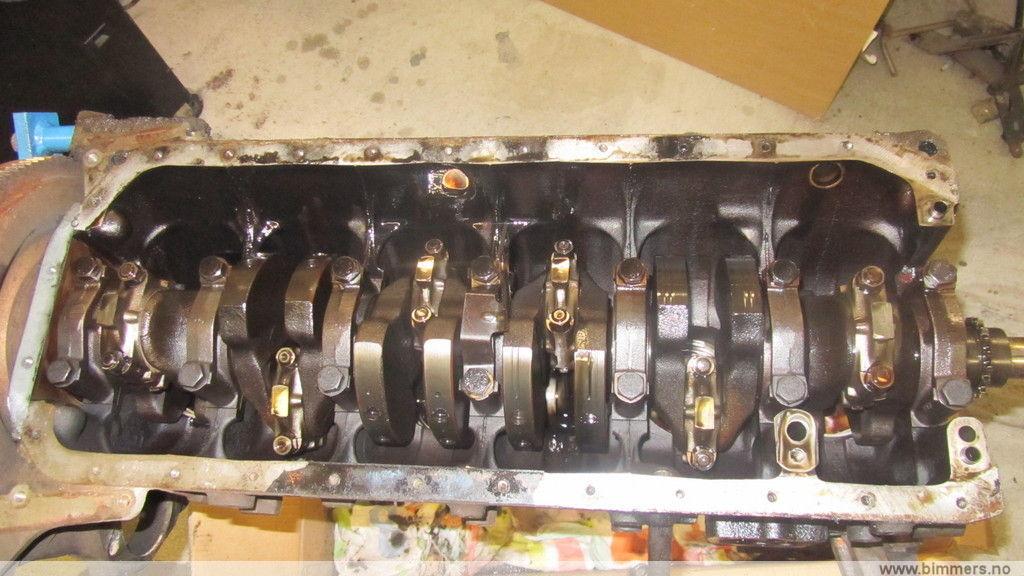
Head off, not too bad what I see... 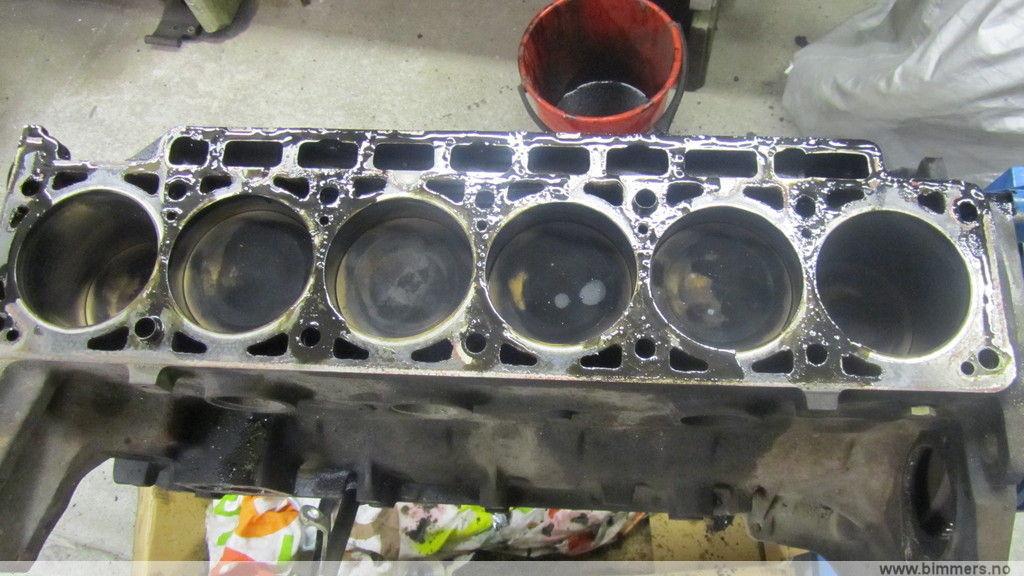
Bad pic, sorry: 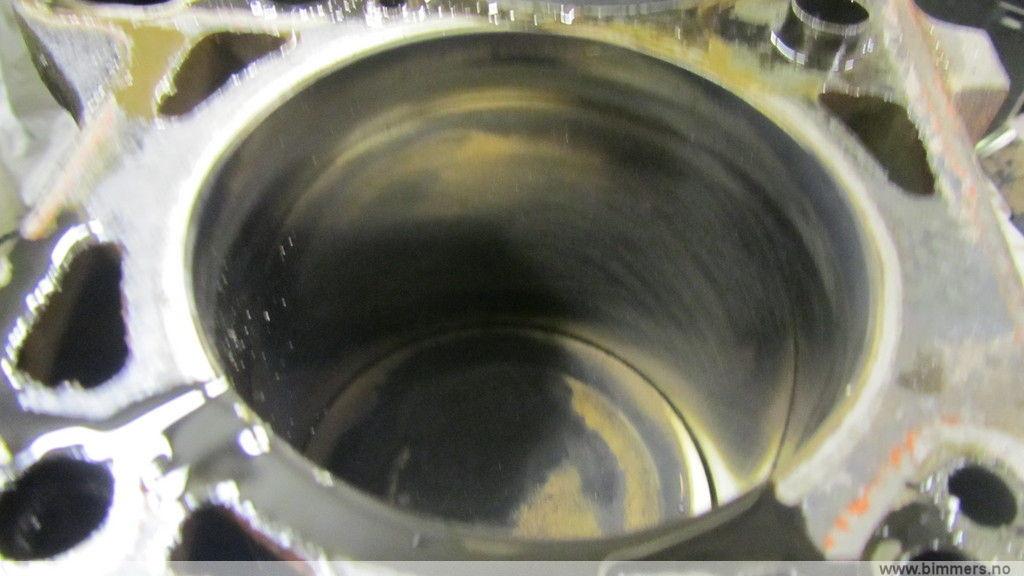

Engine number, #238 B7/3... No doubt! 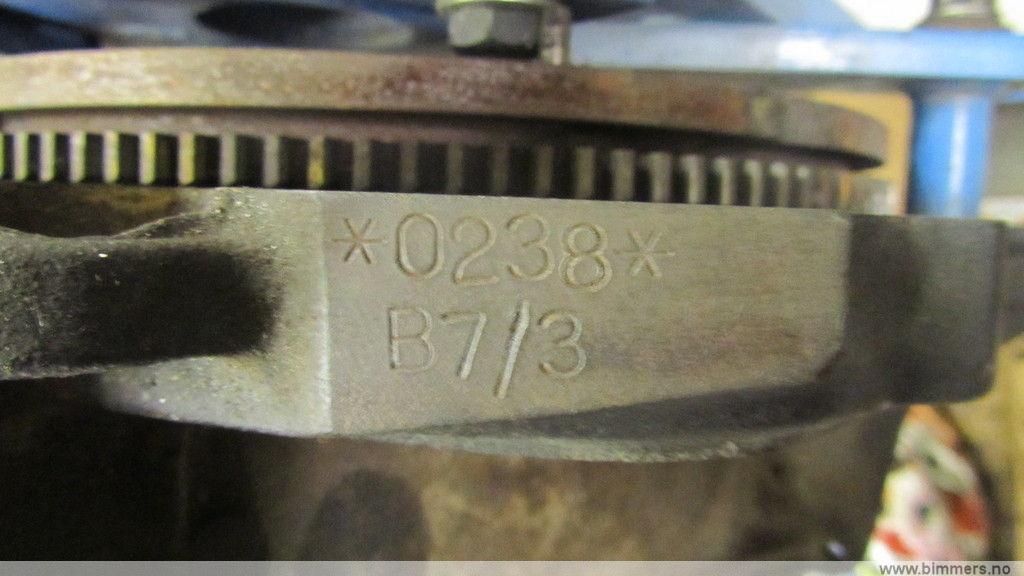
Crank looks good.: 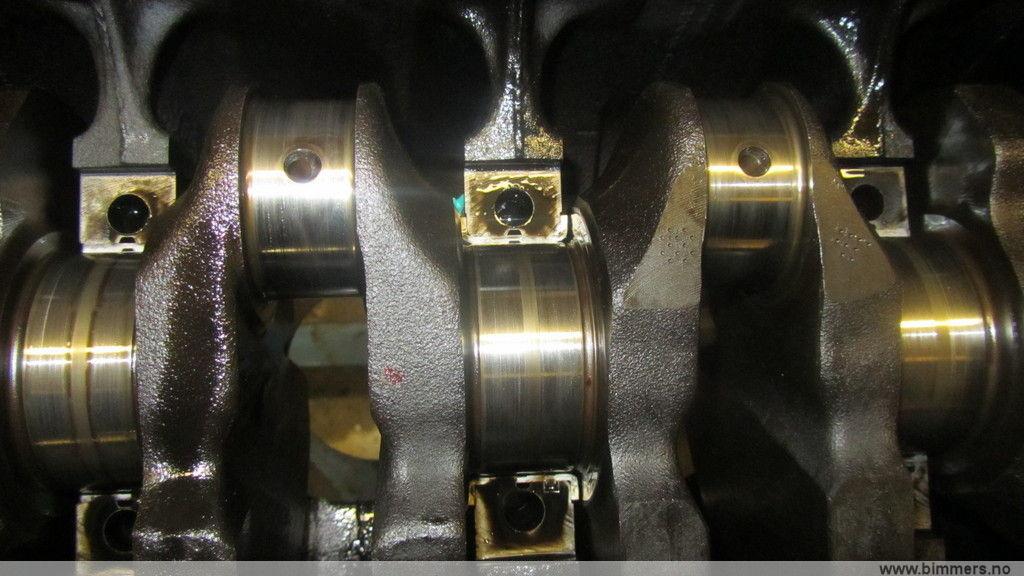
Main bearings are not too bad: 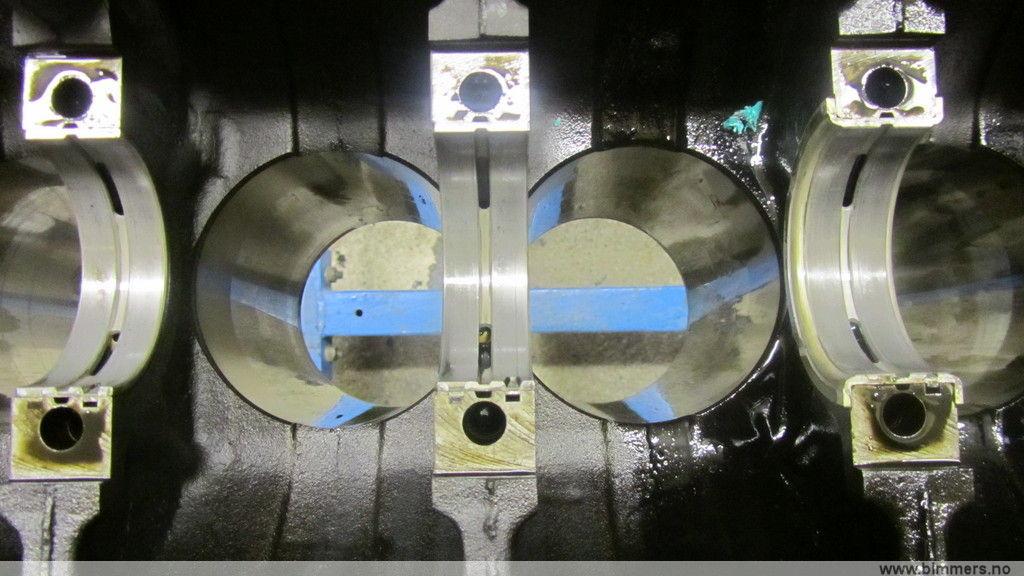
This is the worst bearings: 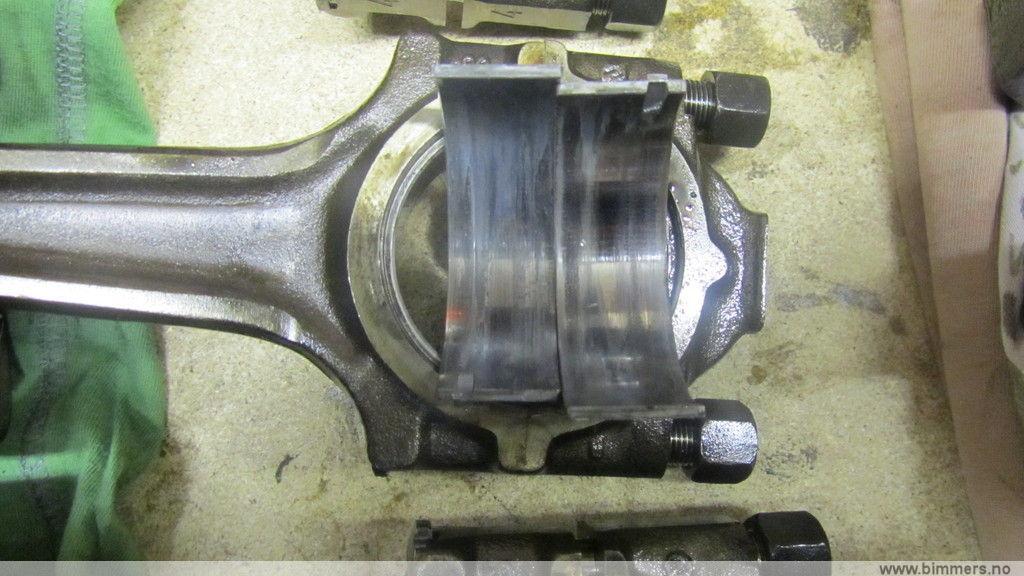
Dirty, but will be good after some cleaning...... 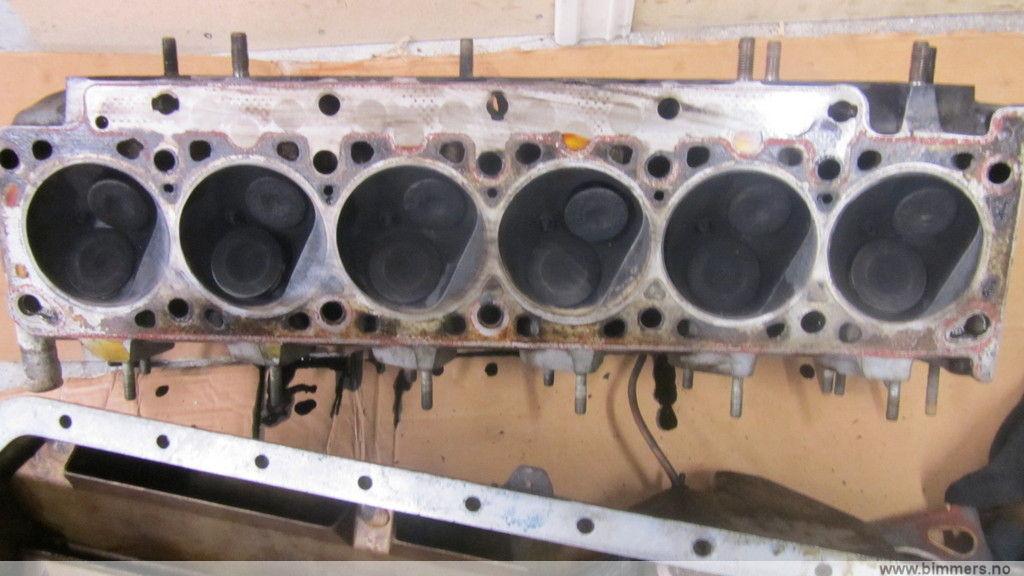
An overwiev 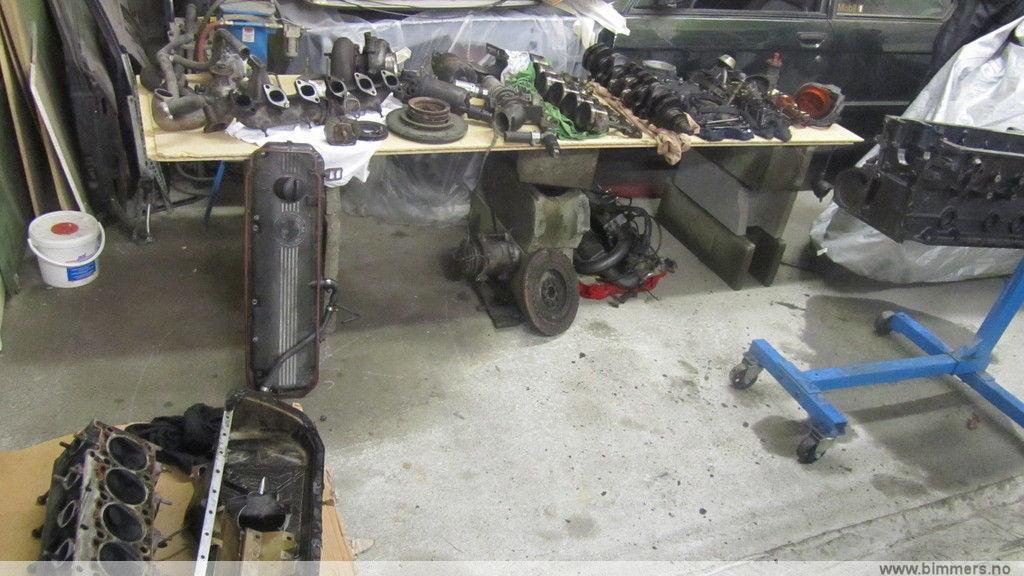
The only shitty thing, is that the turbo got way more movement than I want - auch....
Oil spray nozzles: 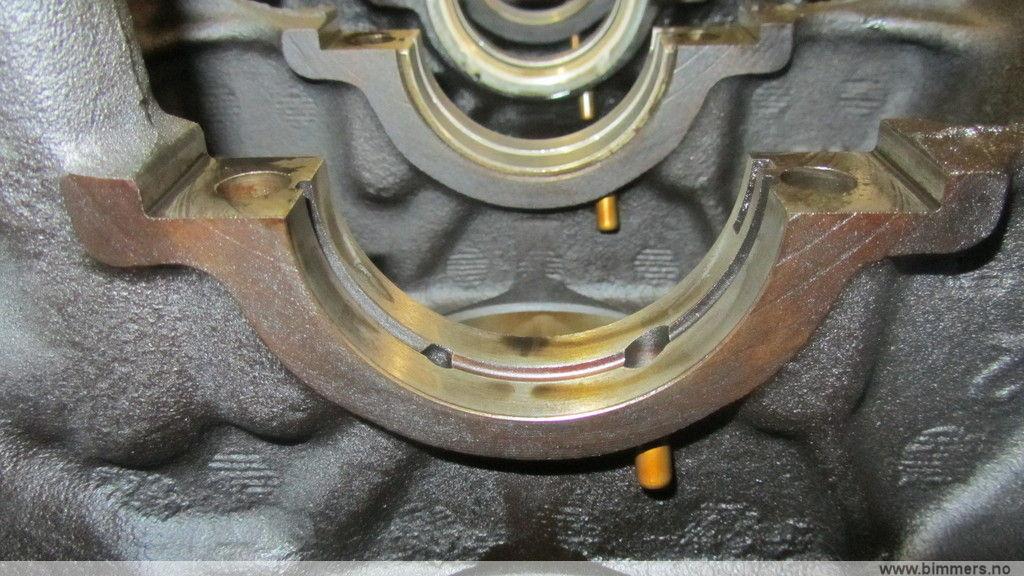
Broken... 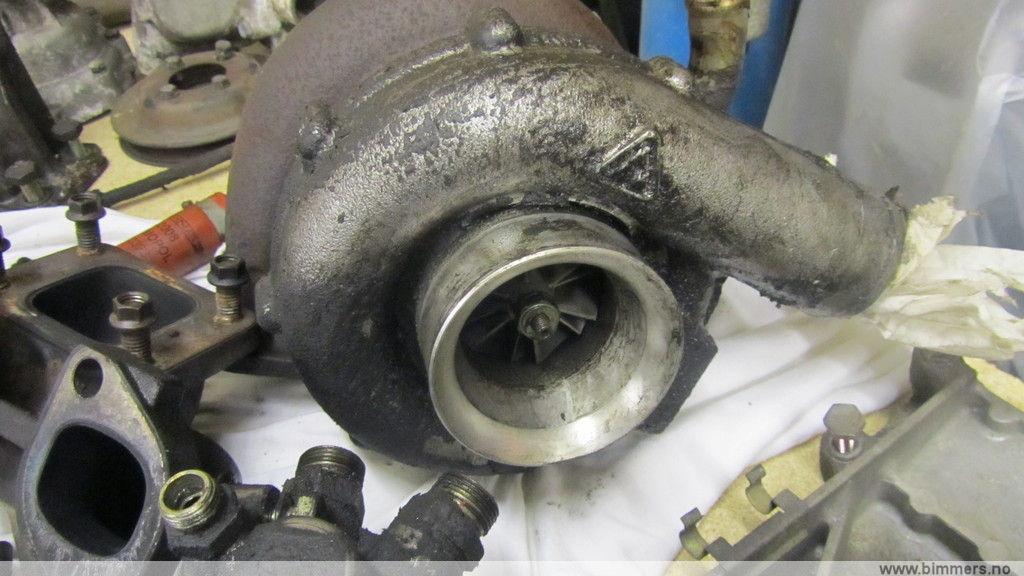
Here is the new flexi, amongst other small pieces from Alpina : 
Some gaskets, exhaust-flexi, towbar etc...
Some pieces that really need some cleaning 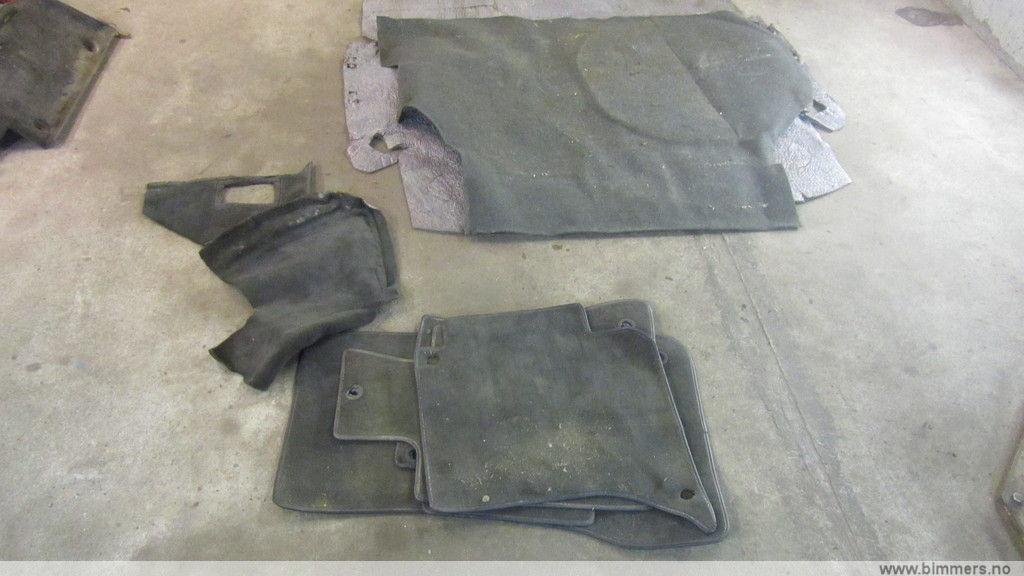
Next step is rear diff: 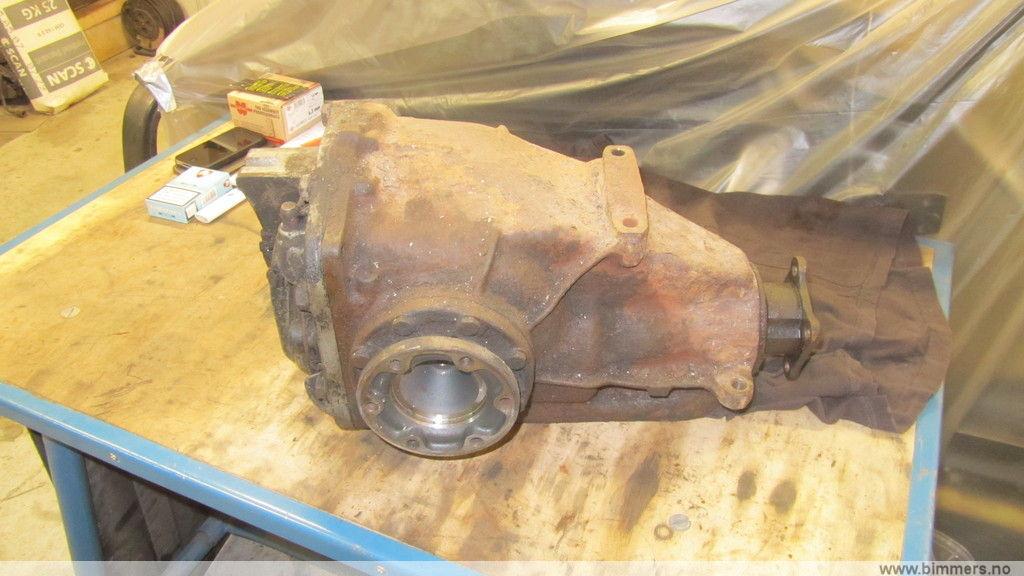
Looks good: 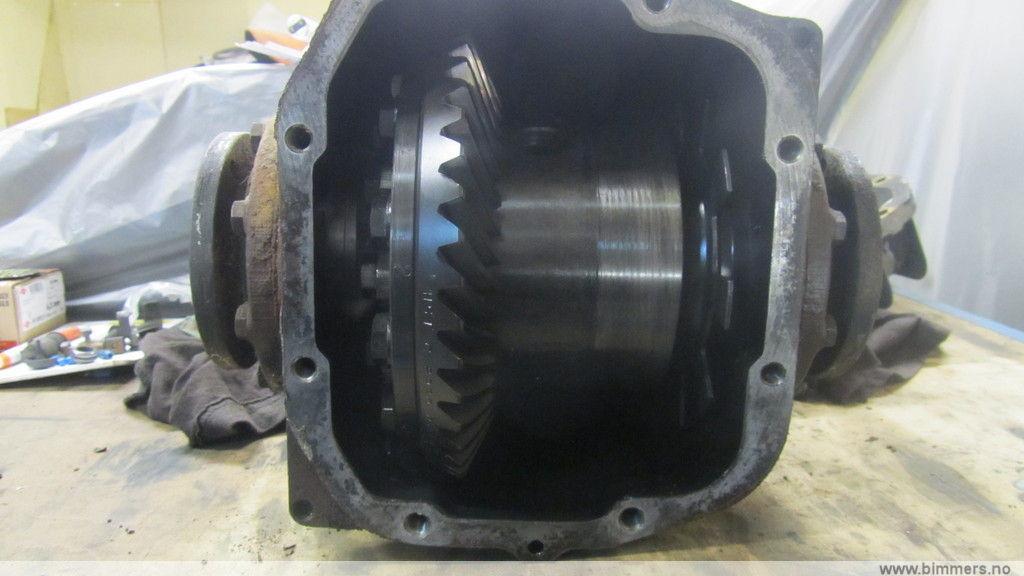
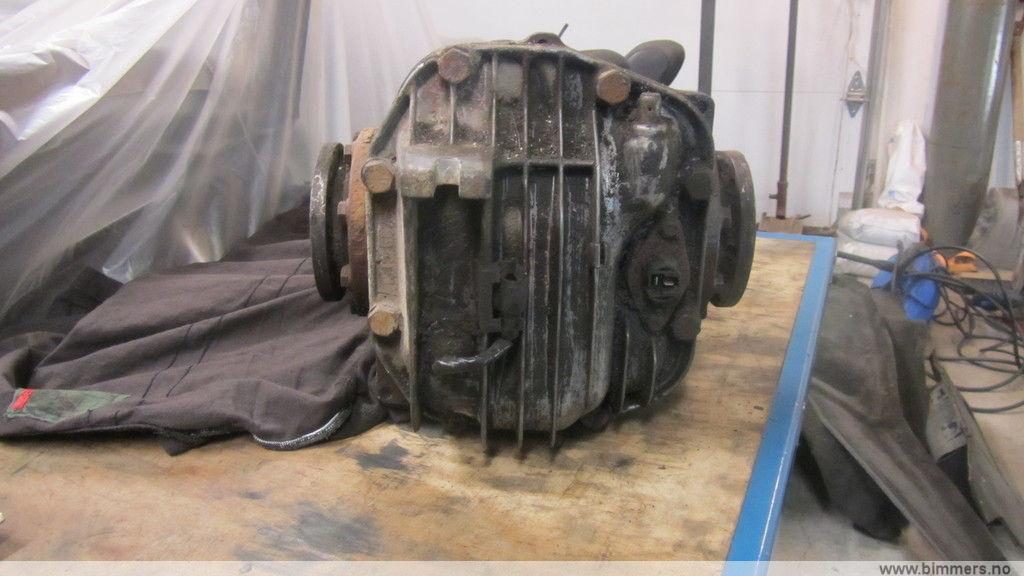
15 minutes later: 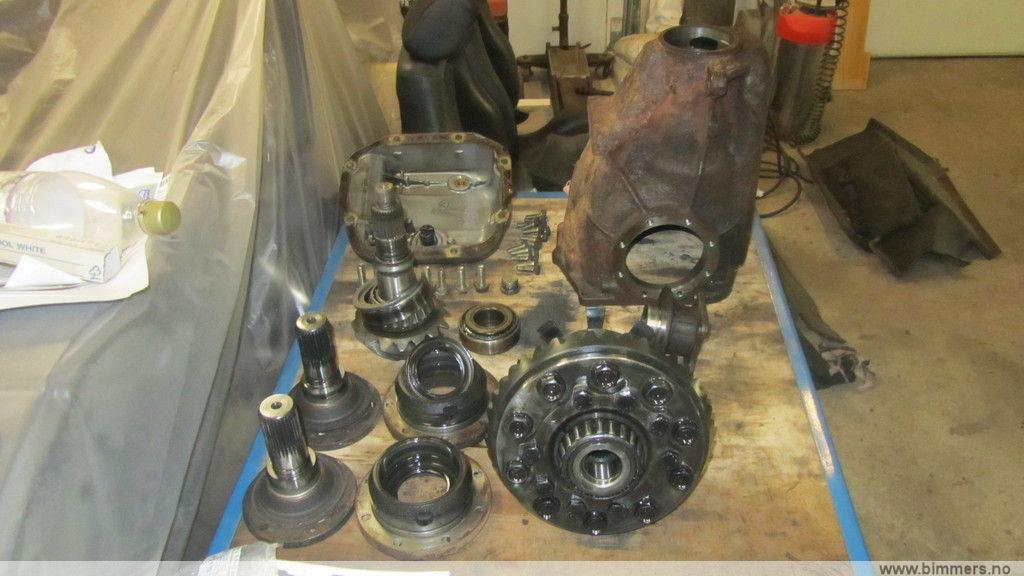
Ready for clean-up and paint. 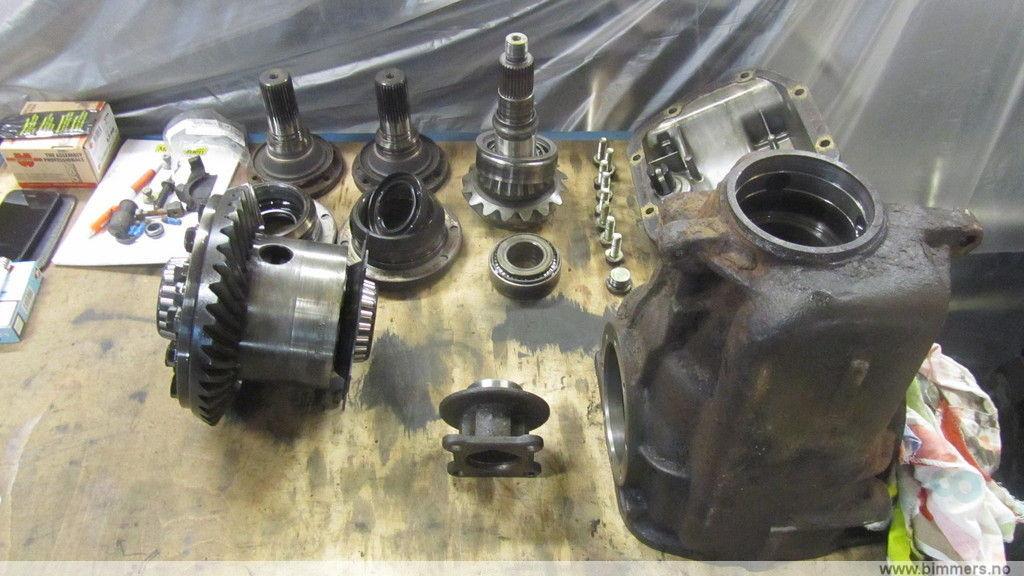
New gaskets/seals, but must order new bearings asap 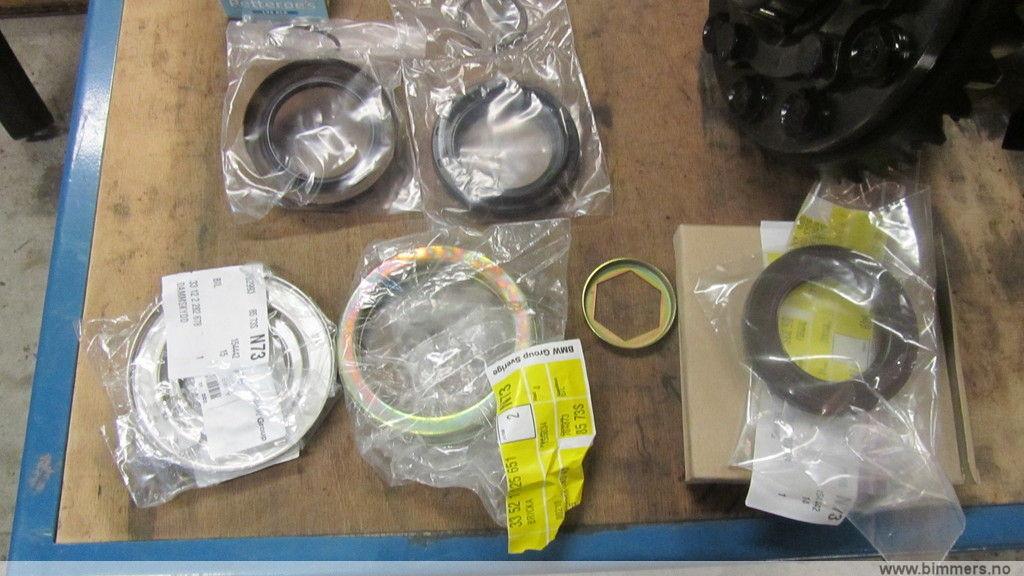
While I was waiting for new bearings, I did some cleaning instead. 
Original M5-carpeting, bad condition - but it is all I got. 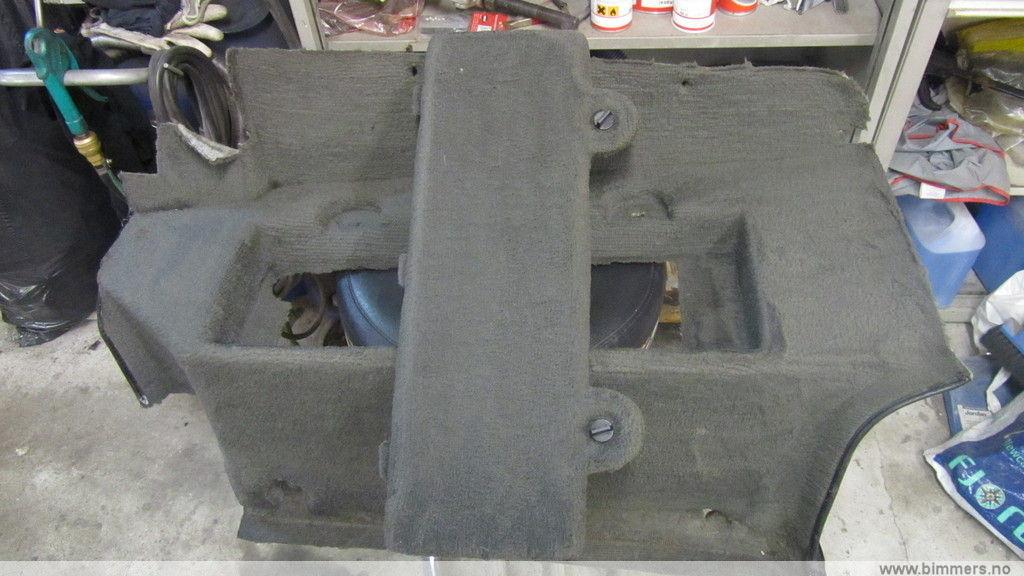
Head looks better. 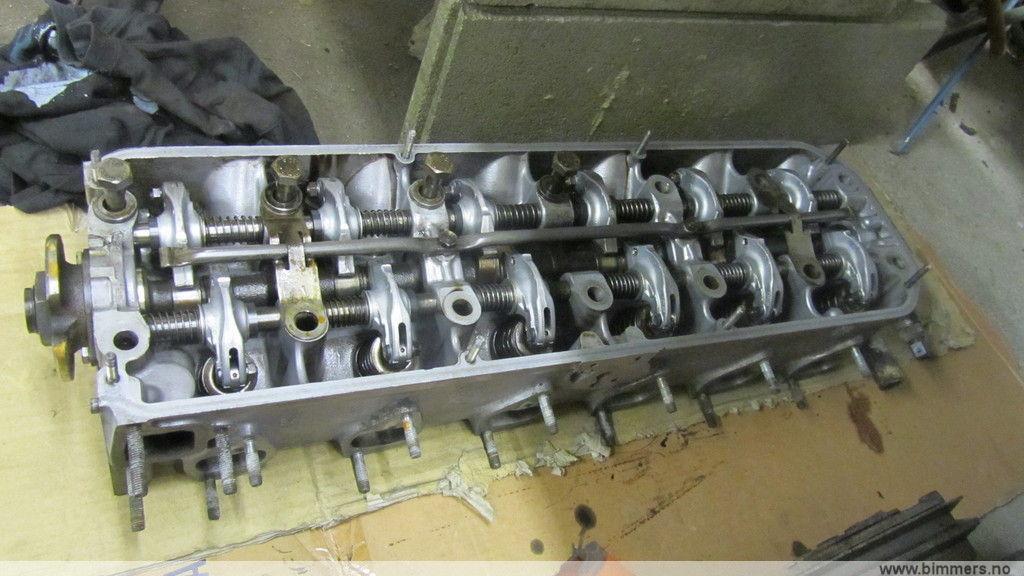
Intercooler, oilcooler and oilsump at least cleaner.. 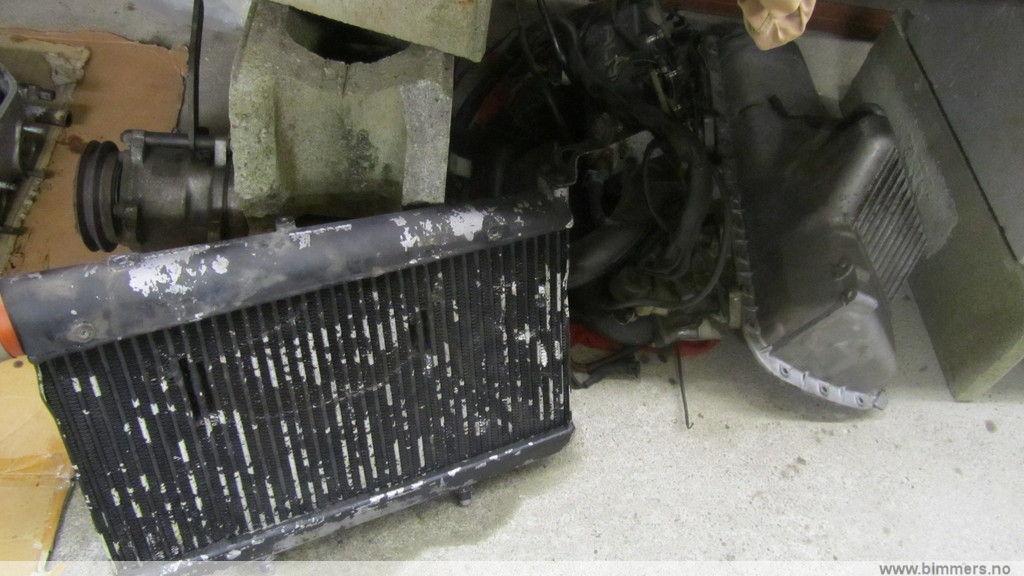
Engine block enjoyed some water too: 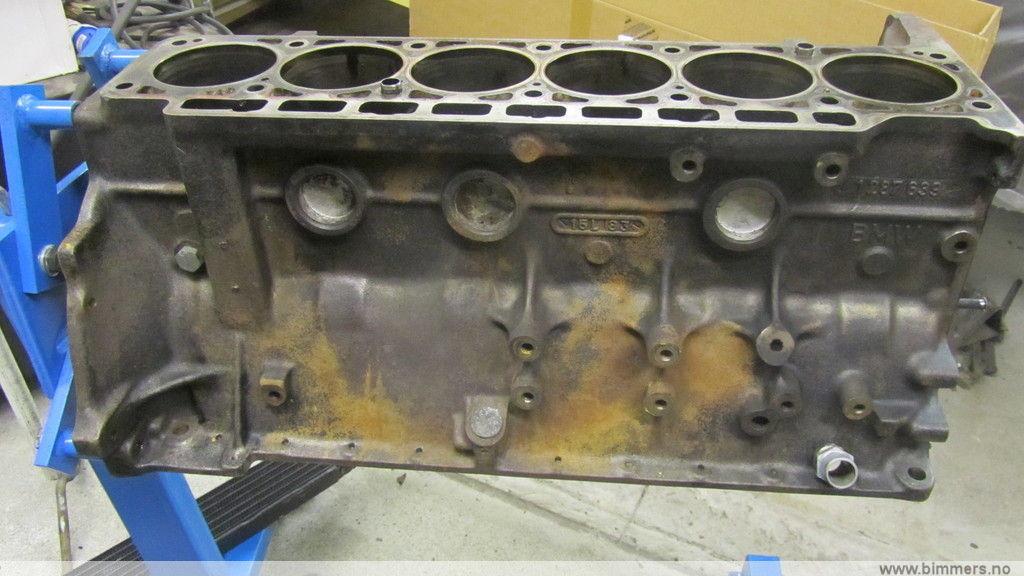
But of course, as soon as dirt goes off, I had to find something more.. 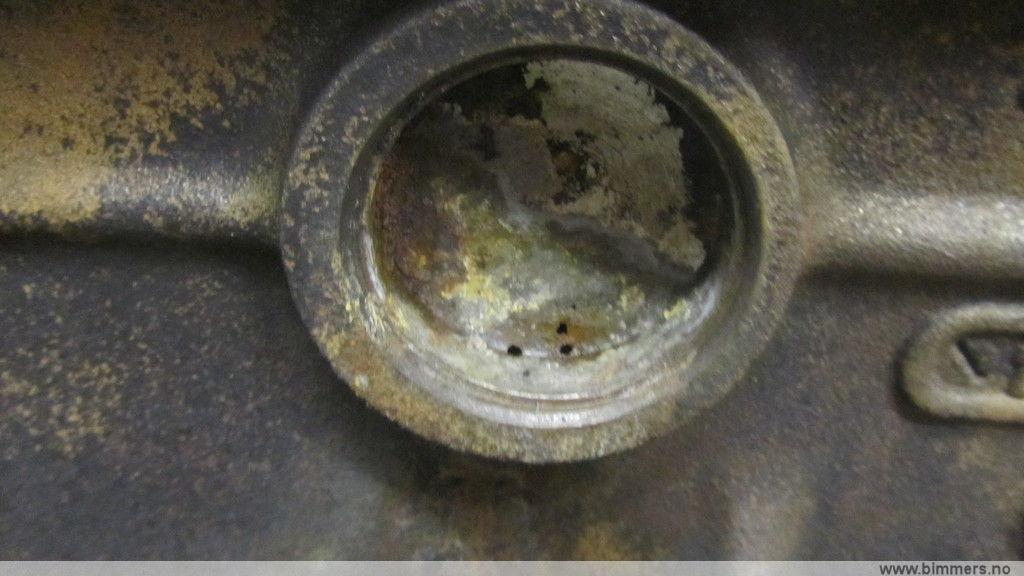
One rusty frostplug.
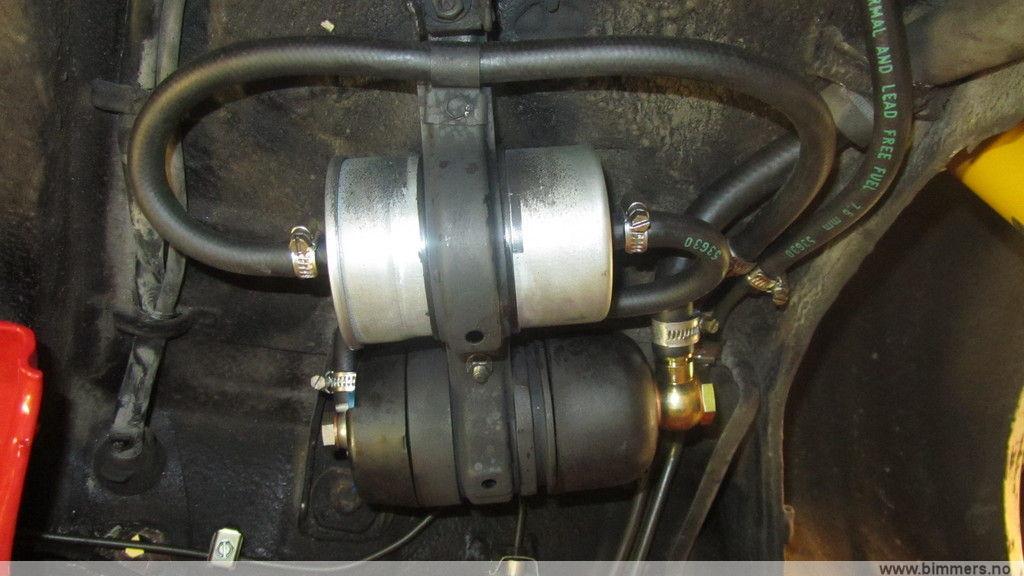
Servo cooler, old one... 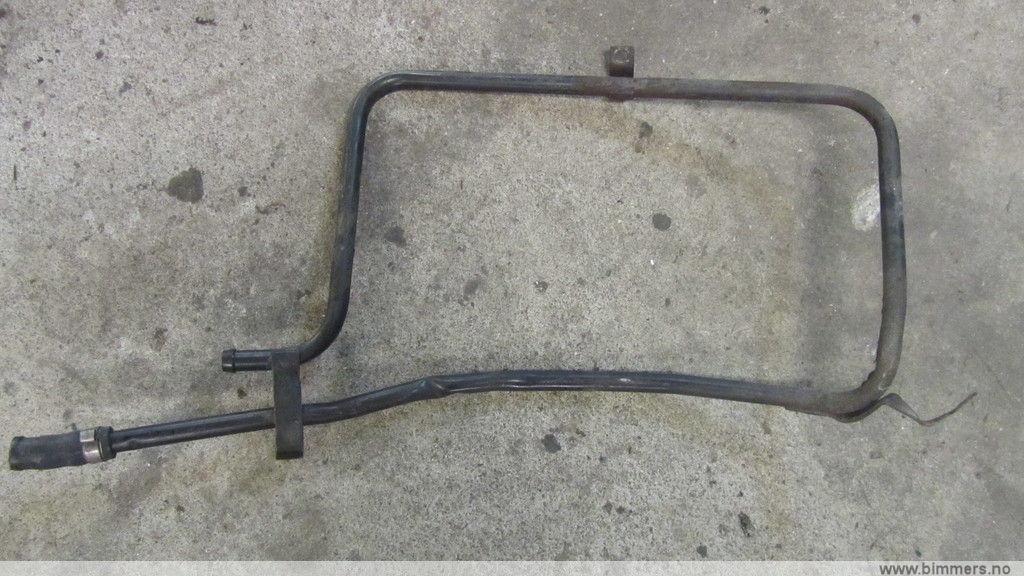
New servo cooler, painted and ready for installing... 
Got some paint on the block: 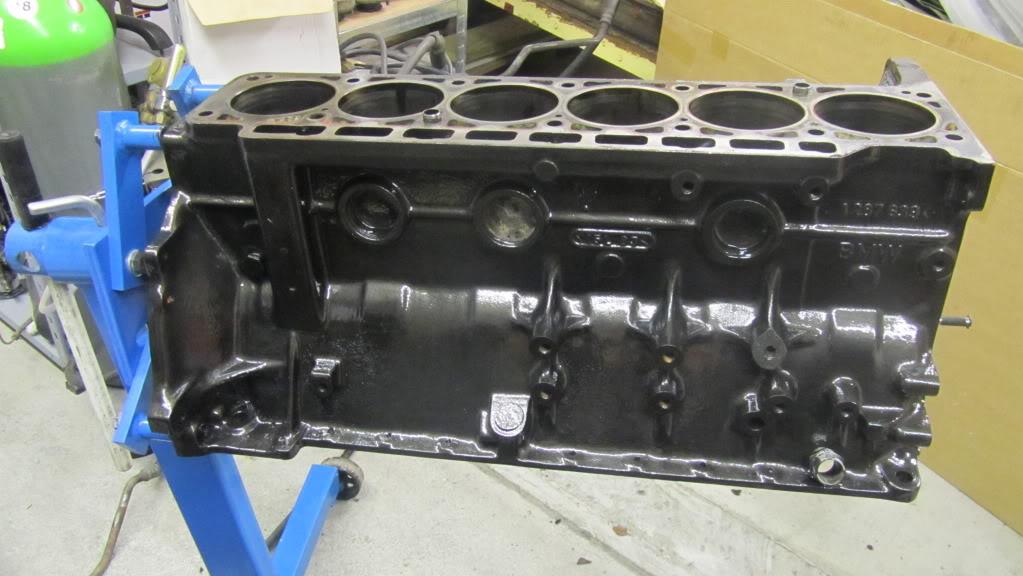
Diff: 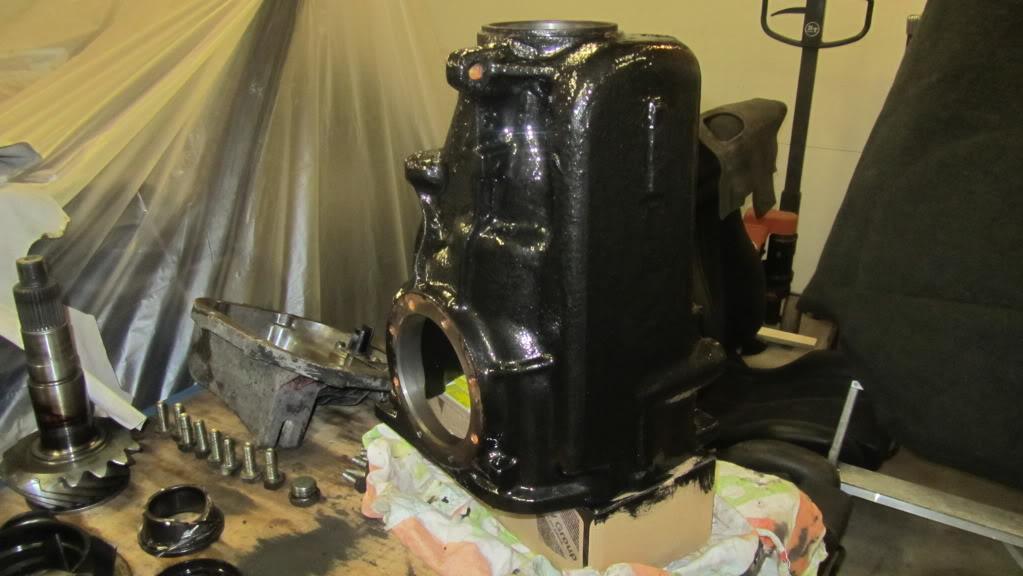
Some clean carpeting stuff, just testing: 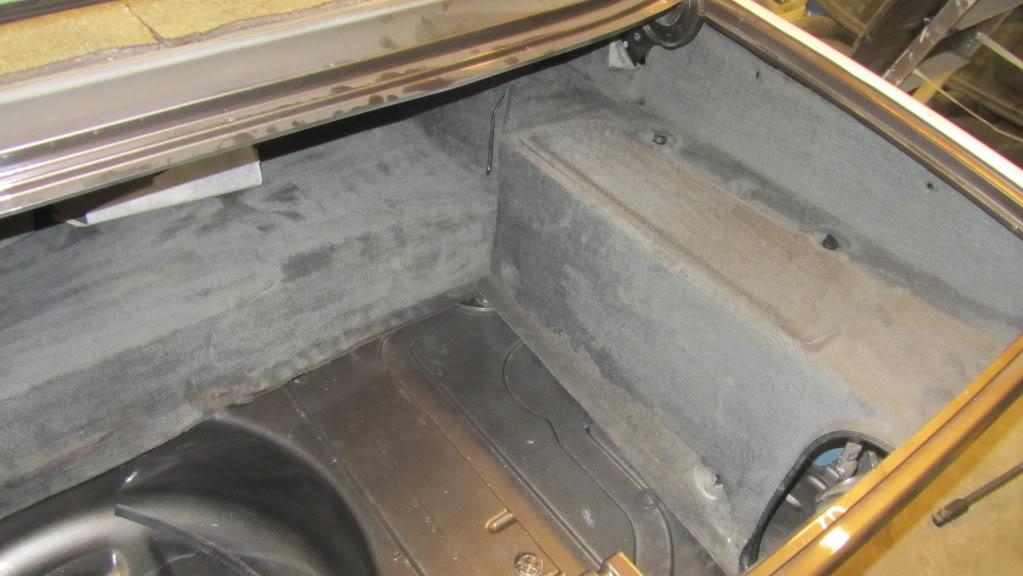
First aid kit: 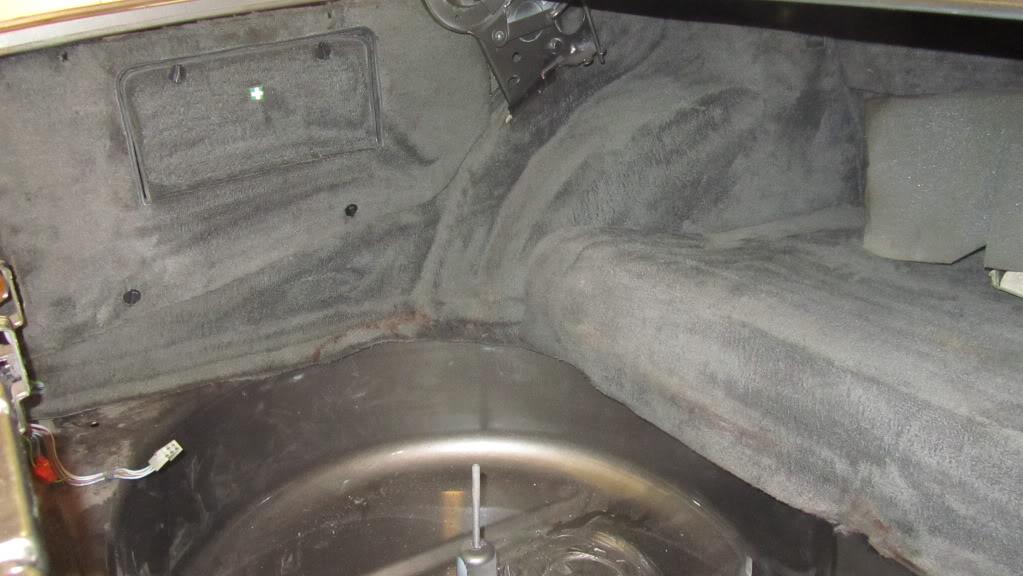
518 original manual roof... Bye-bye.. 
Electrical roof in position... Nice... 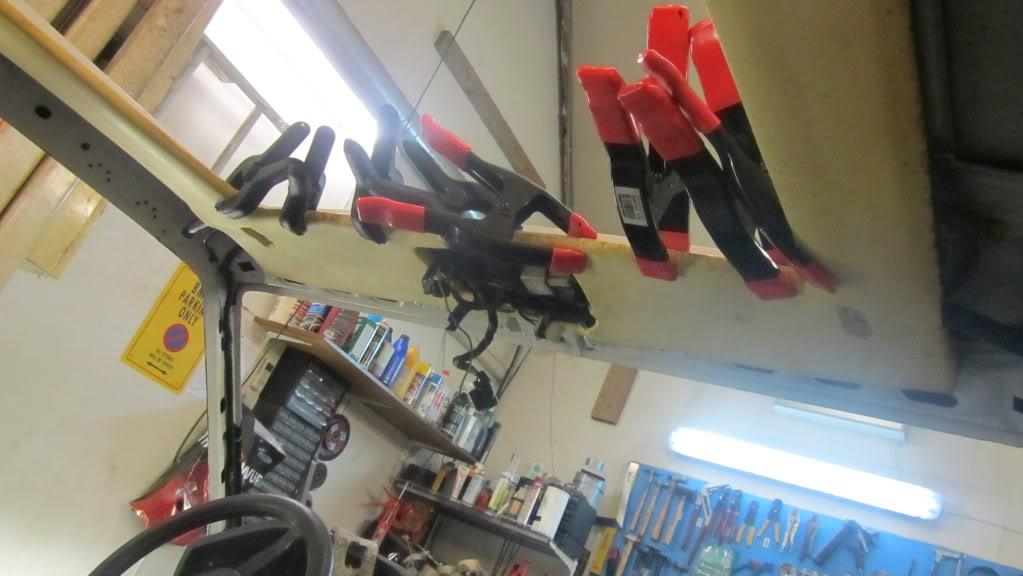
Old roof headliner... 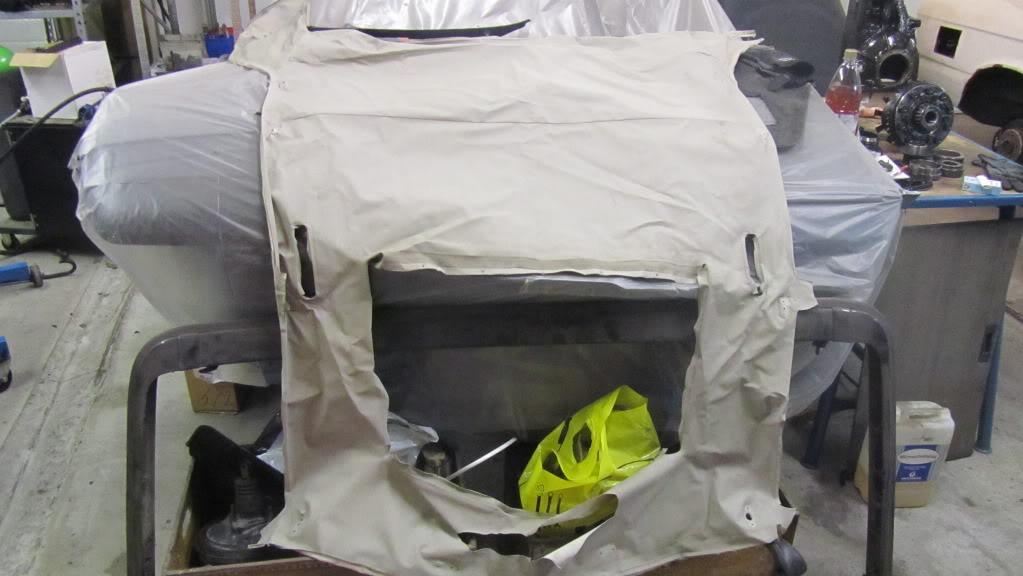
New one, looks good!! 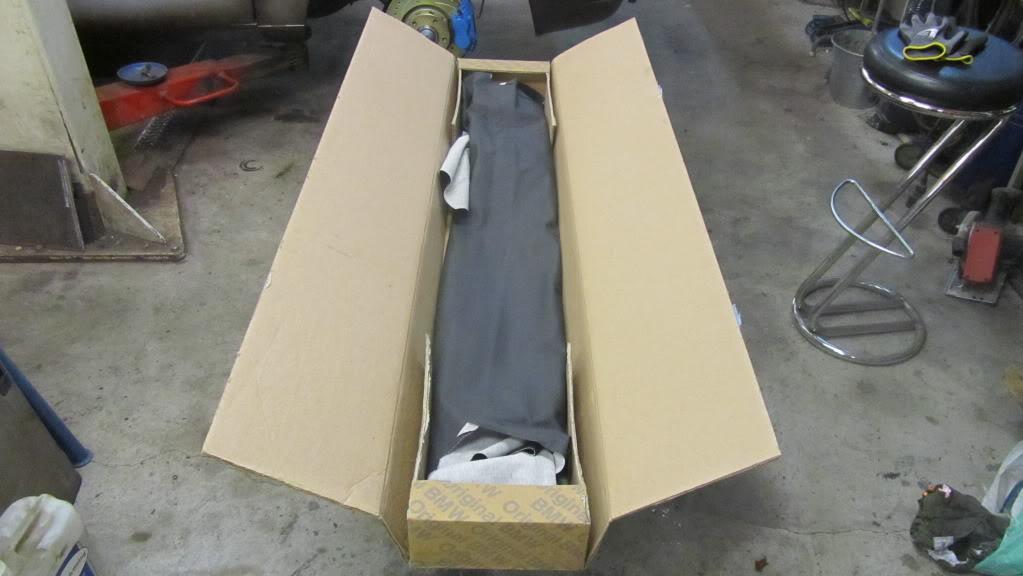
But not pre-cut, I hoped it was... 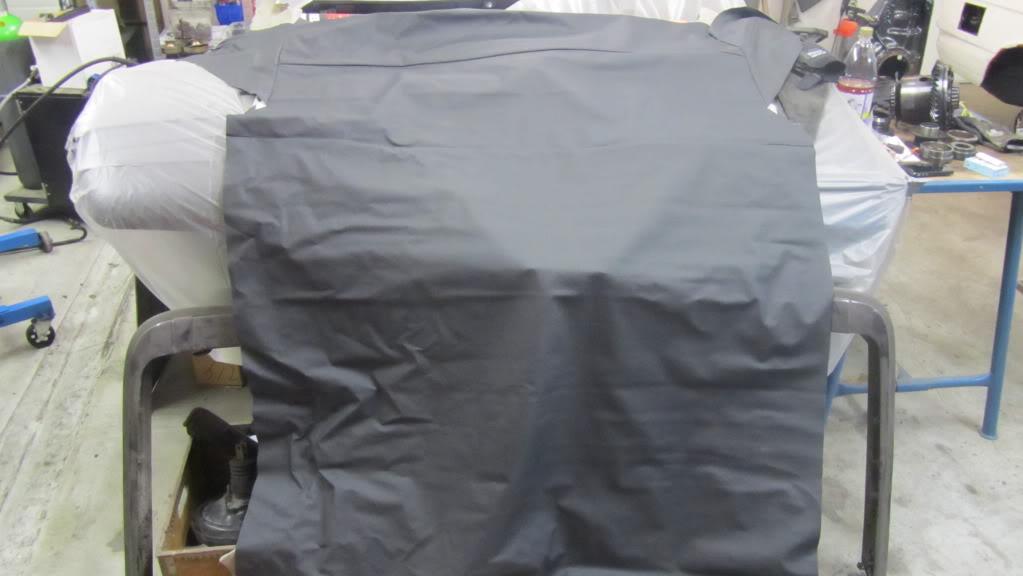
Wonder what part number for this cover is... 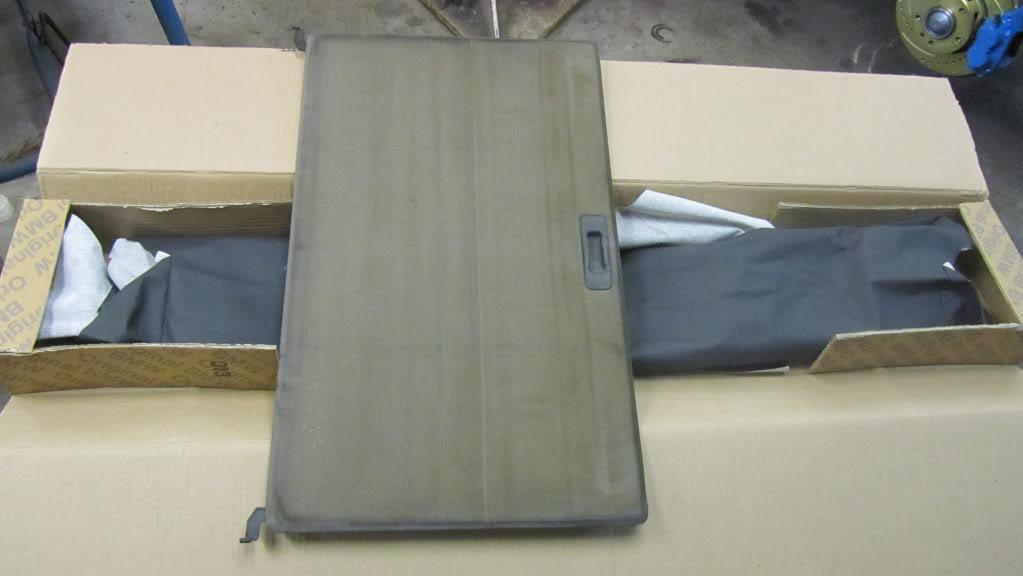
Started to mount the headliner.. 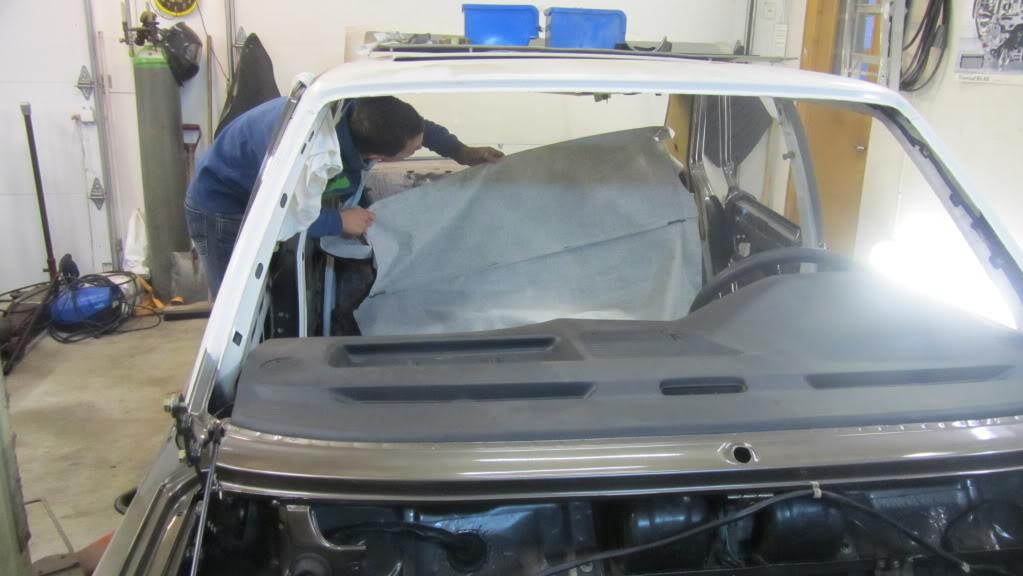
Did not manage to finish up, crappy work - I hate it!! 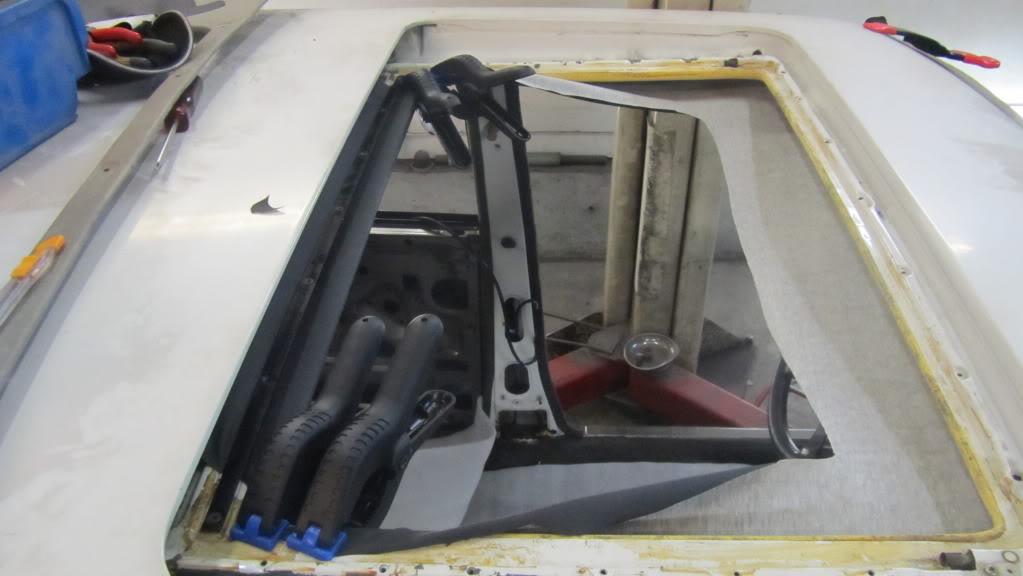
Not too good, but maybe in the future? 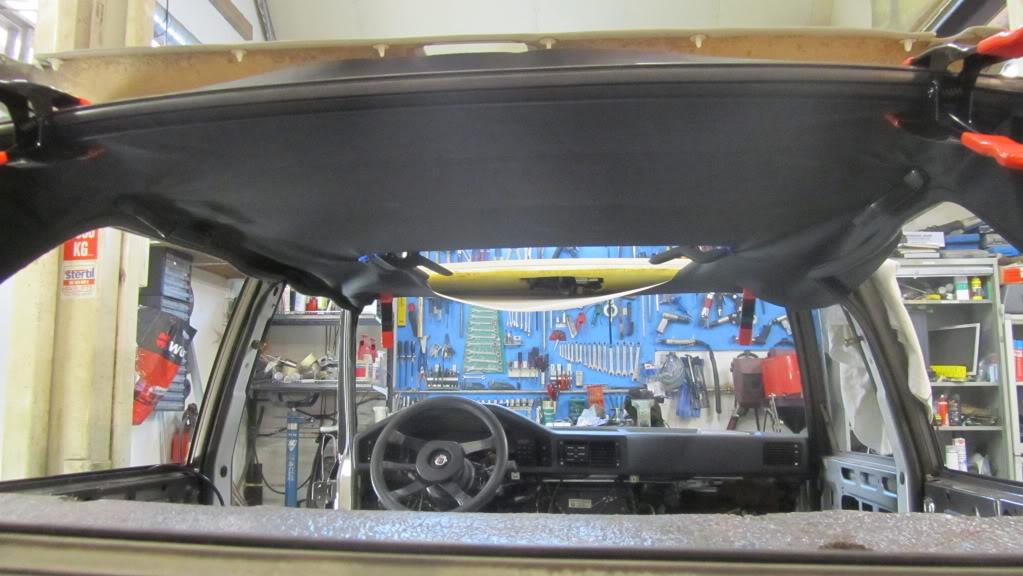
New parts for the diff: 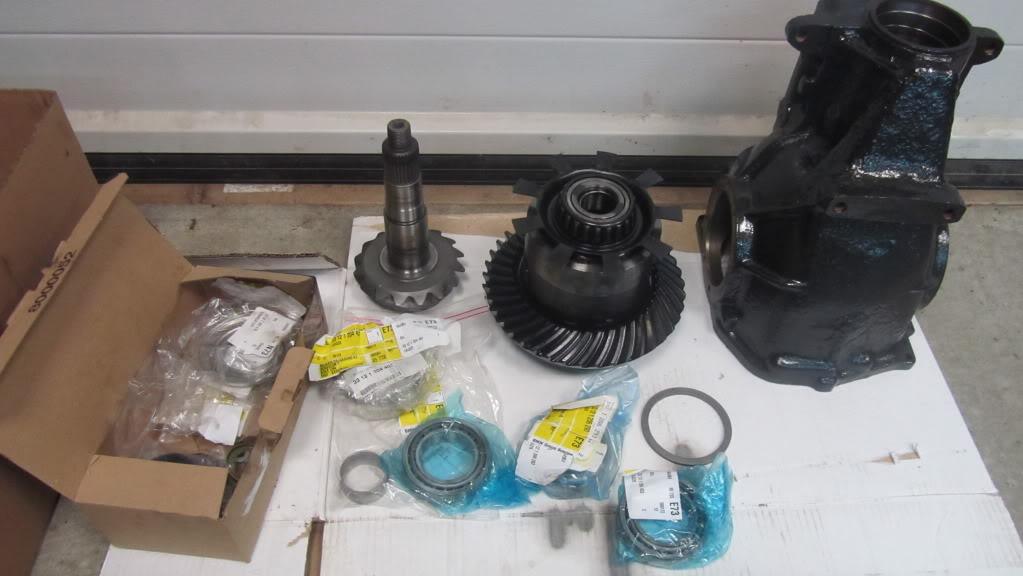
New innerring pinion 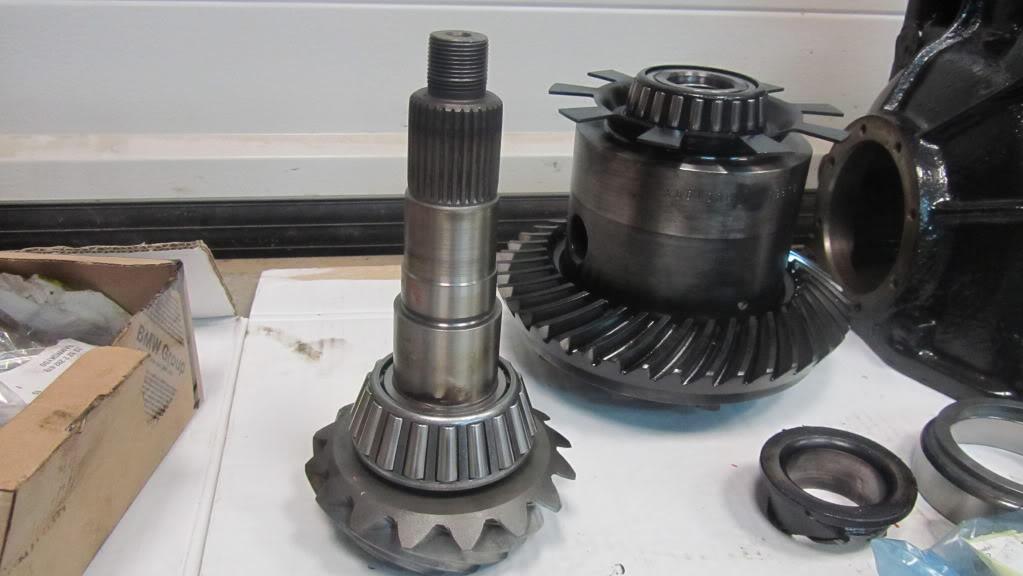
New crimp sleeve, do not re-use old one 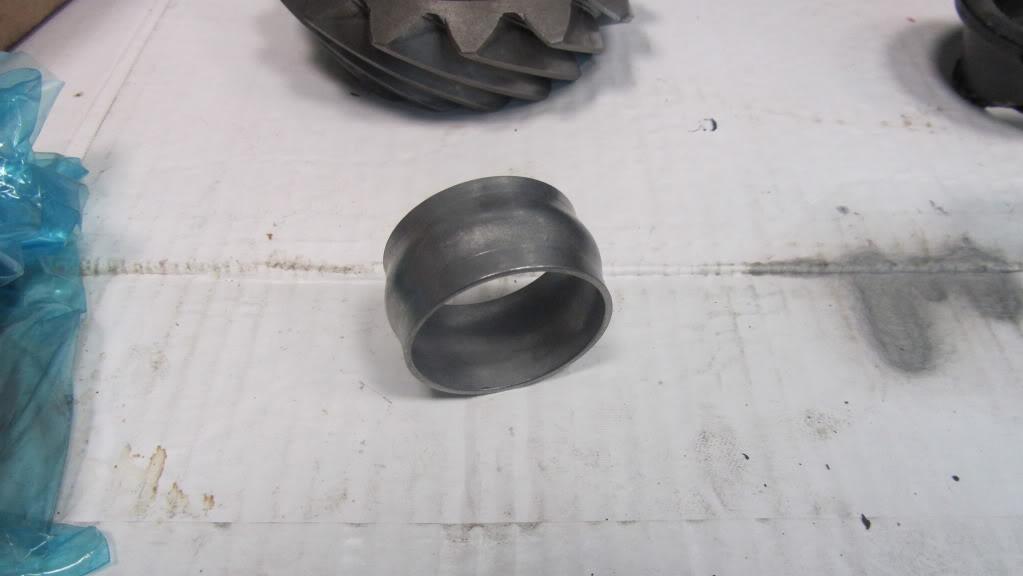
Here is the pinion with the sleeve in position 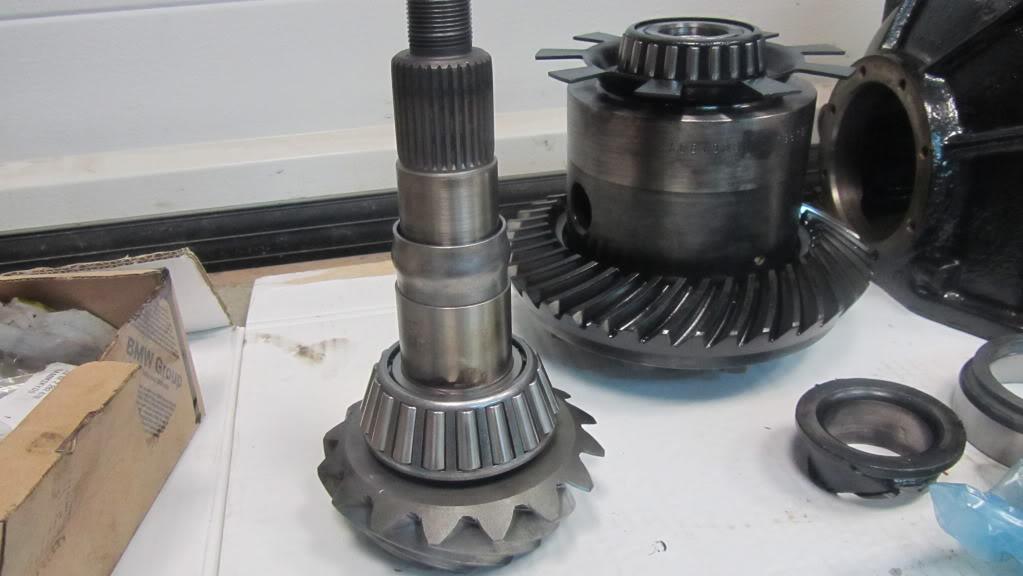
Outer ring for the inner bearing, remember the shims... I used the original one.. 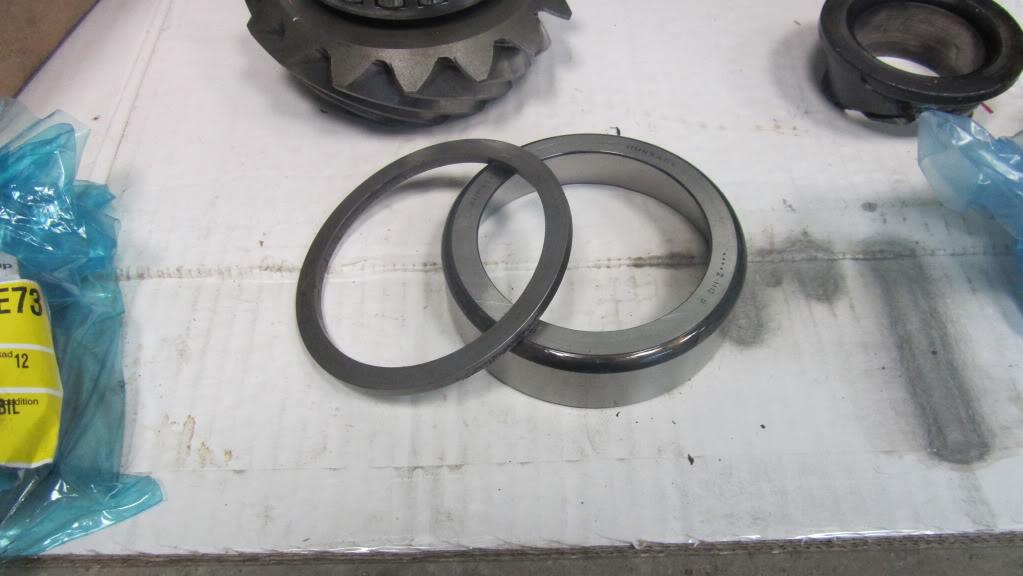
Outer ring for the inner bearing forced into position, afterwards outer bearing in diff casing to pinion outer bearing (not pictured) 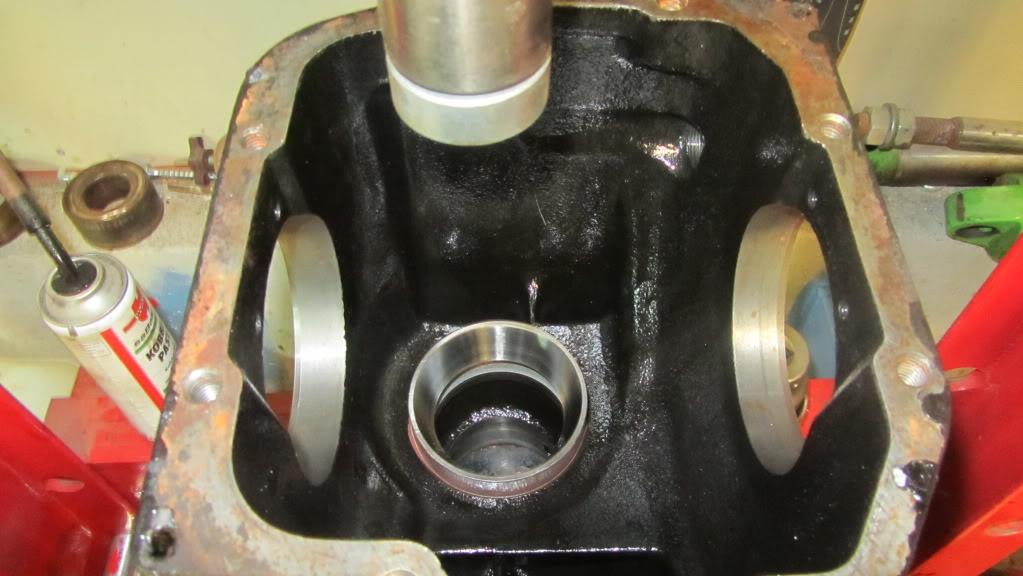
Time to mount the pinion into the diff casing. 
Pinion in position with new bearings... 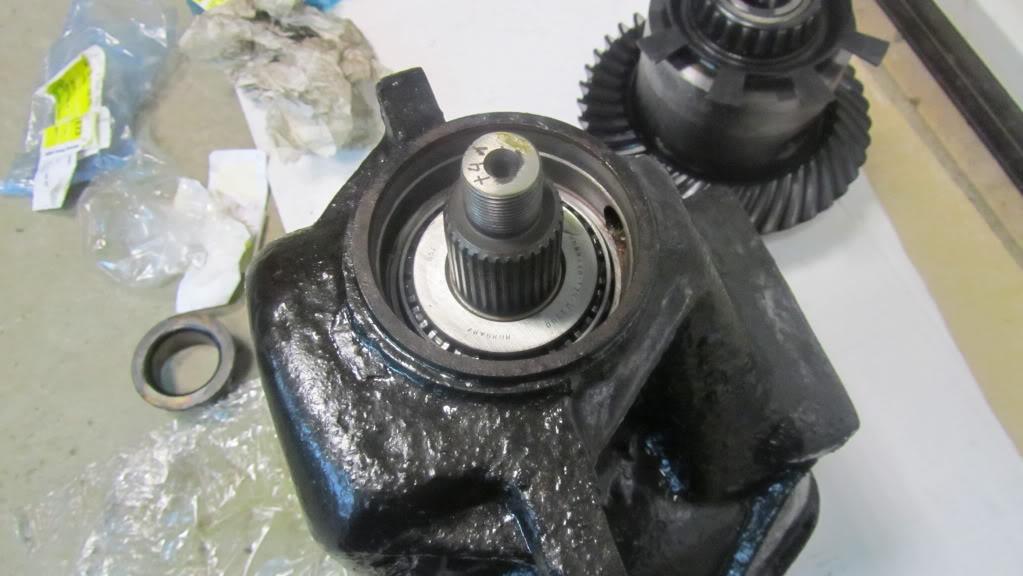
New sealing, remember to oil the sealing.... 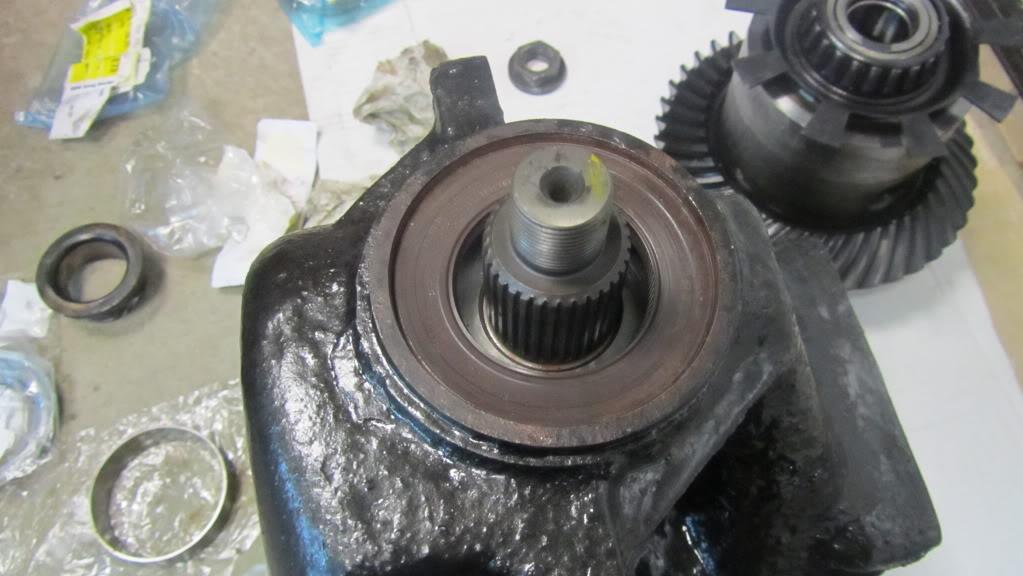
Driveflange in position, with new dust ring. 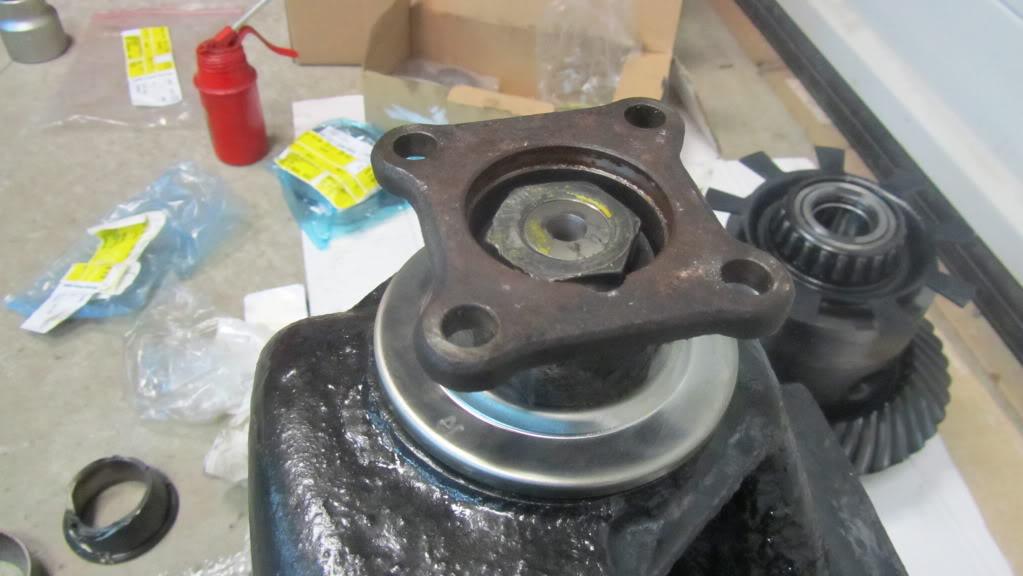
New outer rings in position.. 
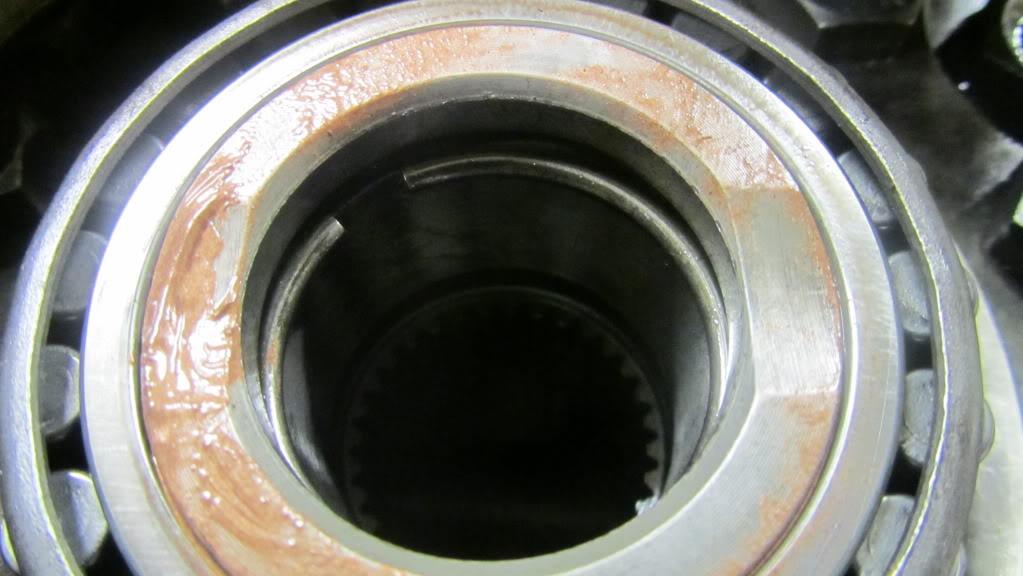
Make sure you do not clog the oil-hole when mounting the simmering.: 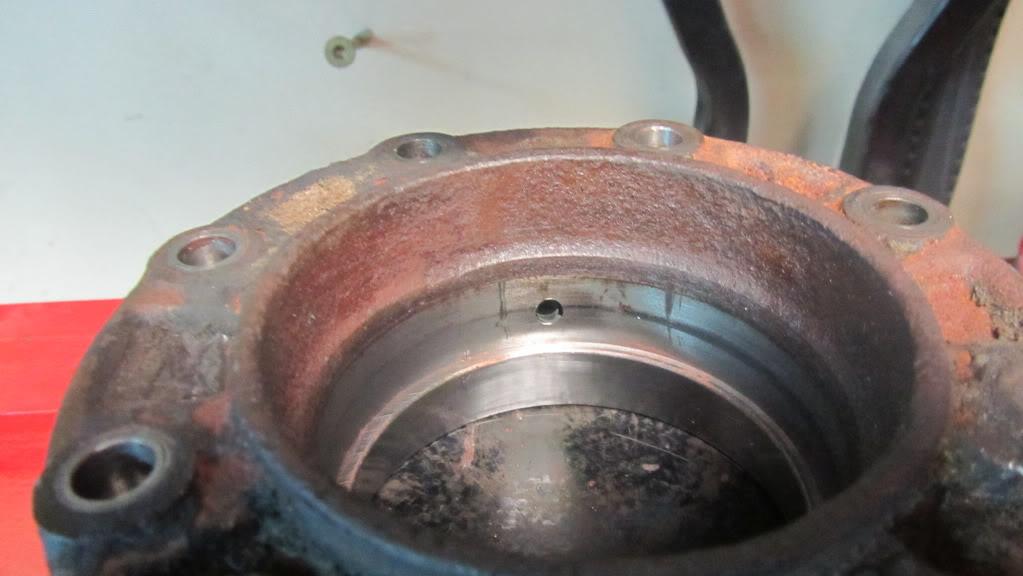
Simmerring in position: 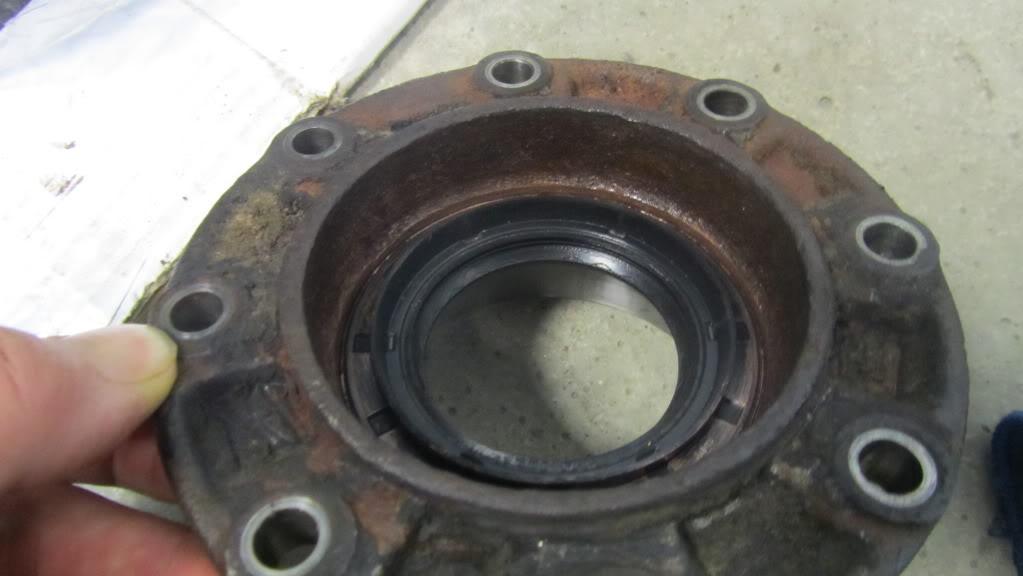
From the backside... 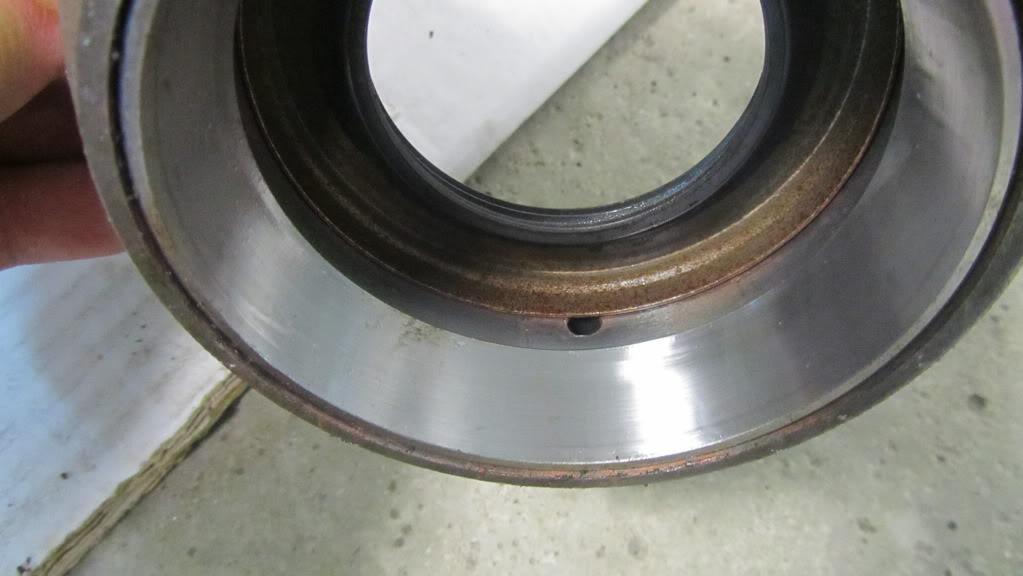
Next step: 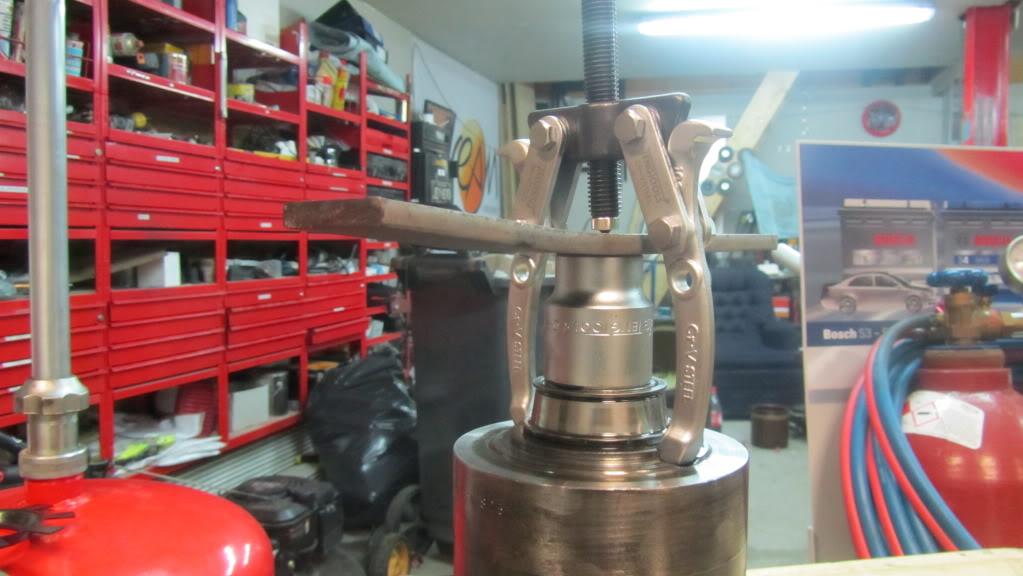
New bearing:. 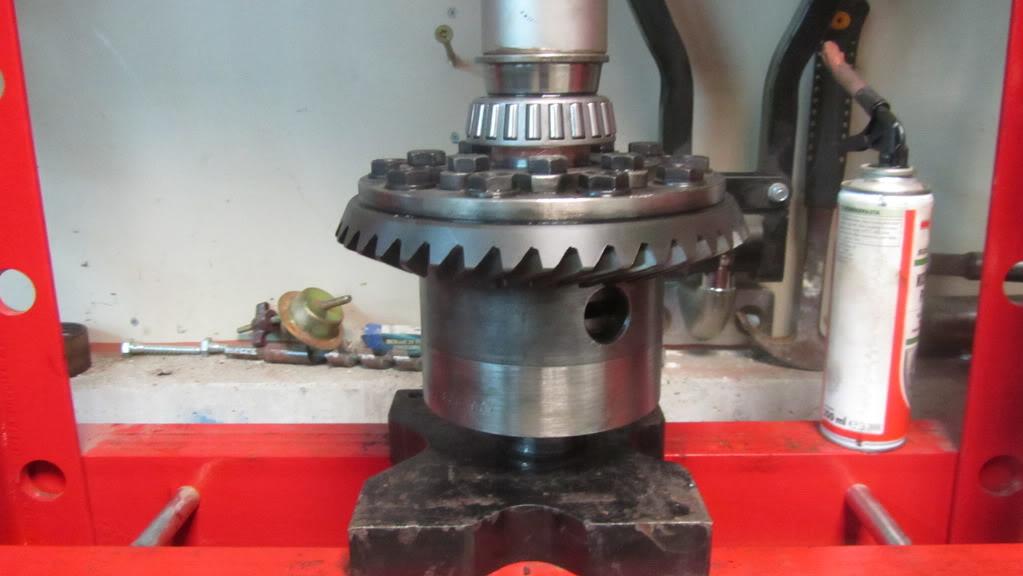
Here I am again, hehe.... 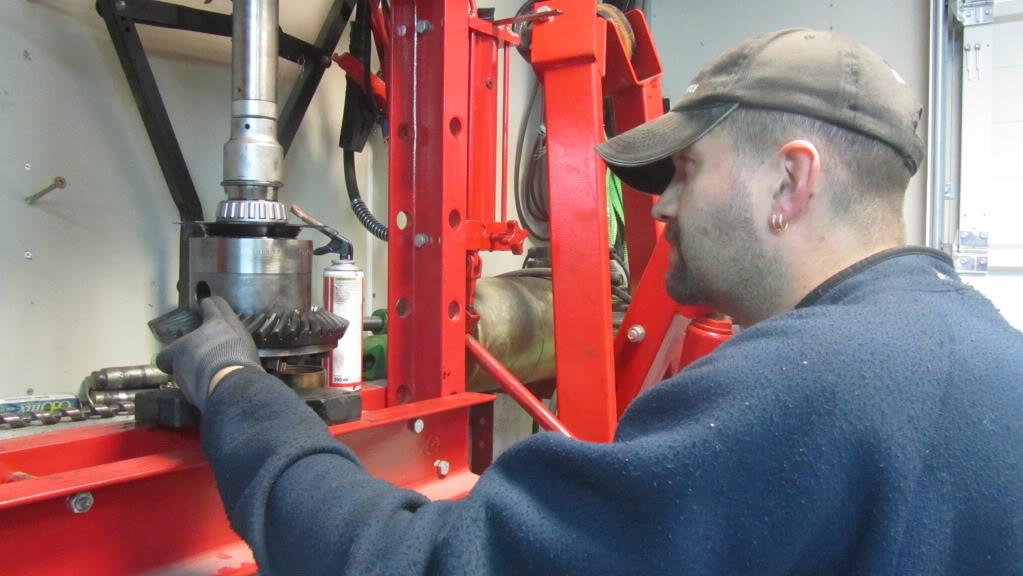
Better photo: 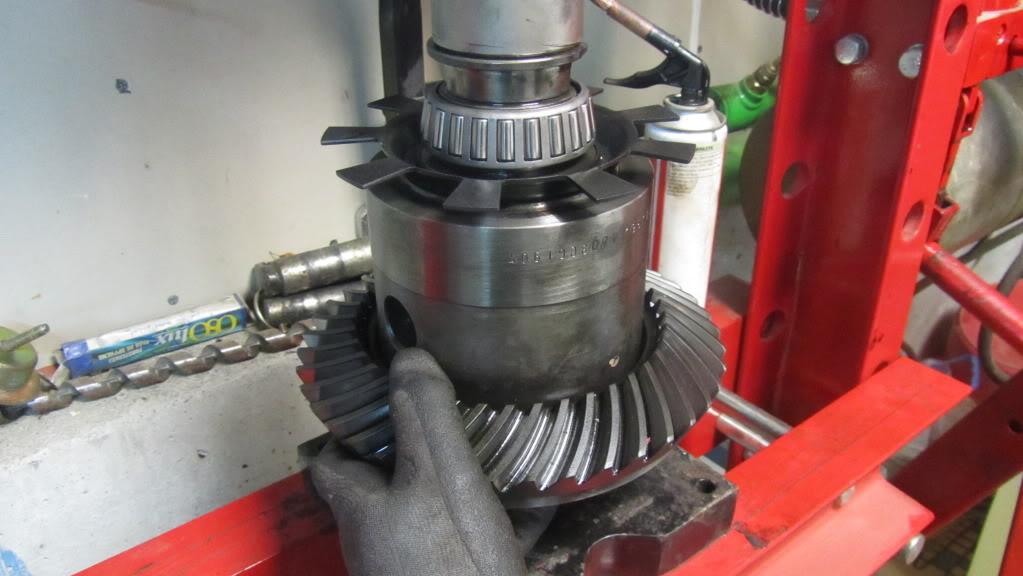
Temporary mounted. 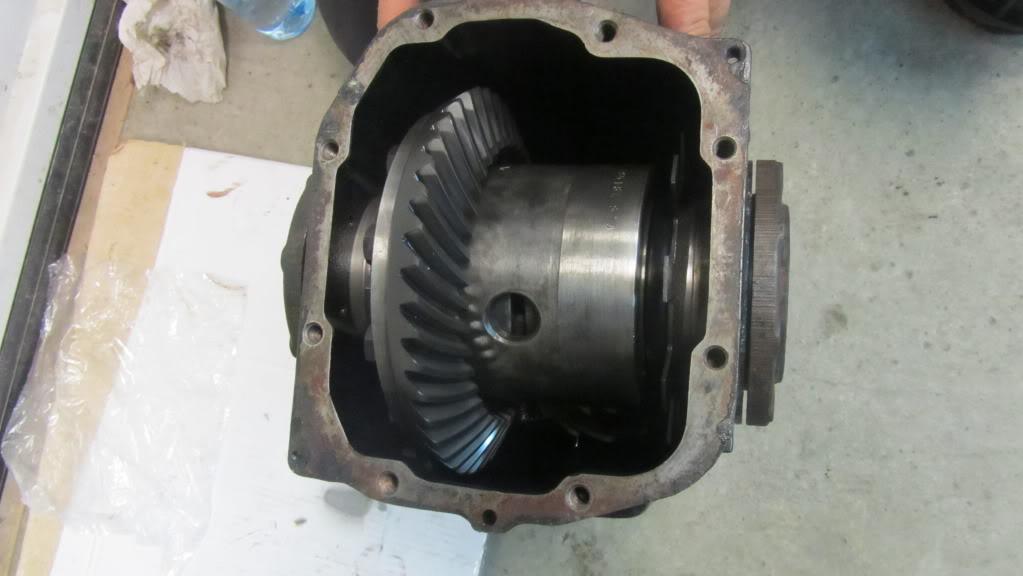
Remember the two clips: 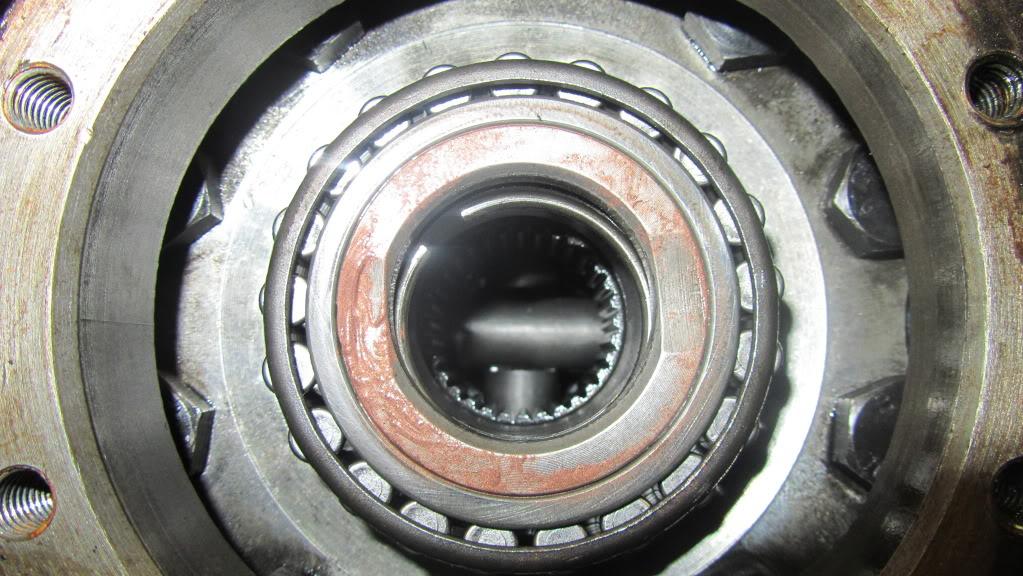
New O-rings 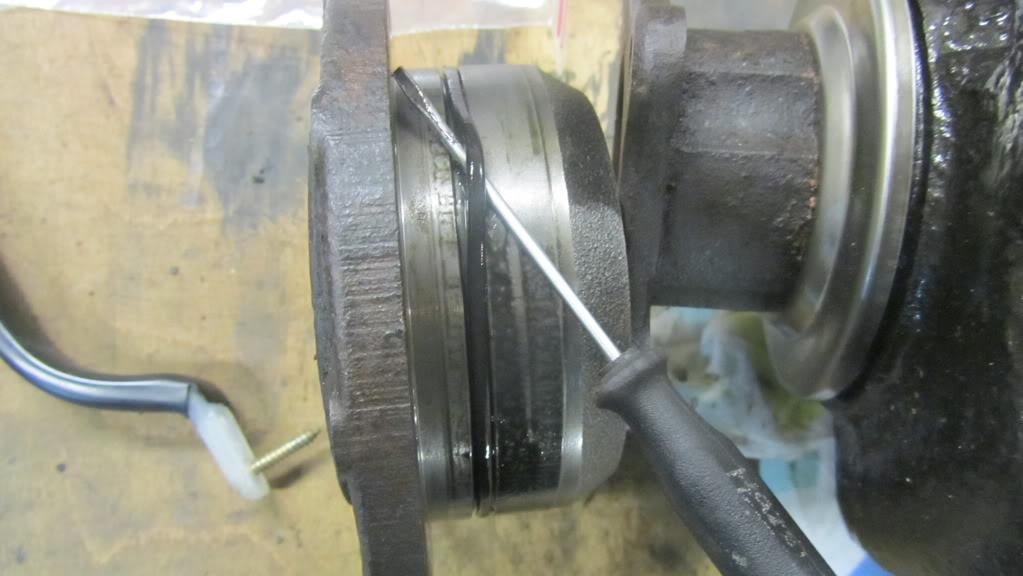
Must also change old dust rings: 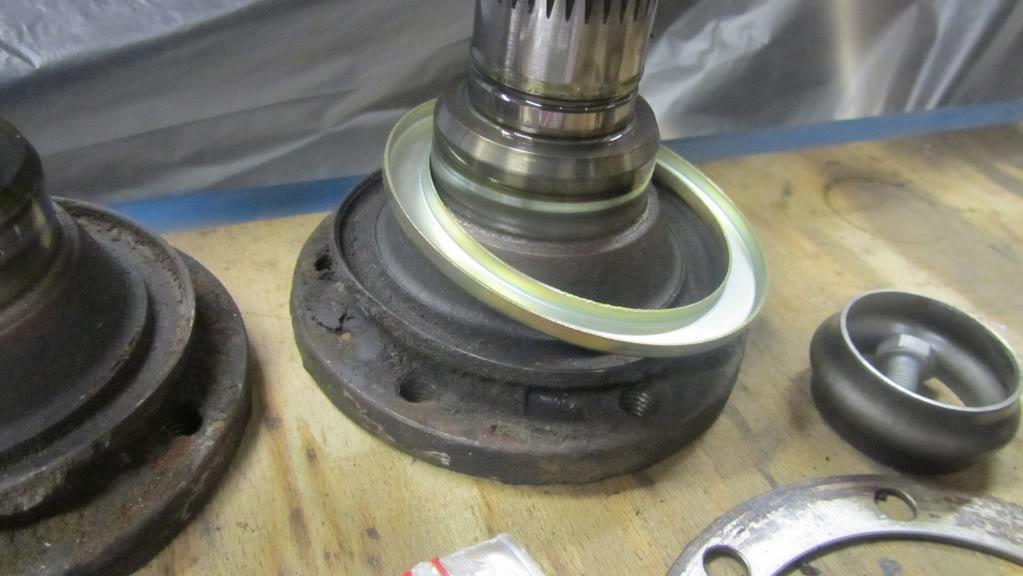
Cleaning and painting: 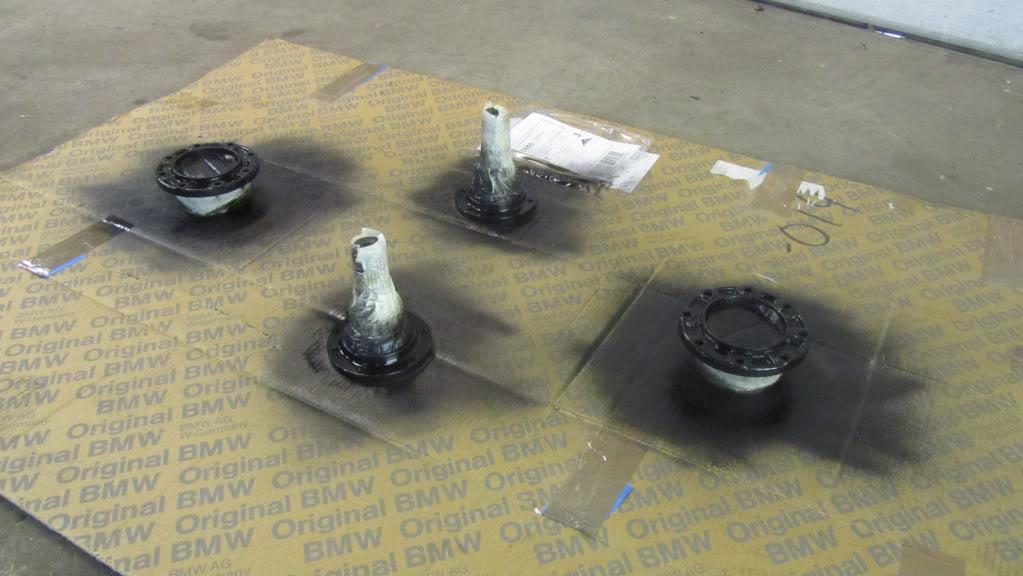
New O-rings. Tak a good look here, se the oil canal, goes direction UP. Also remember the shims here, and lubricate with oil all the way 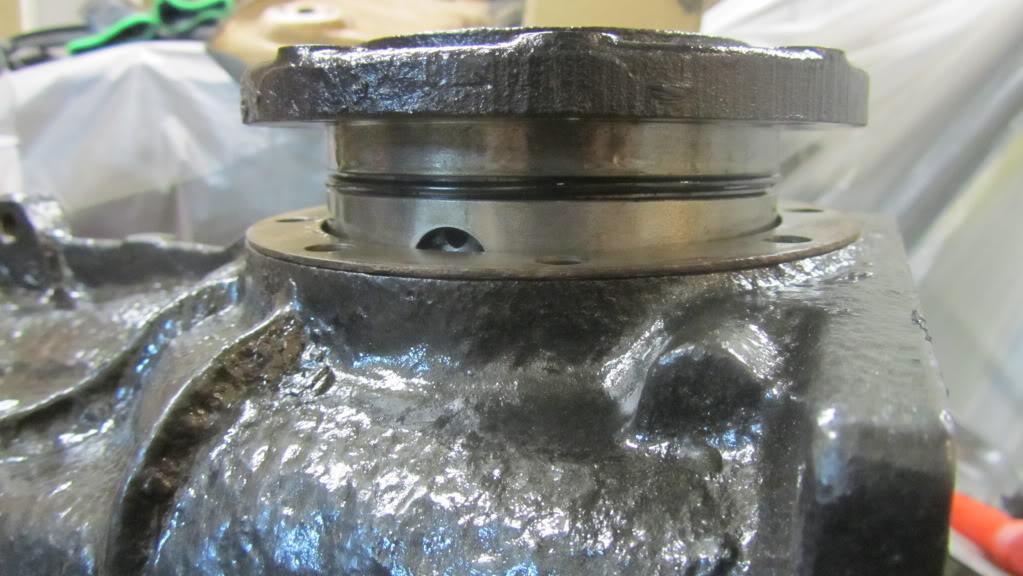
In position, and torqued. 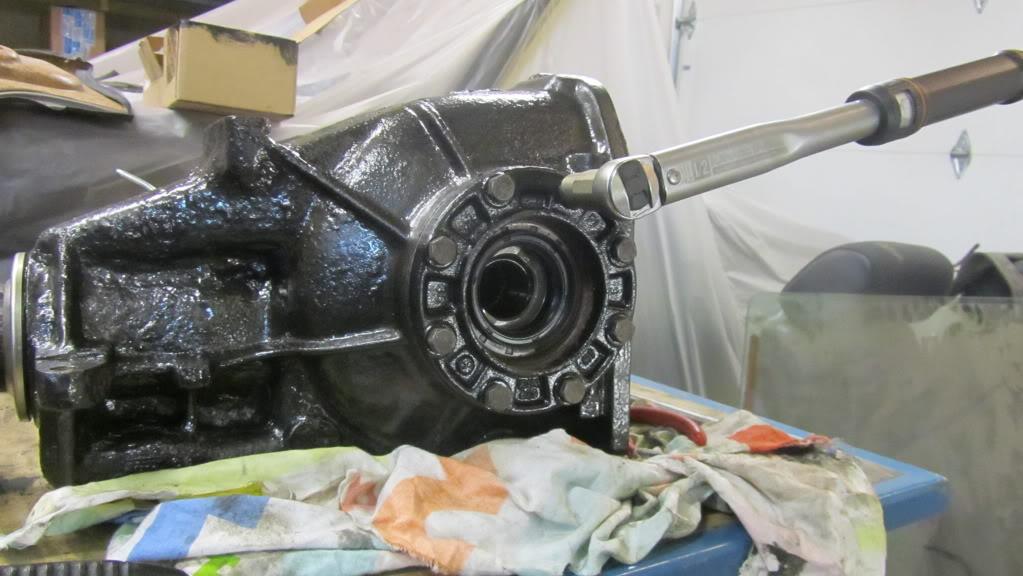
Looking better now? 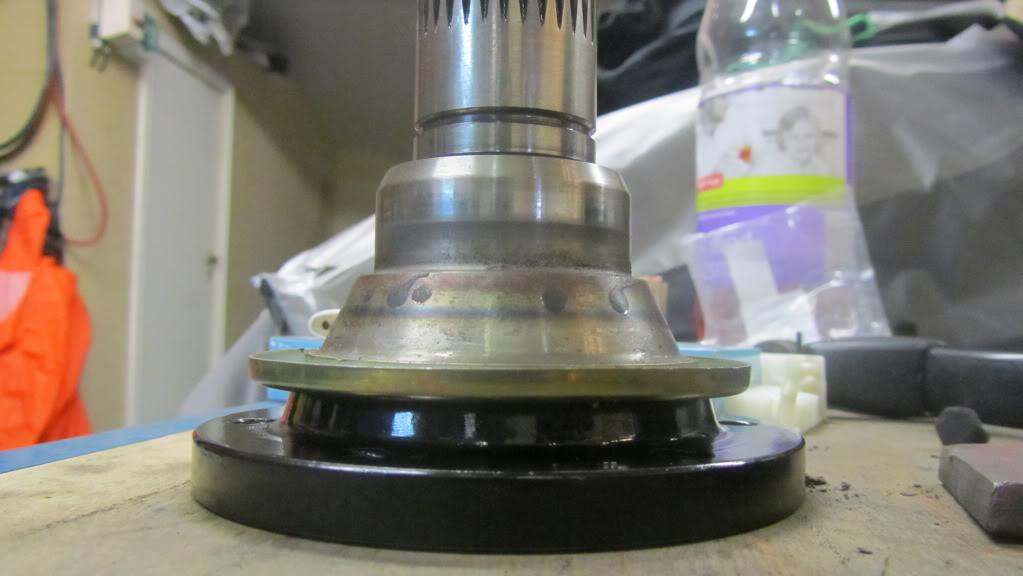
Mount drive flange by hand, not force... 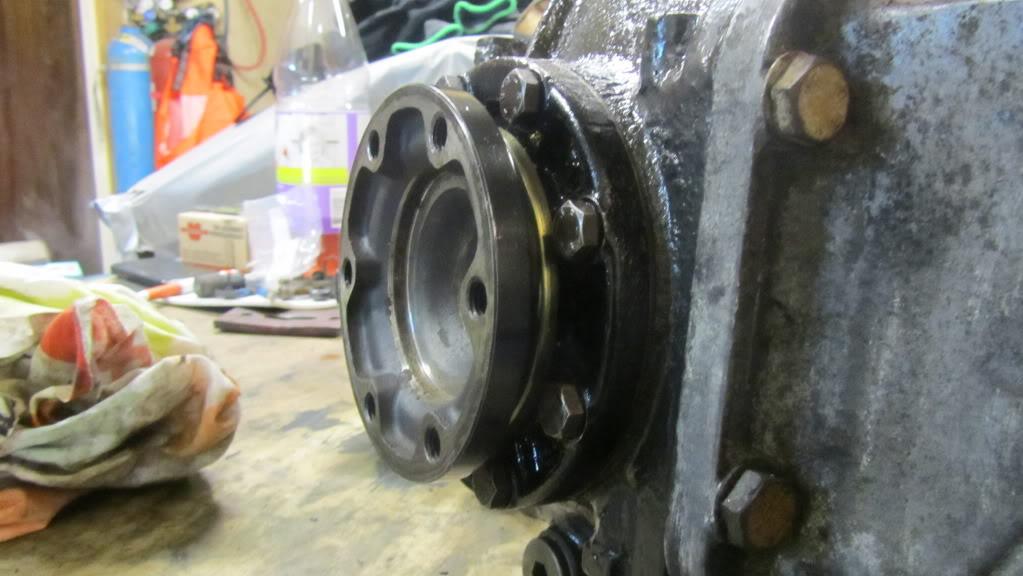
Ofcourse was the Alpina-sensor broken... 
Ready for new (ab)use: 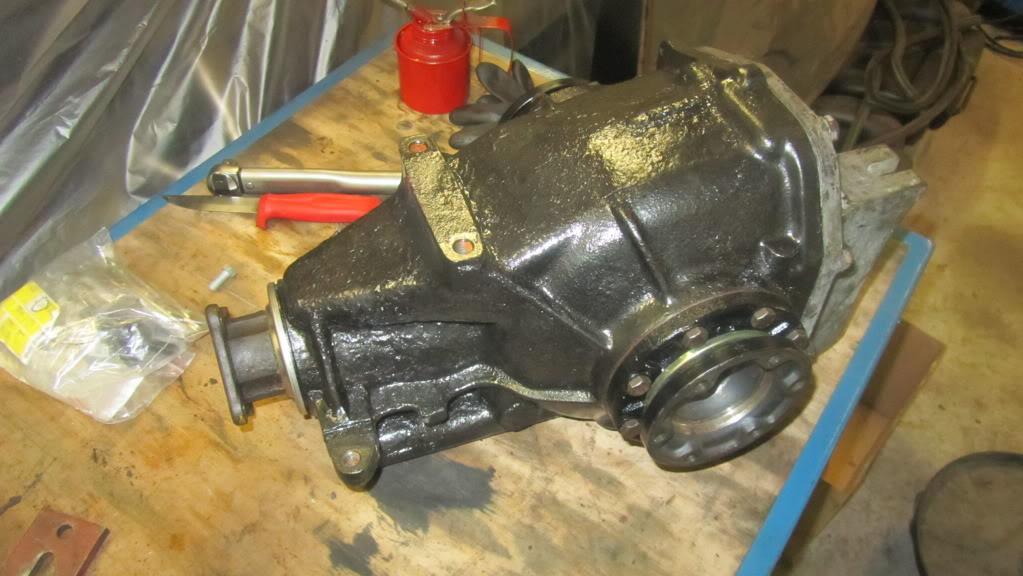
Looks like it belongs to this place... 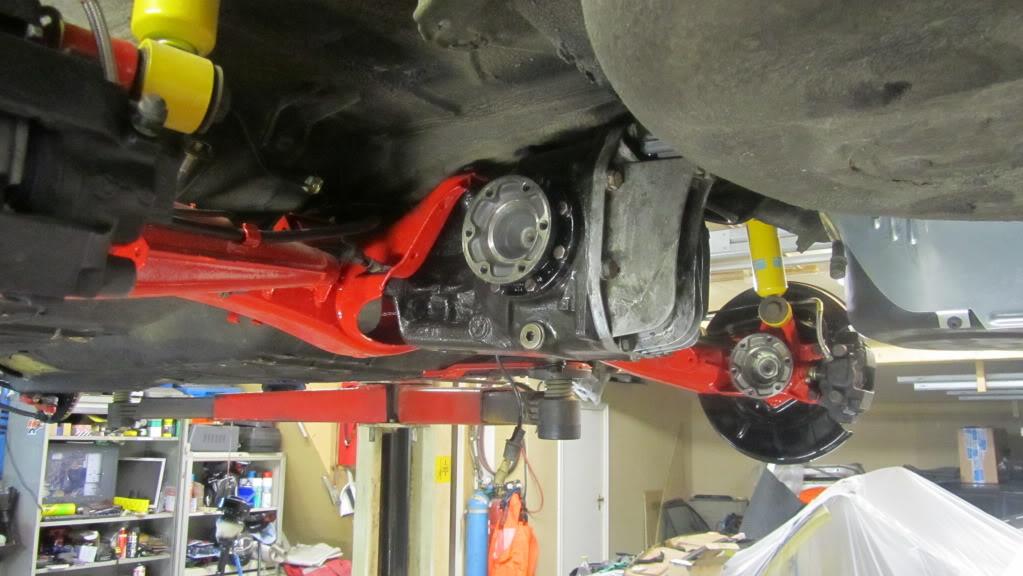
New pic 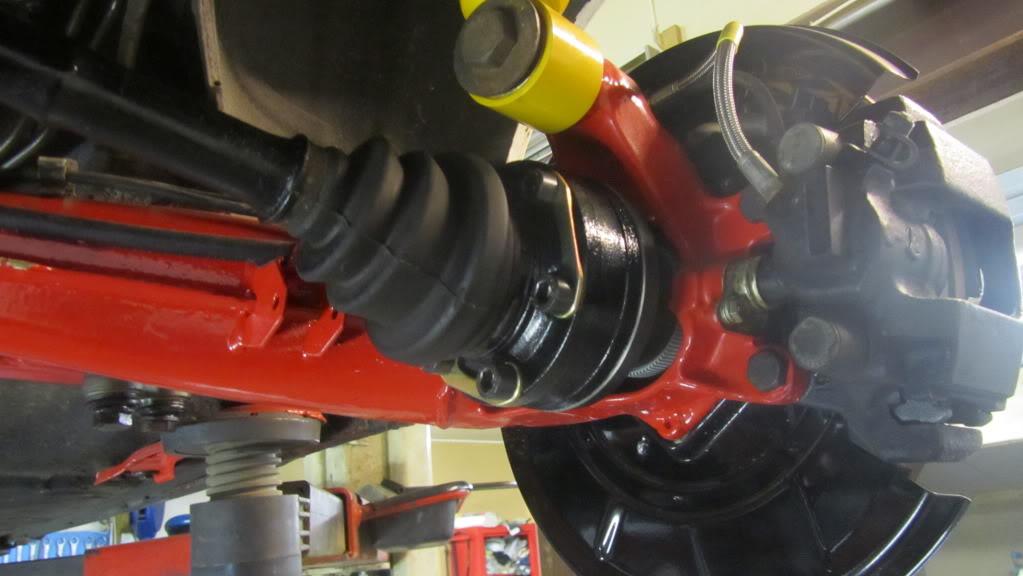
And again... 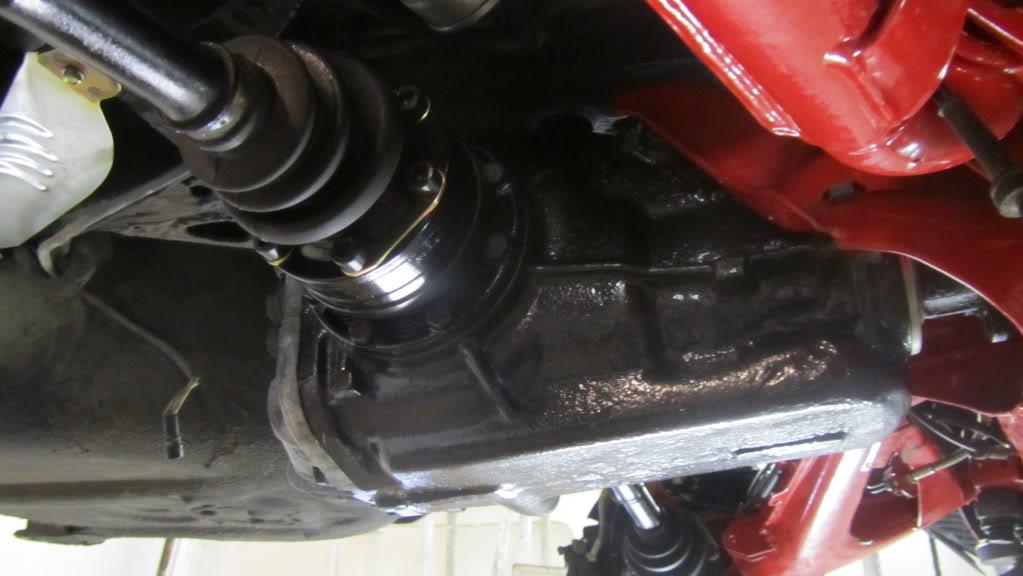
I am almost happy now, will paint the diff cover later... 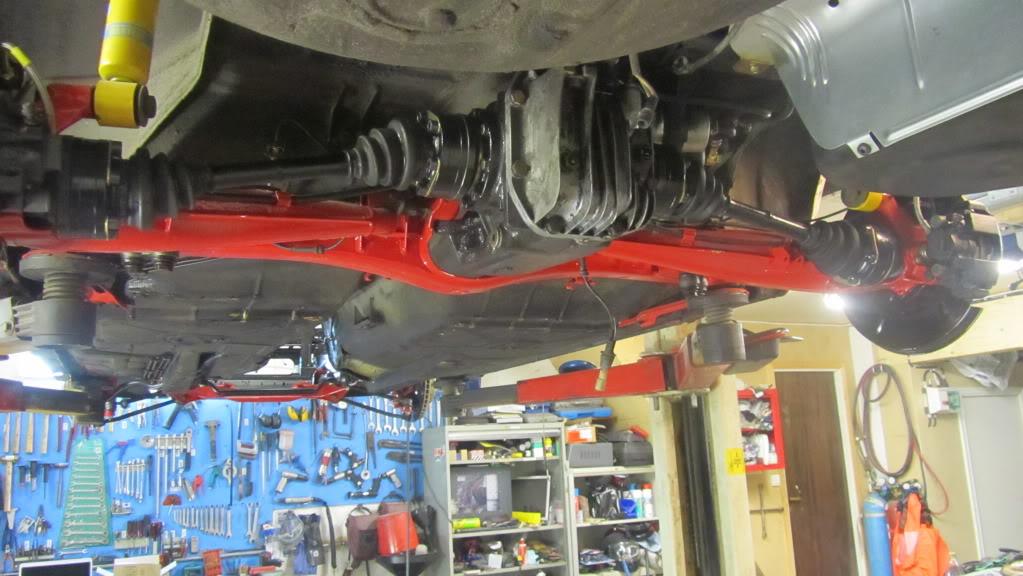
Love the Bimmers!
Posted by Diggymart on 1/26/20 @ 11:36:41 PM