You must be logged in to rate content!
10 minute(s) of a 81 minute read
4-19-2015
Dead part II. It seems like I only update this when the car dies, but I do like this car a lot. This time it started driving oddly. It felt like it wasn't responding to my pedal inputs, I could still sort-of get around, but it didn't feel like going over 2000 RPM too often and didn't react to anything over part throttle. The check engine light appeared as well as the EML light. The engine was running ok, not misfiring, just not responding to my foot's commands. It needed a new throttle position sensor which is integrated into the throttle body. There is a cable going to the throttle body, two potentiometers read the angle and help adjust the throttle valve. One or both of those were going bad. New throttle bodies are over $600, thankfully I know a guy parting out an E39 and I got one from him for $50.
This wasn't too much work, less than an hour. Remove all the intake stuff
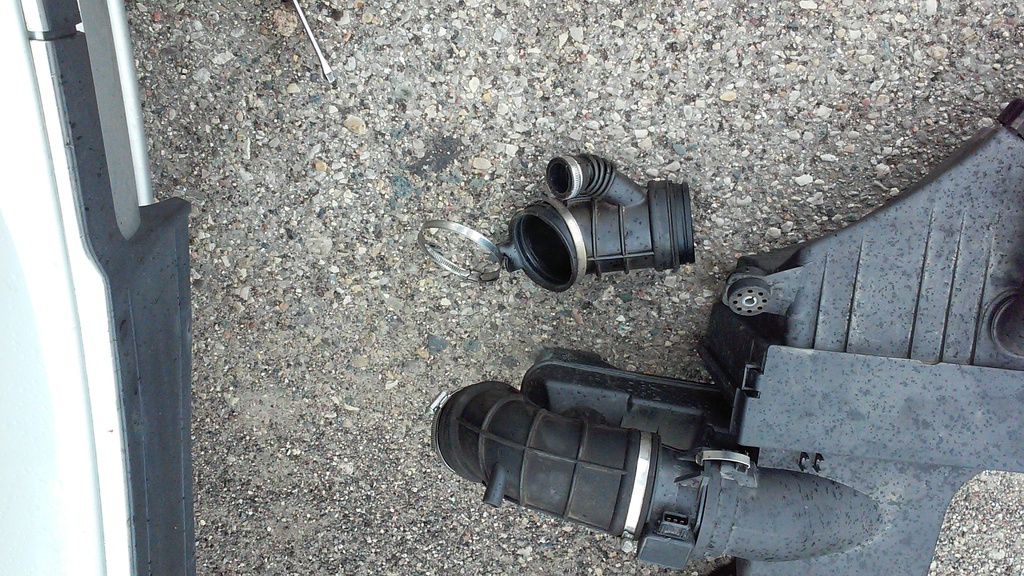
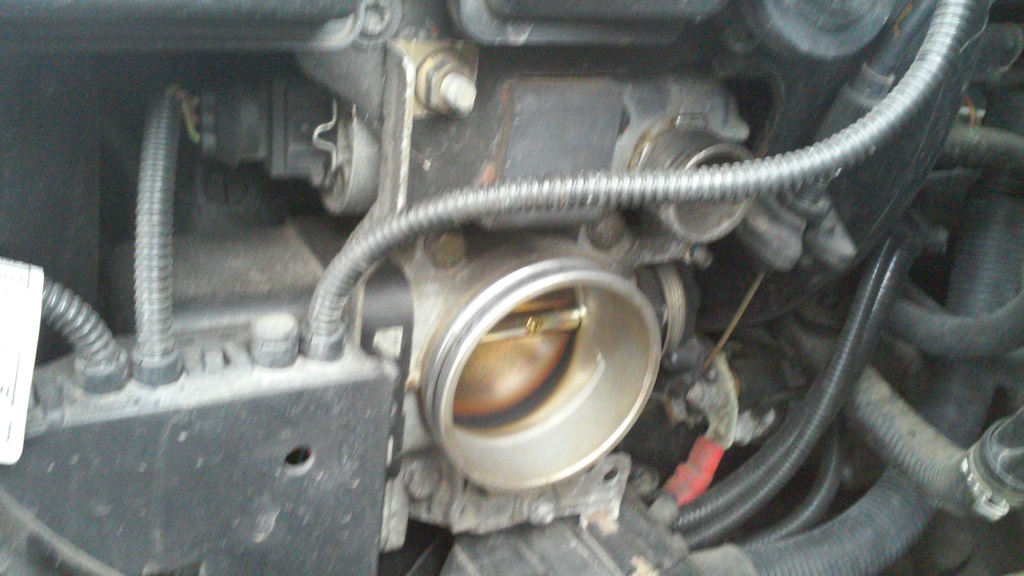
Remove the four bolts holding the throttle body, as well as the cable and harness plug.
Old vs less old
Buttoned back up the car was as good as new. Unfortunately the past few updates were negative situations like being stranded or malfunctioning engines. Besides these two incidents the car has been running great, I've added over 10k miles so far and its a joy to drive. I'll have some more positive/fun posts coming up.
6/18/2015
Quite a few things have happened over the past few months, some fun, some sh!tty.
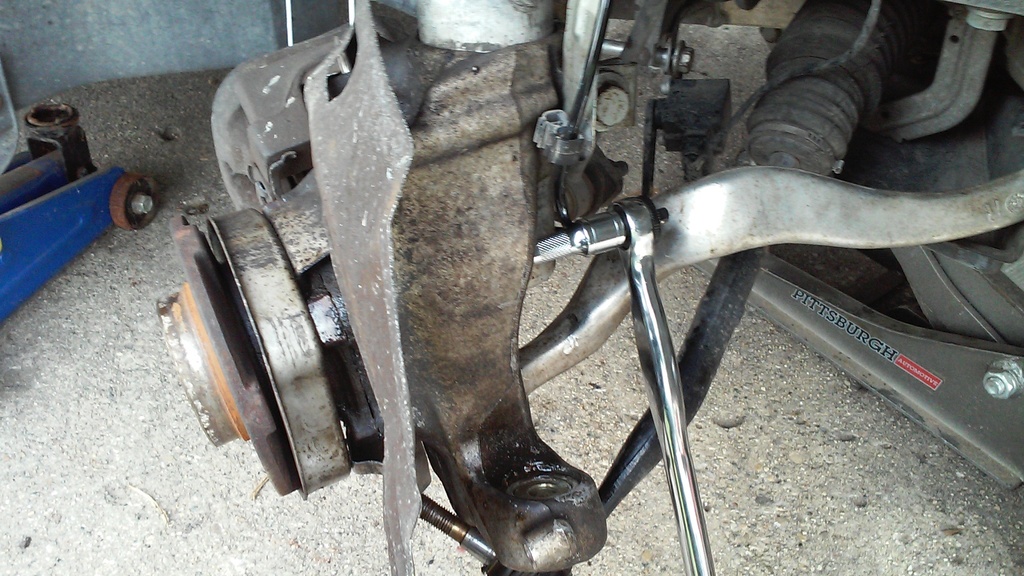
The wheel bearings have been making noise for a while. Kind-of a rumbley tone as you slow down to a stop. I picked up some new hub assemblies to make the process easier and get more shiney bits on the car.
It was only somewhat of a PITA. You have to slide the knuckle down a few inches off the strut to access one of the four bolts holding the hub. The hex on the tie rod end was stripped out and the bolt stuck so I had to use a bolt splitter to take it off. Found out when I did the other side that I didn't even have to take off the tie rod to lower the knuckle sufficiently even though the internet said I did. A lot of swearing and a bike ride to the hardware store for nothing.

Purdy
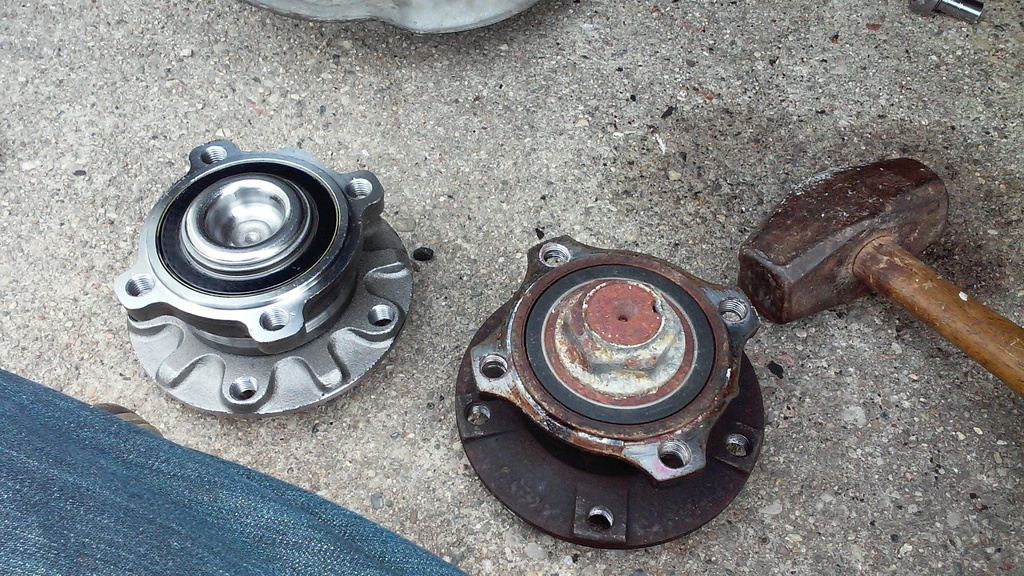
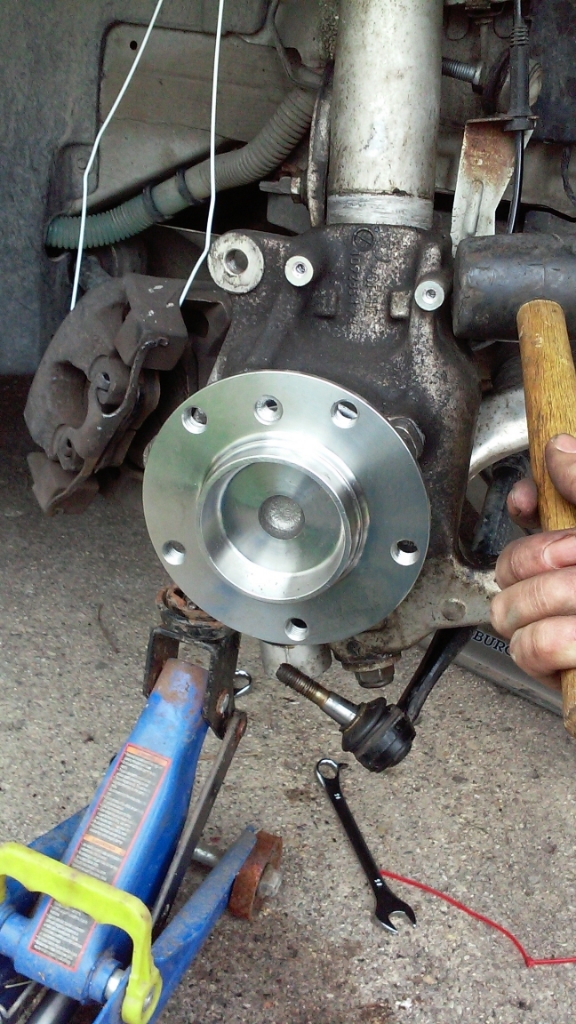
Viola, no more bearing noise. I bought ones for the rears as well but haven't had time to do them.
The ignition issue turned into a greek tragedy. I had been starting my car with a screwdriver the past several weeks which is amusing but gets old fast. Having ruled out the ignition switch I went to the dealer to order a new key tumbler as I described in my last post.
Before I put everything together with the new tumbler I thought "hey, if I spent 5 more minutes diagnosing this last time I could've avoided buying the switch, maybe I should try that again this time". I tried turning the ignition shaft manually with the screwdriver from the tumbler side and lo and behold, the switch side didn't turn. It wasn't the tumbler after all!

This can't be good.
F
So both the switch and tumbler were unnecessary purchases because I was in too much of a hurry to go a couple steps further. Lesson learned.
Unfortunately you can't really buy this shaft alone, you need to spend $170 on the whole ignition housing to get this one crappy part. I found one for sale on Ebay but it wasn't quite the right size. Checking the trusty Craigslist I found a whole steering column for just $50!
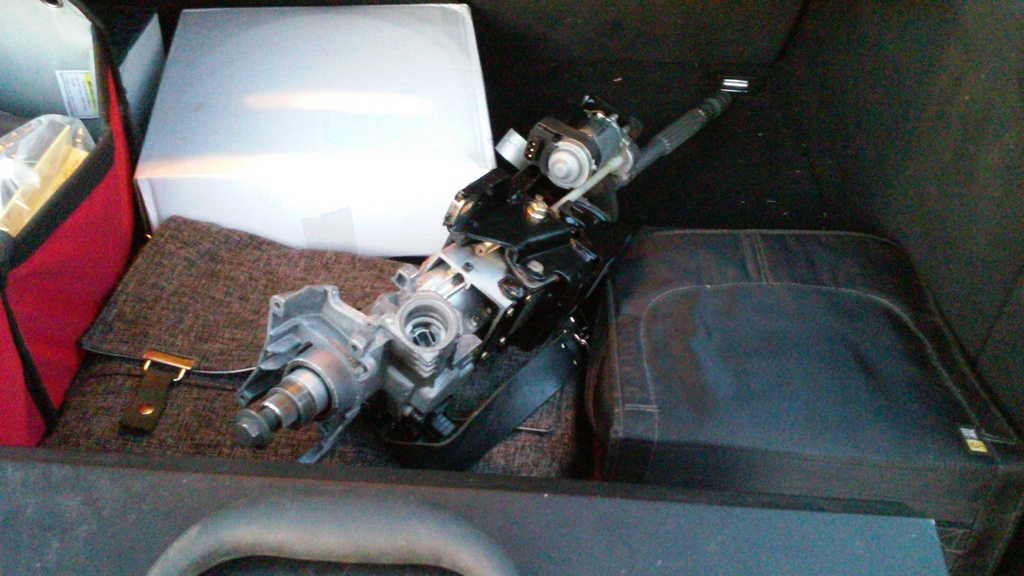
I was saved or so I thought. This had the correct shaft but my problems were just starting.
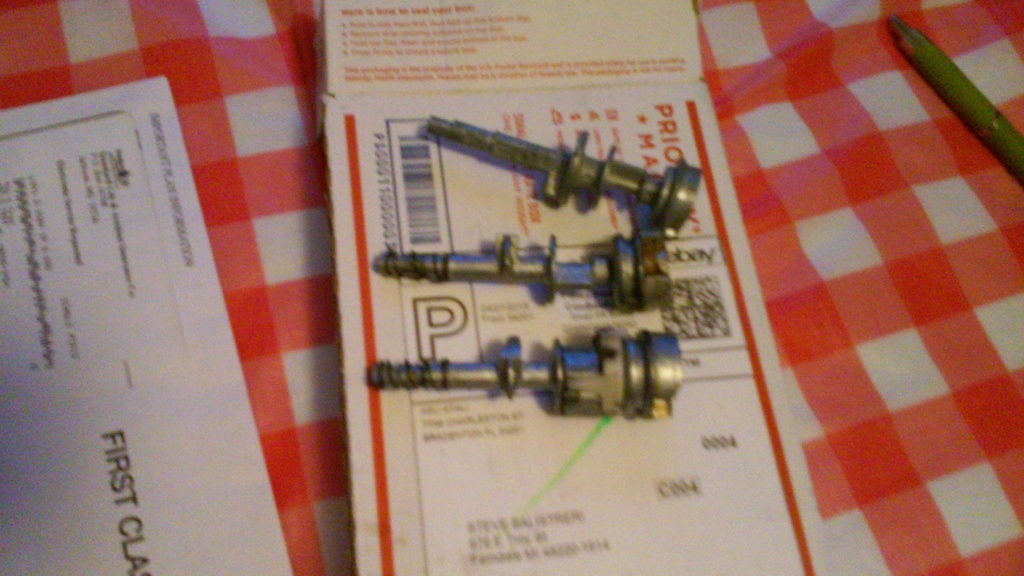
The broken shaft, wrong ebay shaft, and the correct shaft.
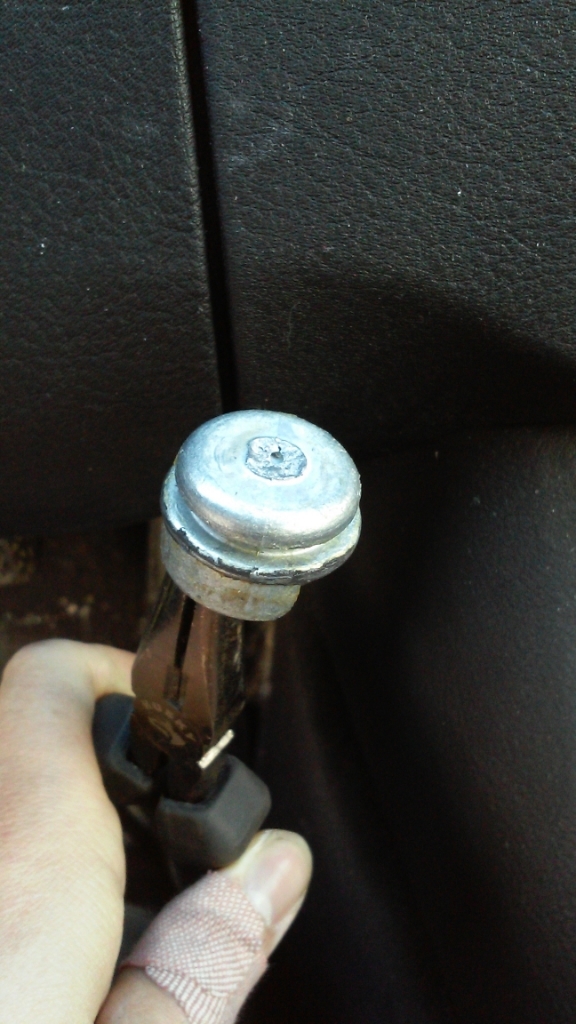
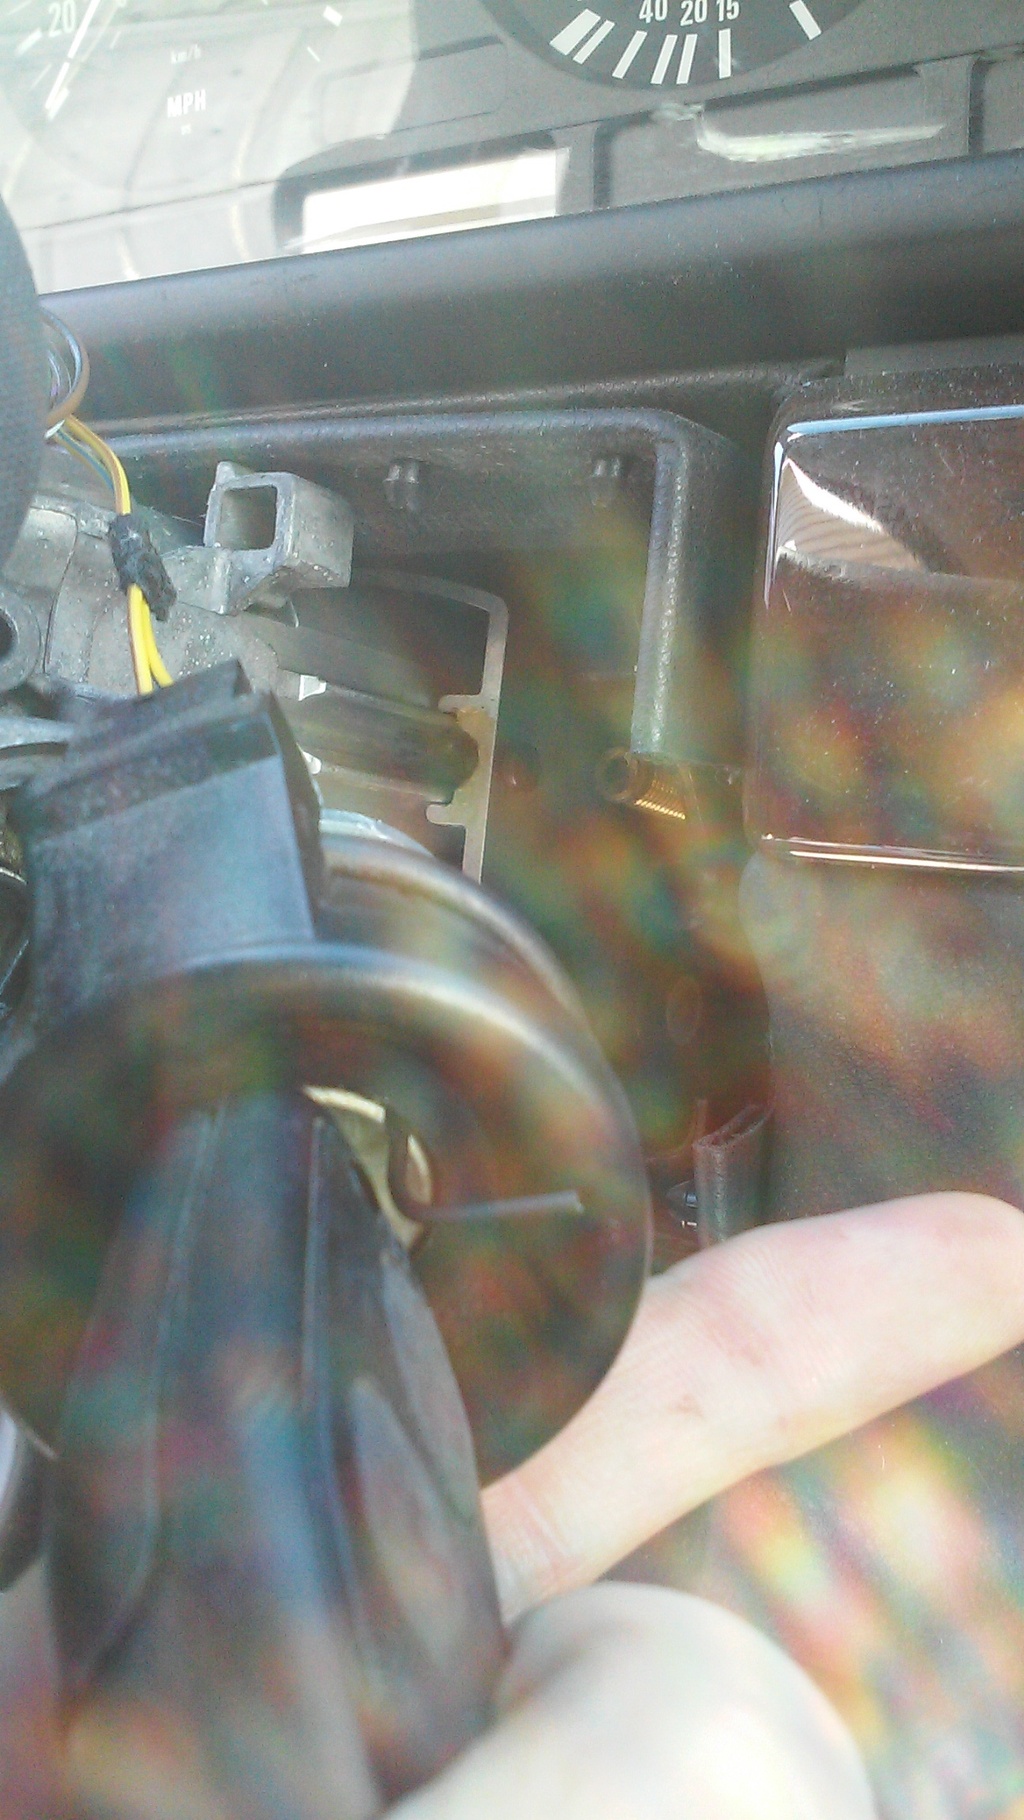
I had the right parts, sunny days ahead. I inserted the shaft into the housing, put in the plastic retaining ring and snapped the key tumbler in. I started to put the switch on and noticed the shaft had rotated to the wrong position. No problem. I inserted the key to turn it and it didn't work. What the hell? I knew the tumbler worked with my key. I tried rotating it from the other side, still no dice. The cams on the shaft were hitting something stopping it from turning. OK, try removing the tumbler and re-positioning it. You remove the tumbler by inserting a small allen or paperclip into a hole, rotate the key slightly to line the allen up with an internal hole, then push it in which pulls the retaining clip into the tumbler body like you can see in the photo below.
Unfortunately for me, I couldn't turn the key enough to line up the holes to remove the tumbler. The shaft was stuck in the wrong position and there was no way for me to take the tumbler and shaft out. The assembly was basically mechanically frozen. Awesome.
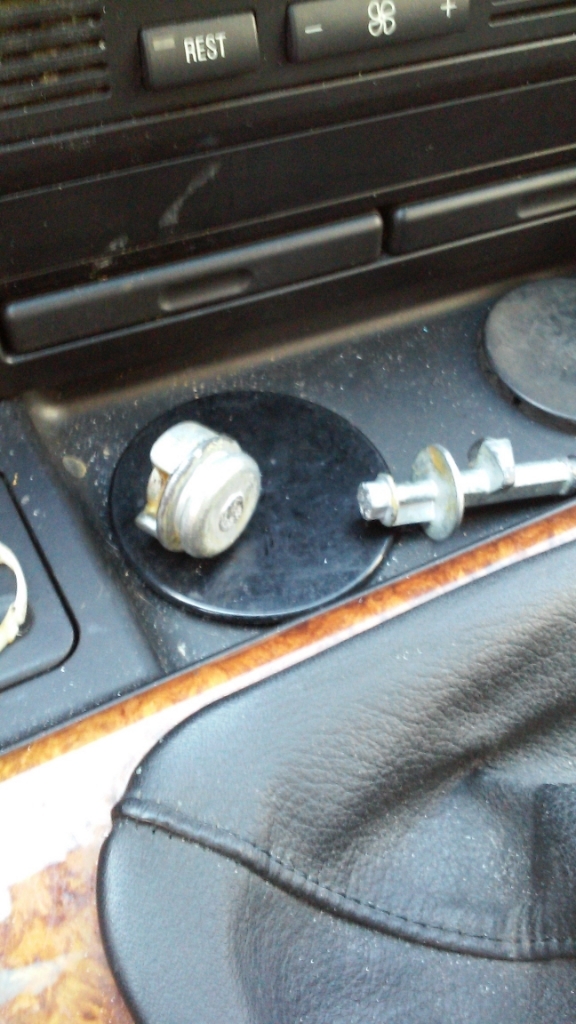
I had a whole column sitting there so I looked it over to see what I could do. I figured out that I could drill a hole in the top of the housing and push the tumbler retaining clip in from there. I broke out the drill and started drilling into my steering column. Thankfully my neighbors have gotten used to scenes like these. After a few false starts I was able to push the clip in and pull out the tumbler, success!

This time I assembled from the switch outward, making sure everything worked each step of the way. Everything is together and works, and it no longer looks like I'm stealing my own car.
Now for some fun stuff.
It is a real credit to the designers that the M5 front bumper is the only acceptable visual upgrade to the front of the E39. Any attempt at an alternative bumper design or body-kit looks like an abomination. The non M bumper is a little sad looking so I decided to replace it.
Like the headlights, if I went the OEM route I'd spend almost half of what I paid for the car to do the full M conversion. Since this is a cheap daily driver/winter beater I'd be foolish to spend that much money that I don't have. Aftermarket ones go for under $300 and look quite good so I went that route.
There are some bolts and clips that hold the old bumper on. Not hard to remove.
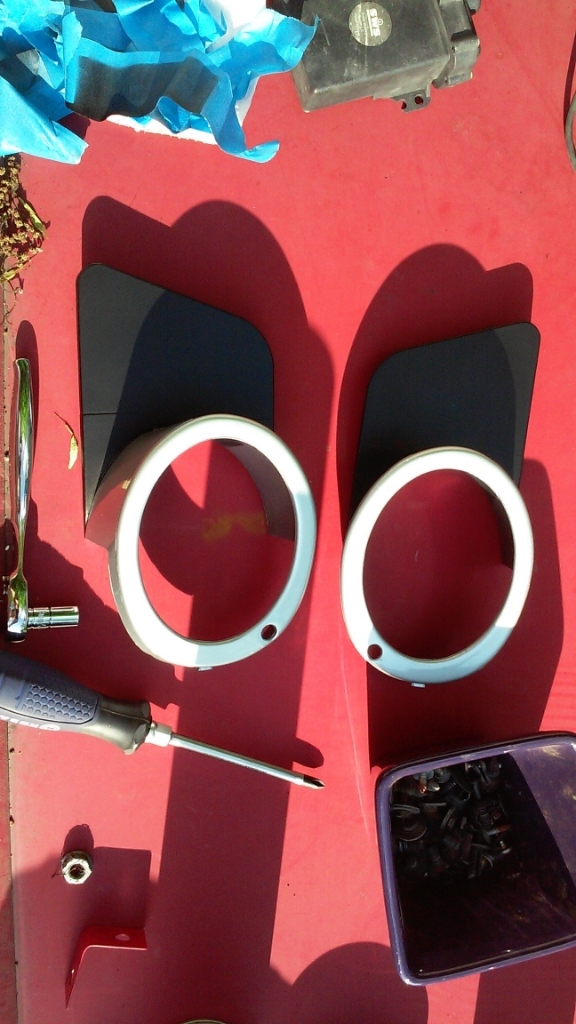
Since this is a cheap bumper the side vents/foglight holders have silver inserts which would've looked dumb. I painted them black.
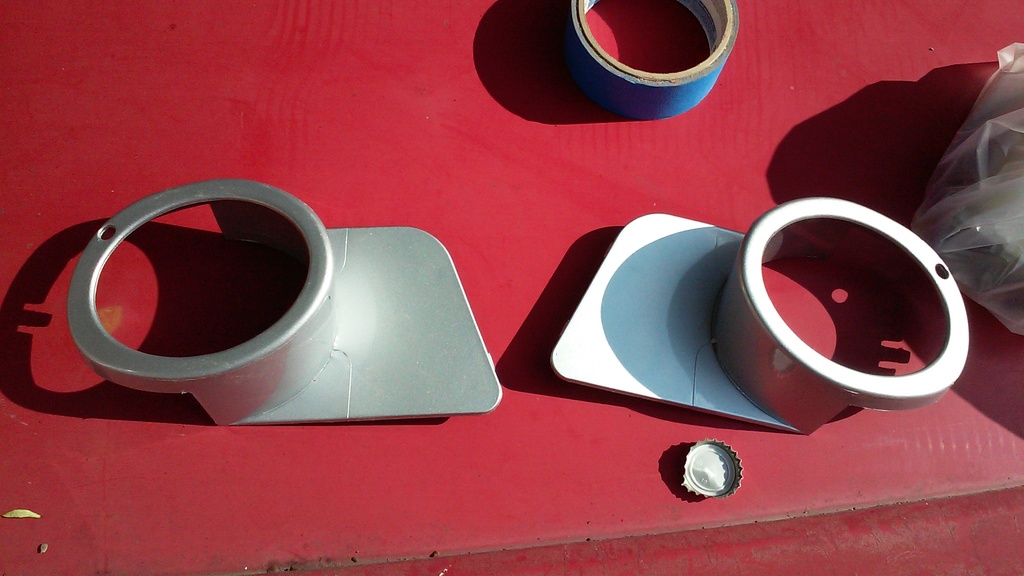
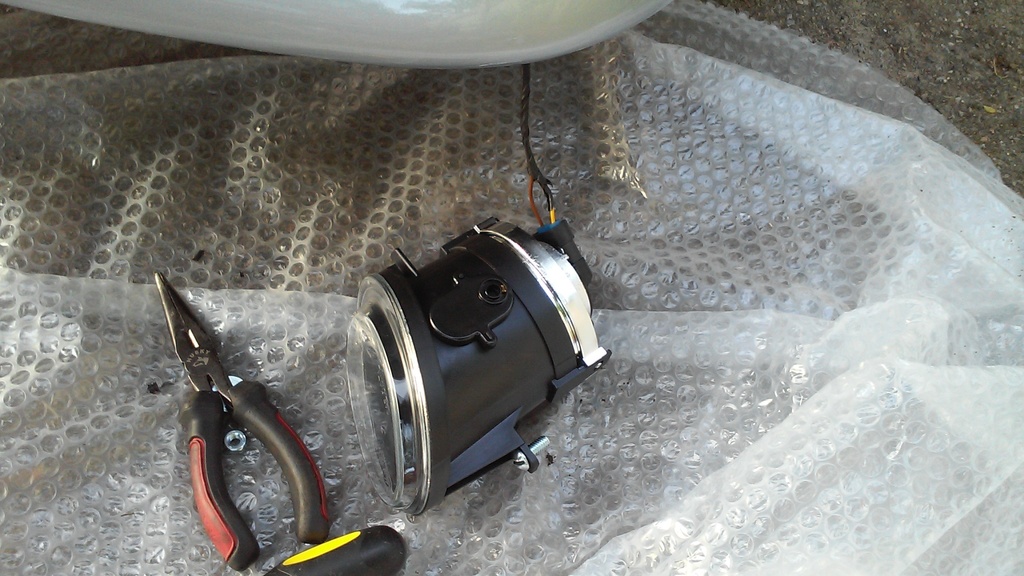
There is a rubber seal you transfer from the old bumper that runs along the entire length of the top of the bumper. The clearance between the headlights and the bumper bar is tight so this seal always gets stuck when adjusting the bumper. It is much easier to remove the headlights and position it without having to constantly re-affix the seal.
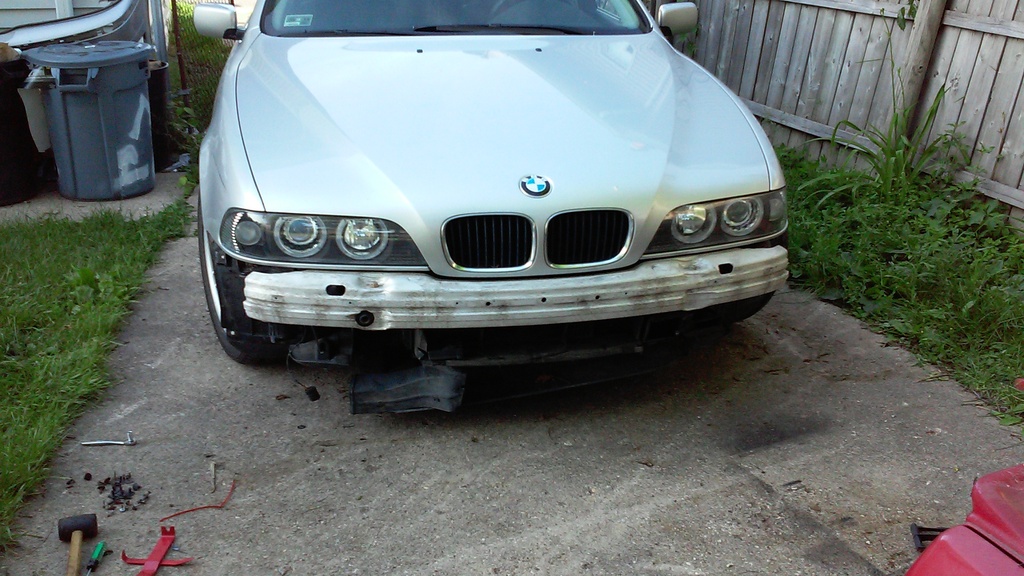
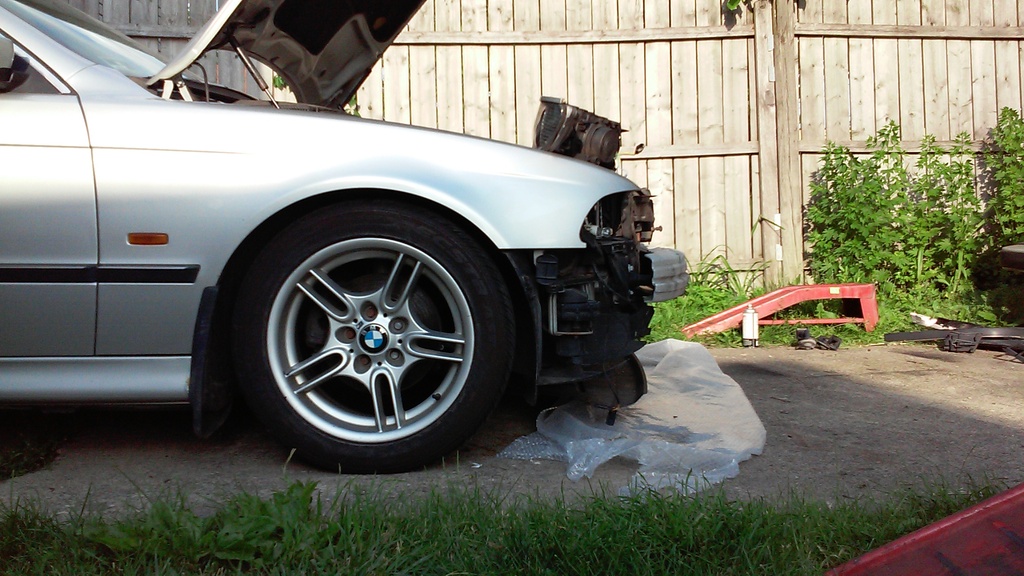
It looks kind of madmaxish like this.
There is also needed trimming needed of the radiator shroud which sticks too far forward.
Another problem with cheap parts is the foglights don't work with the plugs from the car. I had to cut off the old ones and make new ones to fit. You also need to buy new plastic rivets (or christmas trees as they call them in the industry) as the bumper doesn't come with them. 
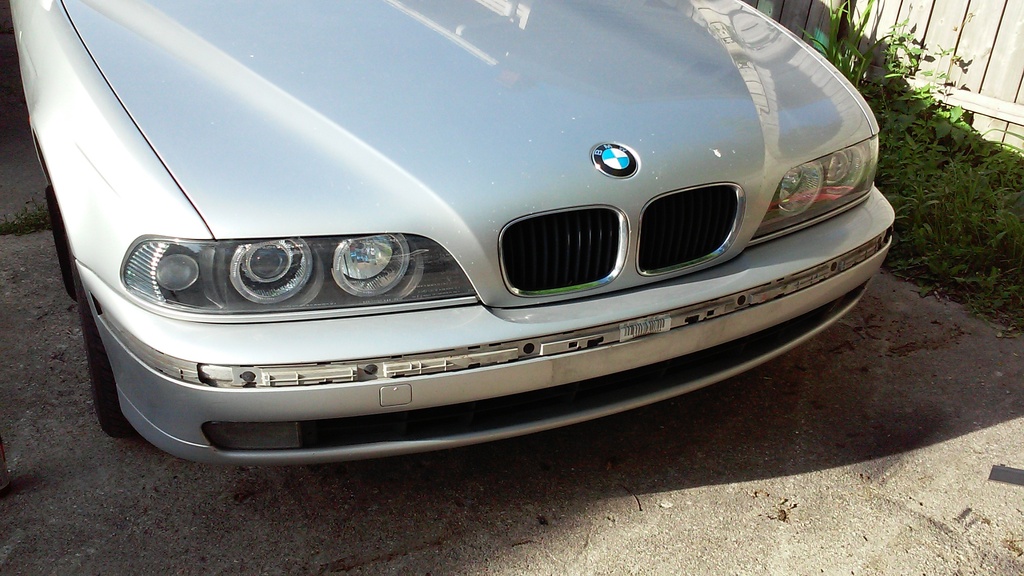
BAM! Check out the finished product. It looks 100x better than it used to.
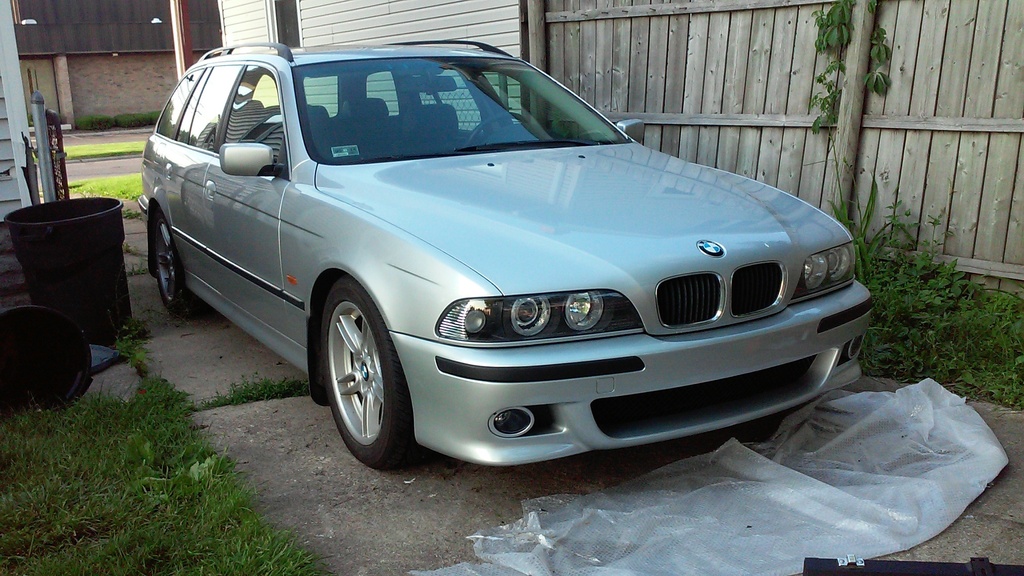
Old
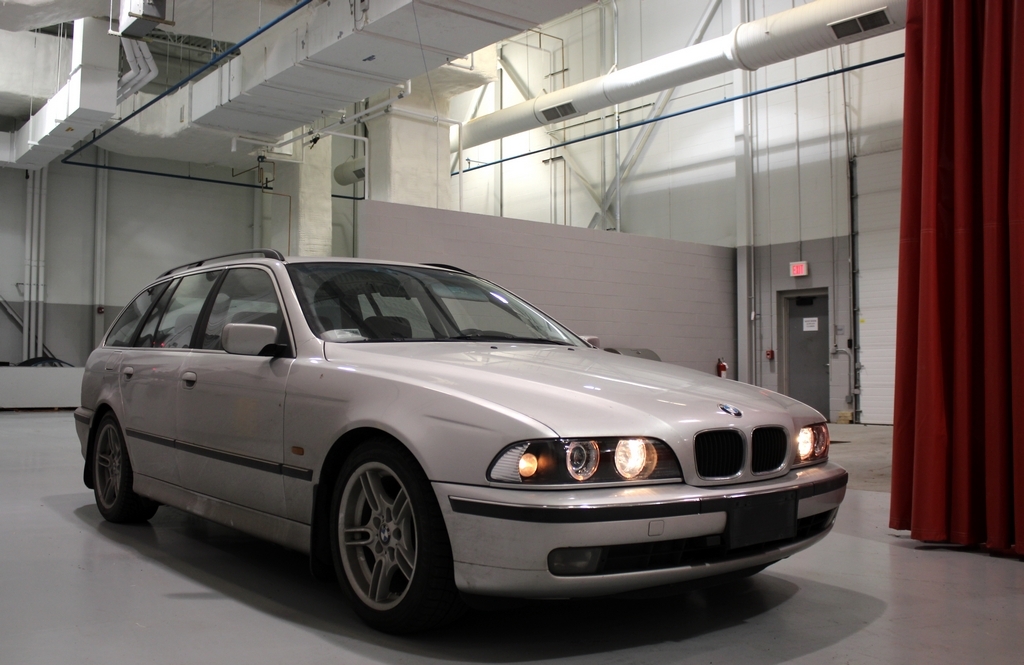
New
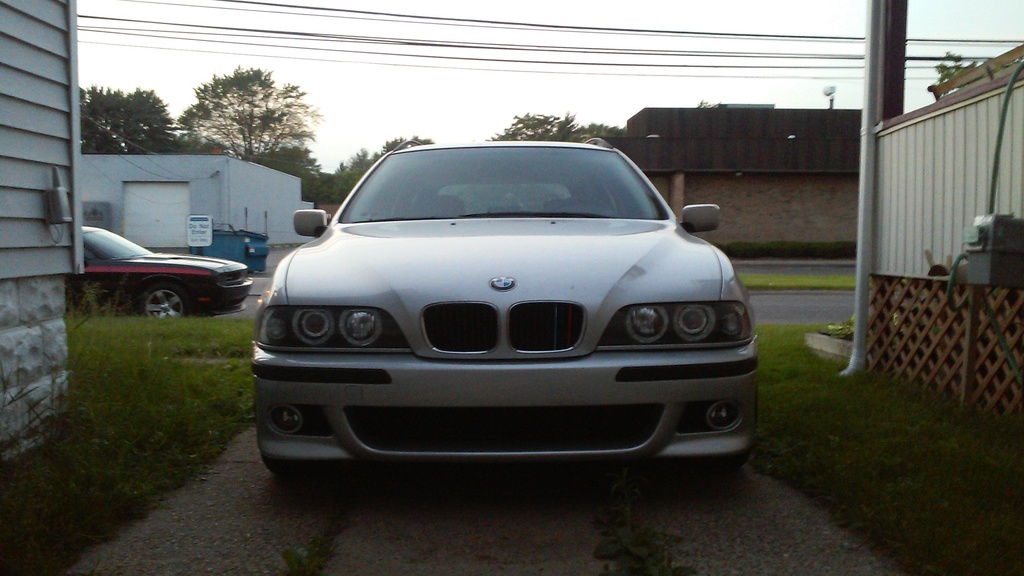
Both front and side views look 100x better. Although there was fiddling in the process it was a pretty easy job. Definitely worth the time and $.
Now I need to wash the car and take some better pics.