You must be logged in to rate content!
6 minute read
X3 E83 75,000 Miles report and Front Brake Job Pics
Compliments of X3-terrestrial @ www.bimmerfest.com
I bought my 2005 X3 on August of 2008 with 42,000 miles; it is a Premium package, with beautiful Terracotta Montana Leather seats, and some options like heated seats, heated steering wheel and bluethooth.
Just after I got it, I took it in to perform some SIBs (door seals creaking, and sunroof knocking), they also replaced the rear differential bushings, and re-sealed rear vapor barrier three times due to rear foot well floding; all under original warranty.
It came with the Pirelli Scorpions, which I LOVE, and still good (although I anticipate replacement in the next 6 months)
After a year and a half of ownership, and 33,000 miles I couldn't be happier. I have had ZERO problems, and still puts a smile in my face, and never ceases to amaze me.
In November last year, it turned 70k.
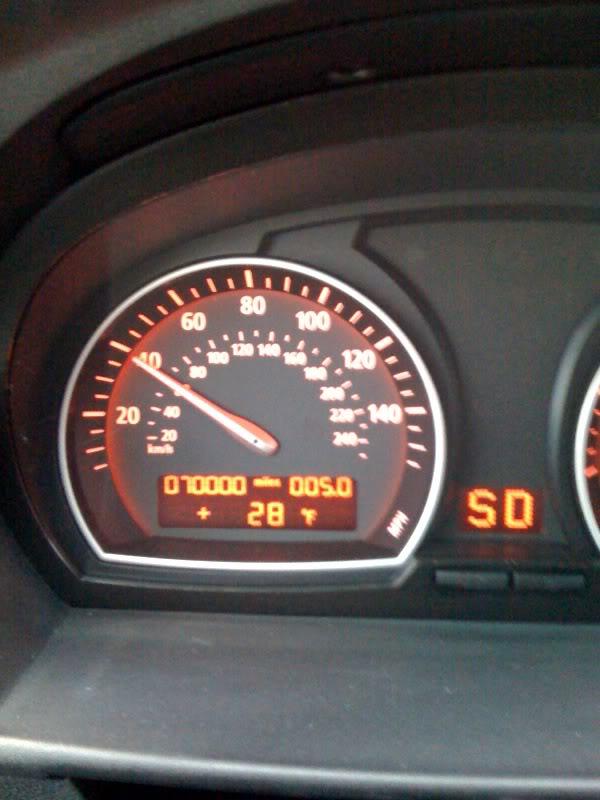
I had replaced the rear brakes shortly before that, at 68k. I always get BMW parts whenever I can, so I keep the performace at its best, and brake feel and response is a top priority for me.
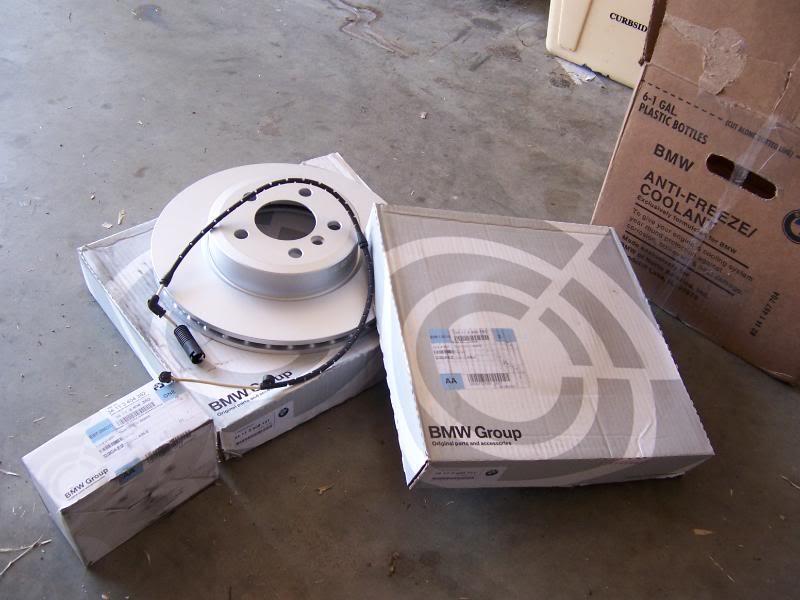
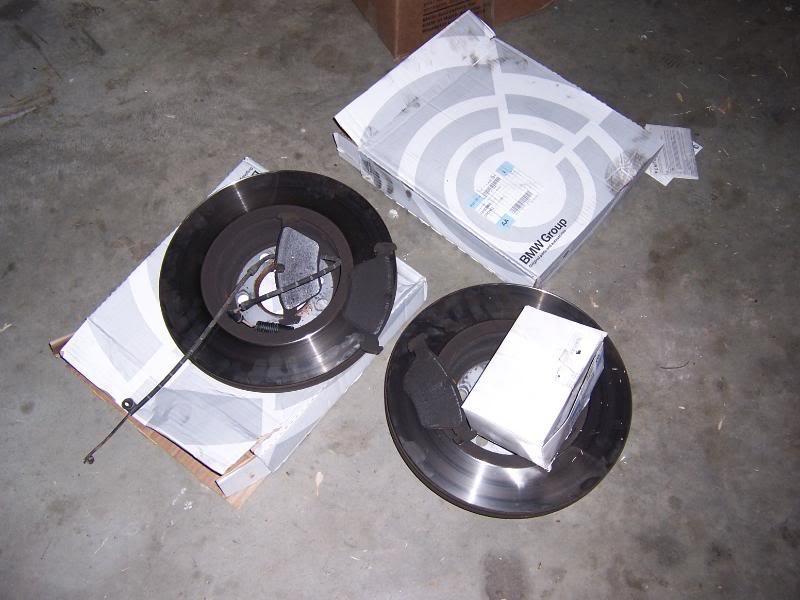
Now it has 75k miles and it's time to do the front brakes, brake wear sensor tripped last monday, so I went ahead and ordered the parts from Crown BMW (best prices and service online for BMW OE parts)
$350 with shipping for rotors, pads and sensor (50 lbs box), even cheaper than my local dealer.
I'm not good at write ups, but I did take some pictures, and thought I'd share my process here since we don't have this process documented in the X3 forum.
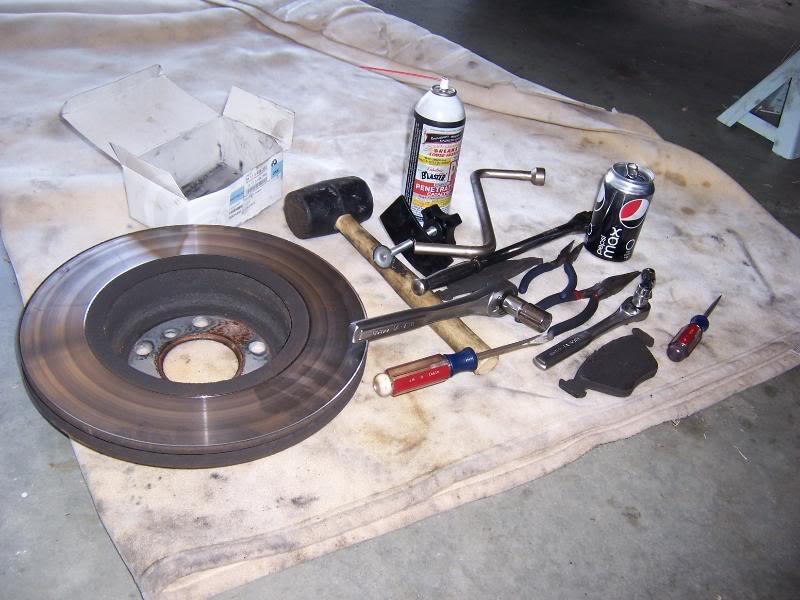
Tools used:
First, of course rise the vehicle and take the tire off , open brake fluid reservoir cap.
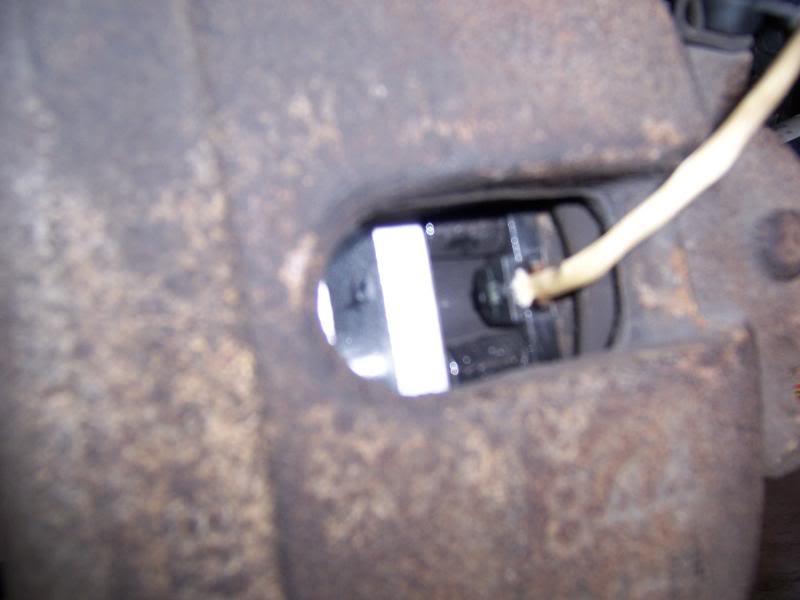
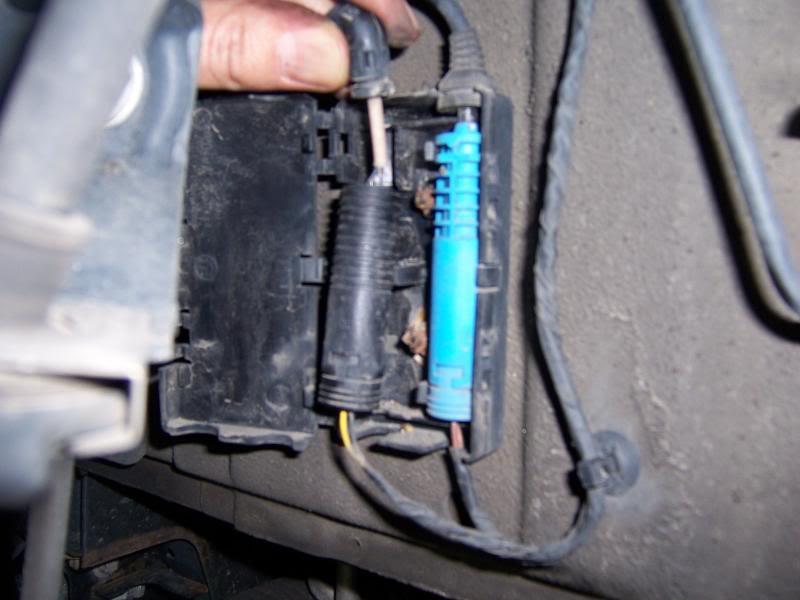
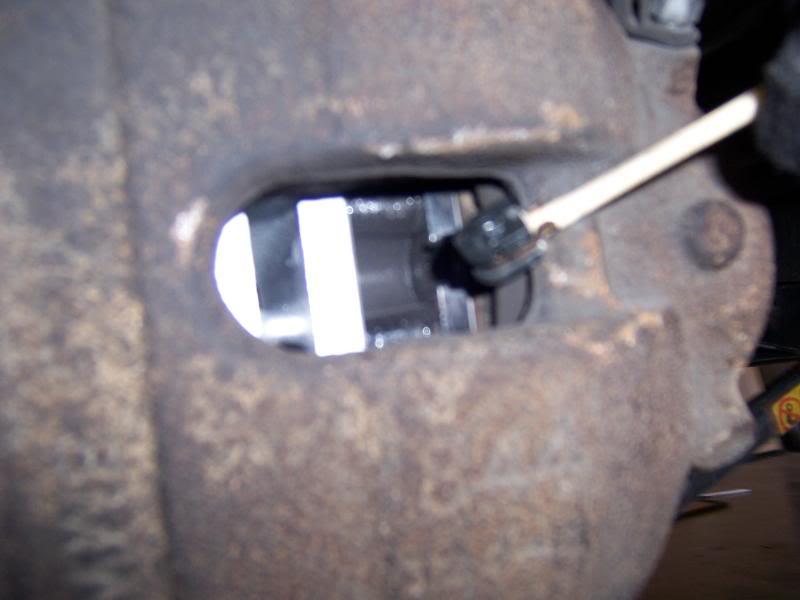
Remove the old brake wear sensor, if is not tripped, carefully pull it from the plastic part (not the wire) and you'll save about $20 bucks)
Then pull the anti-rattle spring forward.
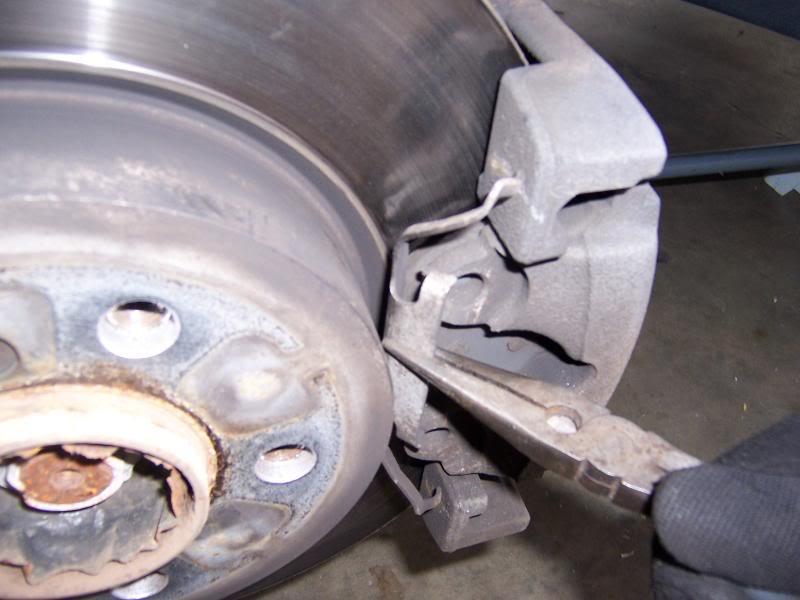
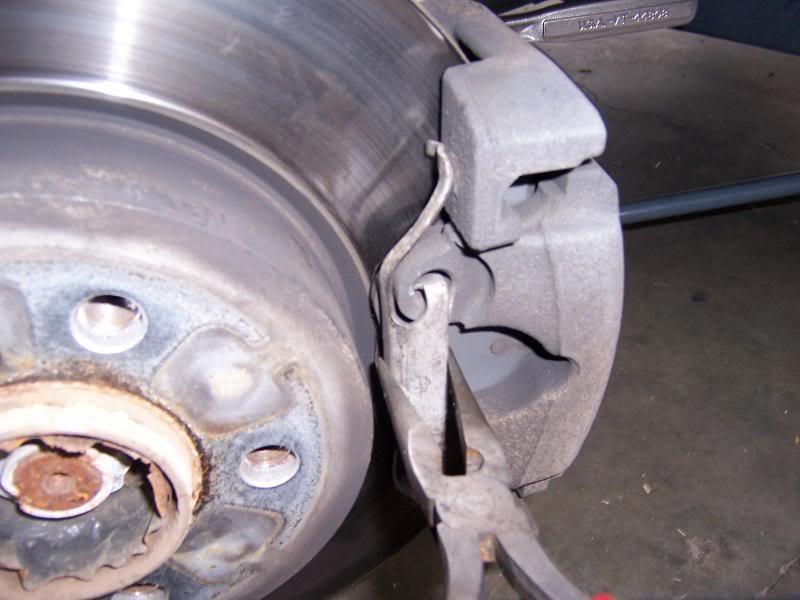
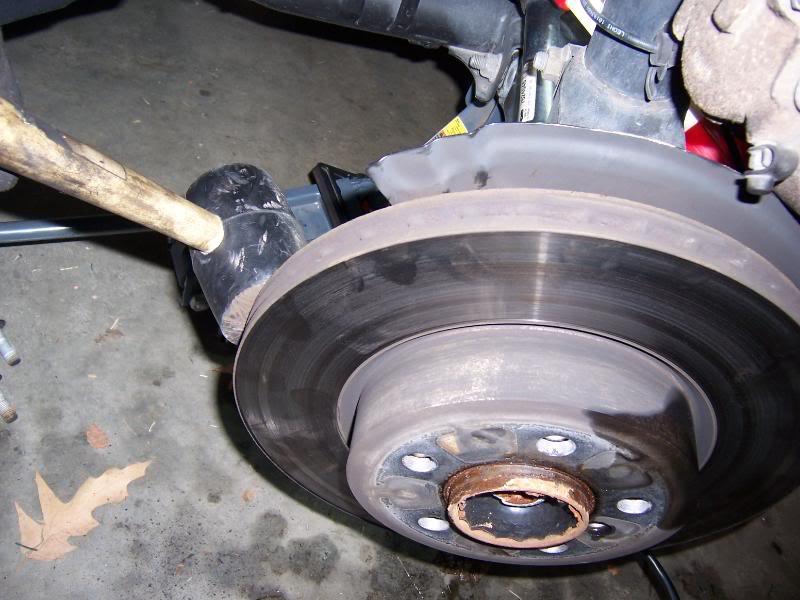
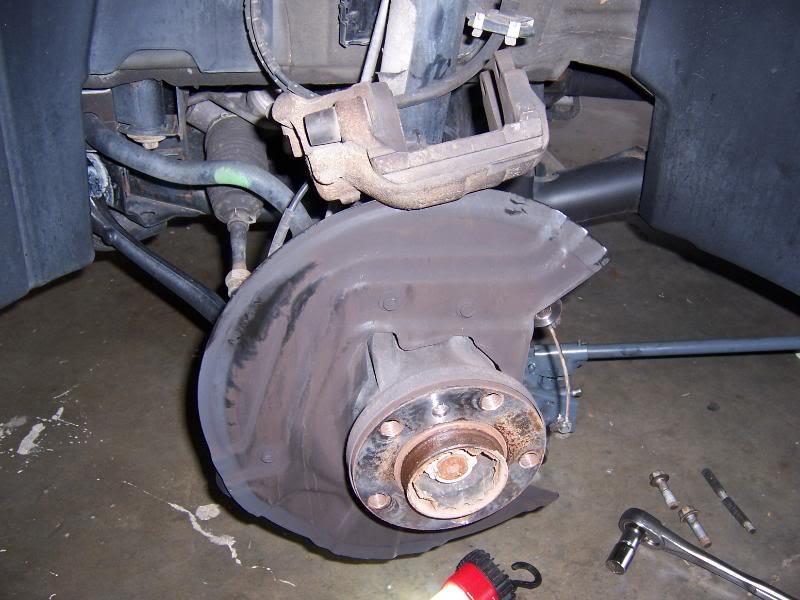
Pull the plastic covers and using a 7mm allen socket and a rachet, take the two caliper bolts out, and reomove caliper with old pads pulling backwards. Place caliper on top, don't let it hang from the hose.
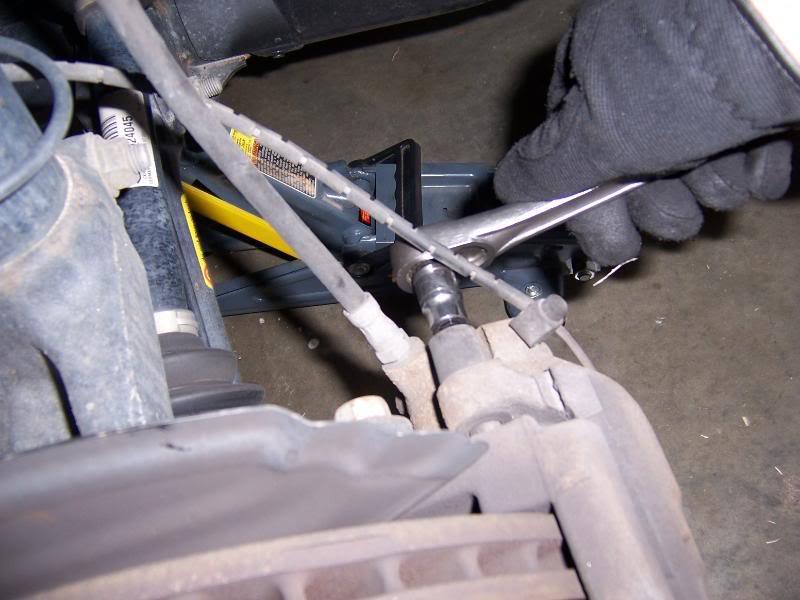
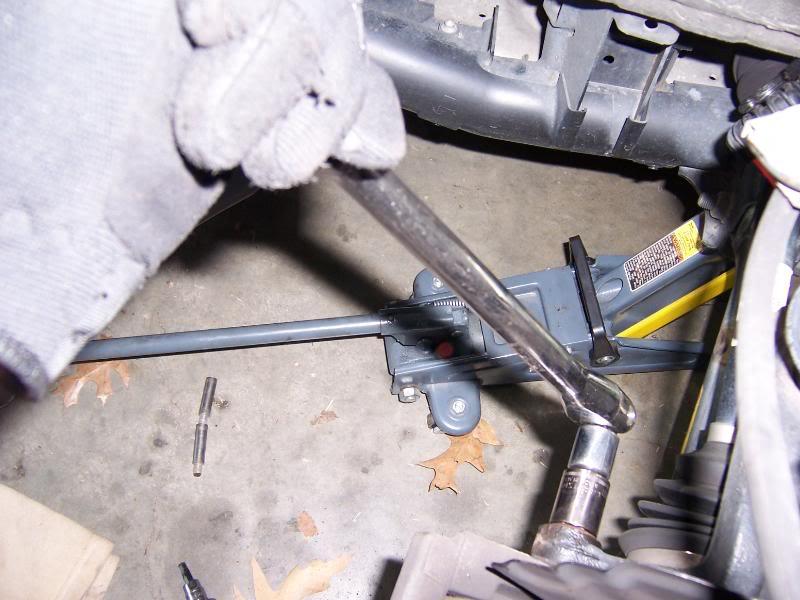
Then using a breaker bar and a 18mm socket, take the two caliper bracket bolts off. I'm a big fan of PB blaster, I used some and let is stay for a couple of minutes. (This bolts are REALLY tight)
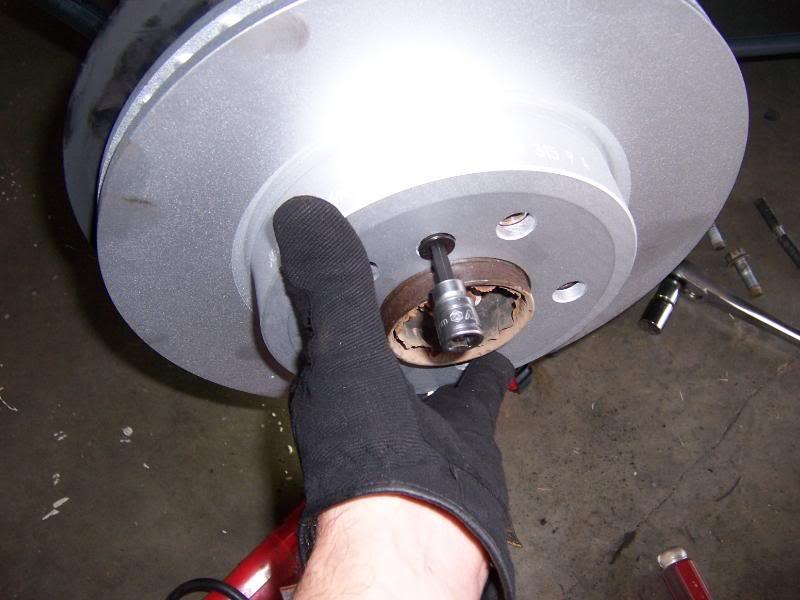
With a 6mm allen, take the small screw holding the rotor.
Now, using a rubber mallet, smack the rotor from the back turning in each time so it comes lose. Take rotor off. (I used some PB blaster between the rotor and the hub to help losing it)
Now place your new and shiny rotor and align it with the small guide, where you will put back the screw. Be sure all the lug holes are aligned.
Then, get your caliper mount bracket and re install it.

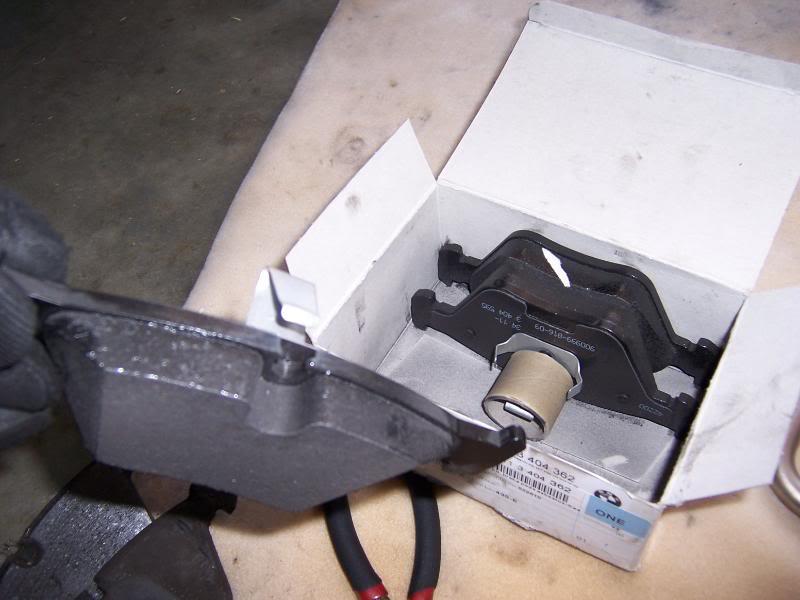
Get your new pads ready,
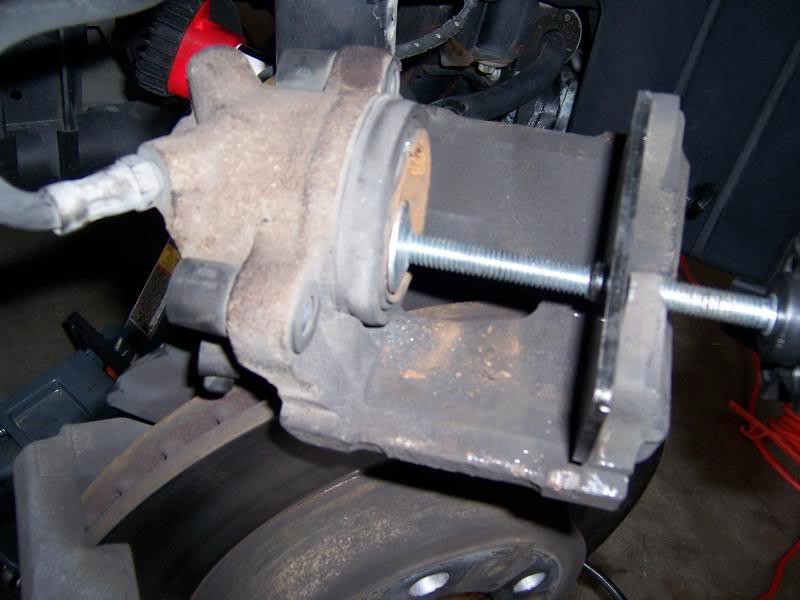
Compress caliper piston, to accomodate new thicker pads
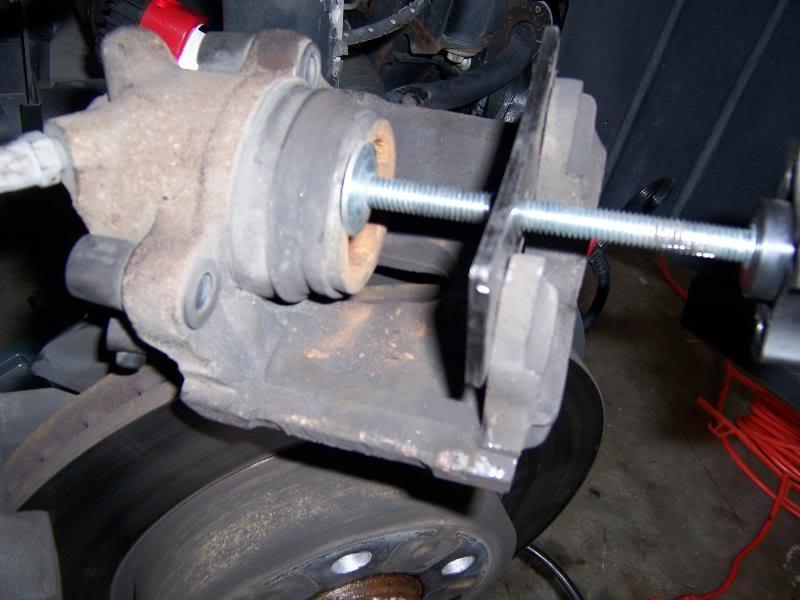
Compressed piston:
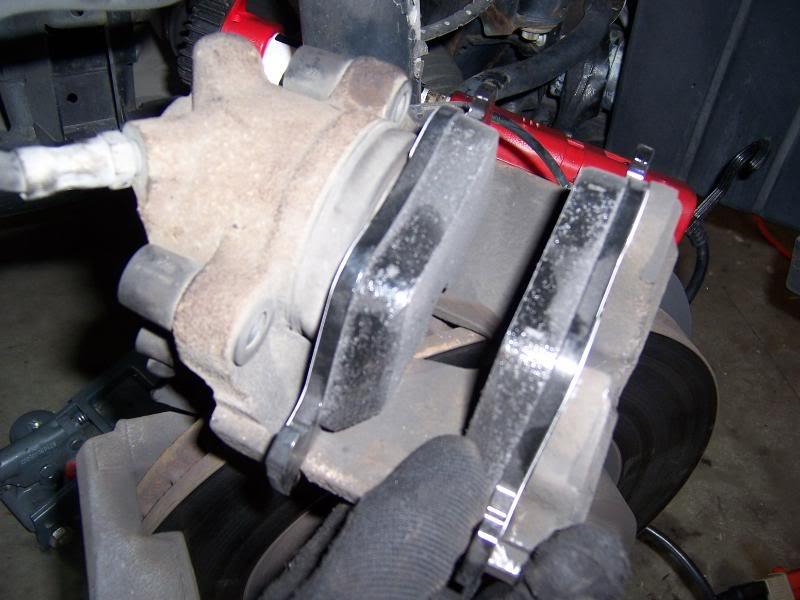
Now insert the inner pad first (the one with the clips),

and then the outer pad:
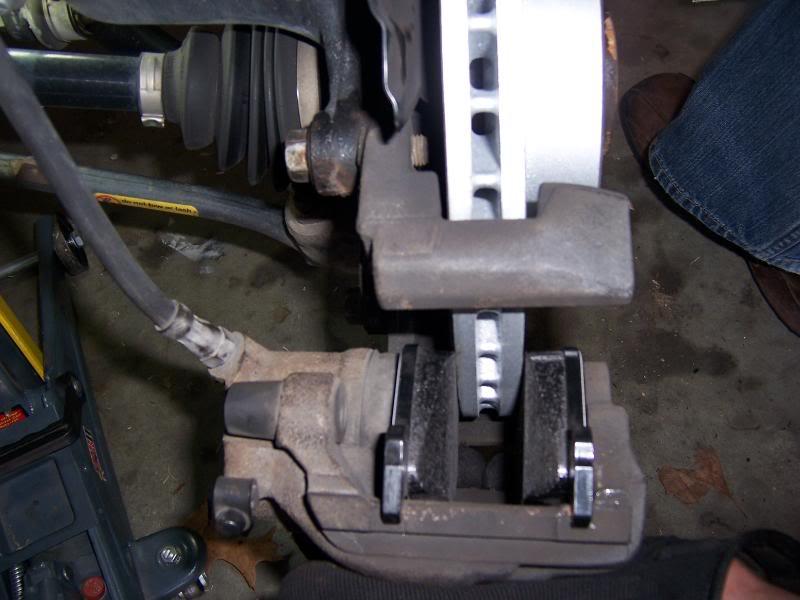
Place caliper back in place and replace the bolts.
If you are replacing the sensor, disconnect it from the plastic housing, and install the new sensor.
Now you are ready to do the other side, following the same procedure (excluding the sensor part, since sensor is on the passenger side.
Recycle your old parts:
Some notes:
-To RESET the light in the dash, just pump the brakes and turn the key to position II (all dash lights ON without starting the car) and leave it there for 30 to 60 seconds, it should turn off by itself.
-Since the OE rotors come compleatly coated from factory, it will take several brake applications for the coat to go away from the braking surface. You may hear a slight grinding noise the first few brake applications, this is normal.
-Brake dust should decrease considerably, I noticed this when I did the rear brakes, it looks like the more wear the pads have, the more dust they release.
-It took me about 30 minutes average per side, (passenger side took a little longer due to the sensor.)
-Feel free to ask an questions.