You must be logged in to rate content!
4 minute read
Headlight Motor Repair
Compliments of Logansar @ www.corvetteforum.com
First thanks Patches for putting this thread out here in July 2007. It provided much needed answers and the pictures helped a lot. this thread is a must for everyone to bookmark!!
http://forums.corvetteforum.com/c5-g...orialized.html
Thanks to Top Down Solutions - You put out a top notch kit (I elected for the brass gear). The included instructions were great. Price was on target.
Question - Has anyone had to go back and repair a gear for a second time? The reason I ask, I wonder how hard it will be to reopen this case after the epoxy cures.
Here are a couple pictures from my repair
FIRST LOOK
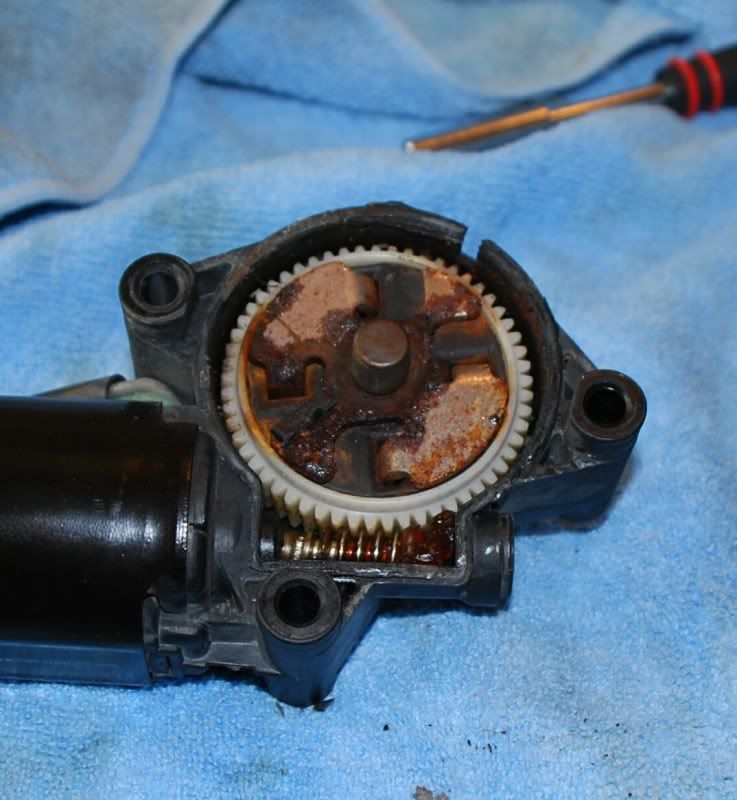
RUST???? WAS NOT EXPECTING THIS
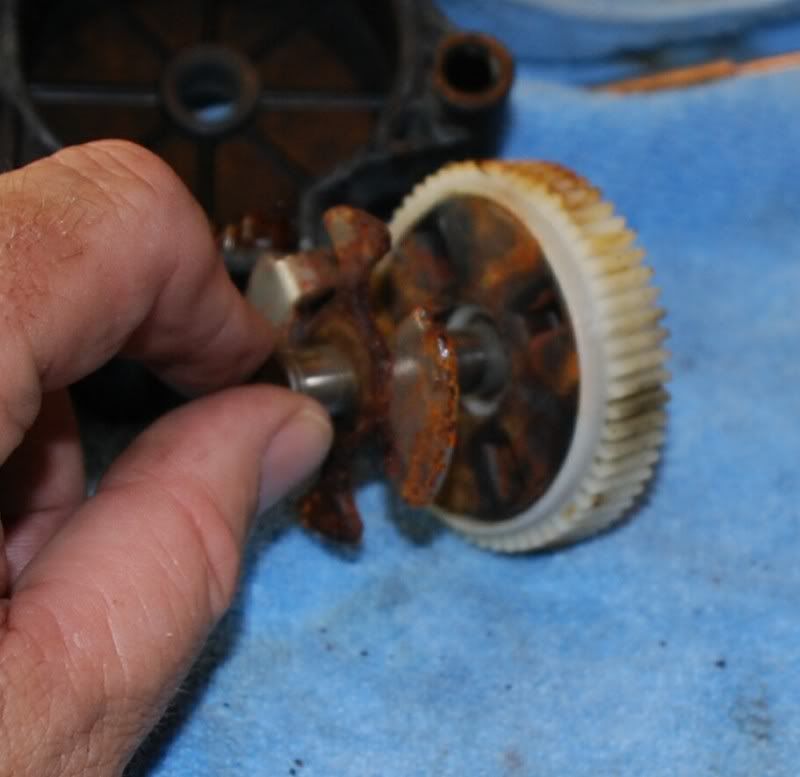
STRIPPED STOCK GEAR (black highlights the good teeth)

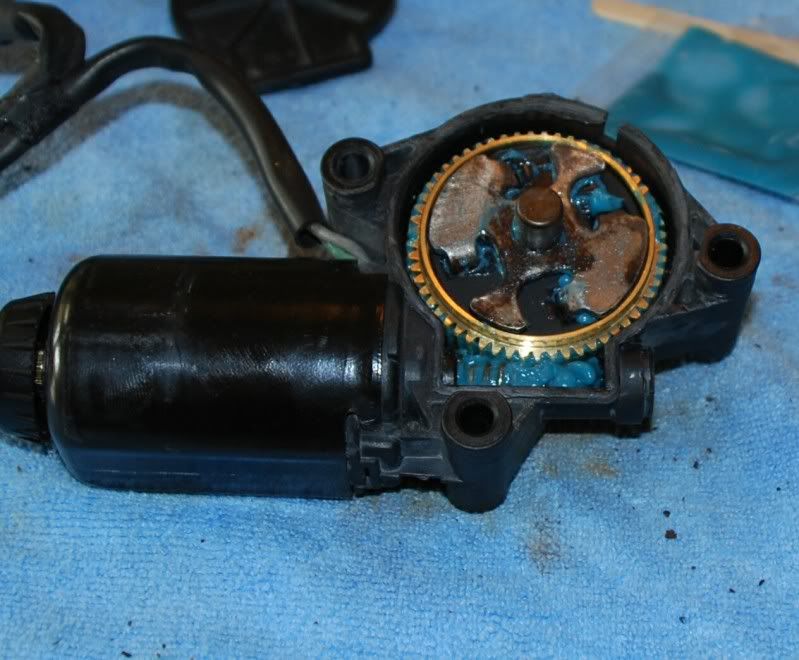
REASSEMBLED
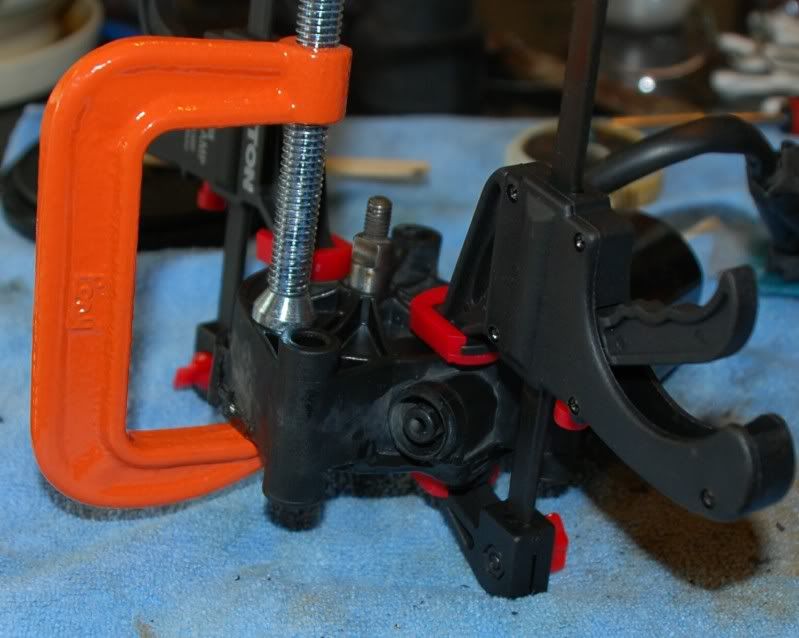
CLAMPED FOR DRYING
Today I finally had time to reassemble (been one of those hated one eyed Corvettes for a week)
http://forums.corvetteforum.com/c5-g...and-links.html
I started in and remembered that either in a Members post or the TDS instructions it said "note how the linkage was set before removing it" That was important step I failed to do. In short and not to dwell on it I put it on wrong and had the "one up and one down" headlight syndrome until I remembered that little statement. Corrected it and things were good.
Now for the point of this post
During disassembly I removed the headlight cover to be able to see what I was doing. I again removed it for reassembly. 4 screws hold it on.
As I started reassembly I dropped a nut.
Can be seen below the duct -
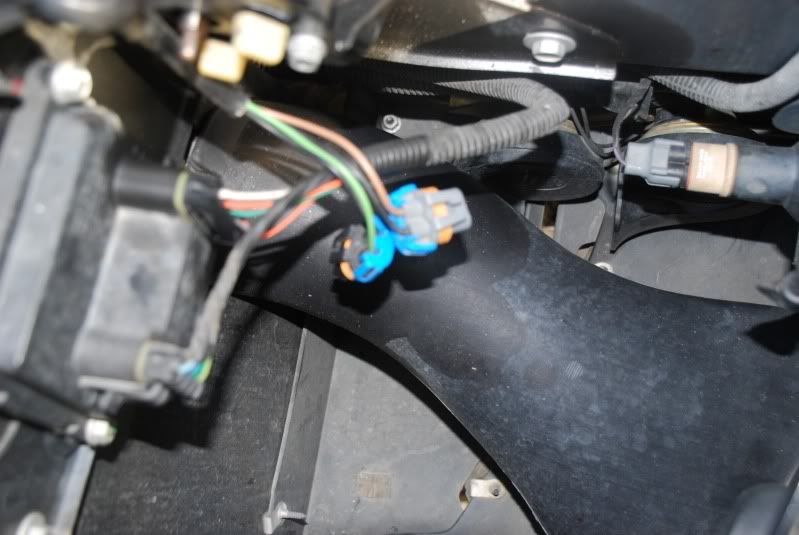
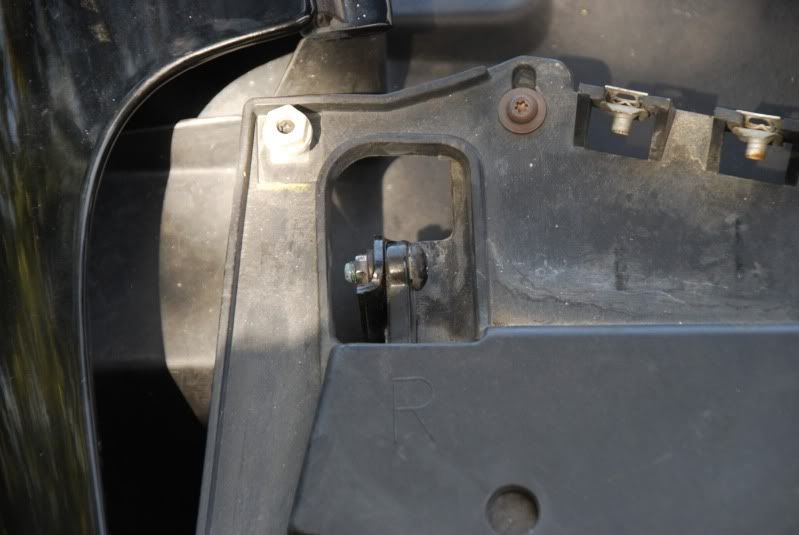
I could not reached it and saw that the whole headlight assembly was attached with two bolts that work as the hinges.
There is one on each side
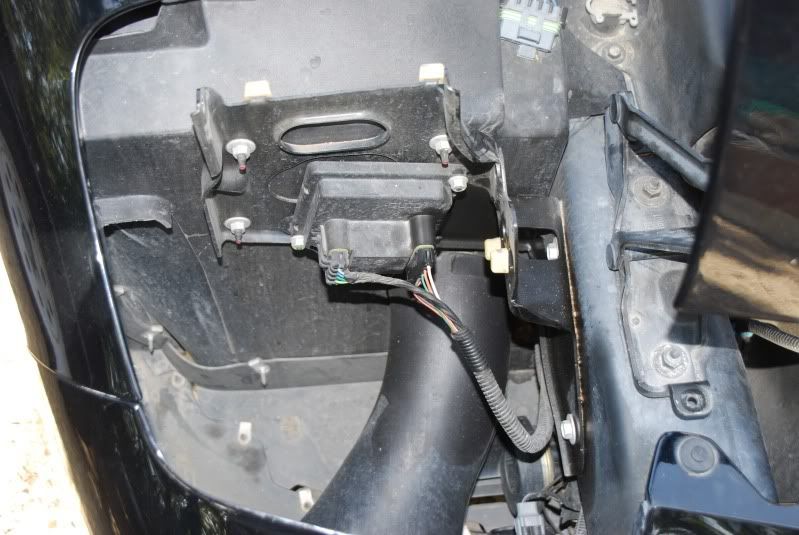
Here is what you get - a large workspace to insure correct bolt installation and where you will NOT over torque the plastic housing
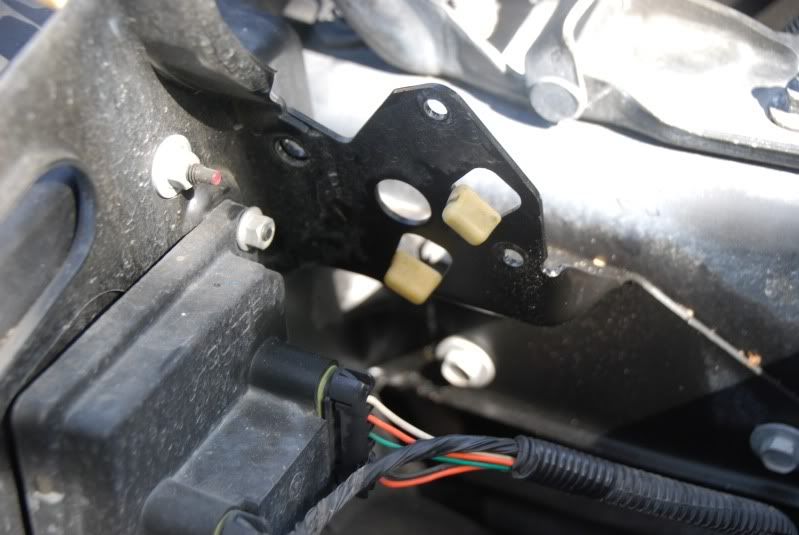
Here is motor mount clear and easy to work on
Now the discovery - In early post I complained that my DRL would "blow" on occasion after I washed the car. I suspected and the response concurred that the bulb had most likely melted a hole in the housing.... guess what? here is what I found when I took the headlight assemble off for this repair -
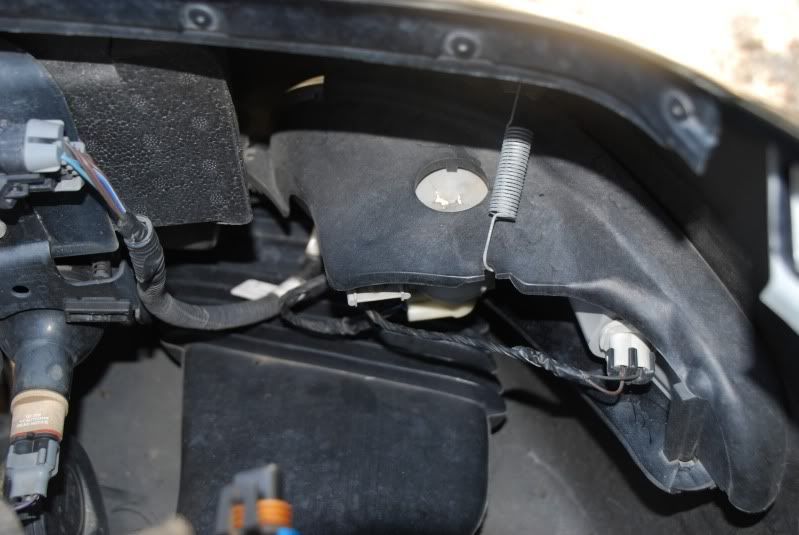
At the top of the photo left of the spring you can see the housing weakened and cracked where the light bulb has melted the top.
So what I learned -
1. A dropped nut lead to am easier method of repairing the headlight motor.
2. Removing the headlight assembly will allow you to inspect and possibly replace the DRL housing assembly from the top.
3. Always take the hood stop off - it allows much more working room for bulb replacement and other headlight repairs.
That is all for now hope this helps some else!
All this with just two bolts on the headlight assembly and the nut on the motor.