You must be logged in to rate content!
4 minute read
Turn Signal Housing Replacement
Compliments of Logansar @ www.corvetteforum.com
I have been fighting car washes, rain and puddles for some time.... As many know a common problem caused by the DRL bulb melting the housing and causing a hole in the top. Believing this was going to be a pain in the butt I have been putting it off. Popped another bulb and I had enough.
Went to the Forum and researched it. Found several threads from filling the hole with JB weld to replacing the housing. I elected to replace the housing seeing I already had new ones. The threads describing how to remove the housing all were very clear but all said one 10mm screw at the front of the housing was a SOB to get to.
Having never purchased any Race Ramps I had to DYI that too...
I have had to rebuild both headlight motors and became an expert bulb changer... so I had some ideas. Working off this thread...
http://forums.corvetteforum.com/1561976208-post3.html
I was able to get all the steps. I noted it too said beer and patience was needed in reference to that 10mm screw.
I followed the instructions removing the air damn and then the access cover.
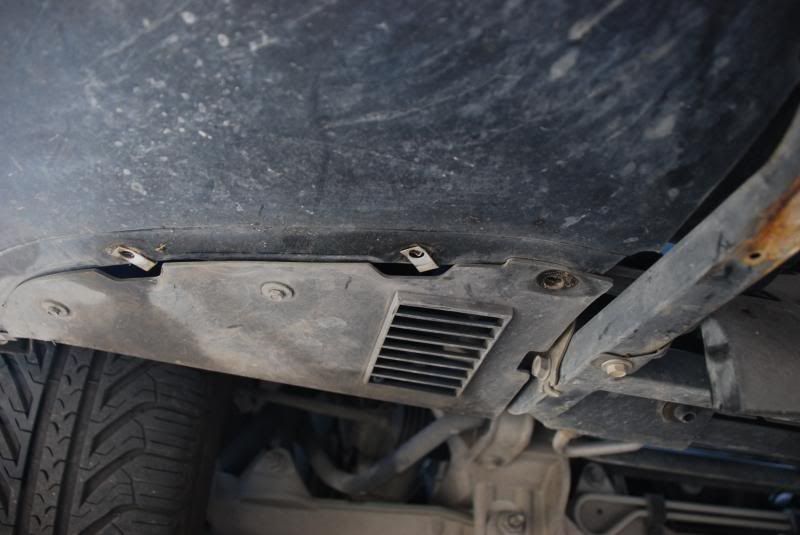
Once the access cover was off, you could see the 2 screws that held the corner lens bracket in place and in fact the front 10mm screw was going to be very hard to reach.
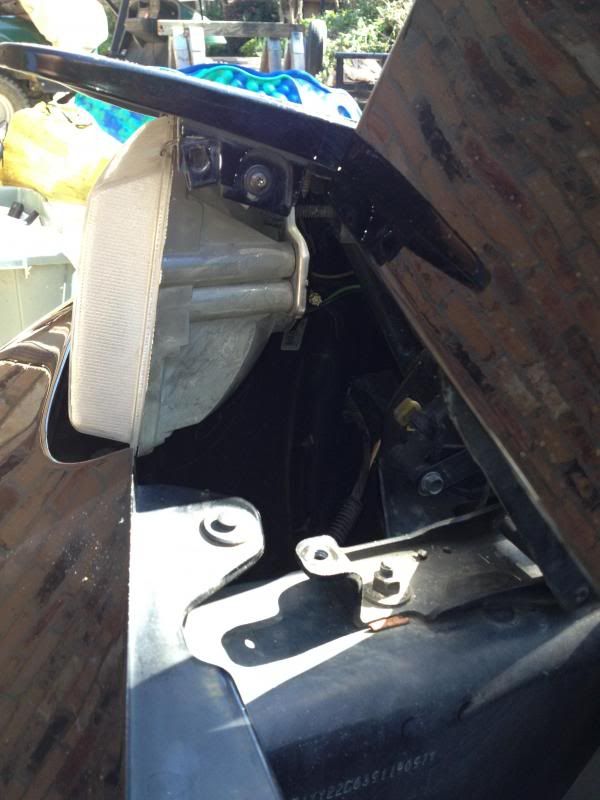
But as I said earlier I had become an expert bulb changer... I learned that if you remover the Headlight surround (3 screws) and the hood stop I could reach in when the headlights were open and easily replace the bulbs. With that in mind, I was sure I could also easily reach the 10mm screw holding the housing frames. I was able to easily reach through the opening with a small ratchet and with the other hand reach through the brake cooling duct and hold the ratchet on the screw. VERY SIMPLE.
Once both screws were removed and the retaining spring is off, you can easily remove the housing through the bottom access opening.
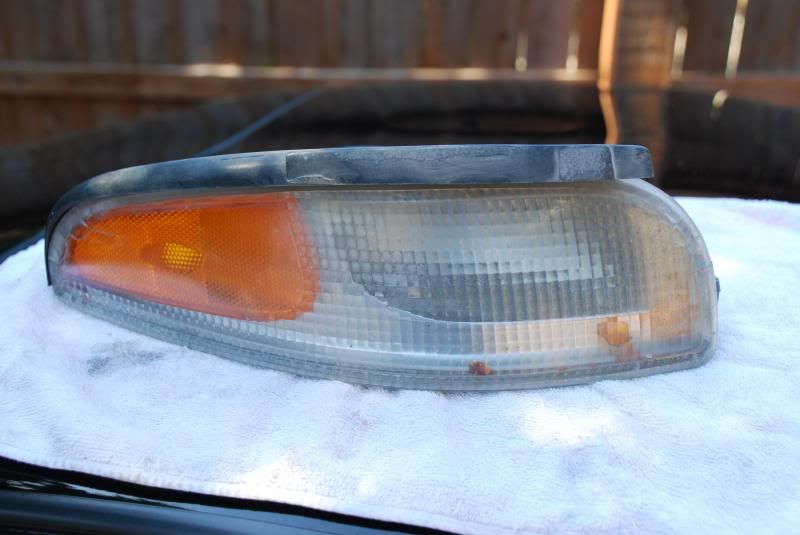
Here is what the old ones looked like... this is a photo looking through the opening where the bulb goes.. you can see the hole on the top of the housing.
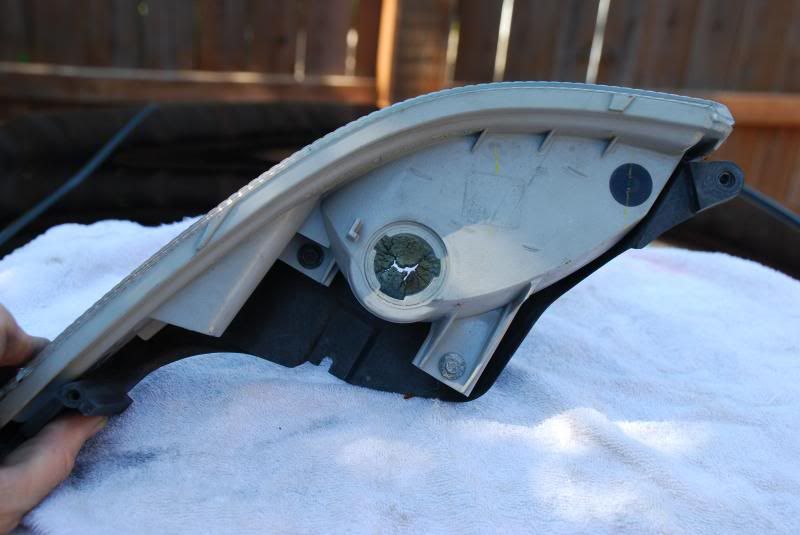
Note the broken bulb pieces in the lens housing... it was driving me nuts!
Installing was simply reversing the steps.
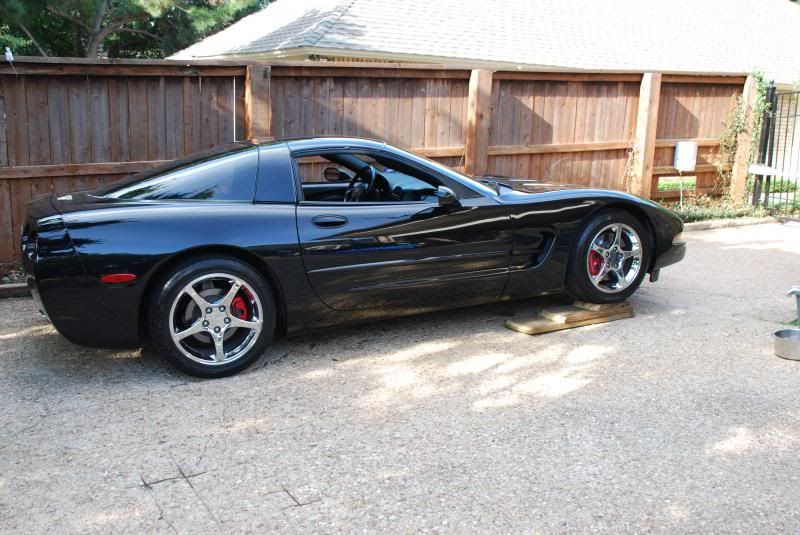
Finished pics... car is dirty but the lights look great...
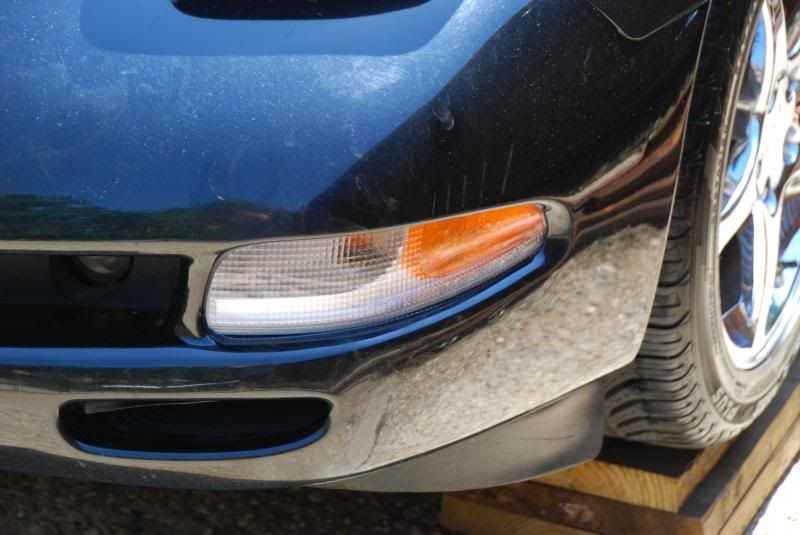
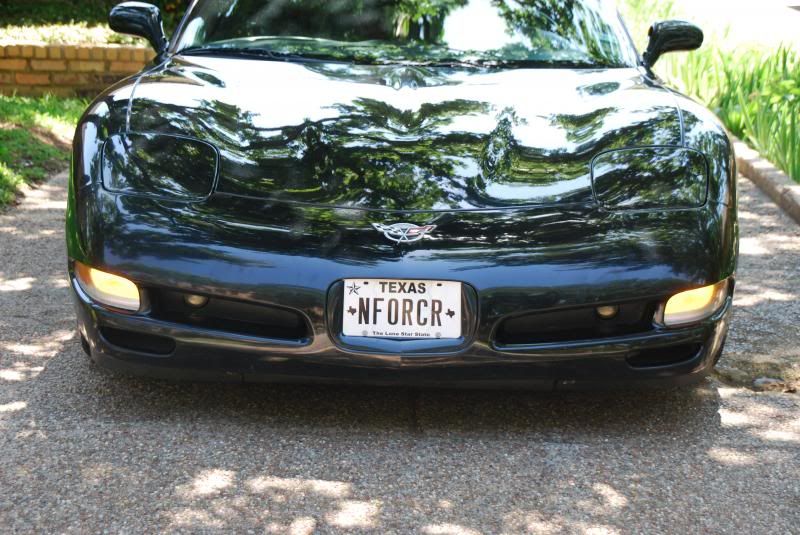
With the new housings, the lights are nice and bright again!!