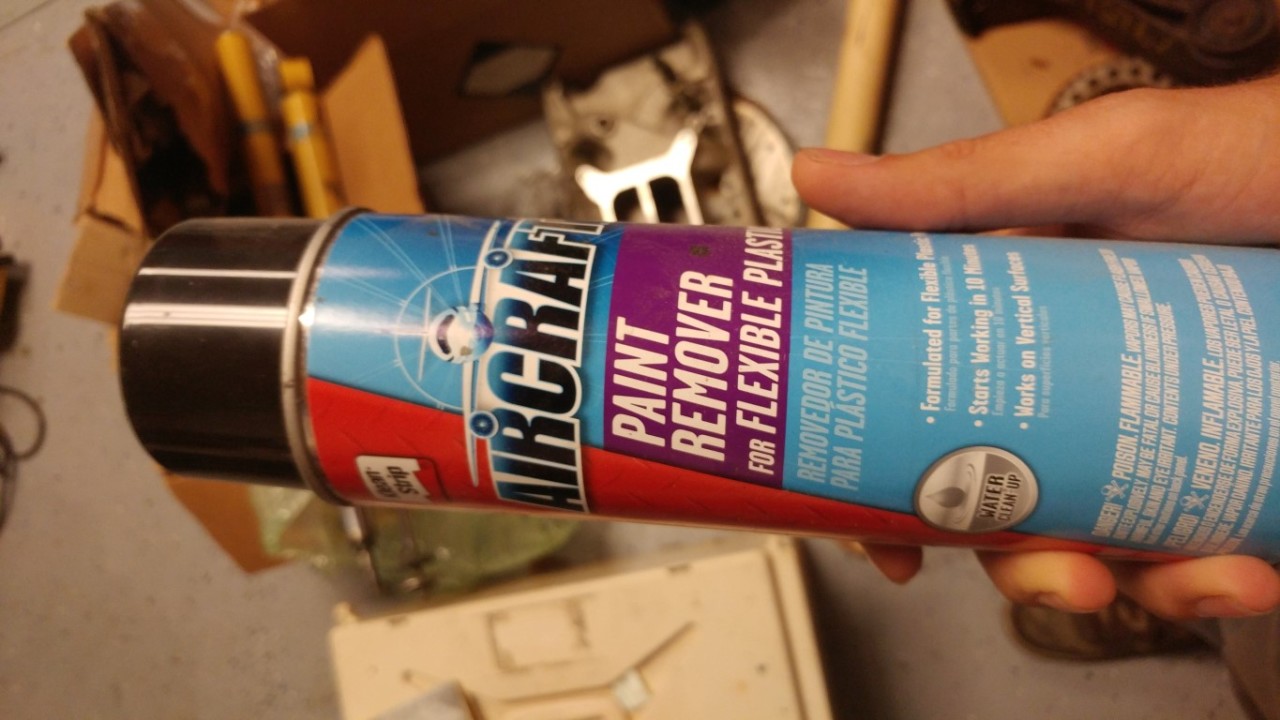
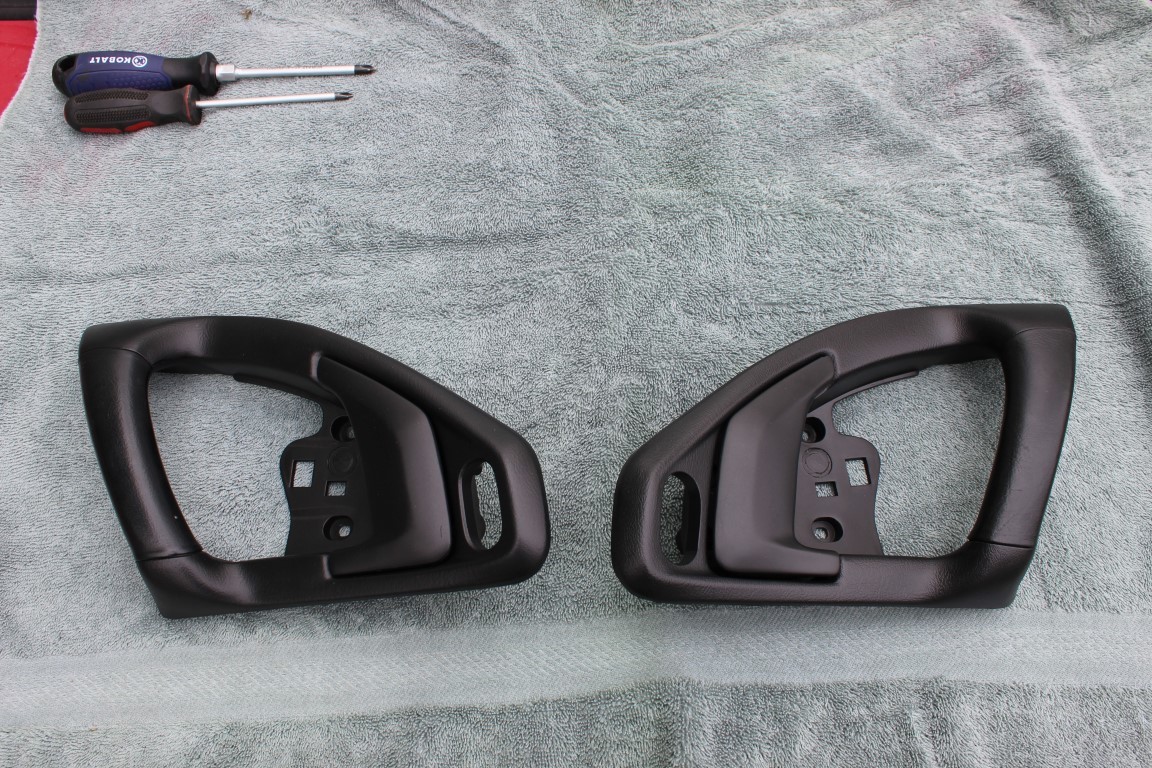
- Aircraft Paint Remover for flexible plastic, Phillips screwdriver, Primer, Interior paint.
You must be logged in to rate content!
8 minute read
Interior Trim Removal/Restore for a 94' NSX
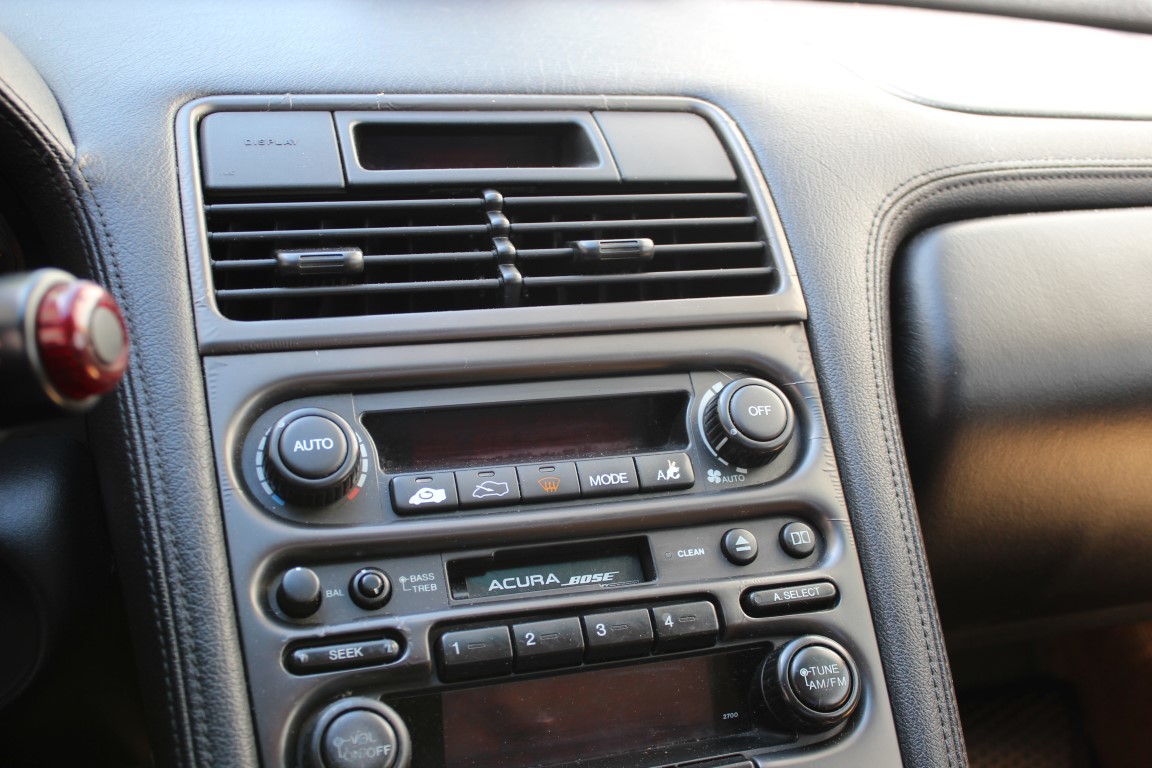
One common issue with NSX interiors is the coating on the trim starts to wrinkle and peel. Eventually it gets brittle enough it starts to crack off. after 160k+ miles the trim was looking pretty poor. It needed to be freshened up.
You can see the wrinkles around the edges of the trim here.
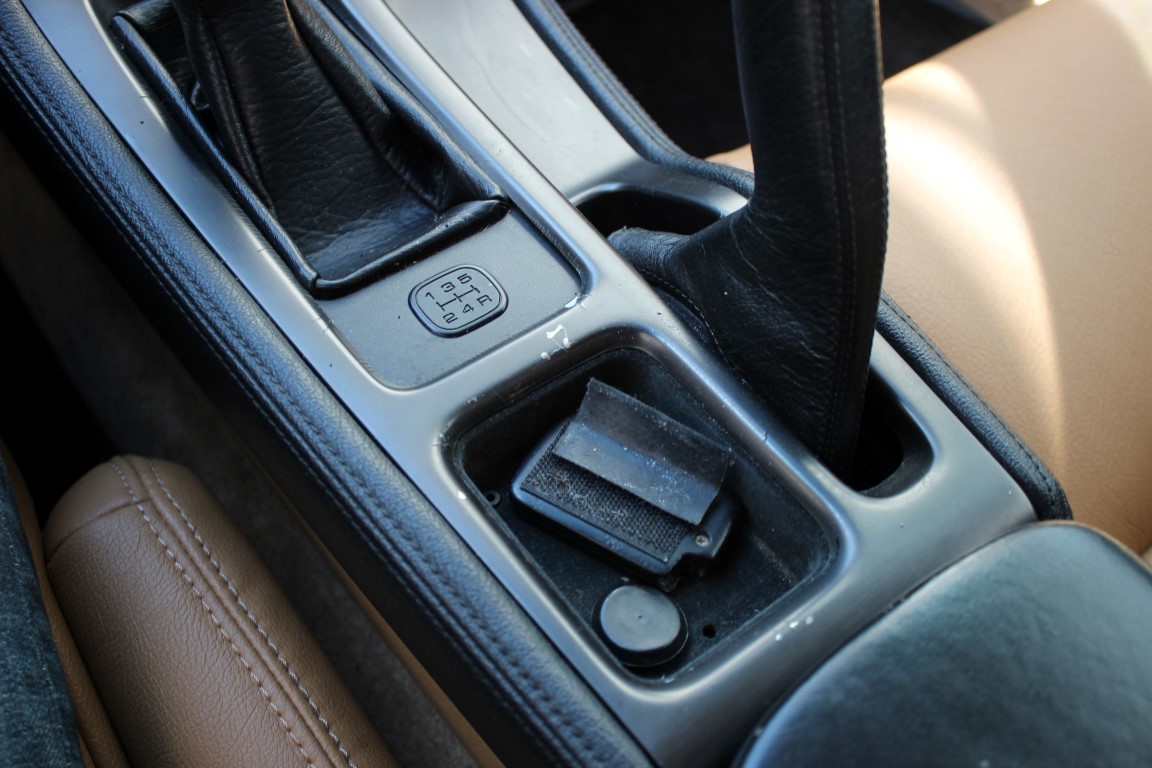
Peeling and more wrinkles.
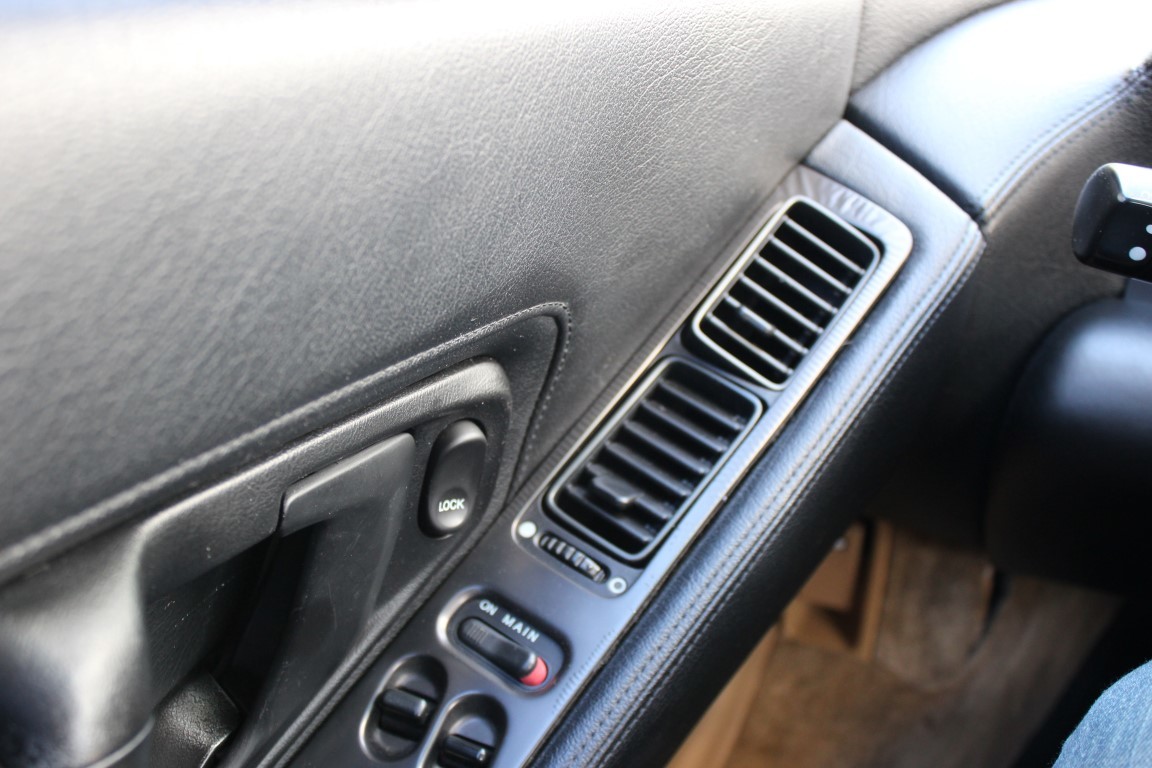
Was especially bad around the door trim.
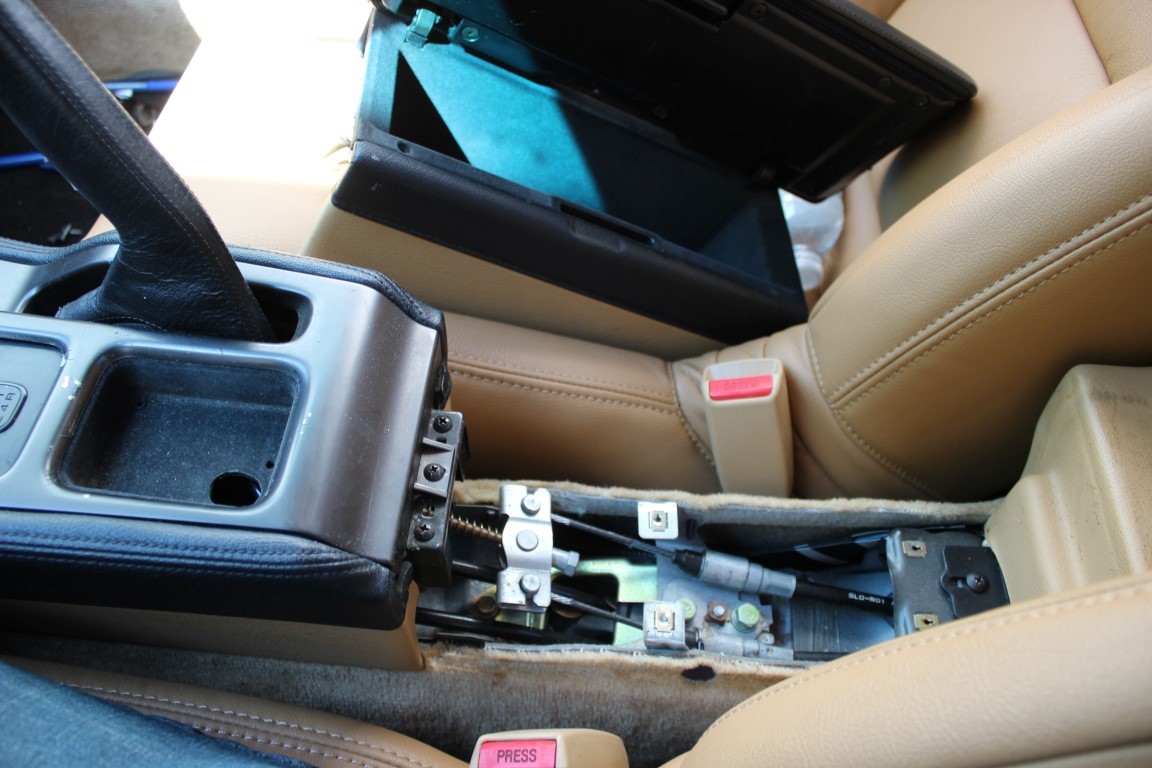
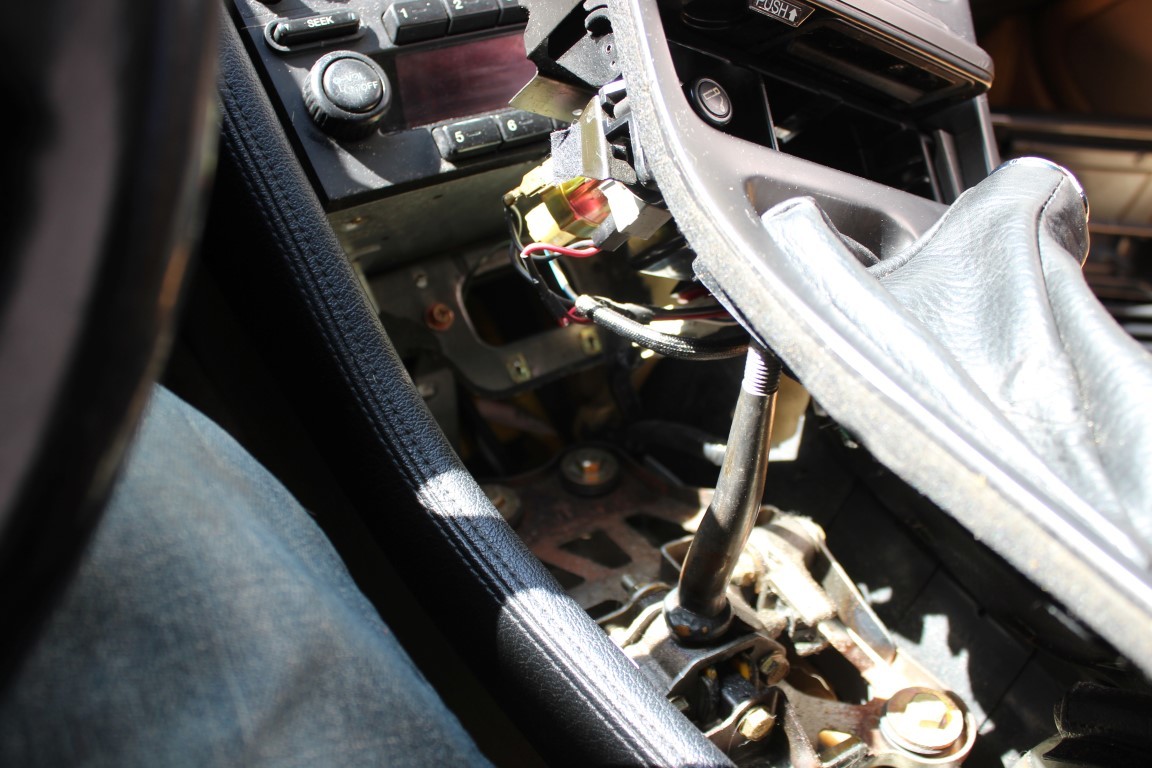
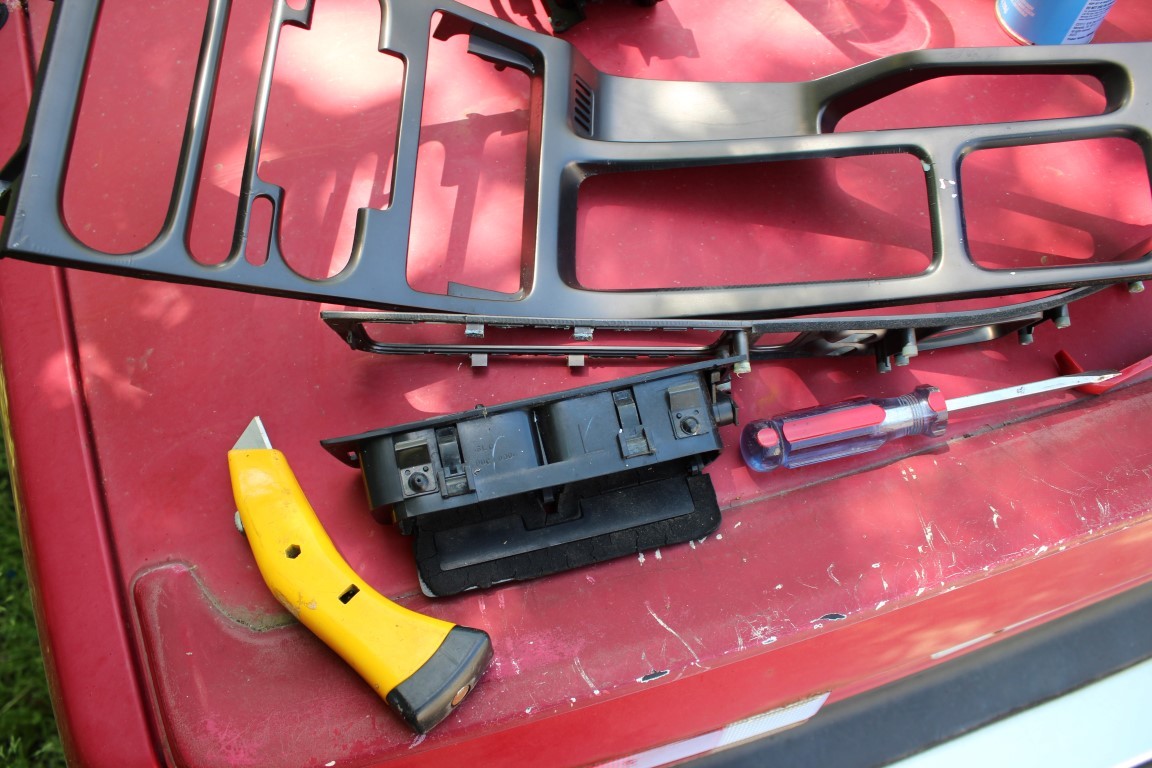
To remove the dash, first the center console has to be removed. There are four phillips screws in the bottom of the console.
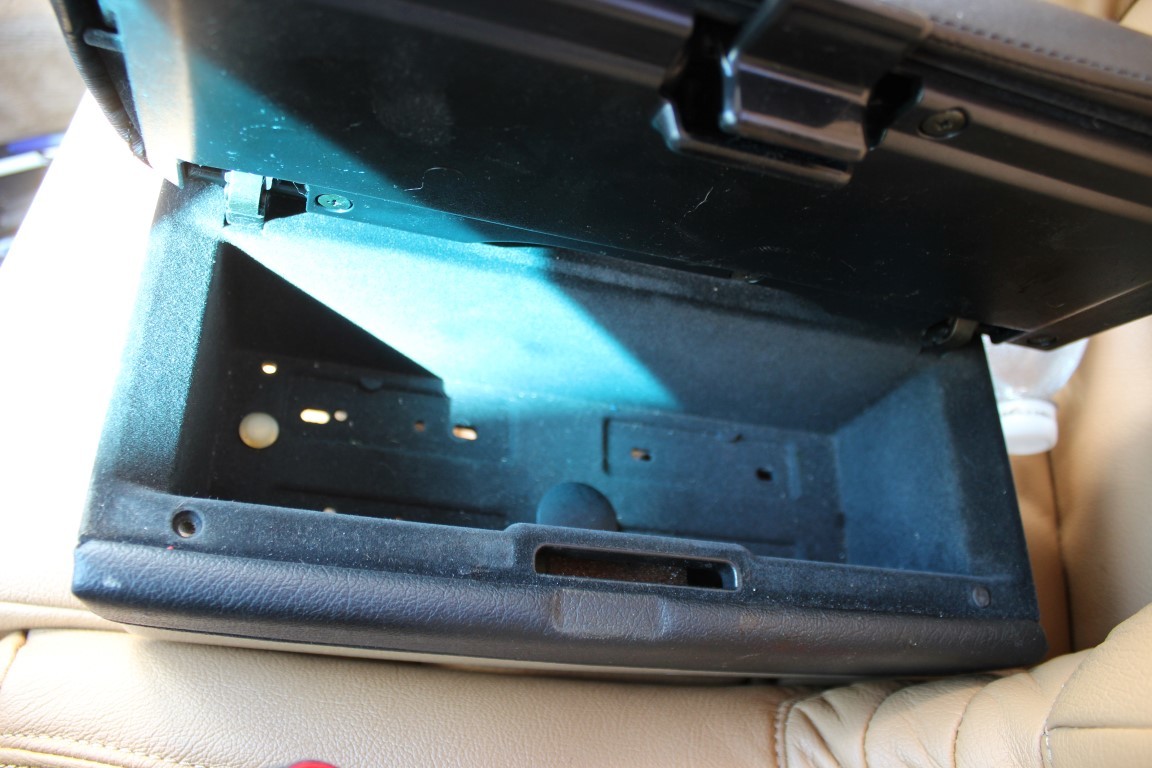
This exposes the rear screw for the center trim piece. Remove the center one.
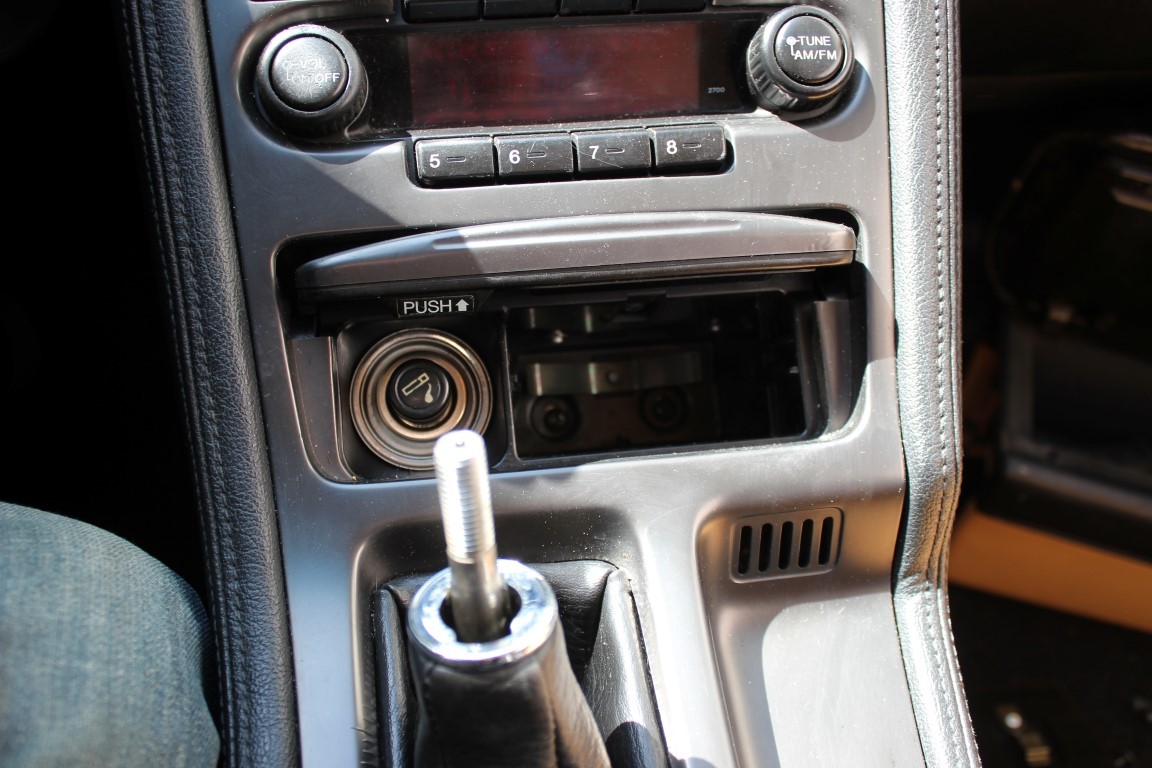
You will need to remove the shift knob. The boot un-clips from the bottom and the knob unscrews from the shifter.

Remove the ashtray to expose two screws, remove these.
Remove/unplug the clock exposing 2 more screws for the upper vent. Remove these and pull out the vent.
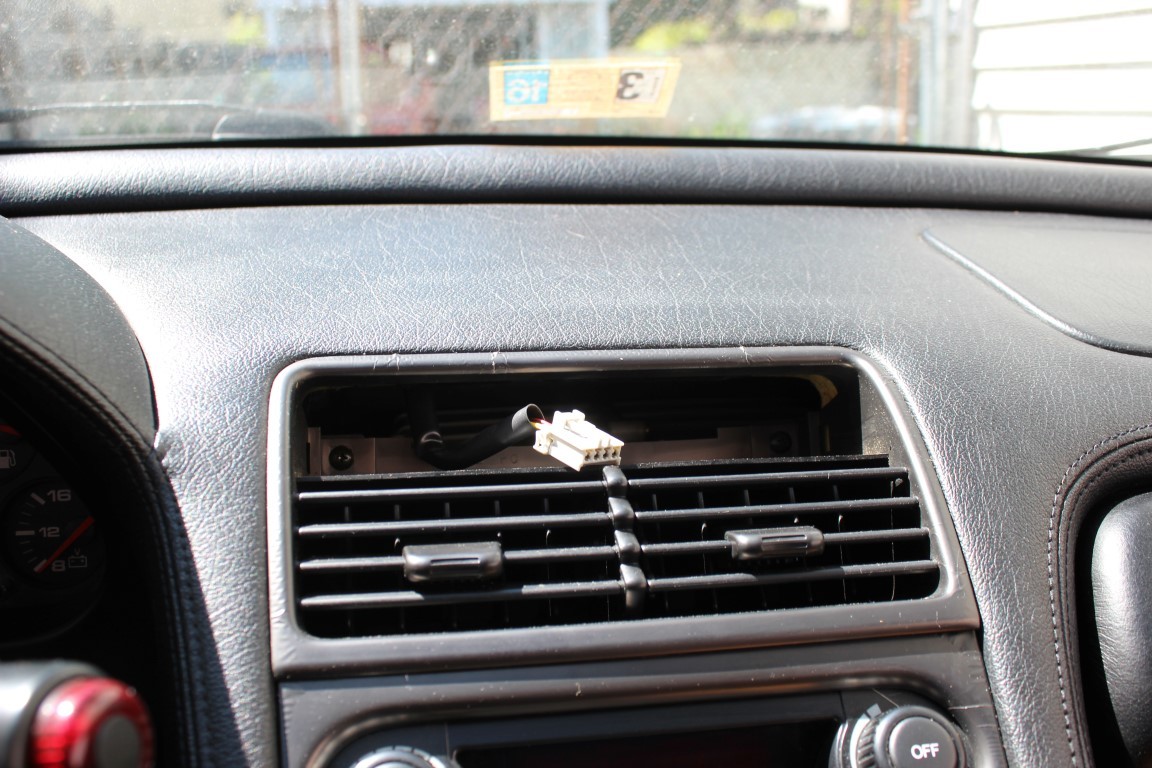
After the vent is removed you will see 2 more screws holding the main trim piece to the dash. Remove those 2 screws.
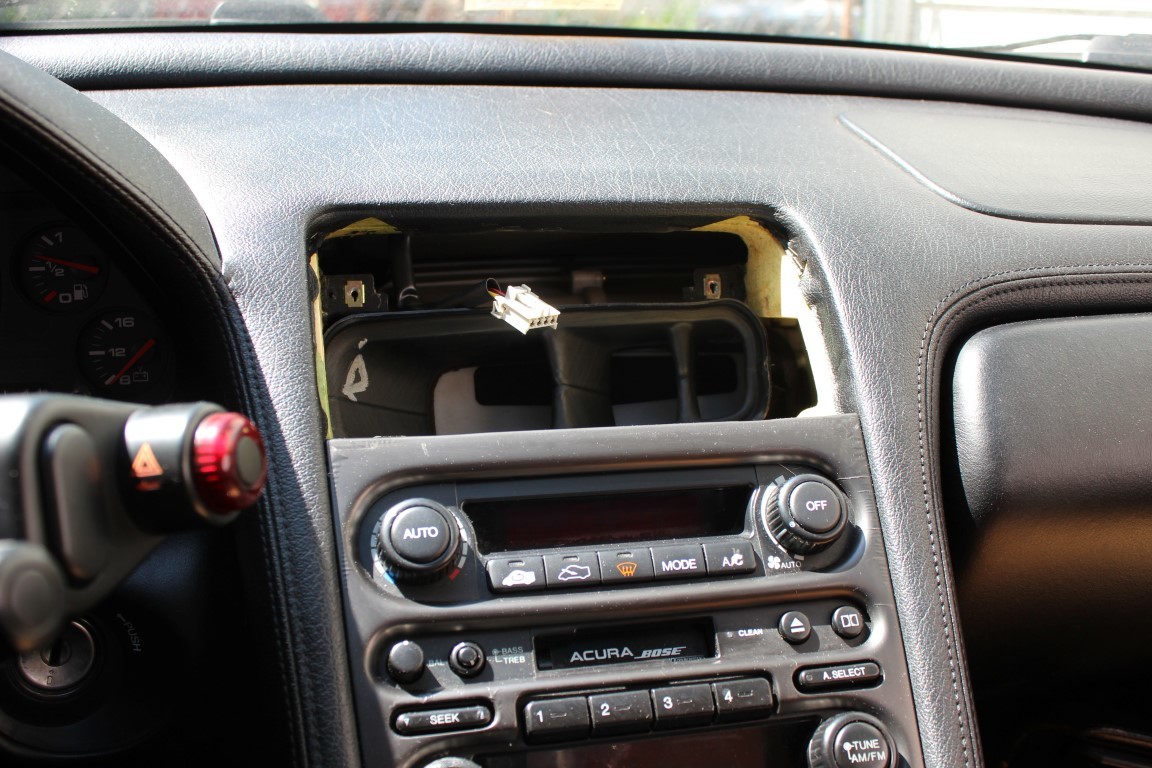
The panel will still be attached due to the cigarette lighter wiring, unplug that to free the trim piece from the car.
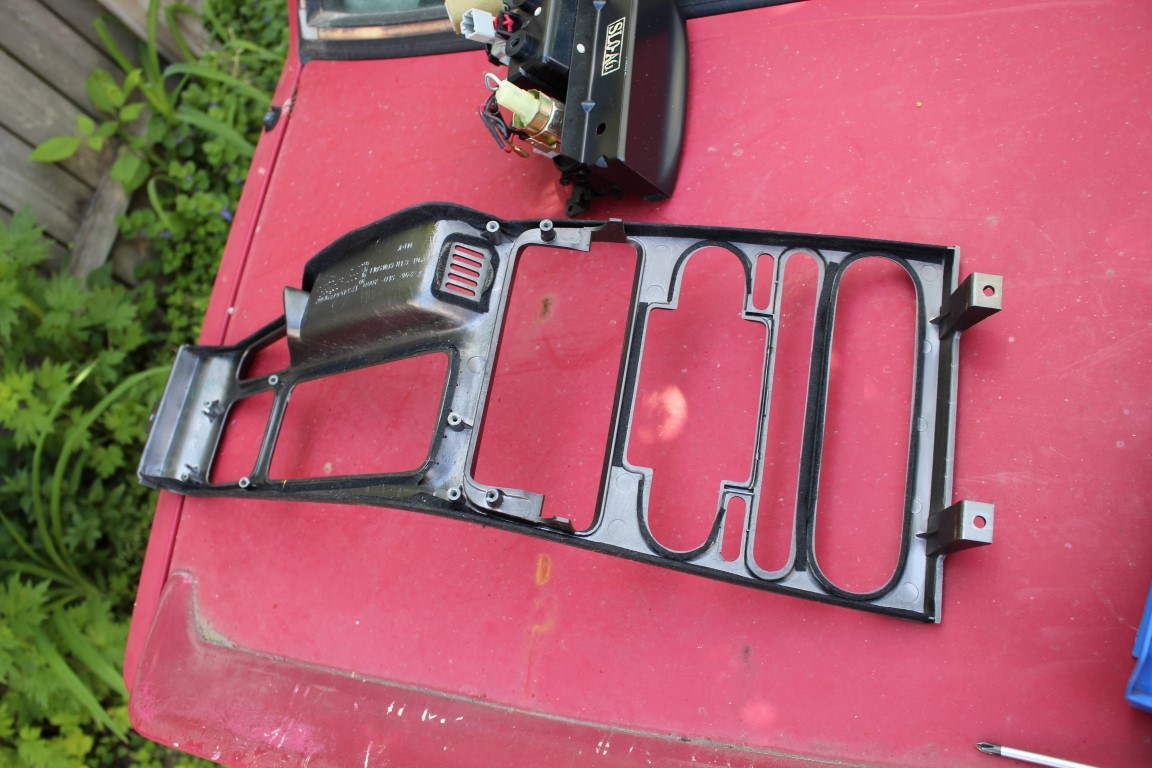
Now it is free! But further disassembly is needed.
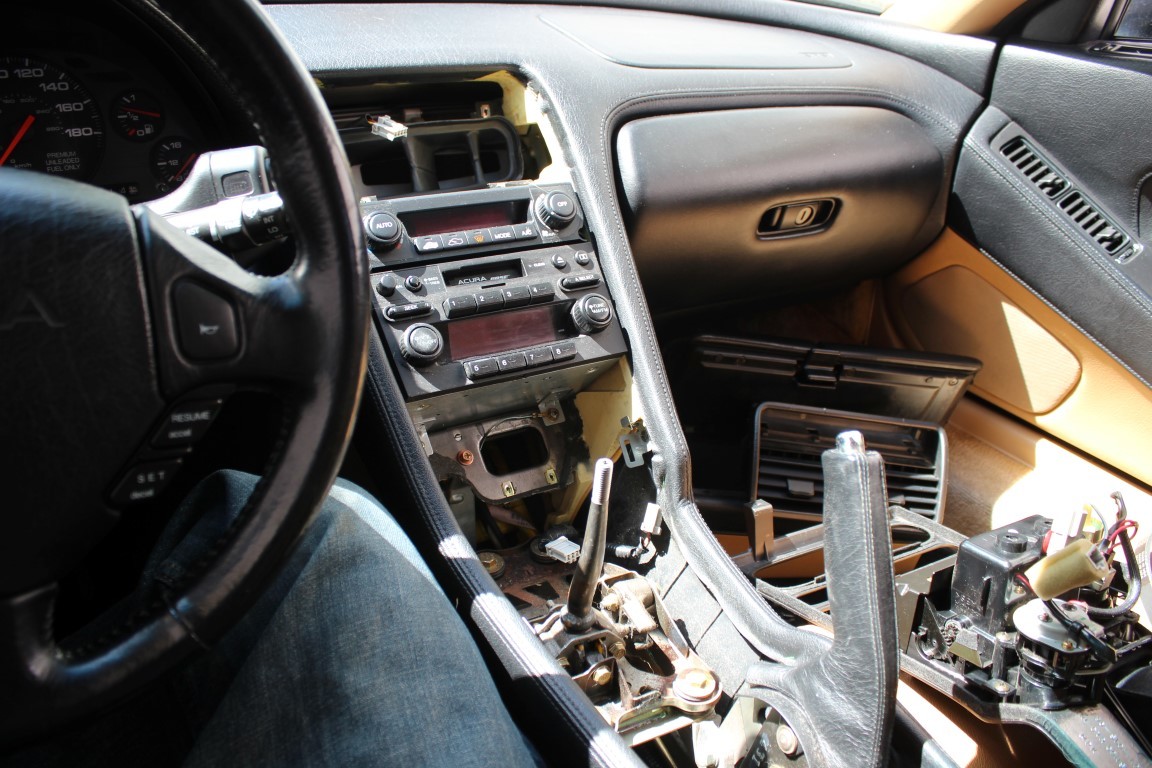
Now time to remove all the stuff from that trim piece so we can strip it down and paint it. The cig lighter module and shift boot are held on with a few phillips screws.
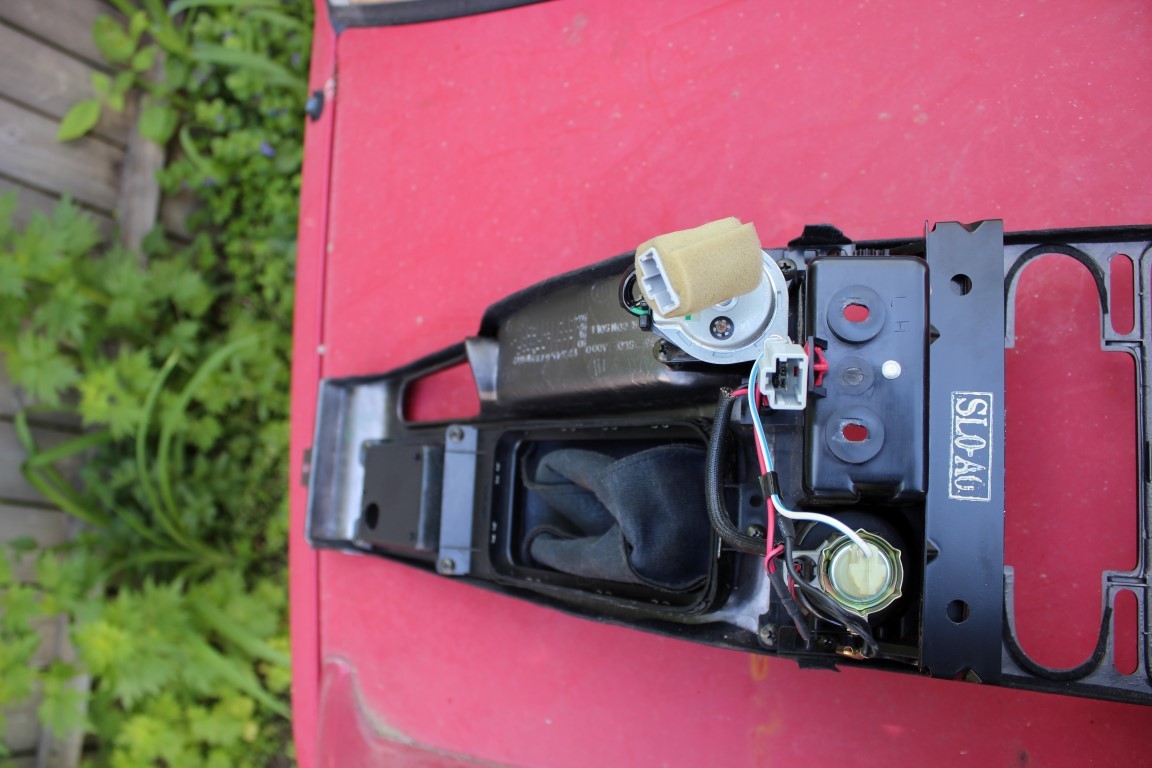
Stripped down and ready to go!
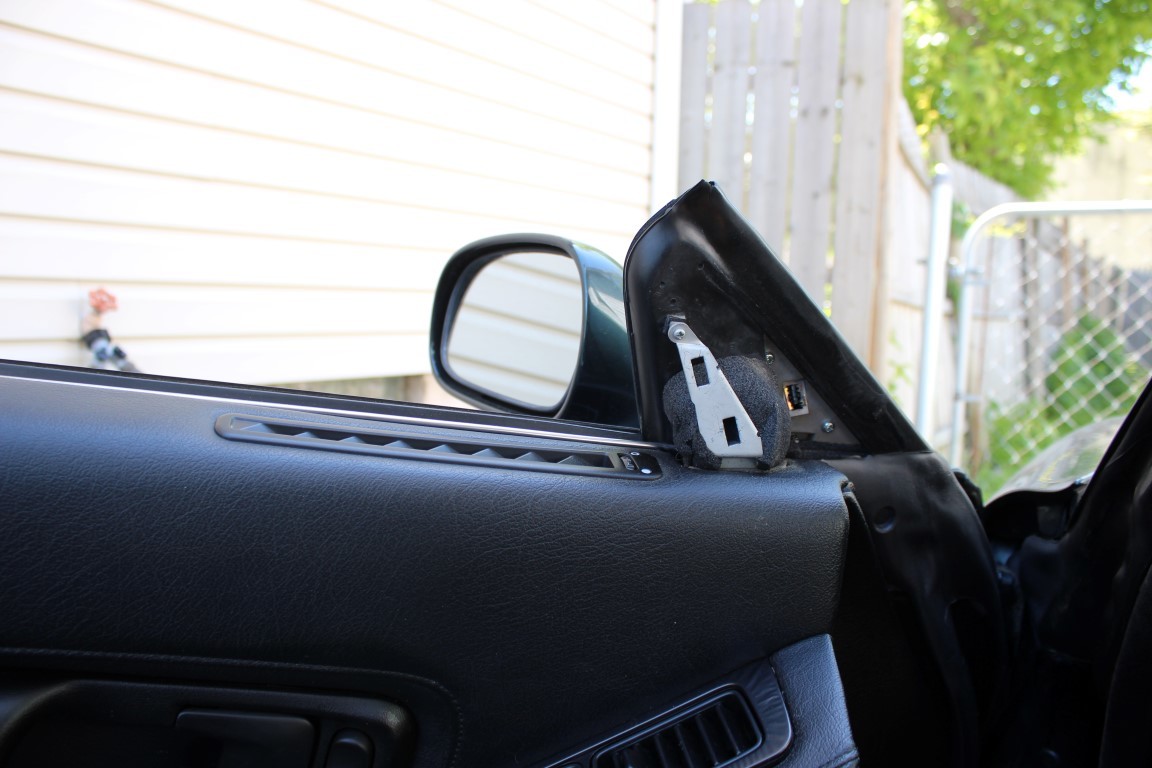
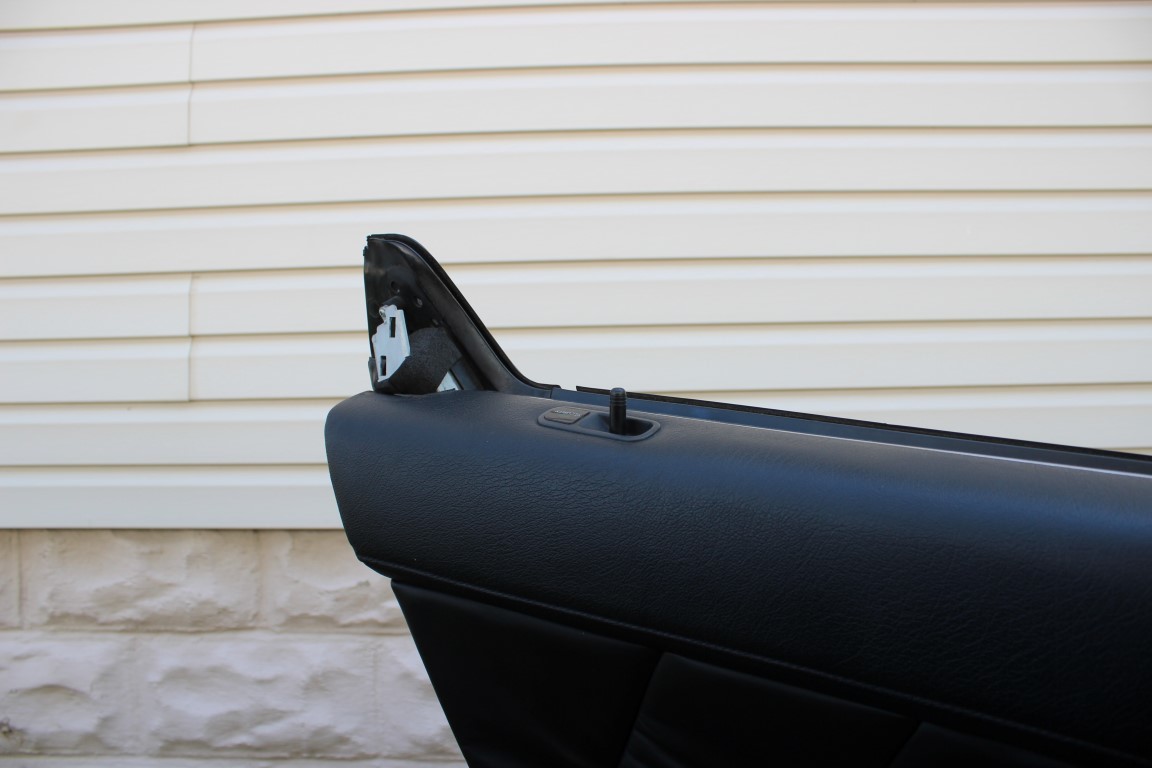
Now time for the door trim.
Carefully pry off the two trim pieces on the front and rear top of the door.
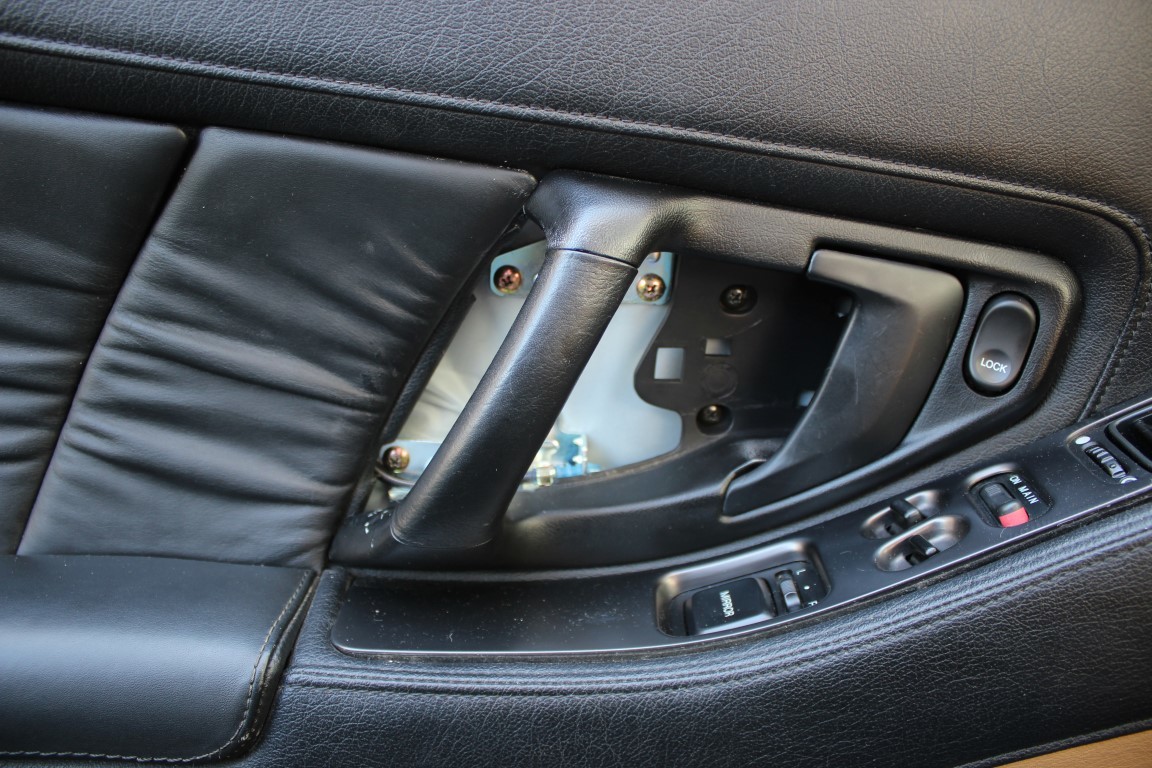
The leather card behind the door handle slides out. This piece is really stuck in there so it takes some wrangling to remove, it can also scratch the paint off the handle and trim as you can see in the picture below so be careful. Luckily I'm repainting these parts anyways.
Behind that card are several phillips screws. You have to put the handle in the open position to access some of them so make sure you get them all.
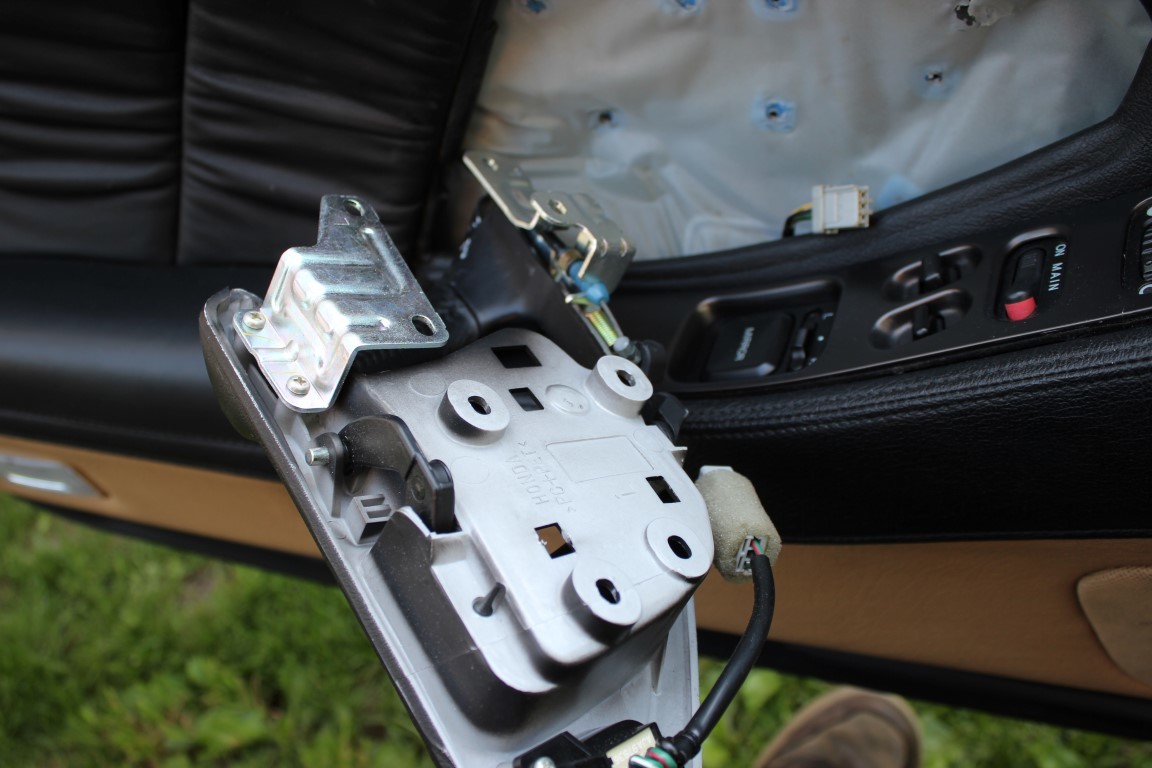
Unplug the door lock switch and remove the steel cable that connects the latch to the door mechanism. now your handle is free of the door.
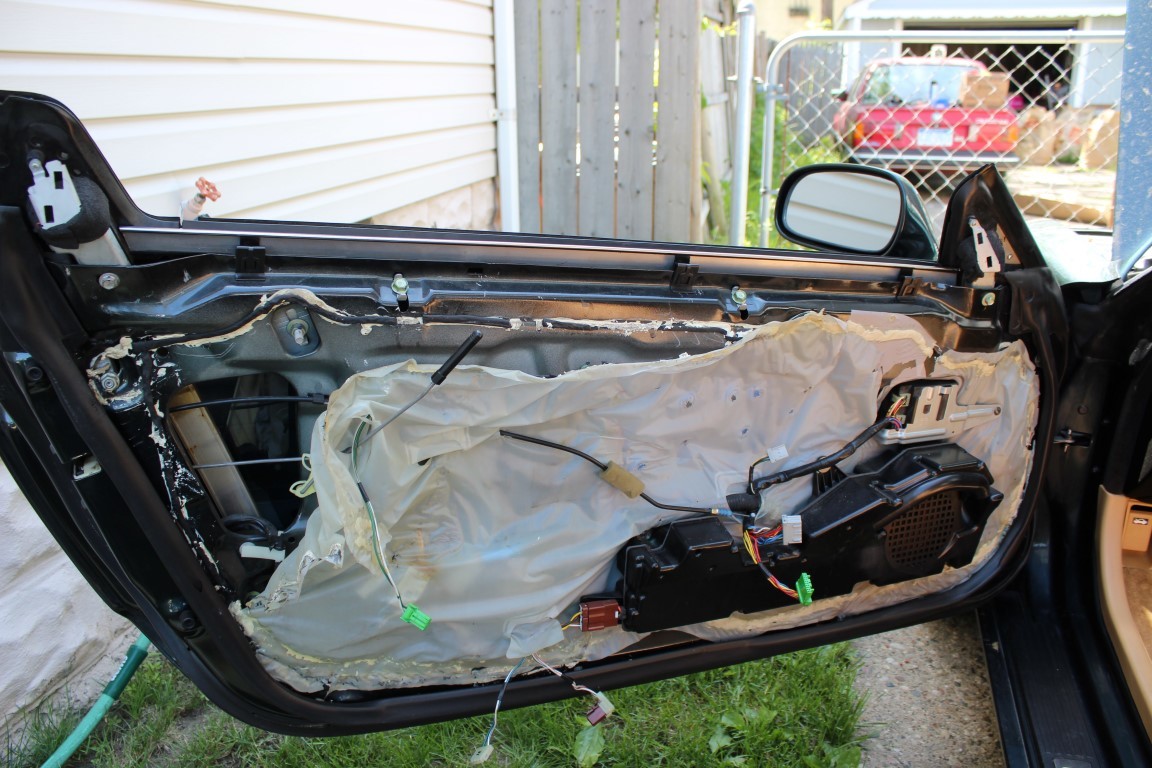
Carefully pull back the weather stripping along the bottom and sides of the door panel to expose more phillips screws. Remove those. When all the screws are removed you will be able to lift up on the interior door trim to pop it off the door. There will still be several things to unplug, such as the light, and the rest of the buttons. Once those are done the panel will be free of the door.
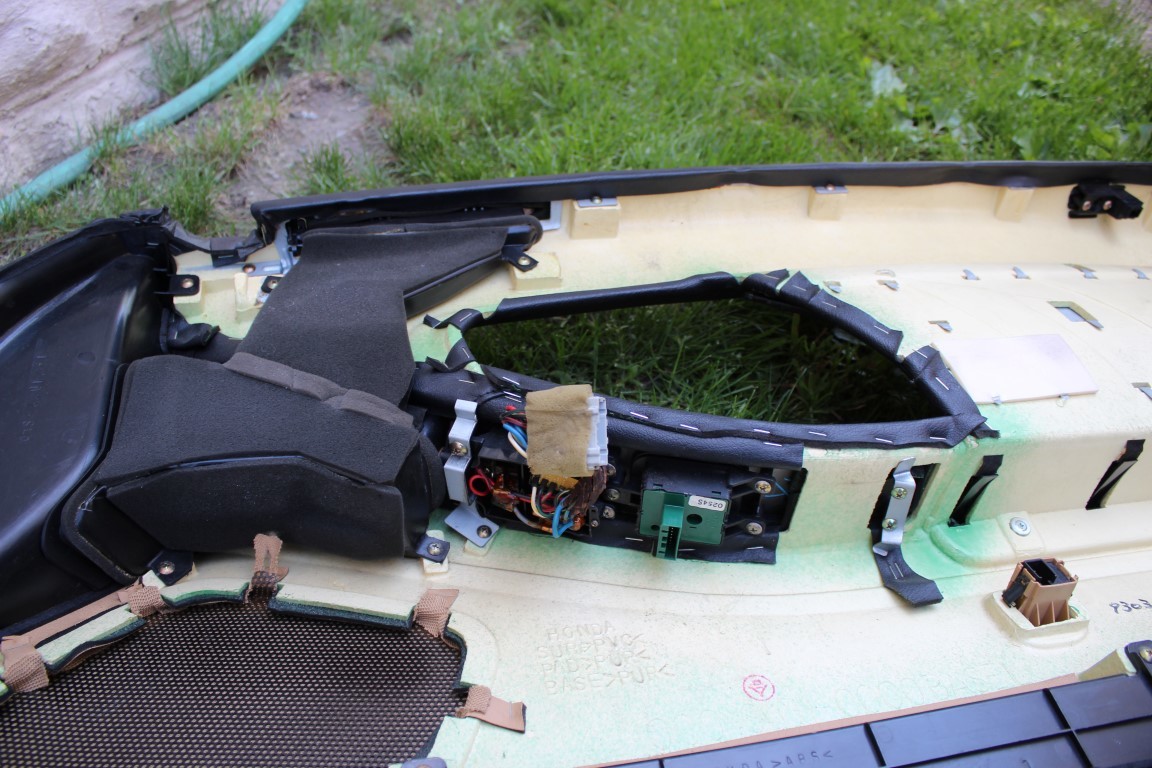
Here is the back of the door, several screws hold retaining clips that hold the trim piece to the panel. Remove these with your trusty screwdriver. The lock/mirror switches are held on by phillips screws as well. Remove those.
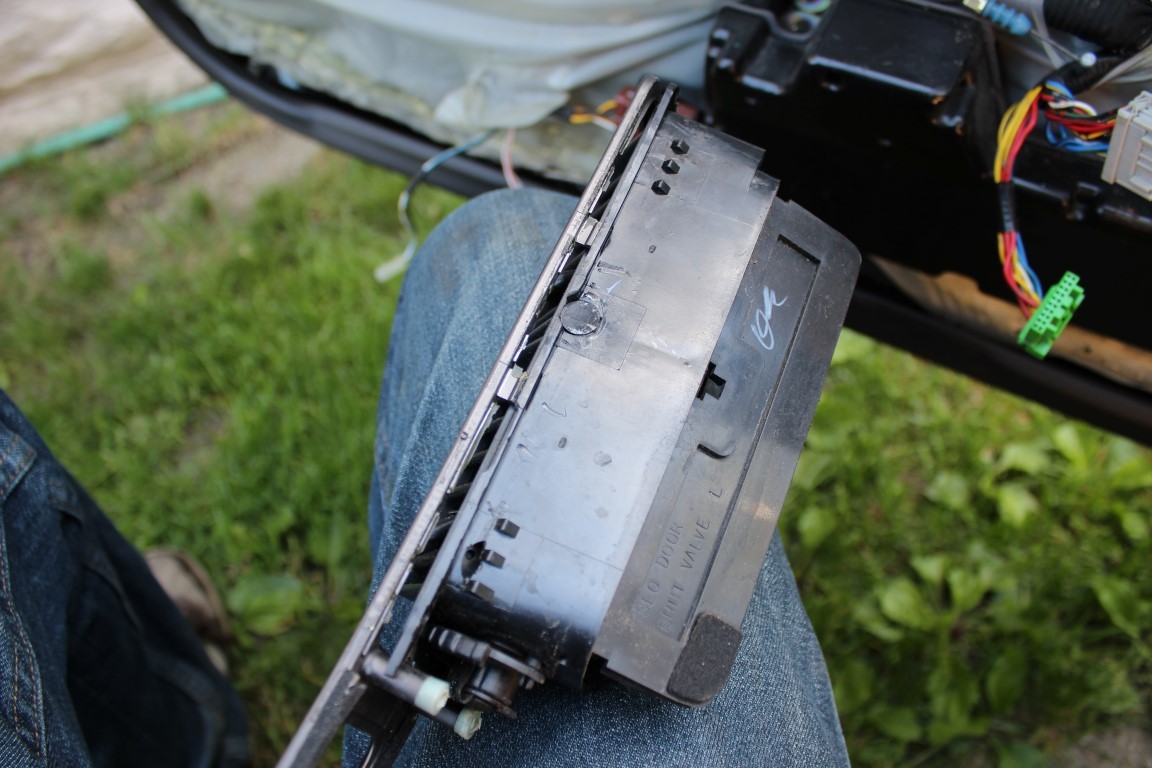
Now to remove the A/C vent. This is held on by several fragile clips. Be very careful when removing these, as its a tight fit and the clips aren't super robust.
With all the extra stuff removed from the trim its strippin time!
Follow the instructions on the can, it is nasty stuff so handle with care.
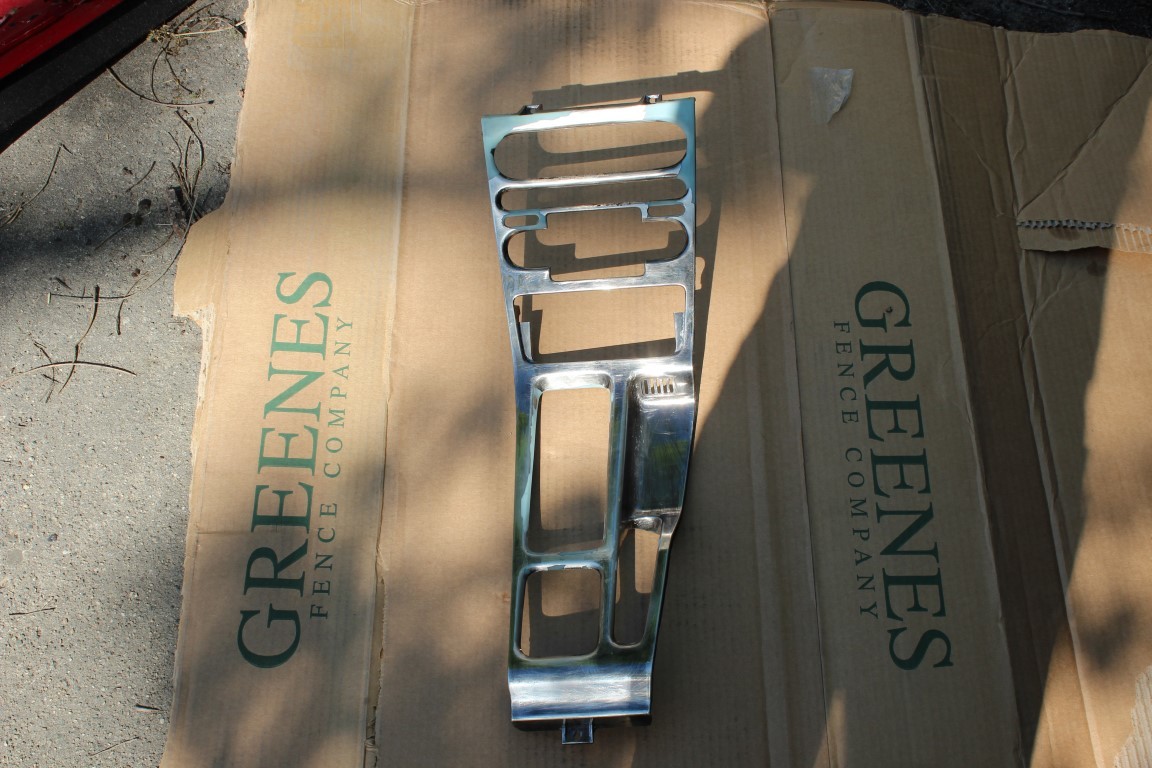
Now you can start peeling the old stuff off. There is a neat silvery finish underneath the paint. You will be able to remove all the bad wrinkly bits.
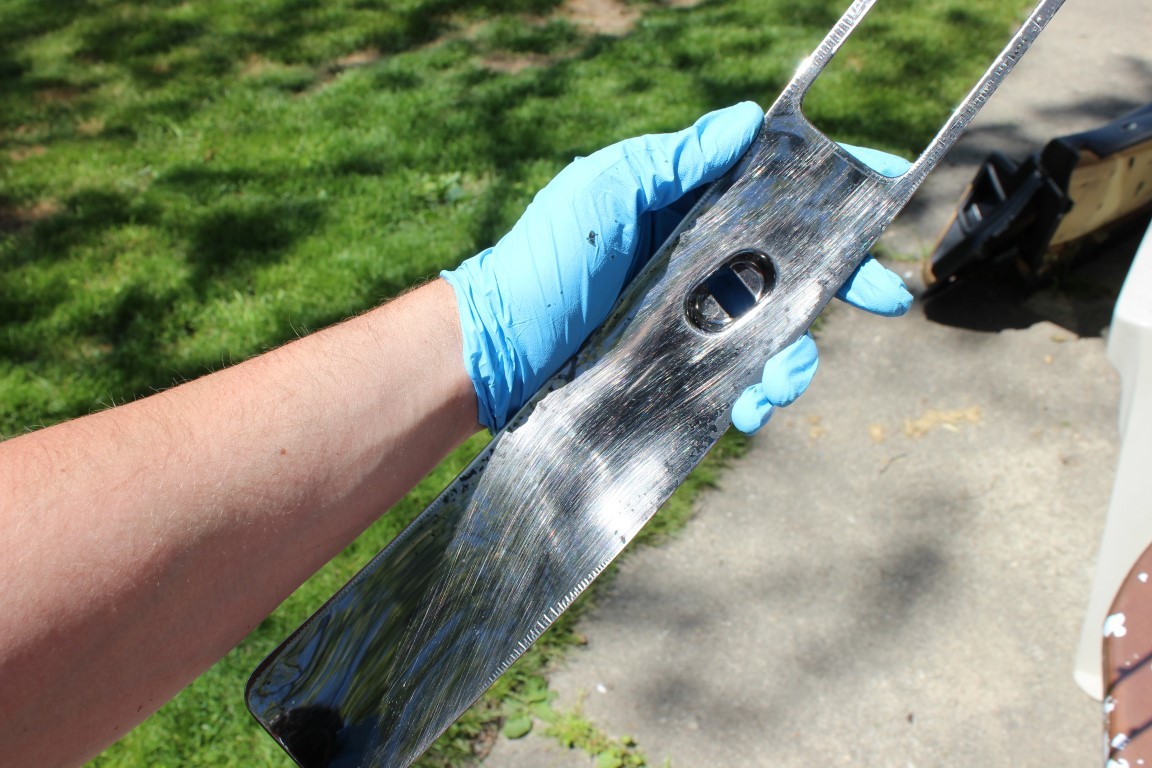
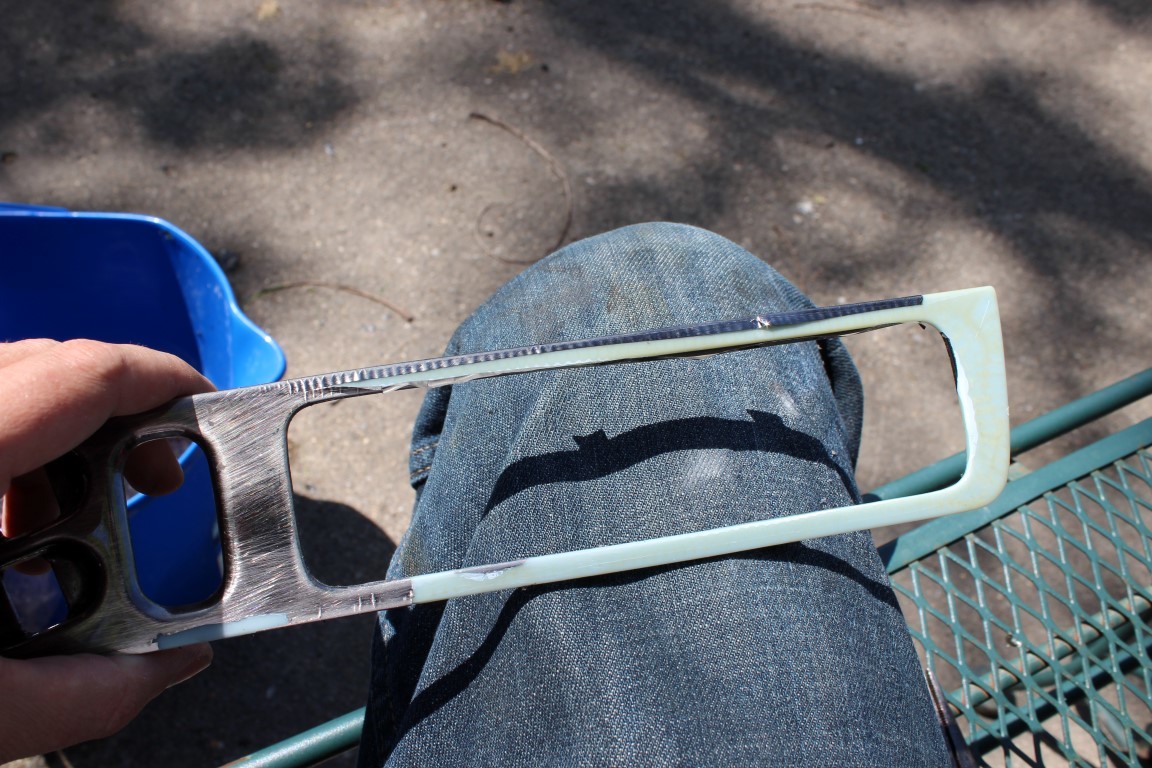
Shiney

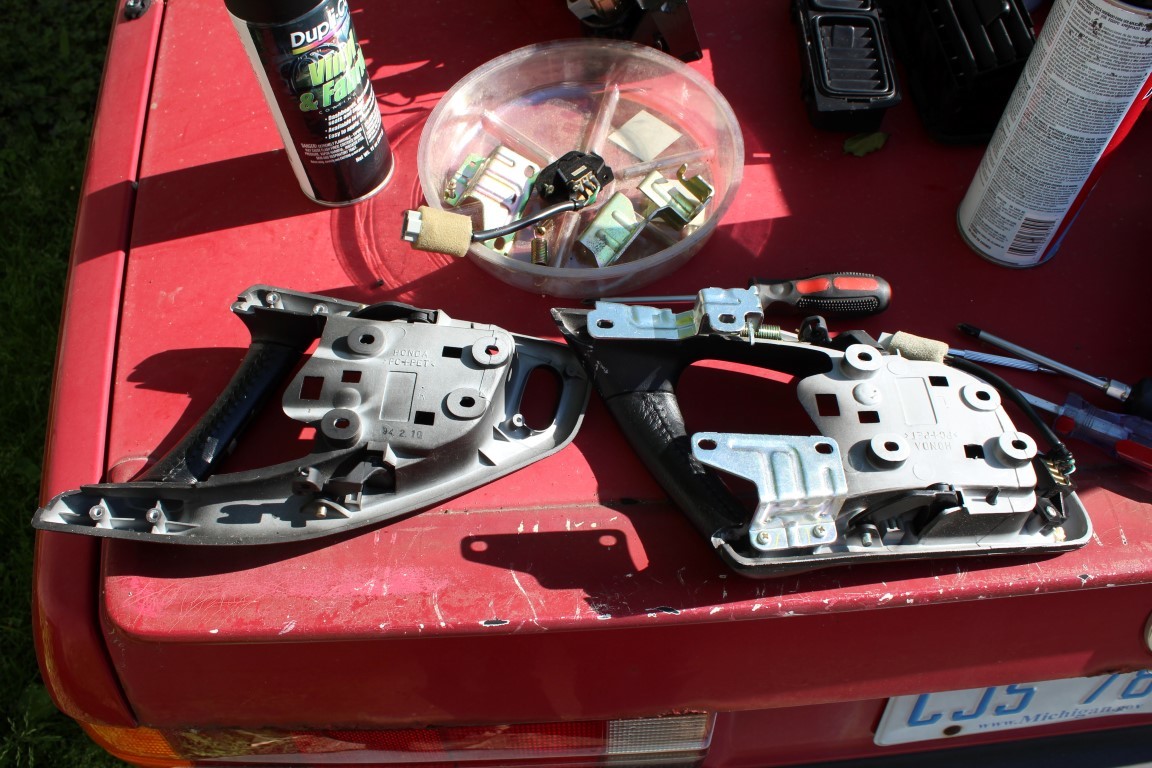
While that stuff was working I disassembled the door handles. The door lock switch and the metal mounting plates come off with a phillips screwdriver. There is also a door handle spring to remove. I taped over the leather handle and used standard matte black trim paint. In the picture below the handle on the left is disassembled, the one on the right still has all the bits on it.
Thoroughly wash the parts to prep for priming and paint. Put a nice coat of primer on there.
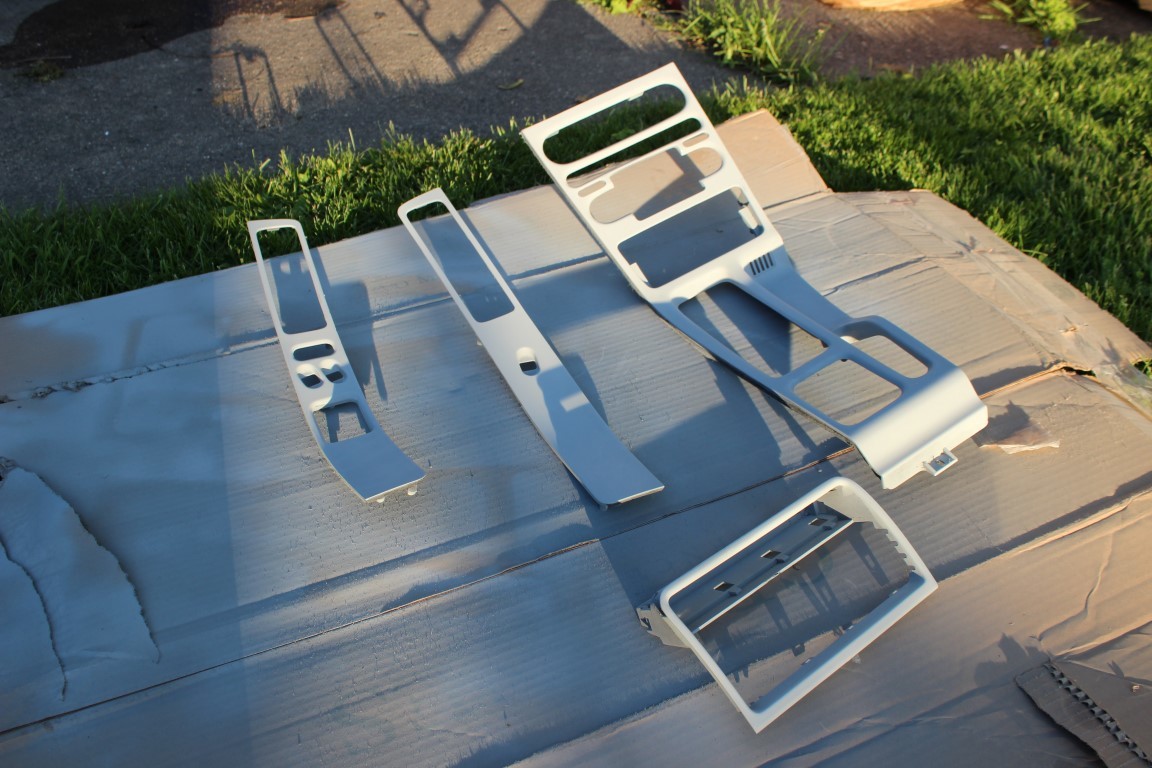
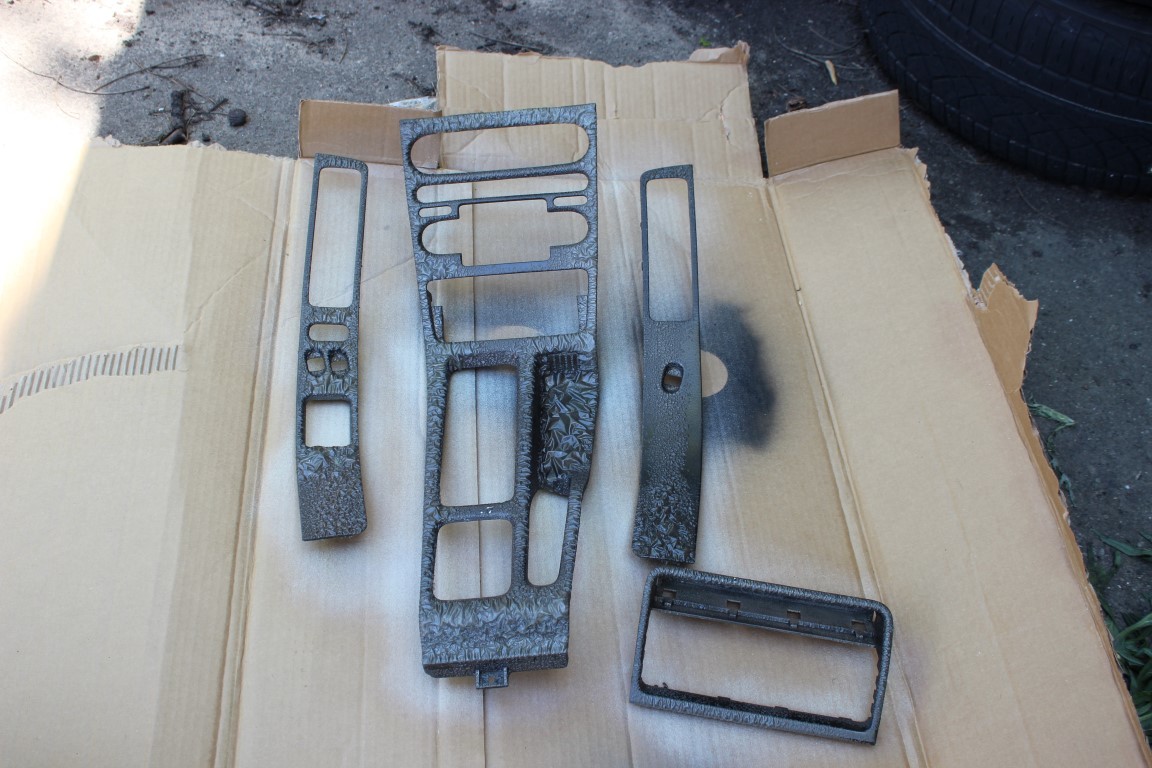
It took several tries to get a good looking color that somewhat matches the old trim color, which is a mix of silver, black, and grey. I used a mix of different automotive color paints. A lot of the paint colors have sparkles or flake in them which looks odd so avoid those.
I did several iterations until I found one that looked decent. Here is an early one, getting the silver grey base before eventually darkening it.

I also painted the door handles and surrounds with standard matte black interior paint. Came out really good, no more scratches or dings.
Once you have the color you like allow the paint to harden so it doesn't scratch as easily during re-installation. For re-assembly follow the assembly steps in reverse.
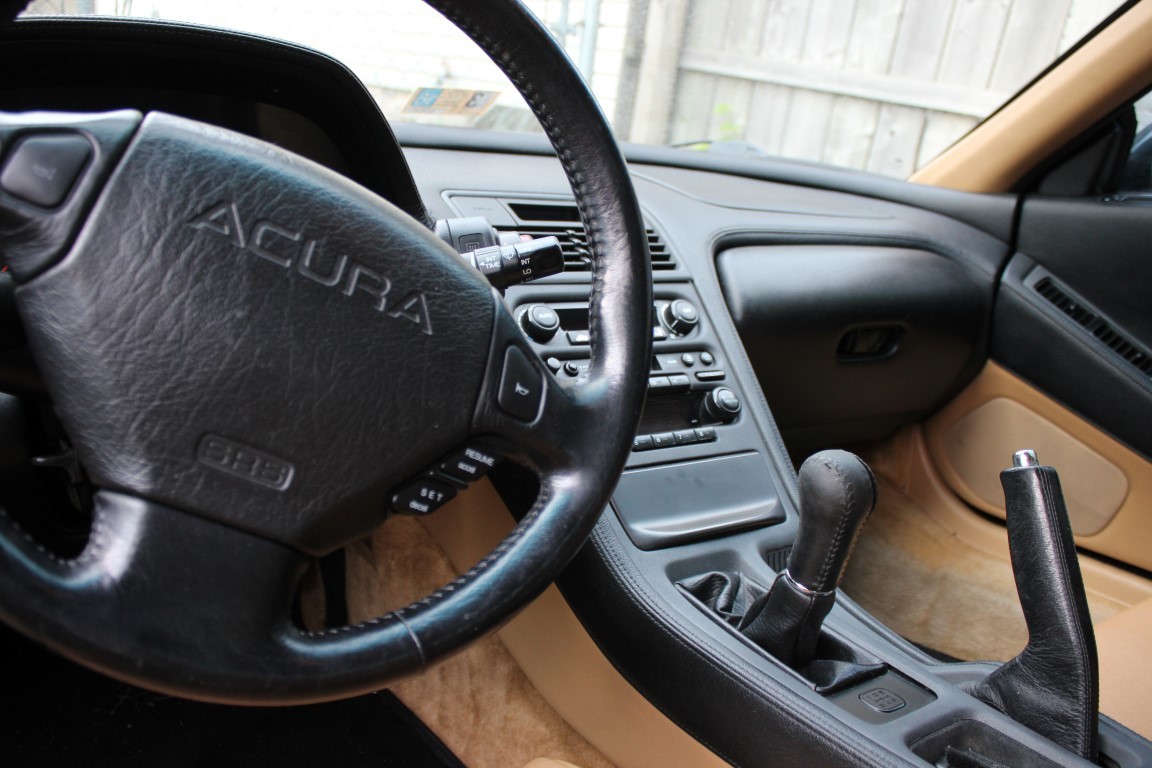
I was pretty satisfied with how it turned out. The color is subtle and somewhat close to stock. You can see it matches the ashtray door color pretty well. Eventually I may have the panels wrapped to get closer to the stock color but as of now it looks much better than before with the wrinkling and peeling panels.
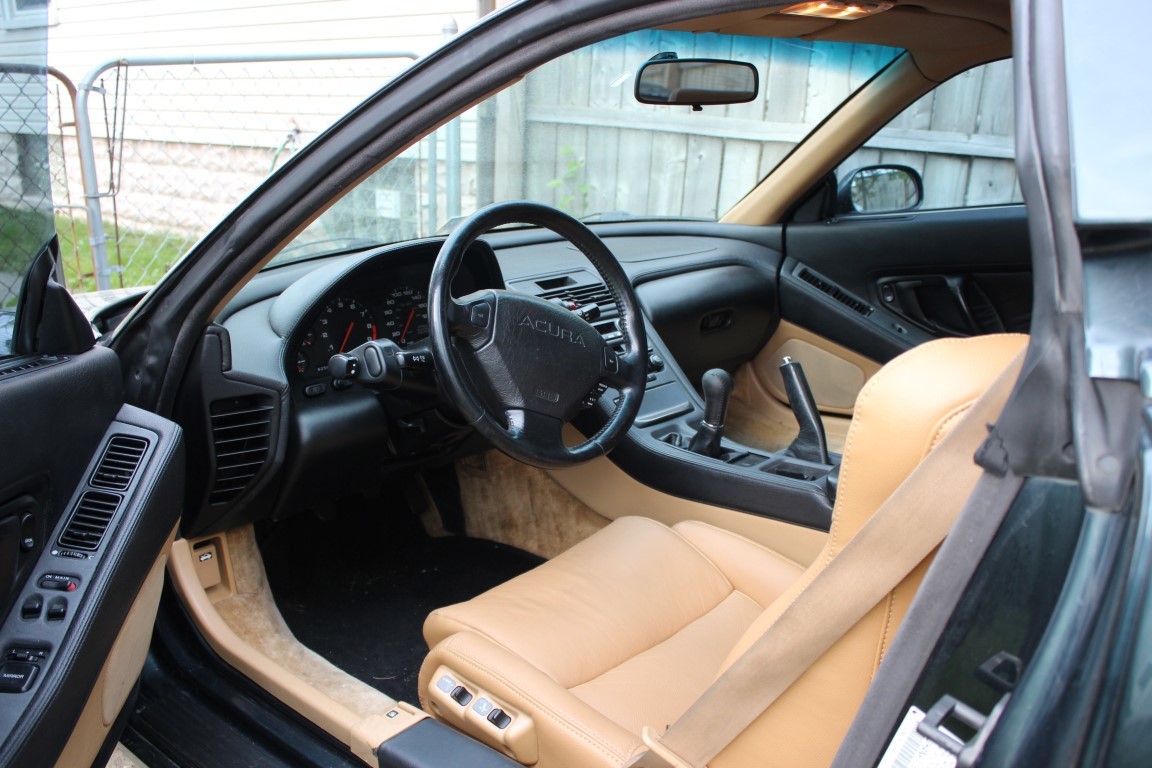

That was a great car!
Posted by Diggymart on 9/3/19 @ 9:22:47 PM