You must be logged in to rate content!
5 minute(s) of a 210 minute read
2-18-2020
I've finally resized the photos, which felt like a lifetime if I'm honest.
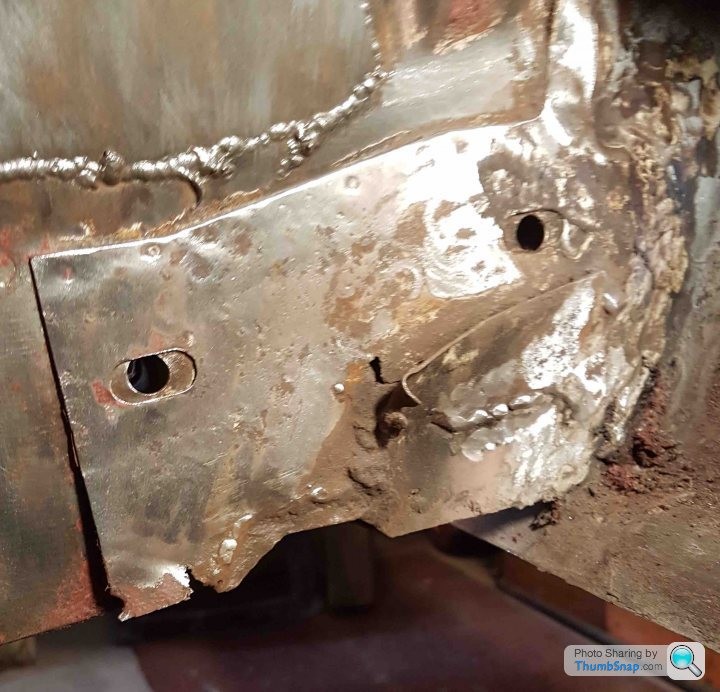
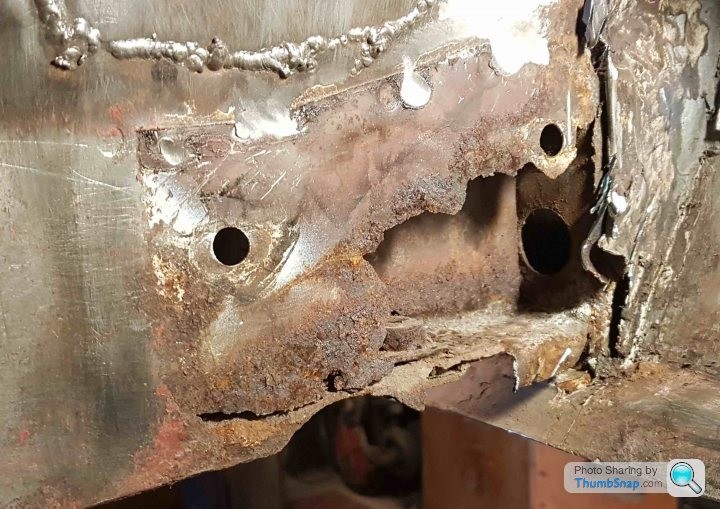
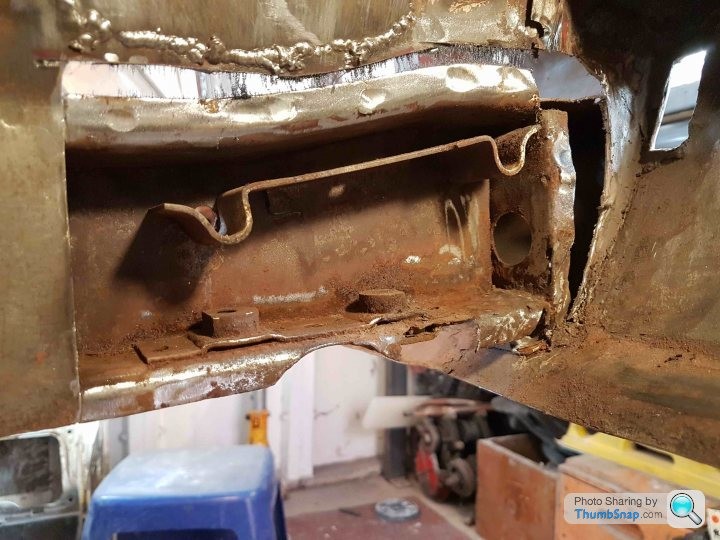
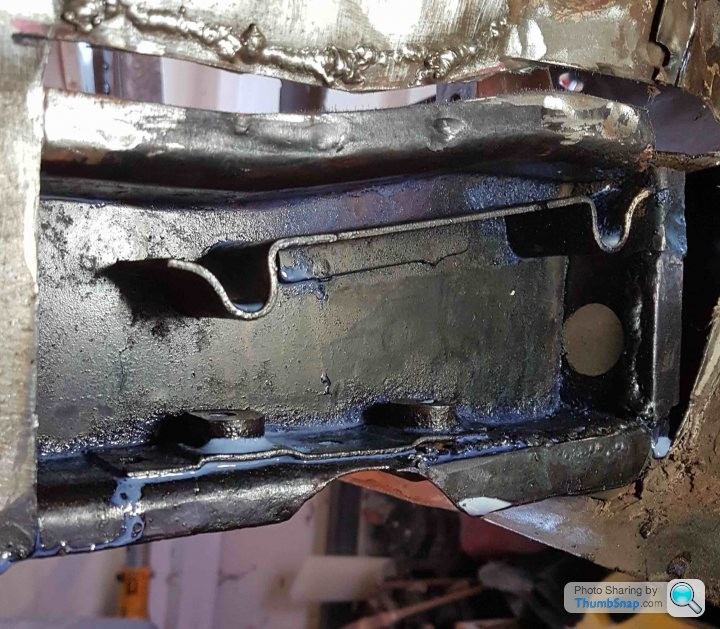
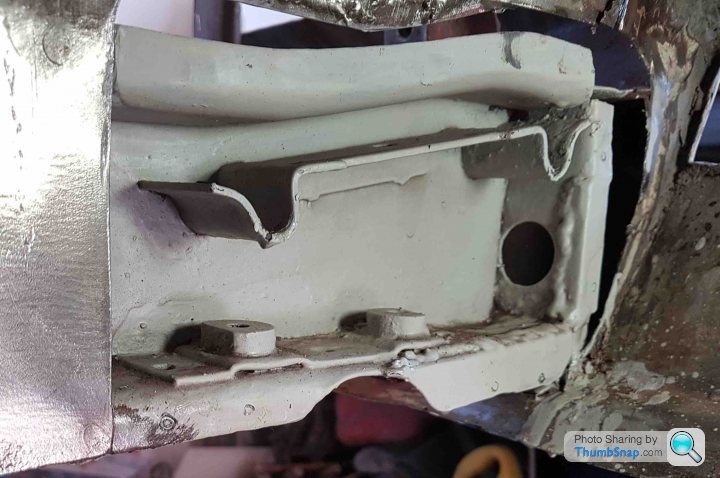
Keeping with the repairs to the chassis...
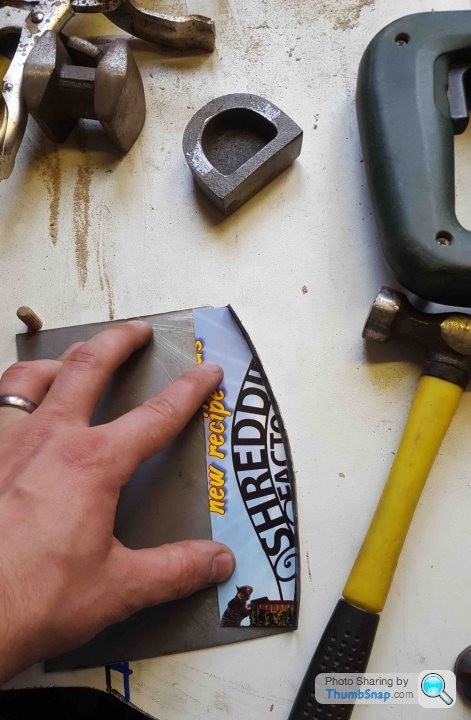
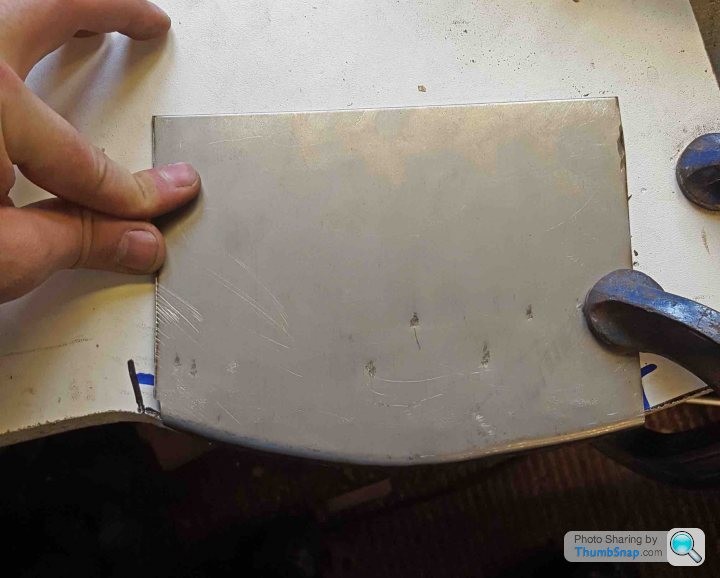
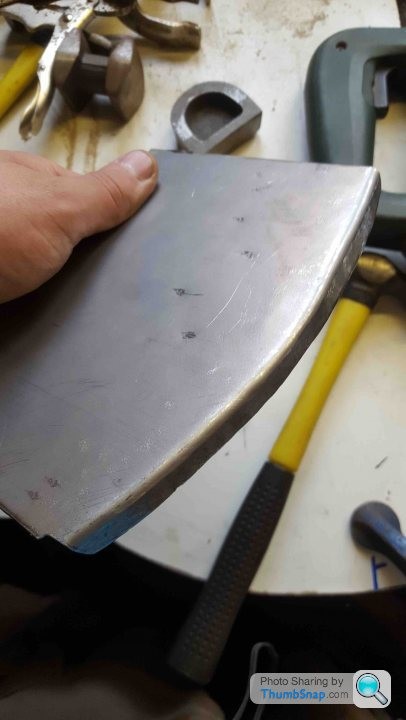
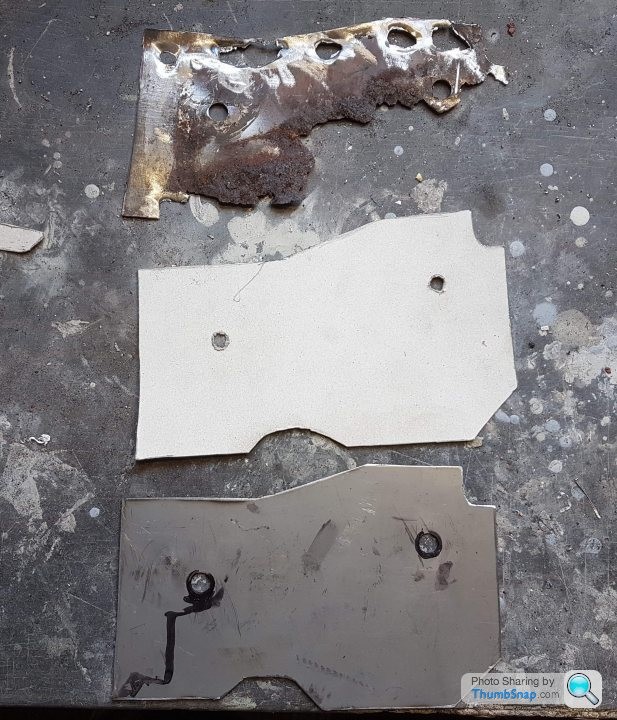
Some old chipboard came in handy for making formers - it's useful if you don't have a shrinker/stretcher
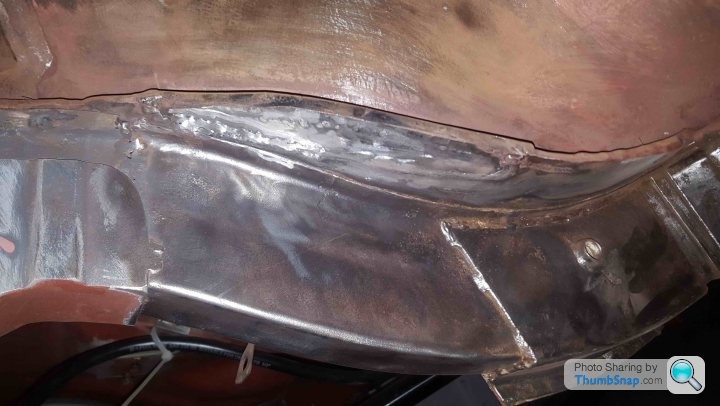
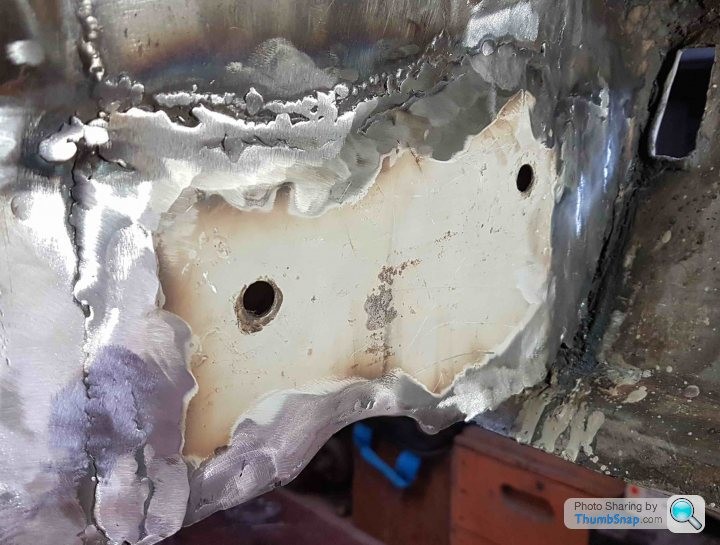
If you think it's ugly now...
I should also apologise as the timeline for all this work is not correct, I kept a decent record of work in the form of photos but not so much in dates themselves!
In 2009 in preparation for the Le Mans trip and my return to university in September after finishing my work placement year I set about sorting the engine.
I feel I need to explain why I drove the engine with no oil pressure that day. Back in 2006 during daily duties the Cortina's oil pressure gauge suddenly dropped to 0. I saw this and quickly pulled over and proceeded to check everything I could at the side of the road but there was no loss of oil (which is odd because it's spilled more oil than BP!) nothing was seized or suffering from no oil pressure it was an issue with the pressure sender for the gauge.
Oil pressure senders are specific to the GT compared to the other models of the Mk1 (lotus used smiths gauges I think). so I removed it and cleaned it as best as I could be to no avail. I continued driving with no issues till it sprang into life 2 months later, a further 3 months later it dropped off again and I thought it had decided to have a day off - I was wrong! The sump plug wasn't attached to the car it was about a mile away with a trail of oil to help me find it!
So I lost my engine and upset the local council. Far from ideal!
I hadn't planned on reconditioning the engine as I was going to fit a zetec engine, I purchased an ST170 lump, a type 9 gearbox and a spare crossmember to modify. I measured it all up and just before I cut the crossmember I had a change in heart, I looked at the zetec and I didn't want to do that to my car.
My engine was sent to a local engine refurbishers who upon inspection saw that the work required to the block was uneconomical because of the damage to the cylinders which were blued due to heat and the cam bearing carriers needing to be line bored because we couldn't source a new set of +5 thou (modern ones only go up in 10's).
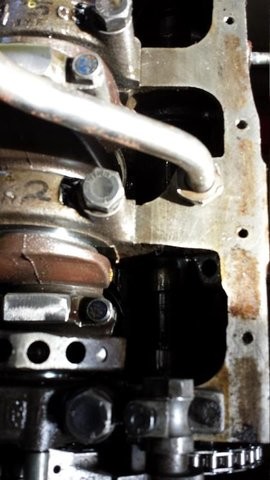
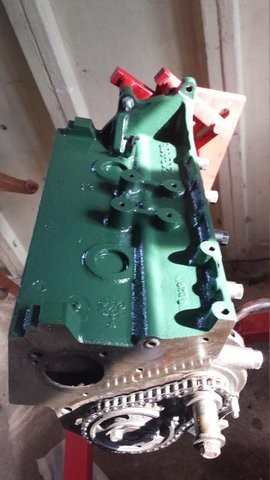
A hunt on eBay found this engine from a local college that had been used to teach student how to cross threads and do cam timing but it was dry stored and useable
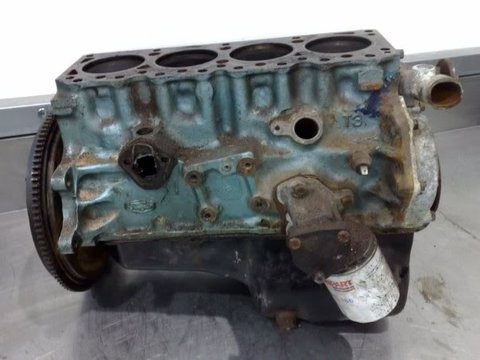
This block has been bored to +90 giving me 1590cc, the bottom end was balanced.
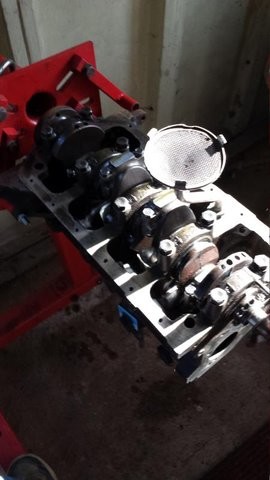
The engine has also had an A2 fast road cam, electronic ignition and a ported and polished head
This then sat till 2015 till I went it was finally placed into the car. I had decided to essentially rebuild the cortina to get make sure this all worked and get anything fabricated before it was all painted.
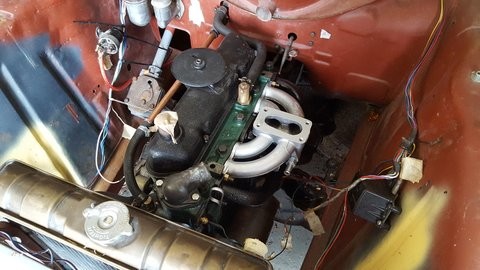
2015 was also a pinnacle year for the build - this was the 1st time in 10 years that I actually lived at the same place as the Cortina. All because I bought a house with a garage! I also got married that week so I took some time off working on the Cortina
Comments
Great work mate! Loved the taillights and fins on these cortinas. Remind me of the old type 34 VWs.
Posted by MPower on 10/31/20 @ 3:15:41 AM

Thank you! I had never made that connection before, you're right!
Posted by Jim_builds on 11/16/20 @ 2:29:18 PM
Thank you Steve I appreciate the support, it feels like a lifetime since I did a lot of the work! Hopefully I'll be back on the road early next year so I can finally put some miles on her.
Posted by Jim_builds on 10/26/20 @ 12:08:47 PM
Beautiful Cortina! Looks like a lot of work but you did a bang up job! Glad you saved this one!
Posted by stevegolf on 10/22/20 @ 11:06:39 PM
Thanks for all the photos! Such a cool car!
Posted by Diggymart on 11/12/23 @ 10:55:36 PM