You must be logged in to rate content!
9 minute(s) of a 210 minute read
7-5-2022
Going back to March when I was waiting for the cylinder head to come back I had completed all the small jobs that needed to be done prior to going back out on the roads and I was looking for something to do, for a while I had wanted to try making something from carbon fibre and had been considering putting a second 12v socket in the Cortina but I'm reluctant to drill the dashboard again.
The center console is the most logical spot to put one but these consoles are getting expensive and I'm loathed to modify something like this in a way that cannot be put back to how it was without much issue.
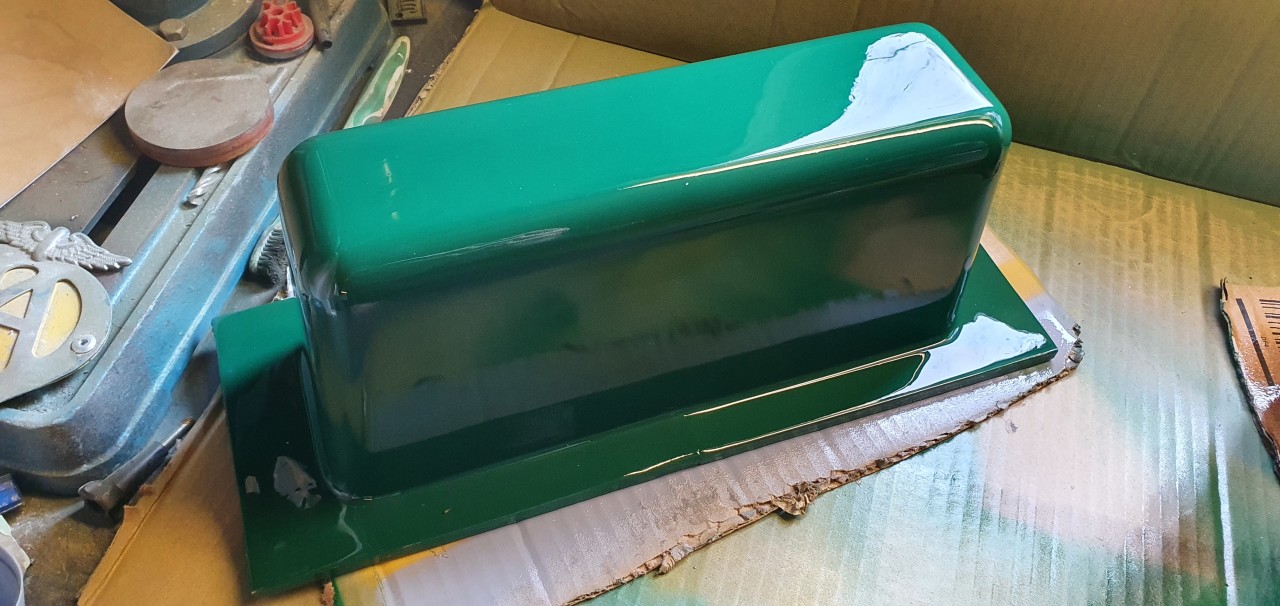
Doing some research by watching easy composites Youtube channel got me thinking about 3D printed moulds being used to make carbon fibre parts - this is great for me as I can produce a mould that doesn't compromise the original console pocket and I can print it whilst I'm doing something else. The major issue is the mould would be too large for the printer so it was halved and then bonded once printed.

I had compromised print quality in favour for time of print, based on my preferred settings it would be 48hrs but worked it down to 15! Knowing I had to sand and fill it anyway I wasn't upset but I have learnt a few things since doing this. It also reminded me why I hate doing bodywork!
The kit from easy composites is a great way to get a foot in the door. It comes with PVA mould release, 300x1000mm piece of carbon 2x2 twill, epoxy resin for the fibre, epoxy resin for finishing, peel ply, various grades of wet and dry and then some gloves and brushes.
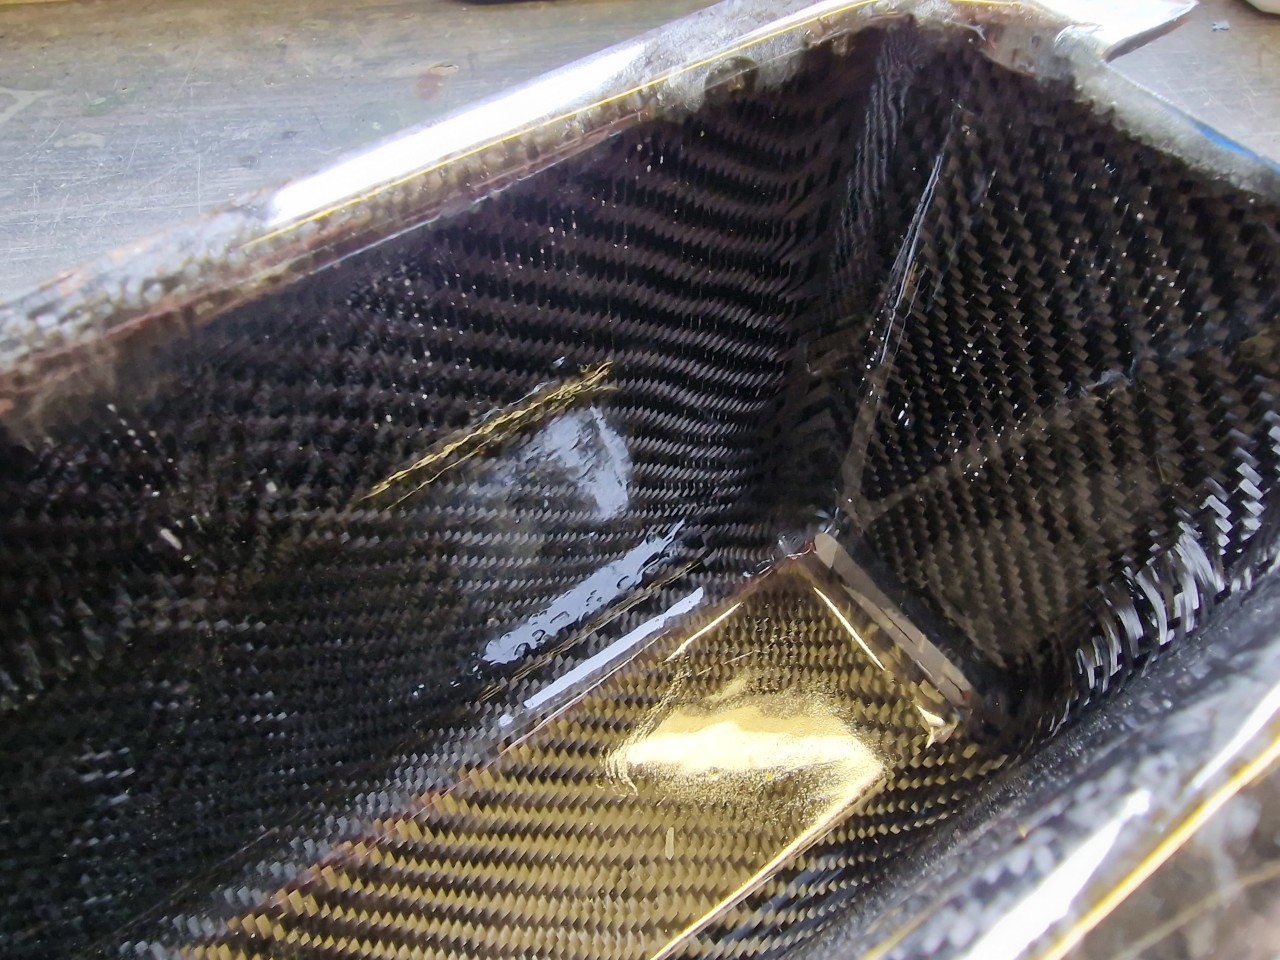
This is when the fun started as I had underestimated how much fibre I would need and could have down with a bit more to laminate it. Carbon fibre looks great when applied by professionals, less so when done by have a go heroes in a garage having what looked like a mental breakdown! My gloves were covered in resin and carbon strands, my bench has resin strewn across it but I had made a carbon fibre part.
I think I need more mould release next time...
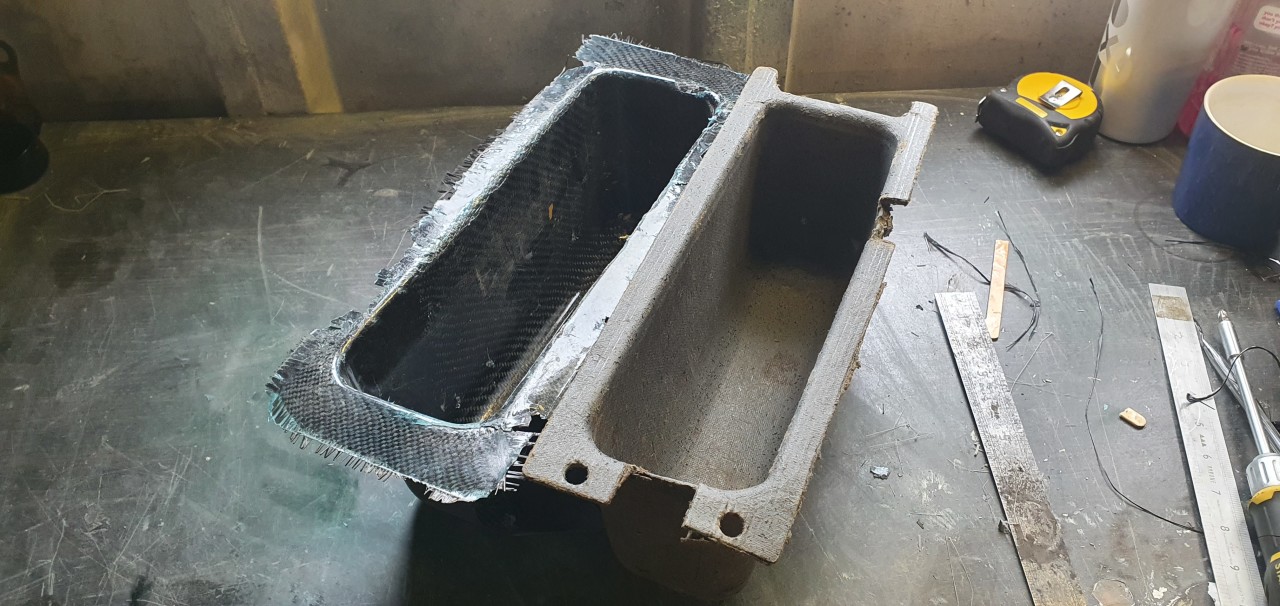
Dimensionally the pocket was correct but the flange was compromised as I was focussed on covering the pocket than how it's mounted, I know that there is a trim piece that will cover the flange so to make it useable I bolstered the flange using fibreglass instead - something I will improve on.
That is how the part stayed till last week as I had lost motivation to sort it as I wasn't happy with what I had made. Every now and then I would pick it up and sand it or cut and drill it for trial fitting. I was fussing over the part and realising I just needed to go for it so applied a layer of the finishing resin which totally transformed the look of the part.
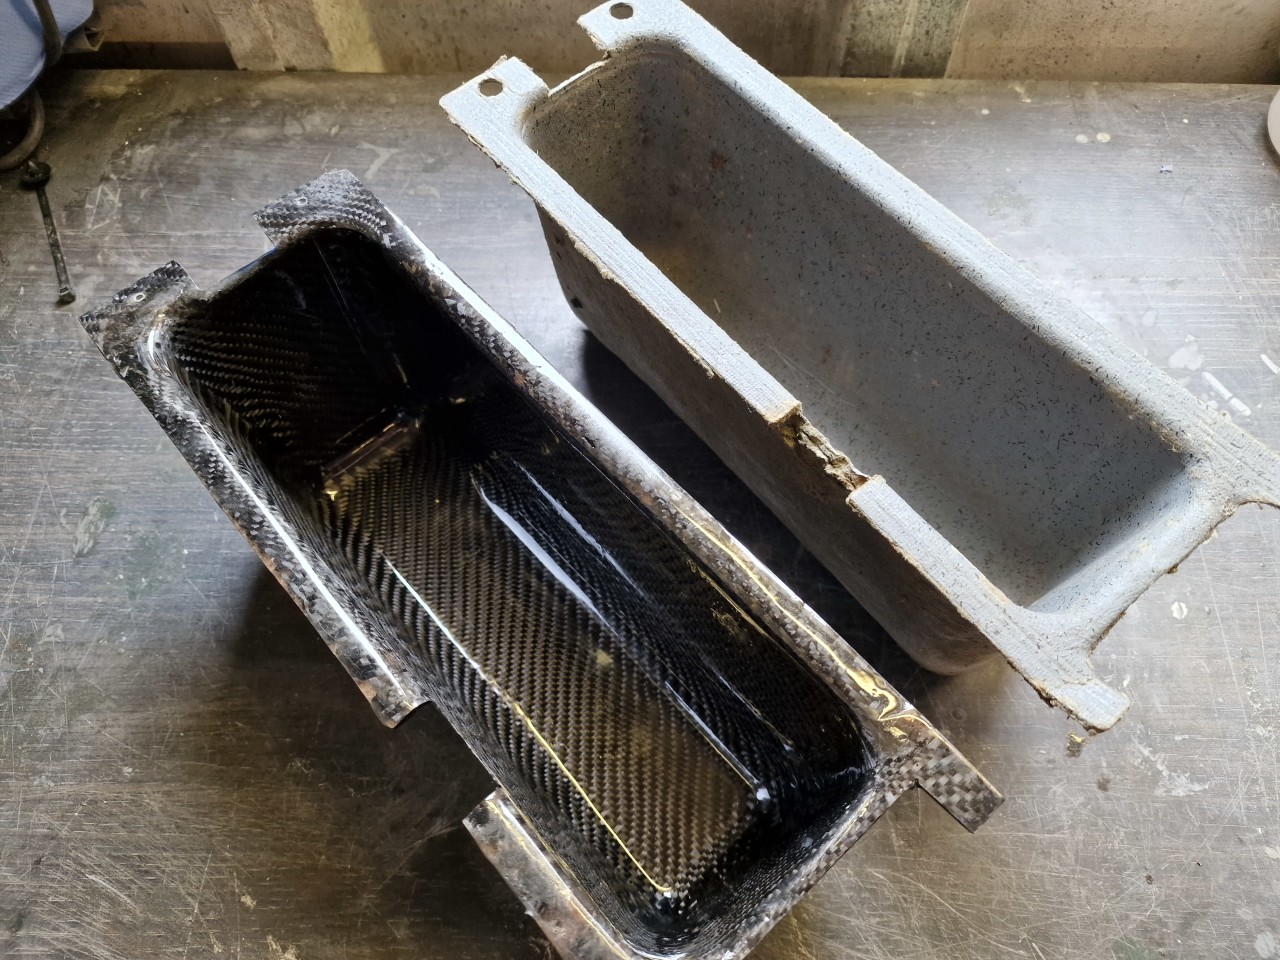
Up close it doesn't look great but painted you'd never know - that's not the point though!
I have put it in the Cortina and I quite like how it looks and doesn't look out of place given the modern look of carbon fibre, I have the glovebox to make which I will improve on what I've made but I think I'll come back to this and retry producing it but better!

9-12-2022
It's been a while since I talked about the Cortina, I have been using the Cortina weekly to go to the office which has been great as it's mainly B roads and gives the engine a good workout but it's a bit noisy! I thought I would download a decibel app for my phone to see where it is currently and how much I can improve it by.
Sat idling (on choke) I was getting around 63 dB which is apparently similar to that of normal conversation which makes sense as we can have a conversation at this level up to 50mph approximately after that conversation was pointless and maintaining speed at 70mph on light throttle was producing a horrendous vibration noise that would disappear once more throttle is applied or my foot is removed completely. When testing the levels I drove up a junction on the M1 and managed to get a high score of 84dB (85 and higher can lead to hearing loss after prolonged exposure!)
When refitting the interior the first time I used the under felt that I had made back in 2006 when I put new carpet in as the original had disintegrated which I couldn't remember being that loud but I have modified the Cortina in the meantime and I'm now used to driving quieter cars! The interior is easy to remove and also gave me a chance to tidy the loom as I have been messing with it recently.
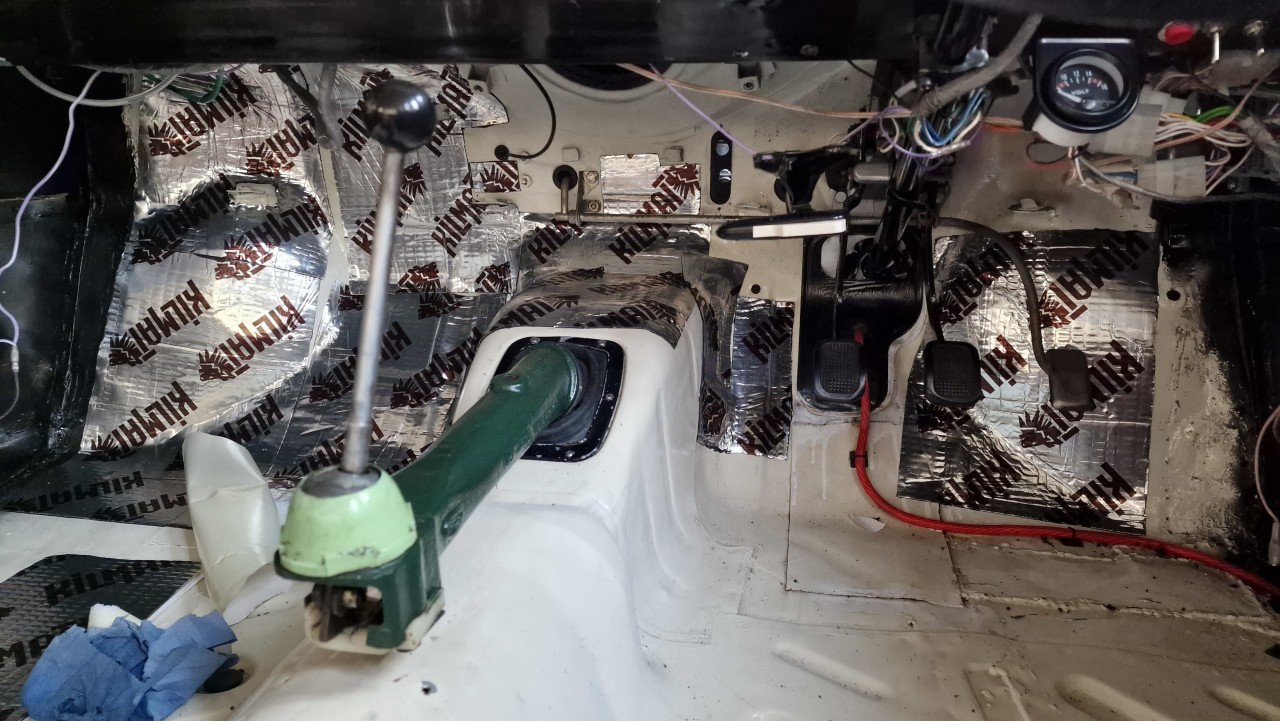
I had to remove the heater to access not only the bulkhead but also check the throttle linkage which bolts to the bulkhead and is inaccessible with the heater in, it was loose despite having a spring washer. I changed the fasteners and used anti vibration washers and nylocs as a belts and braces. The kilmat is 2mm thick and seemed to go on fairly easily.

Having covered the floor with these pads I went over that with a 6mm closed cell foam that was recommended to me which further softened the tinny sounds to a dull thud.
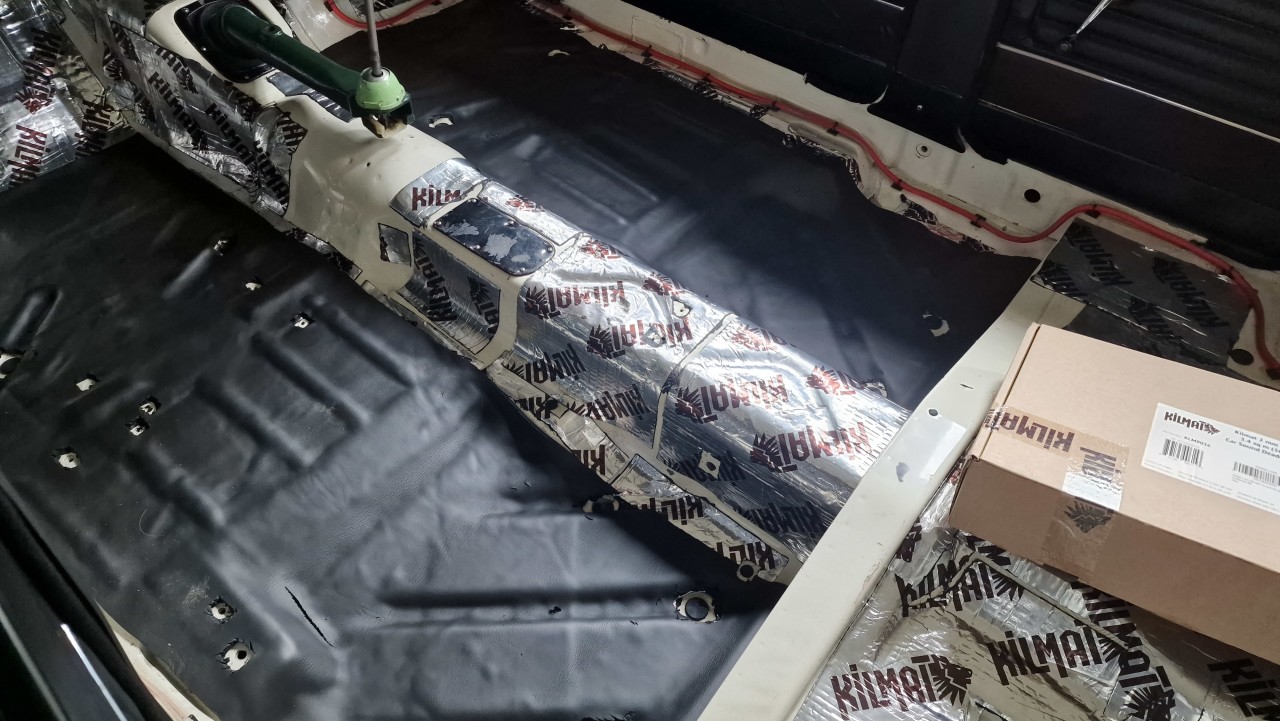
The transmission tunnel was left as I have the centre console to fit and raising it 8mm would cause it to clash with the parcel tray, with the interior back I decided to go for a run and see whether I had made any improvement or just added weight fo no reason! I must admit I was sceptical as at idle it was registering low 60s which is the same as before but I had to remember that this seems to be more about high speed resonance than idling.
I went for a run up to Huddersfield as I hadn't been back since moving out in 2012 and it's a mix of motorway and A/B roads and 140 mile round trip which the Cortina ate up! I actually did it in a morning feeling not as beaten up as I had expected to be an no ringing in my ears! I believe I peaked out at 77dB which means at 70 I'd have to speak a little louder but we're no longer shouting at each other!

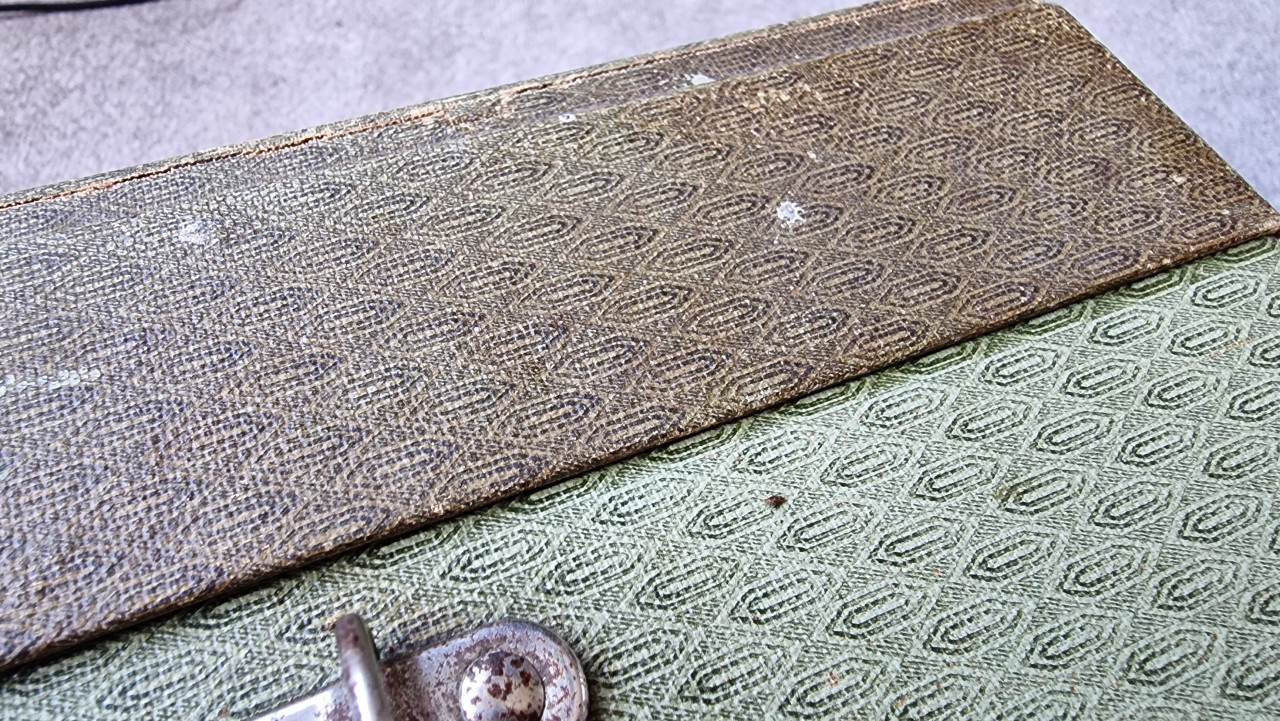
Now that the Cortina is tolerable to Mrs. Jim I thought I would turn my attention to accessorising the Cortina which is a new experience as I'm usually repairing her! I bought this picnic set years ago with the intention of using it but not expecting to wait as long as I had!
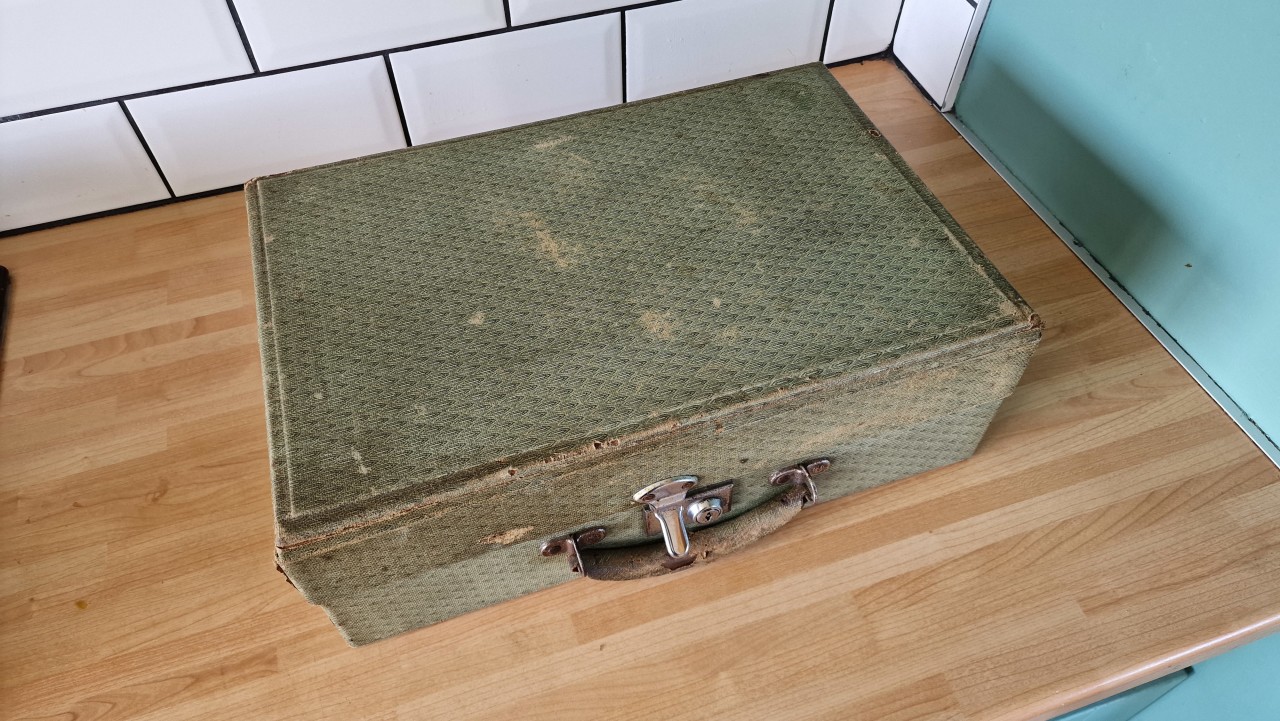
As you can see it needed a full clean but I didn't think the fabric was that dirty!
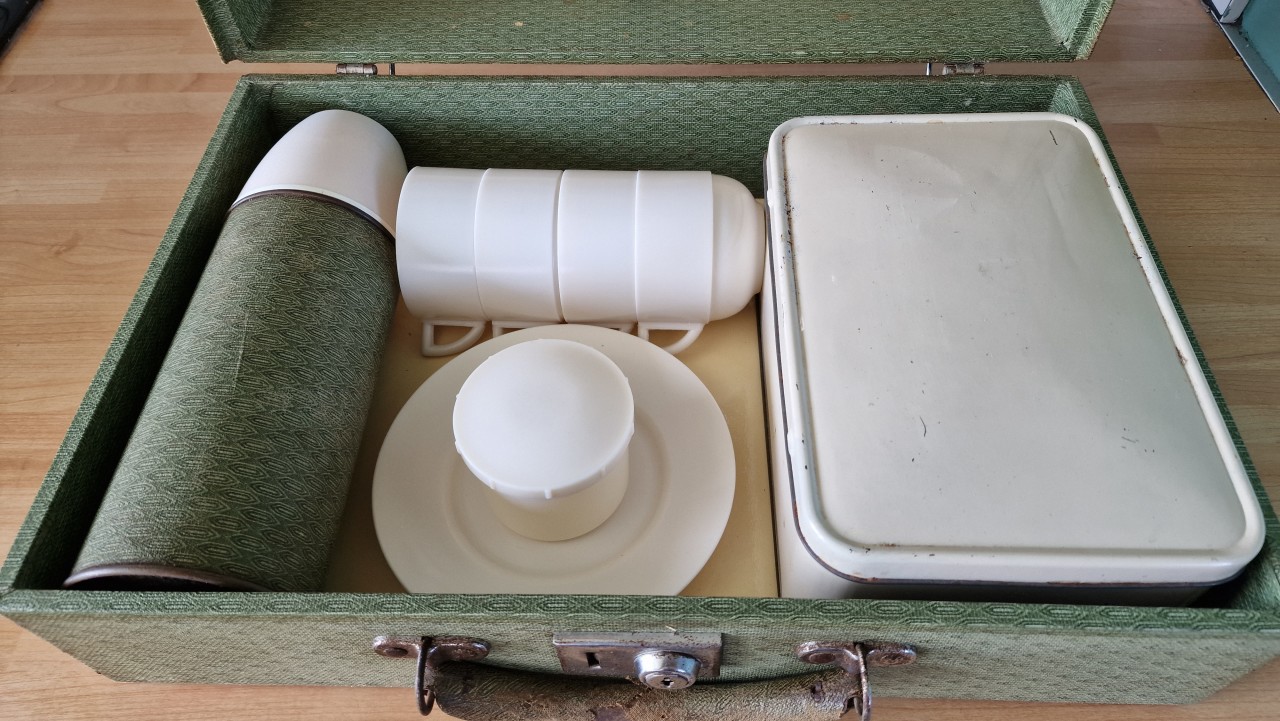
The set it surprisingly original - the thermos still holds temperature after a few hours!
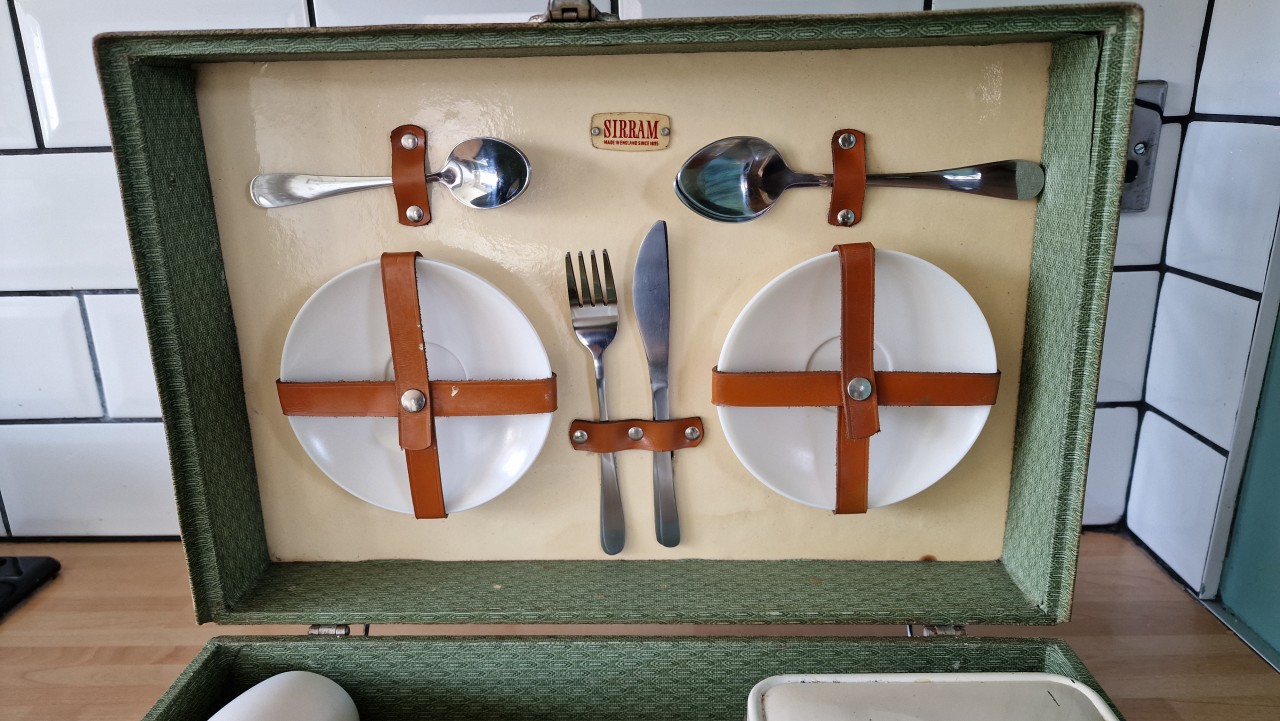
The only thing missing was the knives and forks which I have replaced with stainless steel ones but the straps are so narrow I had to grind the handles and re-polish them so they looked presentable which is something I haven't had to do before!
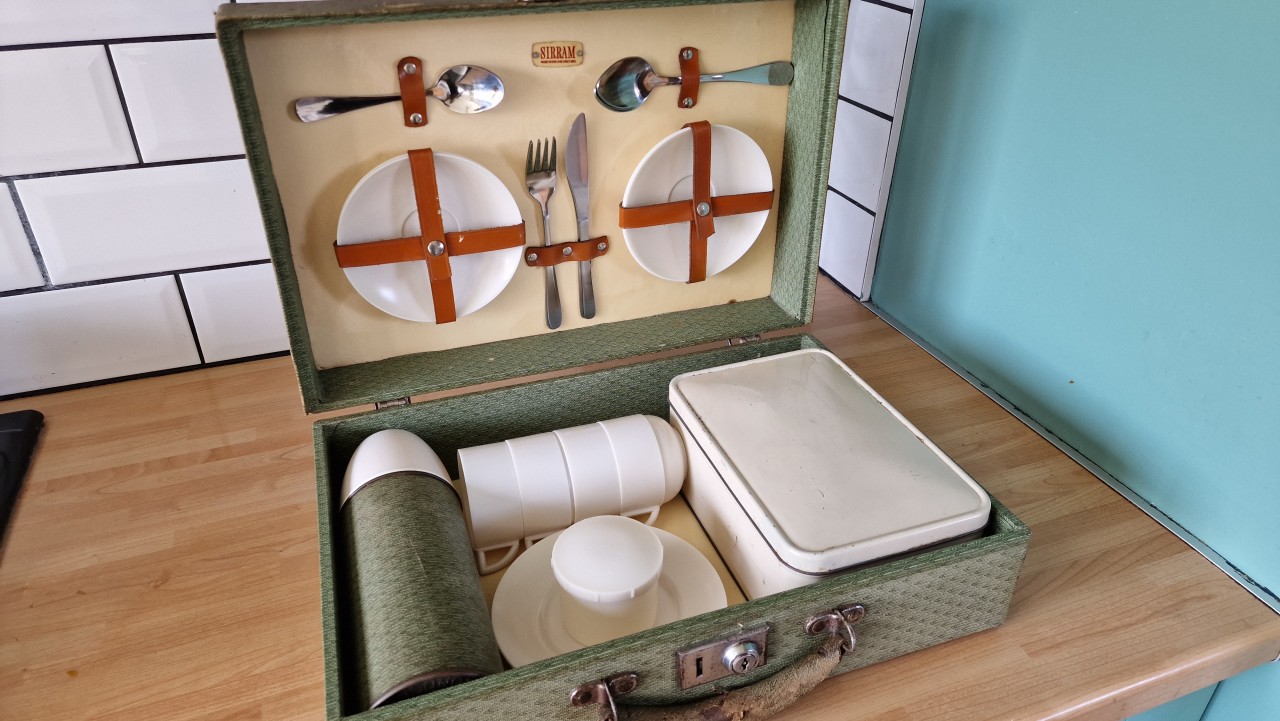
I'm going to give it a test run on Sunday when we go to the retro rides gathering at Mallory Park so I'll let you know how it works out.
Comments
Great work mate! Loved the taillights and fins on these cortinas. Remind me of the old type 34 VWs.
Posted by MPower on 10/31/20 @ 3:15:41 AM

Thank you! I had never made that connection before, you're right!
Posted by Jim_builds on 11/16/20 @ 2:29:18 PM
Thank you Steve I appreciate the support, it feels like a lifetime since I did a lot of the work! Hopefully I'll be back on the road early next year so I can finally put some miles on her.
Posted by Jim_builds on 10/26/20 @ 12:08:47 PM
Beautiful Cortina! Looks like a lot of work but you did a bang up job! Glad you saved this one!
Posted by stevegolf on 10/22/20 @ 11:06:39 PM
Thanks for all the photos! Such a cool car!
Posted by Diggymart on 11/12/23 @ 10:55:36 PM