You must be logged in to rate content!
9 minute read

Prefacelift independent fog lights
Compliments of BaseDrifter @ www.audiforums.com
I recently installed relays for the headlights (A4 B5 DIY: Install headlight relays) and at the same time performed a modification to allow independent operation of the fog lights. From the factory the fog lights can only be turned on when the headlights are on. This is required by law in certain areas, be aware of your local laws when performing modifications. I wanted to have independent operation of the fog lights so I could use them as daytime running lights. This method is definitely more involved than some other methods that use spade terminals to bypass the factory fog lightrelay, however I view my method as a more "factory" style modification.
In order to complete this modification as written you will need two OEM pins with a small section of wire attached. You will be soldering a new longer wire to each pin in place of the old ones.
In addition to retaining the stock fog light relay and in turn not having to install a new relay, the high beam cut feature is retained, and the fog lights will still turn on automatically when the rearfog light switch is depressed. In other words it retains all of the factory fog light "features" while allowing independent operation, and it is all completely reversible, no cutting into the harness.
Let's start by deciphering the original fog light circuit before making any modifications, there are quite a few things going on.
- When the headlight switch is turned on it sends power to fuse 36 (15A) through a yellow wire, it leaves the fusebox as a green/grey wire and enters the fog light switch at pin 5. This supplies power to the front and rear fog lights.
- When the fog light switch is turned on it sends the signal out pin 6 through a white/green wire into the fog light relay on pin 30. Pin 86 acts as the control signal which comes from the headlight switch, this is what we need to bypass. In the OEM configuration, the relay is always "on" when the headlight switch is on, however it only receives power when the fog light switch is activated. By bypassing pin 86 on the relay and providing it with constant (switched) power, the fog lights will operate independently.
- When the high beams are activated it cuts the fog lights by pulling the relay's ground. Pin 85 is the ground and is connected to the high beams. When the high beams are off the wire is grounded and the fog lights function, when power is supplied to this wire the relay loses it's ground and cuts out. If you do not want this feature, simply provide a constant ground to pin 85.
- Finally, pin 87 is the relay's output and goes directly to the fog lights.
When you get back there, you'll notice the fog light switch has two wires going into it for power. The second wire is coming from the rear fog light. When the rear fog light switch is activated it sends power through the front fog switch to the front fog lights regardless of the switch position.
Now that we have an understanding of how the circuit operates, let's dig into it!
8/21/13 UPDATE:
Instead of having the relay be activated by the 75x post and receive power on and off from the fog light switch, by swapping pin 86 and pin 30 on the relay it will make the fog lightswitch will activate the relay. This is a more typical setup for the relay. Be aware that the two pins are different. You will have to cut the silver pin off the wire coming from the foglight switch and replace it with a gold one. I supplied power to pin 30 from my fused power distribution block (also activated by a relay.)
Part 1: The fog light relay
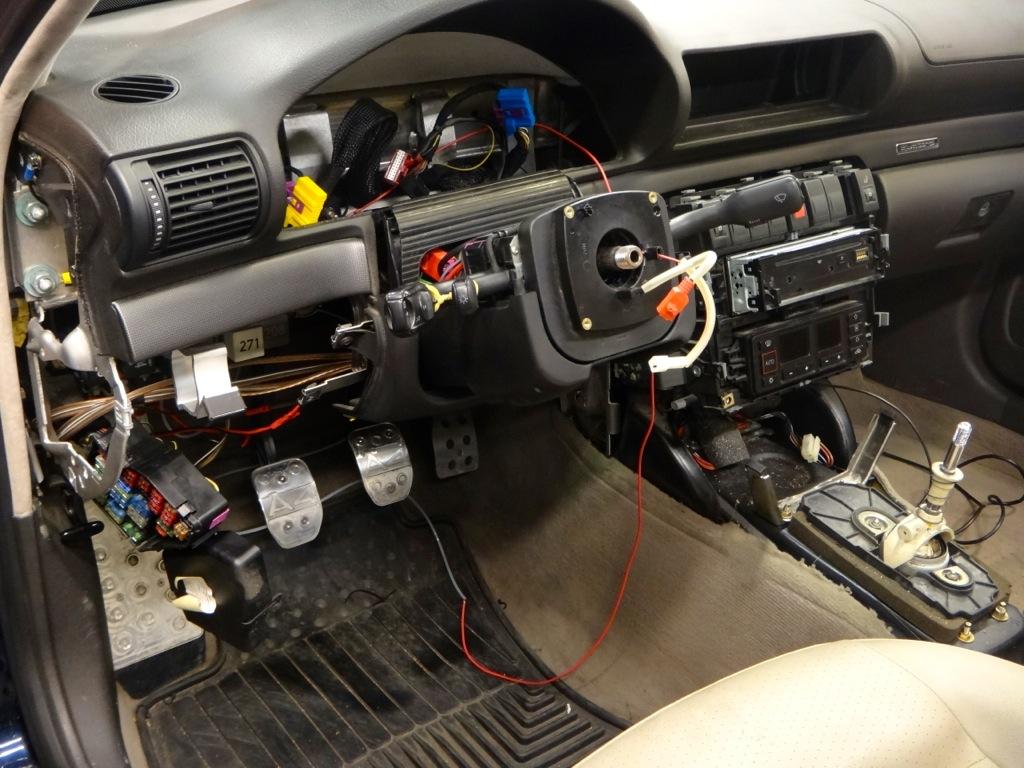
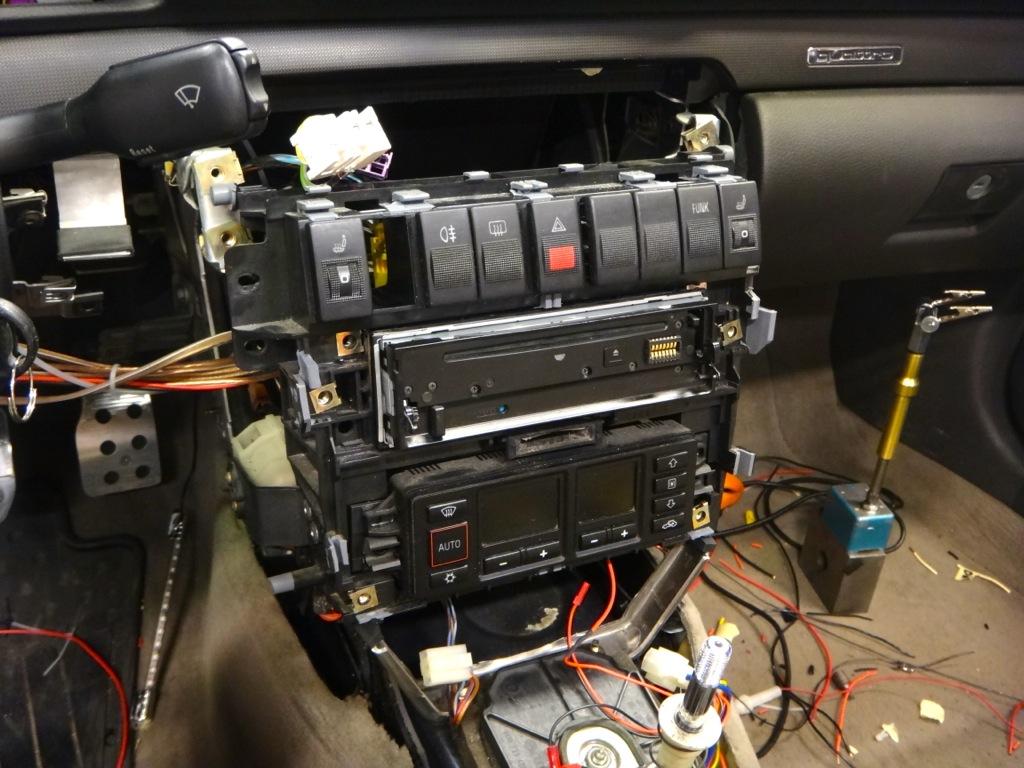
1. Start by removing the knee bolster, this will give you access to the relay panel. It is secured with three 8mm bolts, two at the front (under covers) and one on the side under the fuse box panelcover.
2. While it may not be necessary, it will give you more room if you pull the fusebox down and out of the way. It is held in place with two 8mm bolts and two clips. Remove the bolts, pop the clips free, and swing it down. The relay panel is held in place with two 10mm nuts. Remove the nuts, pull the accessory panel off, and the relay panel will slide down.
(Don't mind the missing steering wheel and cluster, they do not need to be removed to complete this project.)
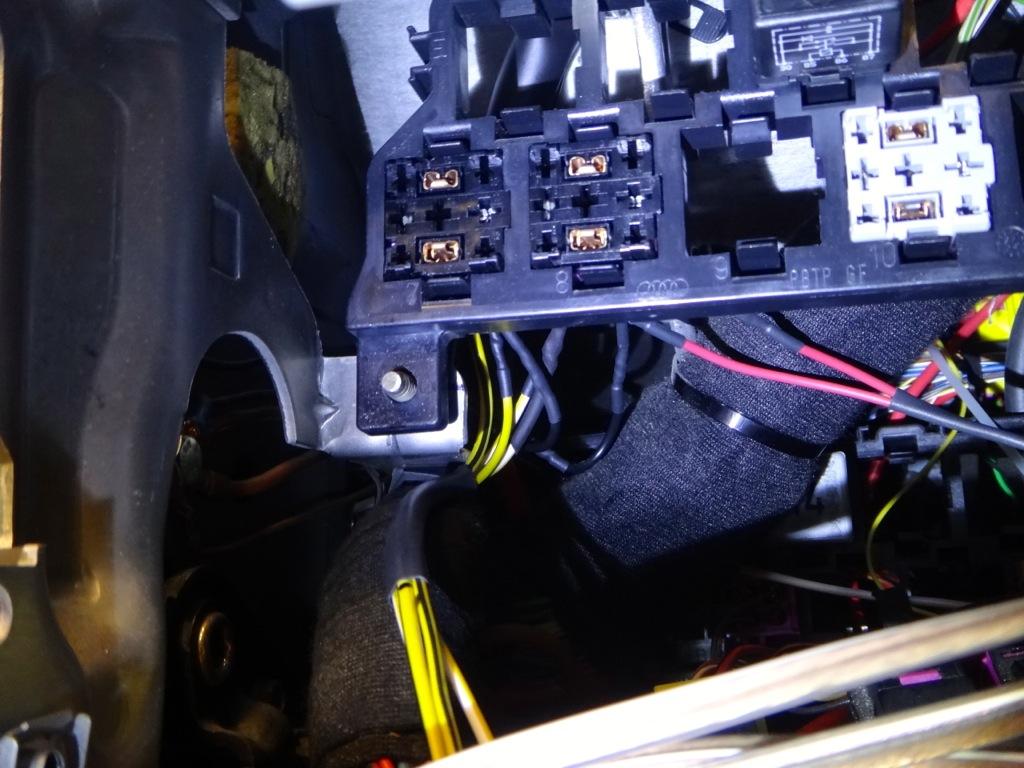
3. The fog light relay should be located in slot #10 (it may be in slot #7.) Pull the relay out. The next step is to pull the relay plug out of the socket. It is held in place with two clips, one at the top and one at the bottom. Depress the two clips and pop the plug out the back.
Here you can see the grey fog light relay plug on the right side.
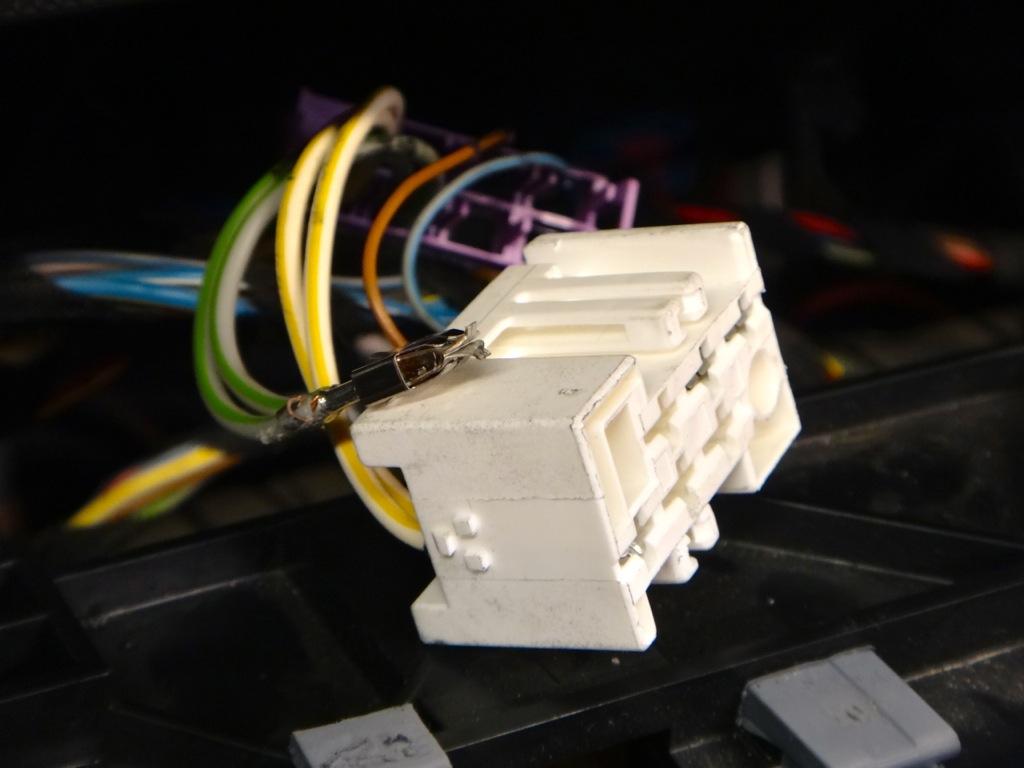
4. Now that the plug is free, release the purple pin retainer. Slide the pin retainer up the wires a couple inches.
5. The next step is to pull pin 86 from the plug. This is the yellow wire coming from the headlight switch. The pins are locked into place with one or two tiny tabs on the top/bottom. You'll have to come up with a small poker to get in there and release the tab. Once the tab is depressed the pin can be pulled from the back of the plug.
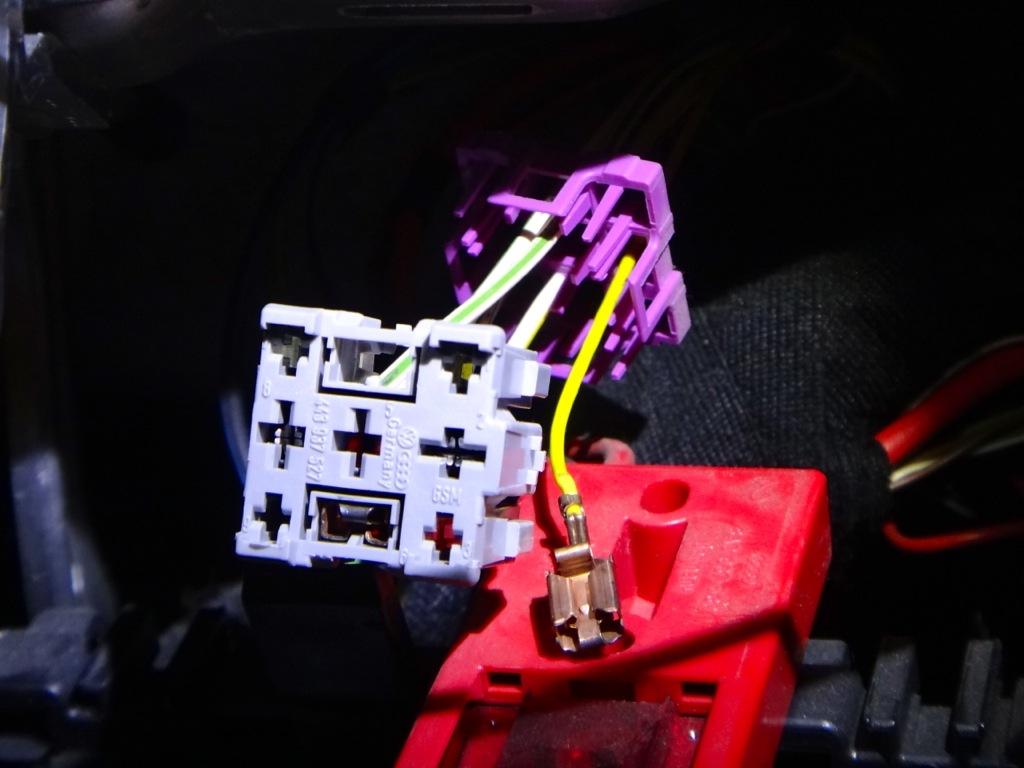
6. The old pin is held into place by a purple pin retainer. In order to pull the old pin free and insert our new wire the retainer must be clipped on the side. Two small clips is all that is needed.

7. Insert your new wire into the old pin's slot and slide the retainer into place. Shrink tube over the exposed connector that you pulled out and zip tie it out of the way.
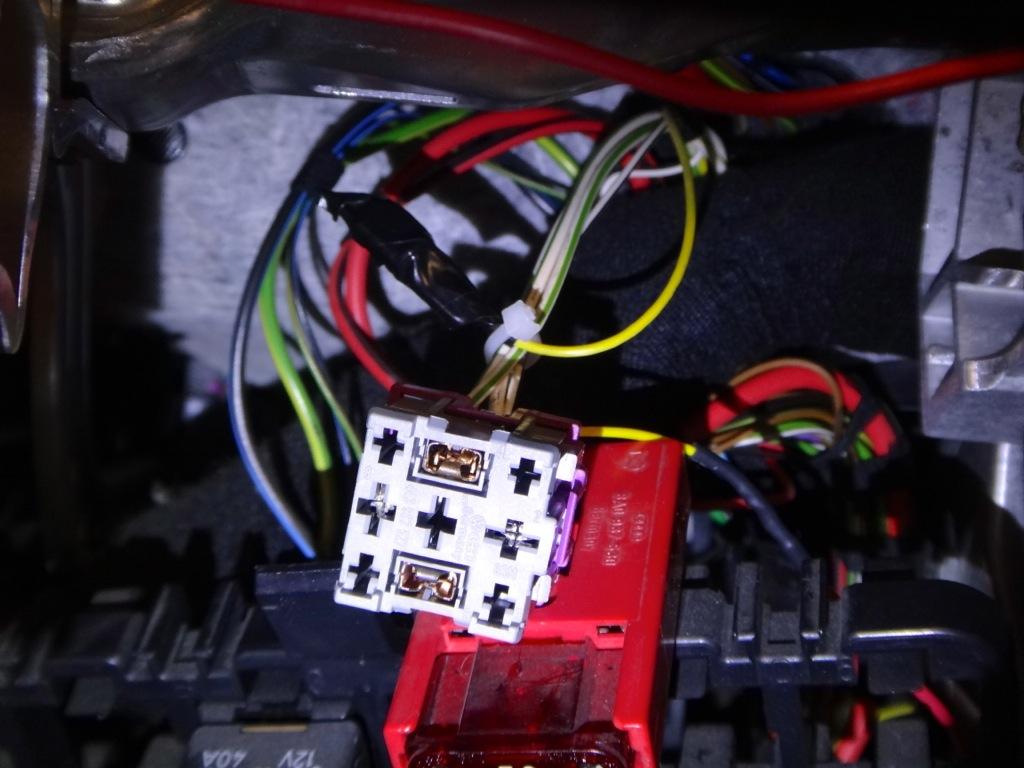
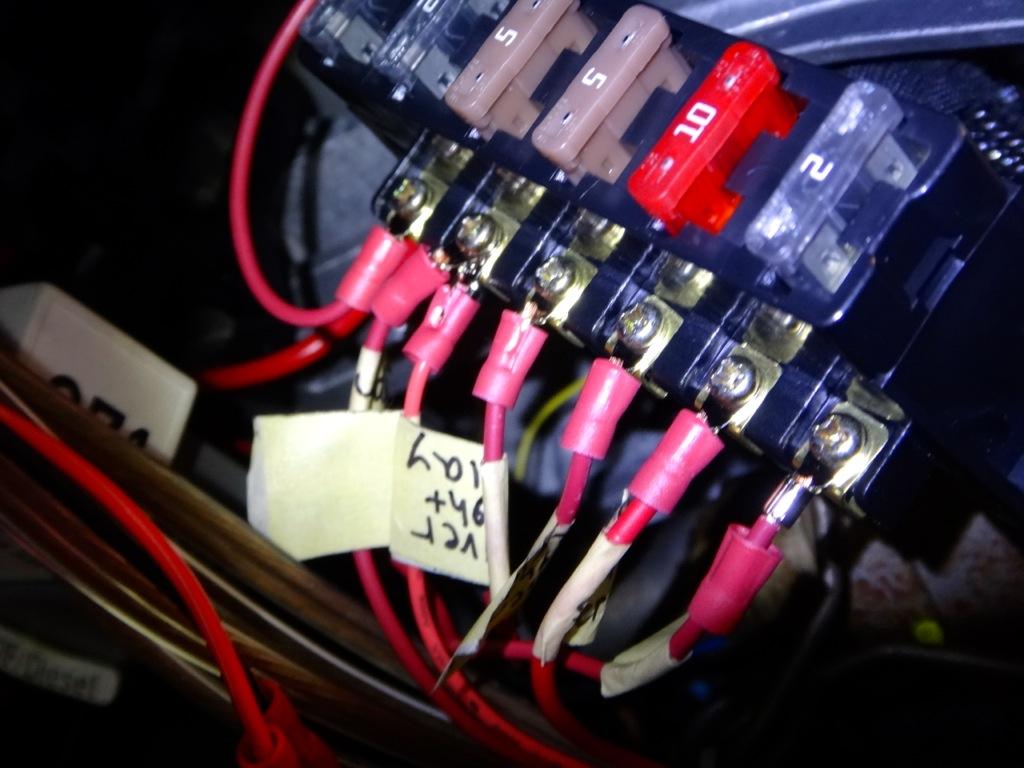
8. I chose to connect this new signal wire to the 75x post through a fused distribution block that is secured to the knee bolster frame. This is a switched power source that will only provide power when the key is in the on position.
Now we have to get power to the fog light switch that is independent of the headlight switch. Currently the fog light switch receives power when the headlight switch is on or when the rear fog light is turned on (which can only be turned on when the headlights are on.) We want a constant source of power provided to the fog light switch.
Part 2: The fog light switch
1. Start by pulling the center console off. The ebrake handle must be removed followed by the rear console section. There are two 8mm bolts and a 13 or 14mm nut (beneath the rear ash tray) holding it in place. The upper portion of the console can be removed after some more 8mm bolts are removed. Forgive me for skipping these details, keep unbolting stuff 'till it comes out!
2. To access the back of the fog light switch plug the radio cage must be unbolted and lowered. There are four 8mm bolts (do you notice a trend with the 8mm bolts yet?) holding it in place. Remove these and rest it on top of the angular support bar below.
3. The fog light switch cover simply pops off. Once the cover is off, grab the bottom of the switch with a pair of pliers and pull, do the same at the top and the switch will come loose. Disconnect the switch from the plug and push the plug out the back.
4. Once the plug is loose pop the purple pin retainer free. We will be pulling the grey/green wires at pin 5. This pin has two tabs retaining it, one on the top and one on the bottom.
Pin pulled.
5. Clip the purple retainer, pull the old pin out, insert your new pin, and slide the pin retainer back into place. I ran this new pin to the same fused power distribution block hooked up to the 75x post as the relay. This will supply constant power to the fog light switch when the headlights are off.
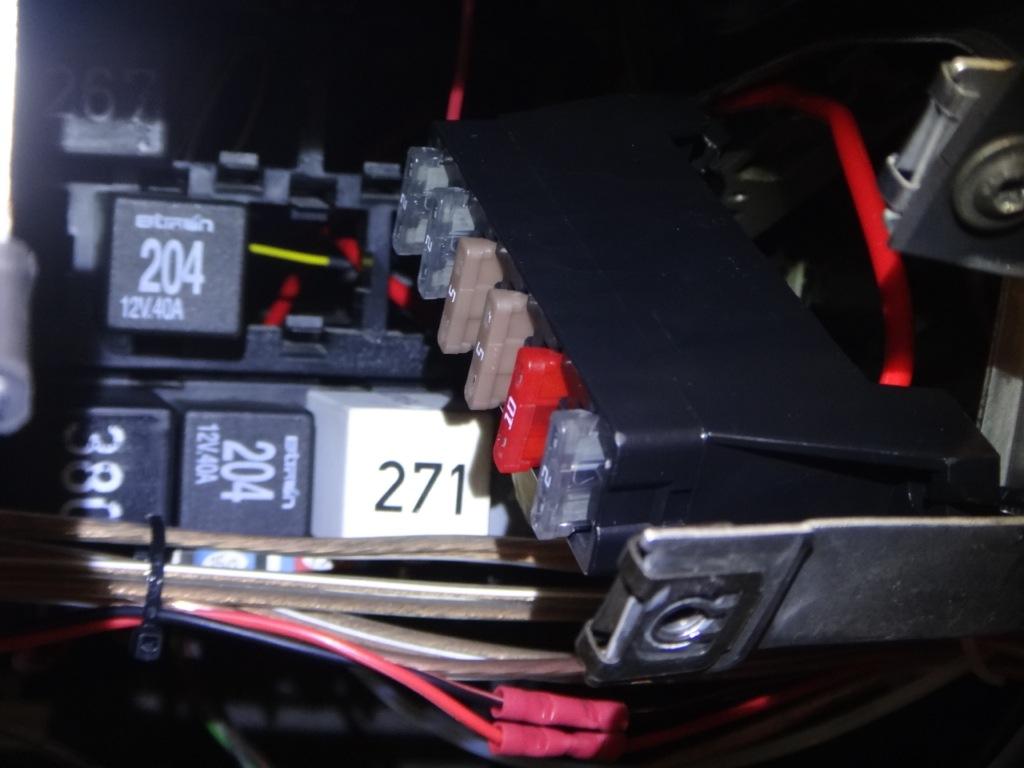
The relay is running on a 2A fuse and the fog lights run through a 10A fuse (should probably be a 15A fuse.)
Hook everything back up and test it out. You should have independent fog lights now!
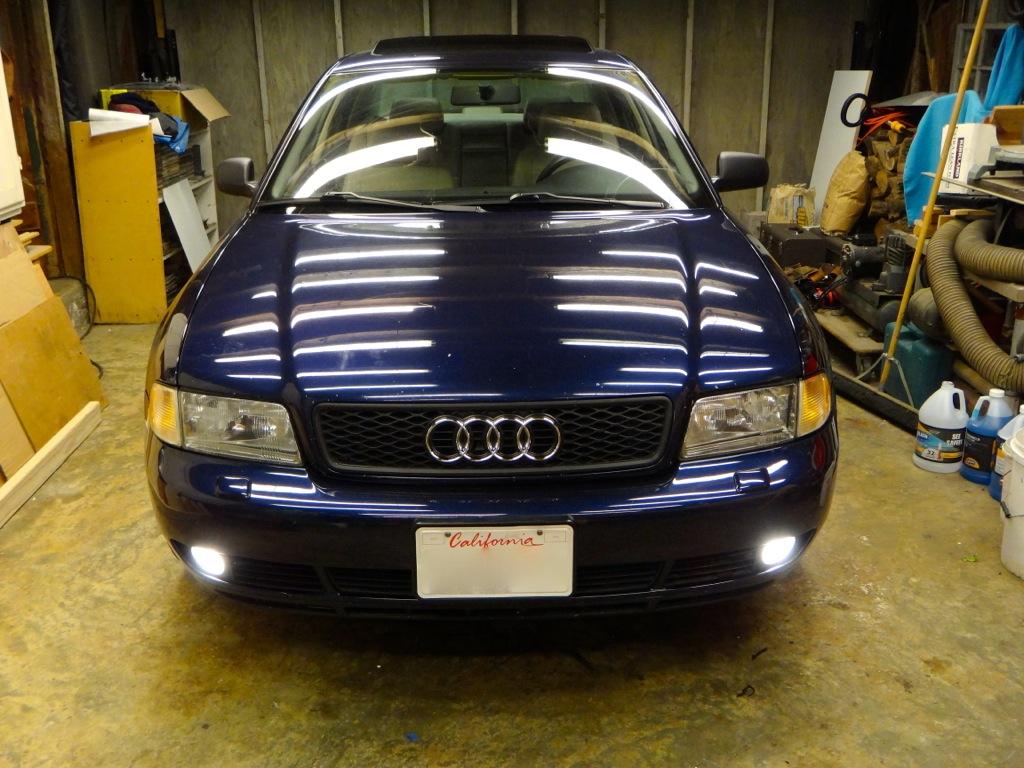
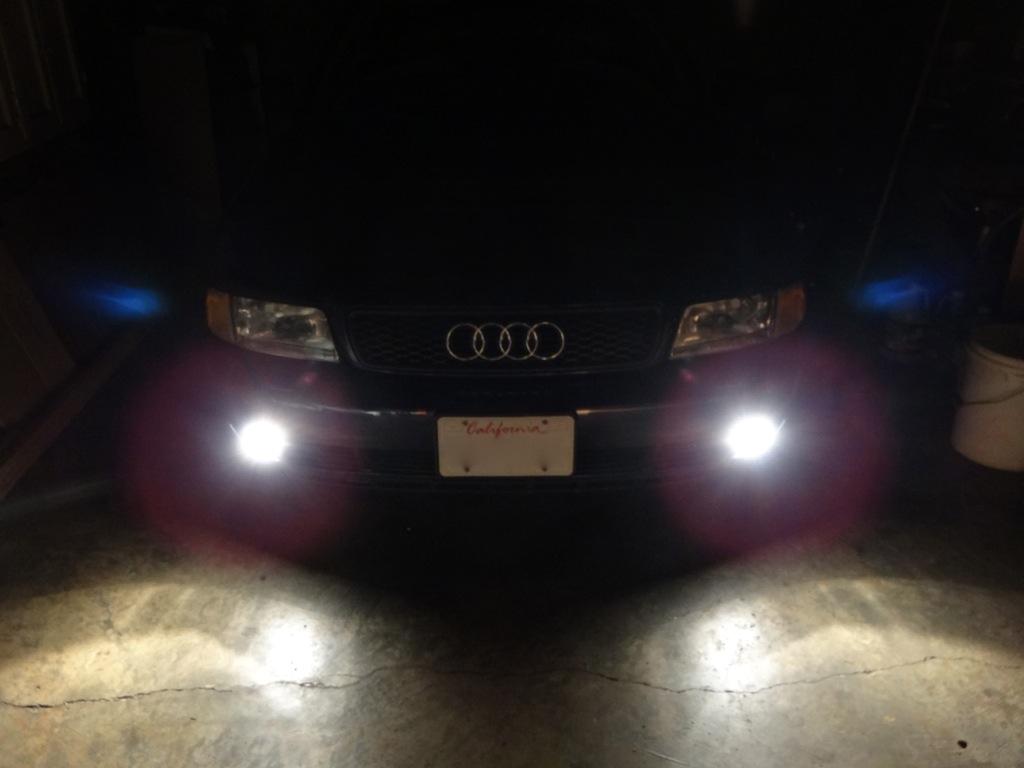
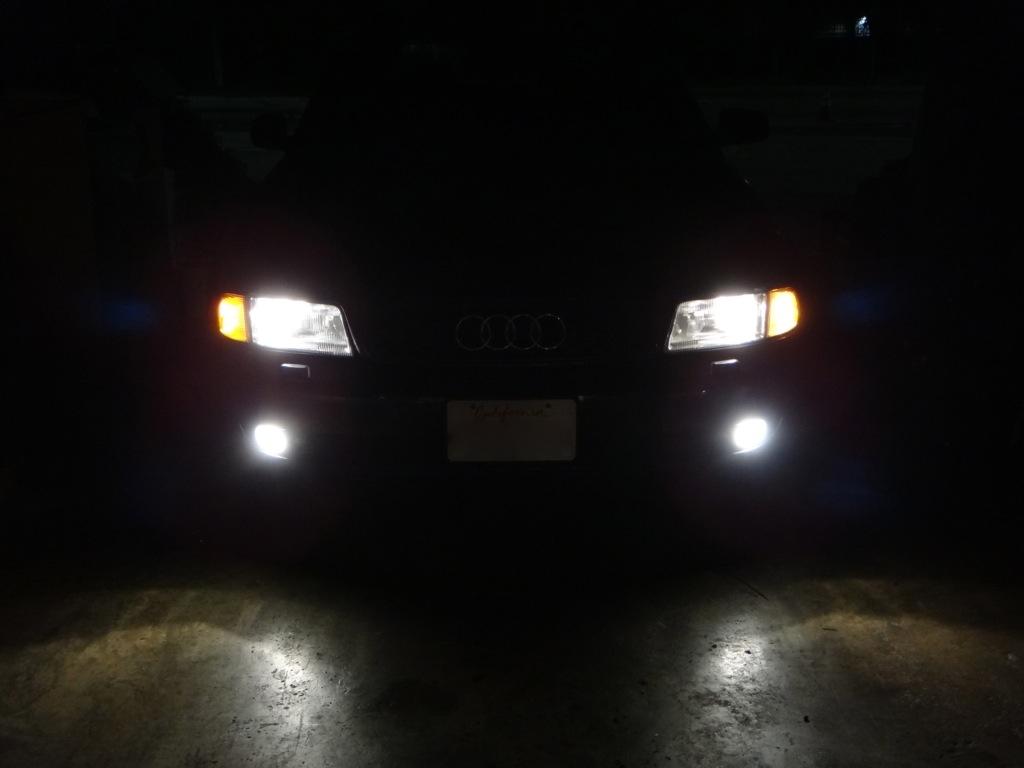

Sweet Audi!
Posted by Diggymart on 12/14/19 @ 11:14:33 PM