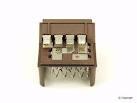
- BMW Blower Resistor 64111468521
- 7 and 9 mm wrench or socket
- Philips Screw Driver
- Pliers or Flat Head Screw Driver
You must be logged in to rate content!
4 minute read
Replacing the blower motor resistor
This is for when your A/C fan works but only on the highest setting. This is a pretty easy fix and shouldn't take more than half an hour. It is really nice to have those low settings back.
Engine: Any
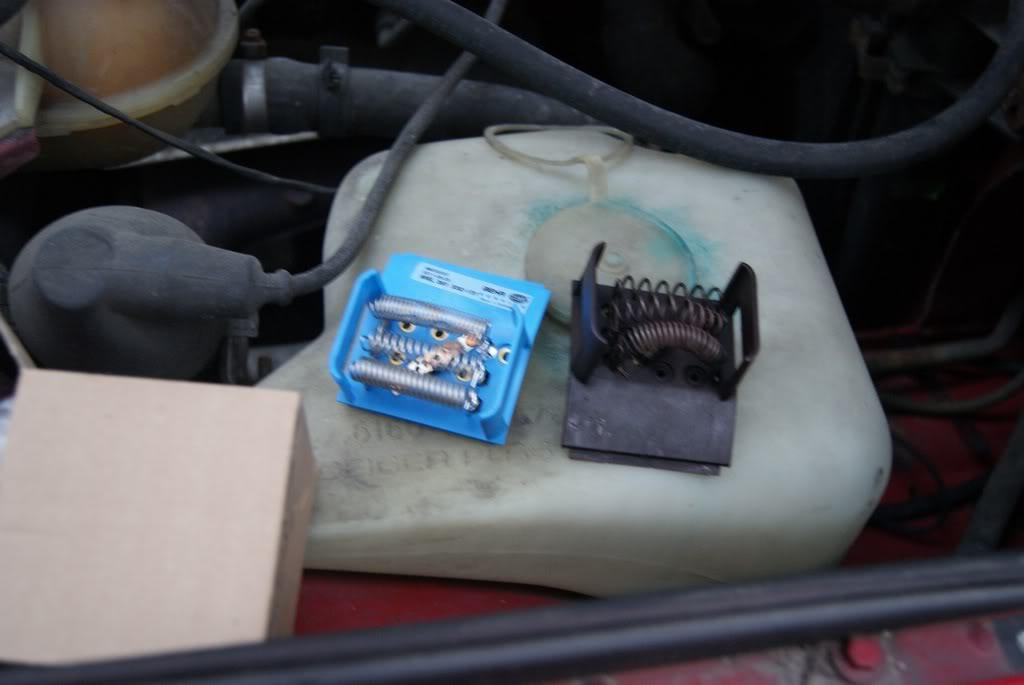
I ordered one online and they ended up having the wrong one listed. I let them know and I believe they corrected it but make sure it looks like the one below.
Step 1:
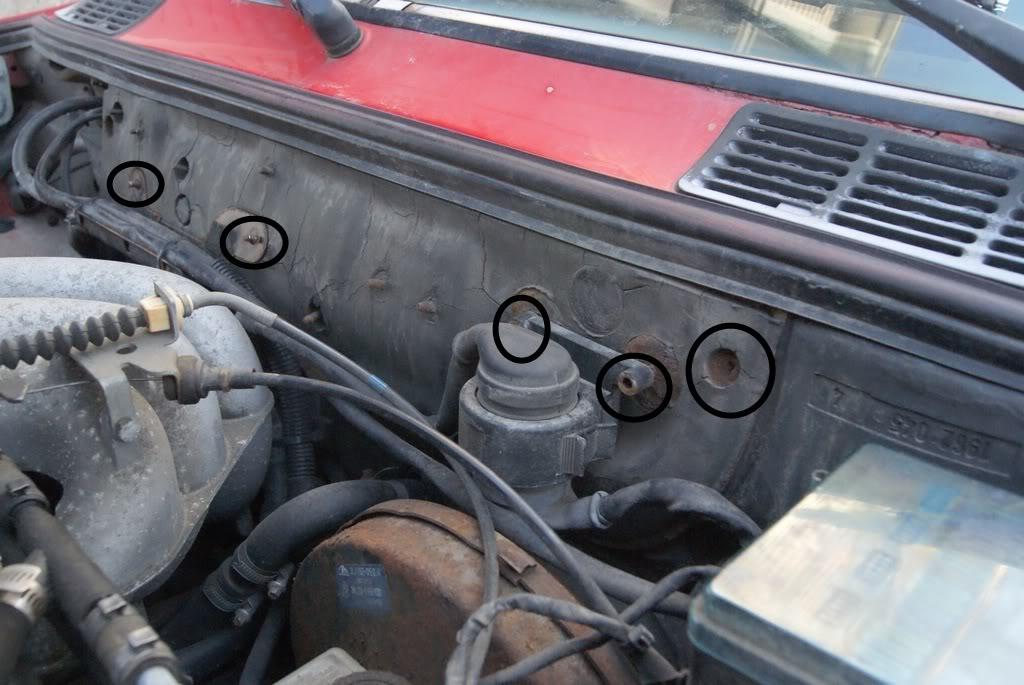
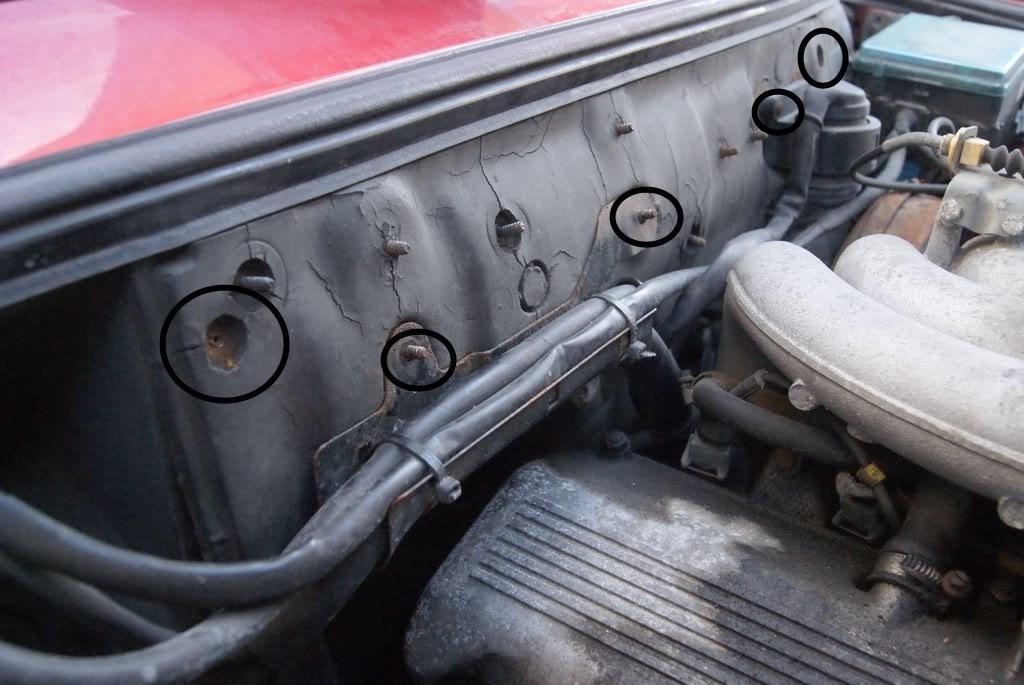
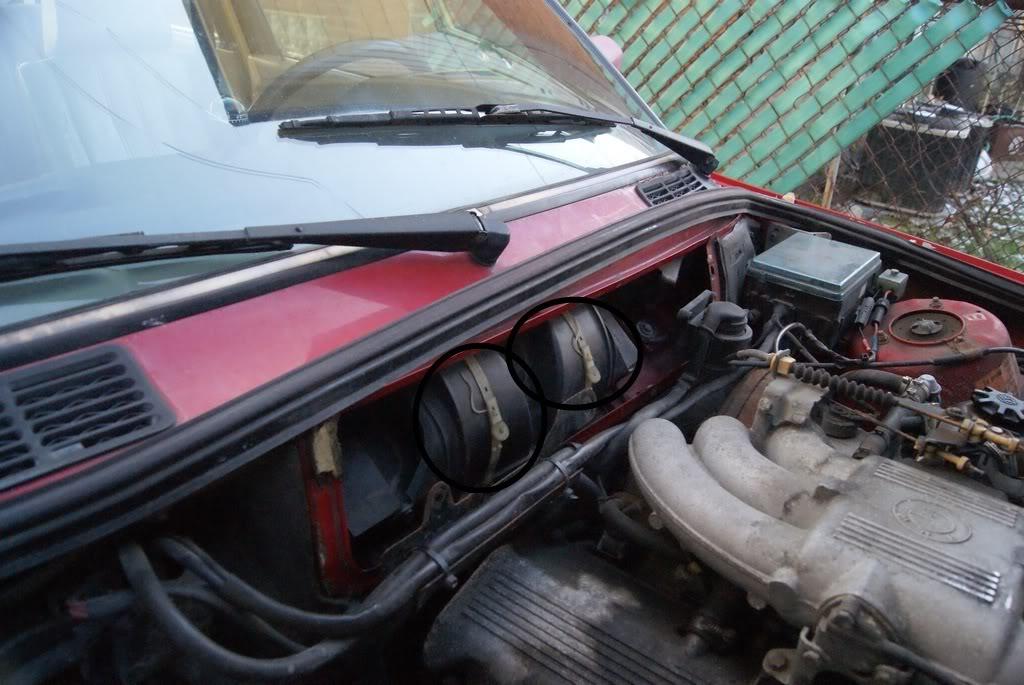
Open the hood and along the firewall right under the windshield will be a long panel that has some sort of foam coating on it. You will need to remove this but first remove the metal bracket that is holding the wiring harness with a 9mm socket to the two plastic nuts so you can move it out of the way.
There is also a plastic bracket holding some more wiring closer to the driver's side that is held on by Phillips screws. Remove that. These are all circled in the photo below.
Also circled in the photo are the 7mm bolts that are holding the panel to the firewall. Remove these as well. There were only two left on my car but I believe there are holes for four.
Step 2:
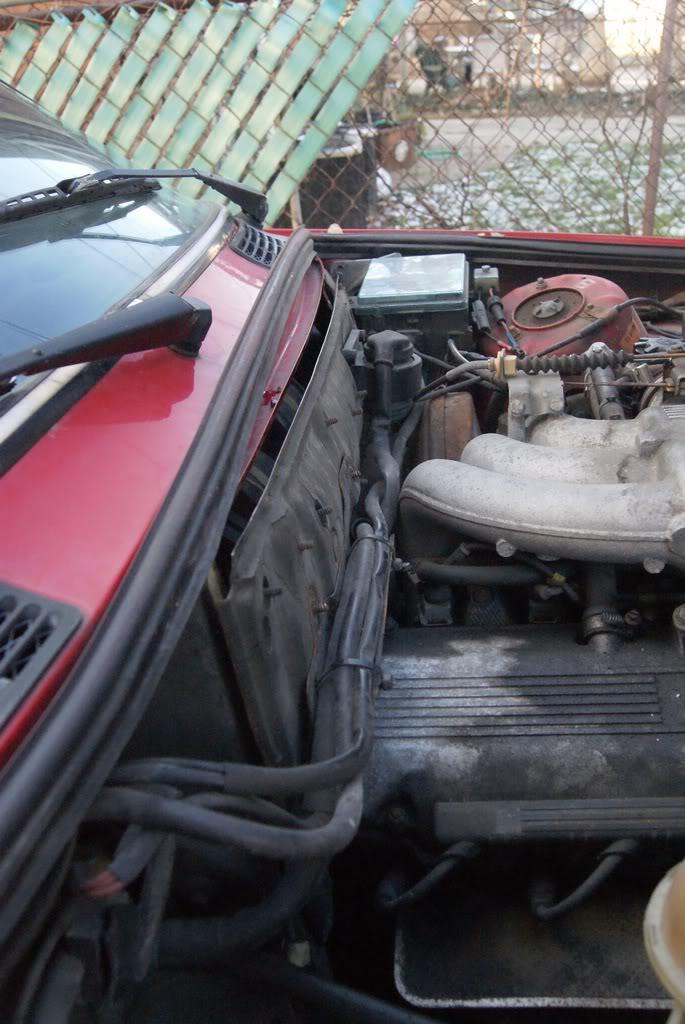
Before you can remove the panel you need to lift up the weather stripping running along the hood opening. Just pull it up and out of the way enough so you can remove the panel.
Step 3:
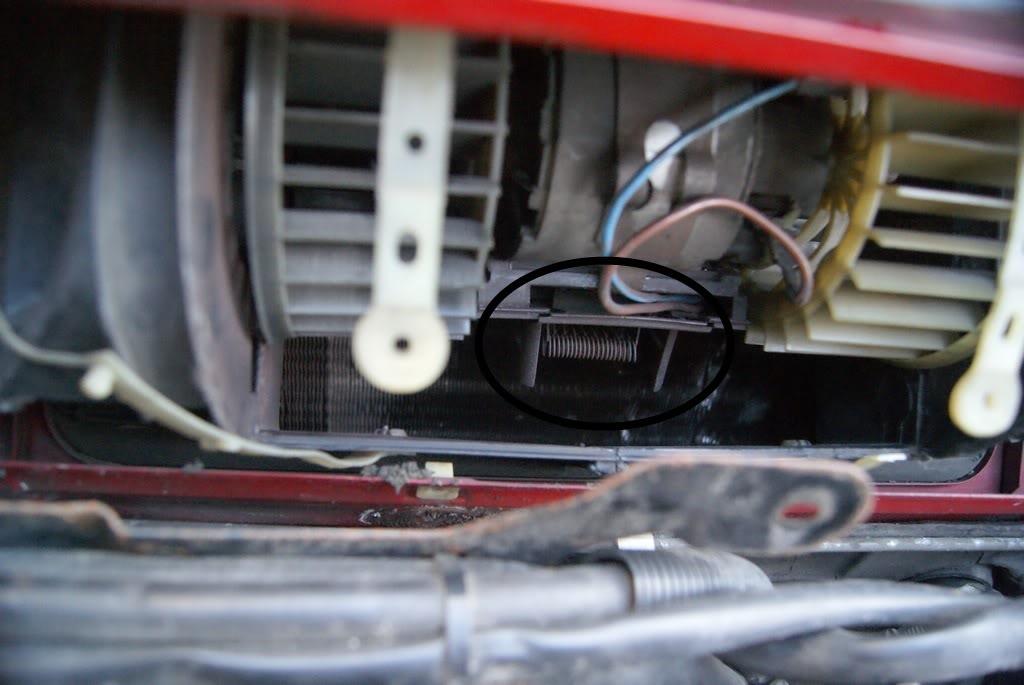
With the panel removed you can now see the blower motor housing. It is held on by these weird plastic straps. They can be removed by hand or with a screwdriver but they are easy to break so be careful.

Step 4:
You can now remove the blower fan cover panel. They made the metal hole in the firewall just small enough to make it a pain to get out. There is a good chance you will crack it while removing it. Expletives may ensue.
Once you have it off you should be able to see the fan and the resistor card which has a bunch of wire loops coming out of it. You should be able to grab it and pull it towards you to remove. You may need to wiggle it or use a pliers to pull it with.
Step 5:
Replace the old resistor with the new one.

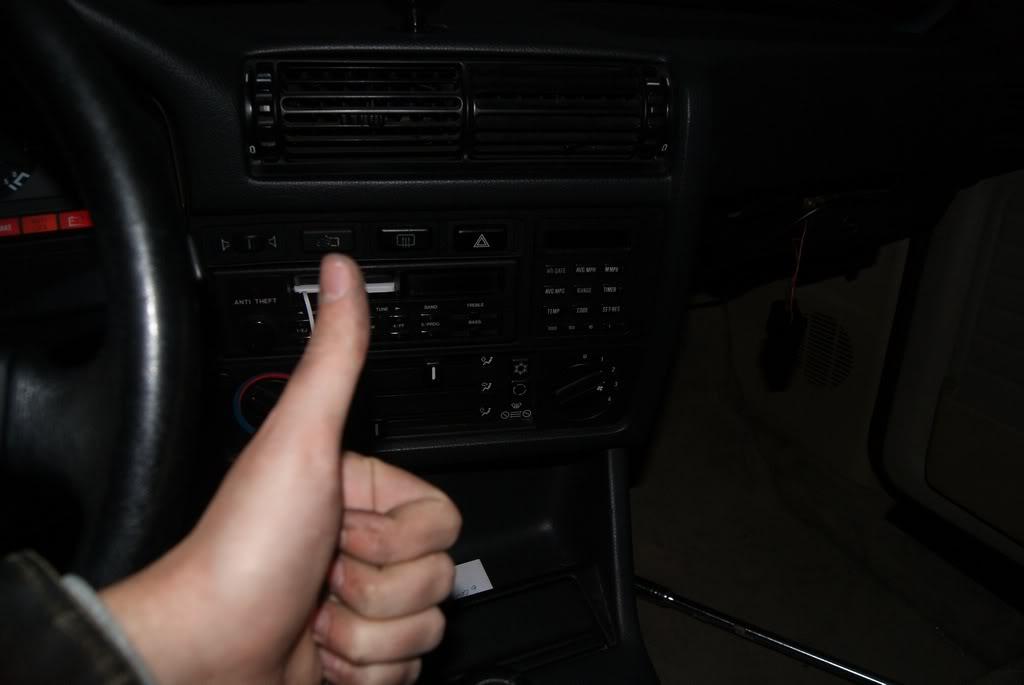
It will be a pain putting the black fan cover back on the blower fan but be careful. After putting it on go in the car and confirm that it works before completing the reassembly. You don't want to put everything back together and have it not work when you try it because one of the wires got knocked off when cramming the plastic fan cover back in. Once the cover is on and you confirm that it works you can put everything back together in the reverse order.
Nice DIY
Posted by Diggymart on 6/9/20 @ 6:16:16 PM