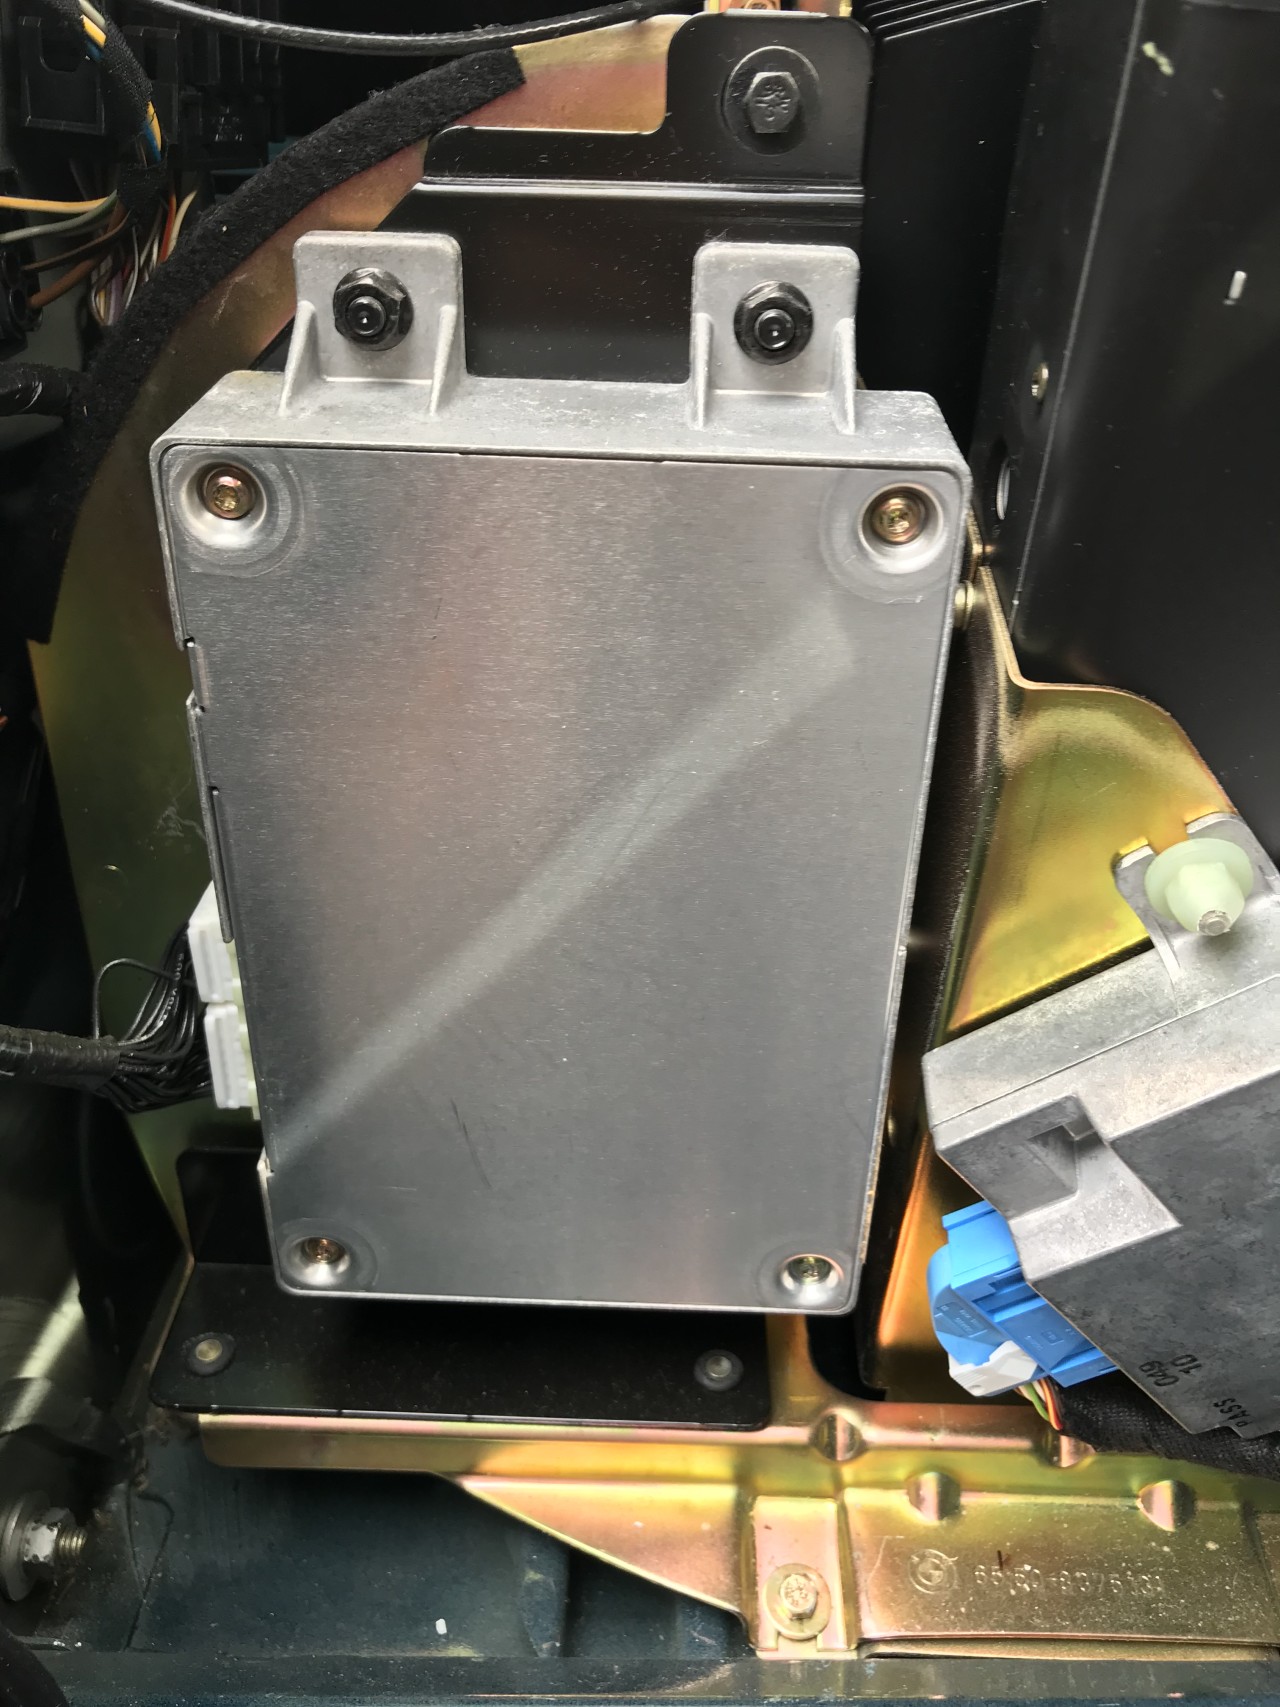
Grom USB3 Install in 2001 740IL

Vehicle: 2001 740IL
Time/Difficulty: Easy ~30 min
Parts Needed:
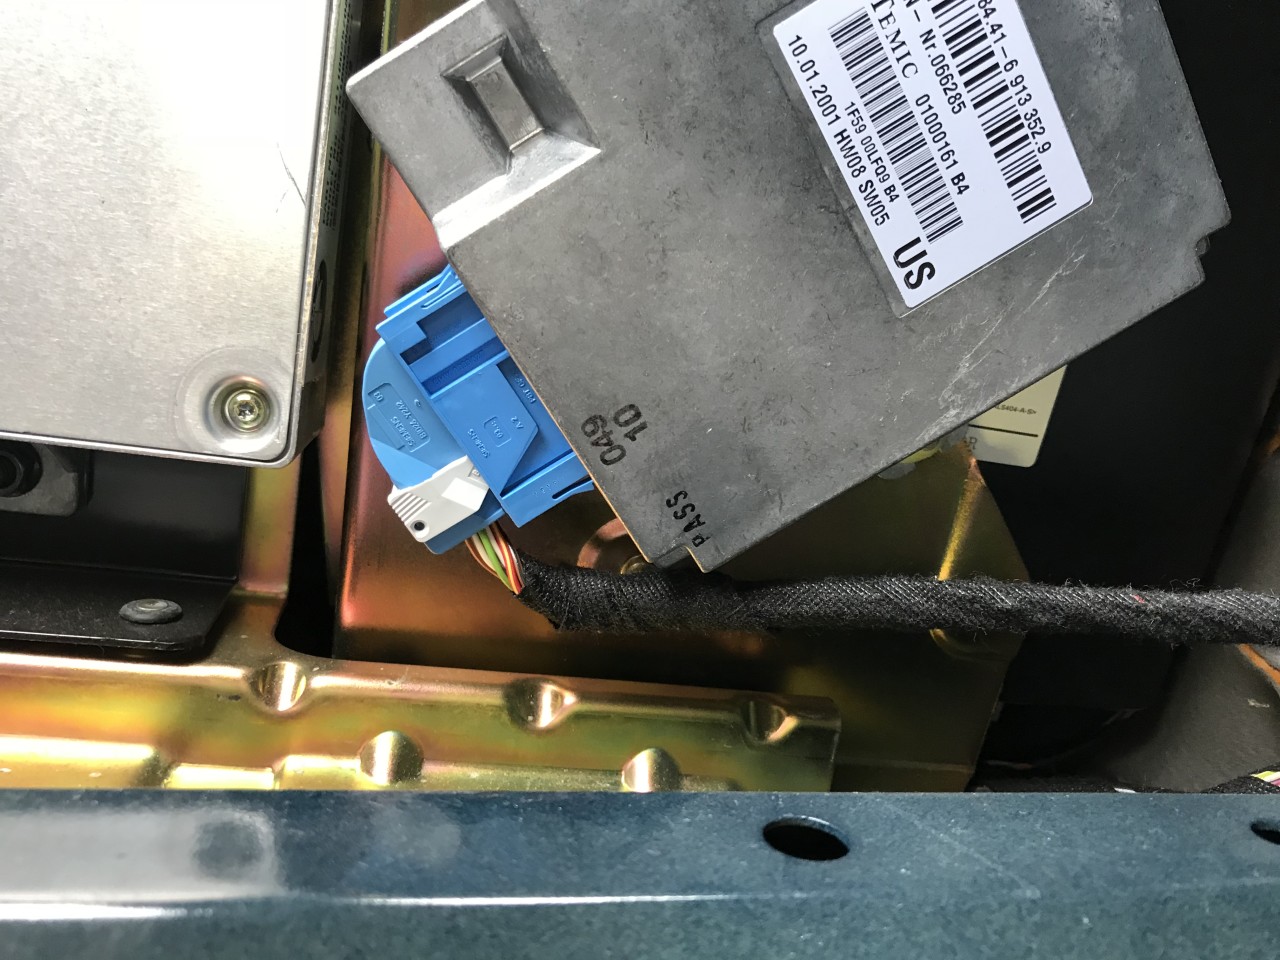
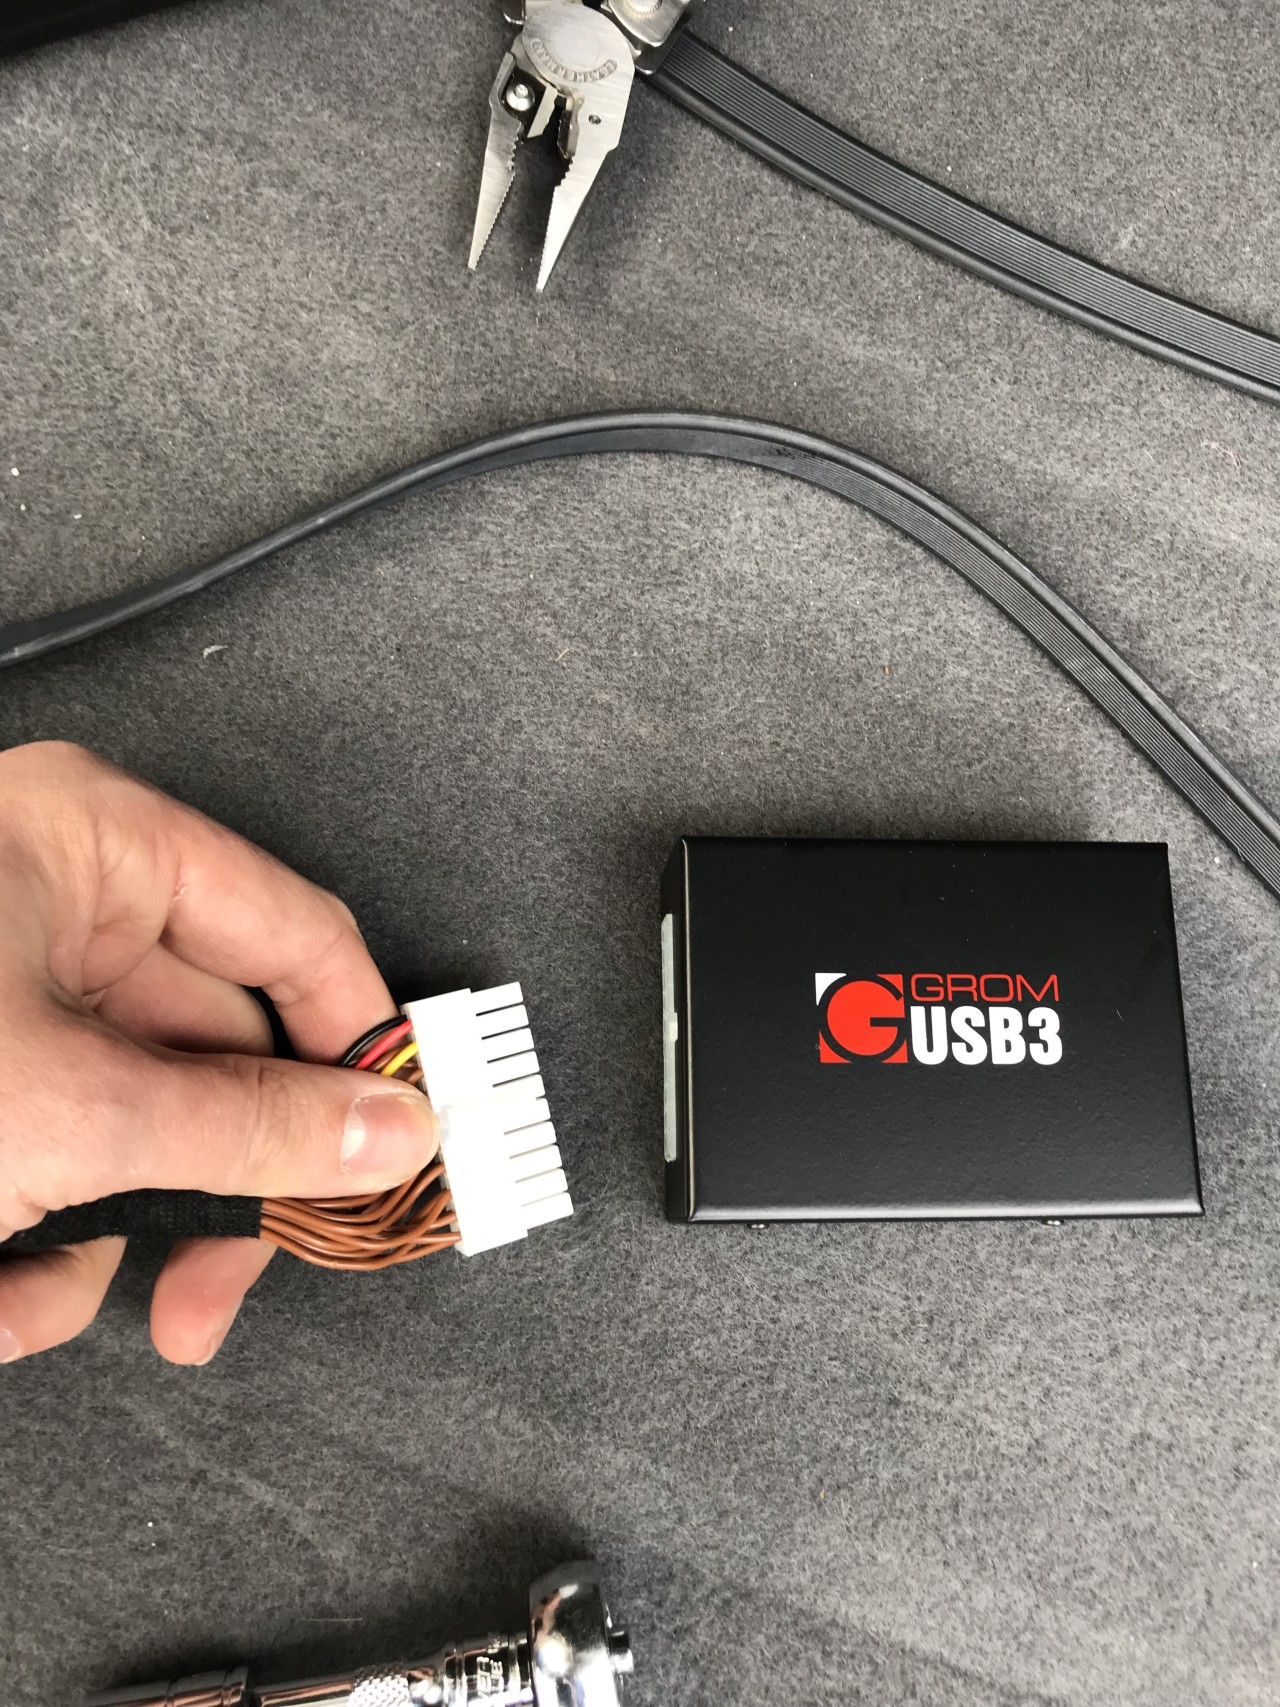
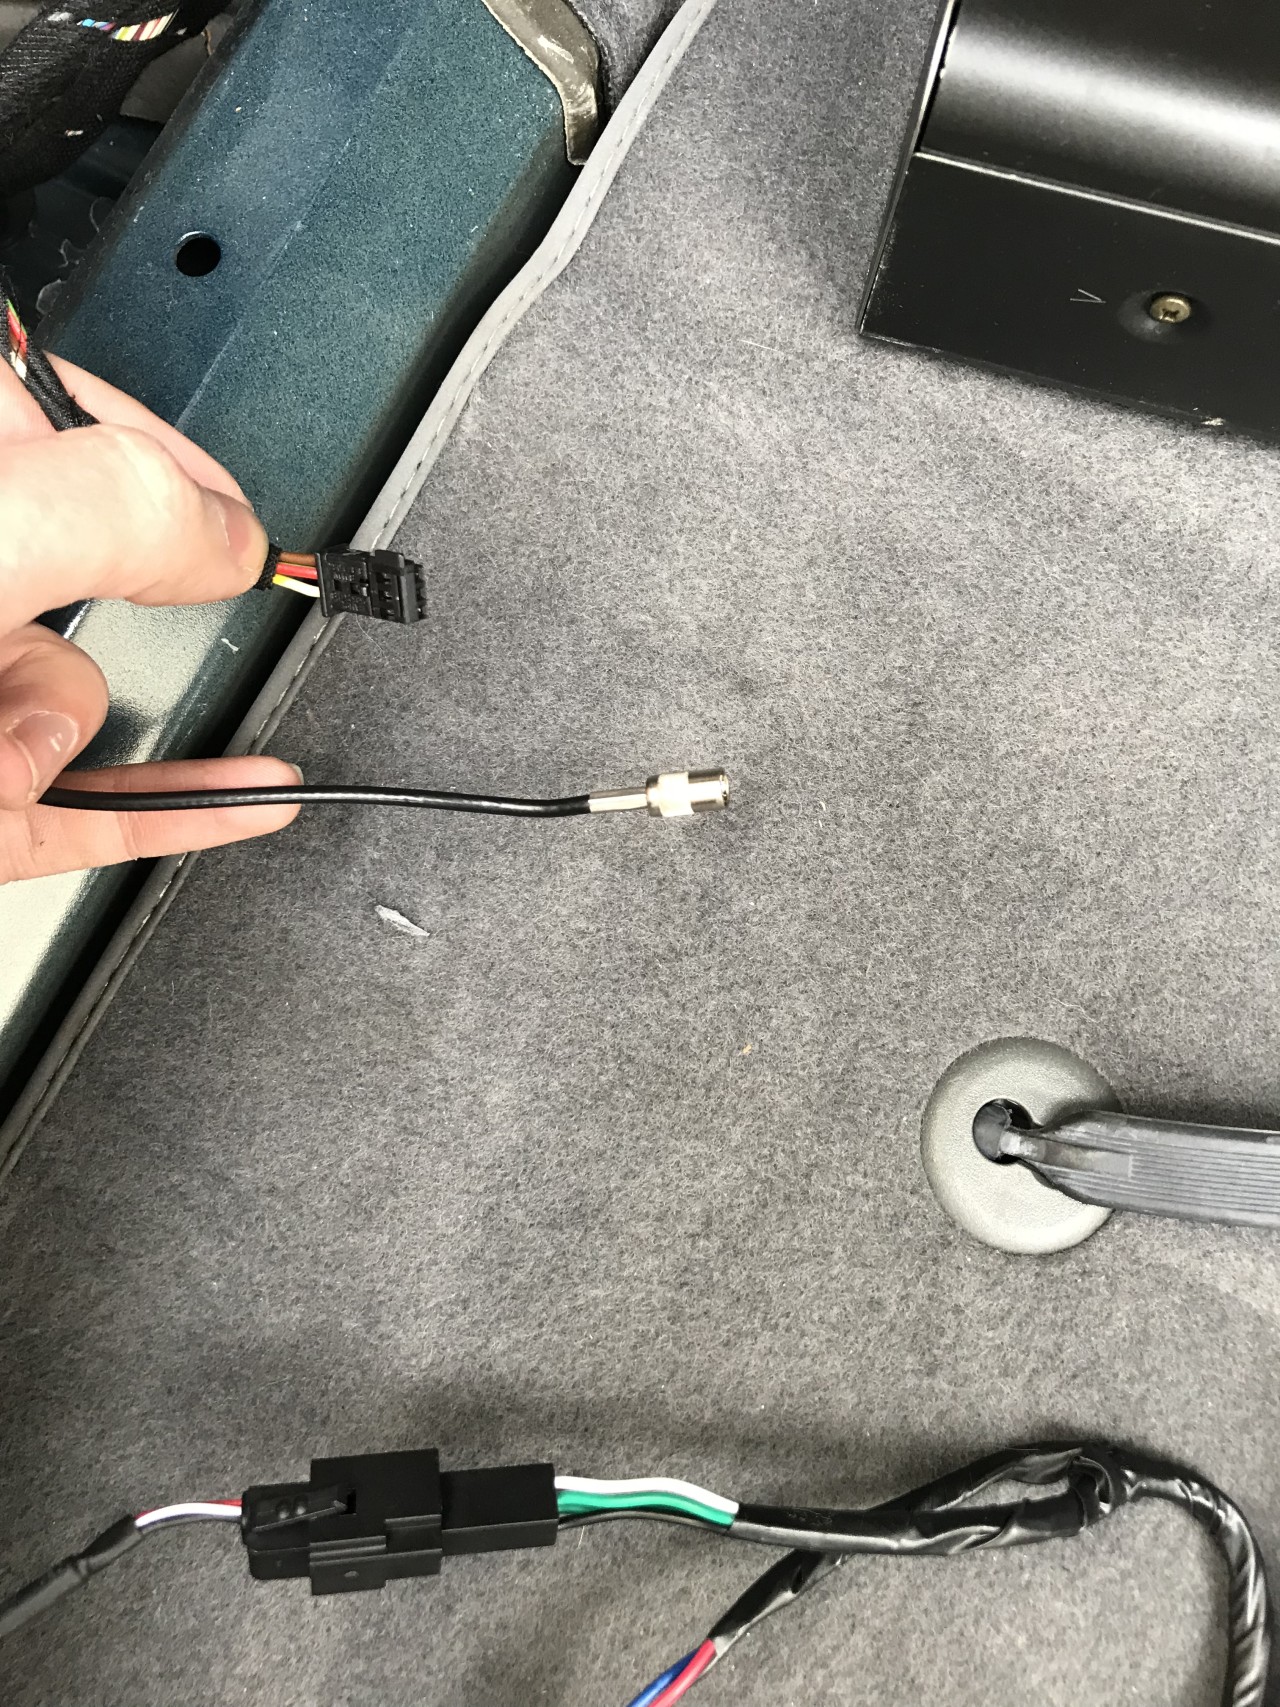
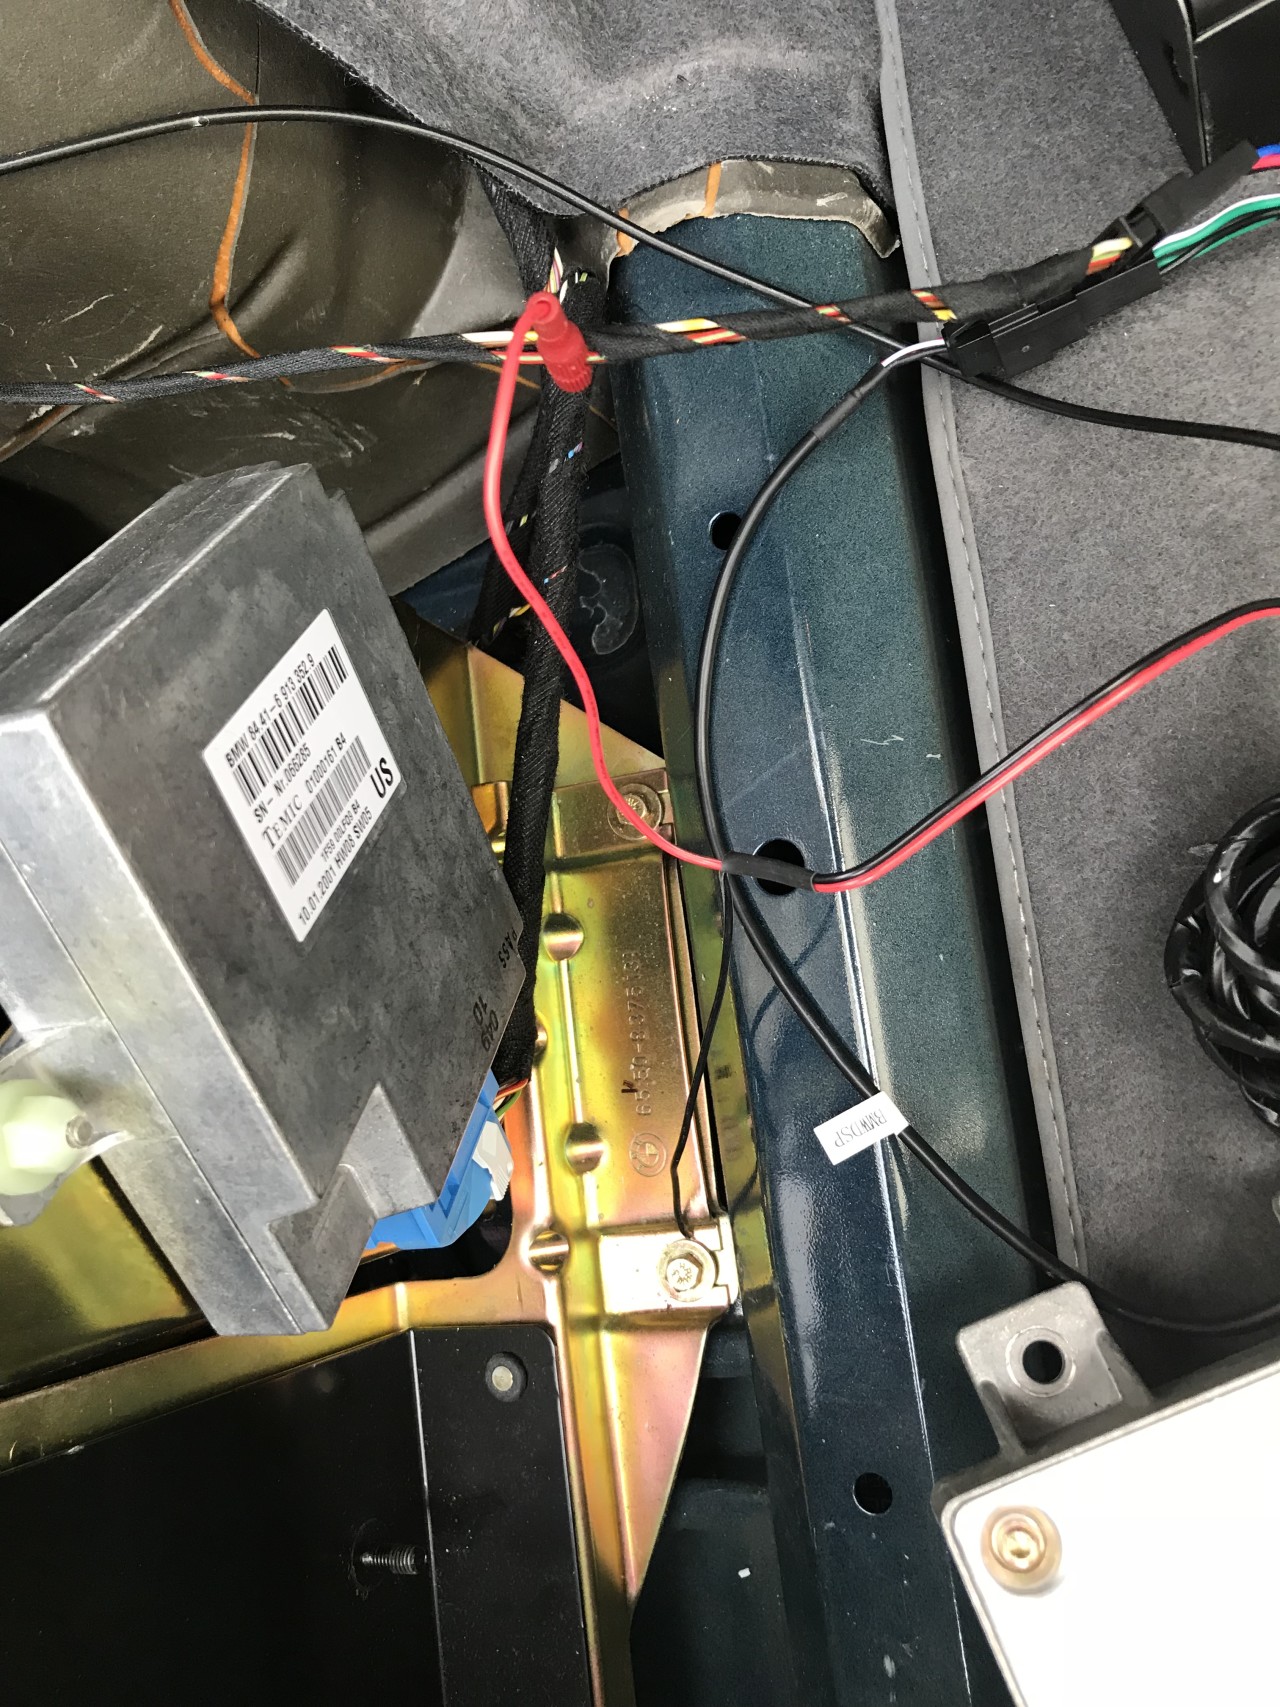
  • Grom USB3 adaptor kit with BMW specific harness
  • Any accessories from Grom
Tools Needed:
  • Standard and Phillips screwdrivers
  • 10mm
  • Wire strippers
By stevegolf
( 1 )

6 minute read

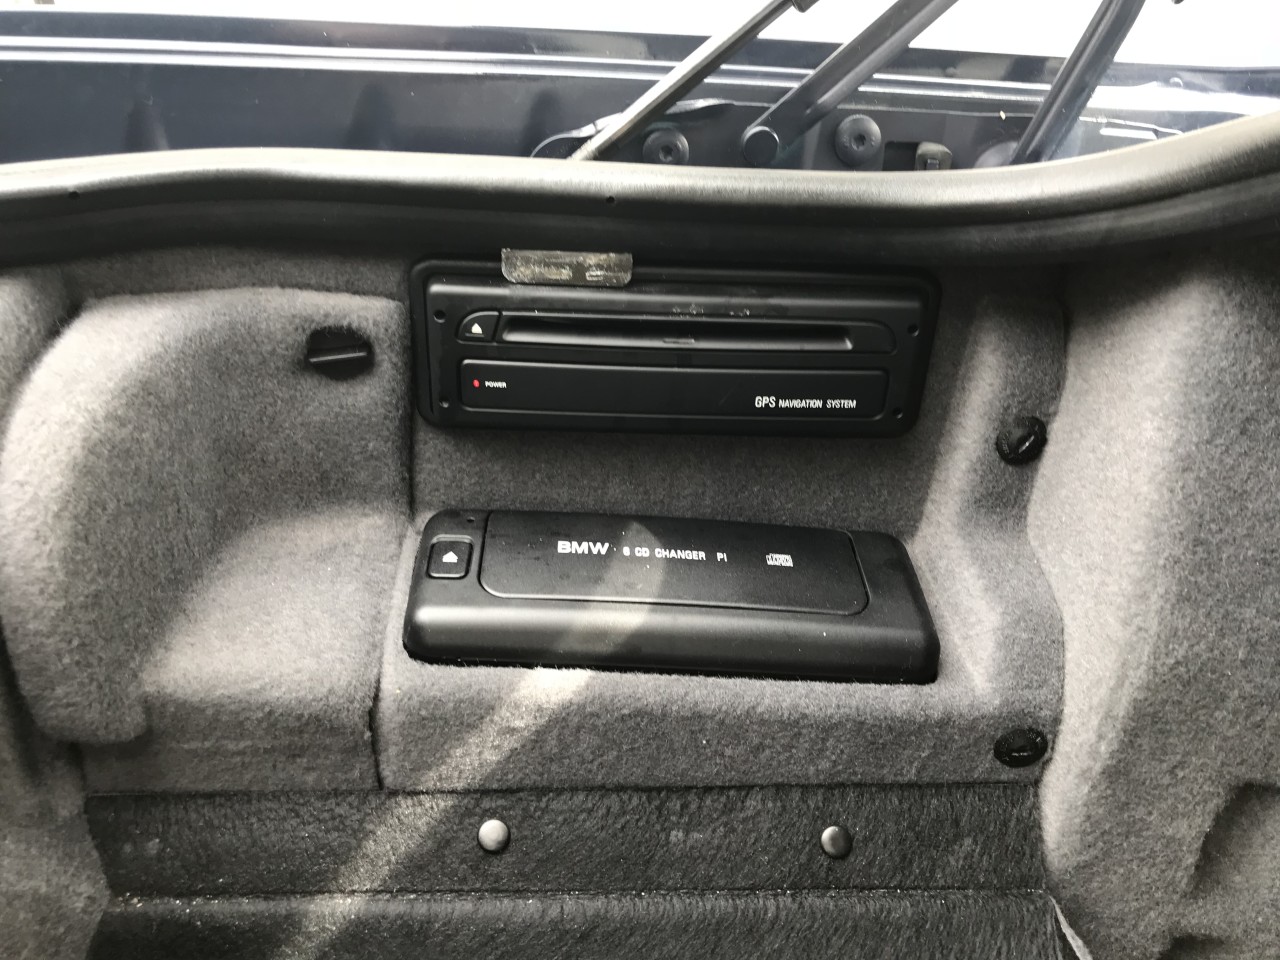
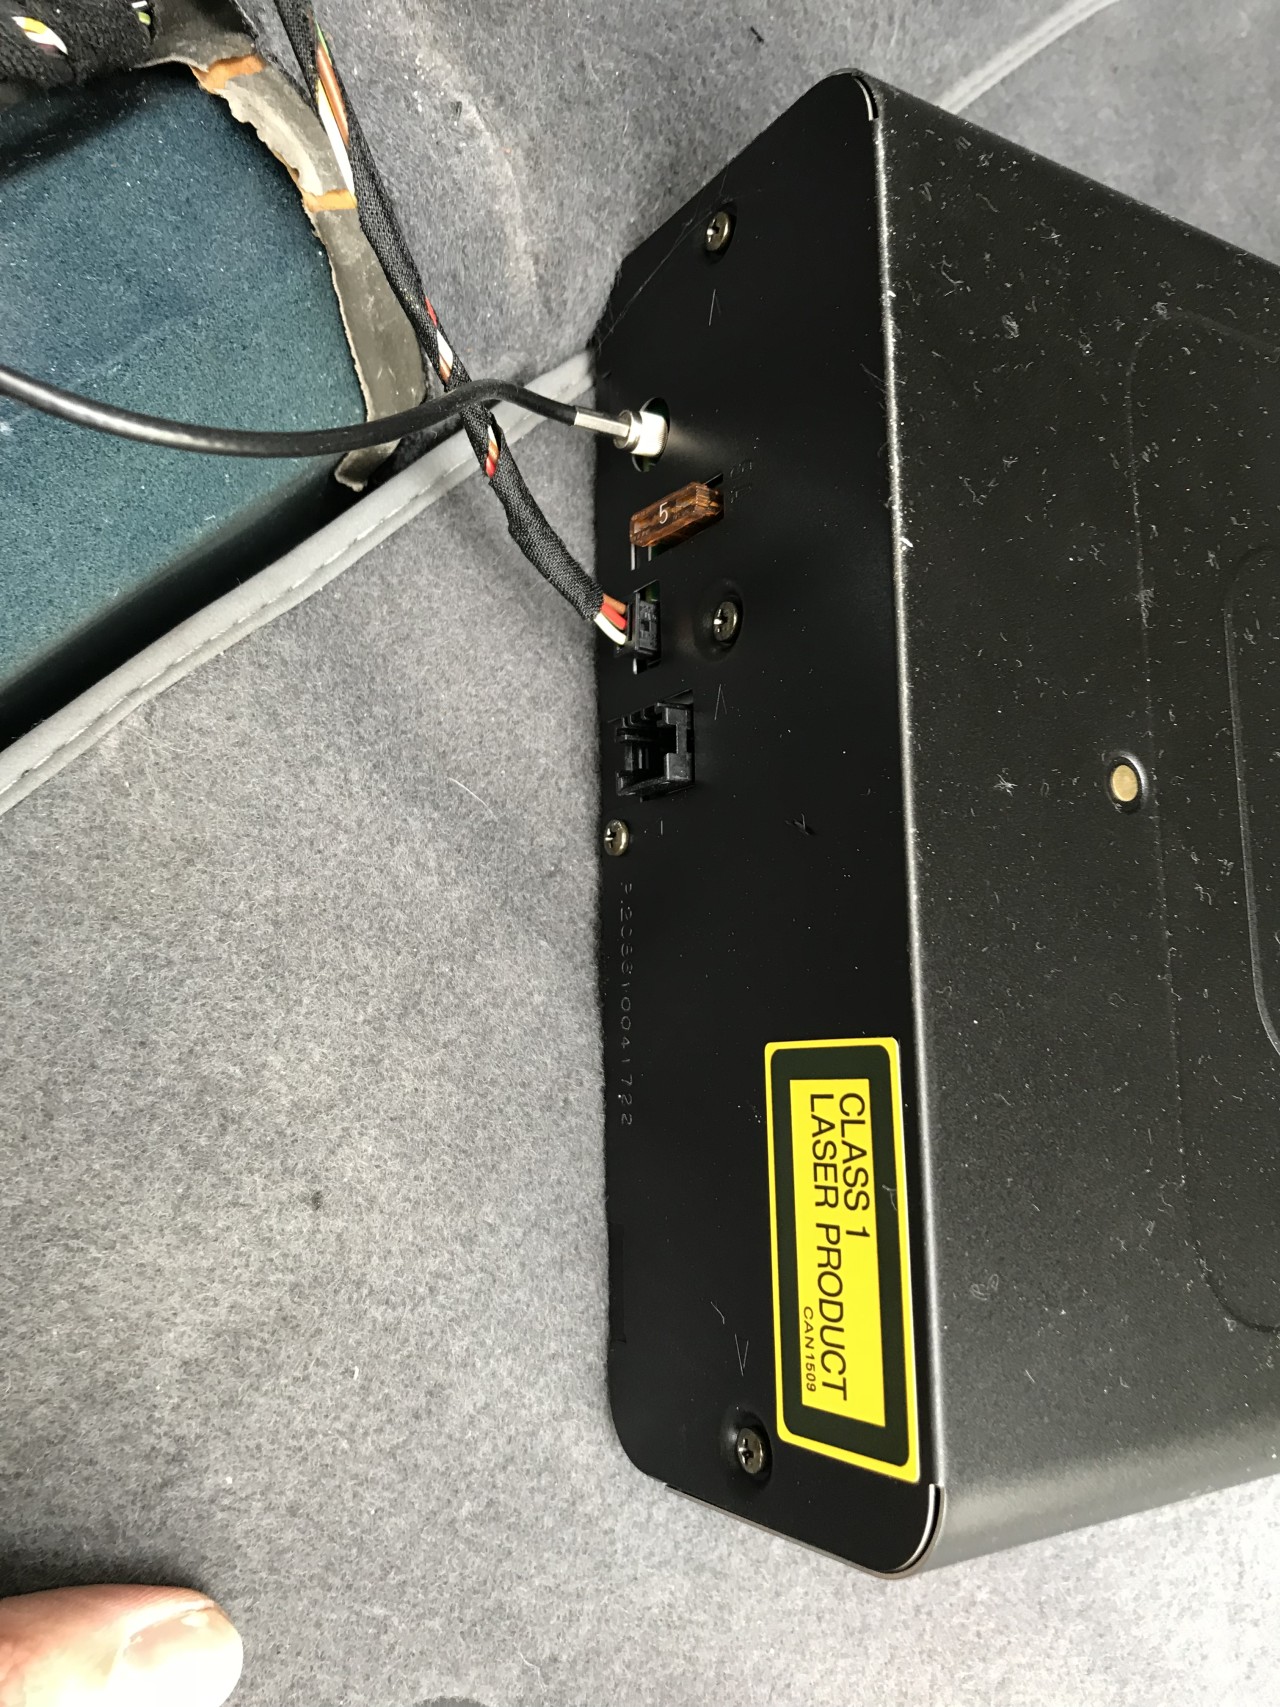
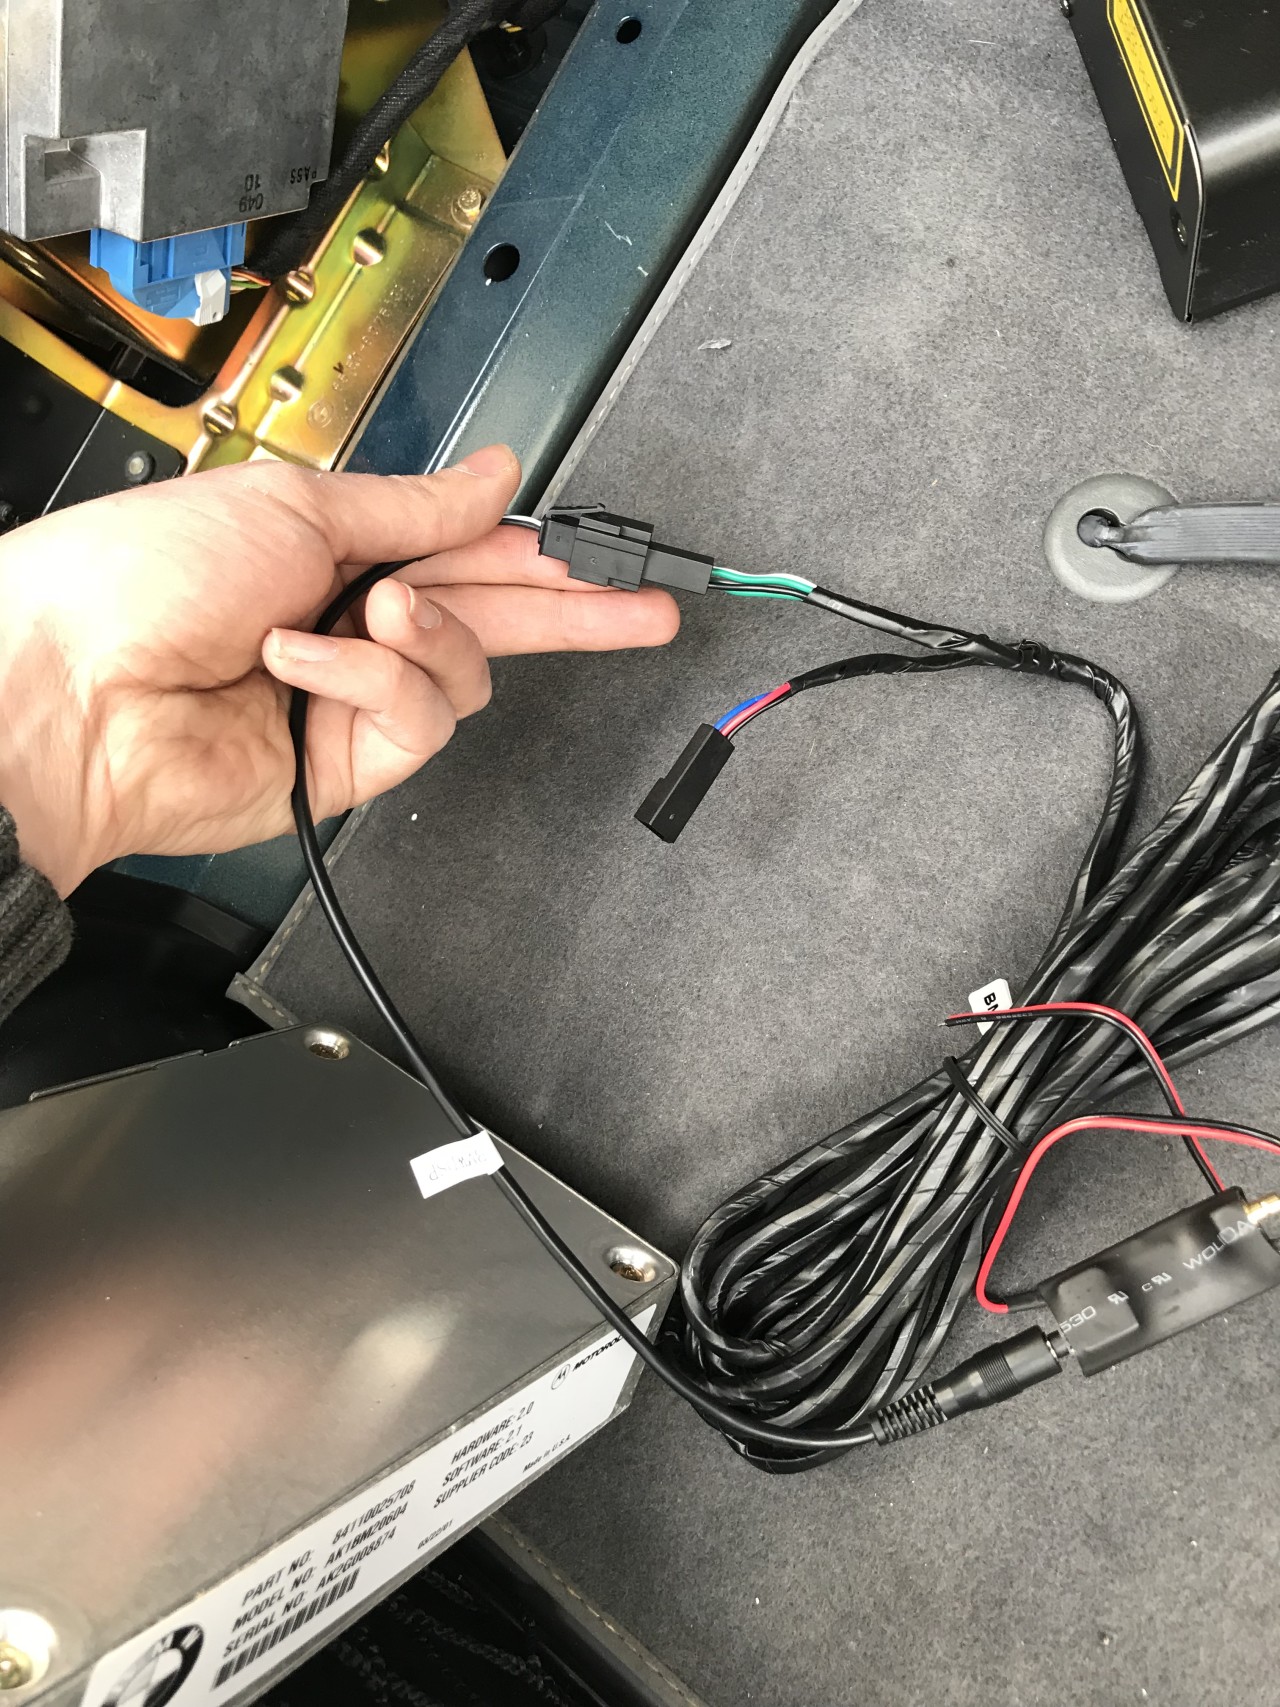
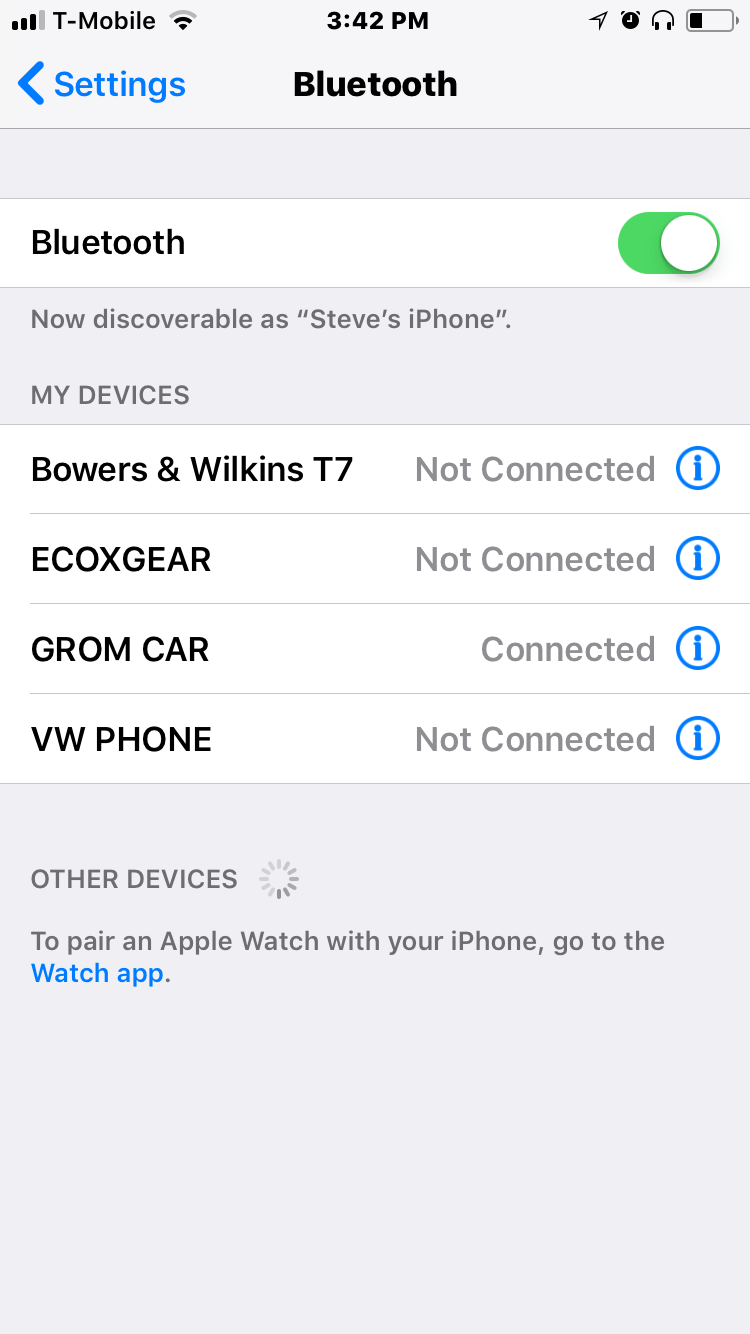
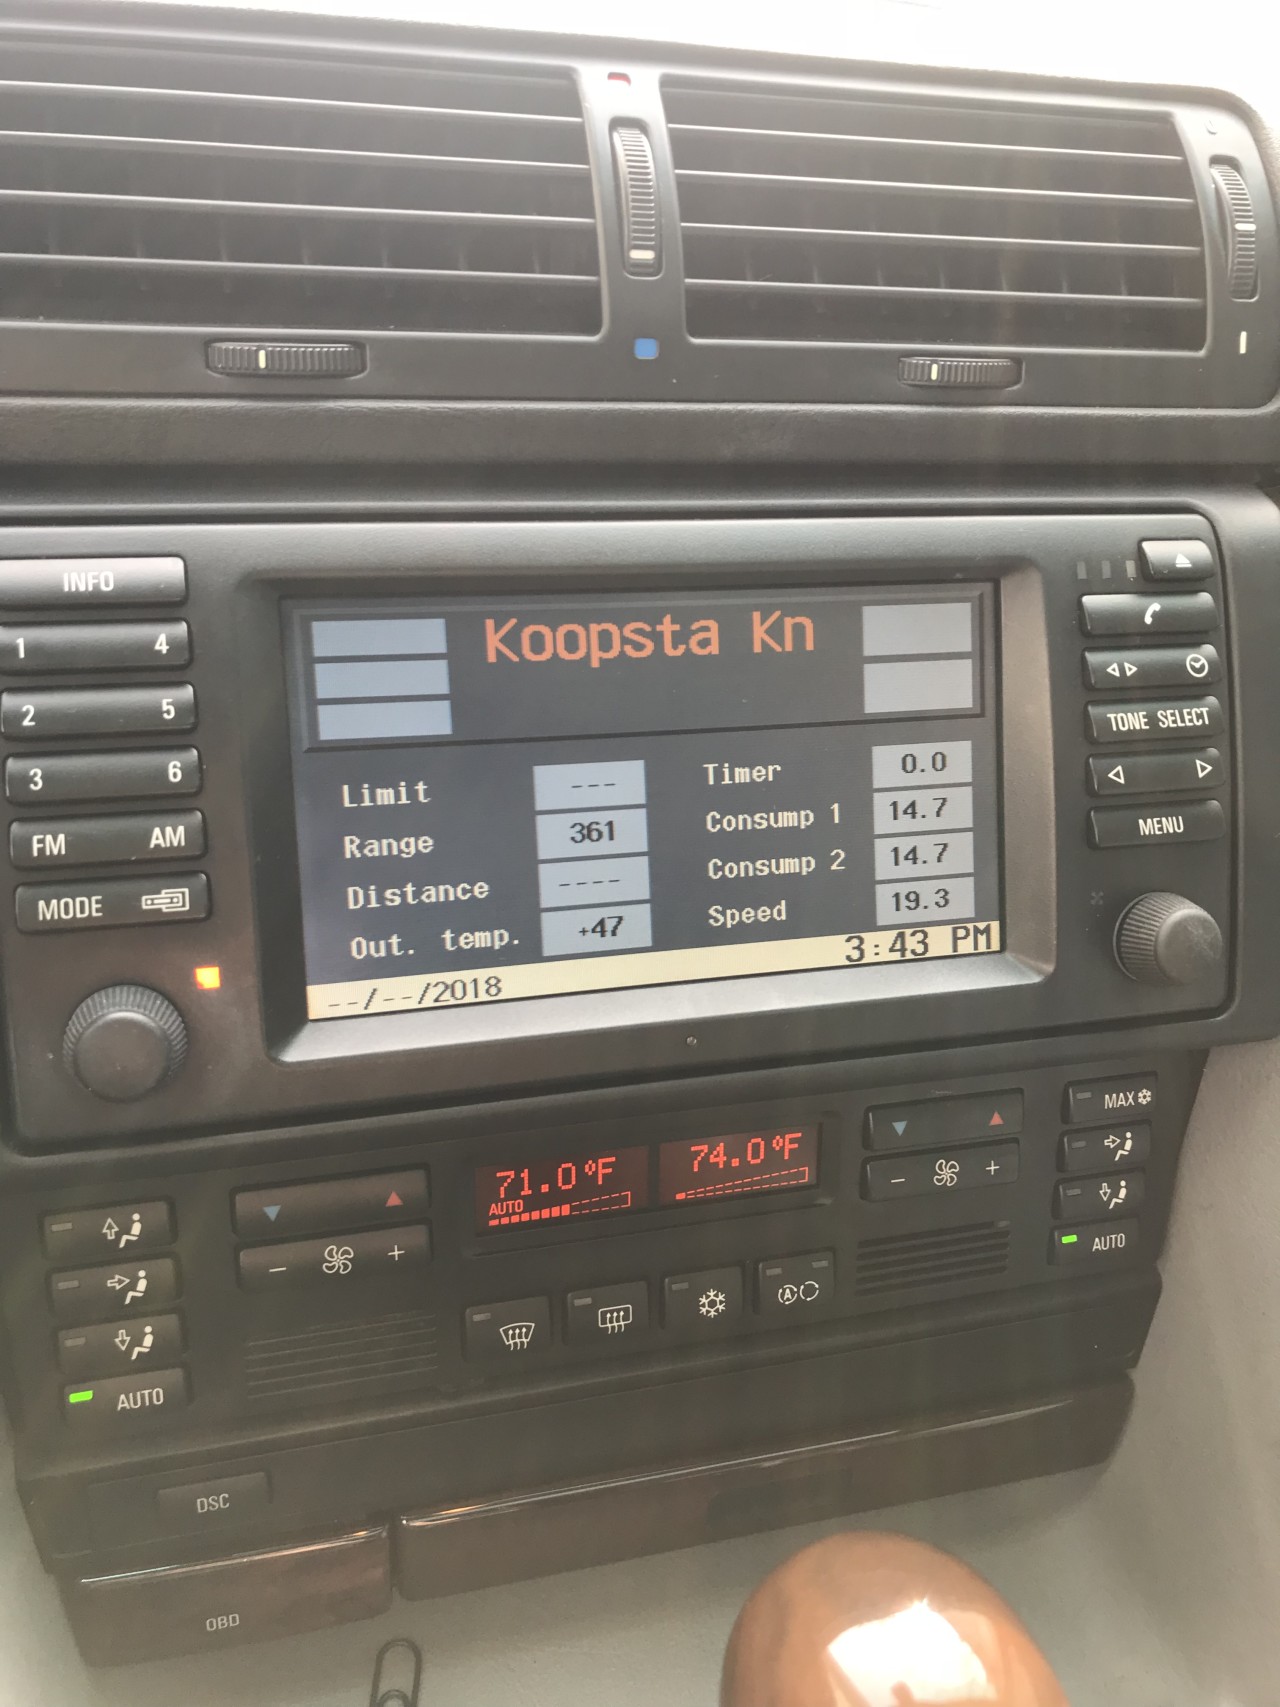
I picked up the Grom USB3 kit so I can hook up Bluetooth to the stock stereo. I bought the DSP module to retain that functionality as well as the Bluetooth and aux input cables.


The aux inputs are a lower priority and would require tearing up my interior so I just installed the actual module and Bluetooth. All this is done thru the trunk. It works through the CD changer connections, so you will loose that functionality.


You need to remove the carpet panel on the drivers side of the trunk to access the CD changer. The two retainers on the right side unscrew with a flathead screwdriver.


Some sadistic BMW engineer added this metal clip holding the panel in place. I can’t fathom its purpose other than to annoy me. I didn’t have the right tools to remove the DVD navigation player and even if I did the metal clip would still be there. I just cut the panel. It is hidden under the lip of the trunk so it won’t be noticeable. Or you can spend a ton of time mucking around with pulling the NAV player. I don’t have that much patience.


Now you can see everything. There are 2 Phillips screws on the front side of the gold colored panel holding the CD changer in. Remove those. They aren’t quite visible in the photo below but you will see them.


There are 2 more screws on the side that aren’t accessible unless you remove this other module. It is held in by 3 10mm nuts. With it removed you can undo those last screws. Once the CD changer is out you can reattach that module.


With the CD changer removed you will find 2 plugs on the bottom. One is related to power and signal from the headunit (3wired clip), the other is audio out to the DSP. Unplug those and sell the changer on Craigslist.


The Grom unit comes with a BMW harness. It is way longer than it needs to be for this application but other cars may need to reach the back of the headunit in front of the car. Plug the large plug from the harness into the Grom unit.


I ordered the DSP adaptor harness. One plug from that plugs into the Grom harness. Don’t worry you can’t mix up the plugs they only fit into their corresponding partner.


The 3 wire plug from the CD changer fits into the other plug on the Grom harness. The 1 wire audio plug goes attaches to the DSP harness.


The DSP unit needs power and comes with a black and red wire, as well as a tap. Strip the ends of both wires. The black wire is the ground and can be screwed under any of the unpainted bolts on the bracket holding all the audio equipment. The other needs to tap into a power wire. To keep things simple I just tapped into the red power wire that was going into the CD changer and is now going into the Grom unit. The included tap didn’t work until I snipped the soldered end off the wire so the threads could spread out.


Plug the Bluetooth cable that came with the kit into the Ext1 plug on the Grom module. Before buttoning anything up I tested it out. It worked really well. Turn on the car, switch to CD mode. You connect to Grom on your phones Bluetooth and can start playing. Text even shows up on the screen!


The Bluetooth worked even when in the trunk but I routed it behind the 2nd carpeted trunk panel near the backseat.


I didn’t want the module and all the wires jangling around. It turns out the box the Grom came in fits almost perfectly into the old CD changer’s home. I cut some holes for the wires to come out and added some tape to help hold it in place. Now you can put the carpet panel back in.


I have the aux and USB inputs as well but I need to think some more on how to best integrate those. Maybe get rid of the old phone cable and 3D print an adapter that will hold my IPhone where the old phone goes. That adapter plugs into the Ext2 plug on the Grom harness. I’ve read that you need to buy extensions to reach the front of the car.  I’ll leave that for another day. 


Enjoy the new tunes!


Comments