You must be logged in to rate content!
8 minute read
Sideskirt DIY Part 1
Compliments of $$$frumnuttin' @ www.corvetteforum.com
Ok, I have had numerous requests for this DIY...I guess it is a first...so I am going to try and pull it together with the pics I already have....hope this will inspire you guys to do this mod and save a few pennies in the process.
To start, here is a little background on what I did for these prototype pieces. Of course, this isn't the last word on how to achieve this mod as many of you will find improvements and shortcuts along the way for sure.
The material I used is AZEK vinyl trim. The board to start with is an 8 feet long 1" x 8" that will cost you around $30 each at Home Depot or other big box lumber supplier. The actual dimensions are 3/4" thick by 7 and 1/4" wide by 8' long...the same as a wooden board would be. The thickness is perfect for the C5 as well as the board width which will accommodate secure mounting to the underside of the C5 without causing any real damage; it will be removable too.
The length you will need will be 74 and 5/8" out of the 96", so there will be some room for error after routing (shaping) as long as you end up with the required length out of each board.
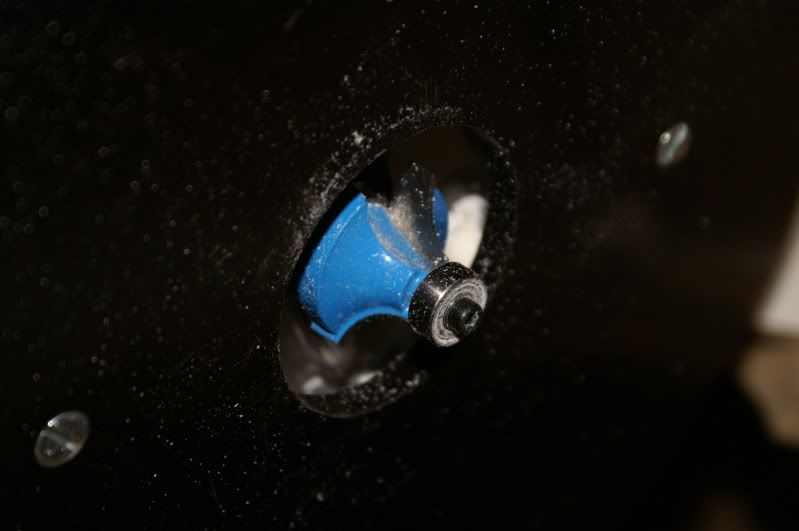
The first step is to use a woodworking router, or some other reliable method of wood finishing, to finish the edges to a desired appearance so it doesn't look like a piece of lumber just hanging from your car. Do this step outdoors...the vinyl shavings are a nightmare to get rid of. I chose the 'bullnose' look that seems to be a common approach on the aftermarket sideskirts selling for up to $600. Here is the quarter inch 'round over' router bit that I used:
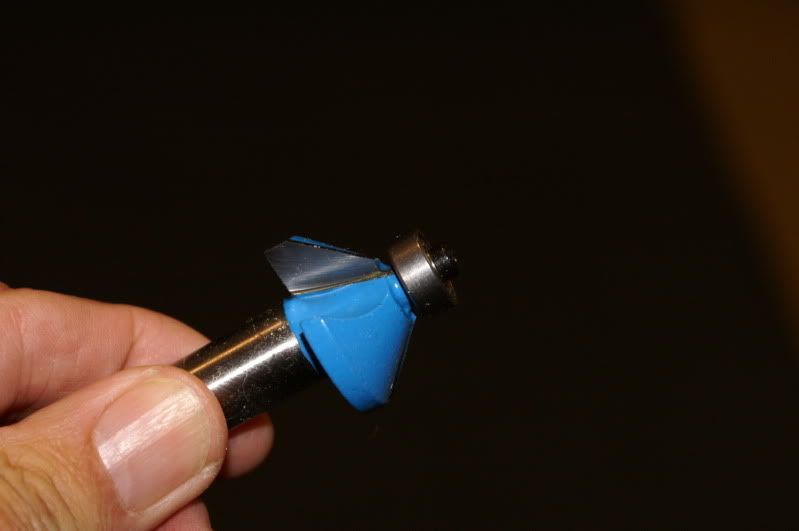
If I do this project again next summer I may try a different edge treatment such as these bits:
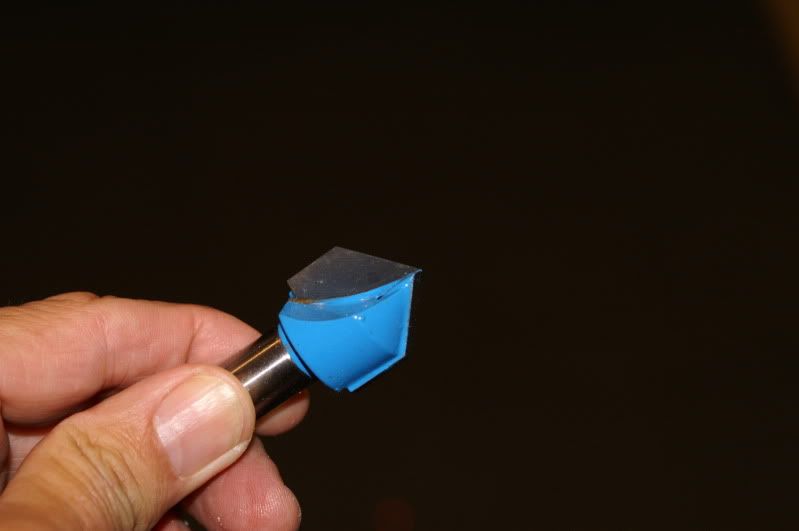
OR;
I don't have a picture of the boards at this stage (way too much vinyl dust all over the place), but what I did is route all 4 edges on each board so I could choose the best looking edge for the visible top edge that will be seen on the car.
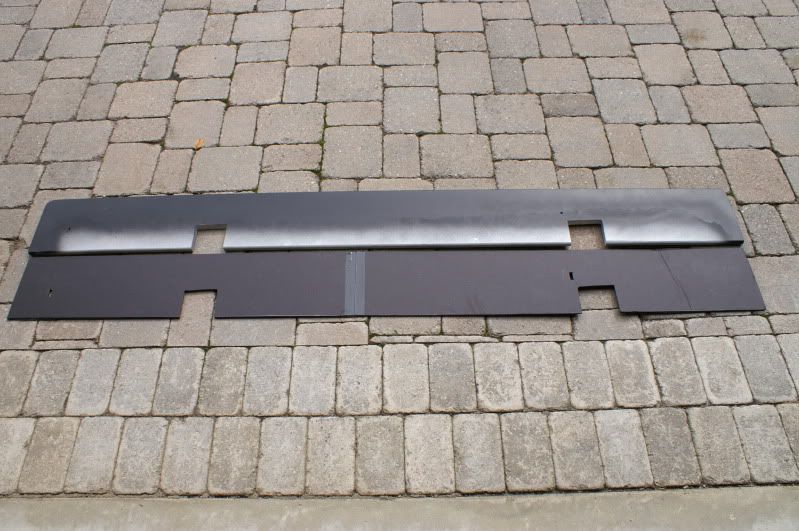
After cutting the boards to the proper length, you will need to make a template in order to cut out the various holes and jacking locations on the sideskirt. Here is my template followed by how I determined where to make holes and cutouts.
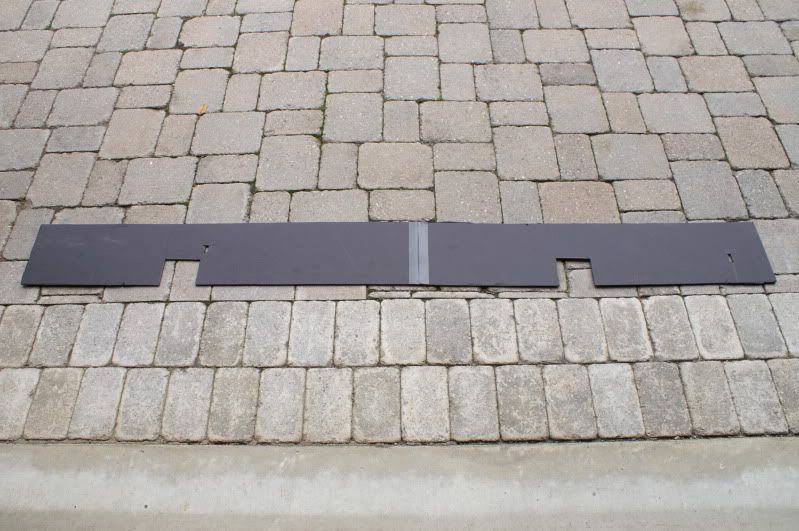
The template and the actual sideskirt side by side....
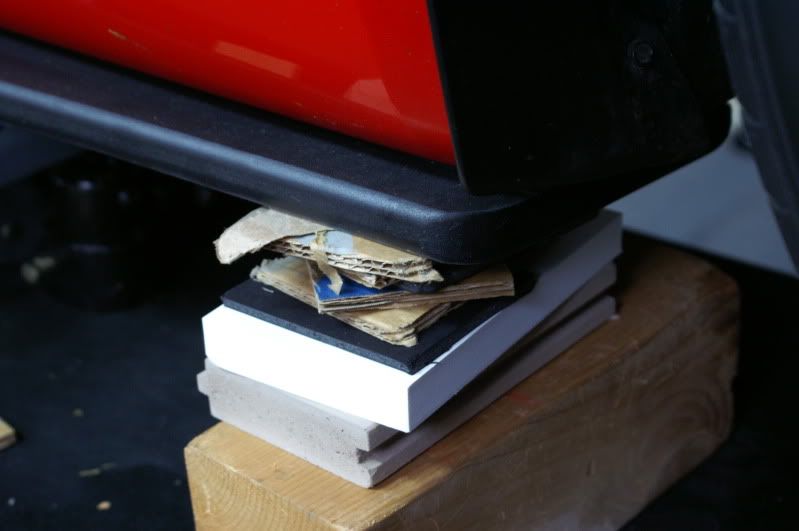
Here is how to set up your car for marking off the critical locations...
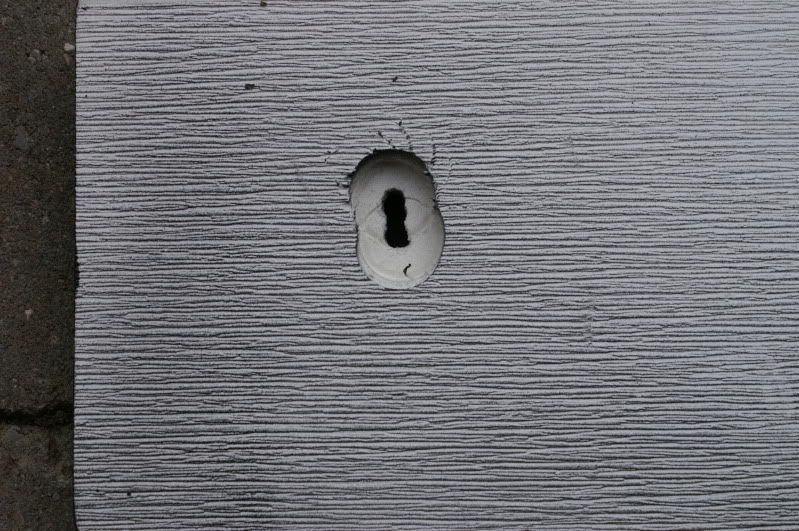
If you look under the body you will see 2 small screws (so-called body bolts, but they are screws) that will be used as primary mounting locations, but they also are perfect for initial lining up and indexing additional screws later on. I painted the heads with yellow paint then pushed the board into place and created a yellow mark where the screw holes needed to go. A few more shots of positioning the sideskirt...
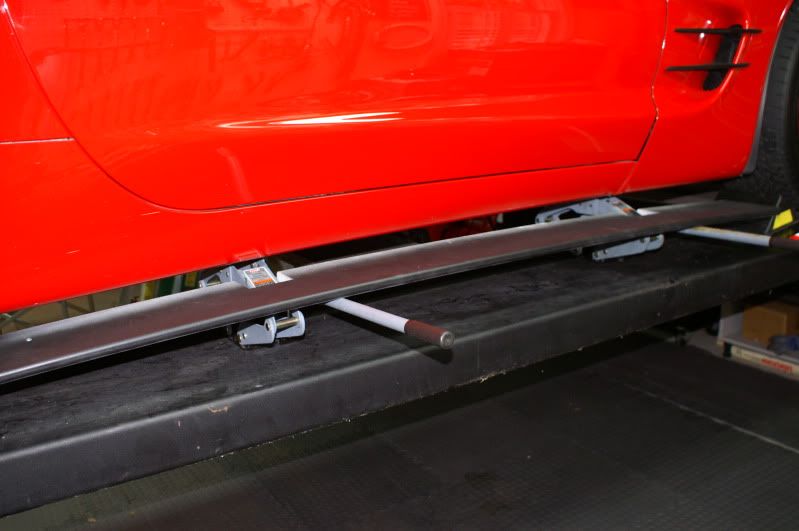
By the way, a 4 post lift is not the best for this project...the jacks are in the way and had to be pulled out inboard when all was done. Jackstands would be way easier for access and drilling because of the clearance issues with the drive on ramps.
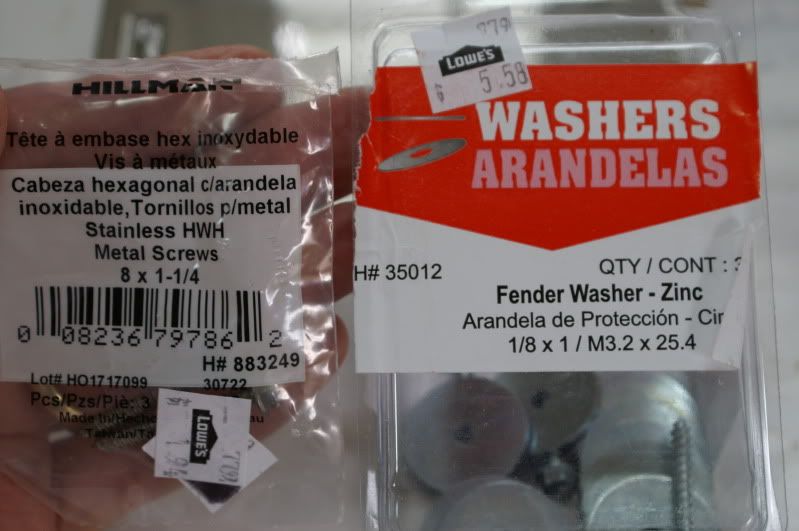
Here are the replacement screws you will need ...
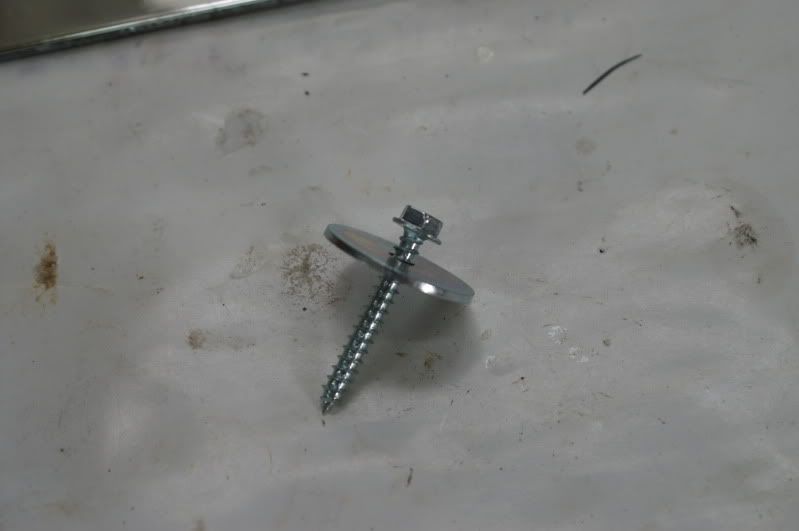
I actually countersunk the first ones, but decided later this is not entirely necessary because the screw heads are very shallow and would not hang up on anything your car may rub on. But if you want to countersink be sure you do it on the bottom (wood grain side) of the boards...it is very easy to get mixed up when doing a left and right side of the car by flipping over your template to do the second side...just be careful not to ruin a board at this point in the process.
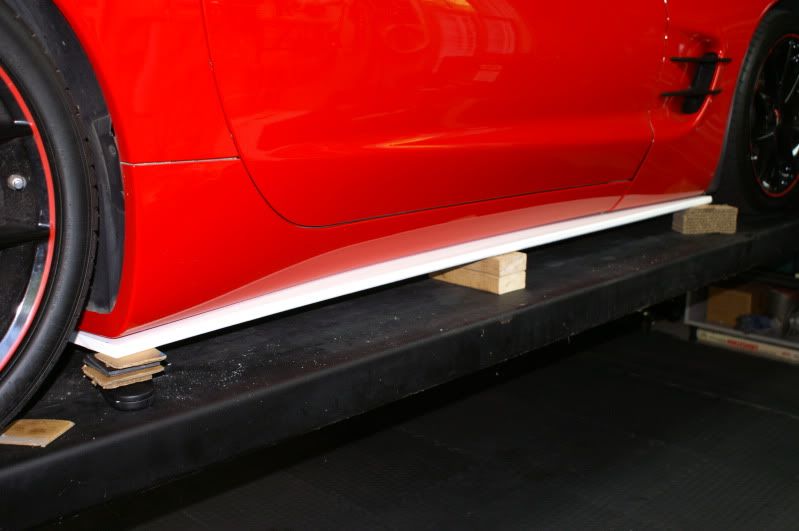
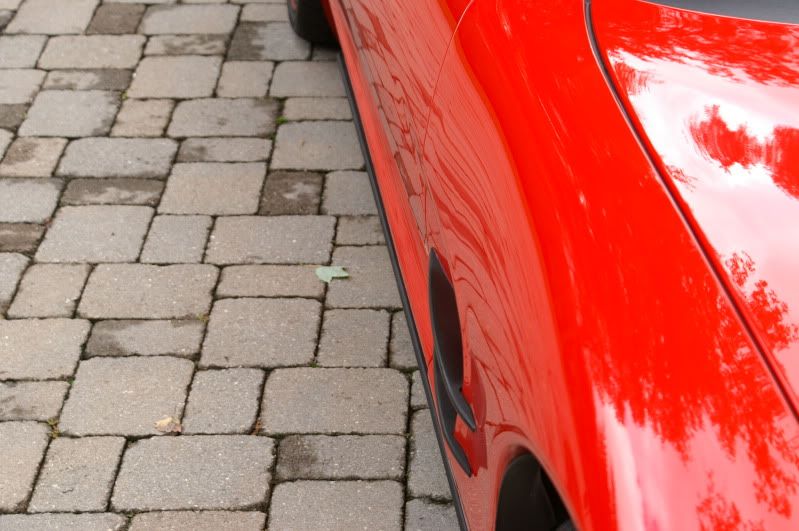
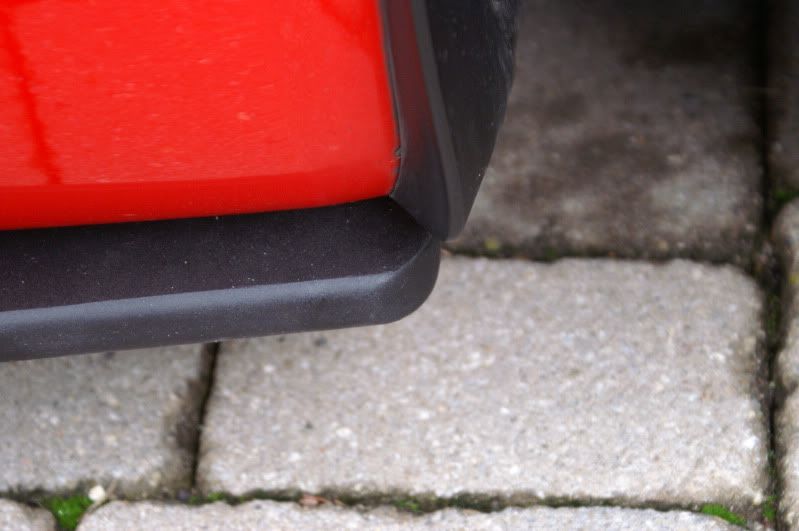
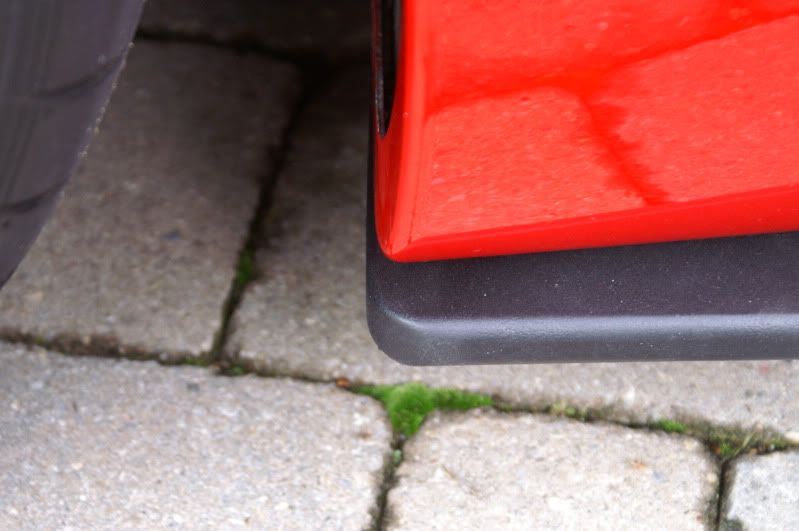
Ok, you will want to align the sideskirt edge with the C5 body line along the bottom. I chose to try to get a perfect amount of sideskirt showing when you look down the side of the car from the front or the rear. This picture shows the exposed edge I ended up with by carefully adjusting the boards propped up under the rocker panel...
To accomplish this I slotted the rear body screw location so I could move the sideskirt in and out until it was perfectly aligned...
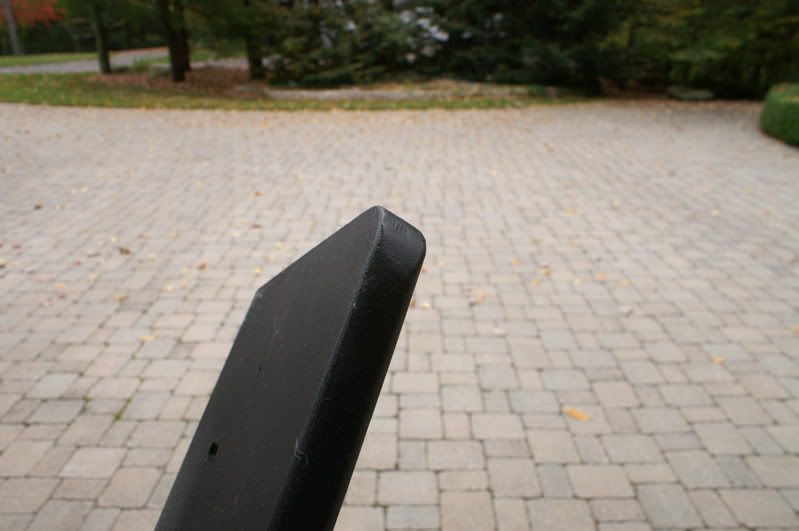
Here's a closeup of the corner finishing I did using a file and sandpaper to sneak up carefully on the desired look...I repeated the assembly to the car several times before I got the look I wanted that matched the fender guards at the front and rear locations.
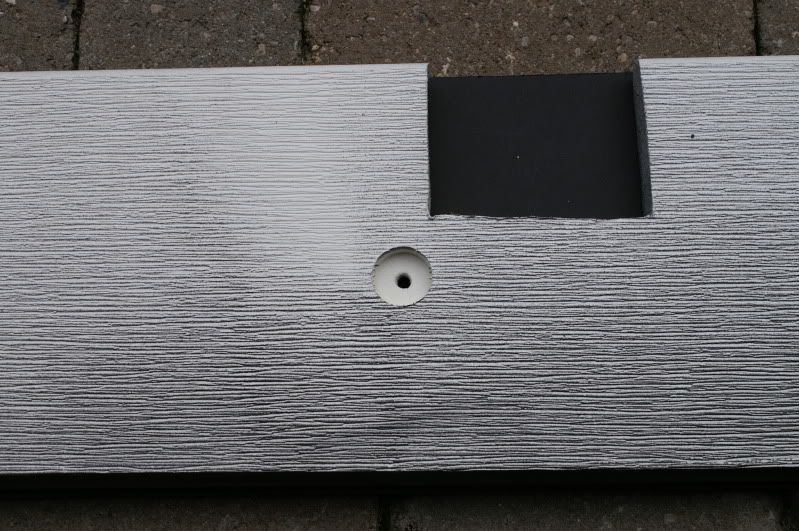
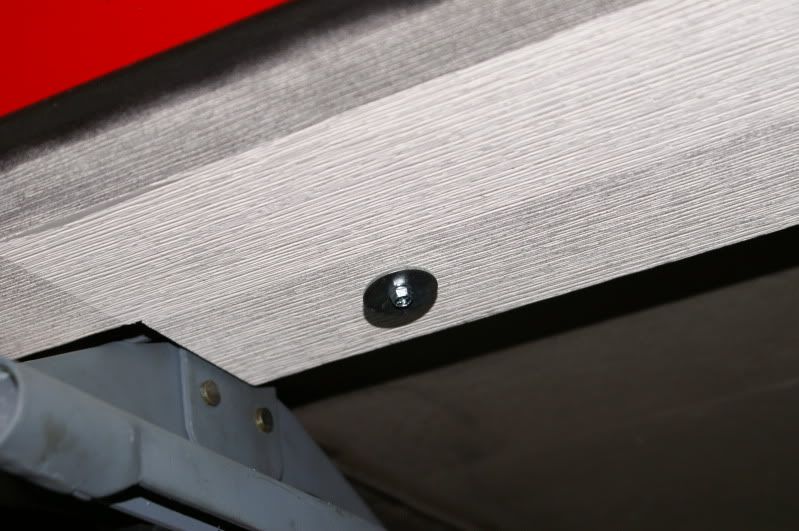
Here is what the bottom will look like with the screw and washer attachment.
Once you are at this point decide how you want to finish your skirts. I chose to start off with plastidip since these were prototypes, but I will paint next summer most likely gloss black or torch red...reason being, this area of the car is a dust collector..and plastidip hold dust like tacks to a magnet.
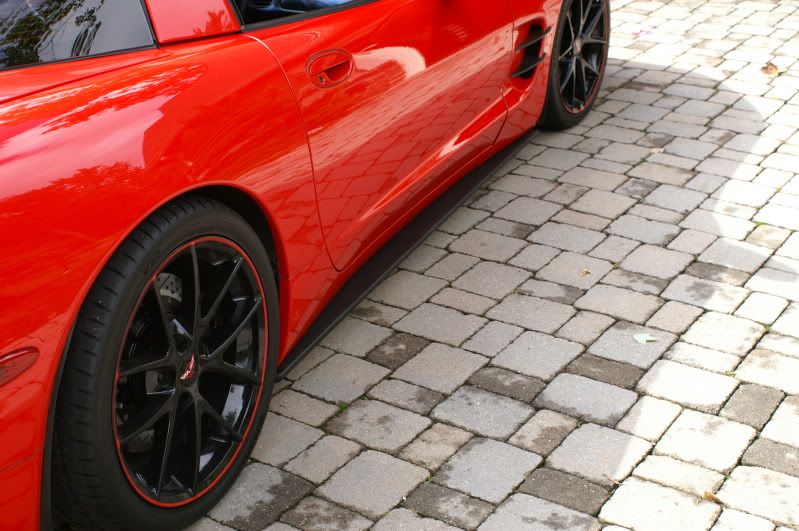
Once finished, mount your skirts with the 2 body screw locations and line everything up the way you like it. Now drill 3 to 4 1/8" diameter holes into the rocker (right through the sideskirt) near the center of your car door. There will be some sagging here and there and that is what you want to correct. Drill the holes into the rocker panel, not anywhere else as there is no structure elsewhere strong enough to do any good at holding the skirts in place. Now add the screw/washer assemblies and snug everything up. Don't overtighten...I recommend about a quarter turn after the washer has seated. You do not want to strip out any holes. Your finished look should be something like this:


The hardest part is making the template...the holes must line up perfectly with your undercarrige, otherwise you may ruin a $30 board. Be sure to flip the template over to do the opposite side. It will get confusing because you are fastening from the bottom so you have to reverse everything in your mind and deal with mirror image parts. The template material I used is a high quality foam board. I used two pieces to the correct width and taped them to make the total length of 74 and 5/8 inches. If you are skiddish about this step I would be willing to make them for anyone, but you would have to send me $25 for materials, shipping carton, postage, and labor.
Let's see what you do, and I love to see improvements and other creative ideas....mod on!