You must be logged in to rate content!
5 minute read
NC Bumper Removal
Compliments of auto-X-er @ www.miata.net
There never seems to be enough help for doing things on these forums, so I am going to add a detailed guide to taking the bumper off. Its a pain in the A**, and is required for many things, mainly intake, so here is some help for everyone. I'm keeping this with just the bumper. And this is for an NC1, no idea if the NC2 is different.
First off tools required:
10 mm socket
8 mm socket
short handled Philips
flat head screw driver
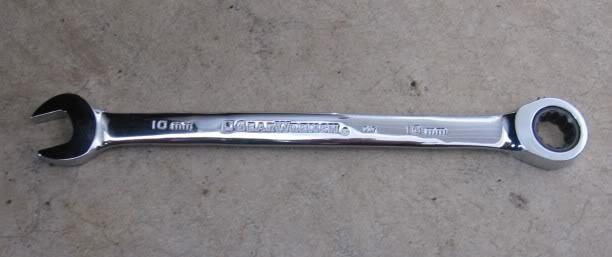
10 mm wrench (ratcheting wrench highly suggested)
Lets get started then. I would suggest starting with the most annoying part. The ones that are hardest to get to. First, remove all of the fasteners in the wheel well. It is best to remove about 10 total. Turn them counter clockwise, and once they pop up you can pull them out. You may have to prevent the snaps from spinning by holding them so they come out. The best solution is to turn the wheel to full lock to give yourself some room. I couldn't get good pictures of them all with the room, so you'll have to bare with what you can see.
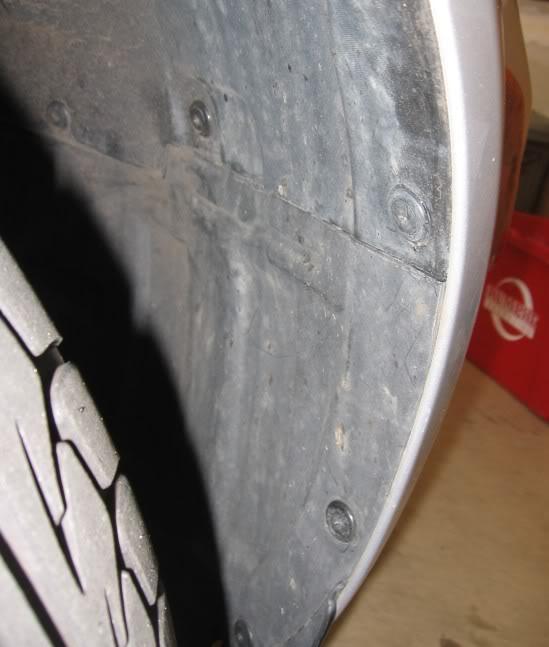
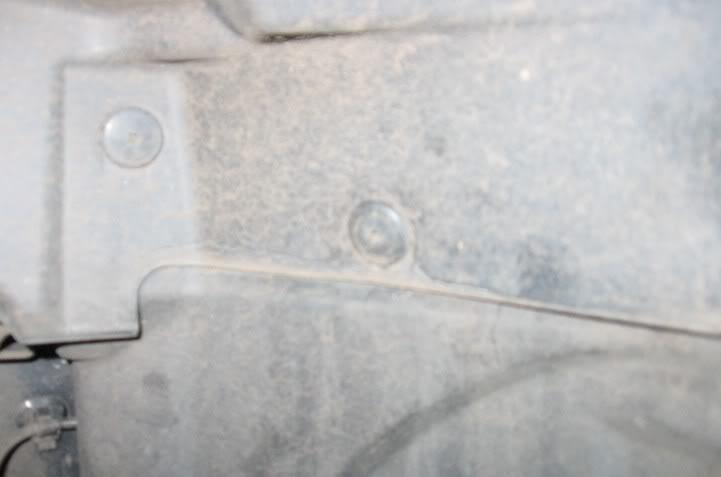
If you are struggling with which of the fasteners to pull, the goal is to get enough room for the next step. You will have to remove the lower front ones against the bumper to get it off eventually but not for this.
Next, is the worst part of getting the bumper off. You life will be much easier with one of these.
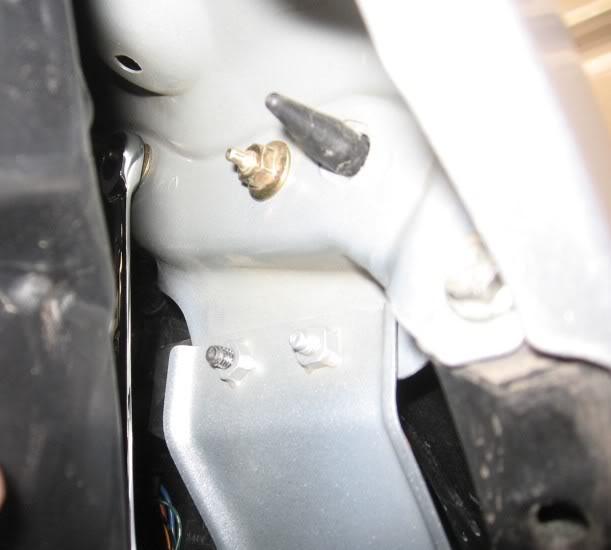
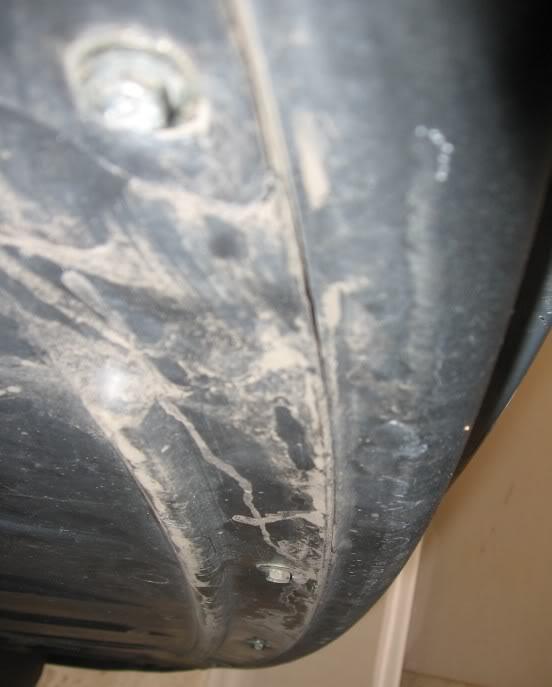
Highly recommended. You could probably make it with a ratchet but a wrench is easier to deal with. Here is what you have to do. Push the plastic out of the way and get up in there to these 2 nuts and 1 bolt on the right. Remove the nuts first as they will come off by hand once started, since the bolt has loctite on it. Same in reverse for going back on.
Do the same for the other side, again turning the wheel away to make it easier to get the snaps out. Once that is done its all much easier from there.
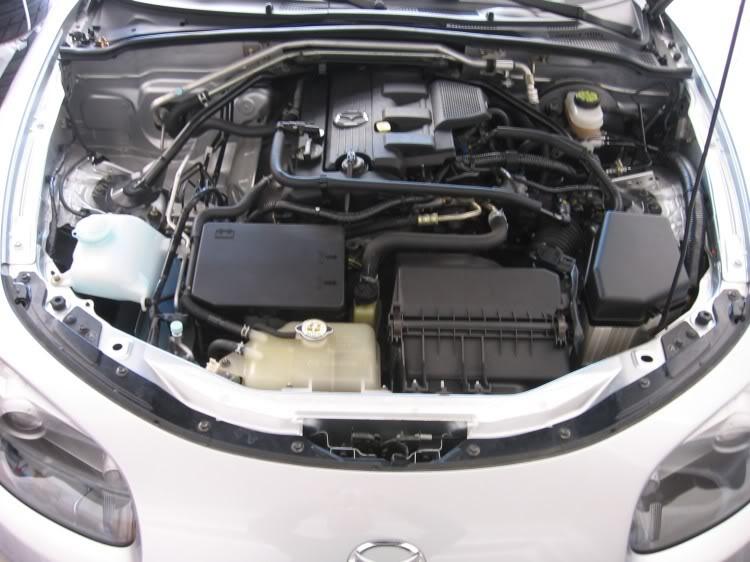
Now remove all the top 10mm bolts with sockets. If you got an attachment for a drill you can do this really fast. There are 8 total across the top, you don't need to remove the ones on the headlights. As you can see I have been storing all the fasteners in the top vents so not to loose them.
Next there are 8 mm bolts on the bottom (be careful putting these back in with all the plastic layers)
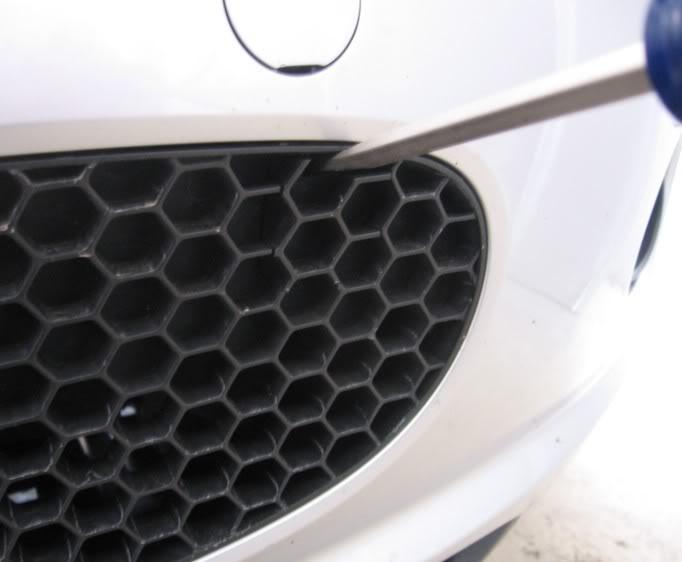
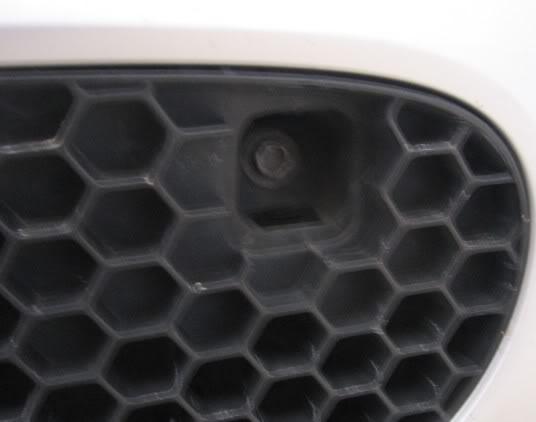
Last there are two hidden bolts in the grill. Remove the plastic bits with a flathead from the top as shown.
Now remove the bolts on both sides:
Now, it should be free, but very carefully pull it off slightly an inch or so. There is not much room for the wires, but just get enough room to get in there. Remove the connectors on the blinkers and the fog lights. There is a snap on each of the connectors that you will need to depress to remove it.
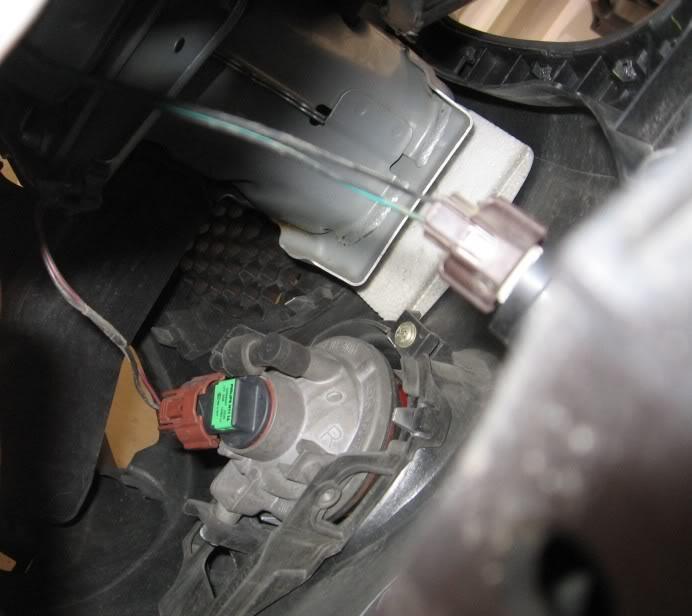
Once the wires are off on both sides the bumper will slide forward right off.
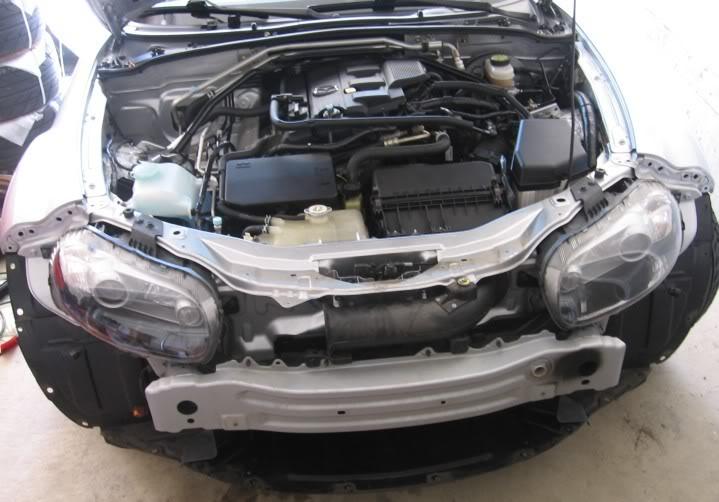
And you are done. Do the reverse to get it back on.