You must be logged in to rate content!
6 minute read
Head Gasket Installation - SR20DET
Compliments of s14unimog @ www.zilvia.net
Since it seems there is limited, and sometimes contradicting, information regarding a head gasket installation; I felt I would share my pictures and experiences in hopes of constructing a helpful/resourceful thread.
Since head gasket removal was covered quite well by an individual on NICOclub, I will just provide the link to that thread.
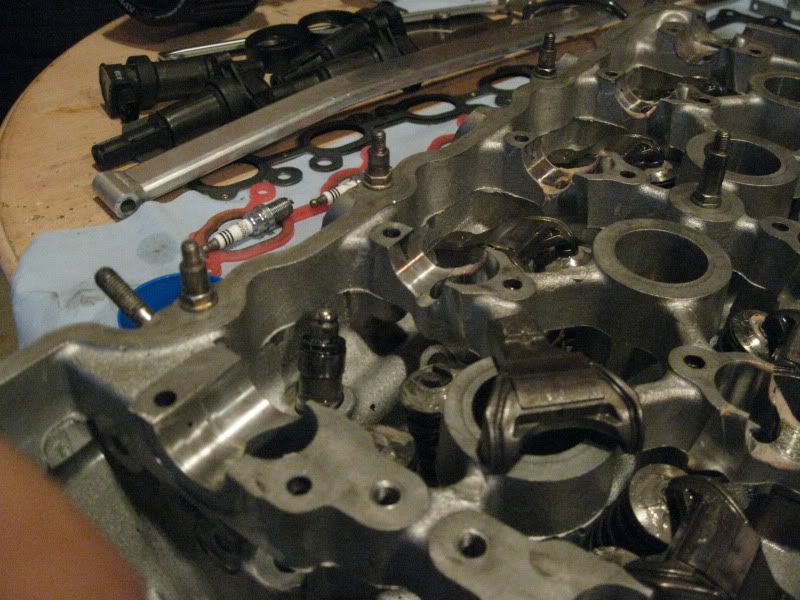
Depending on what your needs are for your particular project, your repairs or upgrades, may differ from mine. As some of you may know, and for the ones who don't Check Your Screws!!! , my engine recently ate a throttle body screw and so needed some repairs. I had the head decked, cleaned, JWT valve guides installed, new seals, compression zones checked, head assembled, and a missing cam cap replaced/fitted.
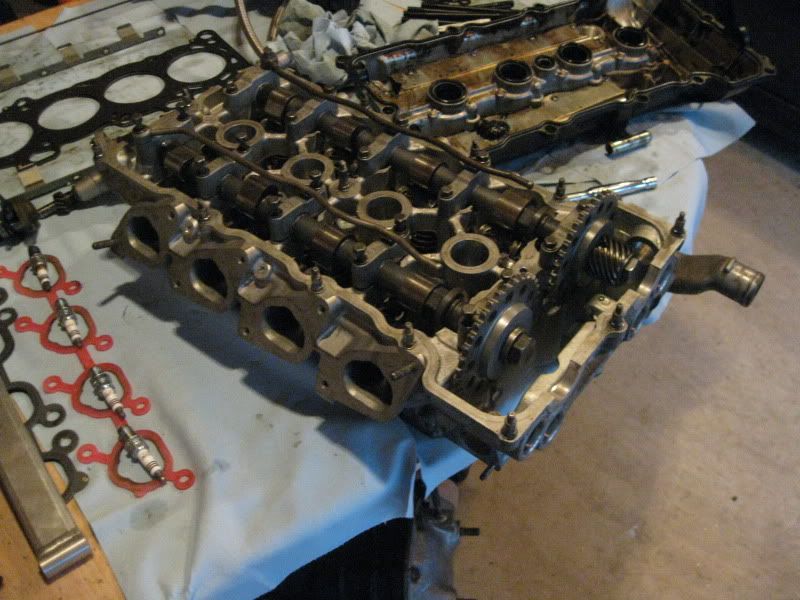
Before you get started, its a good idea to go ahead and bleed your hydraulic lifters; its very easy and only takes a minute. The lifter removes just by pulling on the exposed end and is located under the outside leg of the rocker arm.
Submerge the lifter in a container of new oil and depress the check valve located inside, at the base, the lifter. the FSM lists the use of a "suitable tool" so I used an appropriate sized allen wrench. with the check valve depressed go ahead and compress the top of the lifter until you feel it bottom out; you can release the check valve at this point. You should see air bubbles if its needed and once you're done, the lifter shouldn't compress anymore. Repeat if necessary.
Next you want to go a head and clean the block surface as well as you can. I used a window scrapper with a new razor to remove the majority and then a dremal with a some what nonabrasive wheel, you don't want to create low spots. Use good judgment and just clean it. After its clean go ahead and apply a continuous bead of gray liquid gasket to the front timing cover area. Remember that a little goes a long way, so don't get carried away with a 0.250" bead.
Install head gasket. This step is somewhat debated, I choose to use Copper Spray for added tack on the two surfaces but I know that you don't necessary have too. As it was explained to me, it can't hurt but could help and I have no experience to argue otherwise.
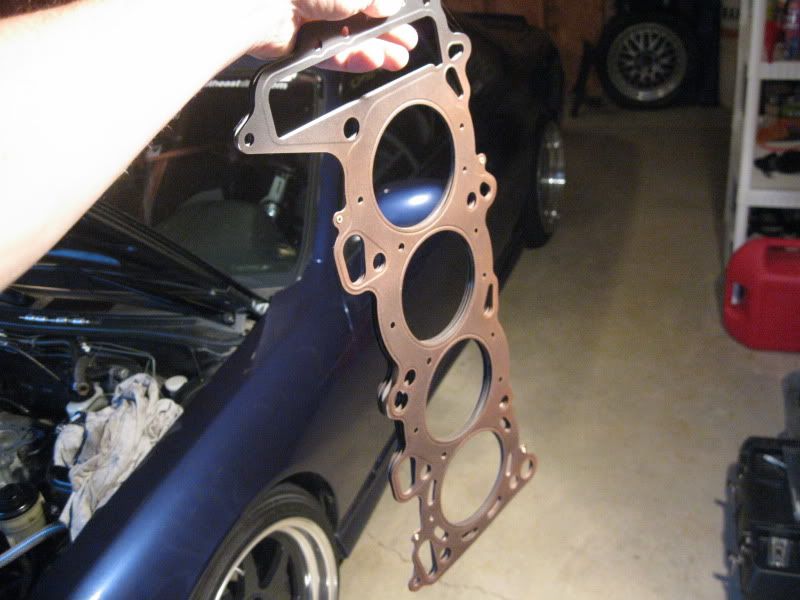
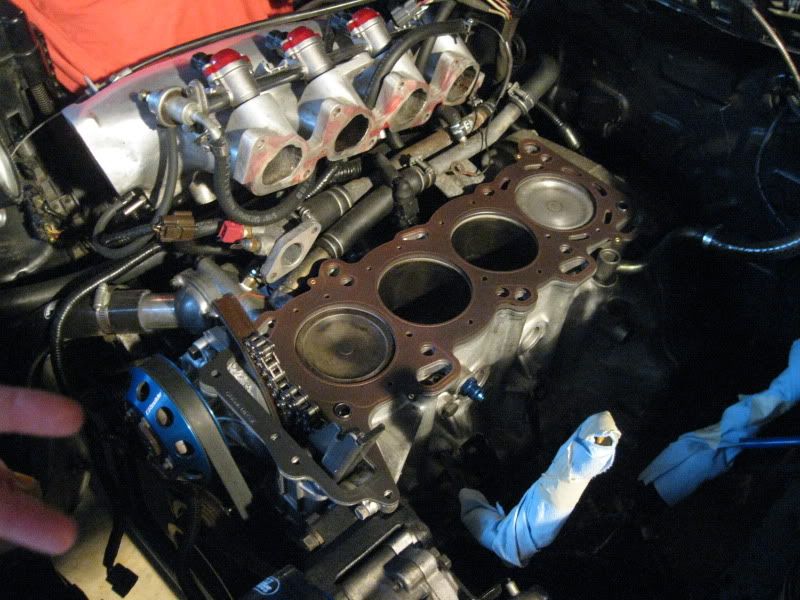
Next apply another continuous bead on top of the gasket around the front timing cover area. My understanding for this is only to prevent weeping from the front cover.
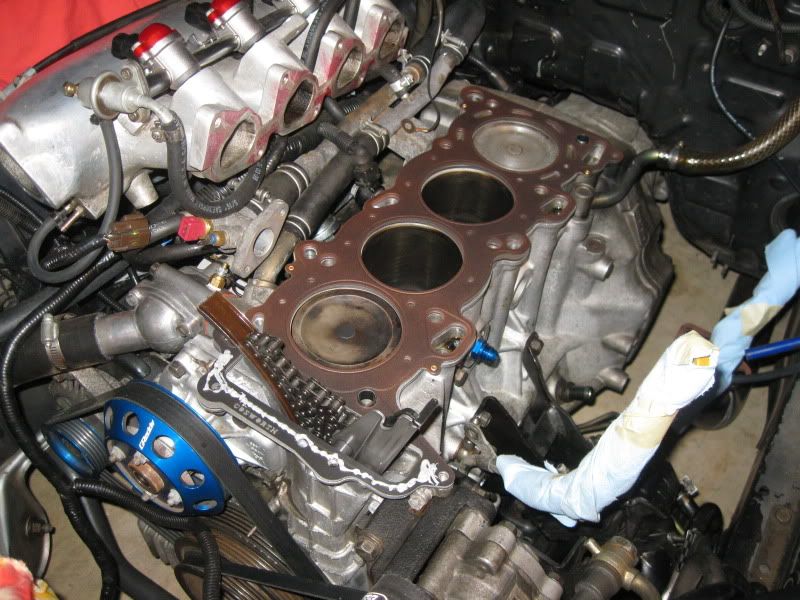
After you drop the head on, its now time to install the head studs. I am using ARP hardware so here is the information to know. If you are reusing head studs, its important to verify that they have not stretched. The area of stretch is usually in the threaded area of the stud its self, so look for differences in diameter. The O.A. length should be 6.600" +/- 0.010". Replace them if it exceeds this tolerance.
To install them, you use a standard (not metric) allen wrench and thread them all the way down into the block. You need only to snug them down, no torque spec's req'd. DO NOT USE bolt smoothing compound on block threads!
Install all 12pt nuts and washers with bolt smoothing compound. From my research, it seems there are two versions of head studs. Apparently, ARP has redone the kit for the SR20DET and now requires 105ft/lbs. I have an older kit which requires 80ft/lbs; this will be the 3rd time I've reused these. Refer to the FSM for exact torque sequence, or just remember: tighten from the inside out and loosen from the outside in. Tighten them in stages and let your last torque set be your biggest jump. I did...
25ft/lbs - 55ft/lbs - 80ft/lbs
Don't forget to reinstall the 4 remaining, 10mm socket, screws shown removed in the thread listed above.
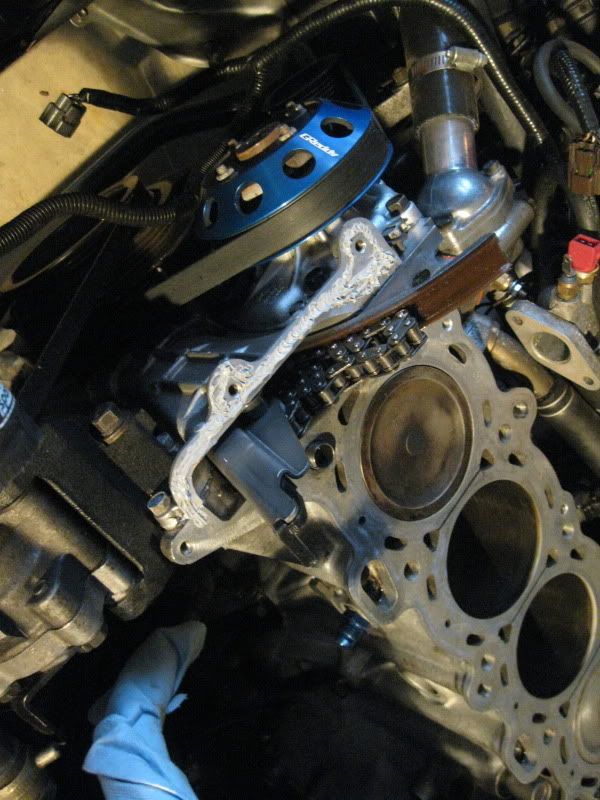
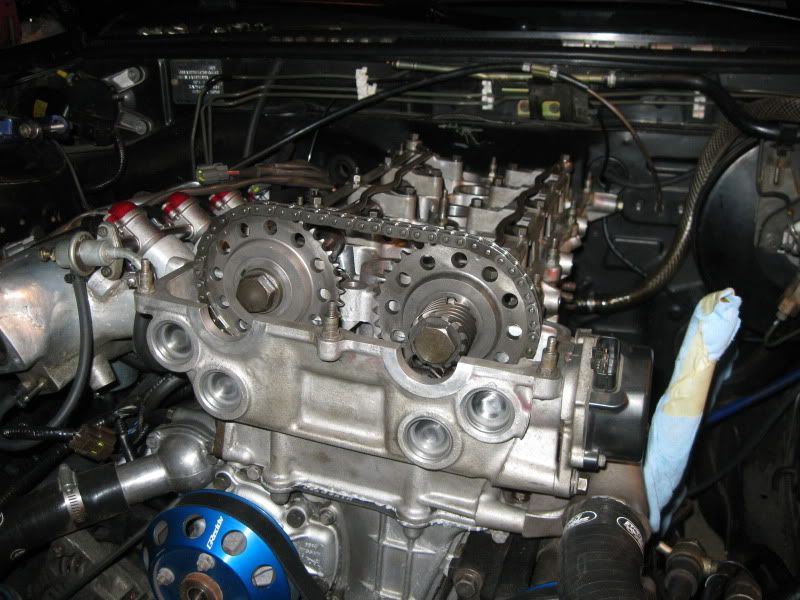
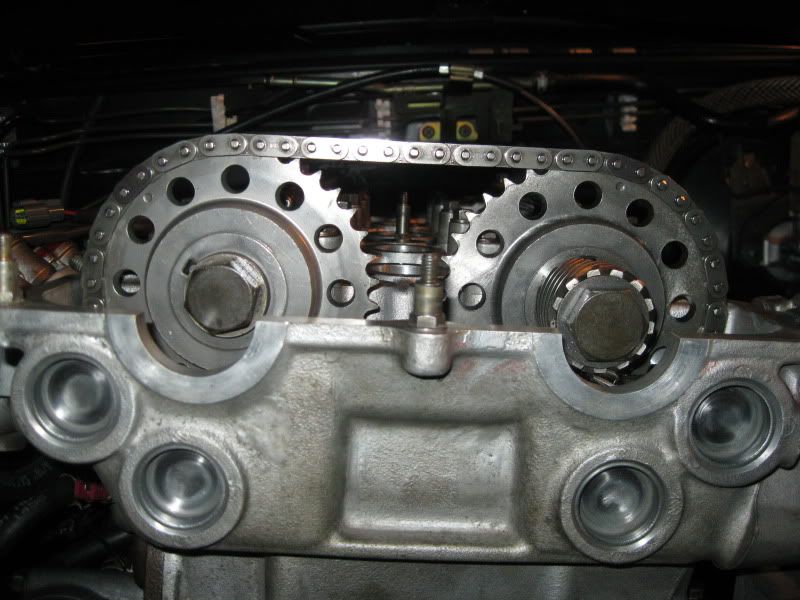
The next step is to reinstall your mechanical timing assembly, set your timing chain tensioner and reinstall your CAS @ 15deg BTDC. The FSM calls for you to separate the cam sprockets from their corresponding shafts but its not necessary to install them. Make sure you have the dots at the silver links and the crank still at the second mark from the left.
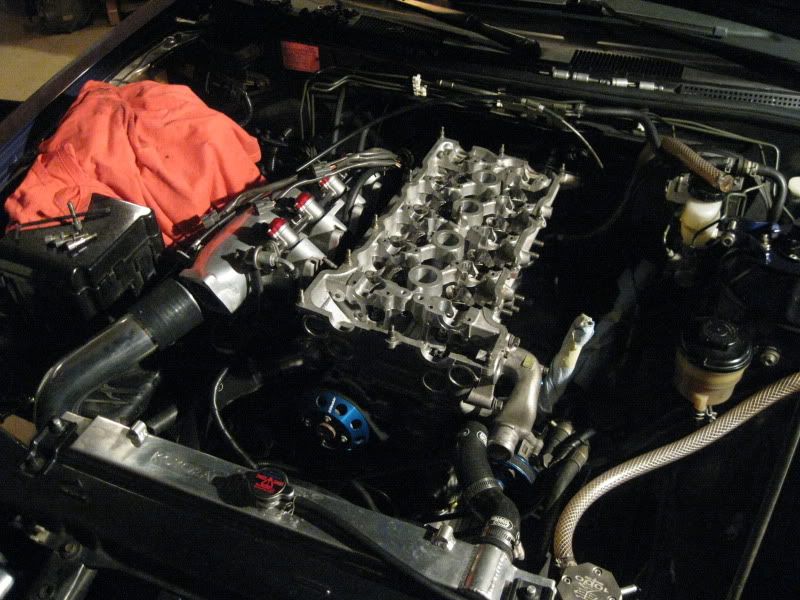
After all of this is done, and after rotating the assembly nothing binds, reinstall your intake manifold and associate components and the same for the exhaust side. I hope this was helpful...
Please add your experiences or comments. I'll let you know if something doesn't work out right... __________________
Fu*king ginger bread man stole my wallet...
SHIFTlock_slide to side
d3m3rs0n: if i have a baby im naming it Brandons Fault Emerson