You must be logged in to rate content!
4 minute read
S13 Hatch Center Garnish Lettering
Compliments of jaysgottaredtop @ www.zilvia.com
i've had a lot of people aking me about my taillight center garnish, so i figured i'd post this in case anyone wants to find/follow my process in the future.
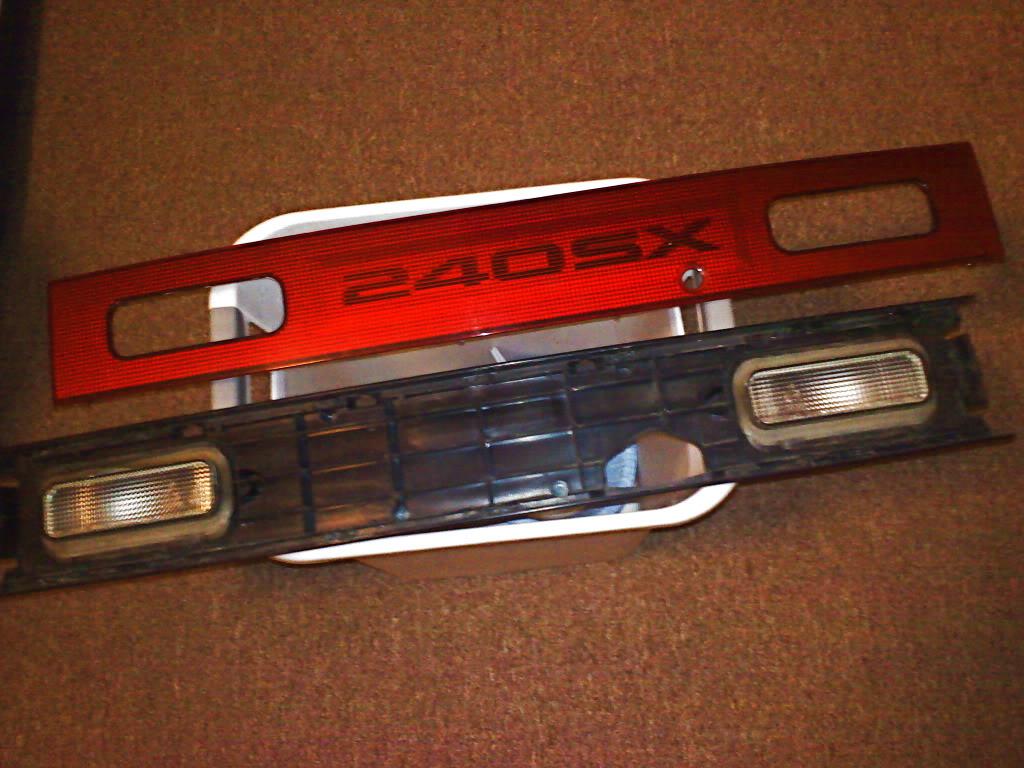
go from this...

...to this...
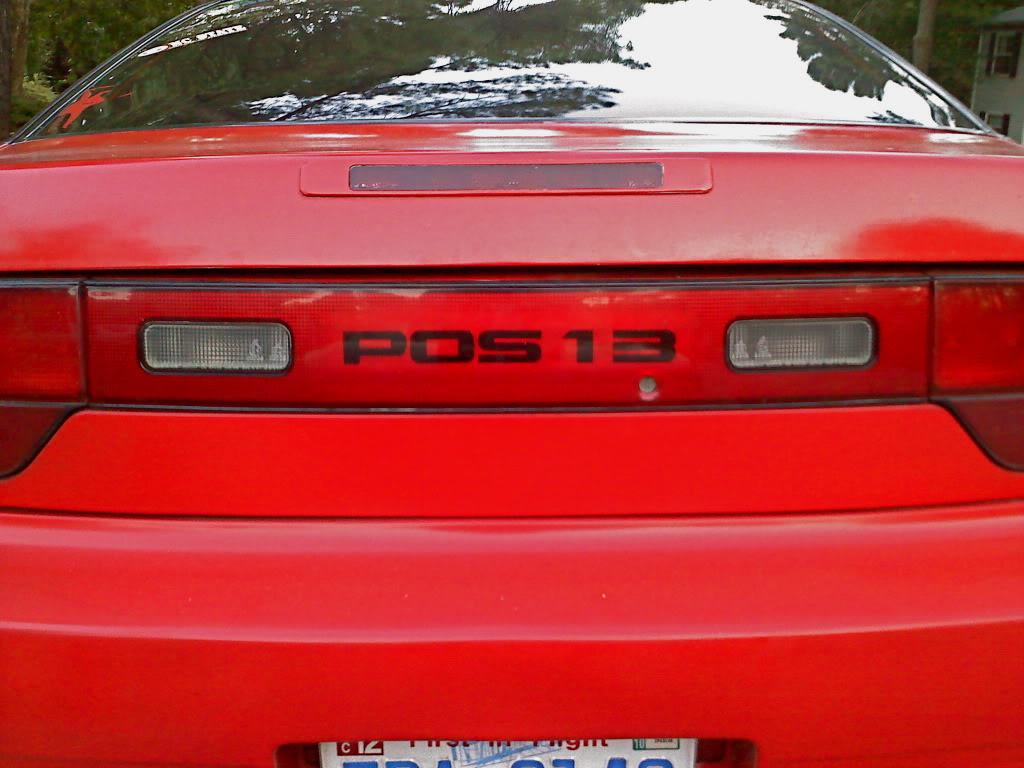
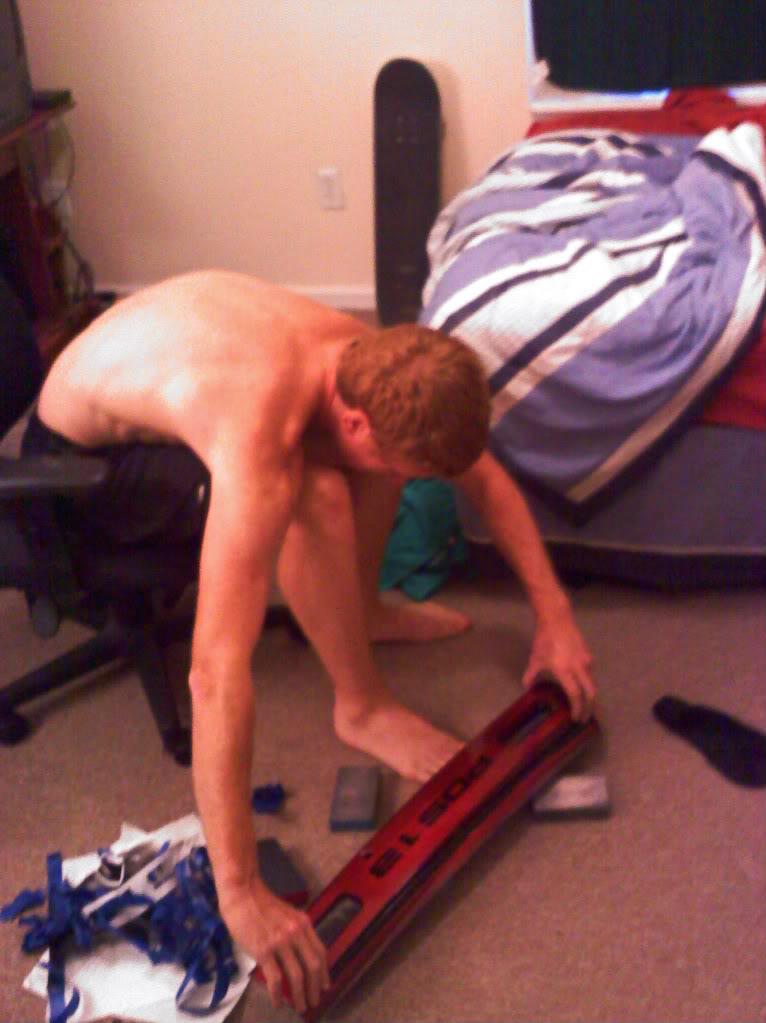
...but with any lettering you can think up. SIL80, POS13, SOS13, ASS13, S1337, POO40, GAYSX, PIGGY, ZENKI, CHUKI, KOUKI, JDMYO, DRIFT, SLIDE, TOUGE, DUMPD, E-BRK, TURBO, BOOST, NAWSS, BROKE, LOLOL, HARRR, ONOES, W00T!, FTMFW, 4SALE, PORSH, FRARI, PROBE, PRIUS, HONDA, CIVIC, WTFWD, 86LOL, WTBDD, WTBSR, FS:KA, SR>KA, KA>SR, RB>SR, HATIN, BOOBS, PENIS, 8===D, FUUUU, OMNOM, I NY, whatever, you get the gist. feel free to post your own clever garnish ideas!
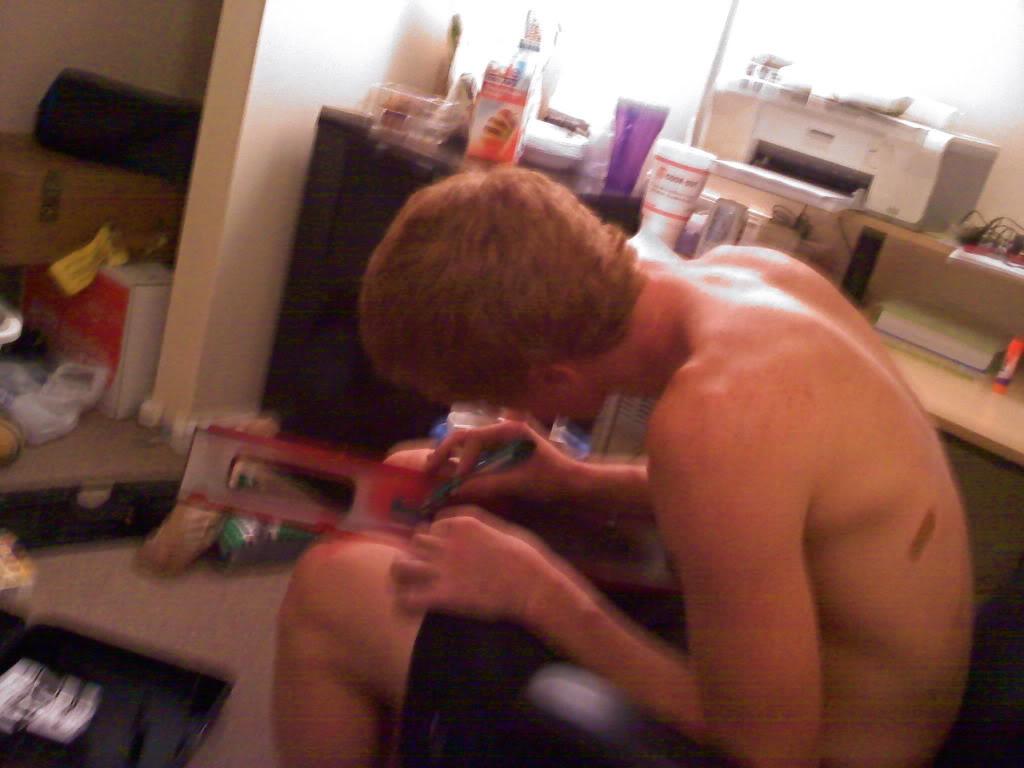
1 ) unbolt the center garnish. 6 lil nuts.
2 ) preheat the oven, anywhere from 200Ëš to 300Ëš will do the trick. i baked it at 240Ëš for the lulz.
3 ) pop it in for a few minutes to warm the glue.
4 ) pull it out and use a flathead to ease the red cover off the black housing. glue will be nice an soft. takes very little effort.
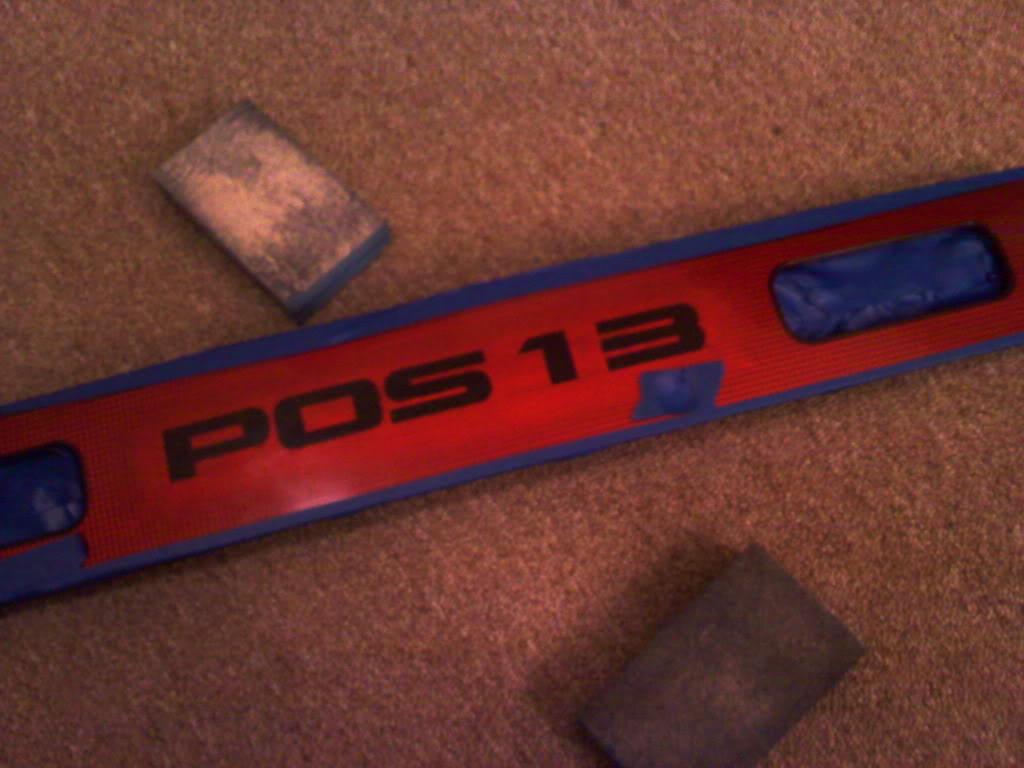
5 ) flip the red cover and look at the back side. from this side its all silver, with the 240SX lettering raised. time to sand it.
6a ) be a dumbass like me and spend 4 hours sanding it by hand as smooth as possible.
6b ) be smart and spend a couple minutes using an electric orbital, or some equally fancy sander, to get it as smooth as possible.
7 ) using 1/8" grid paper, draw the letters. each letter is 1" tall, and 2" wide (except for the skinny "1" of course). 1/8" between each letter. vertical strokes are 1/2" wide, horizontal strokes are 1/4" wide. curves have a 1/4" radius. just look at pictures of 240SX, 180SX and RPS13 garnishes, it'll be obvious how to make the letters/numbers. oh and it lines up PERFECTLY with the factory letters. general idea:

8 ) cut 'em with a ruler and exacto knife.
9 ) use a glue stick to glue the outlines of the letters to the INSIDE of the garnish. (painting the inside keeps your paint clean and out of the weather. and looks wayyyy cooler and more OEM.) tape everything else. all you can see from the back is the backwards POS13 in red, everything else is covered in paper or tape.
10 ) swipe your housemate's spray cans. paint those letters black.
11 ) remove the tape and grid paper, and inspect your edges. use the exacto to remove bled paint, make those lines look straight and clean!
12 ) tape the edges of the garnish and bomb the entire back with silver paint.
13 ) reassemble. don't worry about adding fresh glue. the plastic clips hold it in plenty fine. and it's not sealed all the way around from the factory, so don't bother trying.
14 ) reinstall. get lulz from all your pals.
15 ) spend your RPS13 tails money on something other than RPS13 tails.