You must be logged in to rate content!
6 minute read
996 Belt Change
Compliments of GoAirforce84 @ www.6speedonline.com
Well, I told you all I would do a writeup this weekend and here it is.
This is a step by step instruction method for changing the serpentine belt on a '99 NA 996 3.4L
First of all this is very straightforward, and even with removing the aftermarket intake that I have took 30 minutes, start to finish. Why you would ever go to the dealer and pay to have this done is beyond me. Hopefully this will help you all save time and most importantly, money.
I got my belt from PelicanParts, which by the way, has SUPER fast shipping and great prices.
Time: 30-45 minutes
Difficulty level: 2 out of 5 stars
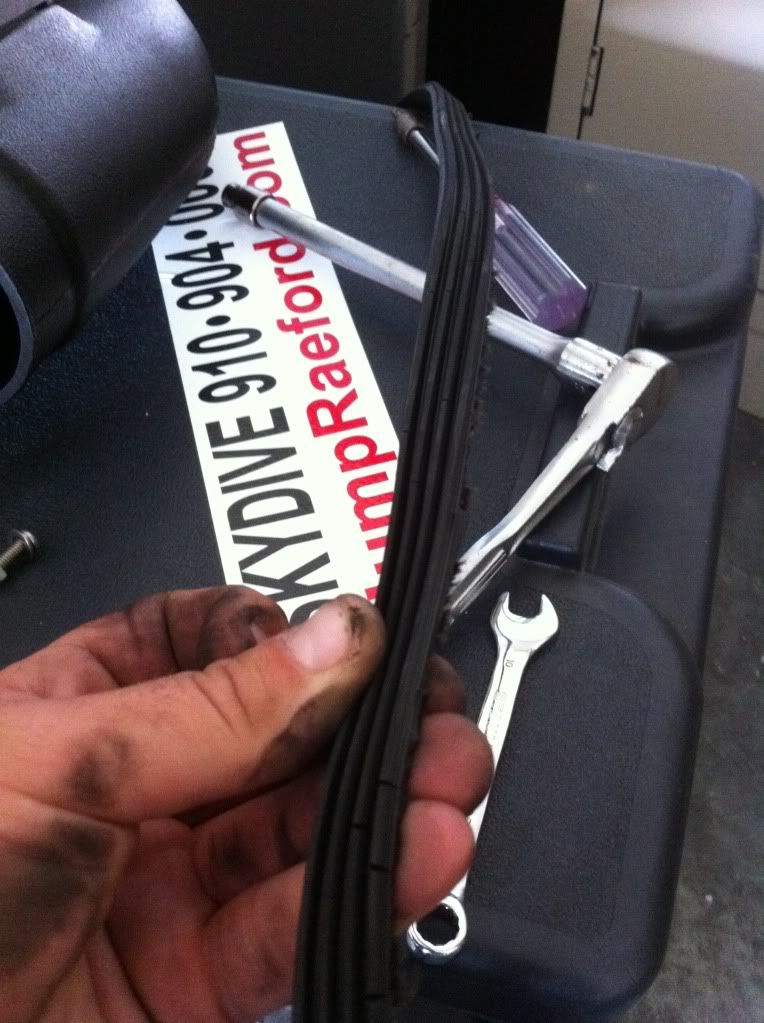
Tools required: 14mm Socket for removal of stock airbox (may vary with aftermarket intakes)
24mm socket and breaker bar, OR what I used LONG 24mm closed end wrench.
8mm socket or flat head screwdriver to remove clamps.
10mm open end wrench or socket for battery terminal removal
Let us begin.
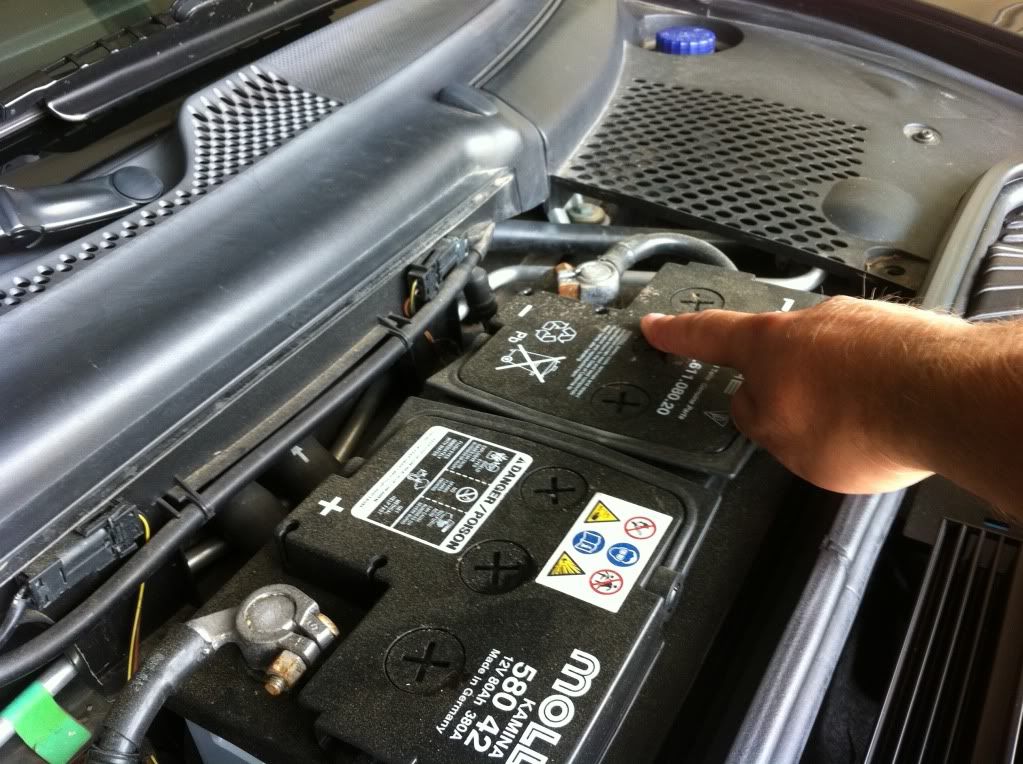
First things first, any time I do any maintenenace requiring removal of any electrical clips, I disconnect the battery. Located in the frunk, under the middle panel below your windshield. Turn the two small clips on the front side and the cover pops off. Take your 10mm tool of your choosing and remove the NEG (-) battery terminal. Make sure to insulate it from any metal. Also remember, when you disconnect the battery, be sure to have the code for the radio, as well as the manual to show you how to "re-teach" the car things such as the one-touch window function.
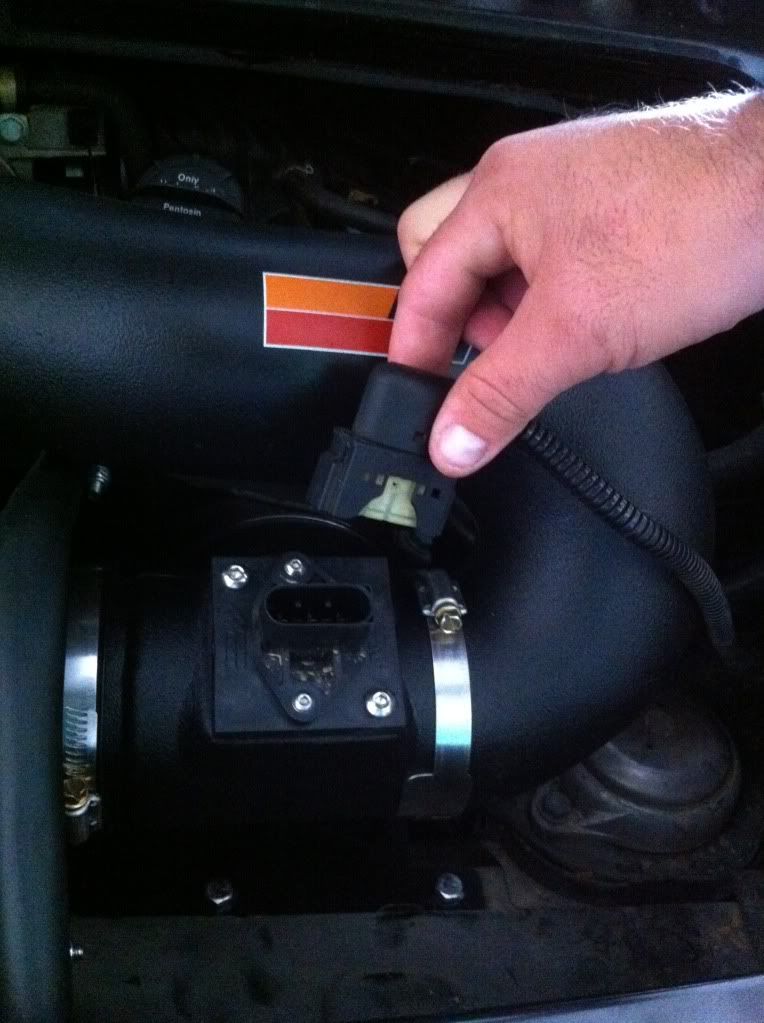
Pop the trunk lever and lift the trunk up to view the engine. Next will be the removal of your MAF sensor connector, squeeze the clips and it disconnects right away. Be very careful as damaging this connector will cause lots of problems later on. Yours may be located a little further right on your stock intake setup, behind and on top of the stock airbox.
Now for the removal of the airbox, I have an aftermarket K&N as you can see, however the stock airbox is even easier to remove. One 14mm bolt to the right of your trunk release mechanism hold the entire airbox in. Remove this bolt, disconnect your clamps holding the airbox to the throttle body and the whole assembly comes right out.
Here is a shot with the airbox/intake removed.
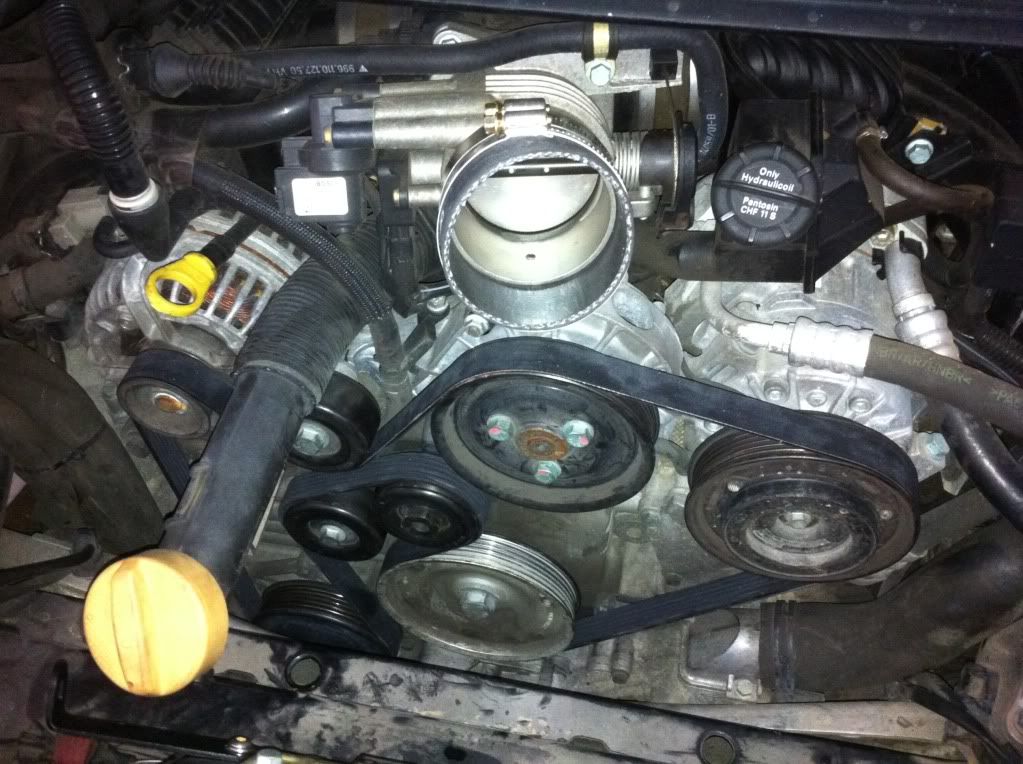
It is a good idea to have a diagram of how the belt runs, or take a photo like I did, so that you know the correct path the belt should take when you replace it. Always think ahead!
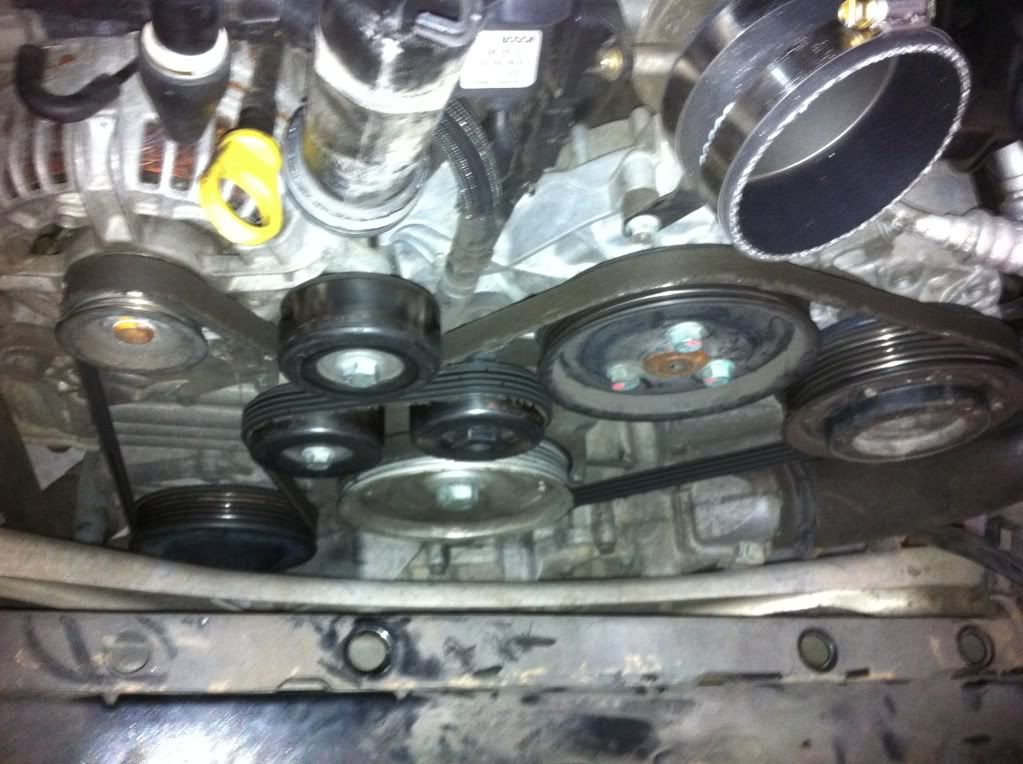
You can see in this photo, just how bad my belt was, and the obvious reason for it's replacement.
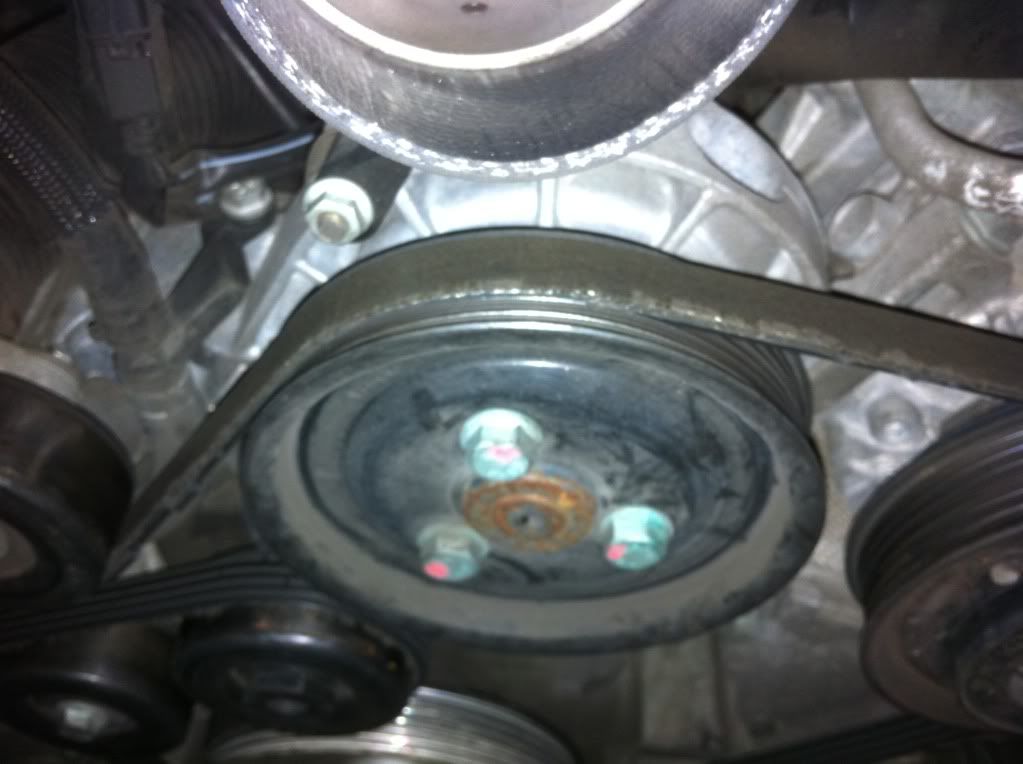
Next up is removal of the old belt, take your 24mm socket/breaker bar combo or your closed end wrench (which i think is the best option) and place it over the nut on the belt tensioner. Turning this clockwise will move the tensioner pulley to the left, causing the belt to come loose, and with your other hand remove the belt from the pulley of your choosing, once it has been slid off of another pulley, it will have enough slack that you can release the tension and use both hands to remove the belt from the rest of the accessories.

The belt is now off of the car, it's been a hard 15 minutes, take a break.

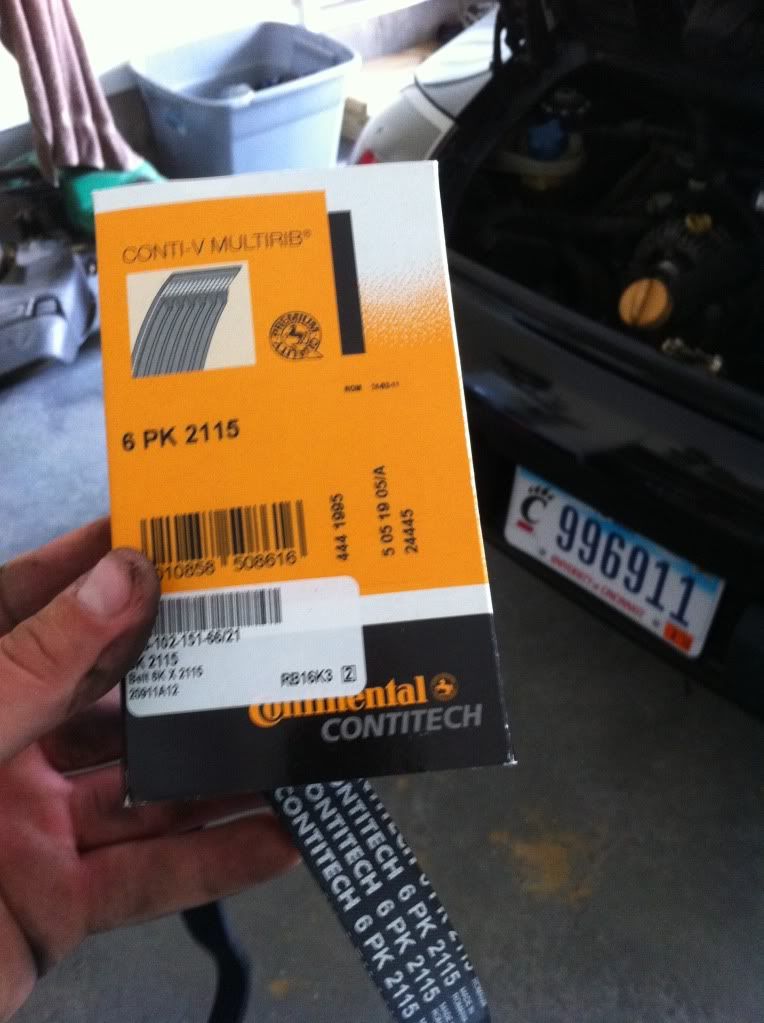
Now, here is the new belt, as well as it's packaging material, so you could all see the part number. This is a belt from one of Porsche's OEM suppliers, so I felt confident in it's ability to perform as well as the original.
Place the new belt over as many pulleys as possible, using your photo as your guide to ensure you have the correct belt path. I chose to leave it off the center top pulley (the focus of my bad belt picture is on this pulley) as it seemed to be the easiest option for routing and because it is accessible while your other hand is busy with the tensioner/wrench. Again place the wrench on the tensioner and turn clockwise. Slip the belt up and over the pulley ensuring that the ribs match the grooves. You may have to use a flat head screwdriver to leverage the belt up and over the top of the pulley as the belt is a very tight fit. It would be easier at this stage to have a second pair of hands to untension the tensioner while you slip the belt over, but that can be overcome. Only reason this even received 2 out of 5 stars.
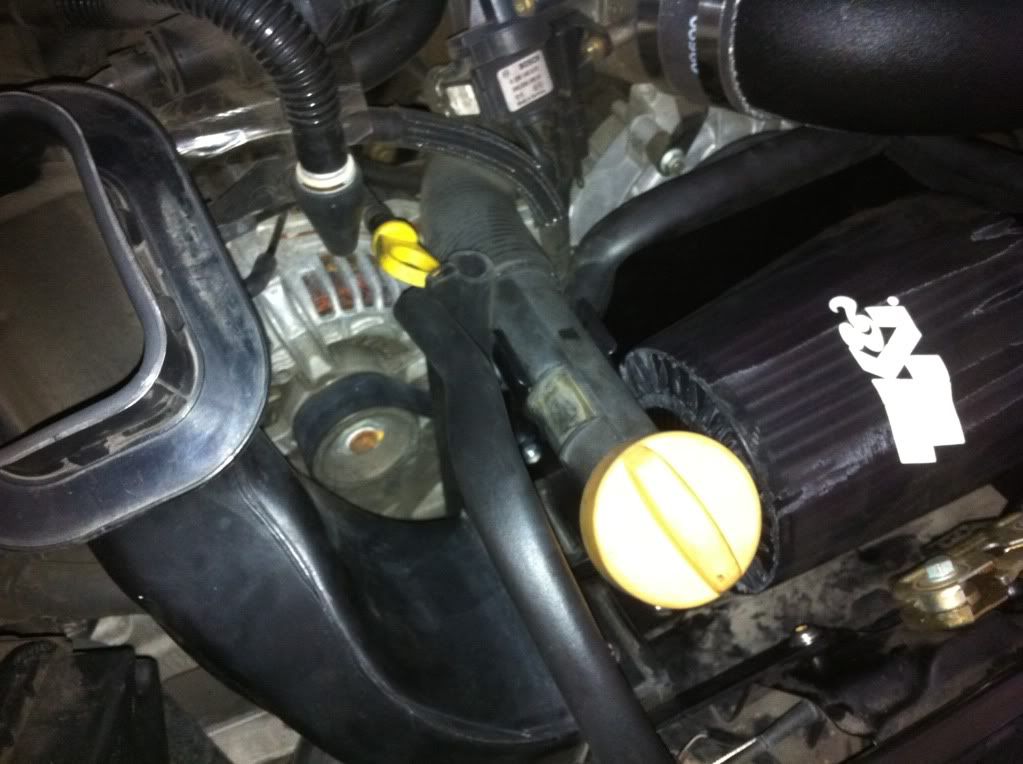
Should look like this when you are complete.
The rest is very simple. Re-install the intake the same way that you took it out, in reverse order obviously. Hook up the MAF sensor to it's connection. (BEFORE reconnecting the battery) And reconnect your battery.
Leave the trunk open, start the engine and check to see if everything looks good.
Make sure the belt has settled on the pulleys and is not contacting anything it isn't supposed to. Take it for a test drive, open it up and check one more time for good measure and call it a day.
You have just successfuly changed the belt on your 911! You have saved yourself a good sum of money, as well as a trip to the dealer!
Go enjoy your wonderful machine!
Jonathan
Powered by Froala Editor