You must be logged in to rate content!
4 minute read
Samco Boost Hose DIY
Compliments of Mikelly @ www.renntrack.com
Start removing the bumper by removing it from the side shelf below the fender's edge (It's flexible) and allow it to hang to the side of the innercoolers. Pick up the bumper off the rear and unhook the rear backup light/ license plate light harness and make sure to clear the bumperette mounts... I sat the cover on the back of my truck's bed cover.
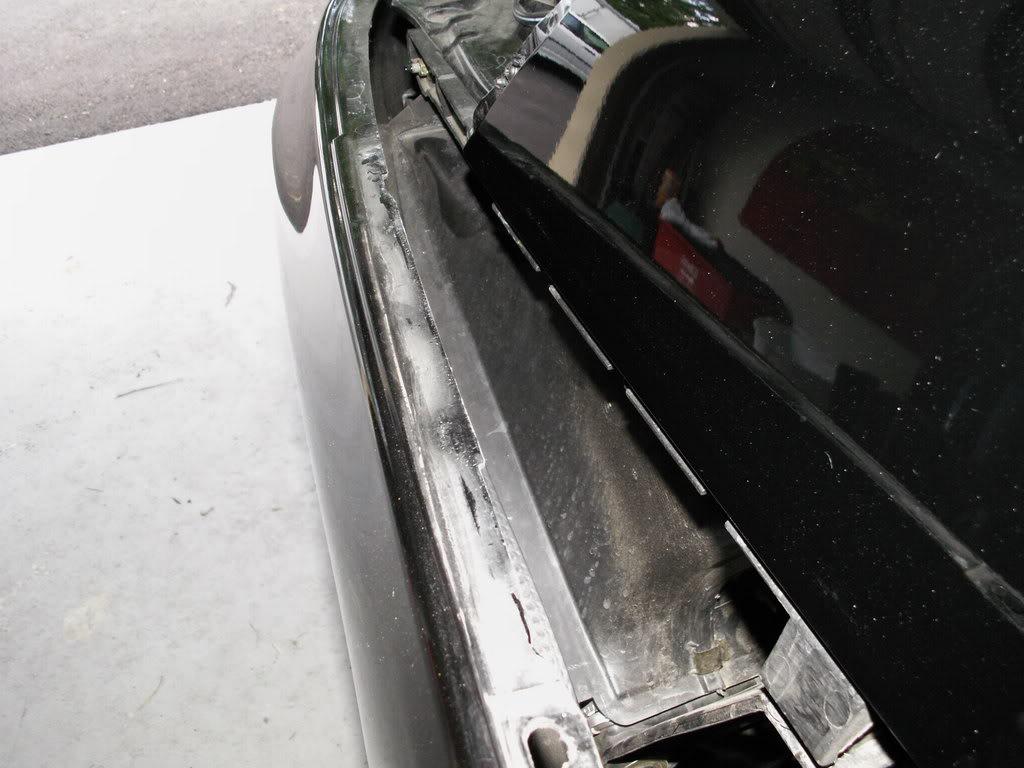
Now you can get down to the meat of the project...

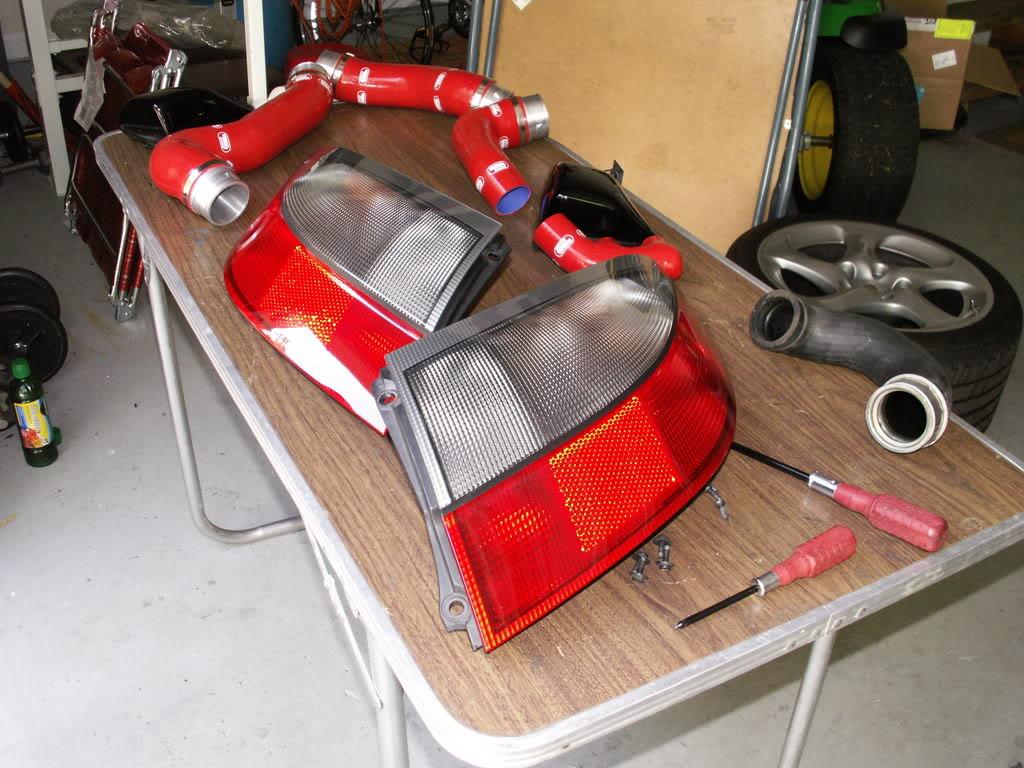
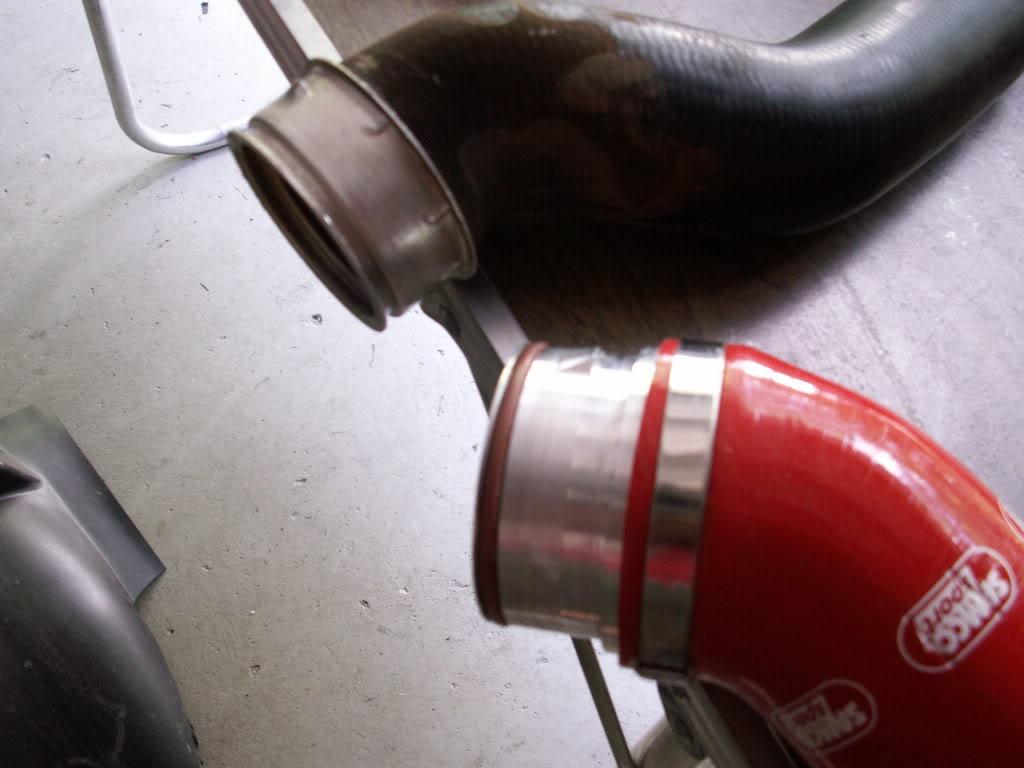
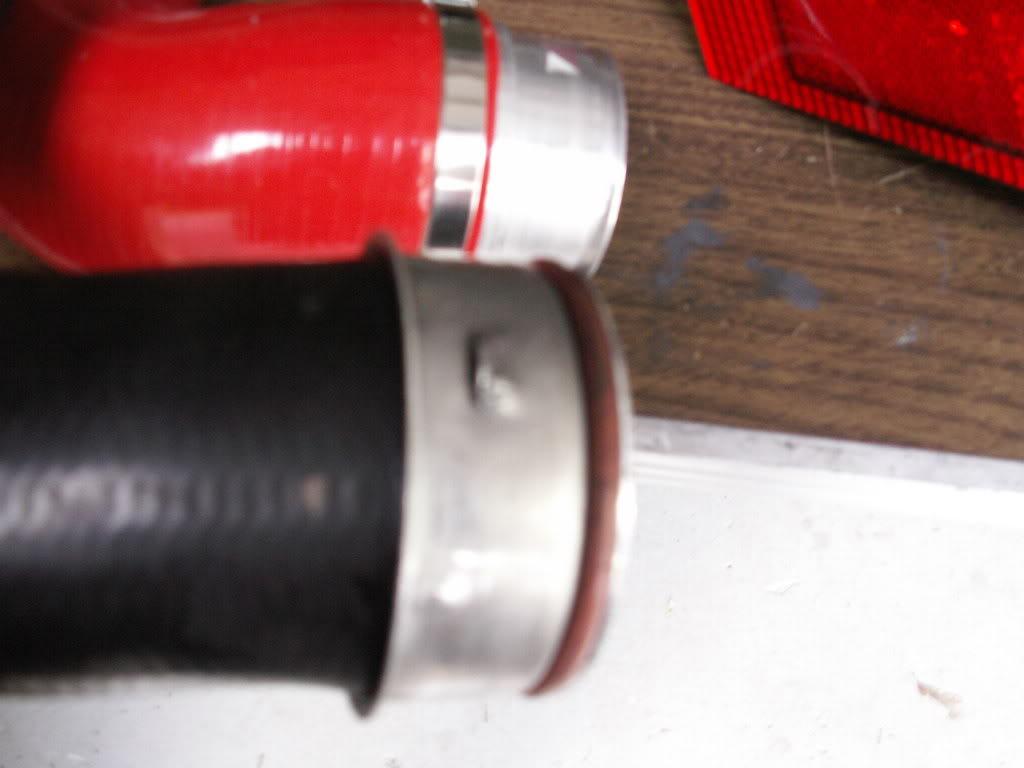
I started with the lower hoses at the turbo to intercooler... Unsnap each clasp with a small flat blade screw driver, taking note of the orientation of these... Remember, BOTH sides need to be in place (That second SNAP) in order to retain the intercooler side's hose... Take a pic of it if you need to for reference when putting it back in place... Once off, remove the hose clamp and o-ring from each hose and install them on the new hoses... Install the hoses, matching them per side (Each hose is different from every other hose in the kit, so match them up!). Once you have the oring and hose clamp on, reinstal the new hose as the old one was oriented. Make sure the hose clamp is connected properly on the inner rim of the turbo. This hose connection dislodged all the time... Search here for confirmation... Get it right, or you'll be left with a tow bill in the not so distant future!
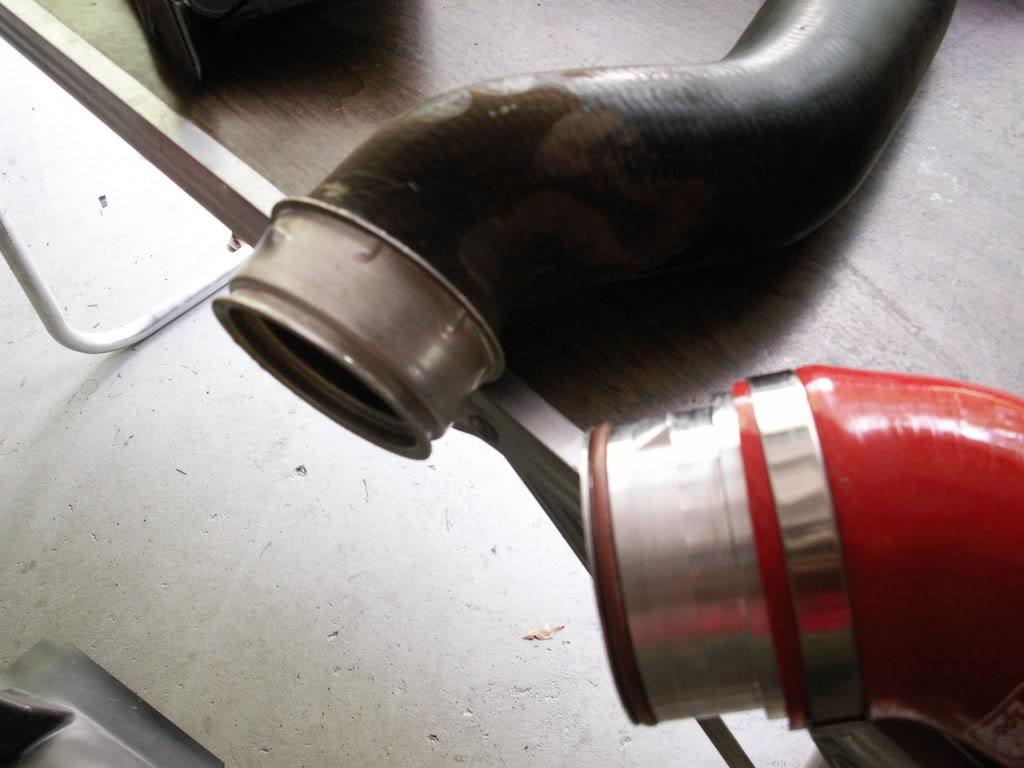
Next, move to the engine bay/intake... Remove each clamp and slide it onto the instake and intercooler port. Remove the hose and replace the o-ringes onto the new hoses. Instal the hoses as oriented in the engine bay. MAKE SURE they seat properly... Again, TAKE BEFORE PICS if you aren't sure of getting them seated properly. As you work the spring clamp back into place, hold the hose FIRMLY into the port of the intake or Intercooler, while manipulating (Huhu huhu, he said manipulating) the spring clamp back around the seat of the hose/pipe. Remember to make them snap TWICE!!
Once you get them on and TUG on them to try and unseat them, if they hold, you've DONE IT!!! Now start putting everything back on... Start by placing the bumper cover around the body of the car with the sizes resting against the intercoolers. Seat the rear cover over th exhaust tips, feeding the bumperette mounts thru their holes and the upper shelf over the deck lid mount area. Reconnect the backup/license plate light plug, and reseat the sides into their stock locations.
Start reinstalling the bumperettes, the screws for the bumper cover, then the inner fenderwell covers (Thanks again OAK!!!). You're done...With the first FOUR!!!
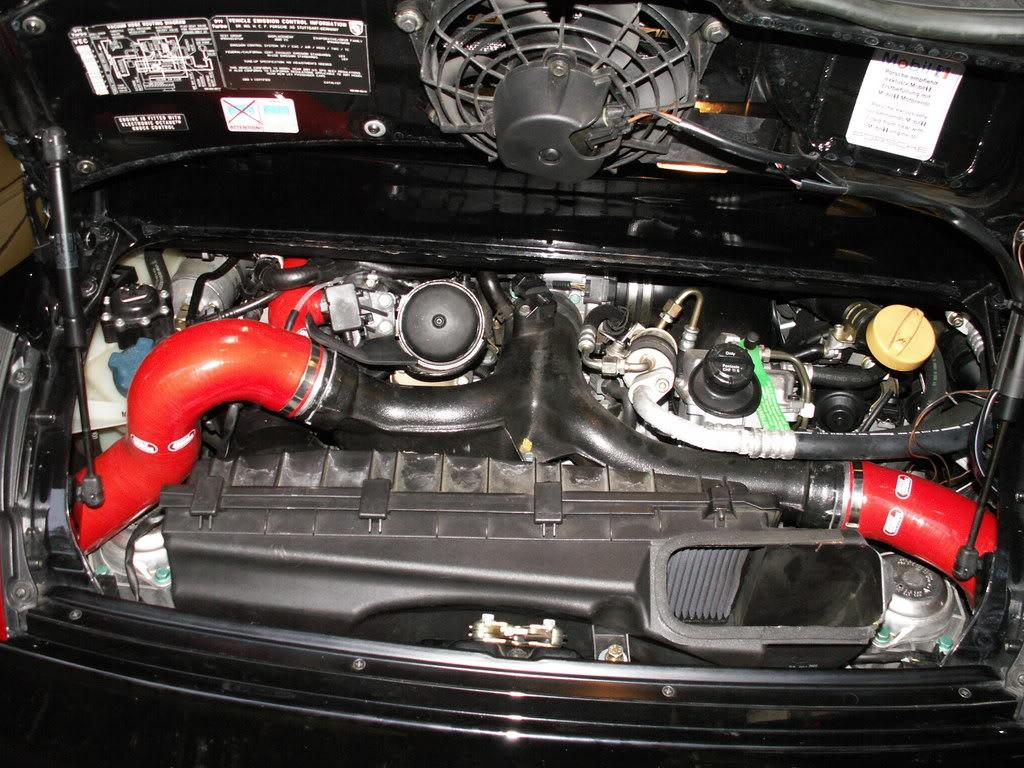
The Fpipe install link is below and posted from Stephen's site at Imagine... My car is officially fixed, and it truly feels faster. Not sure if I had a hose failing or what, but it truly faster, and building max boost quicker than before... MUCH quicker than before!!!
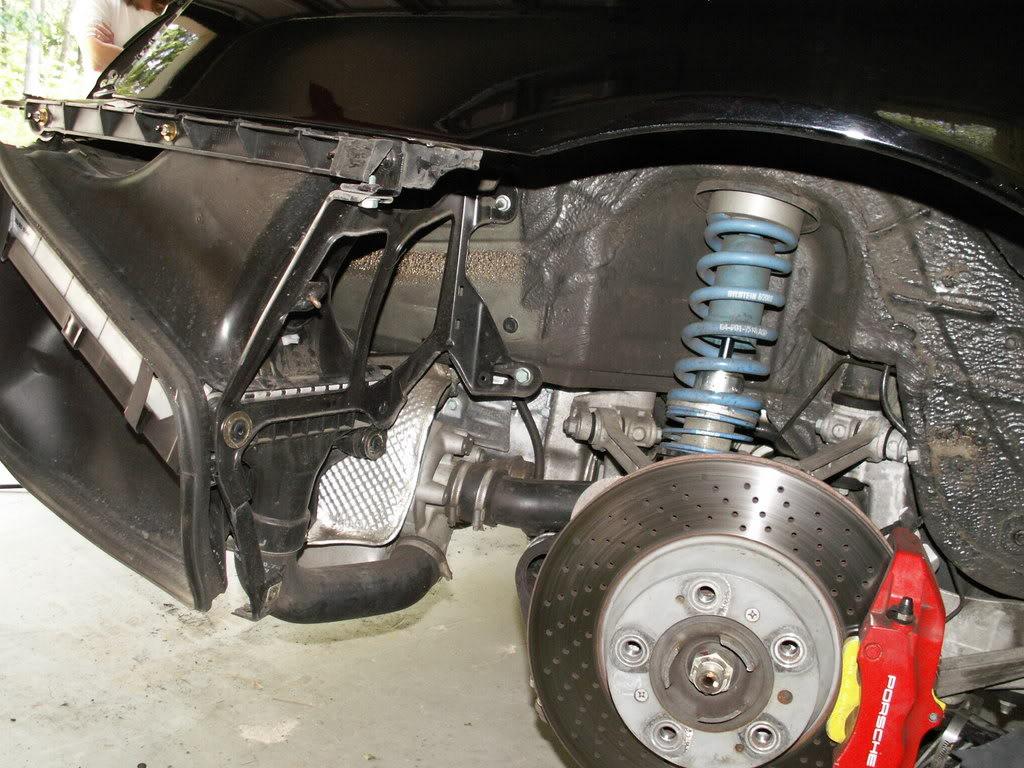
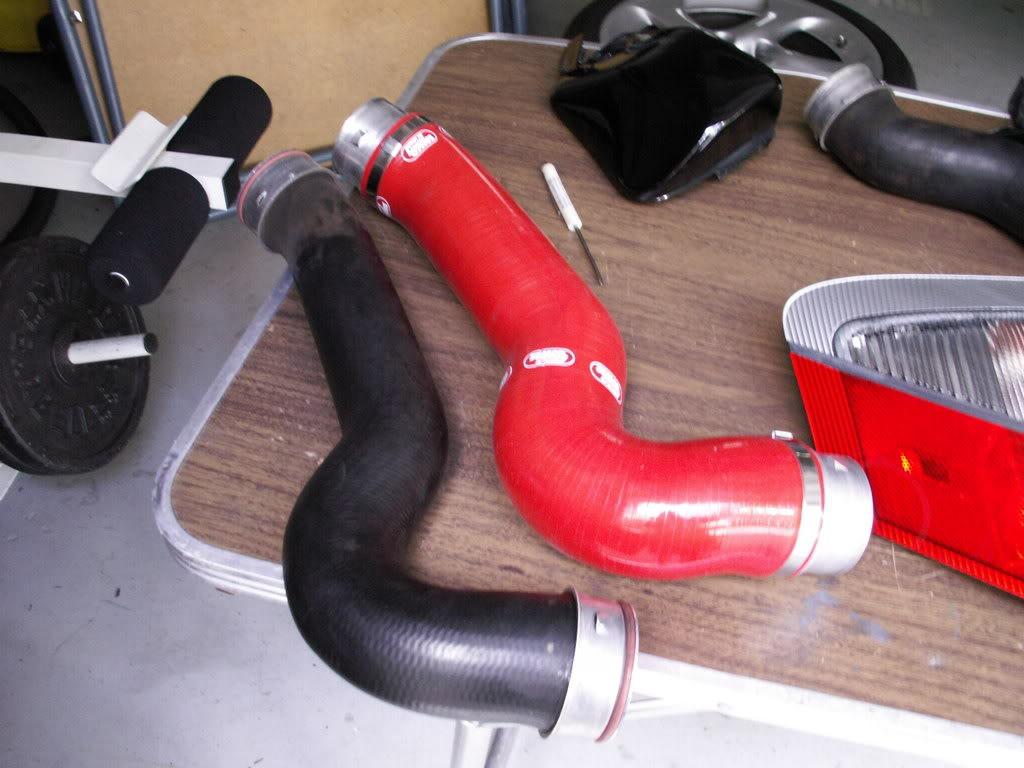
Final installed pipes...
MIke