You must be logged in to rate content!
5 minute read
Trailing Arm Rear Bushing Replacement
Compliment of JDwhiteWRX @ www.rexnet.com
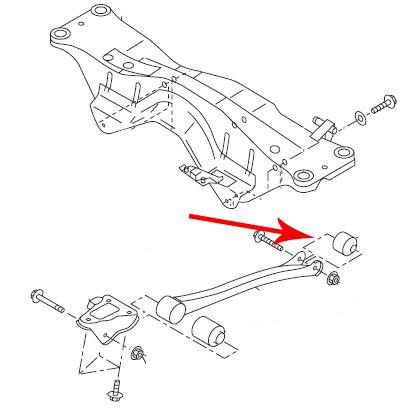
This is a DIY to replace the rubber OEM trailing arm rear bushing with a Superpro 2-piece urethane bushing without having to remove the hub assembly.
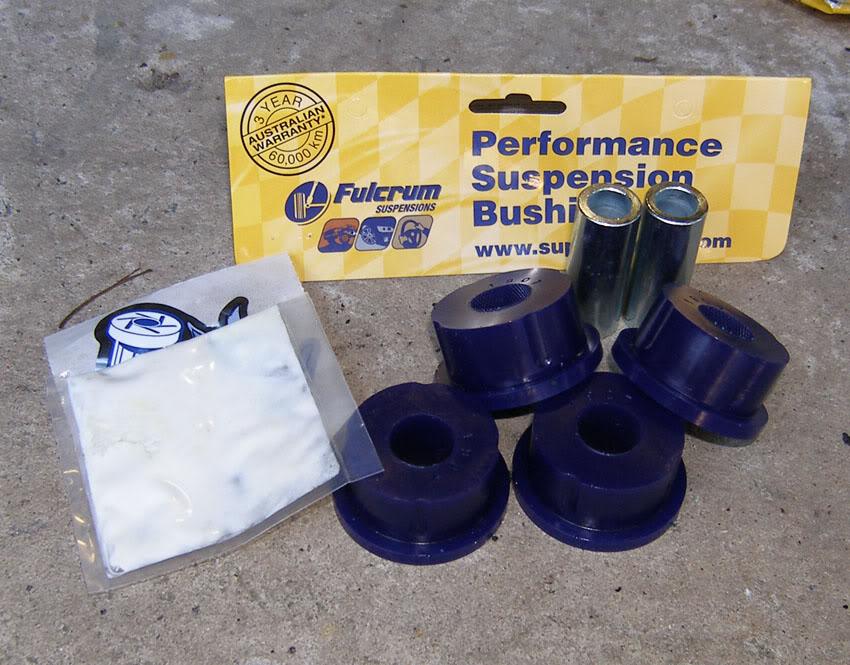
Superpro bushings, part number SPF1907K ($66 at Burson Auto Parts)
Tools required
17mm 6-sided socket and breaker bar
17mm open ended spanner
12mm socket
G-clamp
Jack stands
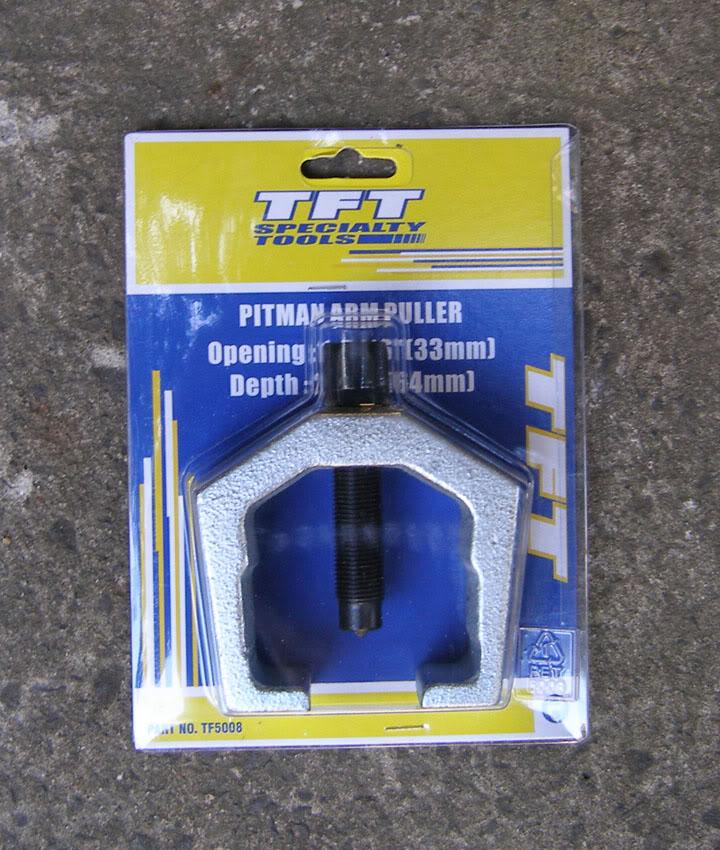
Pitman arm puller ($49.99 at Supercheap Auto)
Angle grinder
Factory sissor jack and wooden blocks
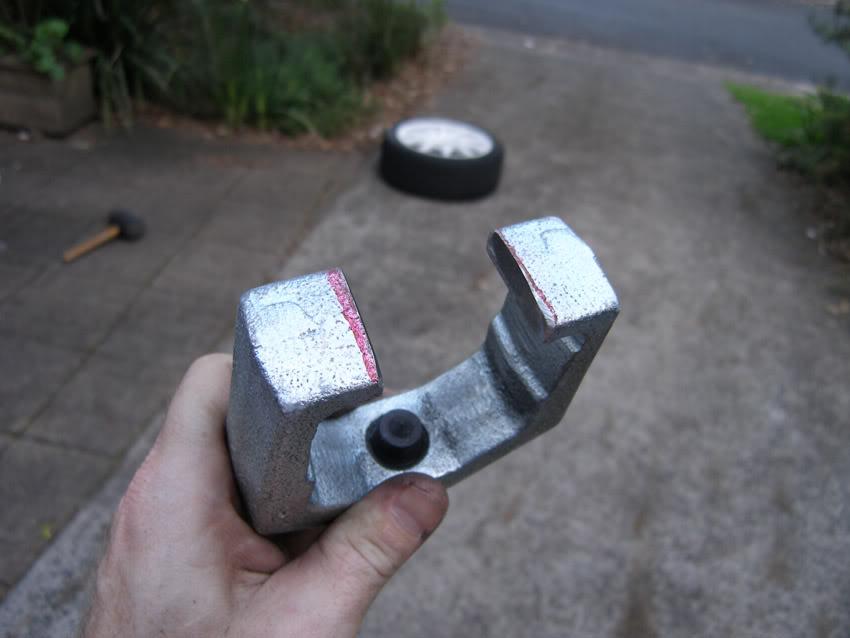
This is the important tool, the pitman arm puller will enable us to remove the OEM bushing without having to remove the entire hub assembly to get it into a press.
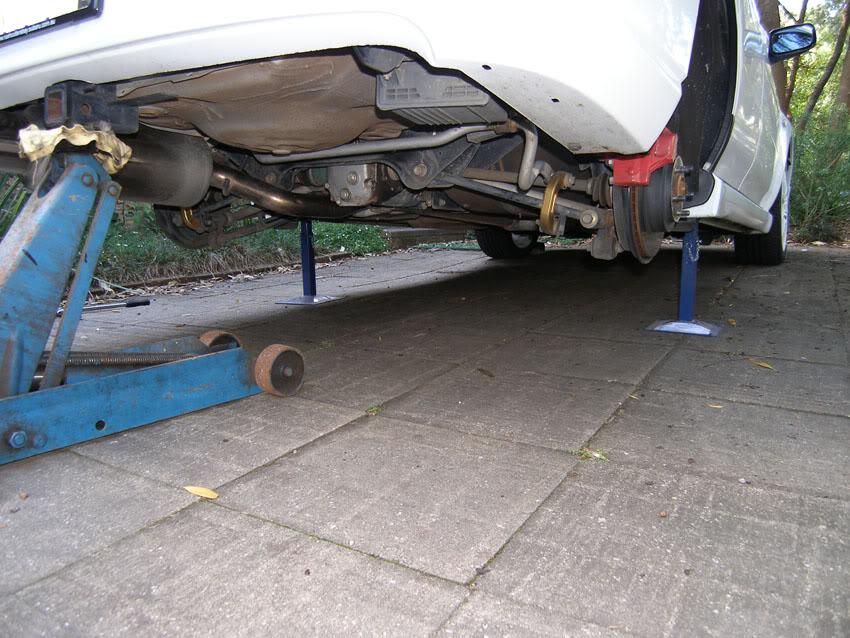
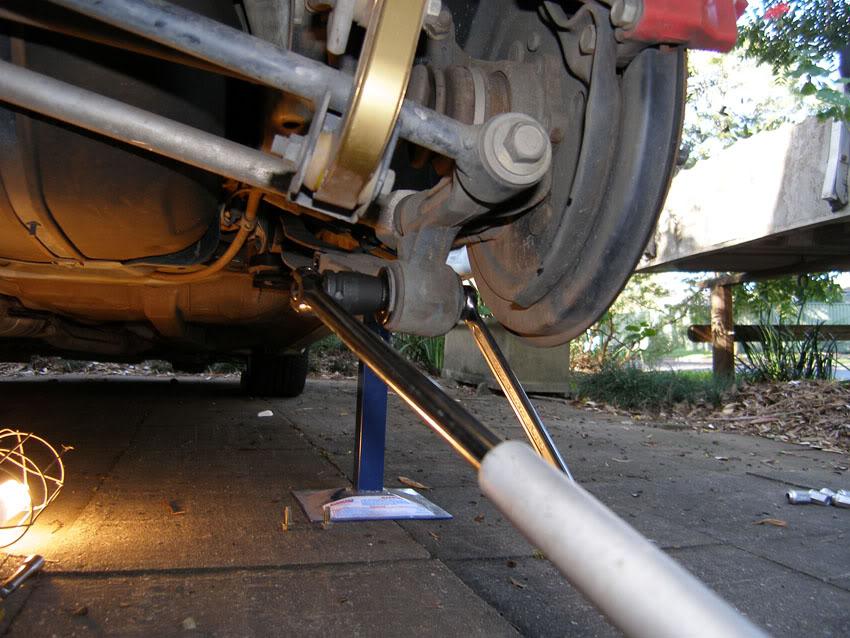
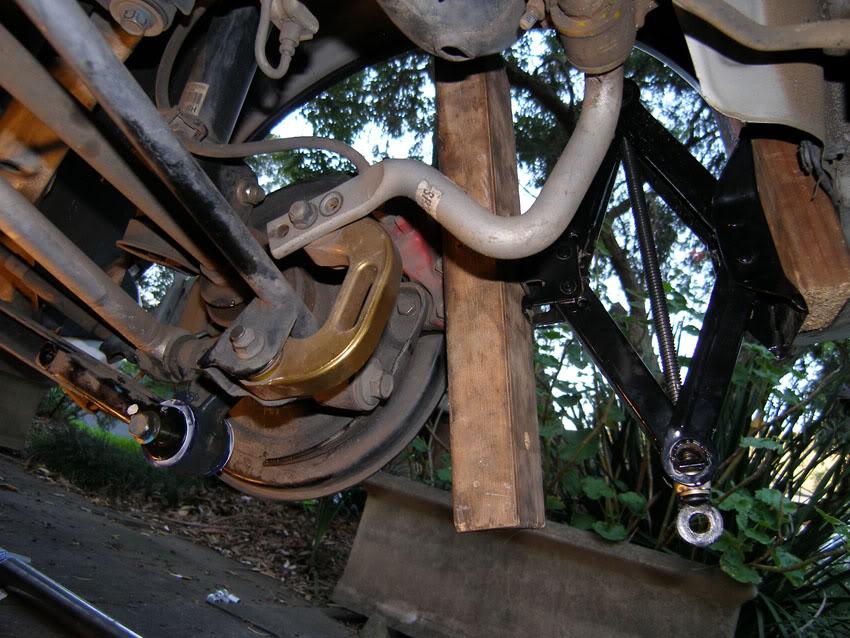
Get the front wheels chocked up and get the rear end of the car up on stands with the rear wheels removed. Make sure the rear is pretty high up so you can get some leverage on your breaker bar.
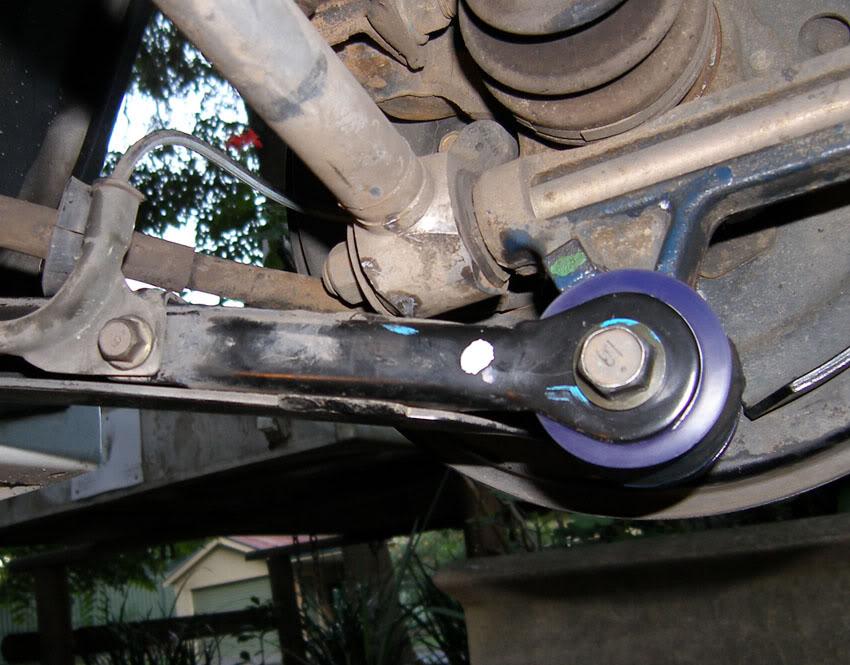
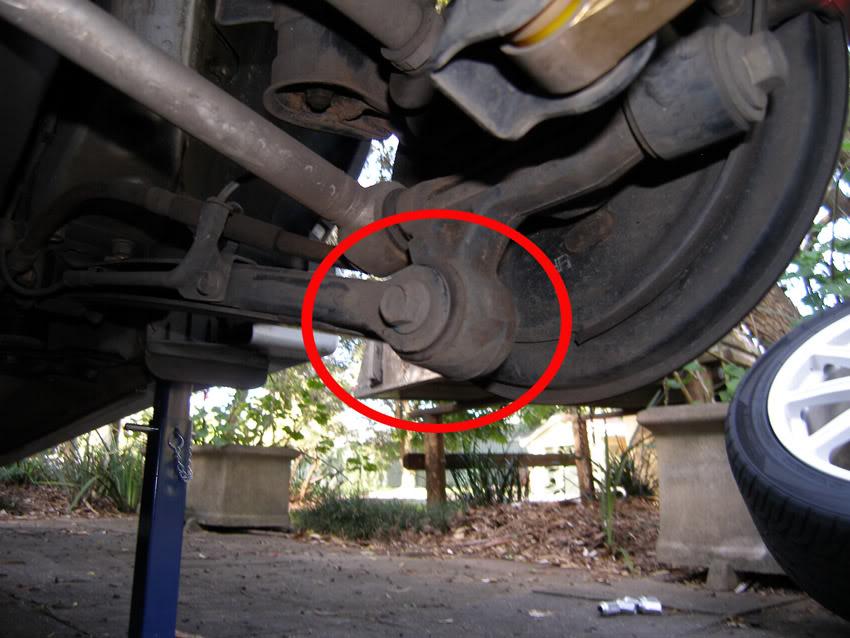
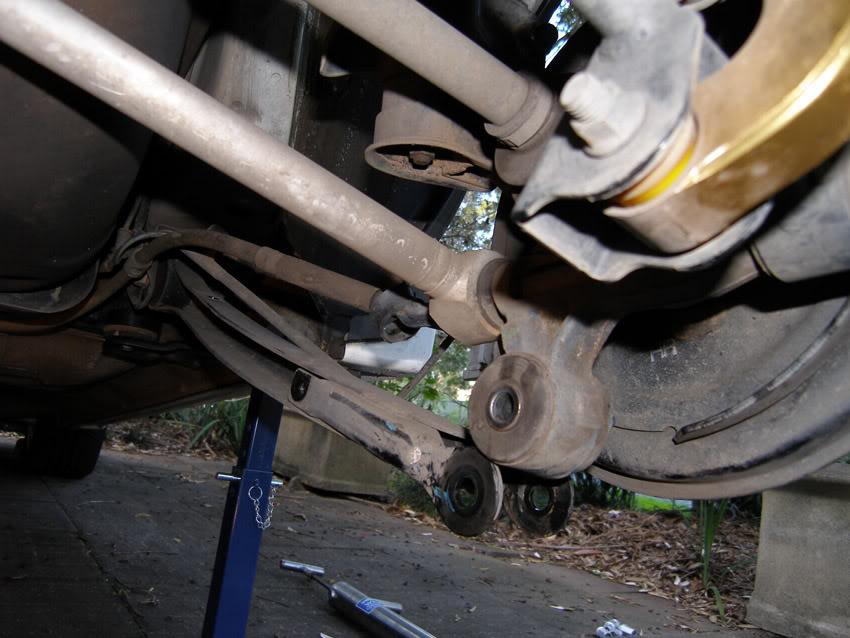
This is where the bushes sit inside the rear hub assembly, get some WD40 on that nut and bolt now.
Get your 12mm socket and remove the two ABS support brackets
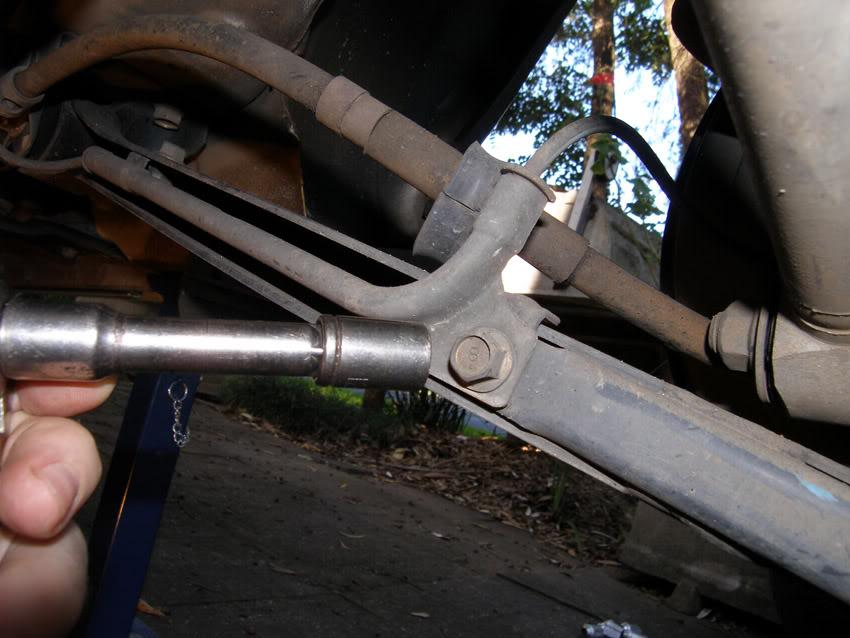
Now the hard part, we are going to remove the bolt (17mm) that goes through the trailing arm and bushing, these nuts are done up super tight and I had a real hard time breaking them loose, spray some WD40 on them first, if you dont have a long breaker bar you will never undo these!
I was getting desperate and this worked 
Nut and bolt removed, tuck trailing arm to the side.
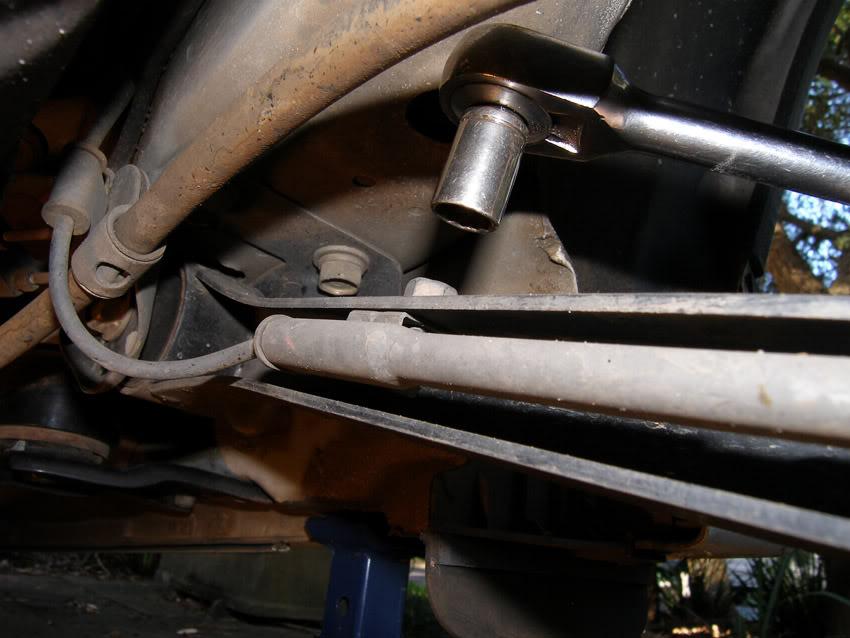
Now we need to trim about 3mm off each side of the opening on the pitman arm puller with an angle grinder.
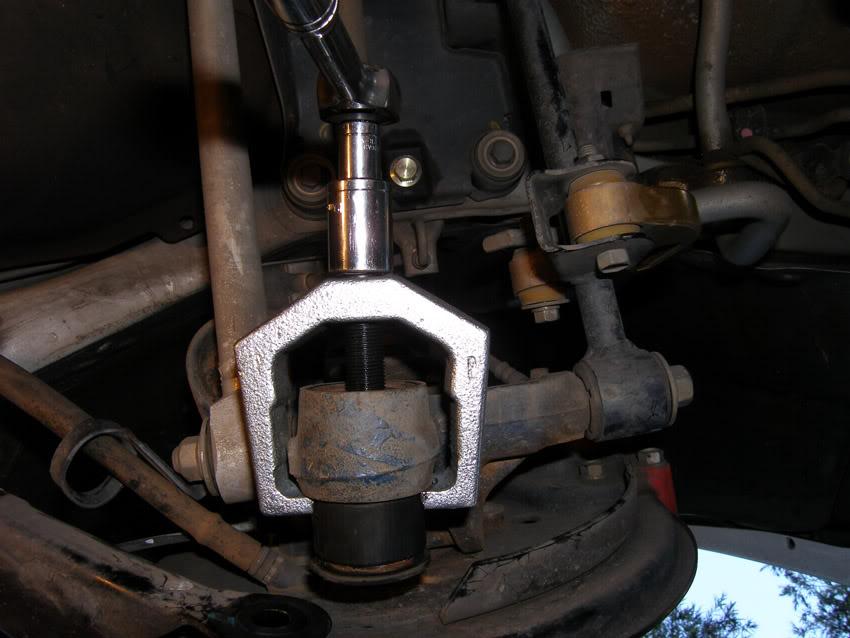
Then get a thick washer or two and place the arm puller over the hub assembly containing the bush
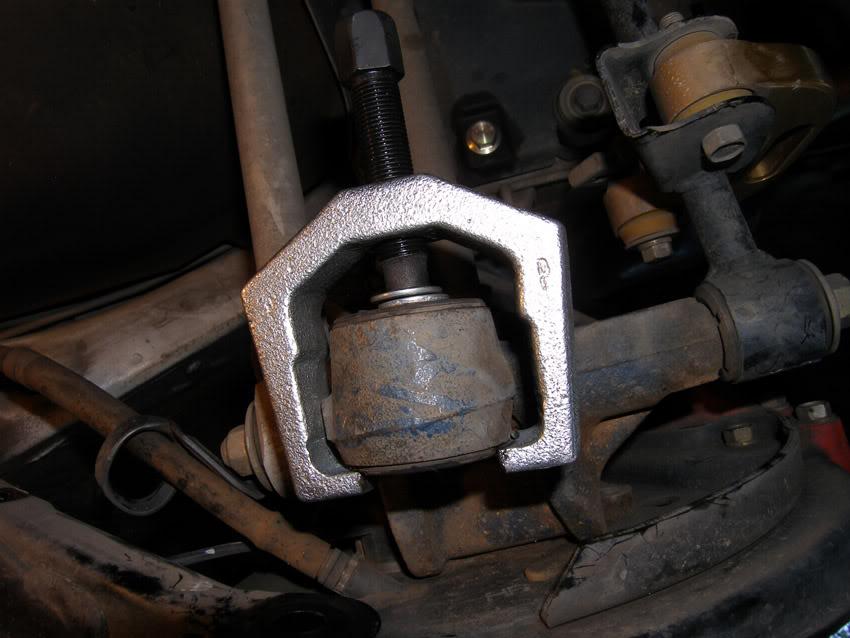
Start turning and hopefully the bush will start coming out
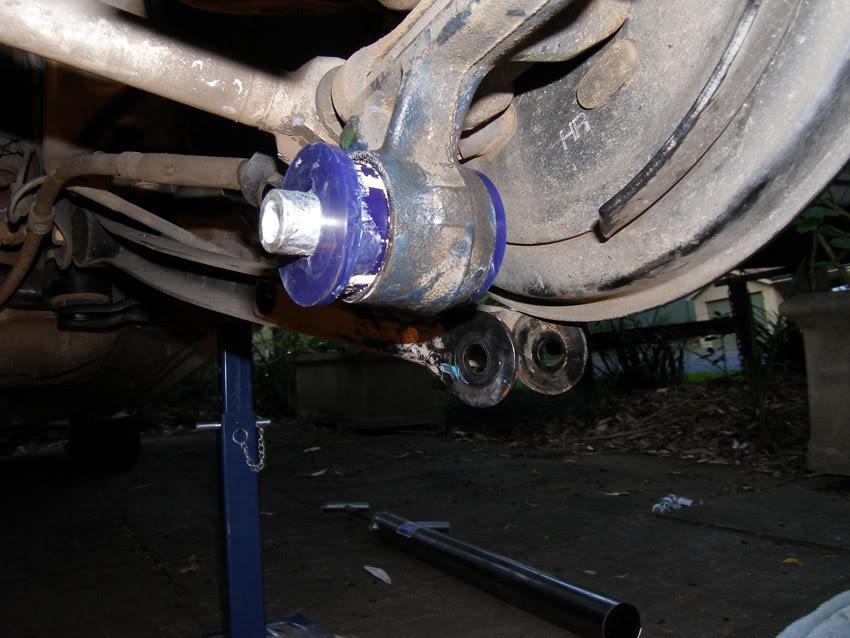
Once its out make sure everything is clean before installing the new bushings. Place some grease (supplied) on the bush housing and on the bushes and push them in by hand. Push the outside half all the way in but do not push the inside half all the way in until you have put the metal insert through it as in this photo
I then used a G-clamp and some large washers to push the metal insert through the outside half of the bush and firmly push both halfs of the bushings all the way into the housing. This is not easy but it will go in eventually with some patience.
New bushings installed
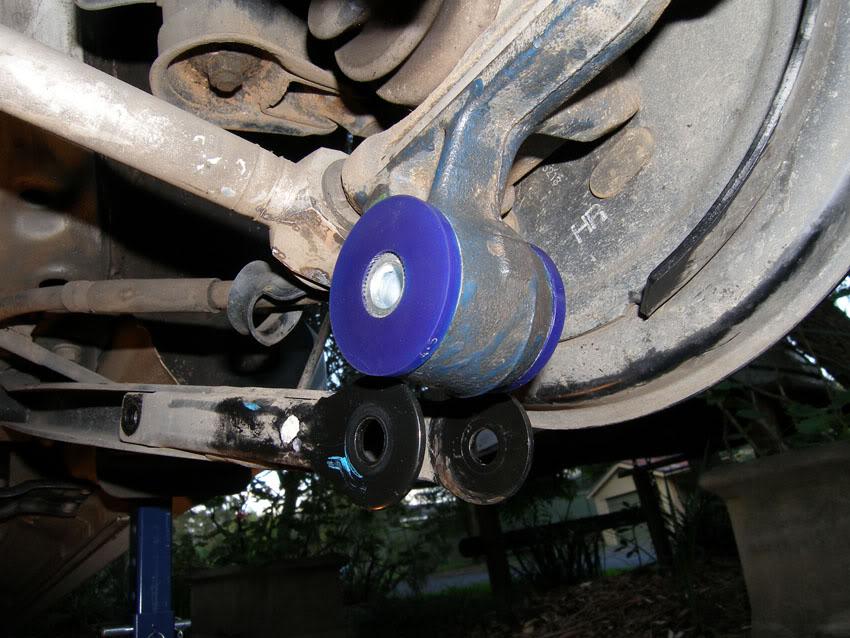
Now place a little more grease on the outside faces of the bushings and re-attach the trailing arm. You may have to get creative to get the holes to line up again 
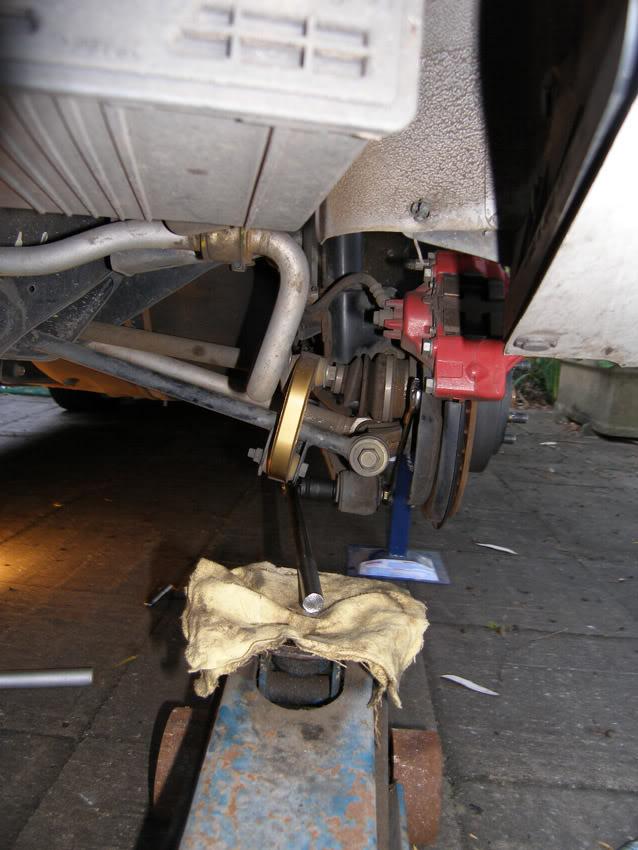
Once you have got the bolt back in and nut done up we must preload the hub assembly before torquing up the bolt as below (66 lbs-ft).

All finished, now go do the other side