You must be logged in to rate content!
19 minute read
Stock Twin Turbo Removal
Compliments of 94Canuck @ www.supraforums.com
I've been in the Supra 'community' for about two years now and have asked many questions, most of which have been answered by those more knowledgeable than I. As I prepared for my current Single Turbo build I thought I might try and give something back to the community and so as I removed the stock twins I made an attempt to document everything as best I could with the idea of posting a detailed how-to, with actual pictures rather than just words or drawings from the TSRM.
Some disclaimers before we get started:
1.)This is the first twins removal I've done, and so there may be 'faster' ways of doing it, like trying to remove the whole assembly by itself. I followed the TSRM and have to say it was very easy. Each removed part made the next one easier, I would recommend following these steps.
2.)I am not a trained mechanic but have experience with this car, and others. Take your time, and don't do anything stupid like rounding off nuts, or bolt heads. Use appropriate tools or your life could get very difficult 
3.)In a few cases I've added a note for an alternate method. After having things removed there are a few steps that could have been modified that would make it easier for you, I'll detail those.
4.)This is the way I did it, please no flaming about how I'm a douche bag for doing it this way, or whatever. This is meant to help those who don't know what they are doing, and are looking for some help.
5.)I made an effort to point at the part/place referenced. Any confusion should be able to be clarified with the TSRM.
6.)Read through this a couple times before you start.
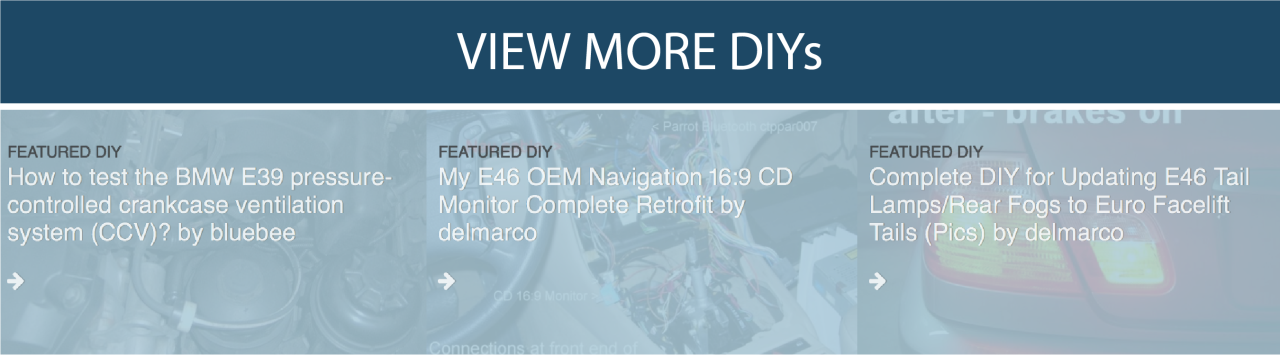
First things first, gather the tools you are going to need. This is a list of very tool I used, each had a purpose even if it was for only a single use. Those with a larger tool collection might have variants of these but the sizes will be the same.
1.Pliers
2.Rachets
3.Rachet Extensions
4.Rachet Adapters
5.Sockets (8, 10, 12, 14, 15, 17, 19, Deep 10, 12, 14)
6.Wrenches ( 12, 14, Stubby 14)
7.Flat Head Screw Driver
8.Breaker Bar (Use this on everything that is tight, can't be done without it!)
9.Pipe
10.TSRM
11.Moovit/PB Blaster/Liquid Wrench (Penetrating Oil)
12. Rags/Shop Towels
13.Catch can for coolant
14.Band Aids (Trust me on that one  )
)
The following steps took place prior to me starting to document with photos, but they are all very basic.
1.)Disconnect the negative terminal. I removed the battery completely as I needed it gone for other things.
2.)Removed wheels, under fenders, and under covers.
3.)Removed front bumper. To do this remove x3 nuts on each head light, then the lights them selves. Remove the 11 plastic screws from the top front, and center of the bumper. Disconnect the side markers and blinkers. Remove x4 nuts, 2 on each side near the wheel well and off she comes. Note: This step is not needed unless you are removing your stock SMIC, or changing your hot side piping for your single. However, with it gone it did allow for a little more room so I would recommend doing it anyway.
4.)Drain the coolant.
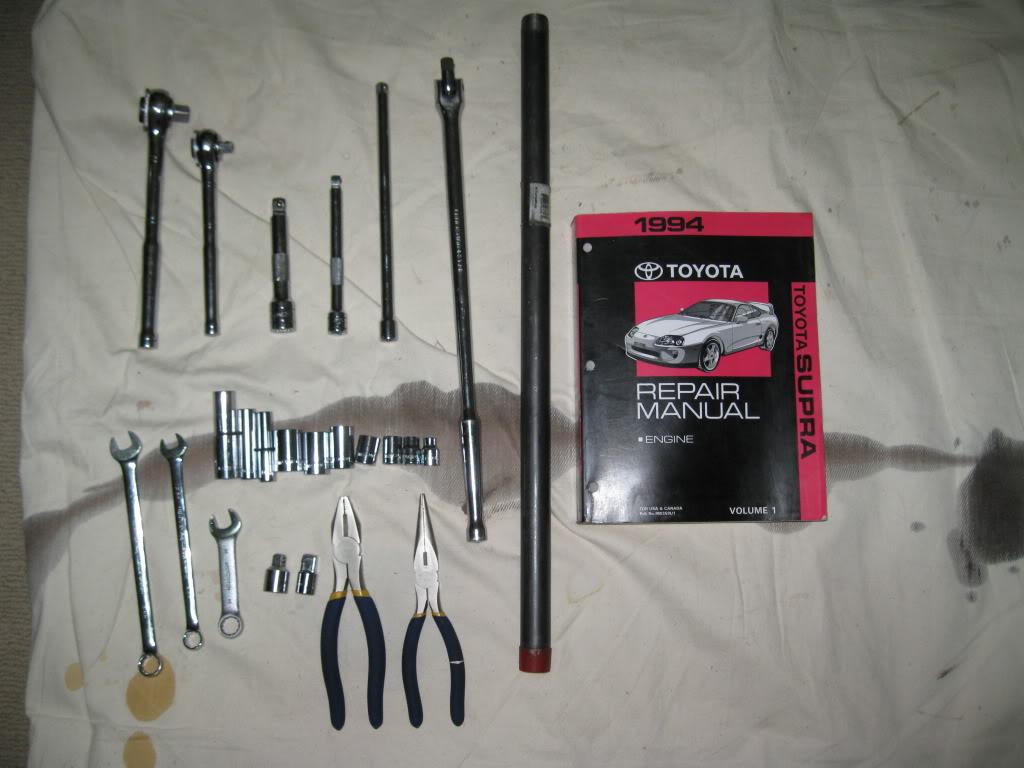
5.)Removed Air Box/Filter and hot side piping.
6.)Removed cold side piping. Note: Not required, I did so cause my Intake Manifold was coming off after the twins.
This will get you to here:
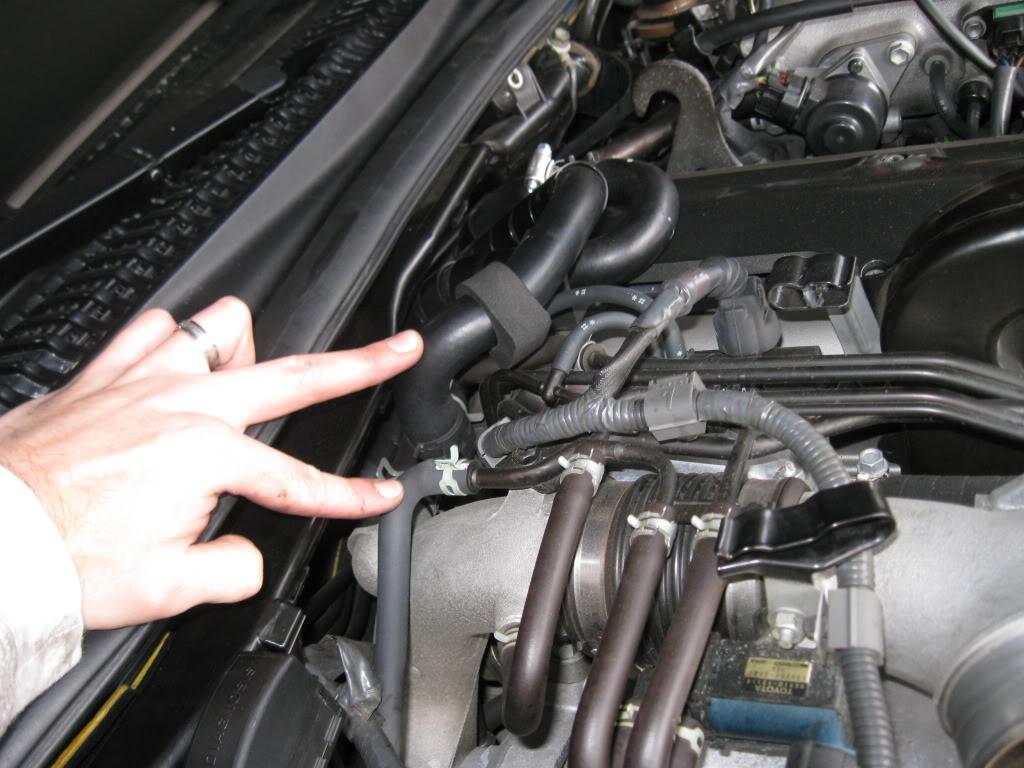
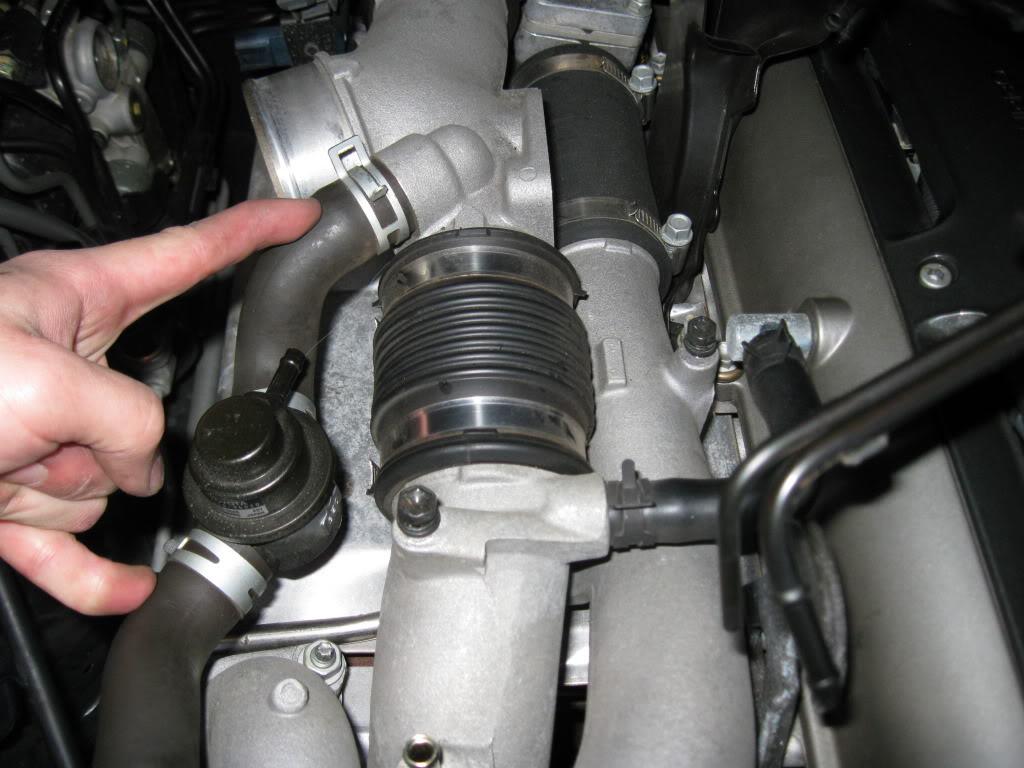
Remove the Cruise Control Actuator Cable from the Throttle Body. The wire on the left. 12Mm Wrench loosens it. Unclip across the engine bay and set aside.
Remove the MAF Meter Assembly. Disconnect the piping from No.1 Air Tube as well as the wiring connections.

Disconnect the Theft Deterrent Horn. X1 10mm bolt and wiring connection. This will be in the way later, so get it now.
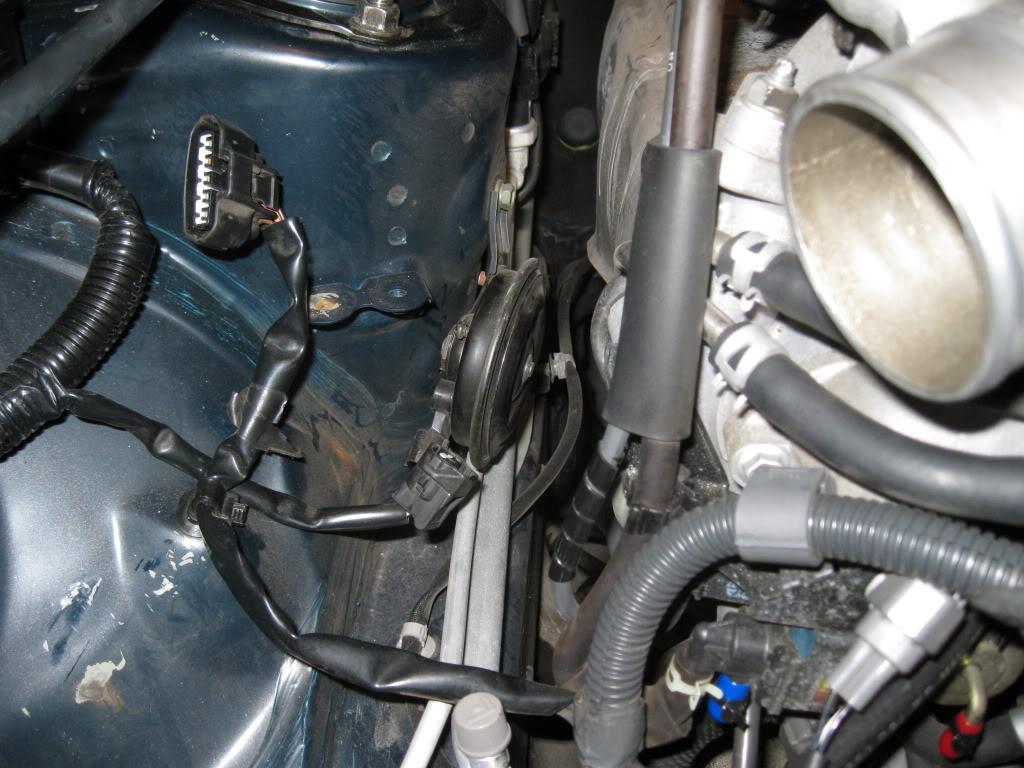
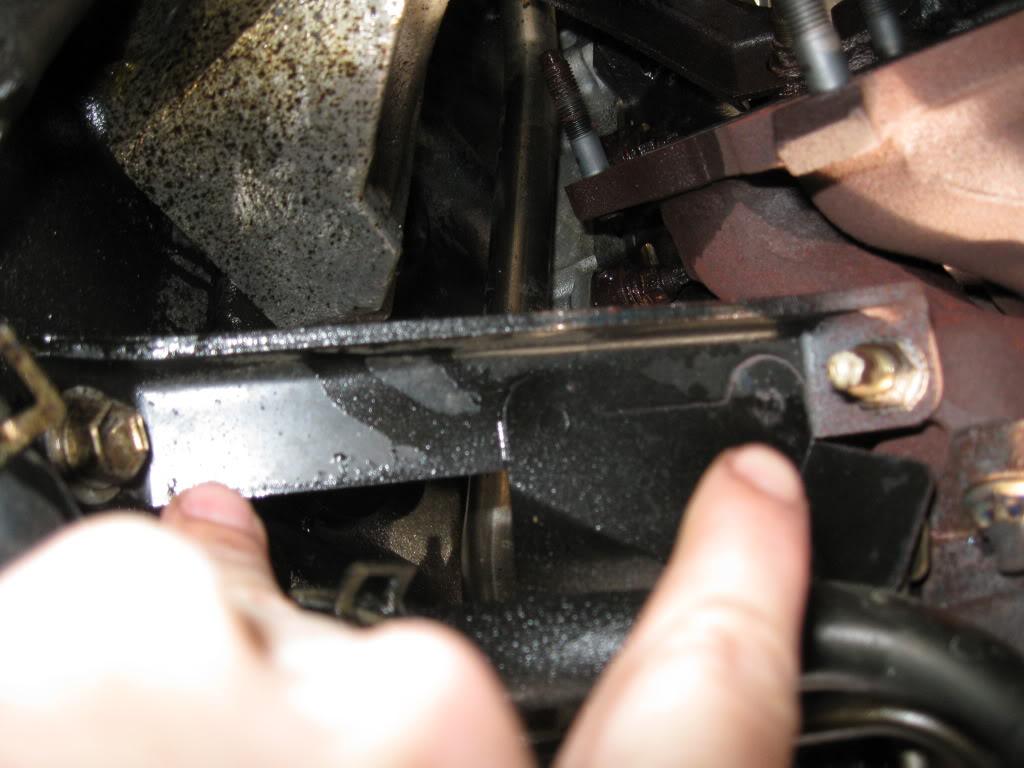
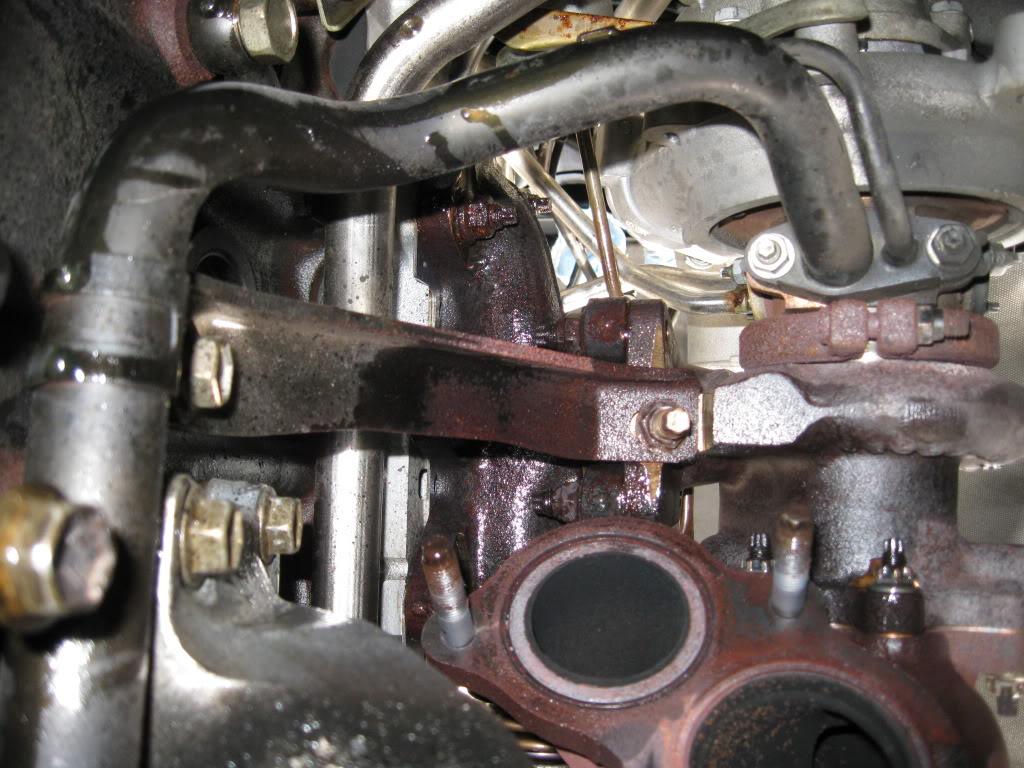
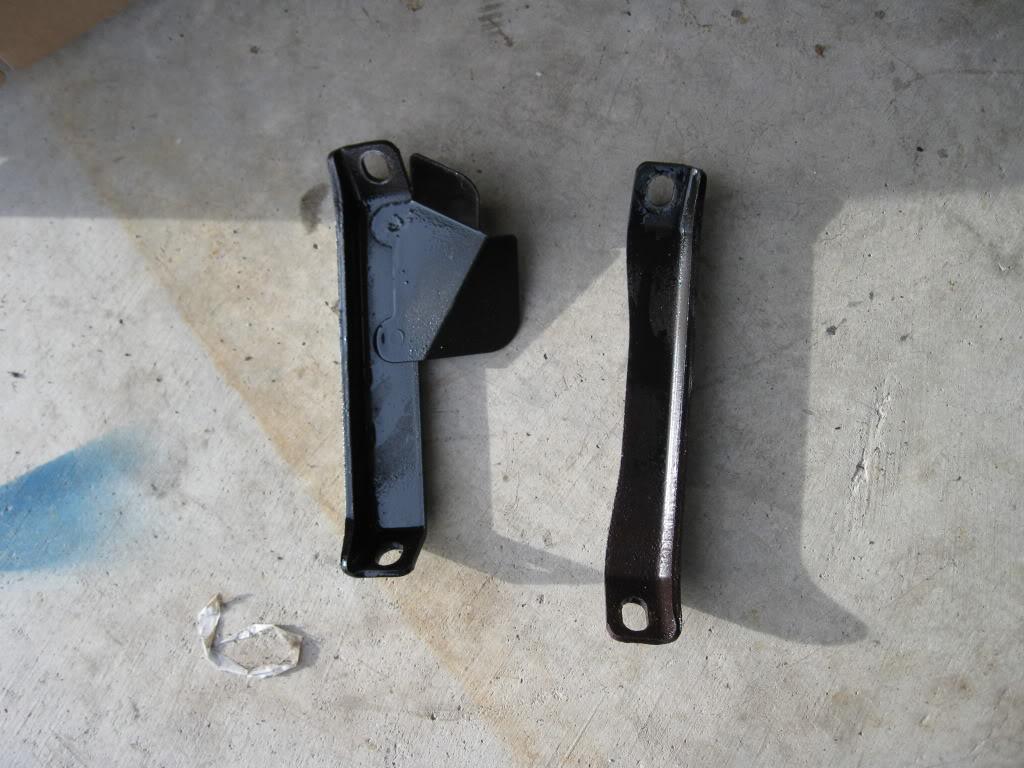
Remove Front Lower Arm Bracket Stay and Upper Front Crossmember Extension. Total of x4 12mm bolts, x2 12mm nuts, x1 19mm nut, x1 plate washer.
The next portion deals with the removal of the down pipe. This might be different for some people. I already had an RMM down pipe installed and so my stock cats etc. were already removed.
I've included a link which details the steps to remove the stock cats for those who may need it. The link does not say this, but SOAK everything with Moovit (Penetrating Oil) prior to removal, the first time you remove the nuts they are seized on there beyond belief.
Either way you next remove the down pipe. Minimum of x3 14mm nuts, use the deep socket and proper extensions.

If you have an Auto you will now need to remove the Oil Cooler tubes. I have a Manual so there is no reference photo for this.
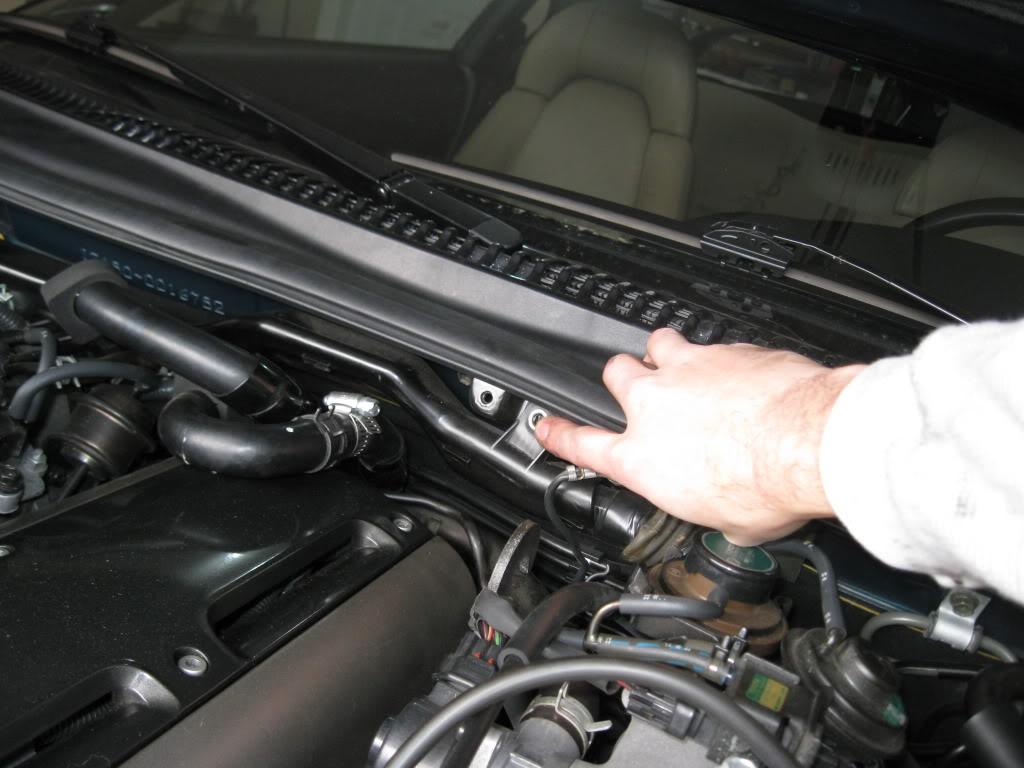
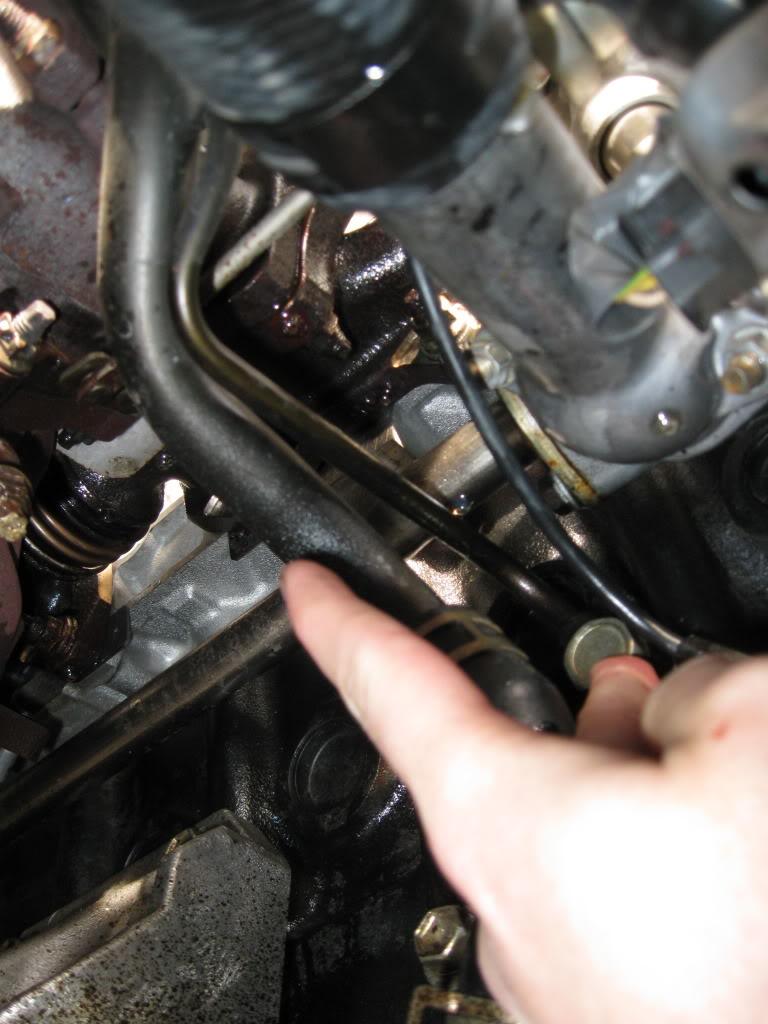
The TSRM states to remove the Engine Wire Protector. I got it unbolted but couldn't get it off. It looked like it was going to break so I left it. It got in the way only slightly. If you can get it off do it, if not it shouldn't be an issue.
The next few steps involve removing 10 hoses from various places, as well as some engine wiring.
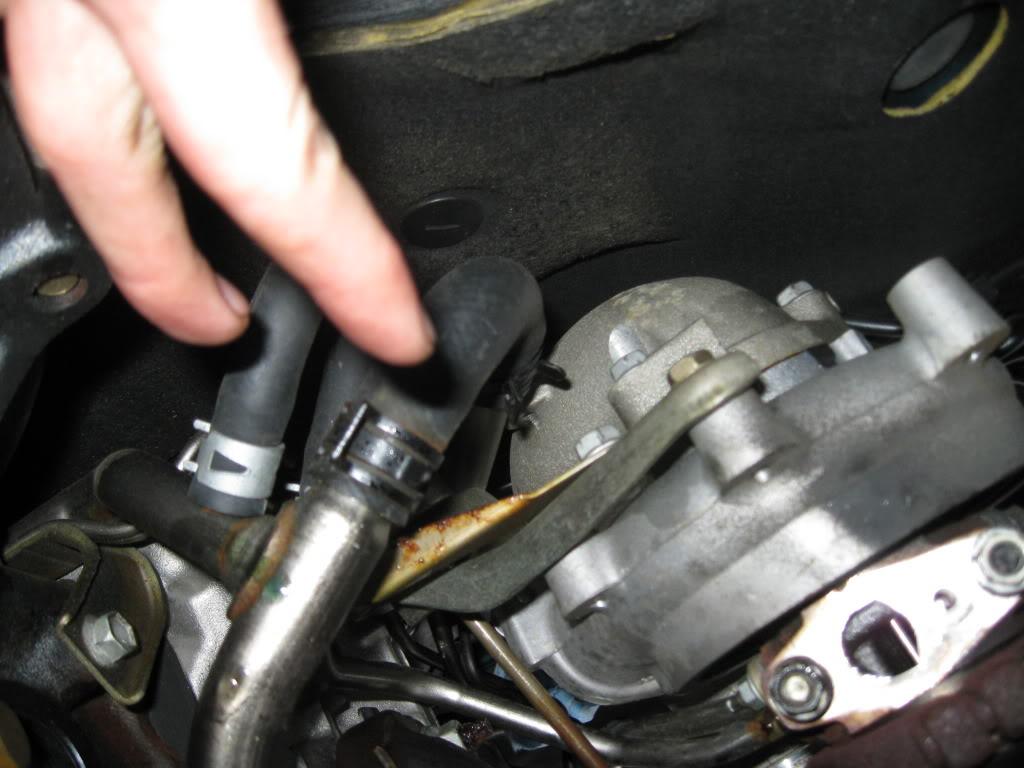
Remove Heater hose (top) from No. 3 pipe bypass pipe. Remove vacuum hose (bottom), the other end connects to the charcoal filter, I just removed the whole thing as it kept getting in the way.
Remove the engine wiring connection and move it out of the way.
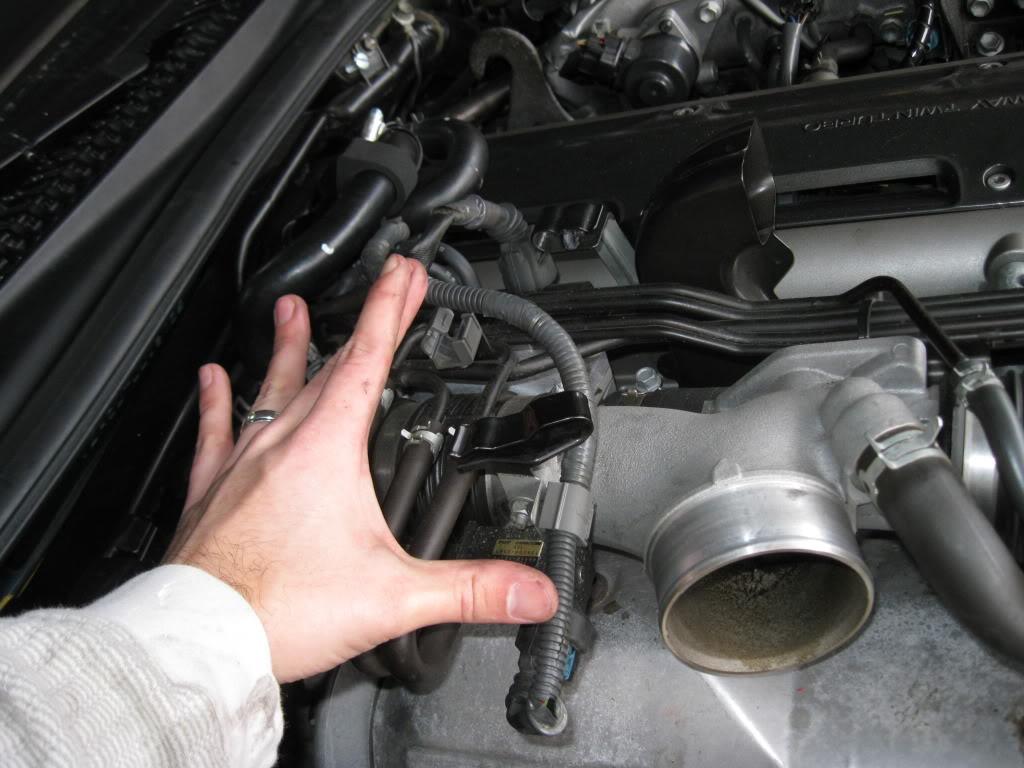
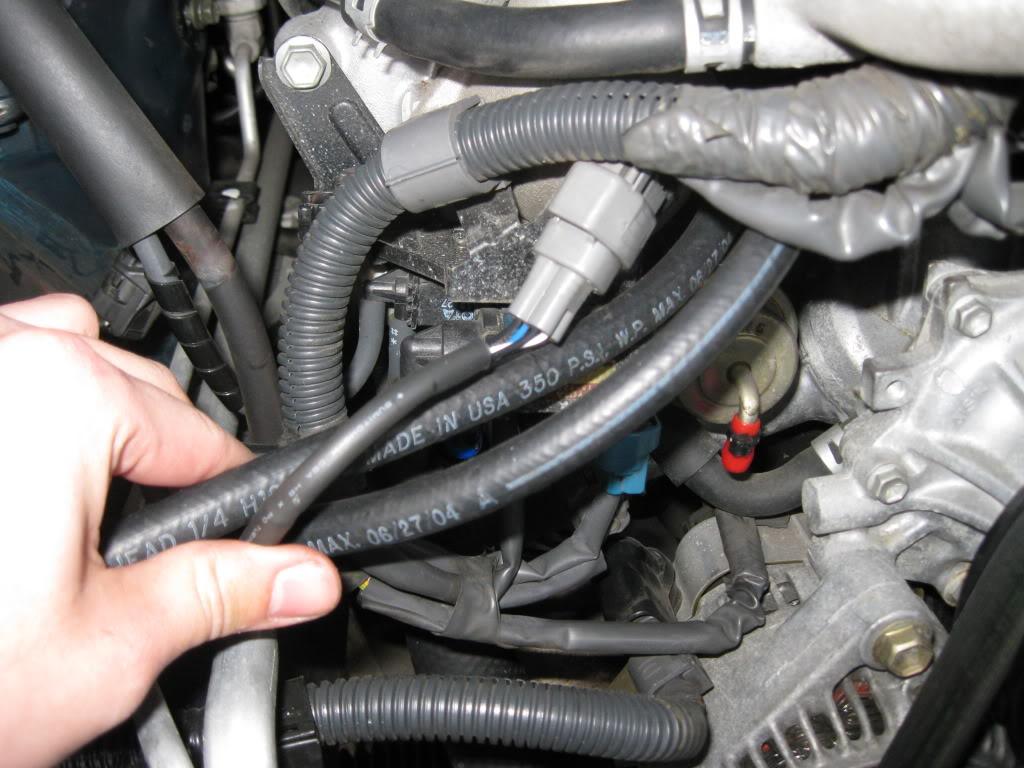
Next are the x10 hoses connected to the vacuum piping which lays across the turbos. Too many hoses to get good pictures of them all but here is what you look for. As well as a reference of them all once removed. Basically every hose connected to this vacuum plumbing.
Everything removed here.
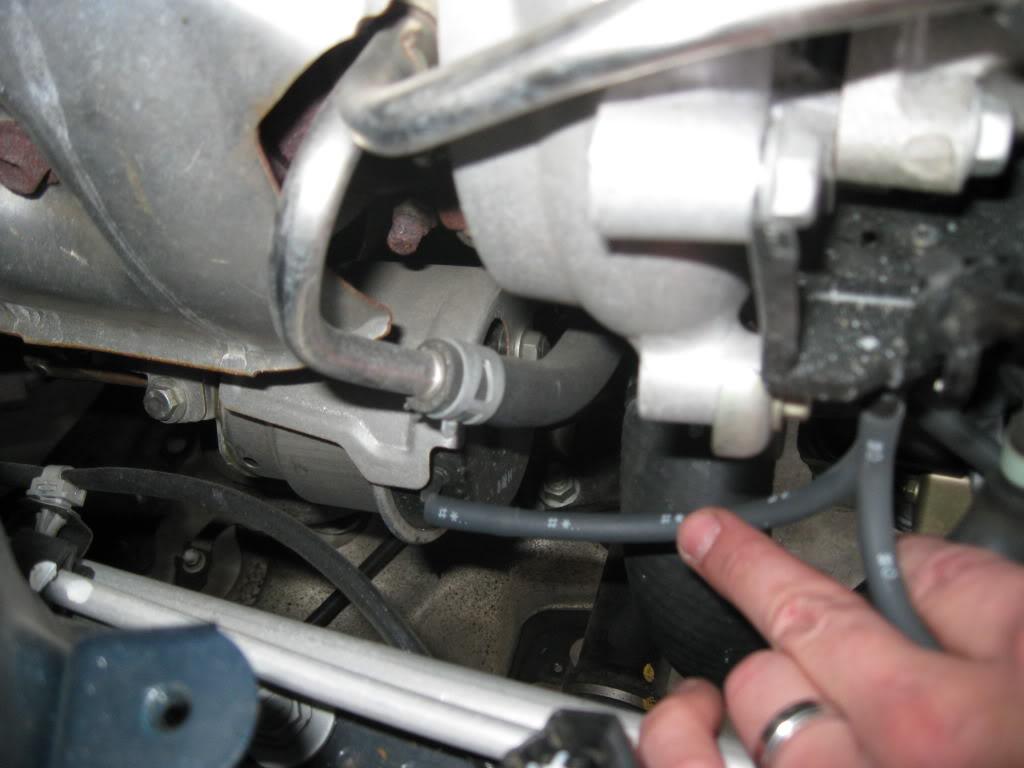
NOTE: At this point there are 4 hoses left attached at the back of the piping. The two smaller ones closest to the drivers side (LHD) run to the pressure tank, they pop off easy with needle nose pliers. The other two connect to the second turbo. The TSRM says to remove these much later, however, if you remove them not the whole part lifts out and gives more room. I would recommend doing that, however you will probably have to cut the lines given the angles. Cutting them won't damage anything.
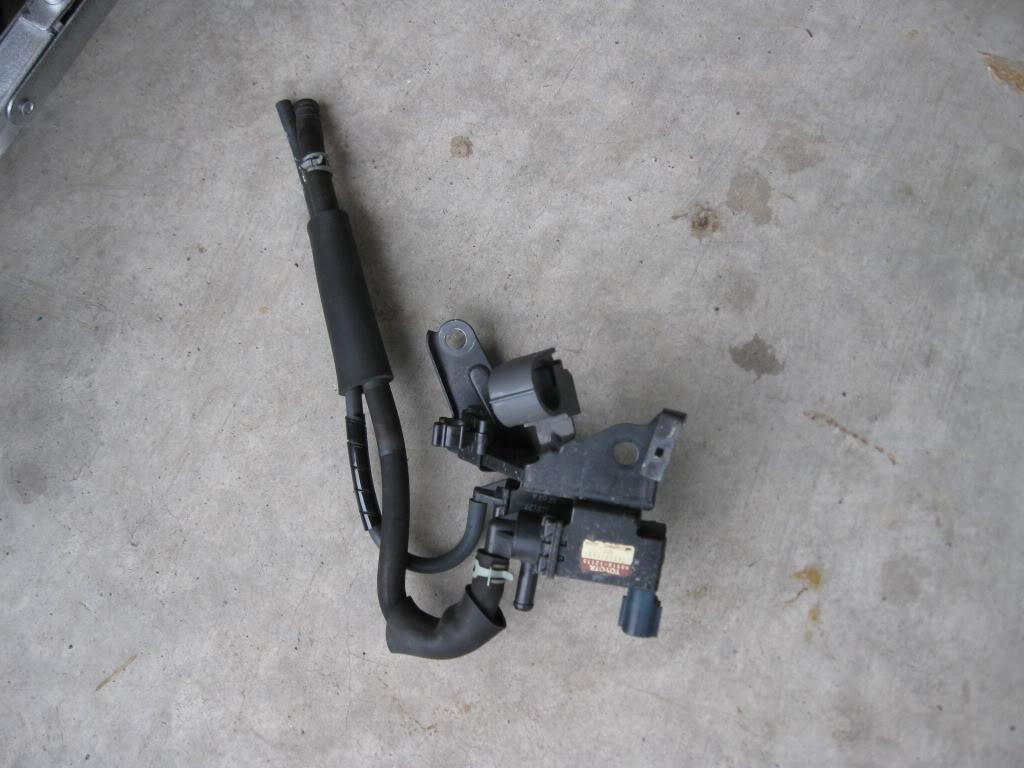
The next step involves removing the VSV assembly, as well as a number of hoses from the No. 1 turbo and wastegate. My picture is different from stock as I have a Hallman MBC controller presently connected. My setup is short one vacuum hose. If you are completely stock you will disconnect the following:
1.)Air hose from wastegate.
2.)Air hose from exhaust gas control valve
3.)Air hose from hose clamp
4.)Engine wire from clamp
5.)x2 12mm bolts
6.)And finally the complete VSV assembly and attached hoses.
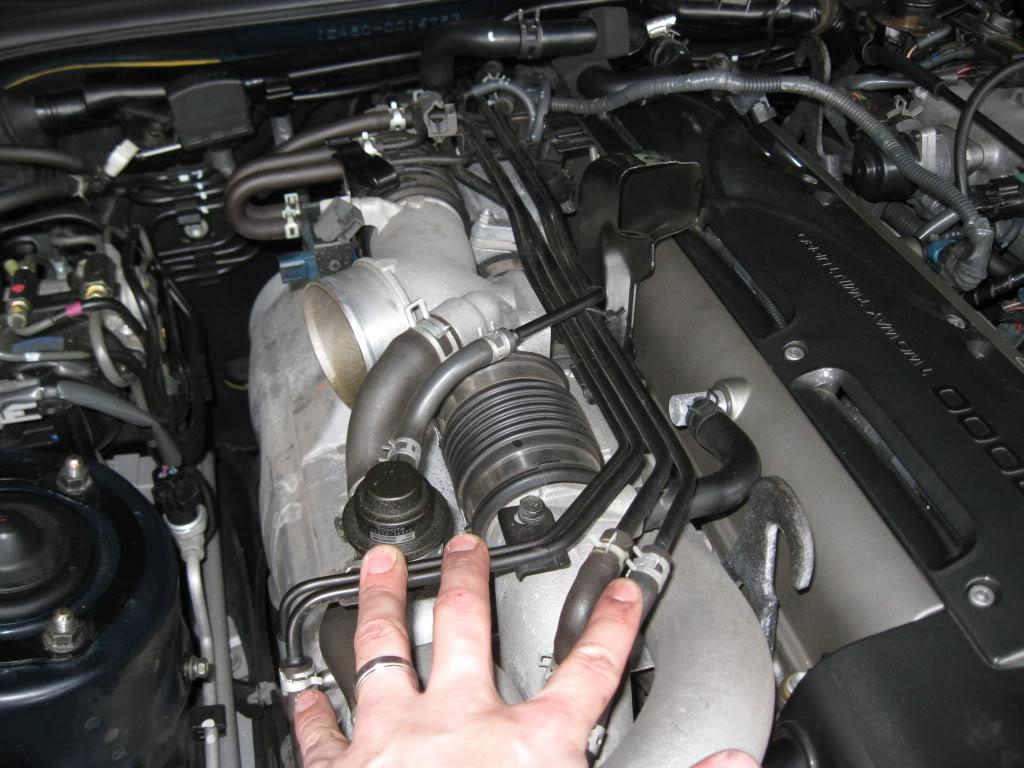
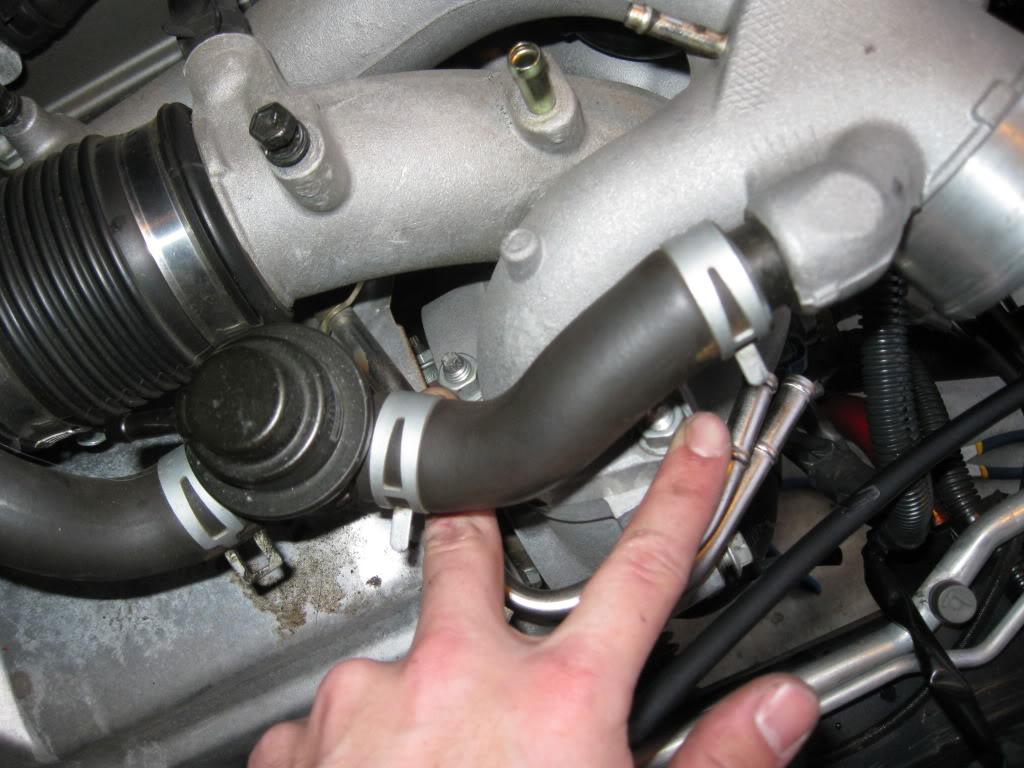
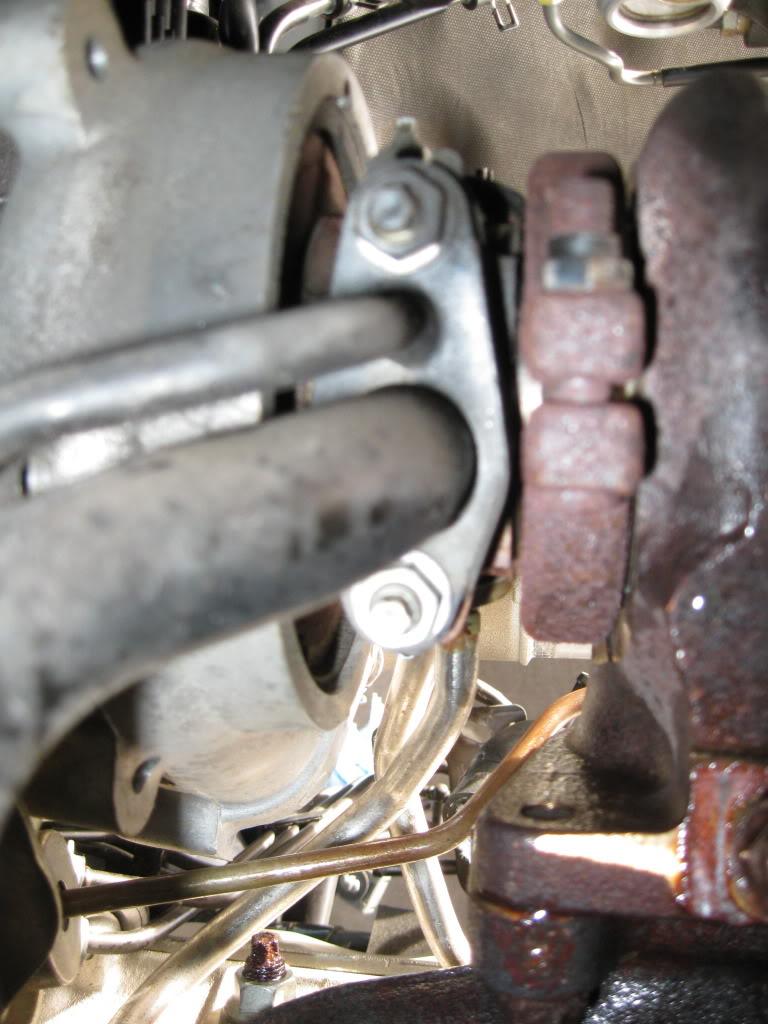
Remove the three water hoses from the water neck and bypass to the water pump.
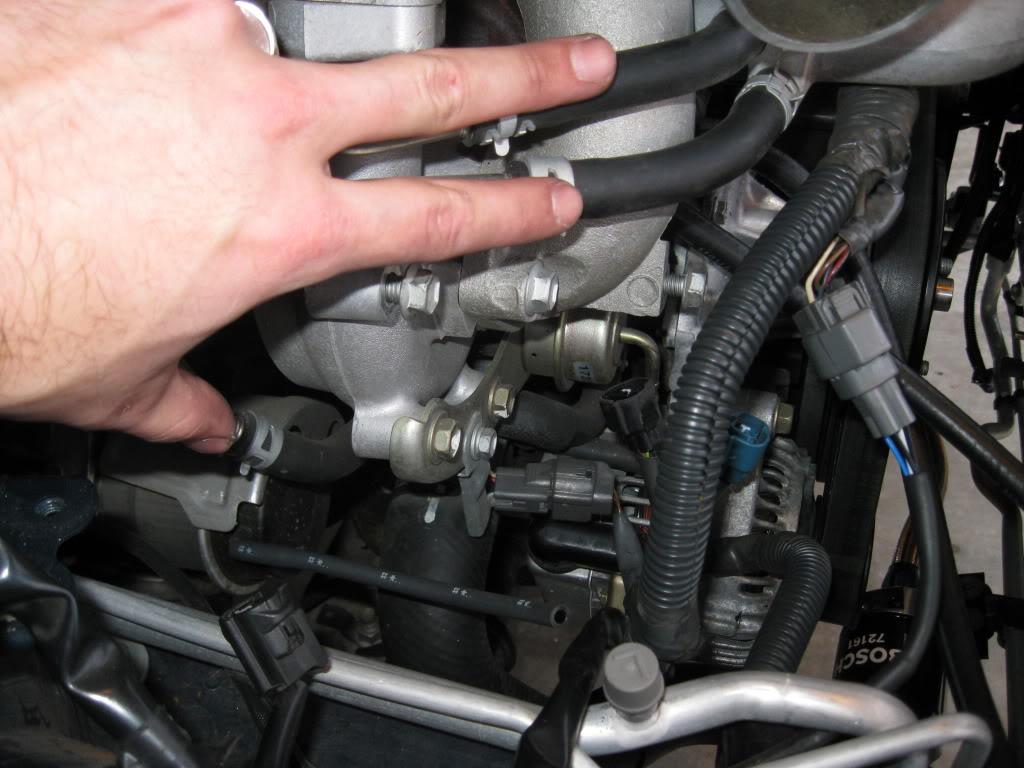
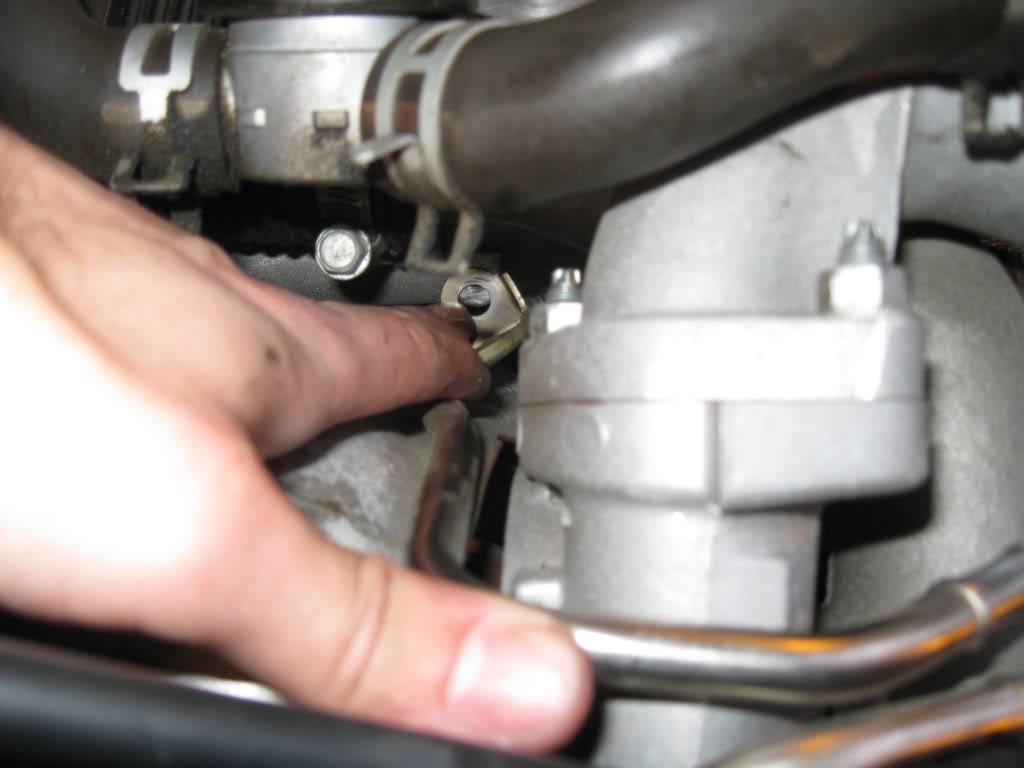
Remove the x1 10mm bolt from the No2. Water pipe from the No. 4 air tube.
You'll be left with:
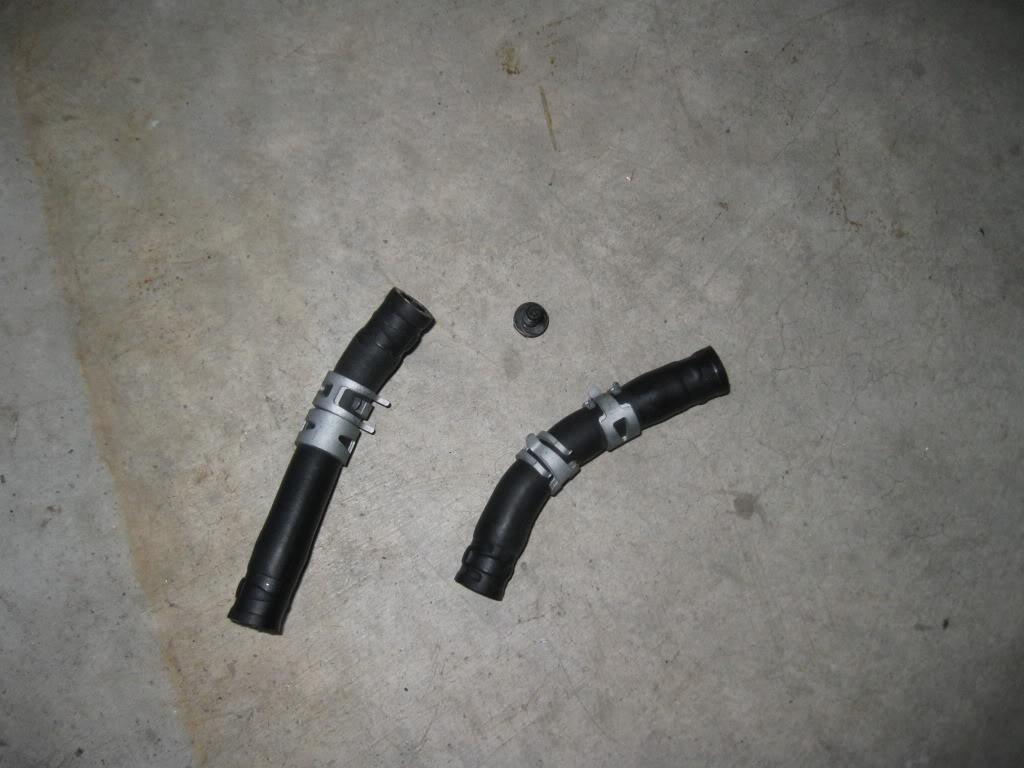
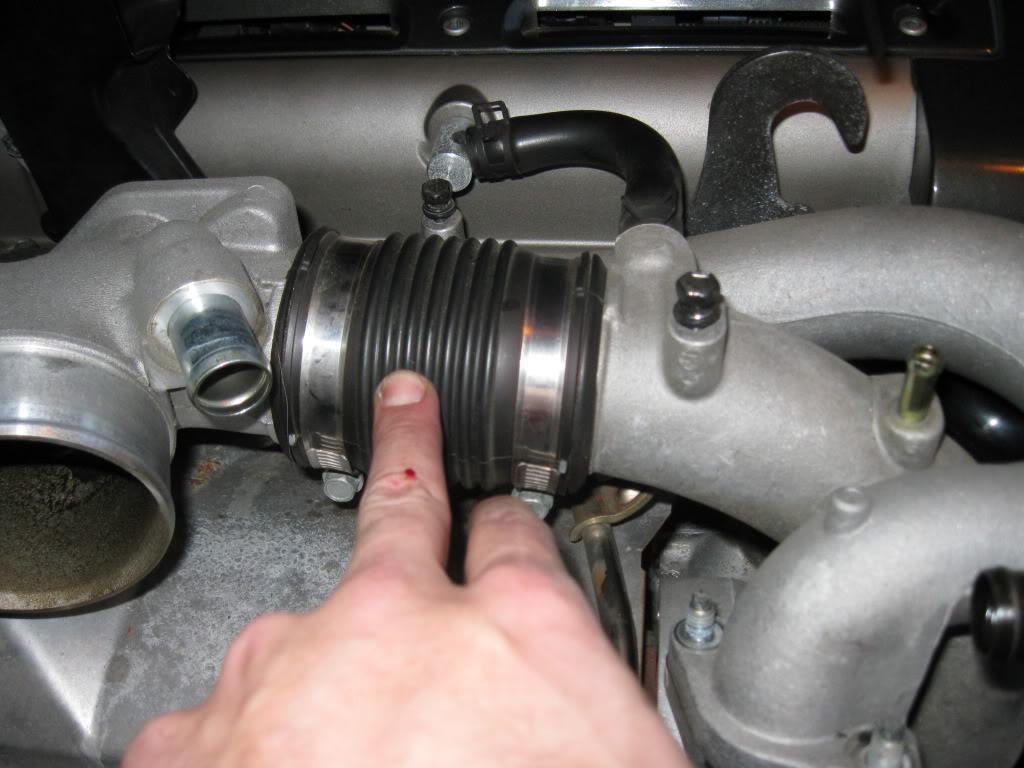
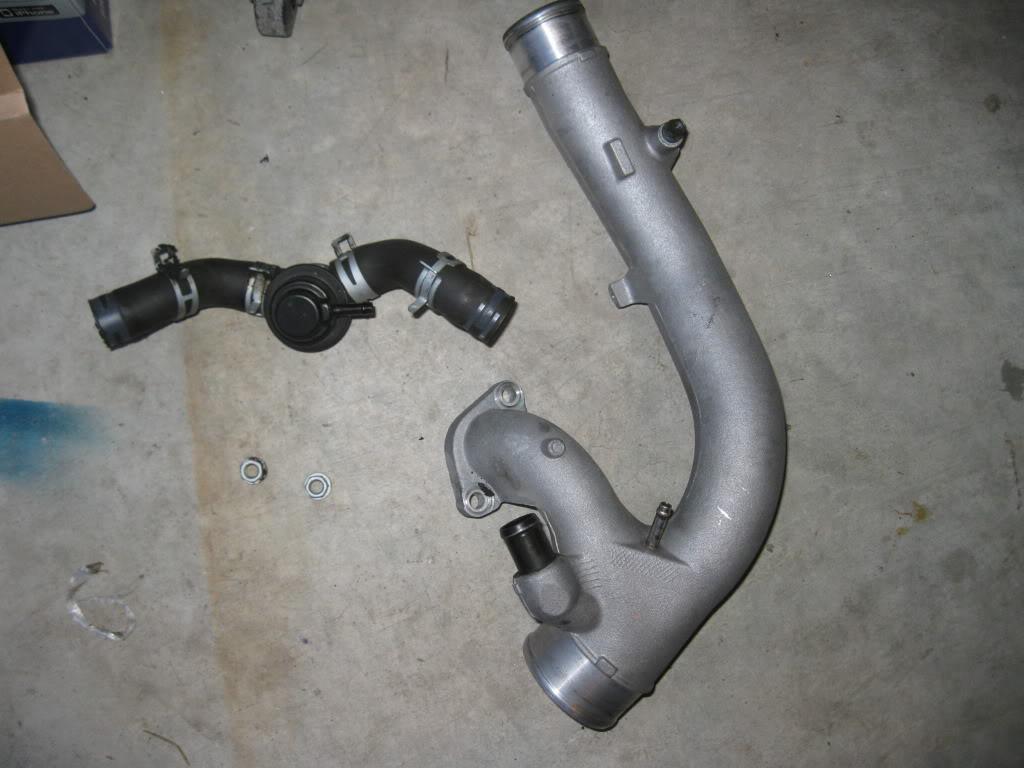
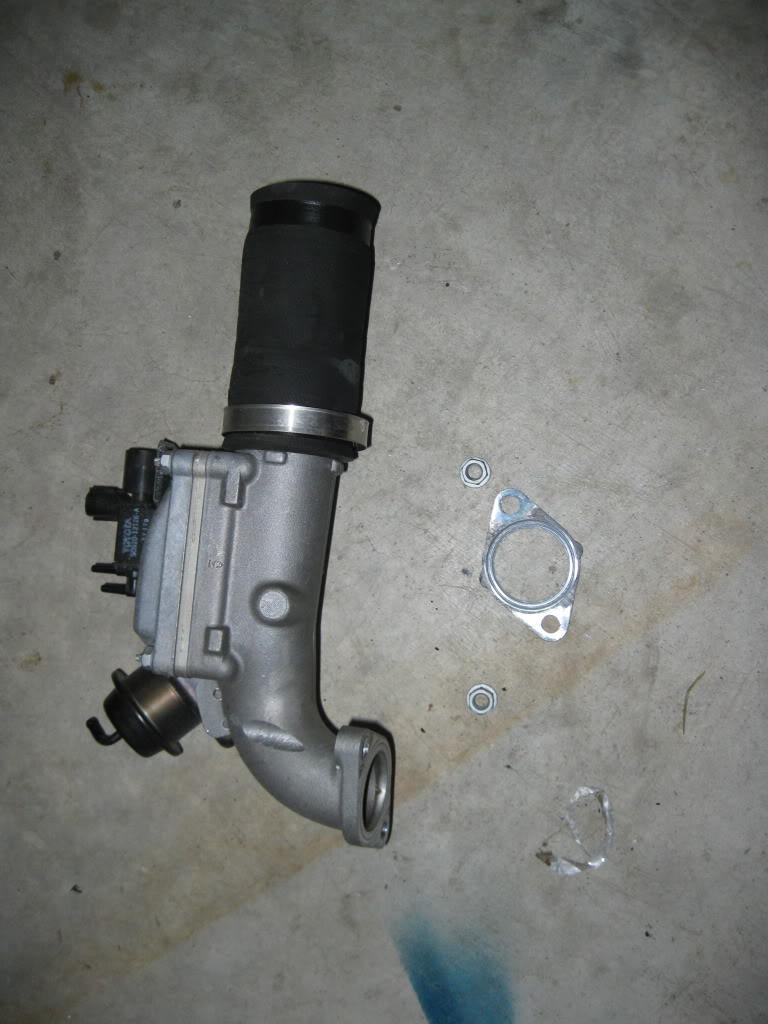
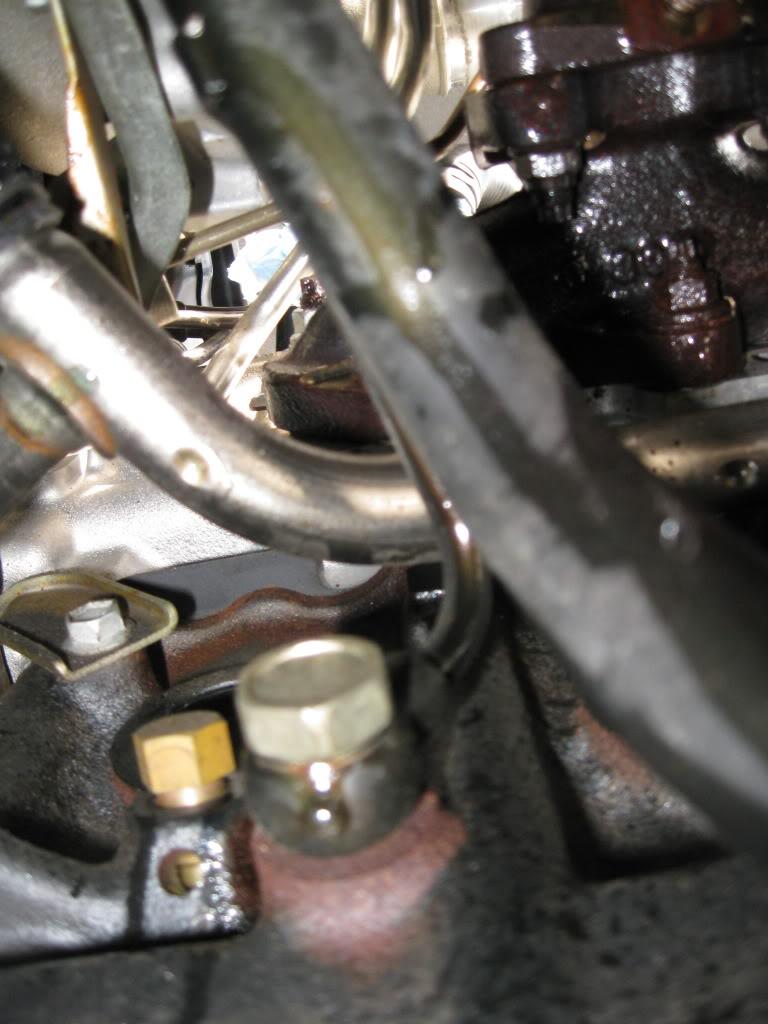
Now remove the x2 12mm bolts from the No. 1 air tube, disconnect it and remove the gasket.
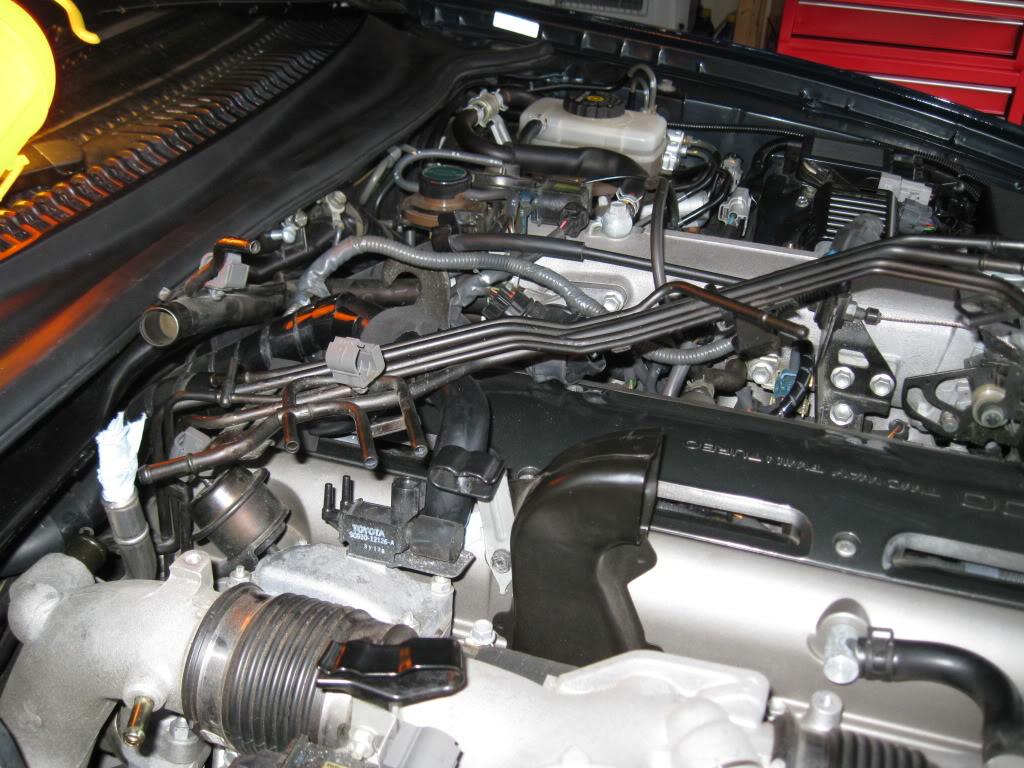
Next is a bunch of parts that are pretty intertwined. I removed them in a slightly different order than the TSRM recommends, however it was easier than the way the book stated.
First remove the stock BOV and hoses.
Next the two hoses connecting the different air pipes.
Then the x2 12mm nuts holding the No. 4 air tube.
With the center connecting hoses removed, lift the No. 4 air tube out, followed by the No. 1.
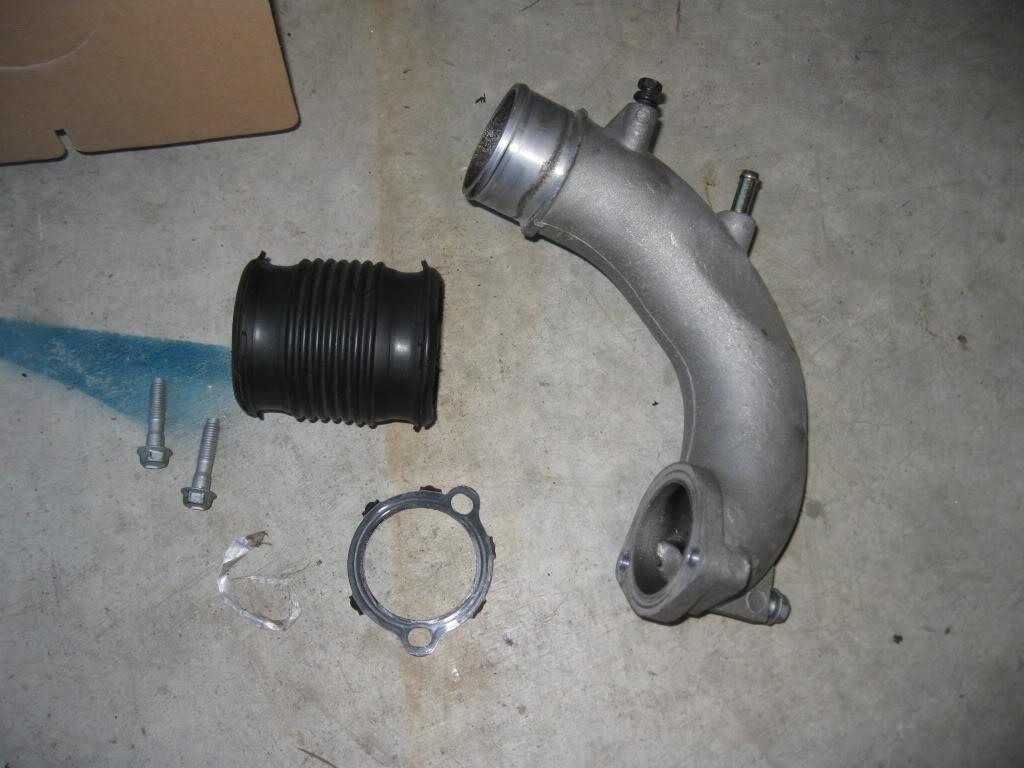
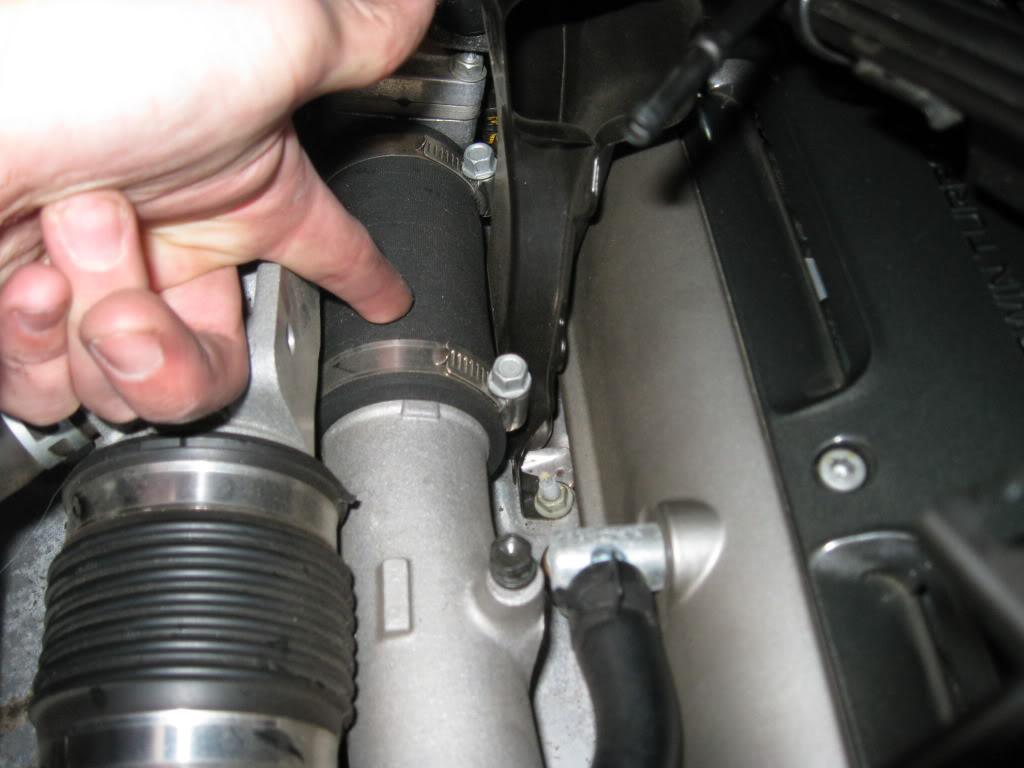
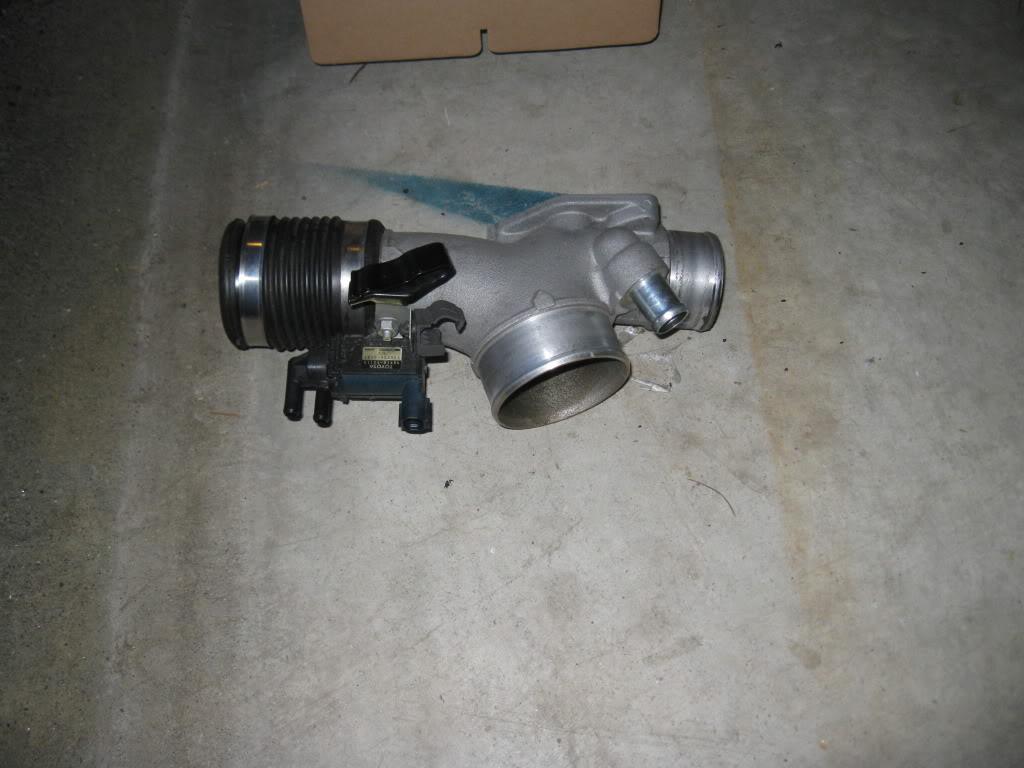
Now remove the x2 12mm nuts from the air intake control valve, as well as the x1 8mm worm clamp from No. 2 air tube
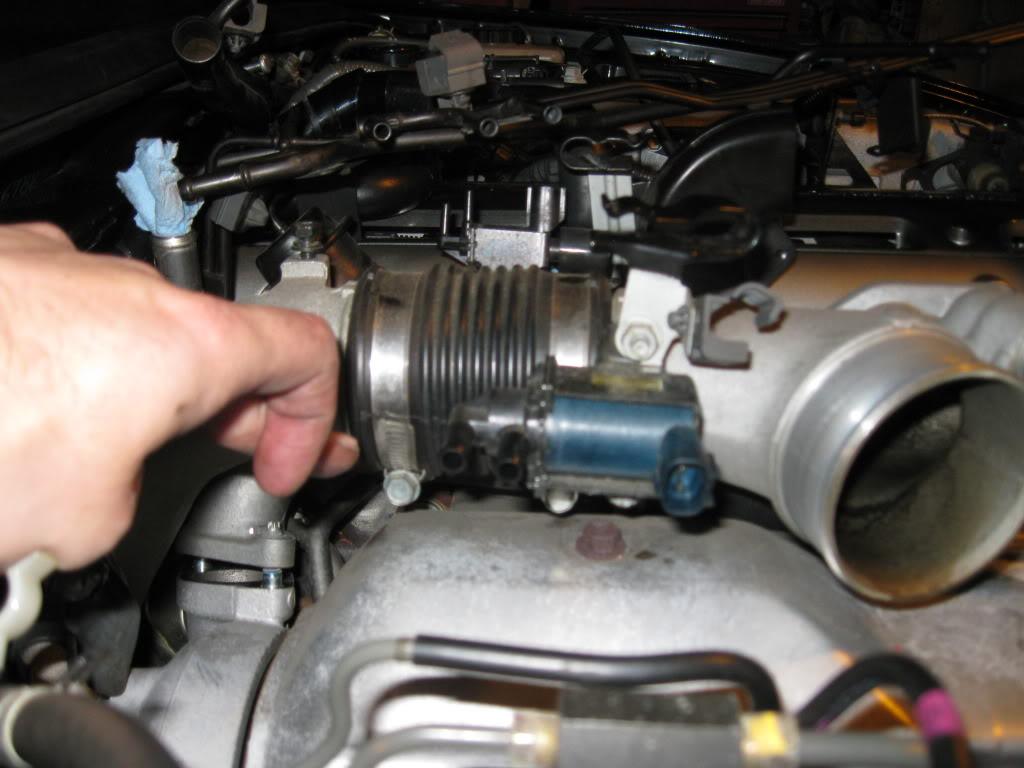
Once these are removed the air intake control valve, attached piping and No. 2 air tube lift out.
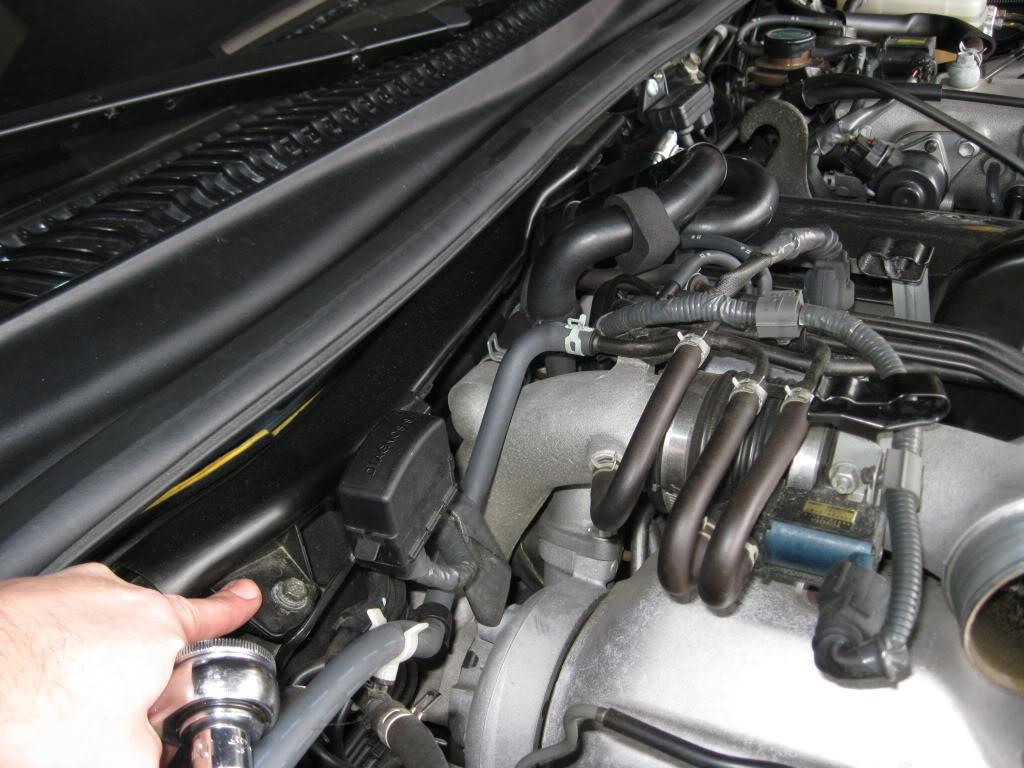
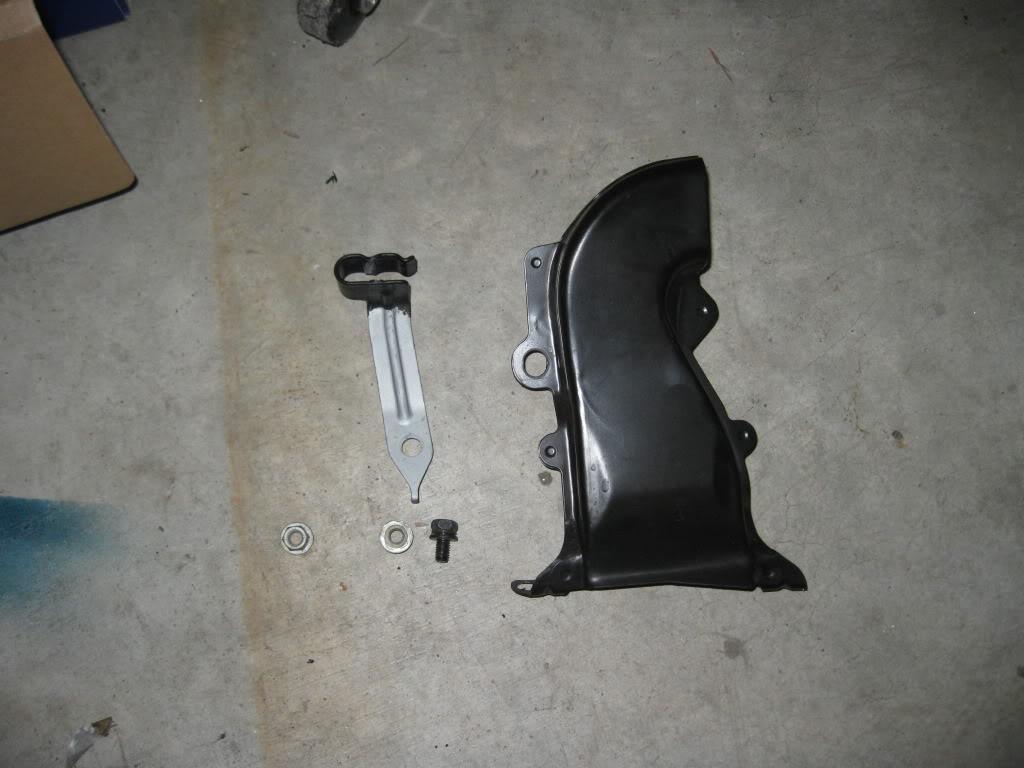
Next remove the air inlet duct and cable bracket from the block. Remove x1 12mm bolt, x2 12mm nuts.

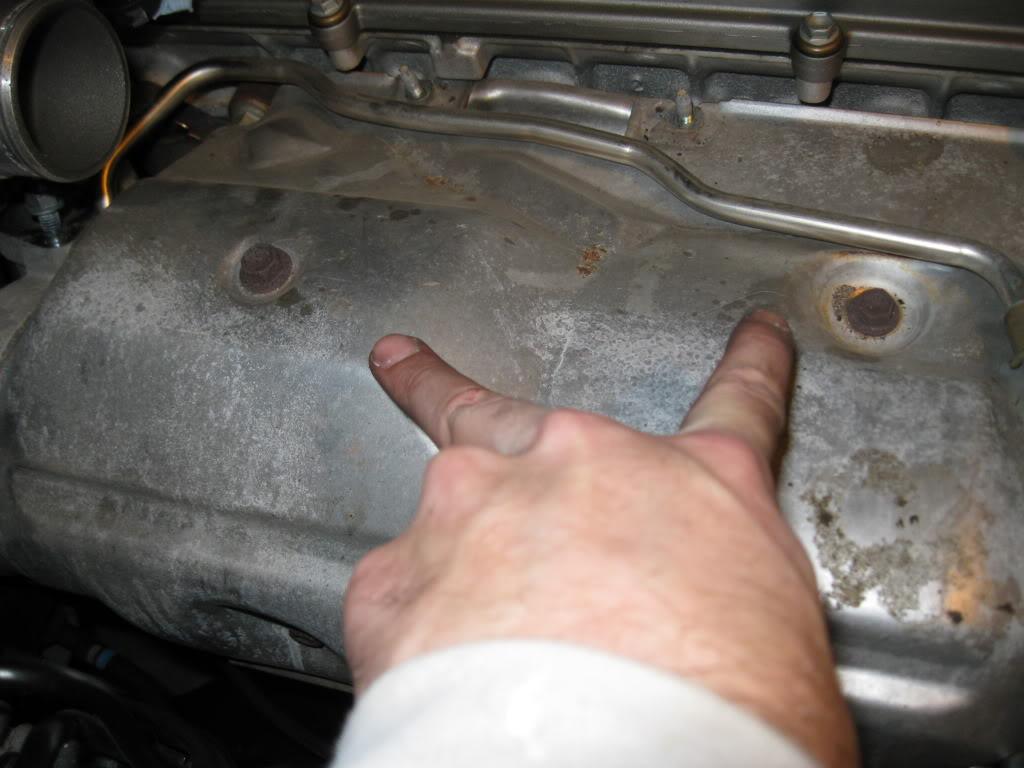
Now the heat shield comes off. X4 12mm bolts.
NOTE: From this point forward I would recommend using Moovit (Penetrating Oil) on just about everything. It will help the seized nuts/bolts. Most of mine were good, but those that needed it really did. Without using it I think I would still be in the removal process. Let the oil sit as long as you can, minutes, hours, days, whatever it takes.
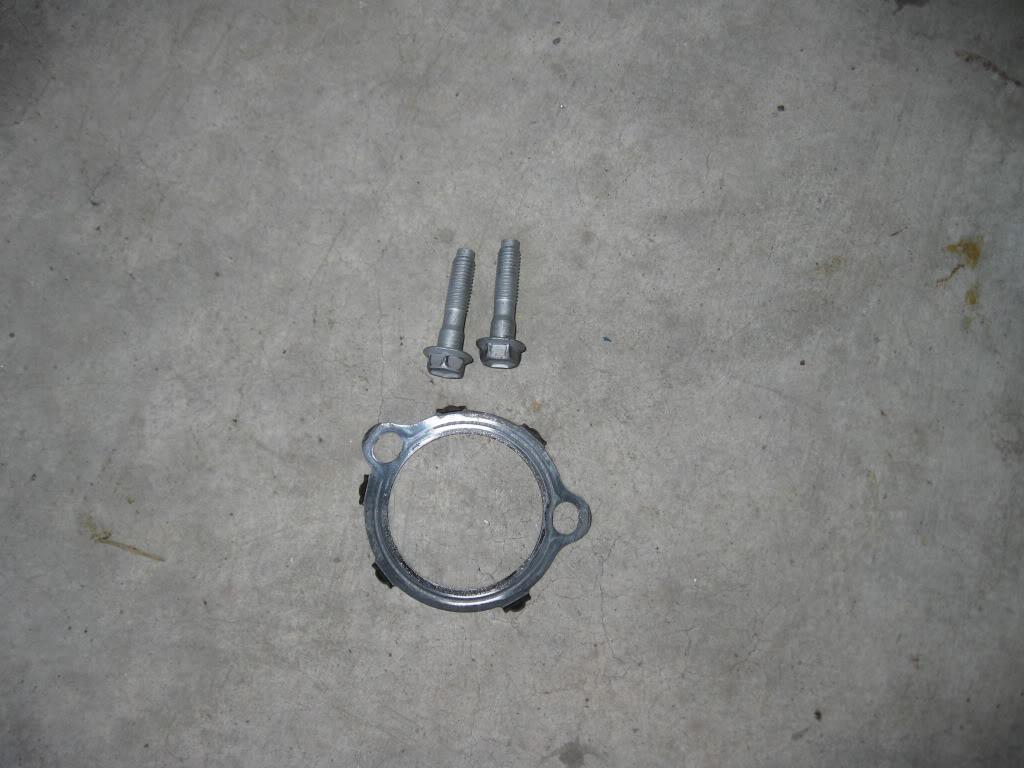
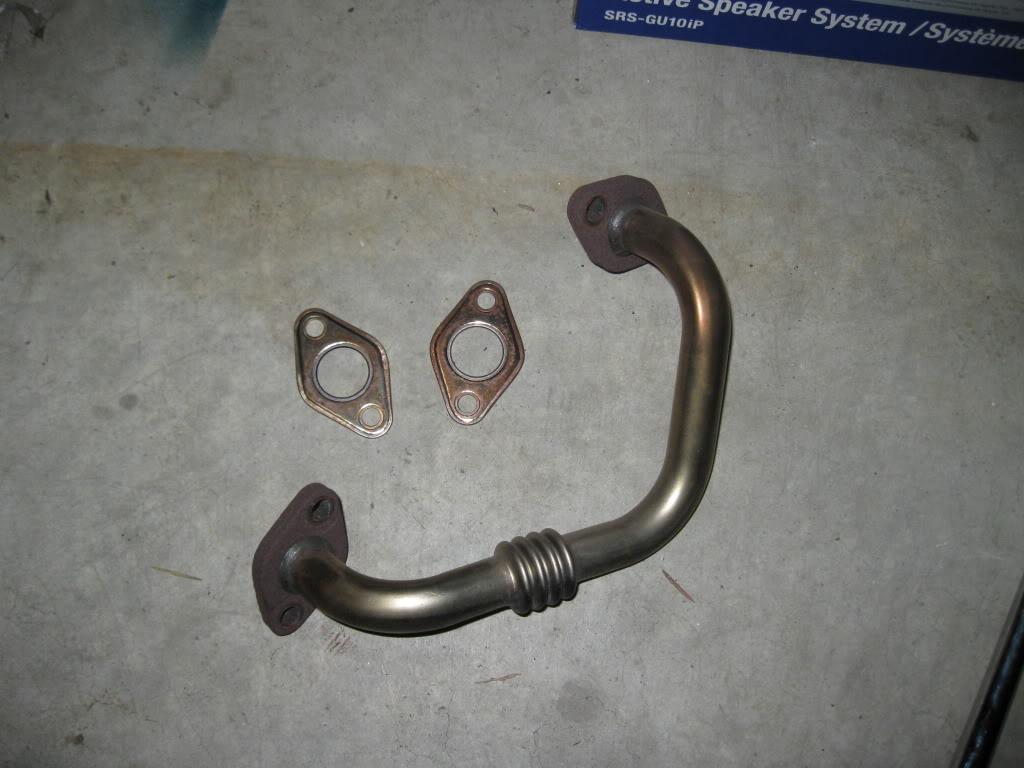
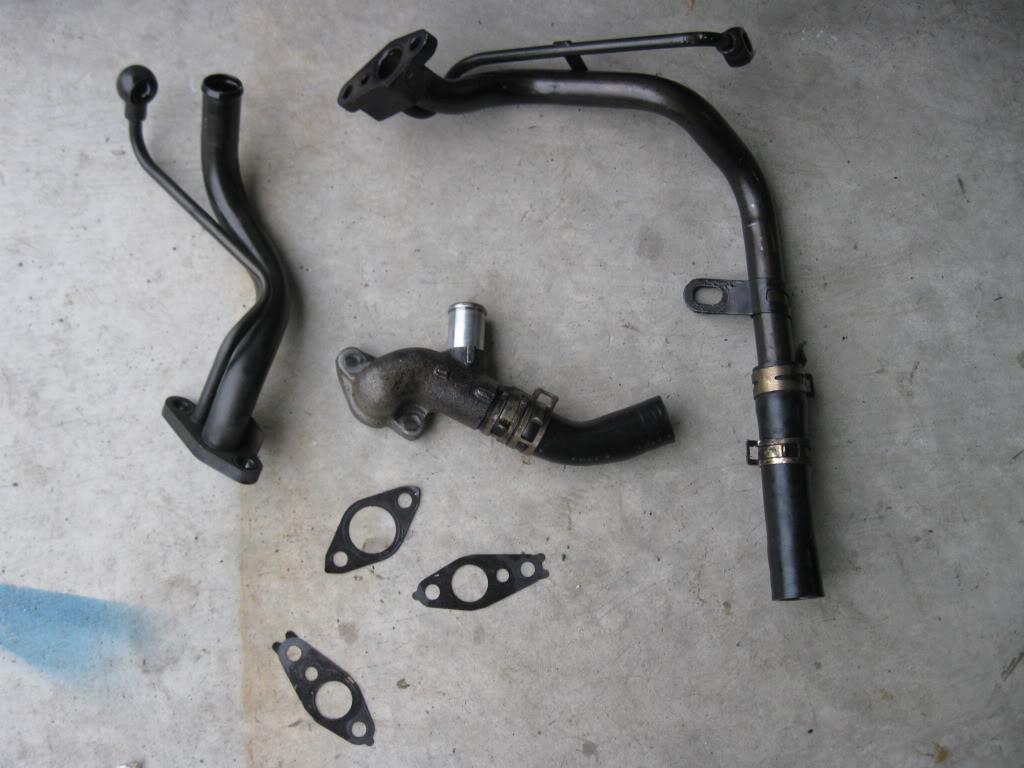
Remove the exhaust bypass pipe. X4 12mm nuts and 2 gaskets. Only got a picture of the top, you'll see where it connects underneath.
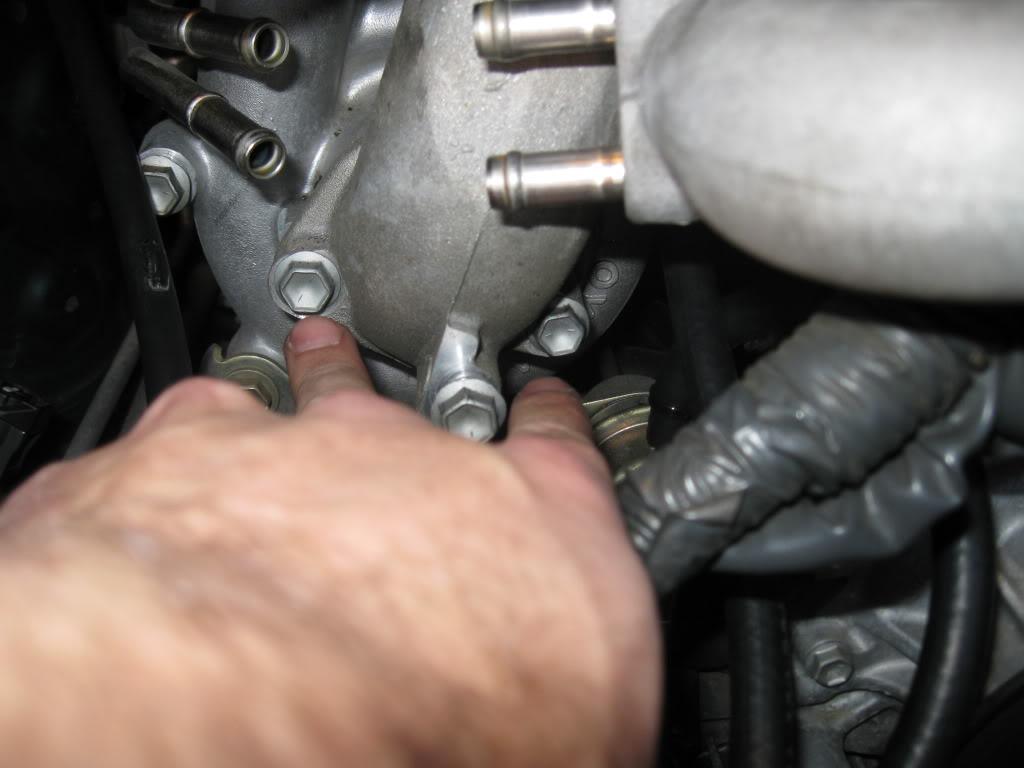
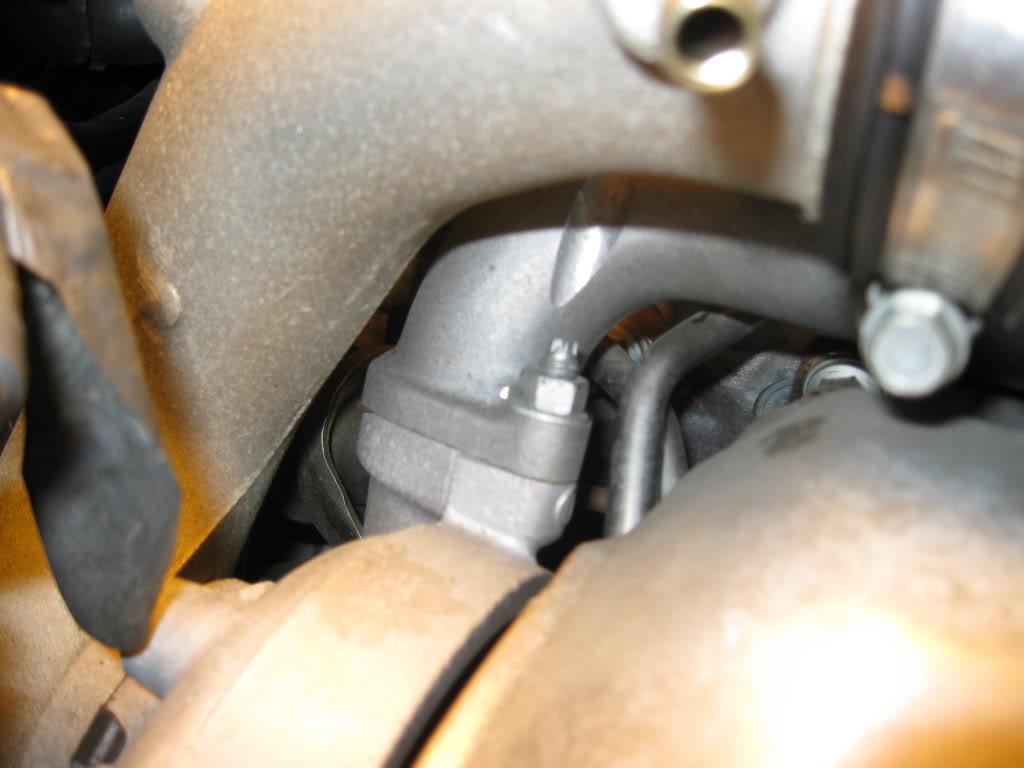
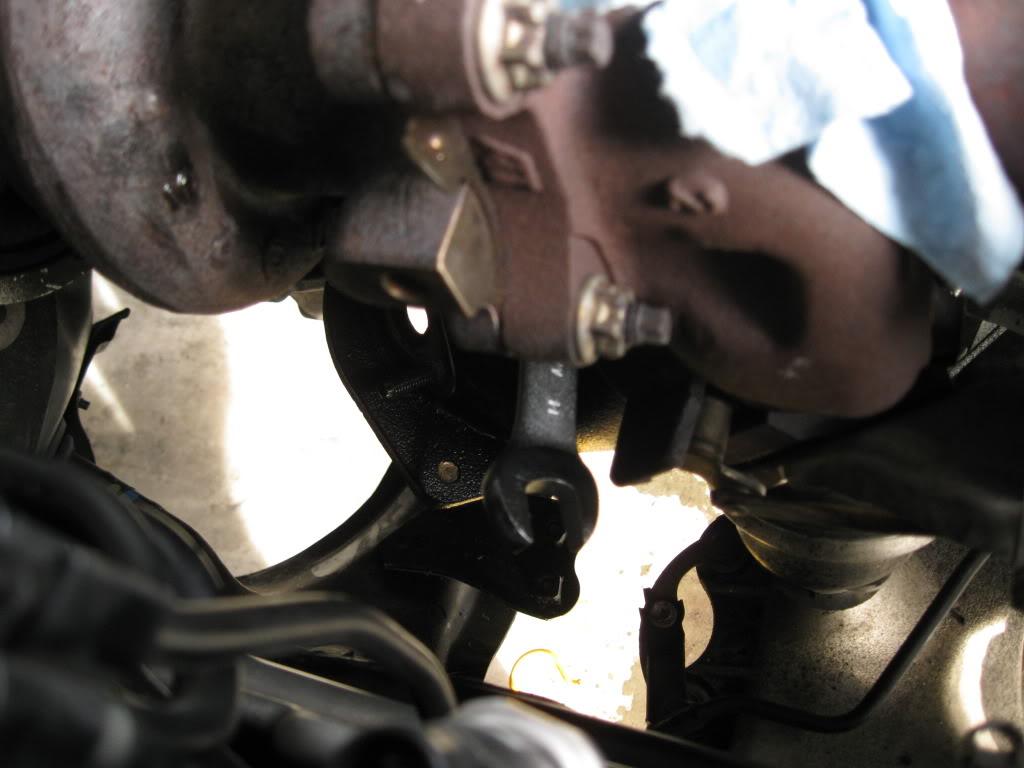
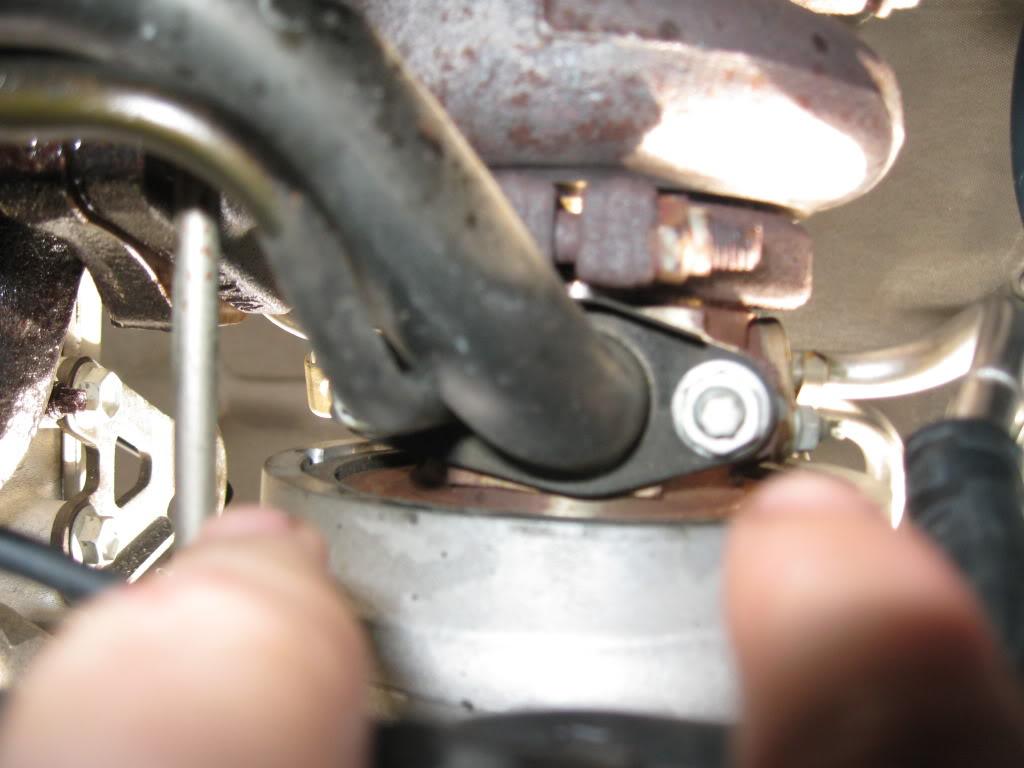
Now remove the exhaust gas control valve stay and main O2 sensor. X3 12mm nuts, x1 12mm bolt.
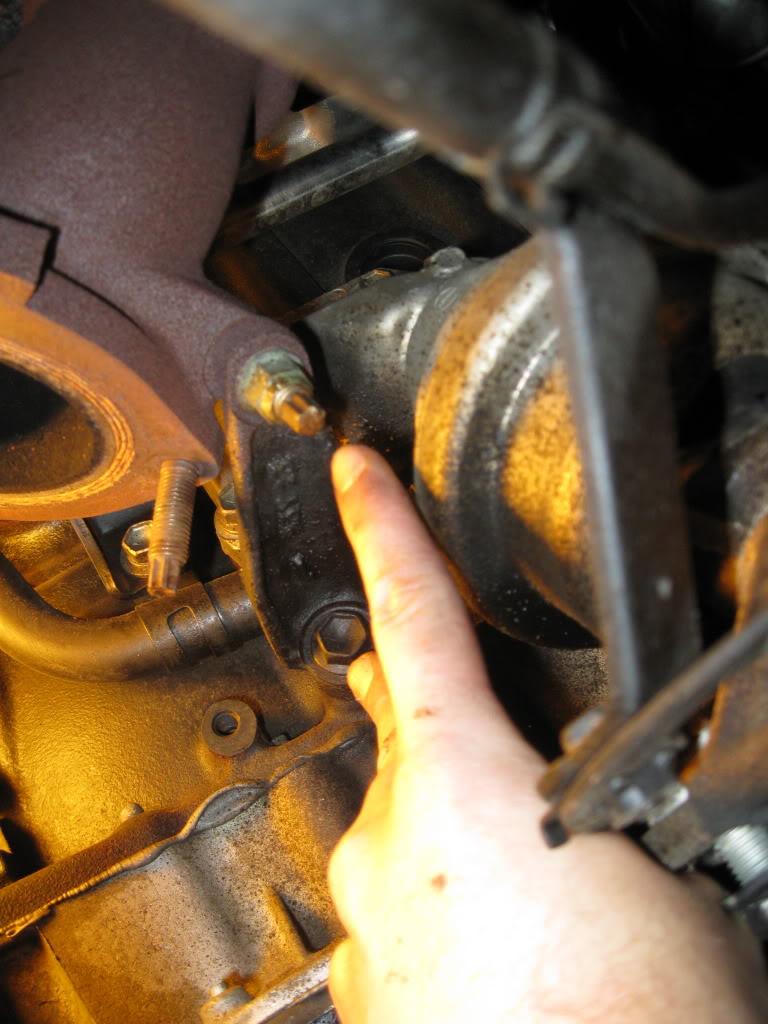

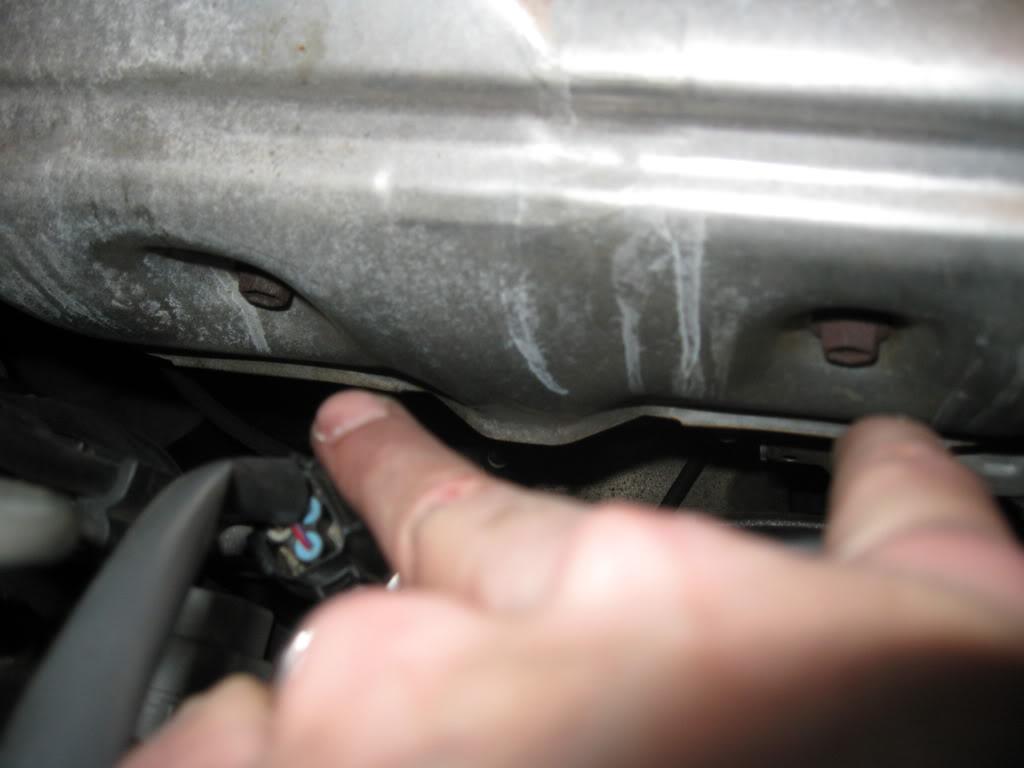
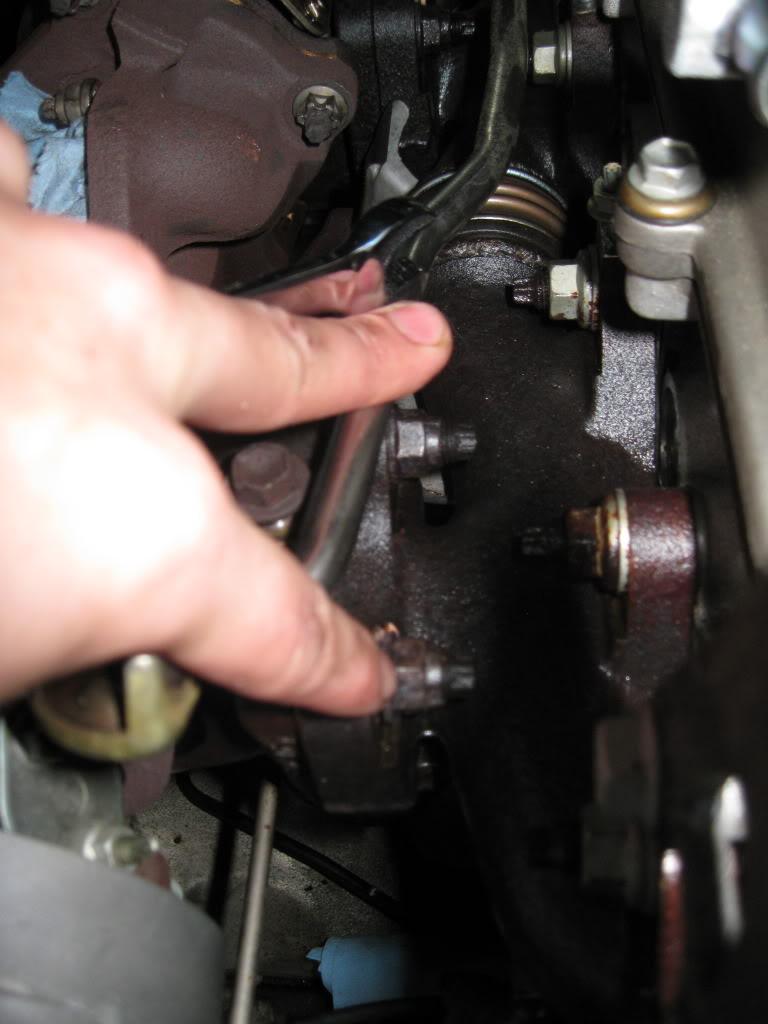
The next part is arguably the hardest part of this whole removal. It involves the removal of the x3 14mm nuts from the exhaust gas control valve. Two of these nuts are easy to get too. The third, commonly referred to as the 'bitch bolt' is exactly that. It is a major pain, unless you know how to get it off with ease, which you all now will.
This is the most visible bolt, the next is up and to the left with easy access from the transmission well. The bitch bolt is up and to the right, I couldn't get a decent shot of it, but you can see it from the bottom.
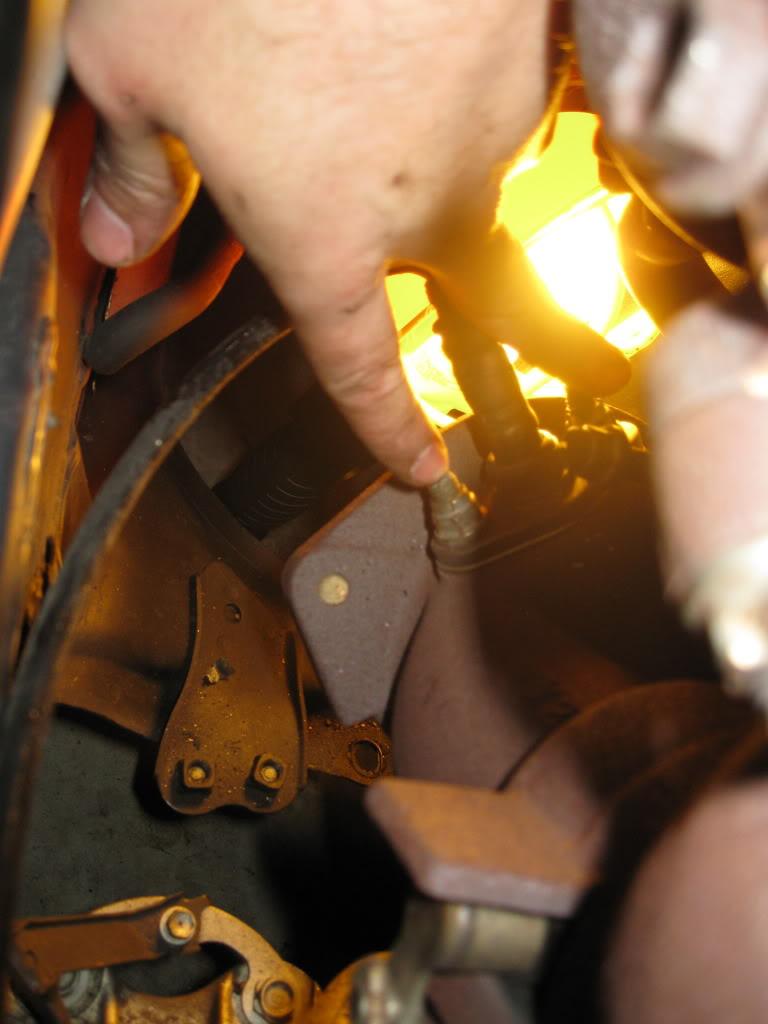
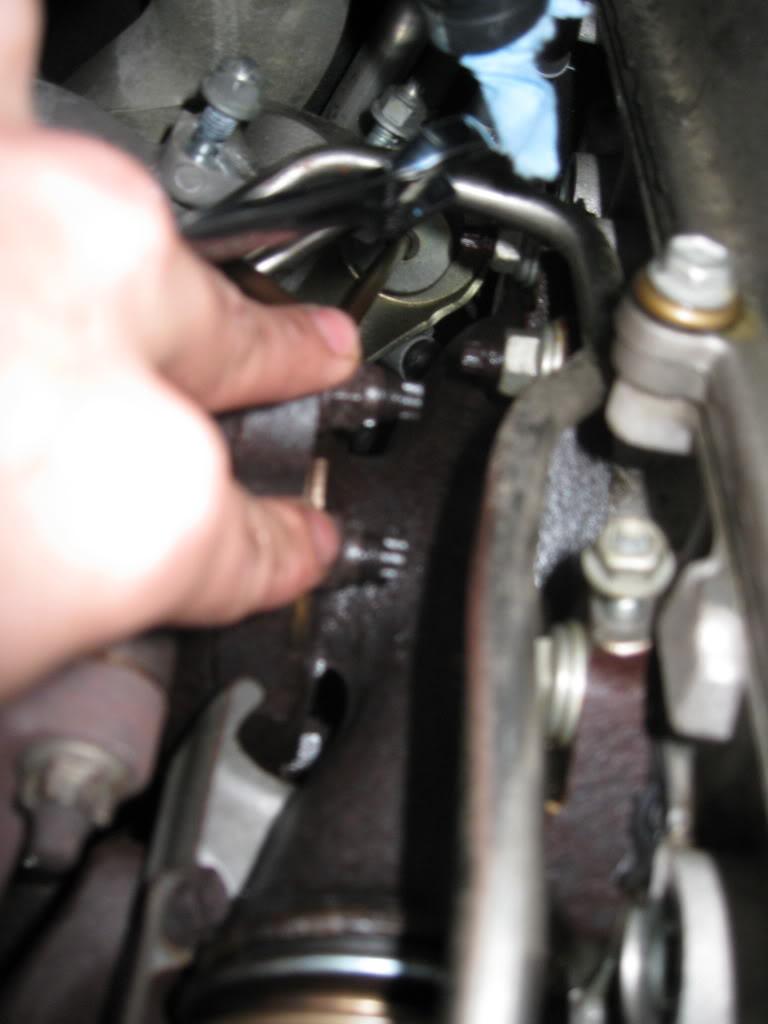
Once the first two are off you start on the bitch bolt. You will need:
1.)14mm stubby box end wrench
2.)Pipe used for leverage.
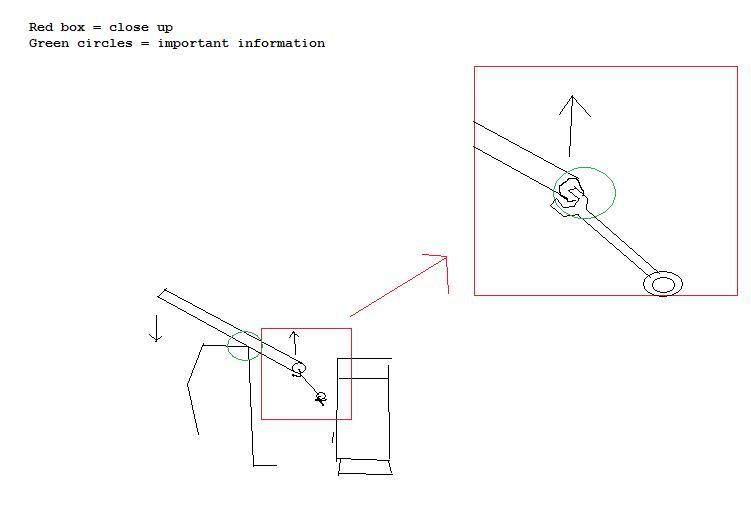
NOTE: Many thanks to AGM for the solution to this, your the fucking man.
Affix the stubby box end to the bitch bolt. Next using the strut tower area as a fulcrum slide the pipe onto one of the teeth of the open ended side of the wrench. NOTE: Disconnect the wiring connection, it was kinda in the way and I was worried it might snap. Covering the strut area with a towel or whatever pull down on the pipe towards the ground. This will cause the wrench affixed to the bolt to move the proper direction. The bitch bolt came off in about 3 seconds with this method after about an hour messing with it from other angles and different forum suggestions. Do it this way, it will work and it will work easy.


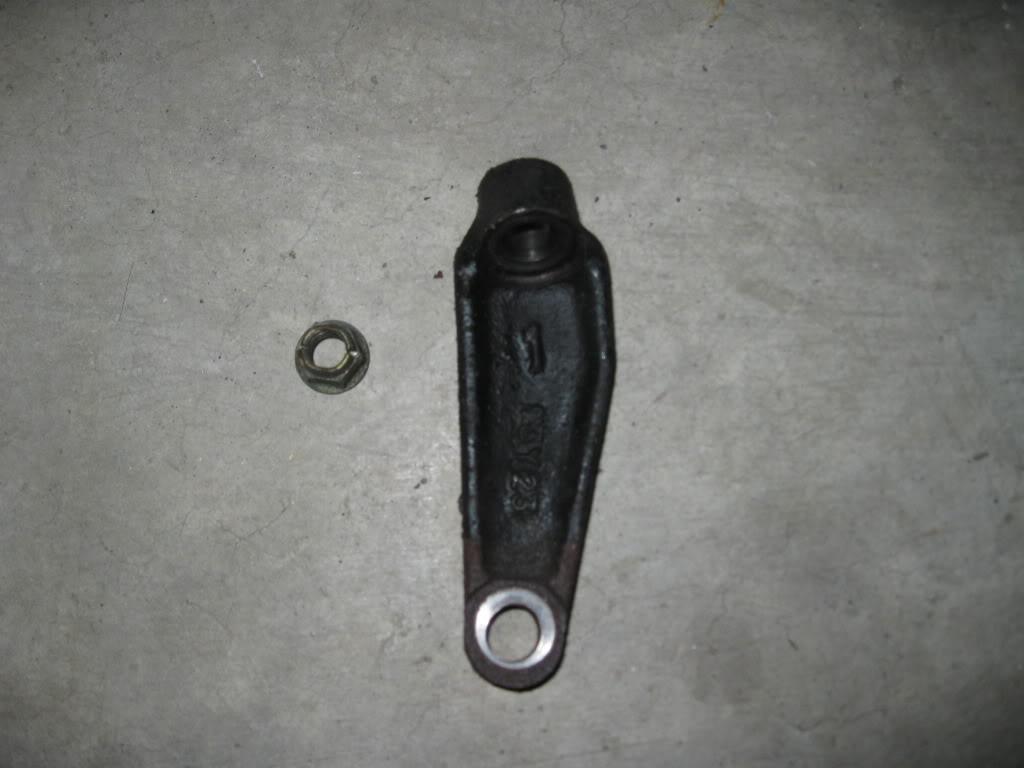
Epic drawing provided by AGM, copyrighted 2010.
The rest is easy, almost done!
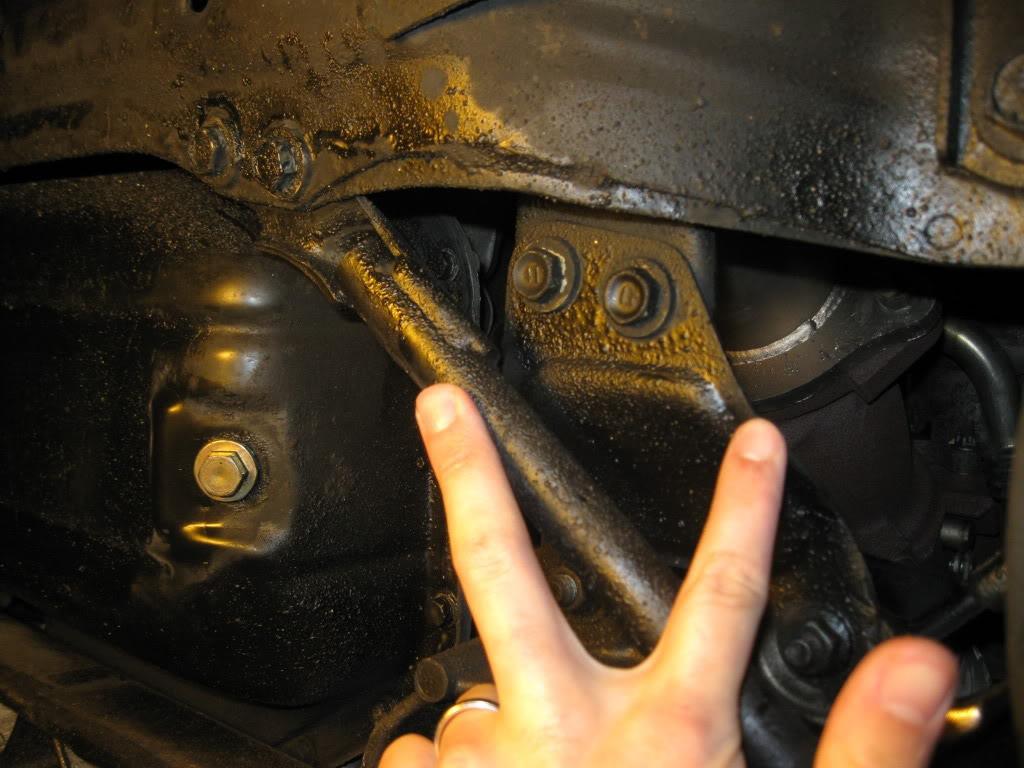
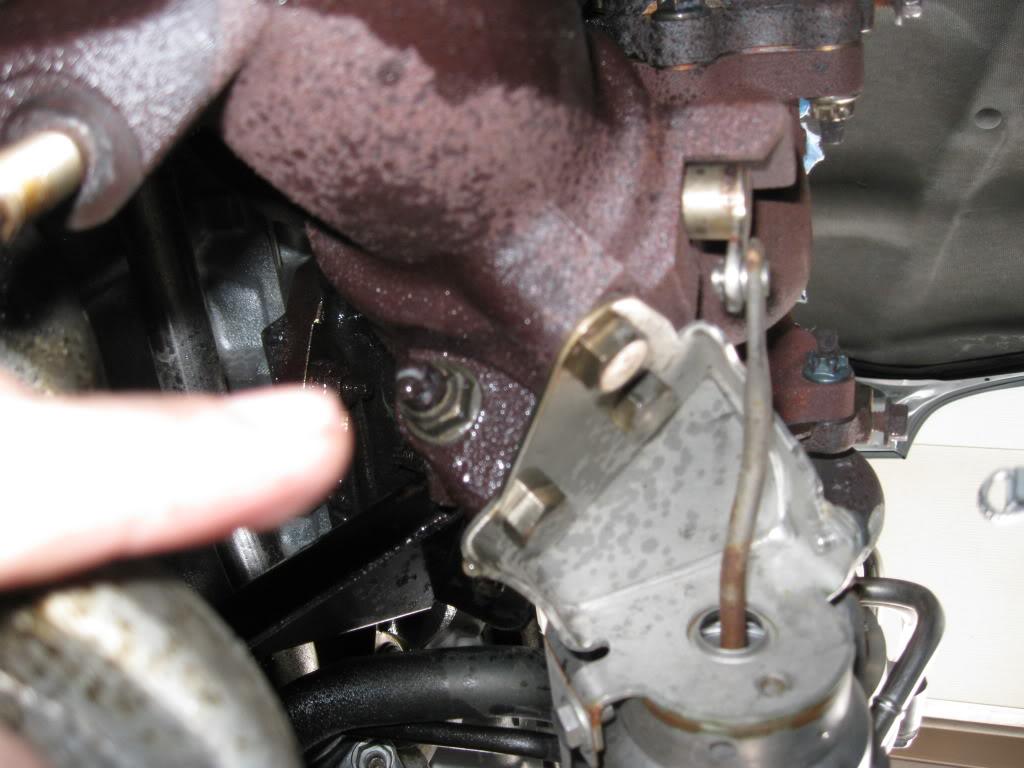
Remove the two turbocharger stays, one affixed to each turbo. X2 12mm bolts, x2 12mm nuts.
Next are the turbo oil pipes. Each is the same, running a feed and return to each turbo. They connect at the bottom of the block on the No. 1 Oil Pan. NOTE: I've removed the feed pipe from the oil pan. If you are just removing the twins you don't have to do this step. I did remove it now since it has to be removed for my single build. If you don't remove it, you disconnect the hose connected to the No. 2 oil pipe leading to the No. 2 turbo. Total of x4 12mm nuts, x2 19mm union bolts, x6 gaskets. Optional x2 12mm nuts, x1 gasket.

Remove the two hoses connecting to the No. 2 Water bypass pipe. Coolant is going to come out so watch your eyes, and have a catch can ready.
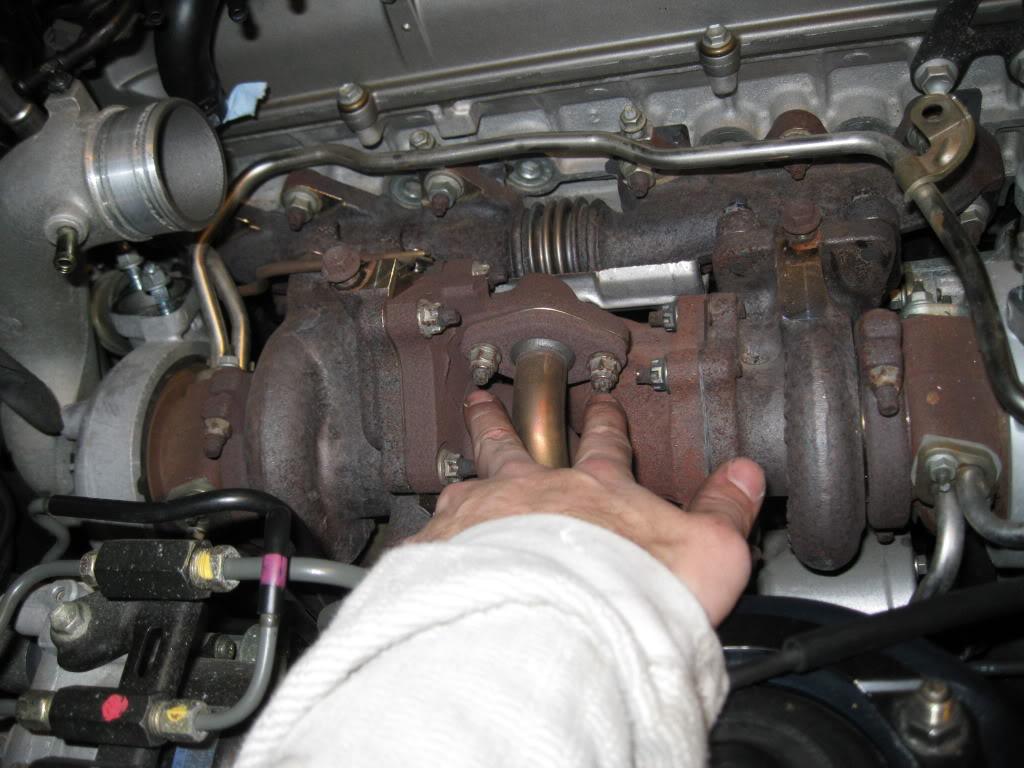
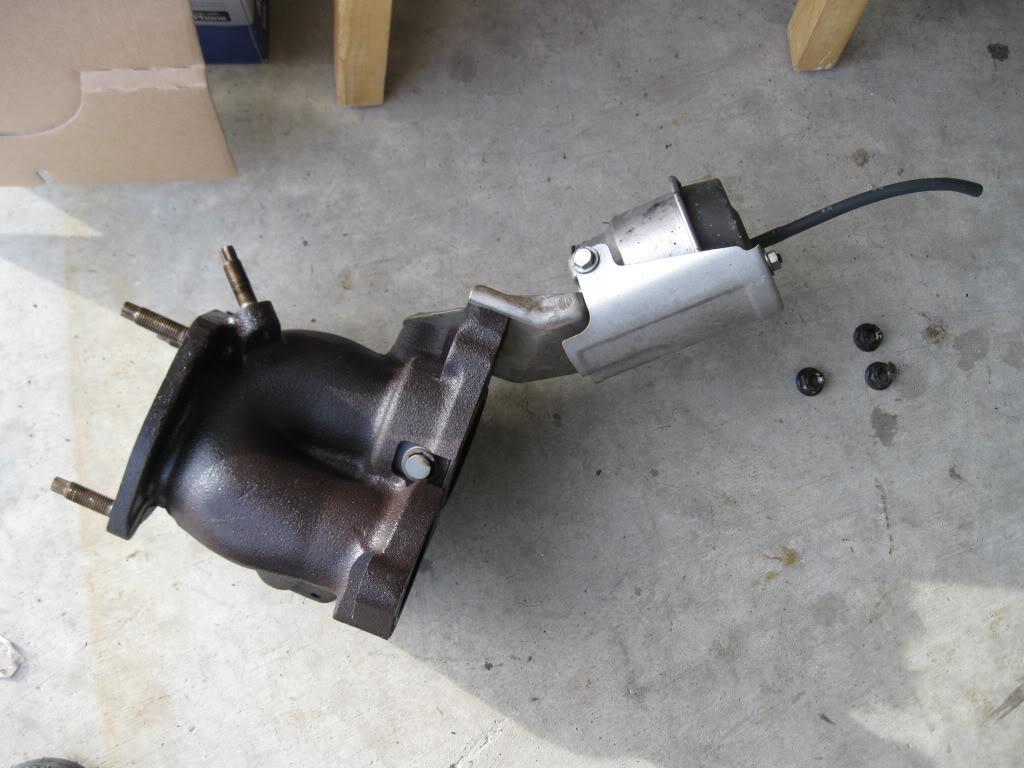
Now for the good part, removing the actual turbos. They are connected to the manifold with x4 14mm nuts per turbo, so 8 total. They are on there good, I had to use the pipe from the bitch bolt on one, using the sway bar as the fulcrum. The ones underneath for the second turbo can be got at through the transmission well. Remove x8 nuts, x2 gaskets.
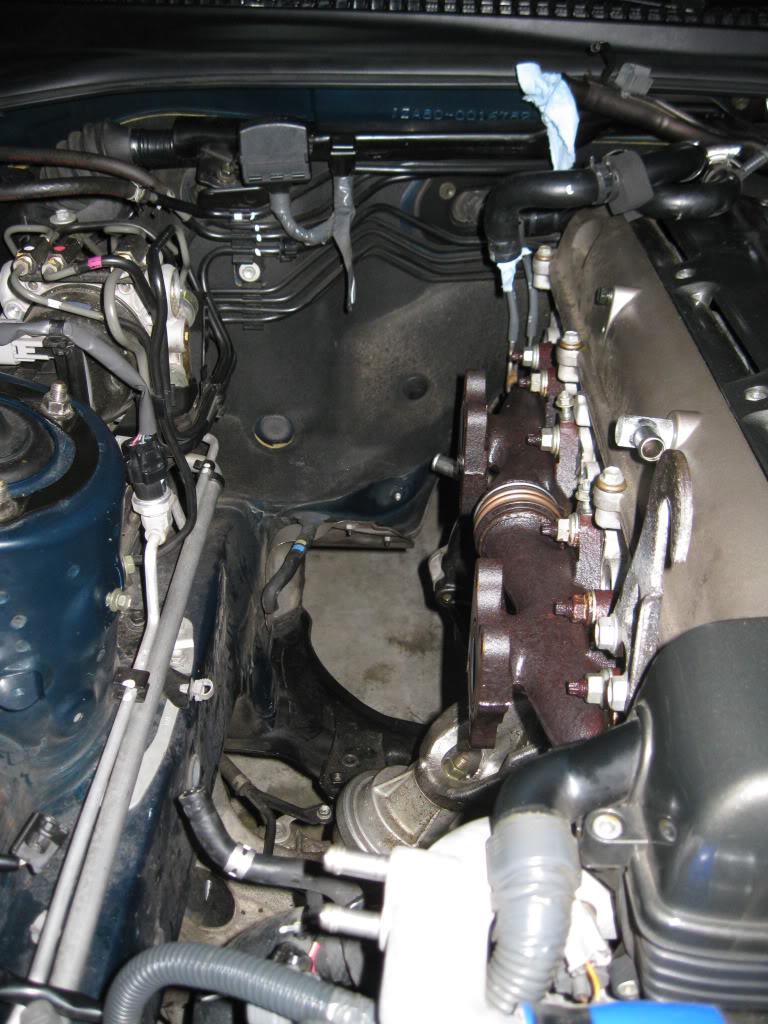
With those gone here is what you are left with! Great job, look at all that space!

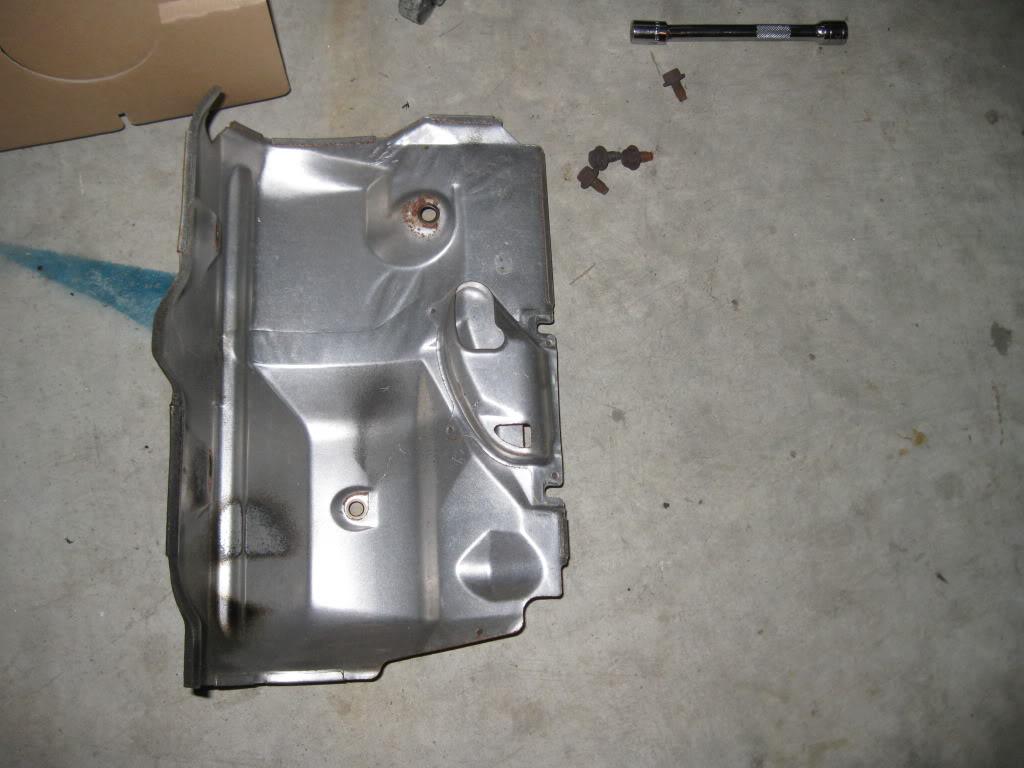
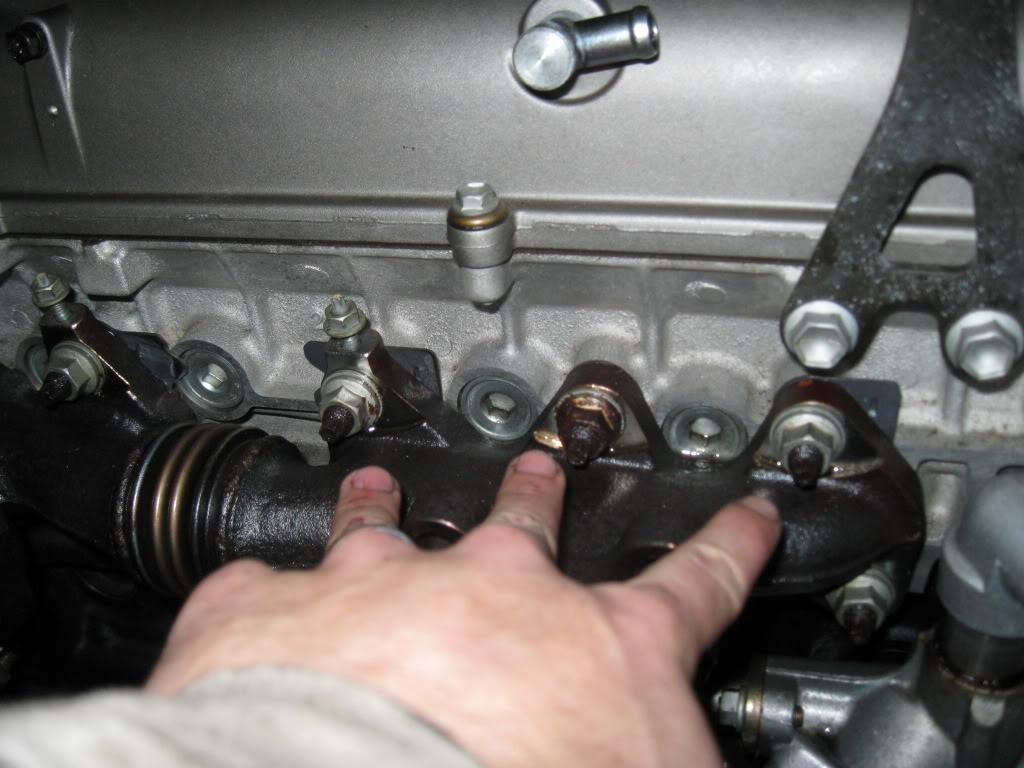
The last thing left is the stock manifold, which removes with x12 14mm nuts. Only needed to be removed if you are going single or want to change your exhaust manifold gasket etc.
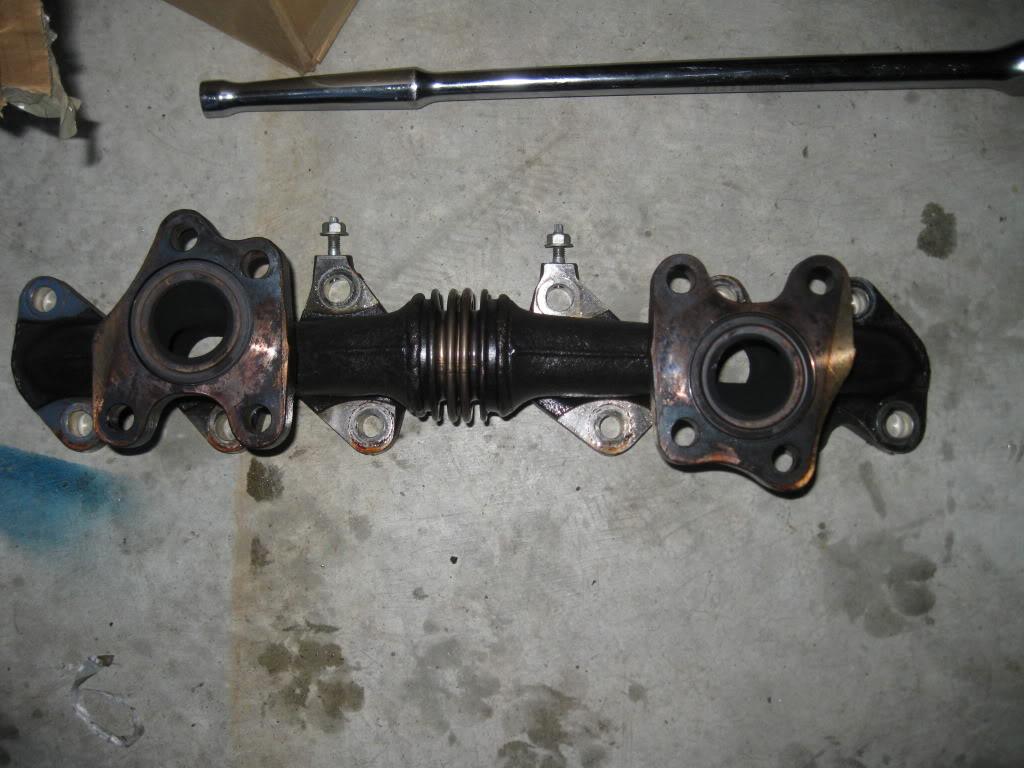
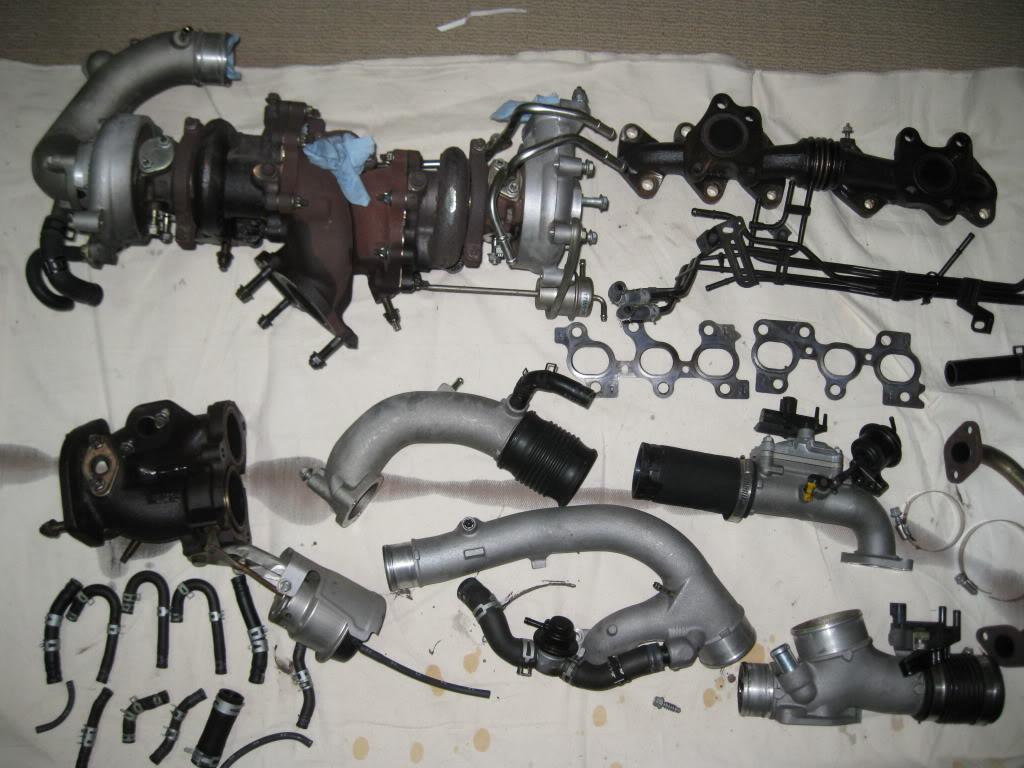
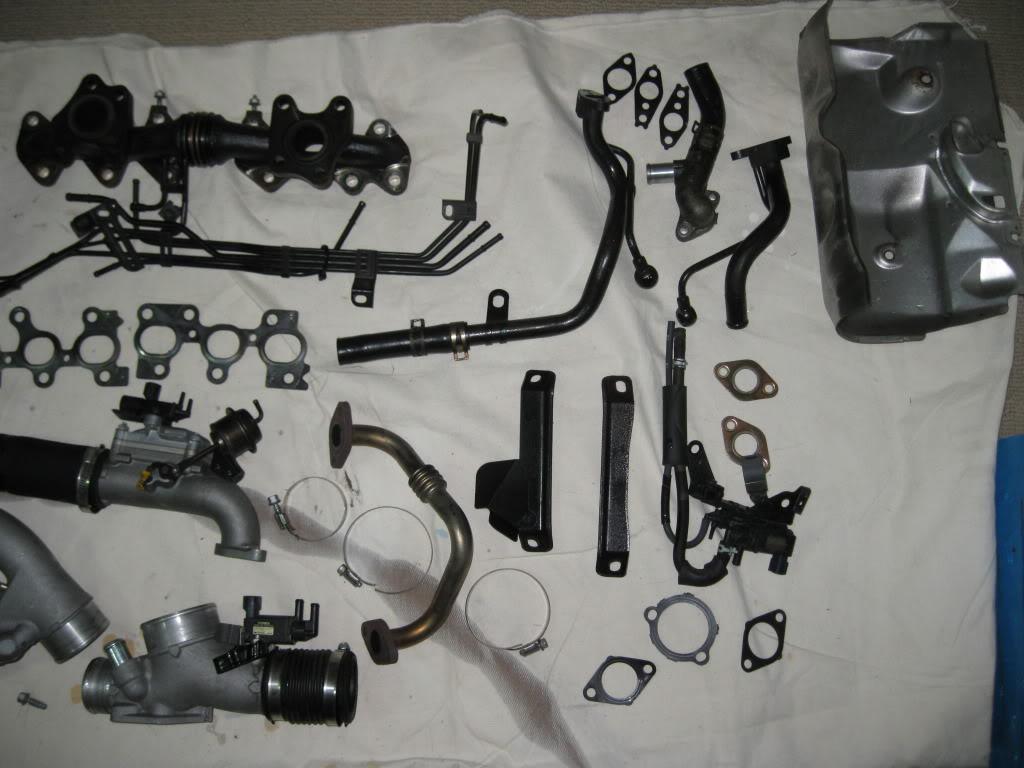
This is everything taken off. I can't believe that much shit fit into that space.
That's the whole thing. Remember to cover, or replug the oil holes, exhaust ports, water lines etc.
Hope this helps the next guy. In the end, not so bad....