You must be logged in to rate content!
7 minute(s) of a 29 minute read
12-11-2010
1966 Type 1
Compliments of dustinwark @ www.vwvortex.com
12/11/10
Hello Air-cooled forum!
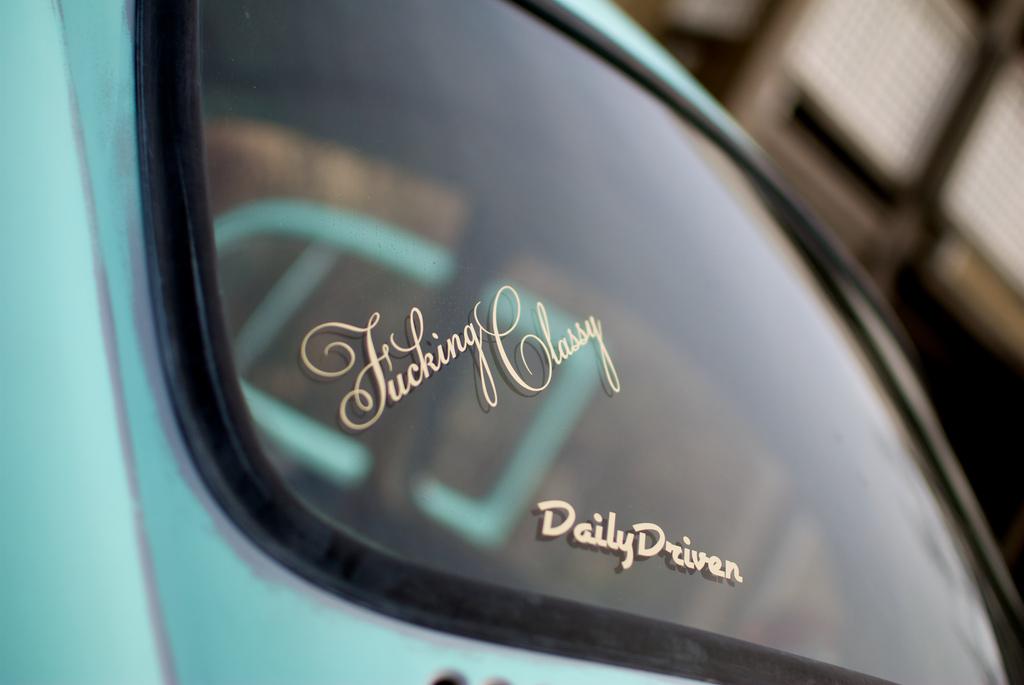
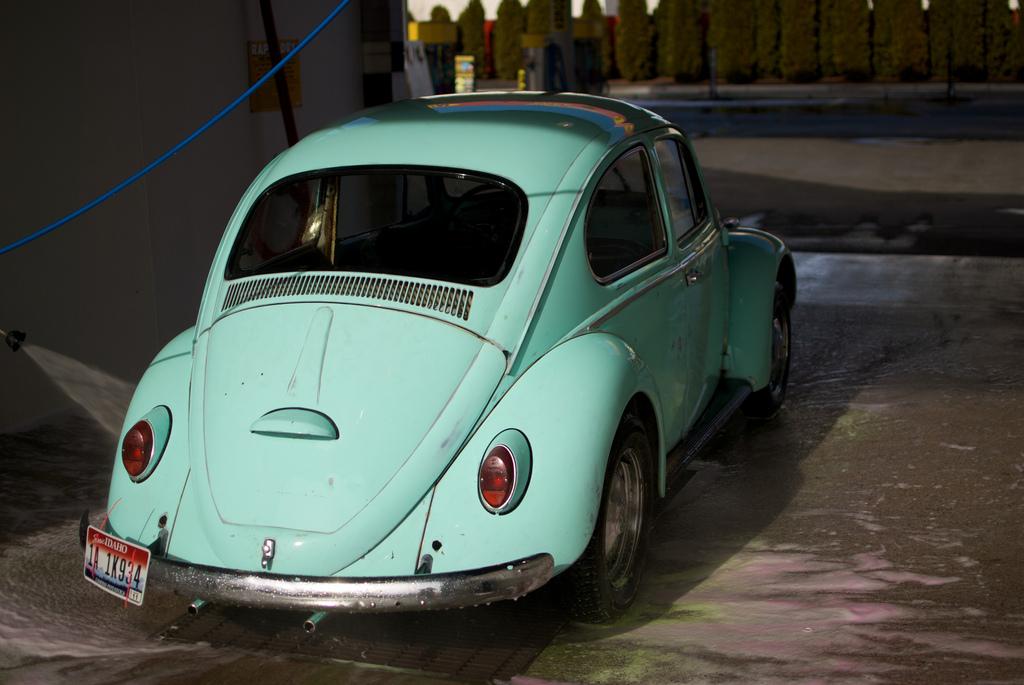
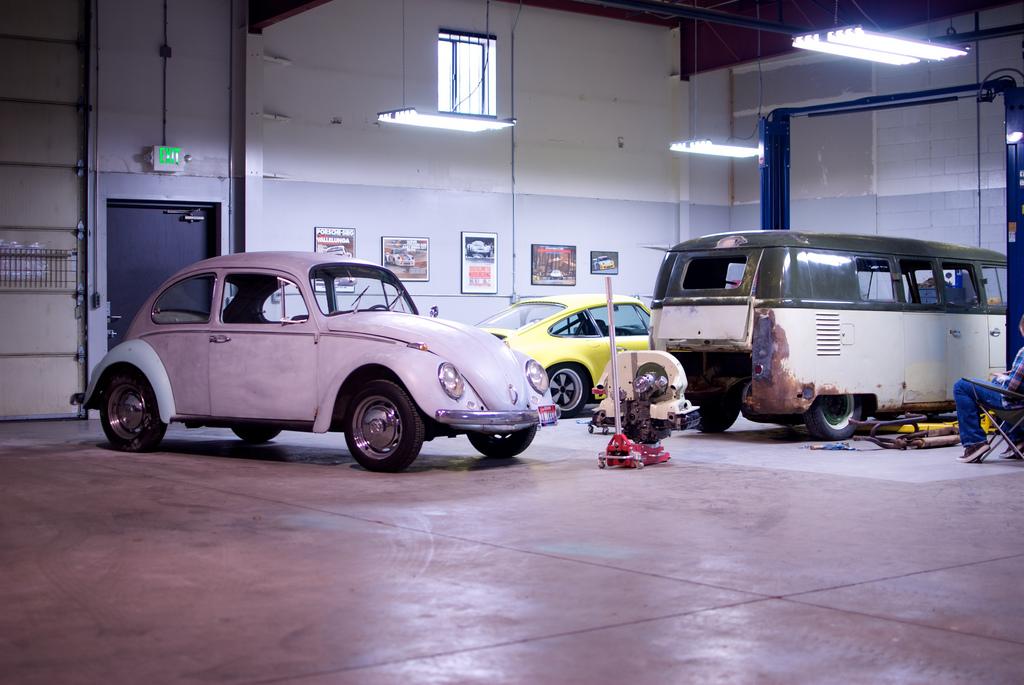
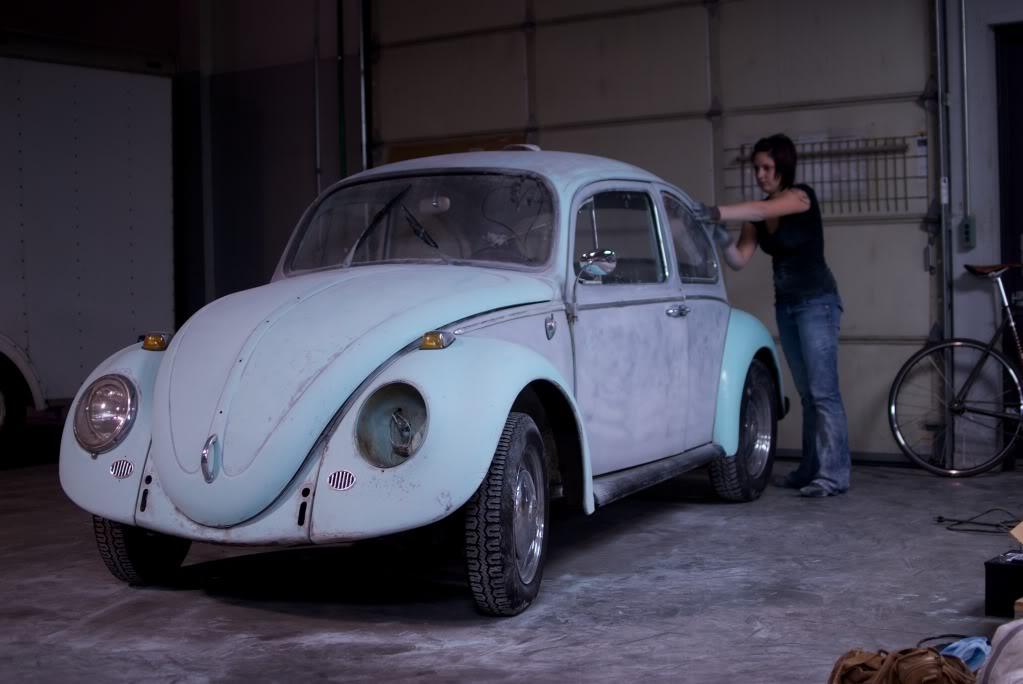
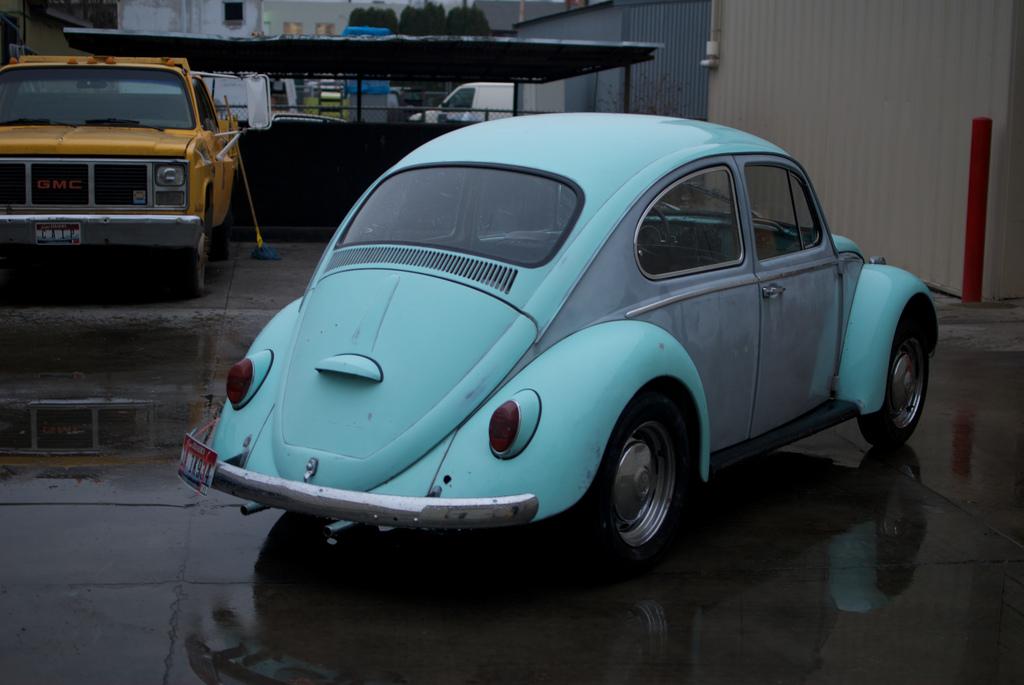
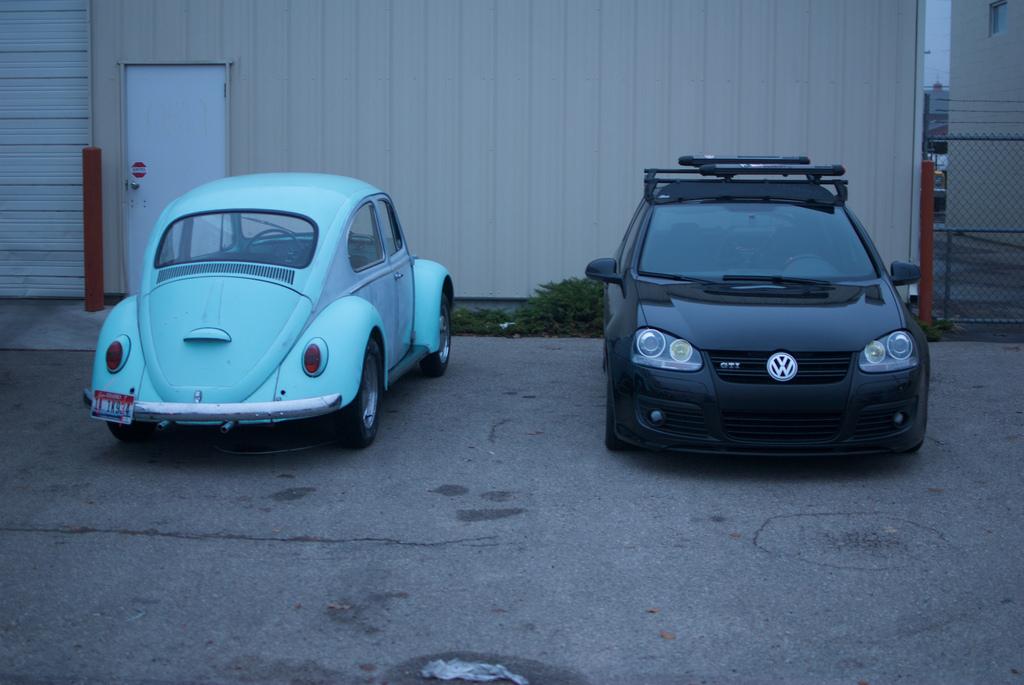
I picked up this '66 about a month ago for my Fiancee as a DD. By "I" I mean she paid for it, but I helped her find a good one. It runs okay, more on that later, and is in pretty damn good shape. The plan for this winter is to get the inside insulated/finished. get the primer off the outside, and lower it a touch until spring when it will be slammed.
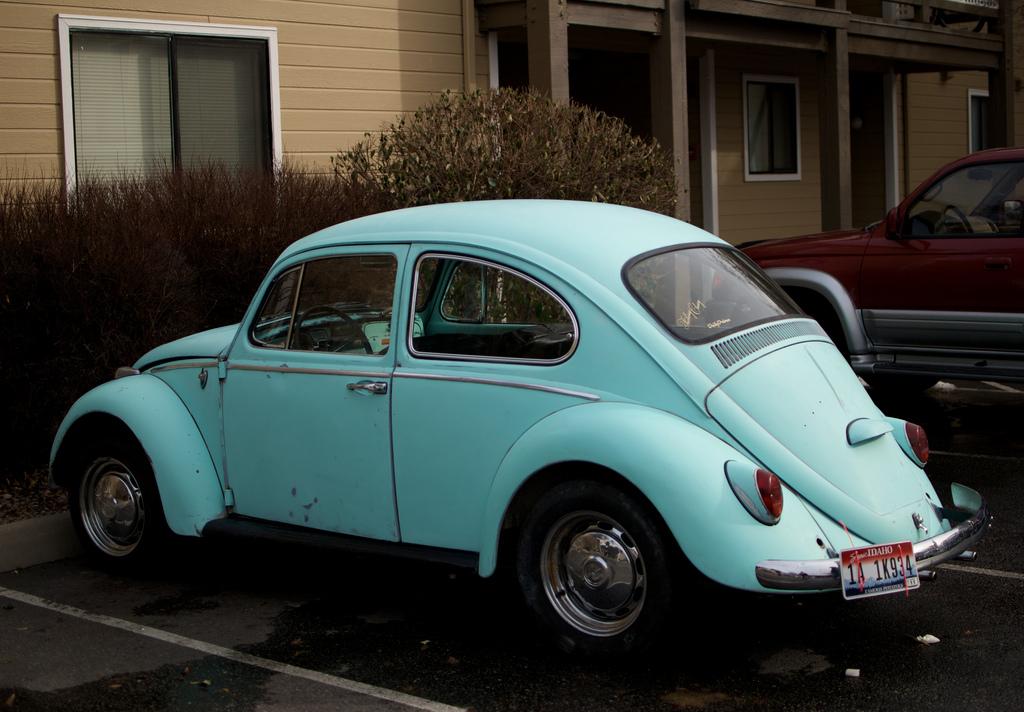
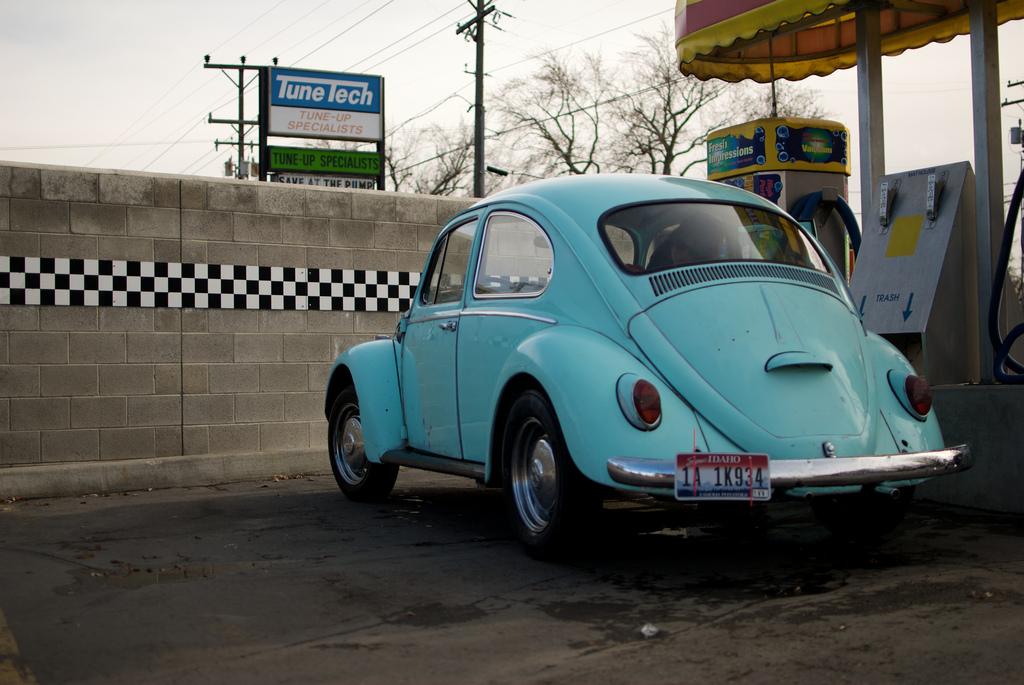
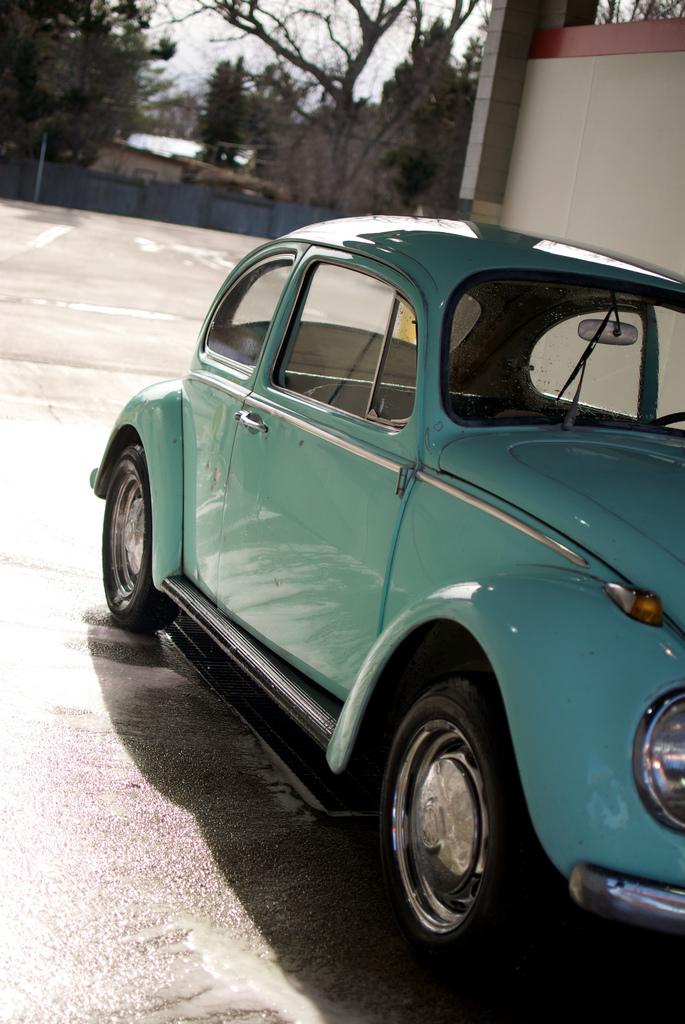
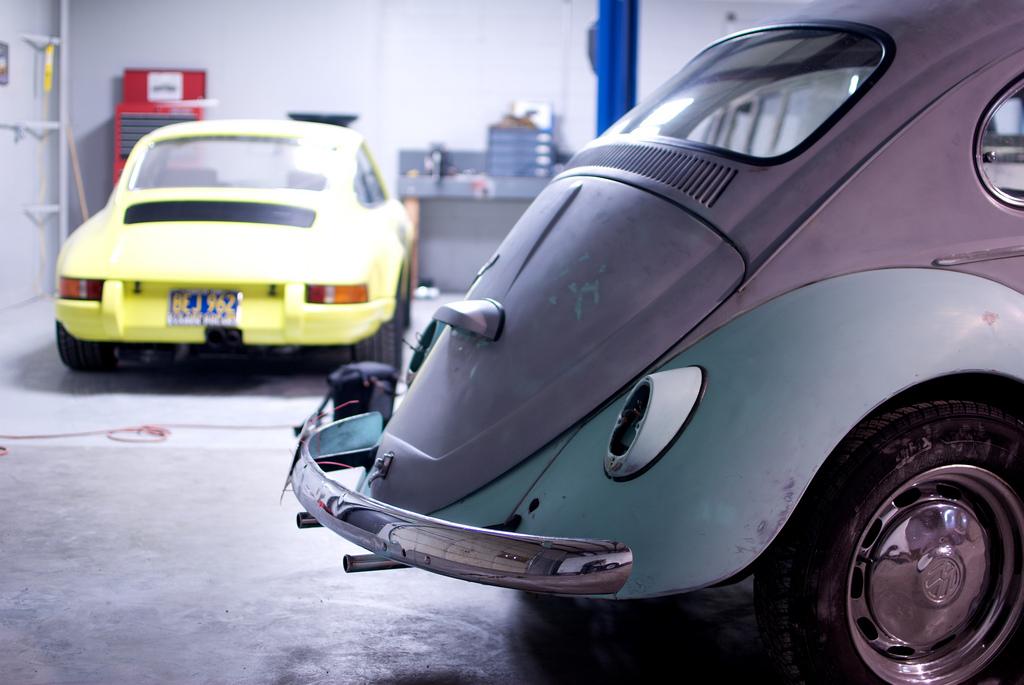
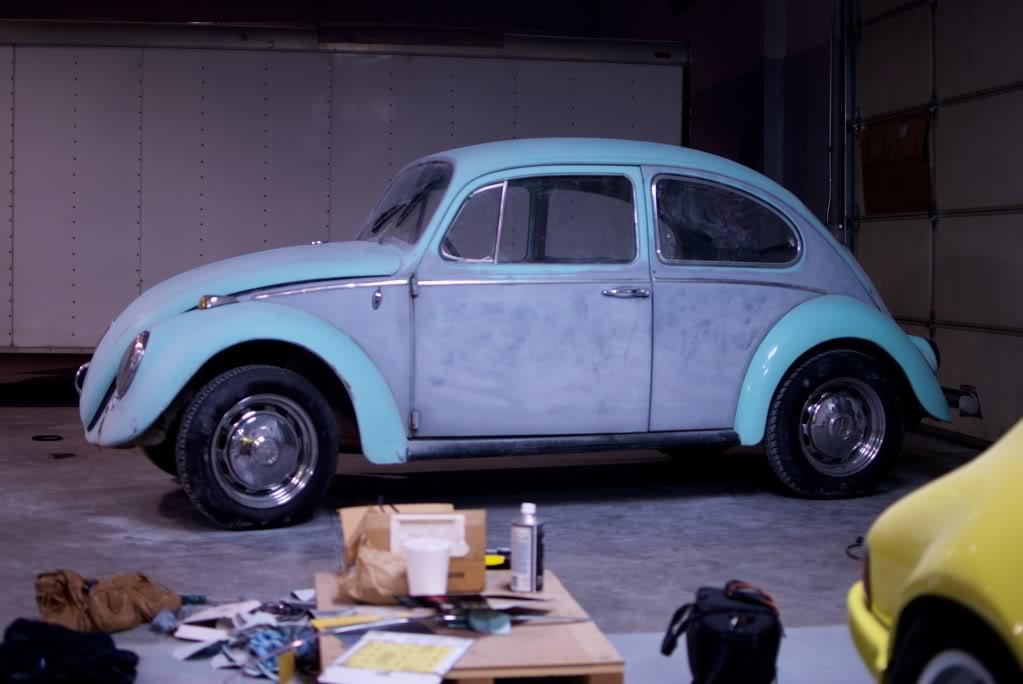
Here are a few pictures of how we got it.
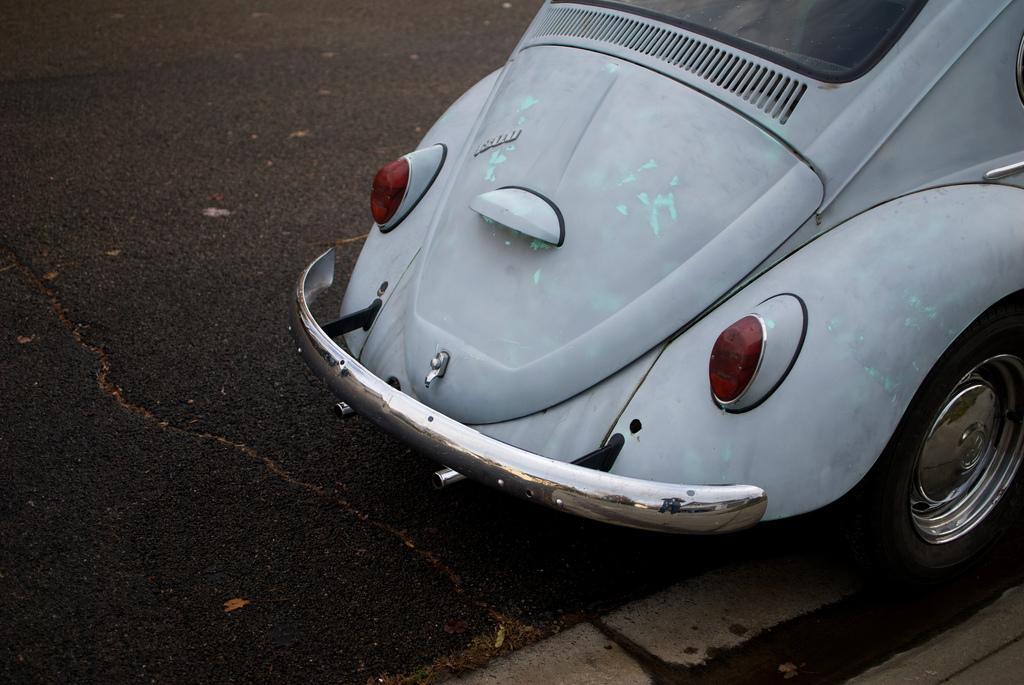
I will post more pictures later today. I spent about 5 hours last night sanding and got the primer off the rear fenders and apron. The paint is in great condition in most parts and I think will look great with a nice buff.
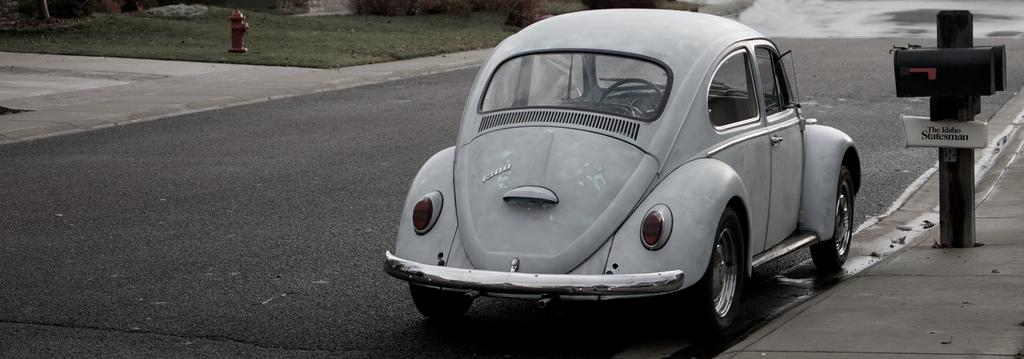
Well here are the pictures after the first night of sanding.
12/12/10
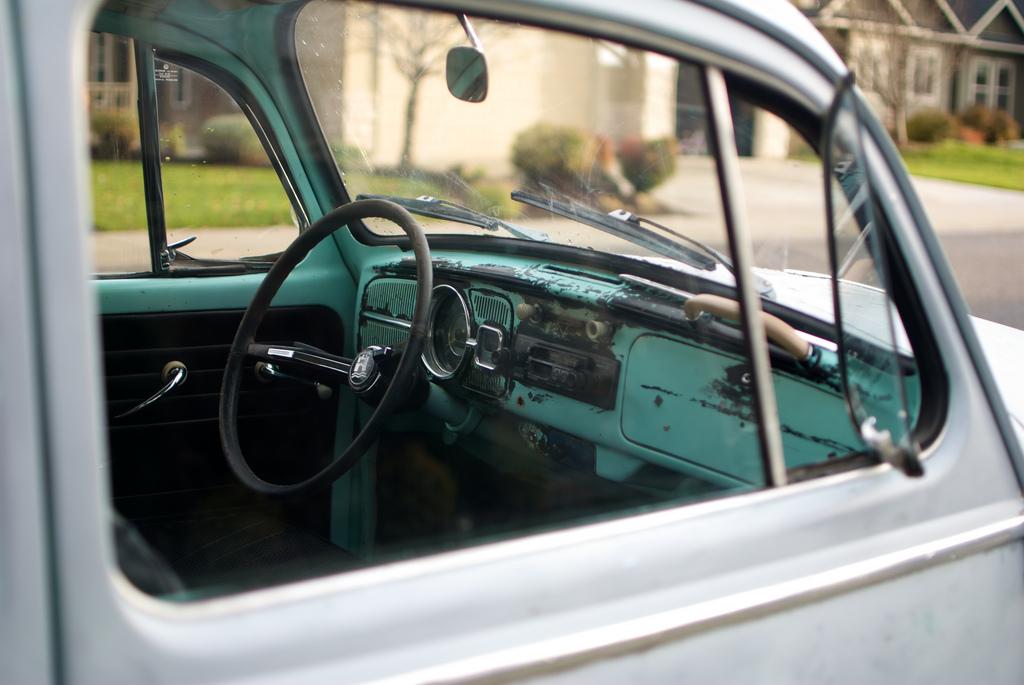
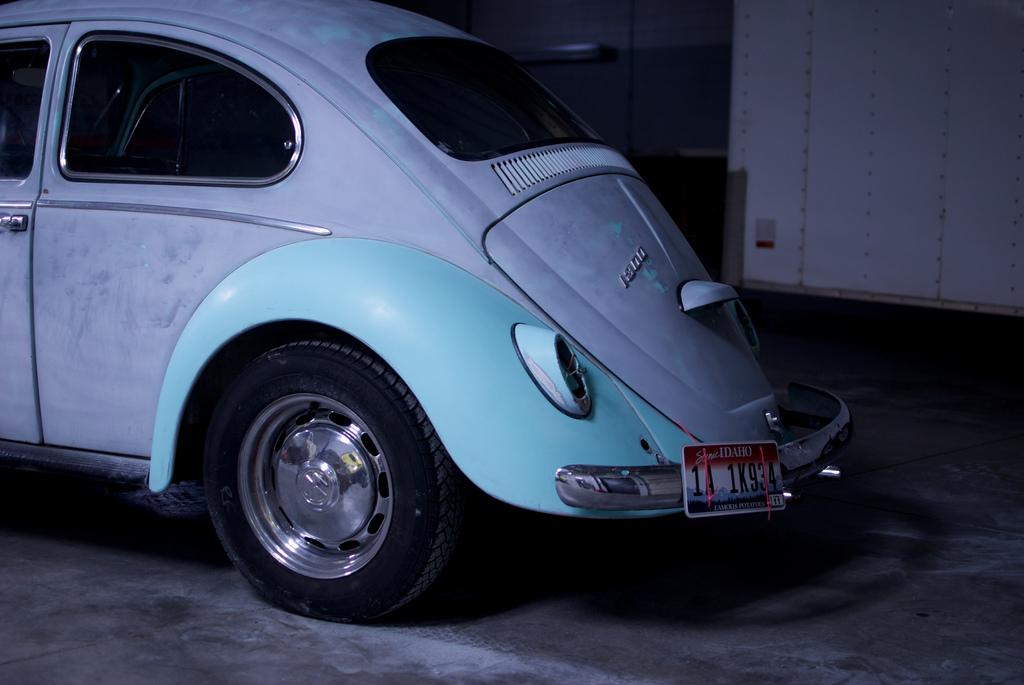
Spent another good 5-6 hours yesterday sanding and made really good progress. I actually had some help so we were able to get more work done. The rear fender was sanded with 1000 grit (as opposed to the 400 the rest was) and then buffed with an orbital just to test to see how the paint will look. I am going to try and wrap things up today. Here are pictures from last night:
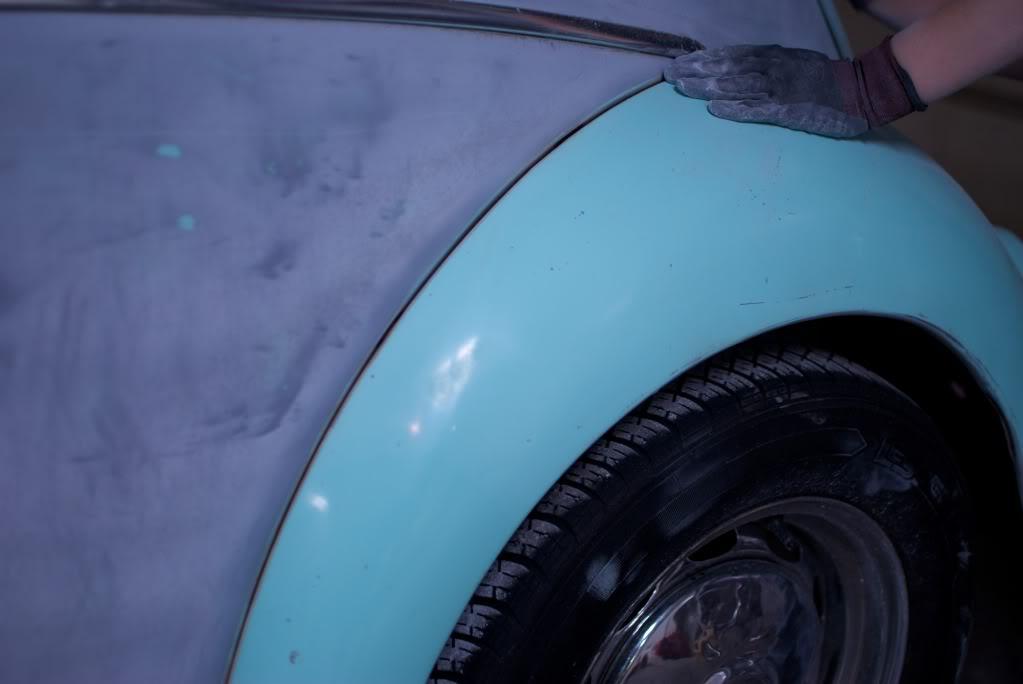
The front/rear fenders, front/rear apron, front/rear hood are all 100% sanded and ready for a buff. The roof is 97% done and the sides/doors still need some work, but we have reached a good point where driving around won't look too funny.

1/8/11
Well David and I got a BUNCH of little things fixed on the car and Daisy is getting more excited about it! The list of things now fixed:
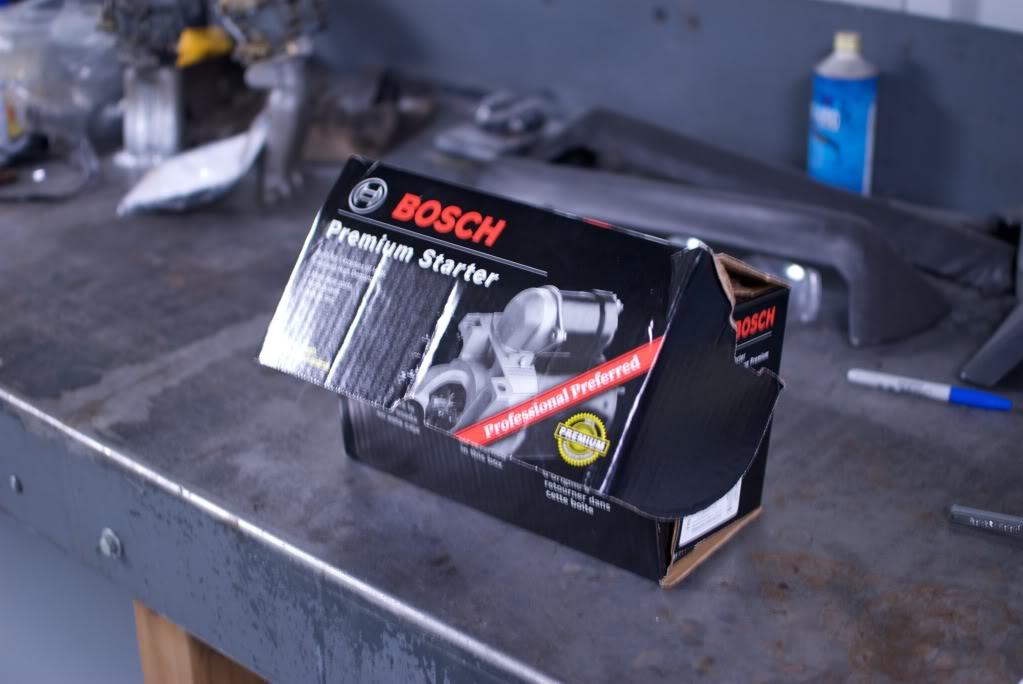
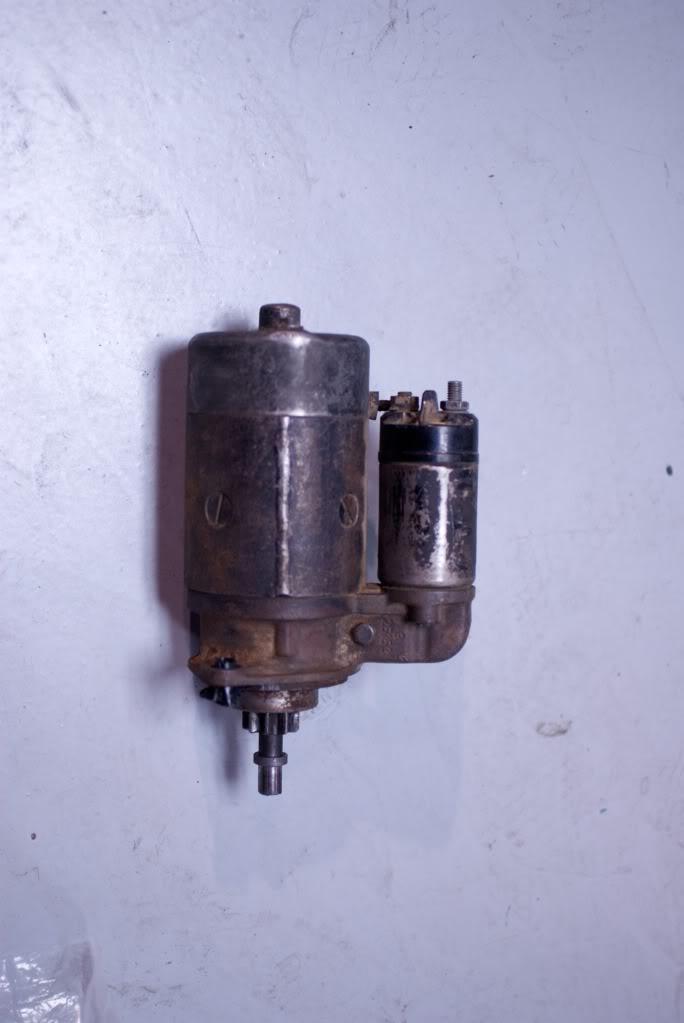
-working starter (bought a brand new Bosch 12v starter, turns our we needed a 6v which David had a spare)
-new speedometer cable
-new heater cables
-new brake switch
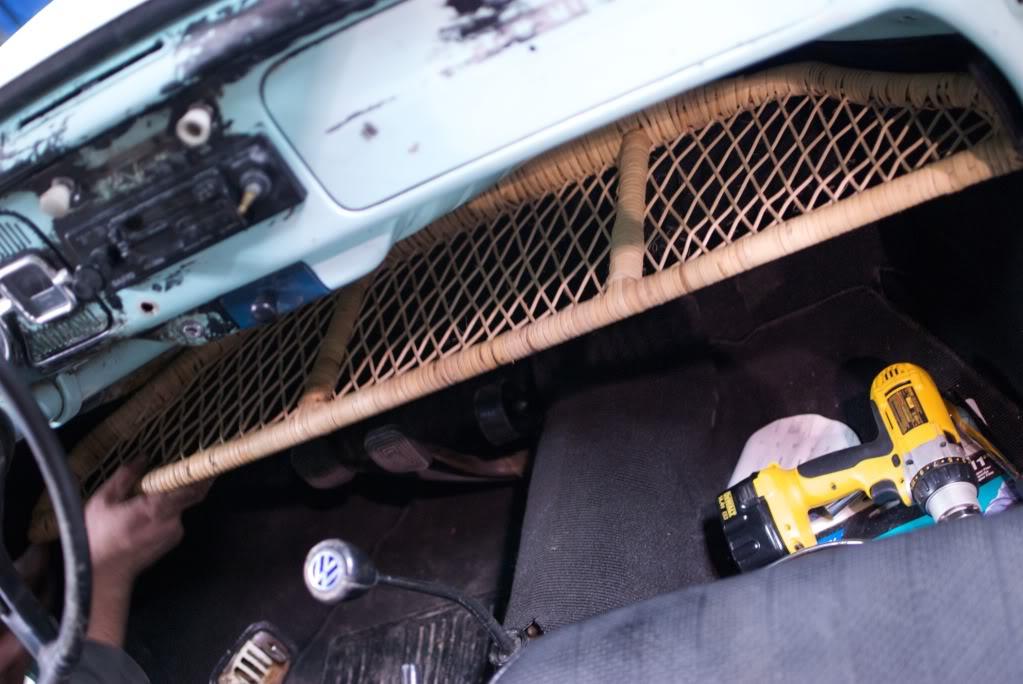
-new parcel tray installed
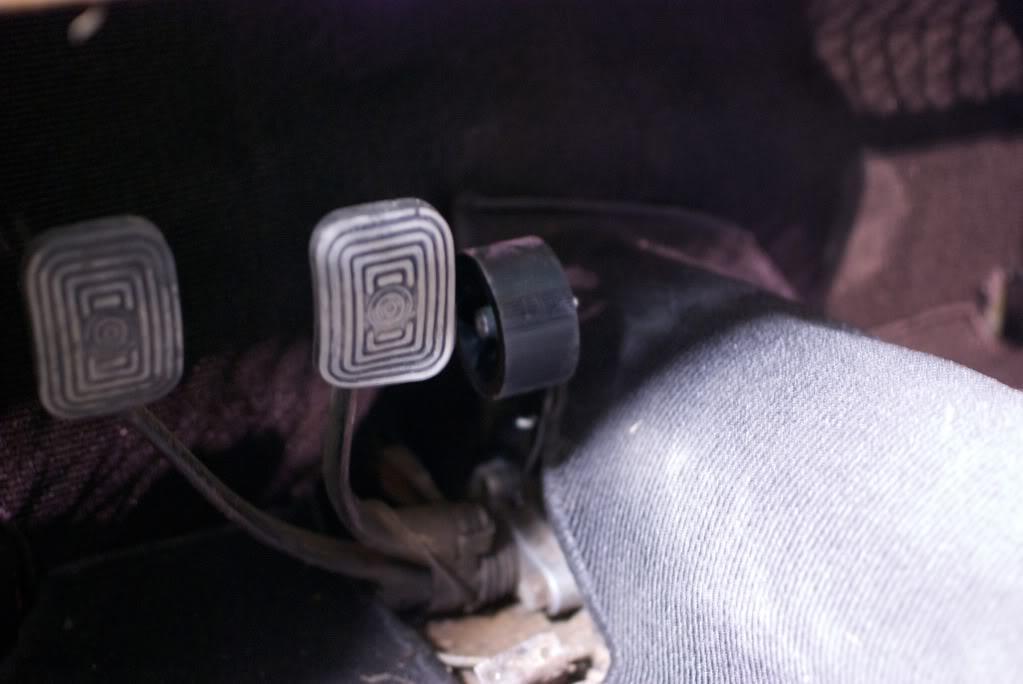
-new roller style accelerator pedal
-new throttle cable
-got all exterior lights (turn signals, running, tail, head, and brake) working.
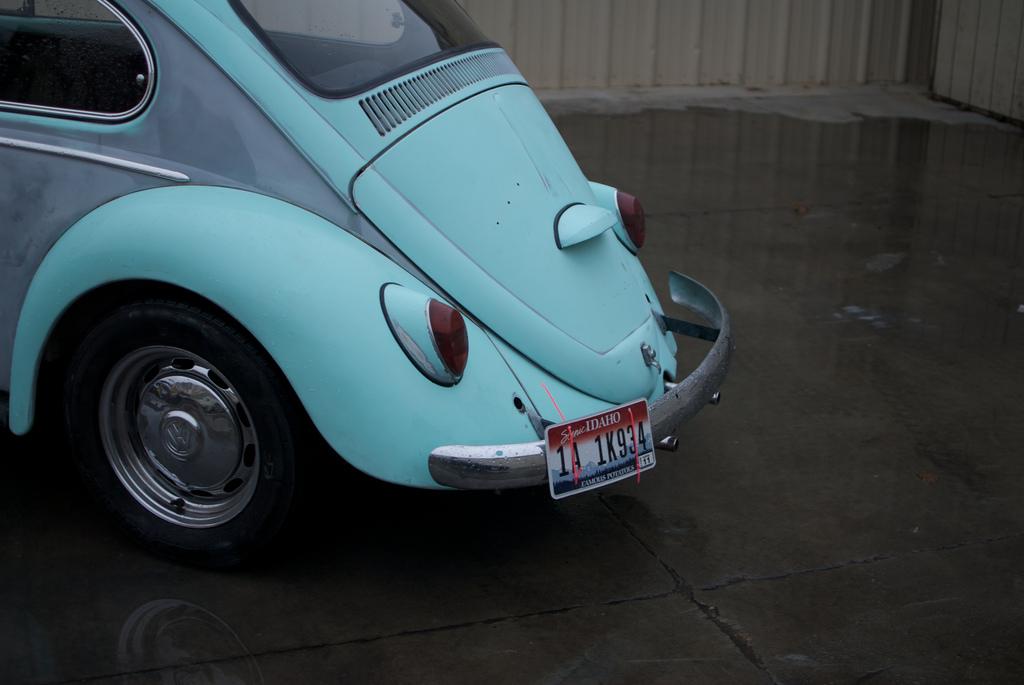
Some pictures I took during.
new starter that we ended up not using:
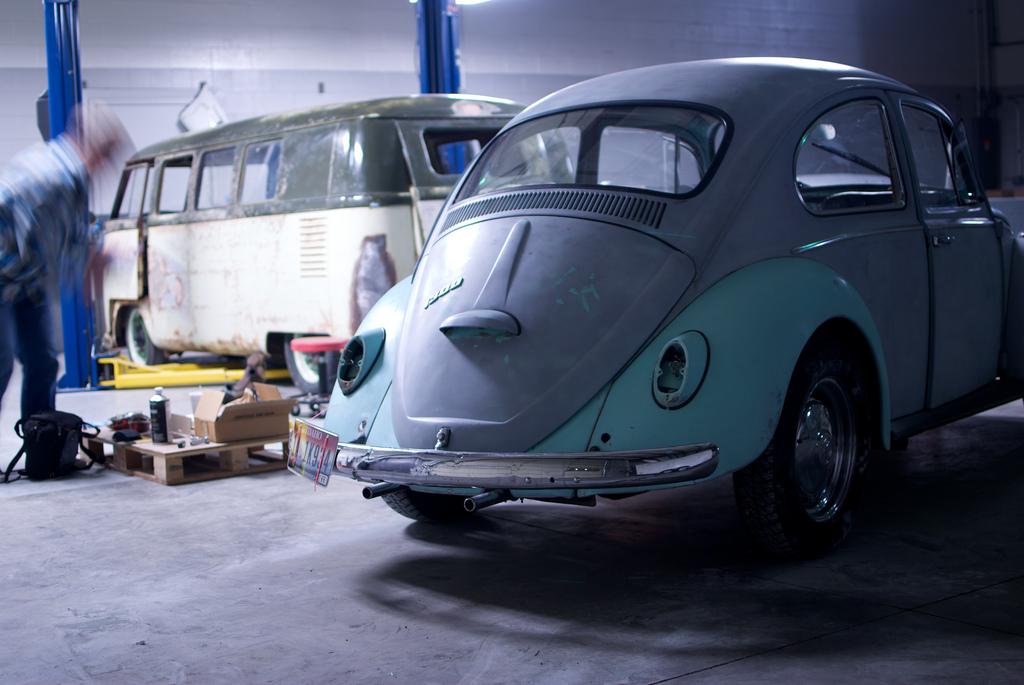
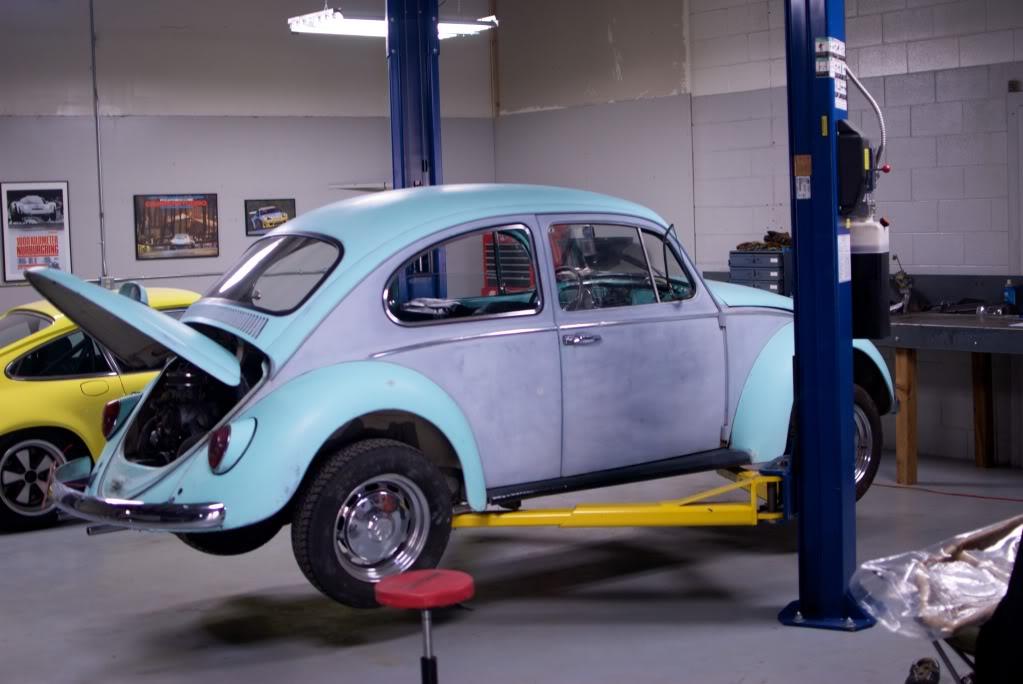
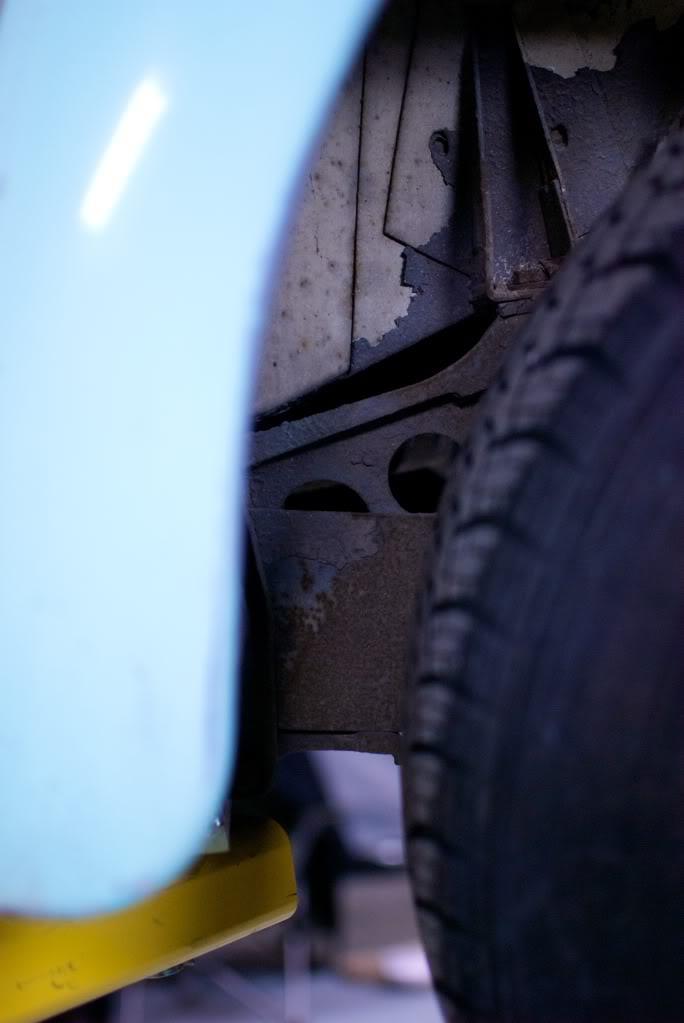
boo for stock ride height:
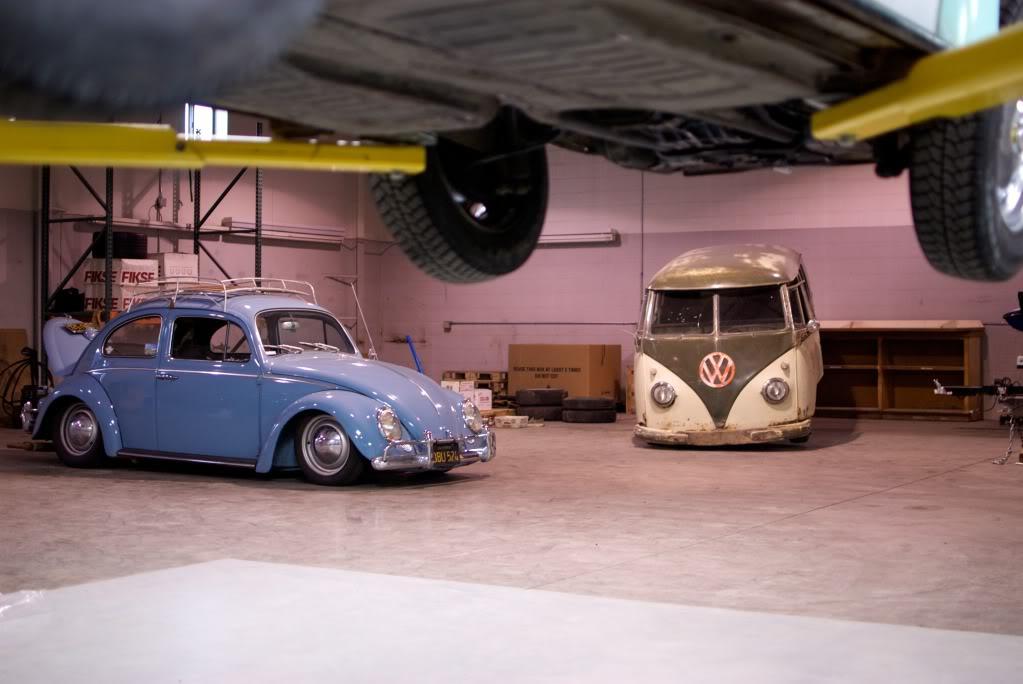
a good view in the shop, with something lurking:
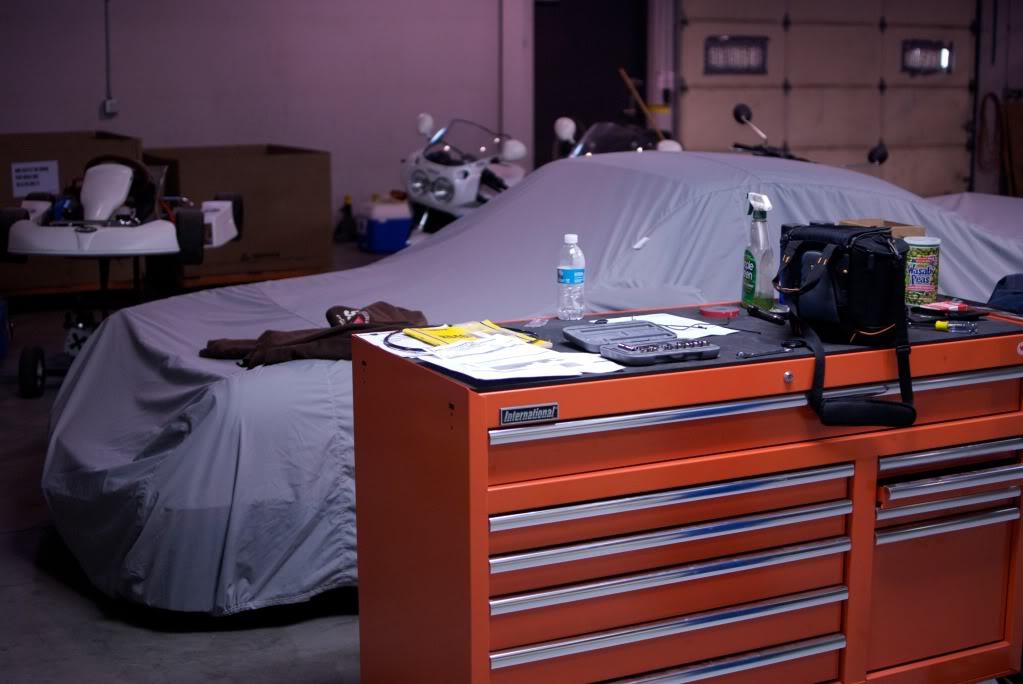
old starter, new roller pedal, and the parcel tray!
2/17/11
Okay it has been a long time since there has been an update and the entire time David and I had been trying to figure out what was determined to e a charging issue.
We:
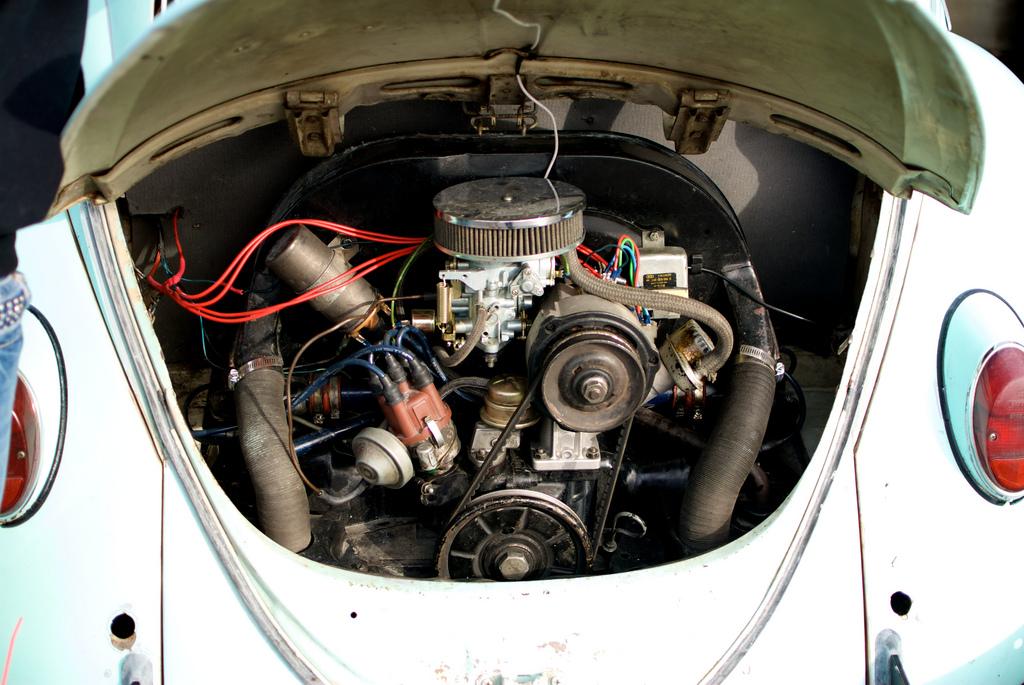
-torn the engine apart and replaced the old generator with a spare one David had (didn't have the right socket to remove the fan so the one form David's bus stayed.
-learned how to polarize a generator (thanks Jerry)
-replaced the heater boxes due to a nice exhaust leak in the cabin.
-relocated the fuel filter away from the engine bay
-rebuilt the carb (first for me)
-torn the engine down again to put an alternator in because the new generator was still not charging
-put the old fan on the alternator with the correct socket (thanks James)
-ran some new wires to the alternator as there was not steady voltage.
After all of that we tested the alternator and it was still not charging so before Daisy threw in the towel we dropped it off at RMF. They diagnosed the problem (the alternator we had put in was VERY old and did NOT have an internal regulator like every other alternator so simply adding the correct one fixed the charging issue), added a correct voltage regulator, fixed all the interior lighting which was broken due to a 6v headlight switch being blown.
So the car is running and charging how it is suppose to and Daisy is happy. Now that it is running right we can once again focus on making the car better looking.
Daisy and I spent a few hours the other night finishing off the sanding of the primer we had started earlier. It is all off now!