You must be logged in to rate content!
8 minute read
How to FINALLY fix the dribble/leak from the rear washer nozzle
Compliments of 71sbeetle @ www.vwvortex.com
So, after reading about the Mini Cooper valve for the rear window washer nozzle here, I decided to get one and install it. This install was done on a car that had NOT had the TSB done from VW, if your car already has had the mod done, it will be easier to do.
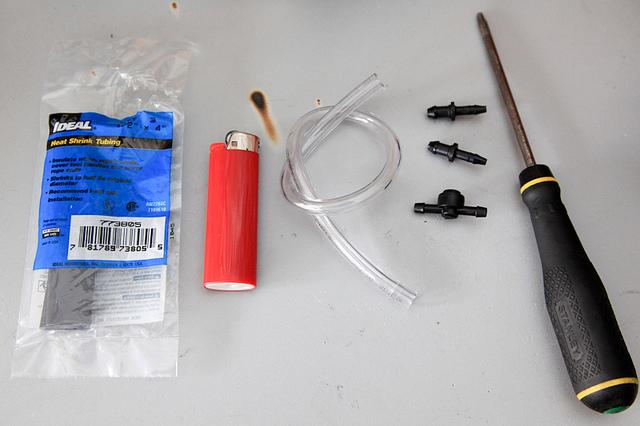
Here are some of the tools and parts you will need (not all of them are pictured):
* Torx 20 driver
* 1/2" - 12mm shrink wrap tubing (6" long if possible or two 4") (Got it from Home Depot, from VW dealer you would get one 000979992A)
* Heat source for shrink wrap tubing (I used a lighter)
* Good quality electrical tape (recommended)
* Scissors
* Razor blade (new preferably)
* Mini Cooper Valve (BMW part number 61-68-8-229-249)
* Two VW hose adapters (1J0955875R)
* 3/16" ID hose (bought from ACE hardware but VW sells them with a large mark up on the price, from the VW dealer get two of 443955665)
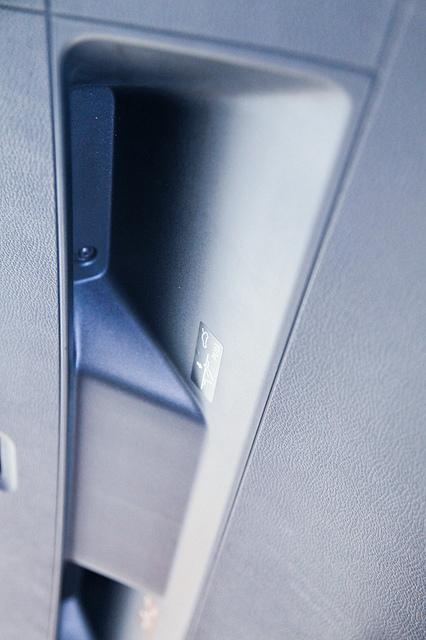
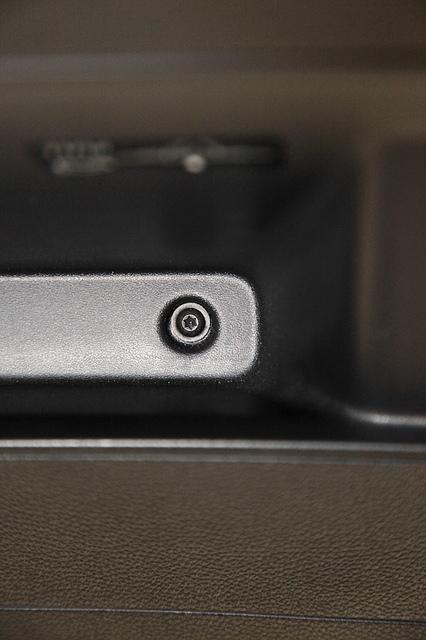
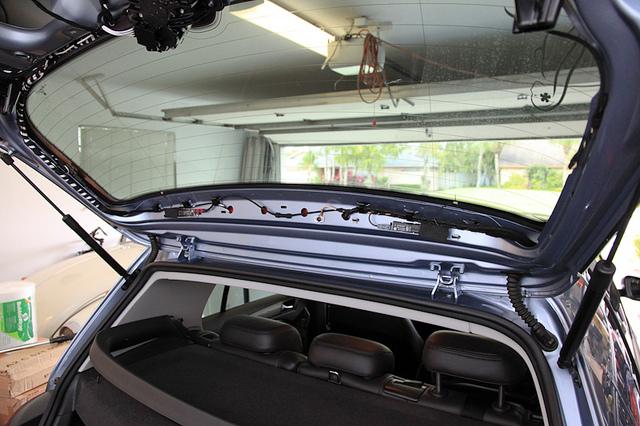
First, open your trunk and remove the two T20 Torx screws:
Remove the two tail light bulb covers:
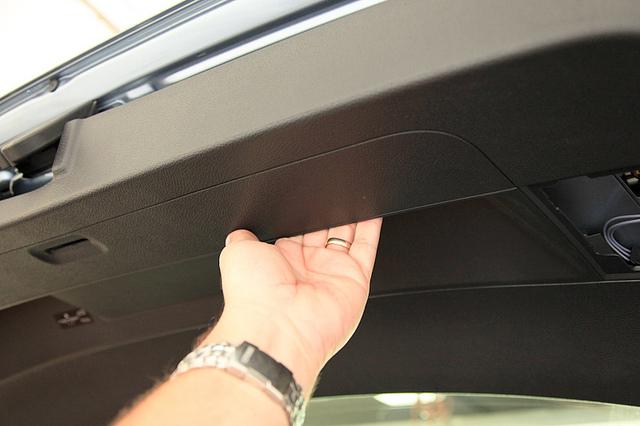
Then pull down the trim carefully, it will take some force though:
Lower trim removed:
The disconnect the parcel tray cable/attachment from the upper trim:
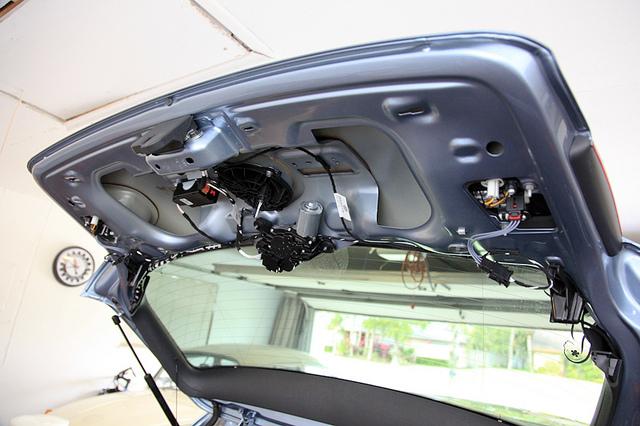
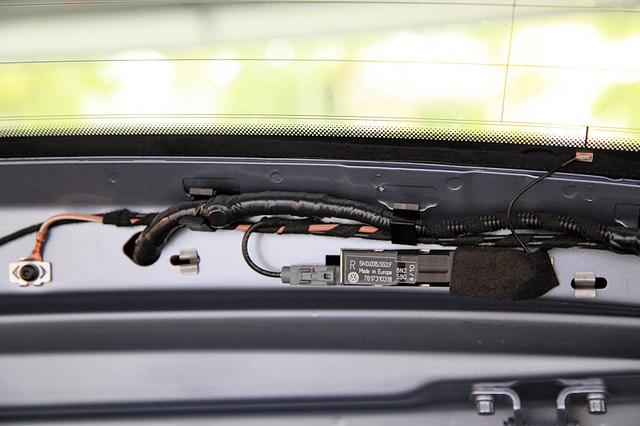
And remove the upper trim by pulling all around. It's tight, like the lower trim. Here it is with both trim pieces removed:
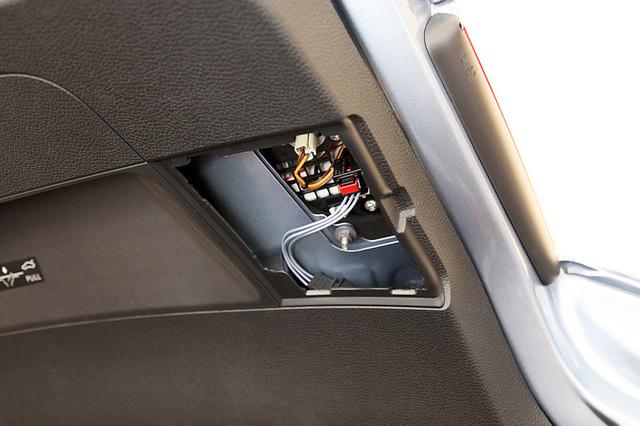
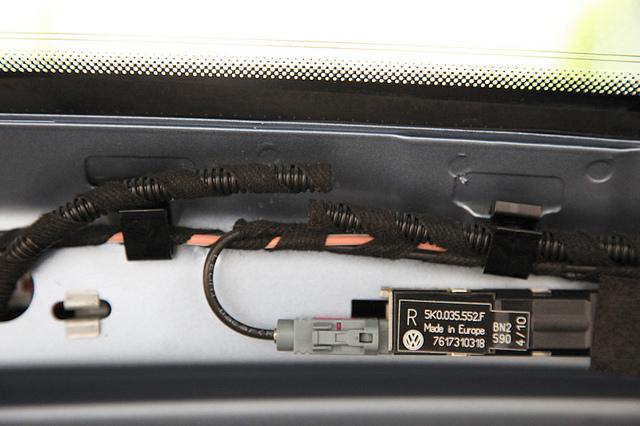
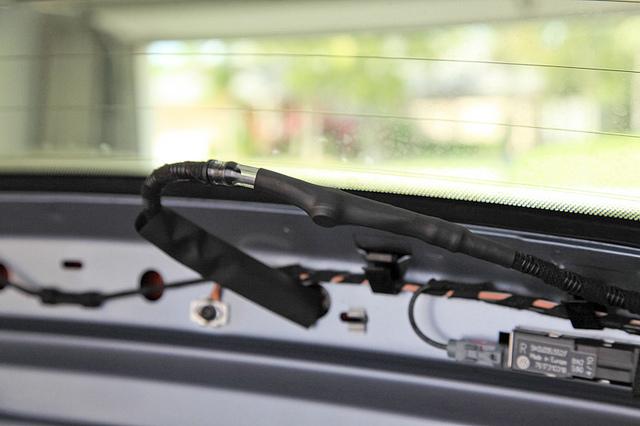
Here is the hose we are working with, the black corrugated one. Try working so that your valve will end up right in between the two clips. I didn't and I wish I did 
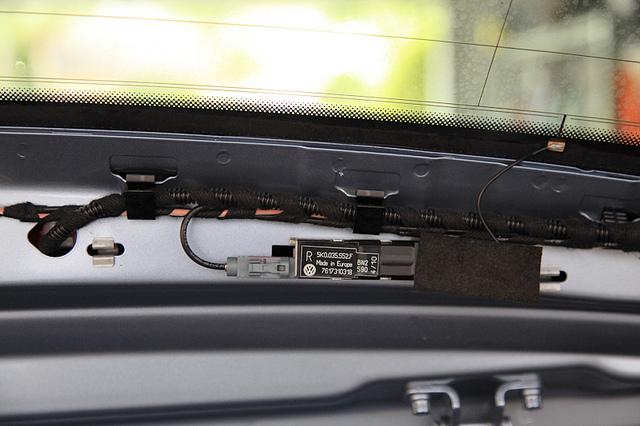
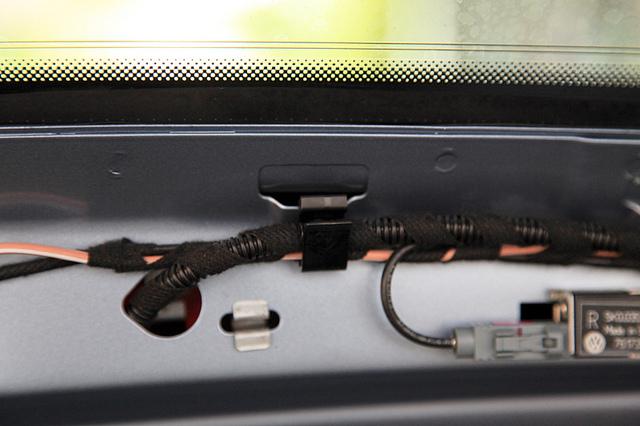
I had some slack on the hose, a lot more than shown in this picture, which helped with the install. On the other side though, not much slack and there is also the wire for the rear window defroster, be careful with that !
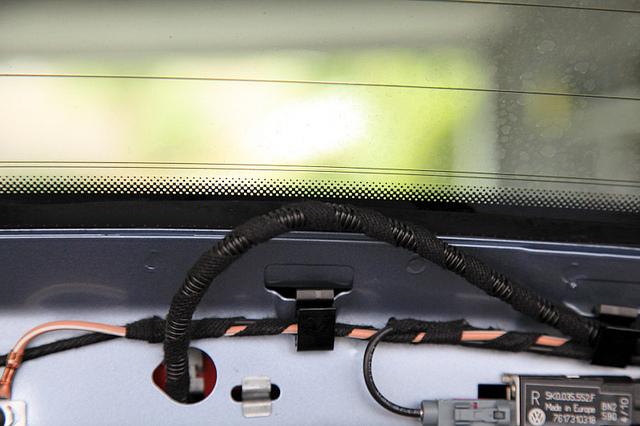
Take the scissors and cut the hose where you need:
You can also cut a piece of the hose out if you want, if not, you will just lengthen the hose (which is what I did, more slack now too). Now put in the two hose adapters from VW:
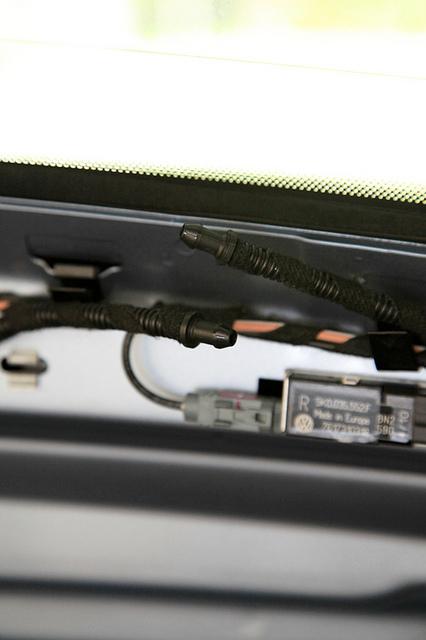
Cut two pieces of the 3/16" ID hose you bought, I made them just a tad bit longer than the valve itself:

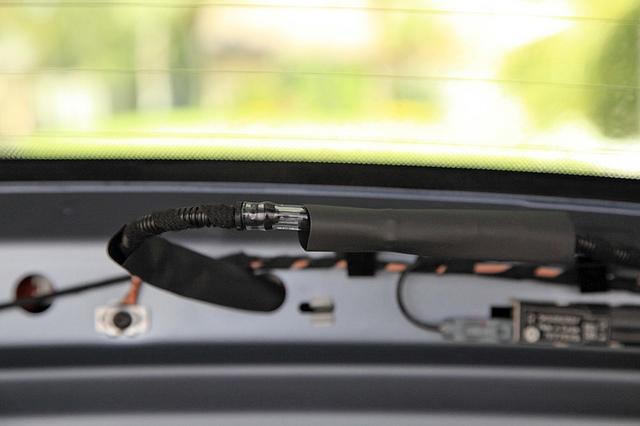
Install the hose pieces and the valve, make sure the Mini Cooper valve has the arrow pointing towards the nozzle (don't ask !). Also make sure to slide on your shrink wrap tubing before attaching the valve.
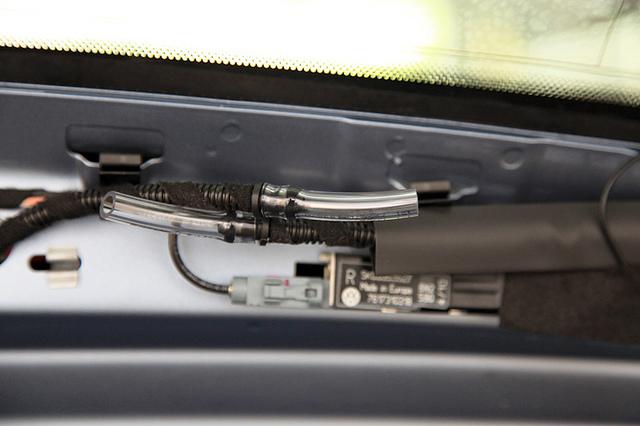
Since I could only find 4" long shrink wrap tubing, I used two of them, the first one from just past one hose adapter to over the valve and almost to the other hose adapter:
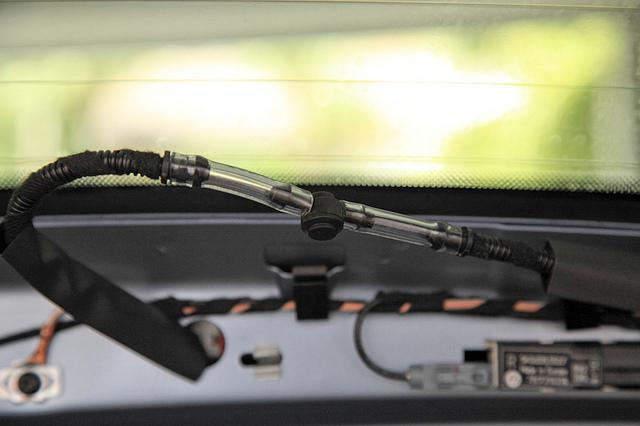
Heat it up so it shrinks, be careful not to burn anything !!!
Then I put the other side of the shrink wrap tubing, on the other hose adapter and over the valve. When all that was done and cooled down I used some good quality electrical tape (Scotch) and wrapped the whole thing a few times, you can never be too careful:
Now close the hatch and test the rear window washer (won't work if the hatch is open). Make sure you have no leaks, maybe take a test drive. Mine leaked a little so I made sure everything was tight and I wrap it with electrical tape real good, looks like no more leaks now 
When all is good and done, re-install the upper trim, then the lower trim, and the two Torx 20 screws and re-attach the cables to your parcel tray cover piece ..... and enjoy, no more leaks !!!