You must be logged in to rate content!
10 minute(s) of a 242 minute read
11-10-2014
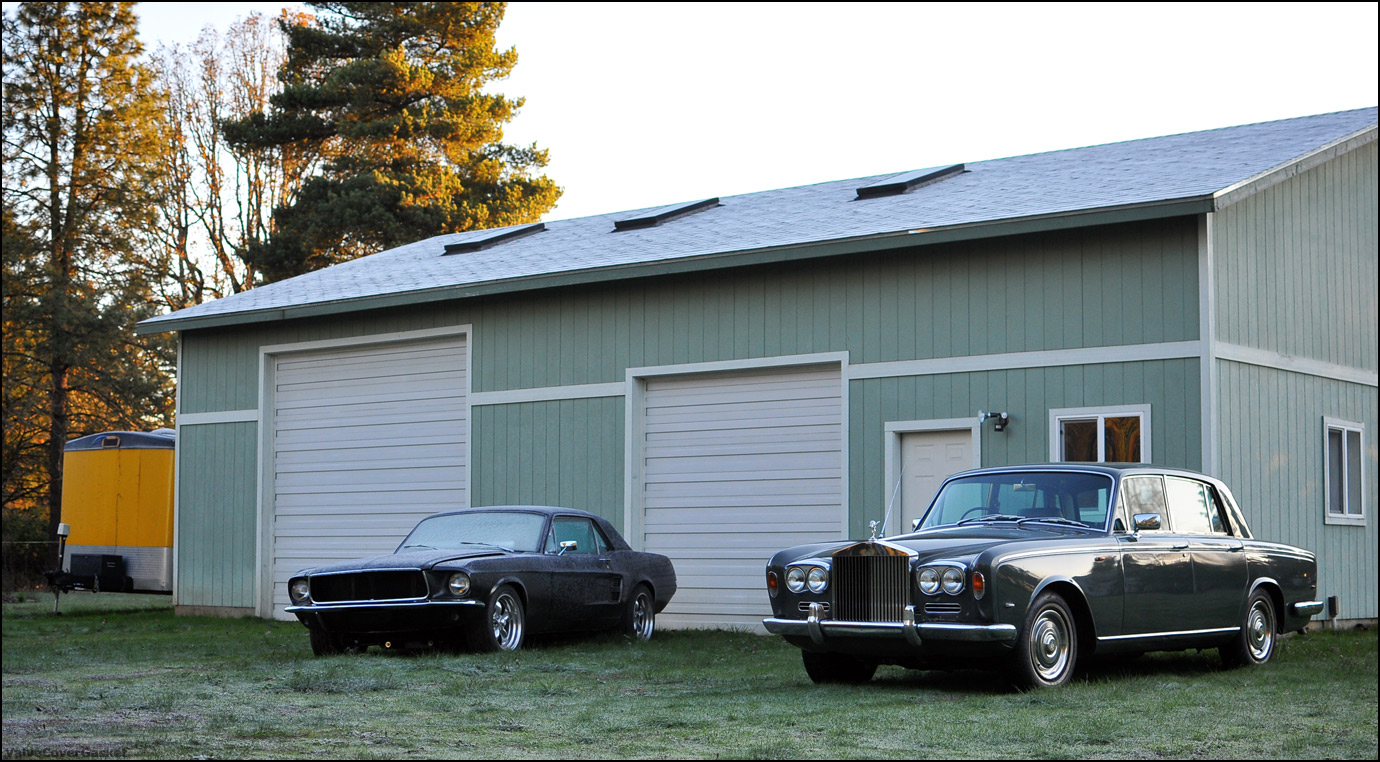
its basically a rolls anyway.jpg)
you're forgiven
11-19-2014
a few pictures of the haul back last weekend. i think i violated cell phone laws in a couple states, but there were a couple interesting ones from the road
sunrise in pdx driving out to the truck/trailer
as a side note, i think this was the coldest weather this thing has been outside in. drove fine once it wasnt stone cold, but there was definitely some hesitation as it was first warming up.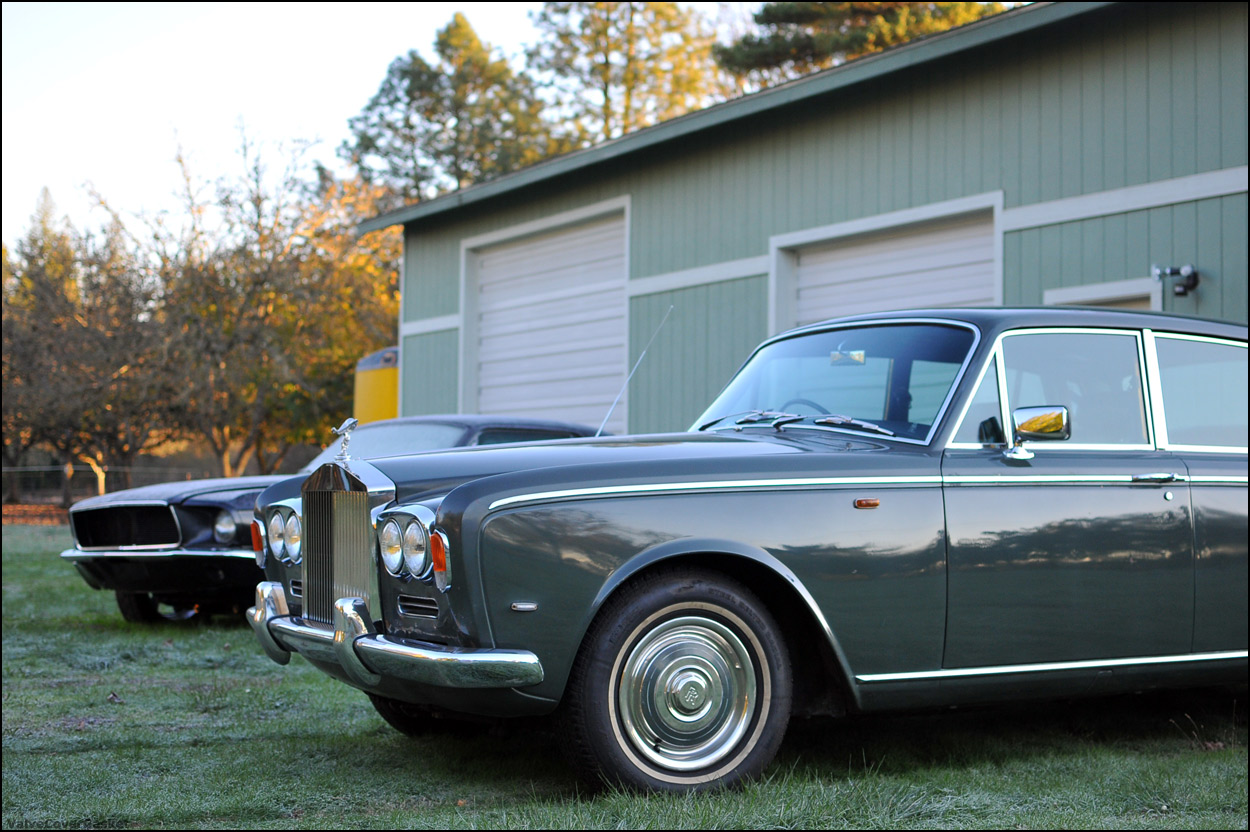
downtown seattle.
dont mind the boost gauge, i was coasting due to heavy traffic
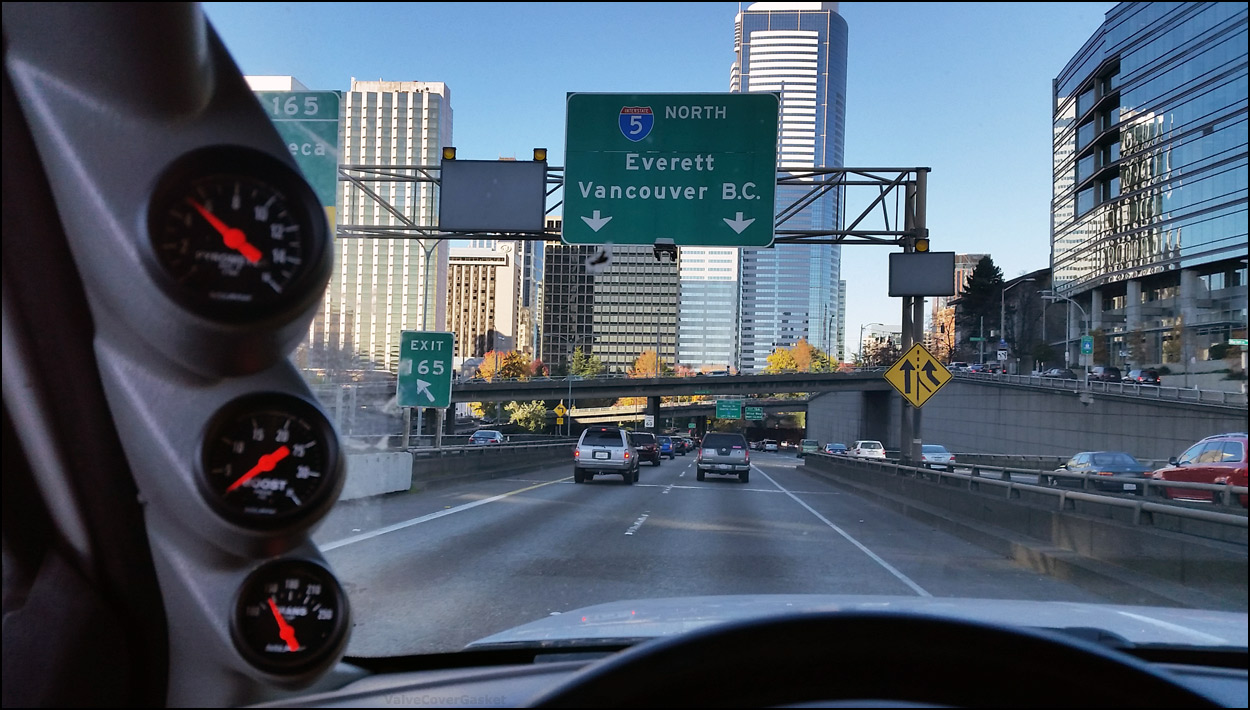
and i think we already confirmed it before, but it does in fact get better mileage being towed.
so there it is, it survived the summer in pdx.
thats a wrap on 2014
12-27-2014
i got sidelined from the long week of finishing up the MG that i had planned over the holidays due to some incorrect fittings, so i set about catching up on some winter to-do things i had set aside for the RR. and im pleased to say its basically done!
the radio has two working speakers now - loose wires at the rear speaker
the super squeaky drivers side rear door is no longer ear-splittingly loud and just quietly shuts like its supposed to - turns out the rear door hinges have 5 pivot points, with most of them being in the lower hinge. they were sort of hidden inside the door but some beoshield T9 in there fixed that up after soaking overnight

really awesome stuff!
the wire on the oil level sensor cracked and was disintegrating after the oil pan job a while back, that needed to be replaced. that works now with the dash switch for checking the level
the nails were backing out of most of the felt trim on the backside of the wood doortoppers, so the woodwork needed to come back out and have that fixed
but, the really big job i had set aside a long time ago for "when we get around to it" was learning more about the hvac and figuring out why we didnt have any heat or air blowing through the car. it also had a pretty bad draft blowing through the passenger side footwell on the highway.
nearly all of those mysteries were solved!
onto the pictures...
oil pan things: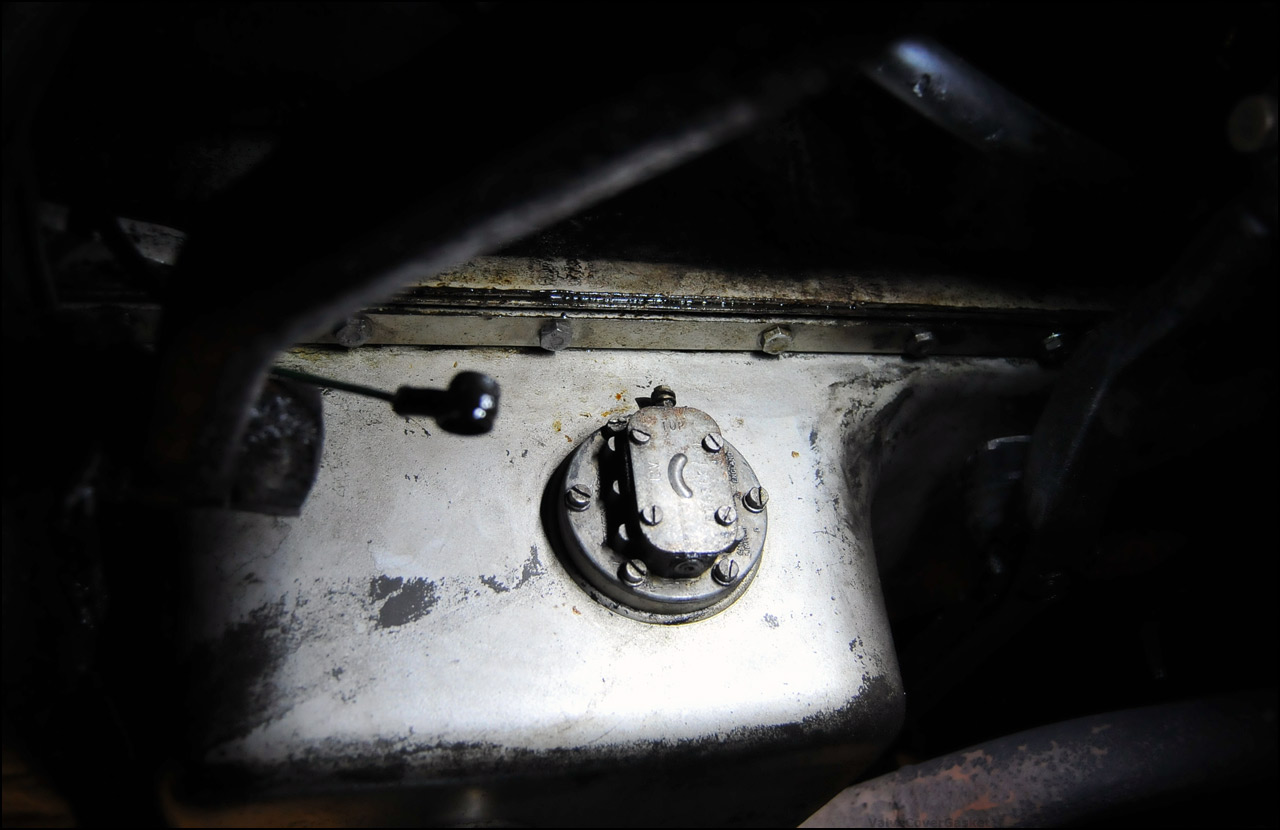
nasty old wire end, the rubber boot completely plasticized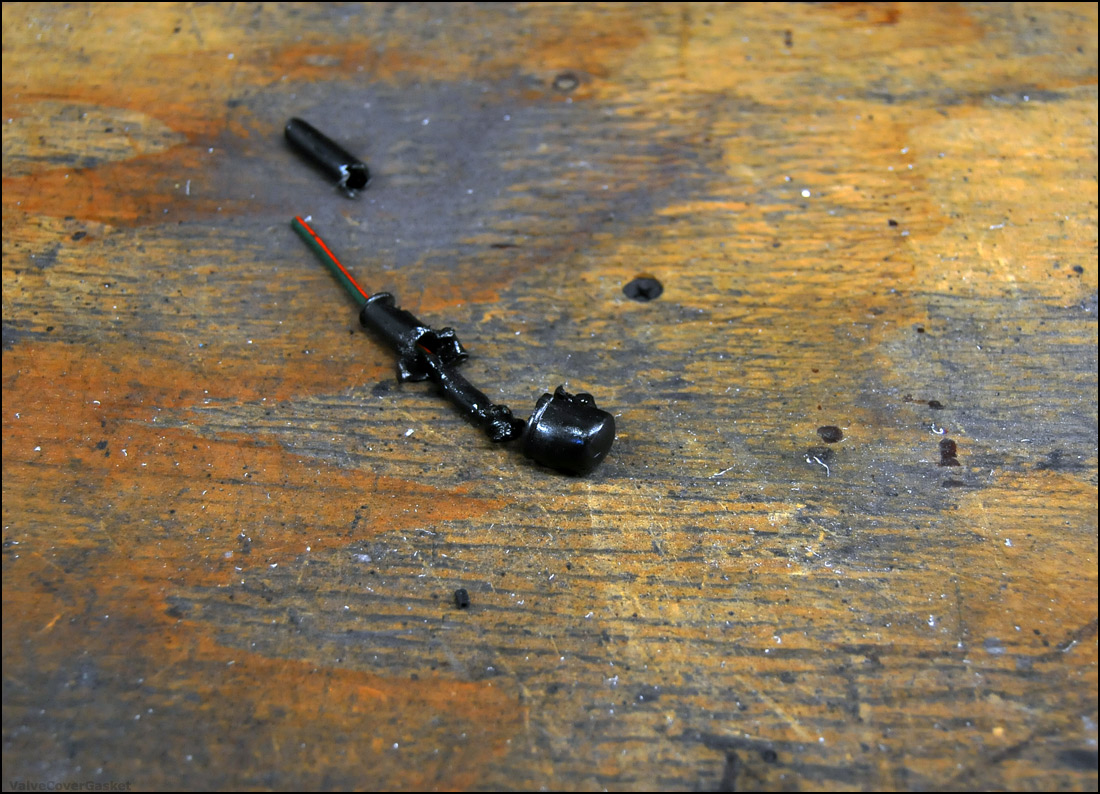
new stuff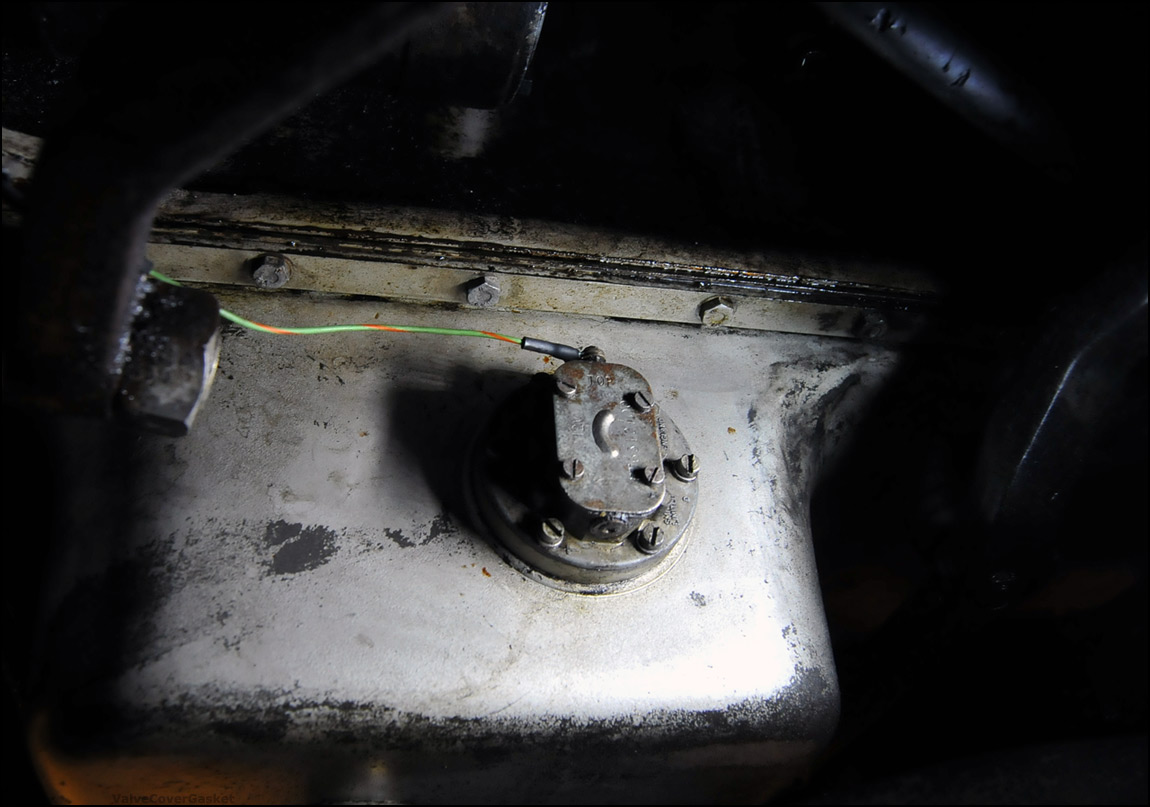
digging back in to fix the nails for the felt trim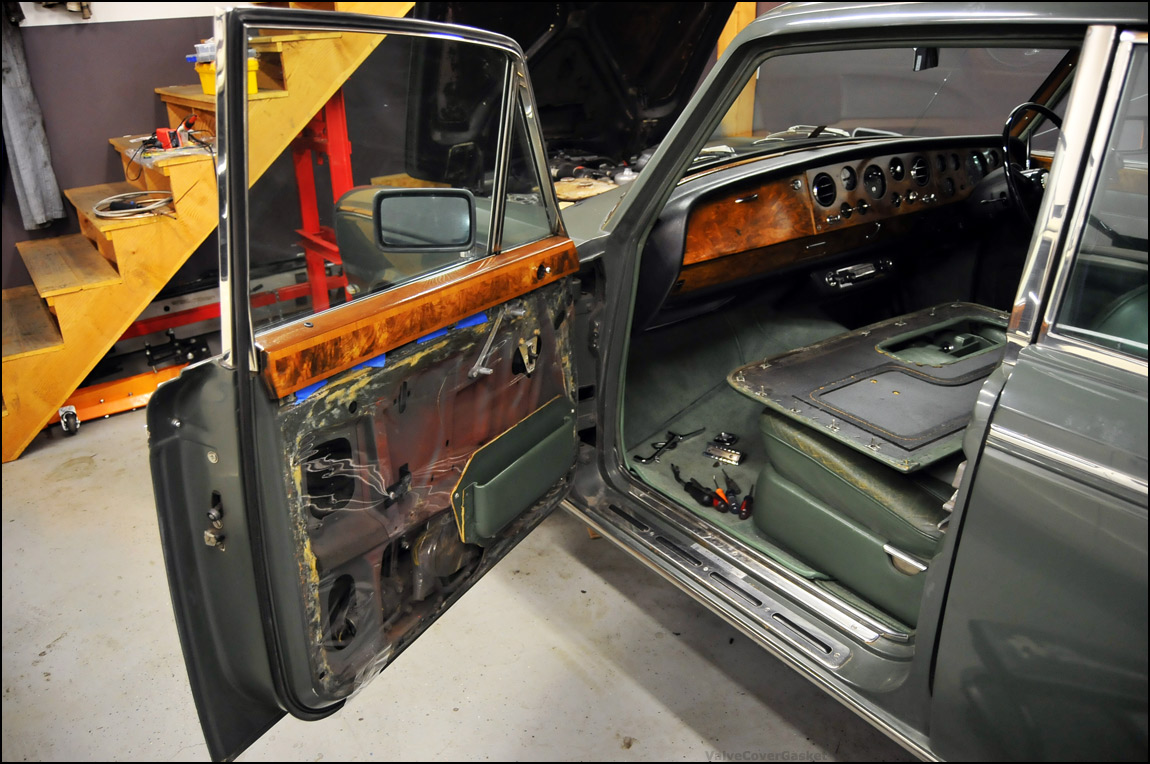
what was happening before the fix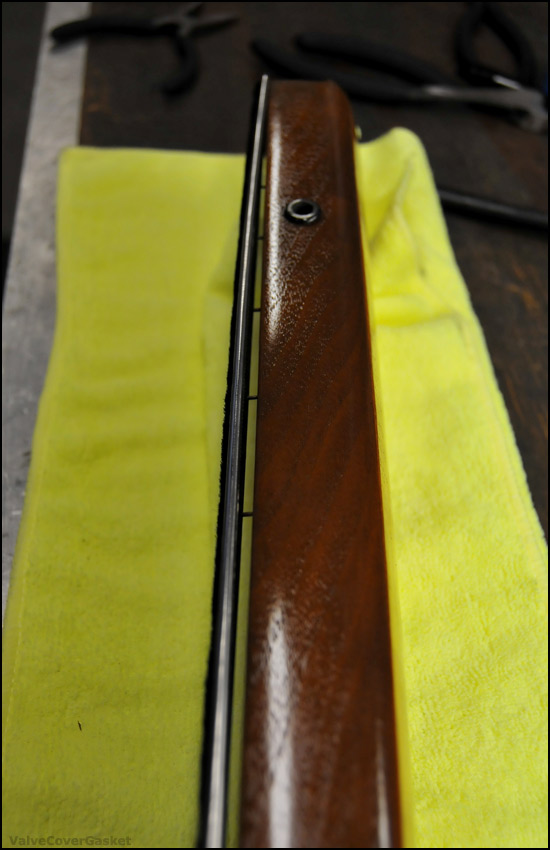
we were worried that these would catch on the glass and scratch things up, luckily crisis avoided...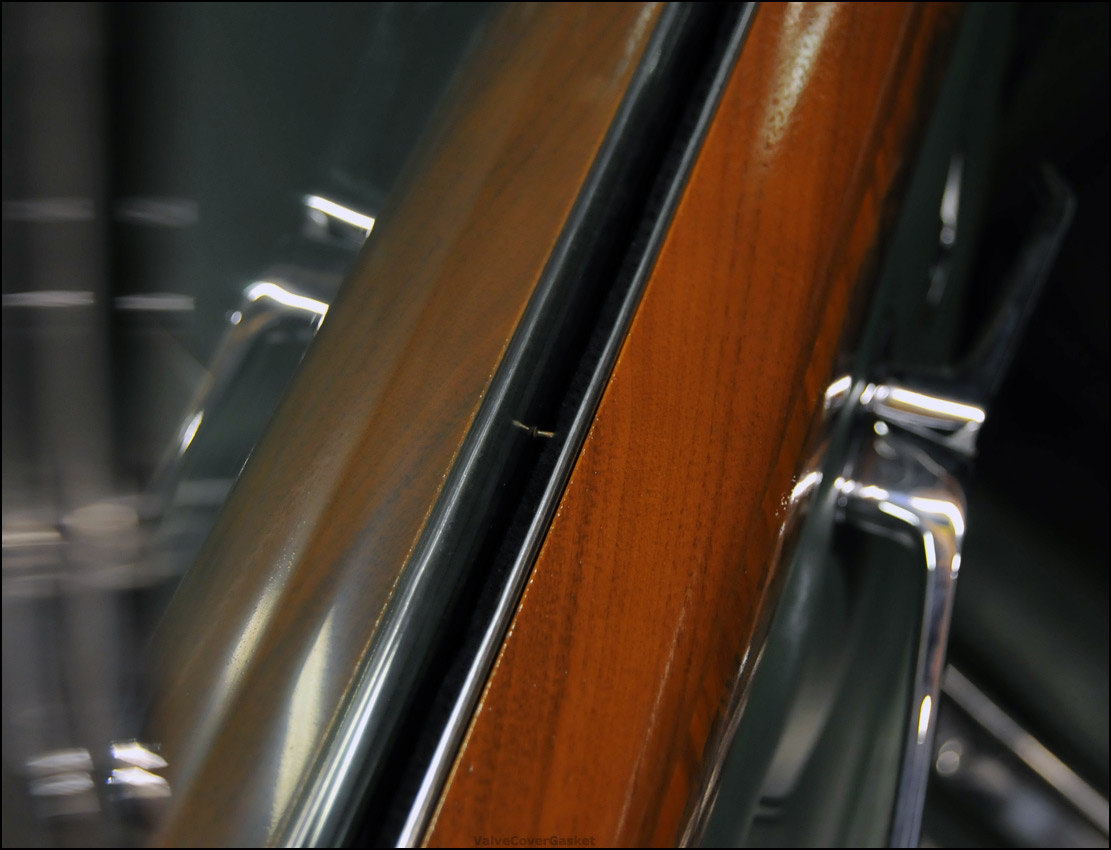
all fixed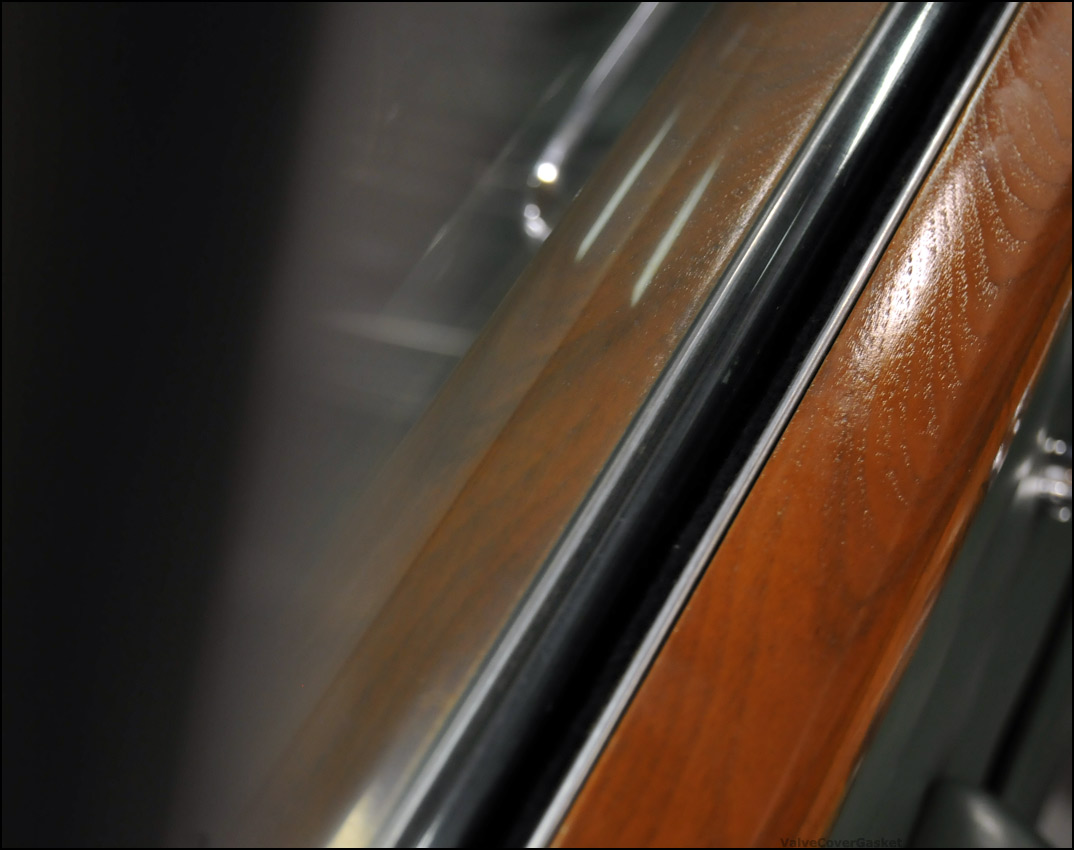
as for the hvac...
the blower motors were sort of hanging on their mounts, and didnt sit right. but they also werent getting power initially either. the lack of power just turned out to be a missing fuse wire. easy enough, and the wiring itself appears to check out to both motors so that was a good sign as well.
i need to order more of this wire, but i have a hunch that because of how the blower motors were sitting in the heater box ducts that the previous owner must have pulled the fuse to avoid them being kicked on because theyd rub on the housing if they shook around without any mounts. that or they needed to replace the link on something else and robbed the blower motor fuse wire
i dont know if ive posted any pictures of this before, but i thought this was kind of a cool shot of the fusebox, with the slideout guide.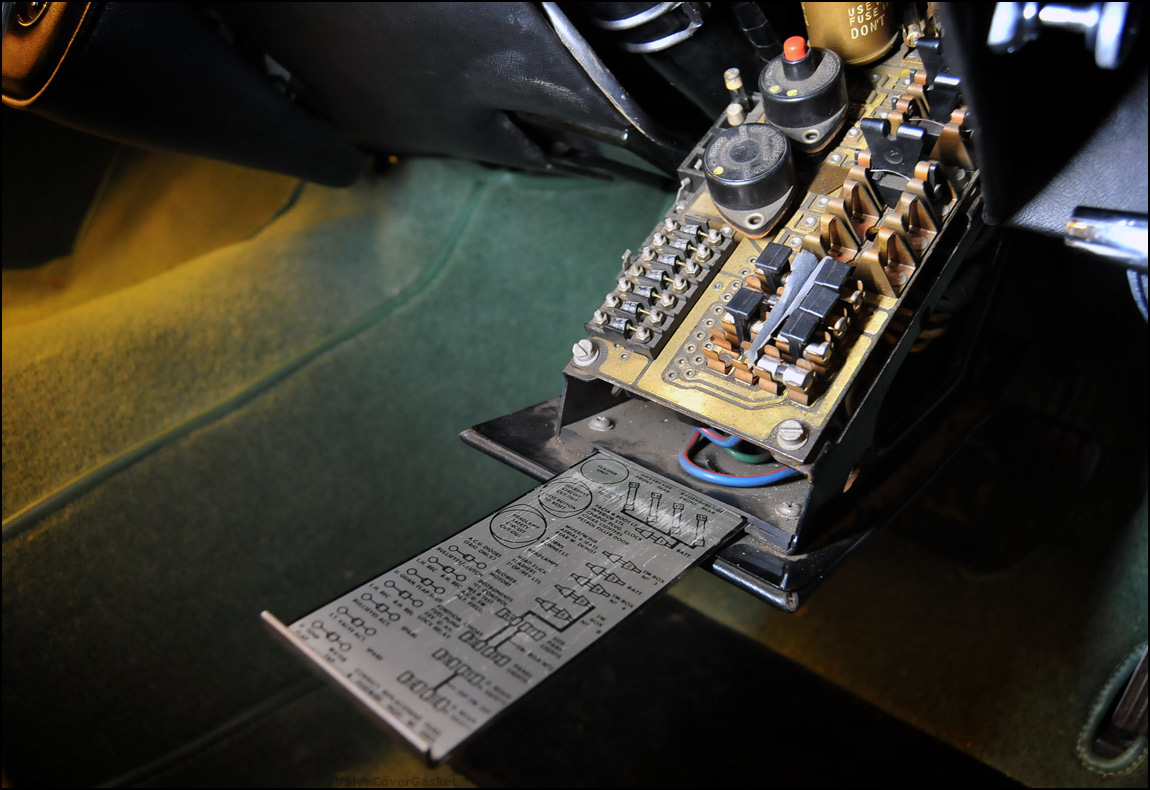
after making sure the blower motor wiring was ok, tested the motors. they spun great, no bad bearings or weird noises and they seemed to be balanced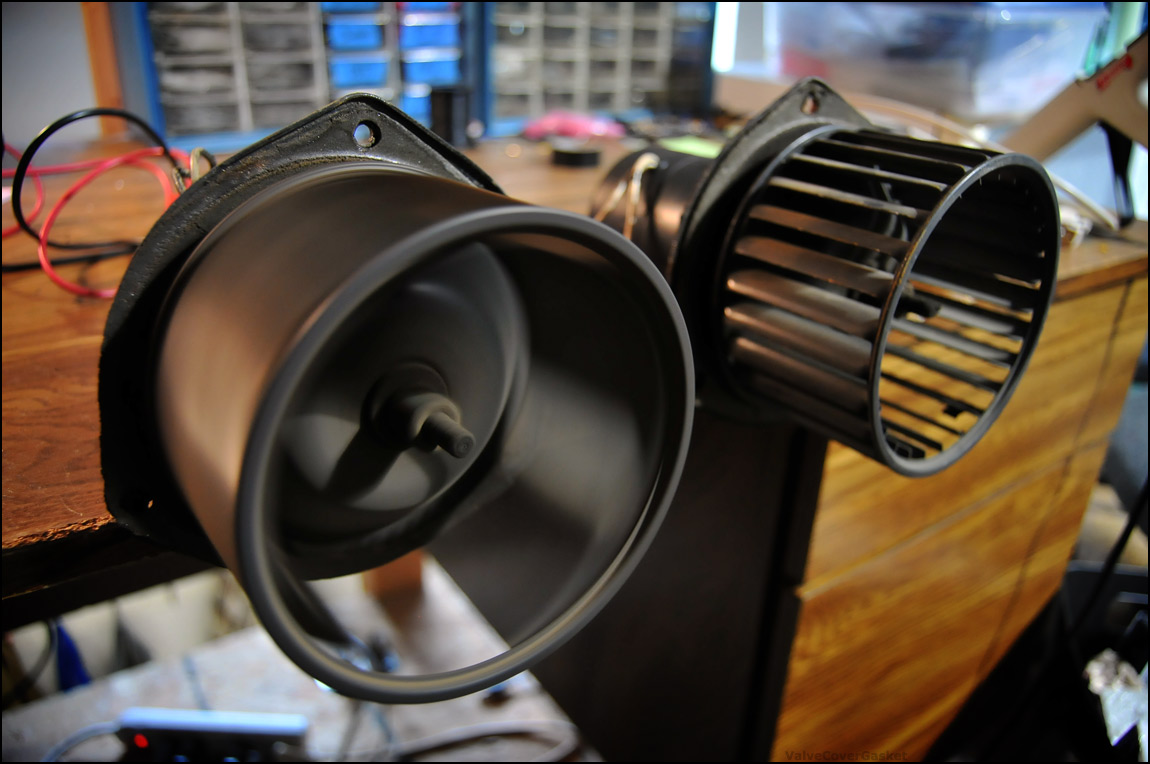
and im not sure if these blower motor mounts are even available, but i need to call albers on monday and see. all but one are wasted on both motors.
if not, ill have to think of a backup plan. ill do the motor flange to heater box seals while ive got things apart, since the motors are a little awkward to wiggle out of the heaterbox, especially on the brake reservoir side.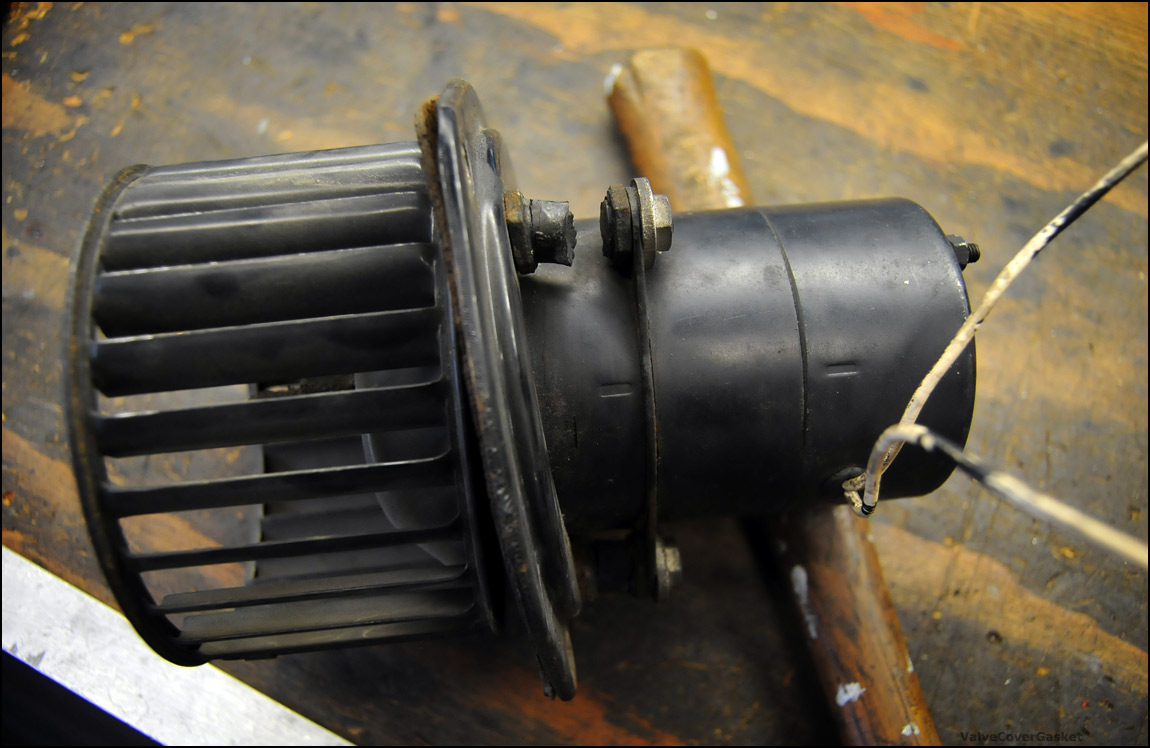
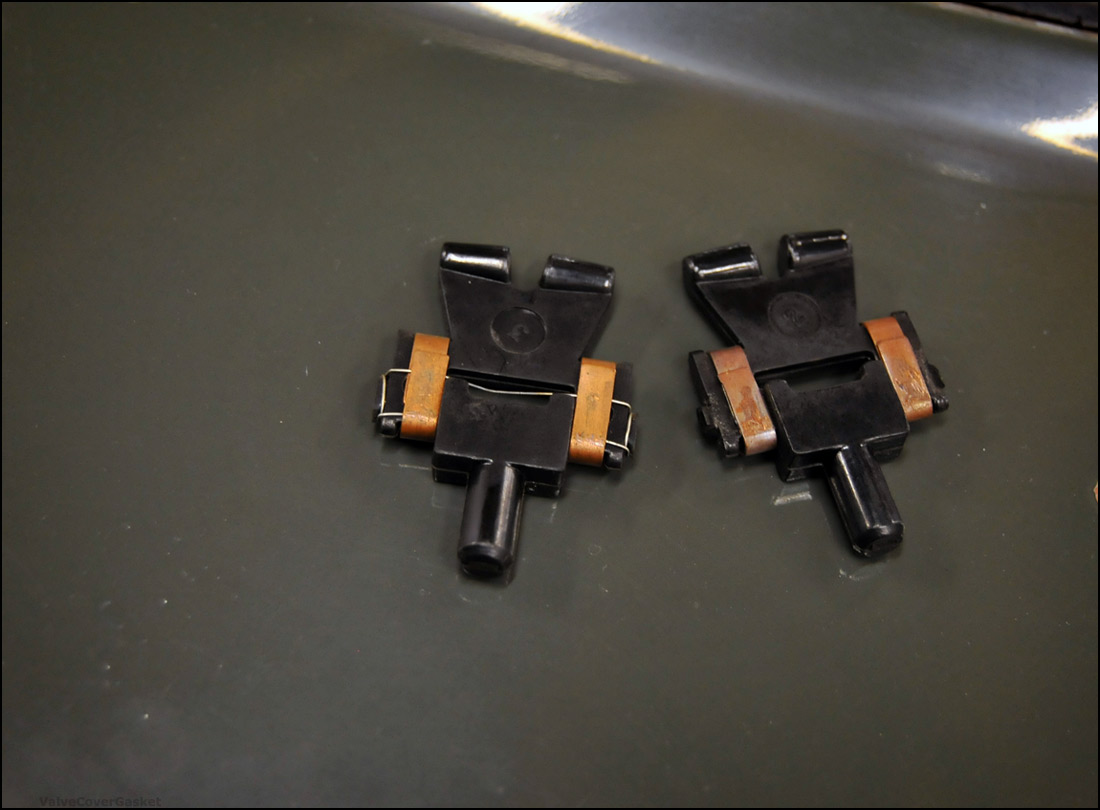
now for the interesting parts of the hvac system - the car doesnt have any physical link between the hvac controls and the various flaps on the heater box, everything is controlled via little electrical actuators, not unlike a modern car but these are old school metal gear driven adjustable metal linkage pieces
the system is also divided into two separate circuits - the upper half and the lower half. the switches for each half control the temperature and the airflow
and here are the switches, in typically well labeled 60s british tradition. twist for temperature, push/pull for airflow. oh, and the blower motor speed is set by an unlabeled slider switch hidden just above the drivers left knee.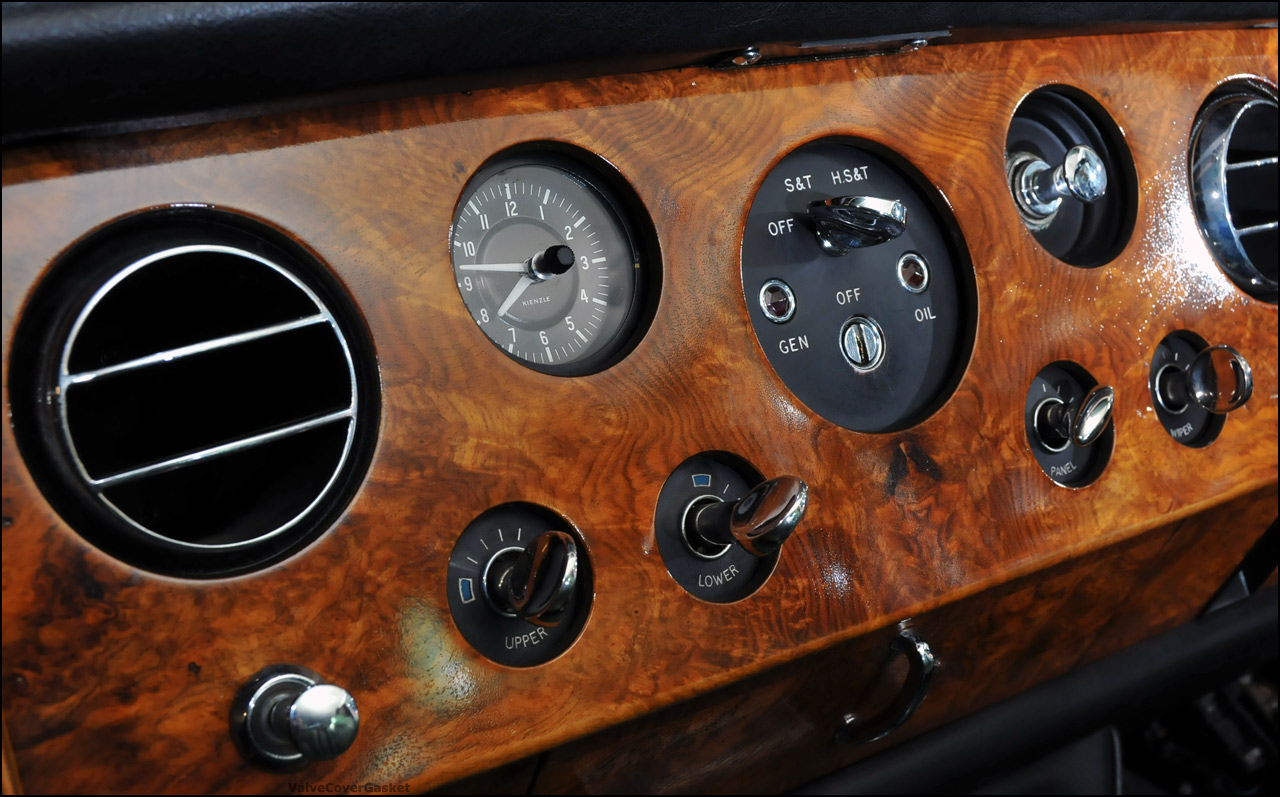
because of all of those various controls from each switch, there are 6 (maybe 7, but i think 6... i forget now) actuators - two for airflow into the box for the upper half (you can see these in engine bay pictures right behind the distributor), a coolant valve for coolant flow into the heatercore (right under the brake fluid reservoir), an actuator for a/c flow (right ahead of the brake res.), a recirc flap (pictured below), and a footwell temperature flap actuator also by the passengers toes.
all of the actuators work smoothly and didnt seem to catch or jerk through their motion... good news... but the ones for the a/c and the coolant flow into the heatercore are kind of noisy. theyre geared really high so they make a lot of internal rotations to make a full sweep of the actuator linkage.
i found out this afternoon that the actuators are interchangeable, which will be handy for hunting down spares, but im not sure yet if they can be popped open for any kind of service or grease. im sure the noisy ones are just loud due to dried up grease or some kind of internal rust from sitting. if i can hunt down a spare or two for reasonable money i plan on popping open one of the loud ones and seeing whats in there.
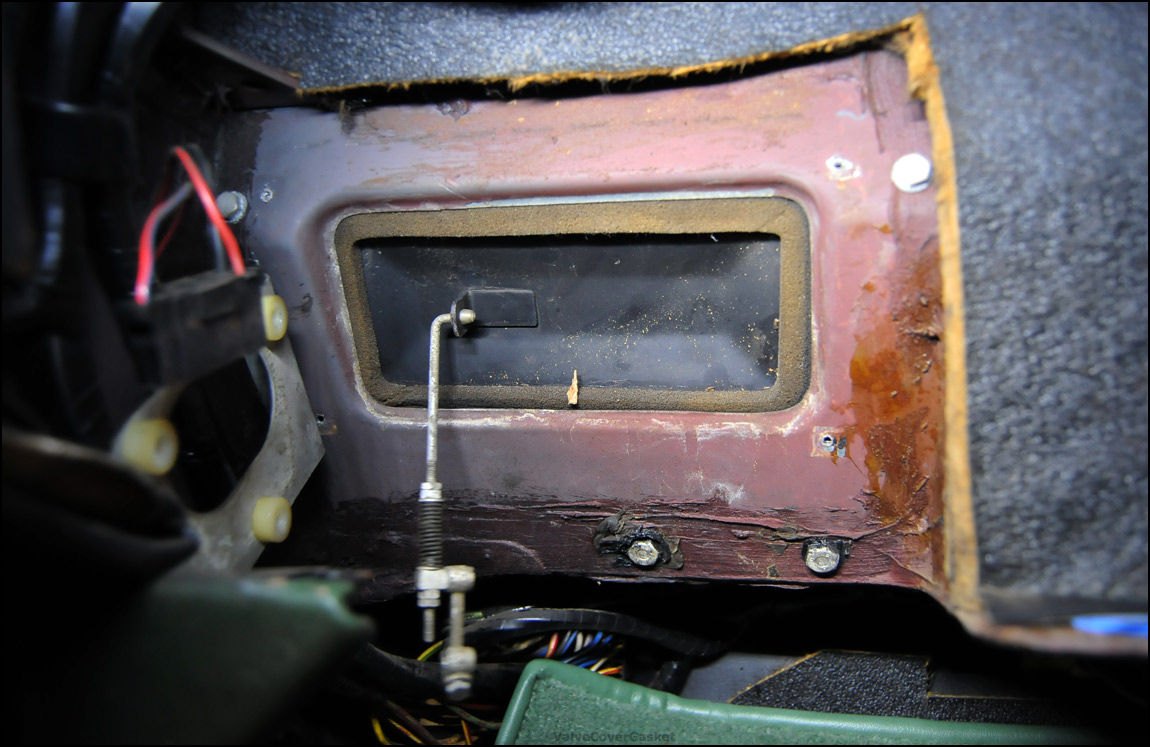
anyway, this fallen recirc flap was the source of the cold air draft on the highway. it fell off its pivots inside the heaterbox and had jammed up the actuator.
this opens right into the outlet of the passenger side blower motor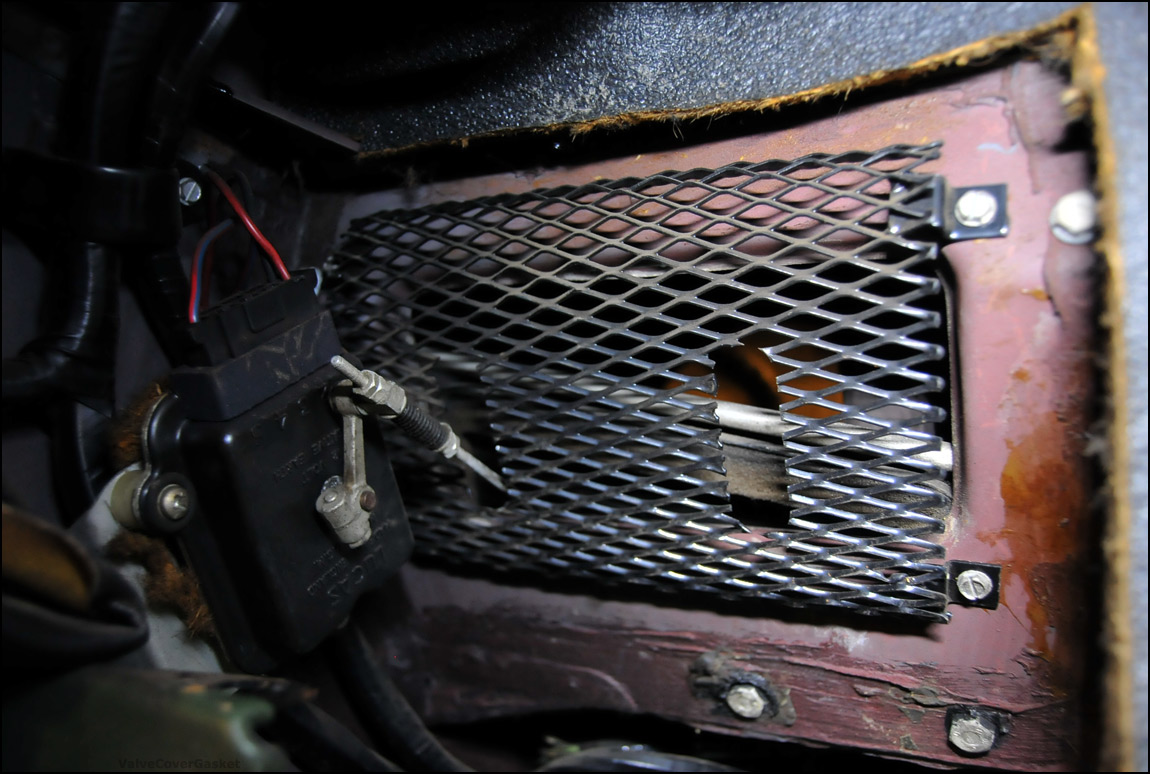
this was fun to reseat, through the passenger side blower motor opening, fishing around for the pivot points
and the actuator
you can see the output shaft isnt keyed at all - which leads to having to find the "parked" position via positive/negative jumpers when you install or remove them, then aligning that with the closed position of whichever flap youre working with, before actually plugging the thing back in.
so no problem, i did that after resetting the fallen flap, the actuator found its park position. however whenever i plug this one back in and key the car on, regardless of the position of the lower control switch, the actuator just spins counterclockwise.
im still doing more digging, but for now its parked in the shut position and unplugged, which will at least be an improvement over the huge air leak it was creating before
This is unbelievable build!
Posted by Diggymart on 3/11/20 @ 9:53:34 AM