You must be logged in to rate content!
9 minute(s) of a 31 minute read
8-5-2007
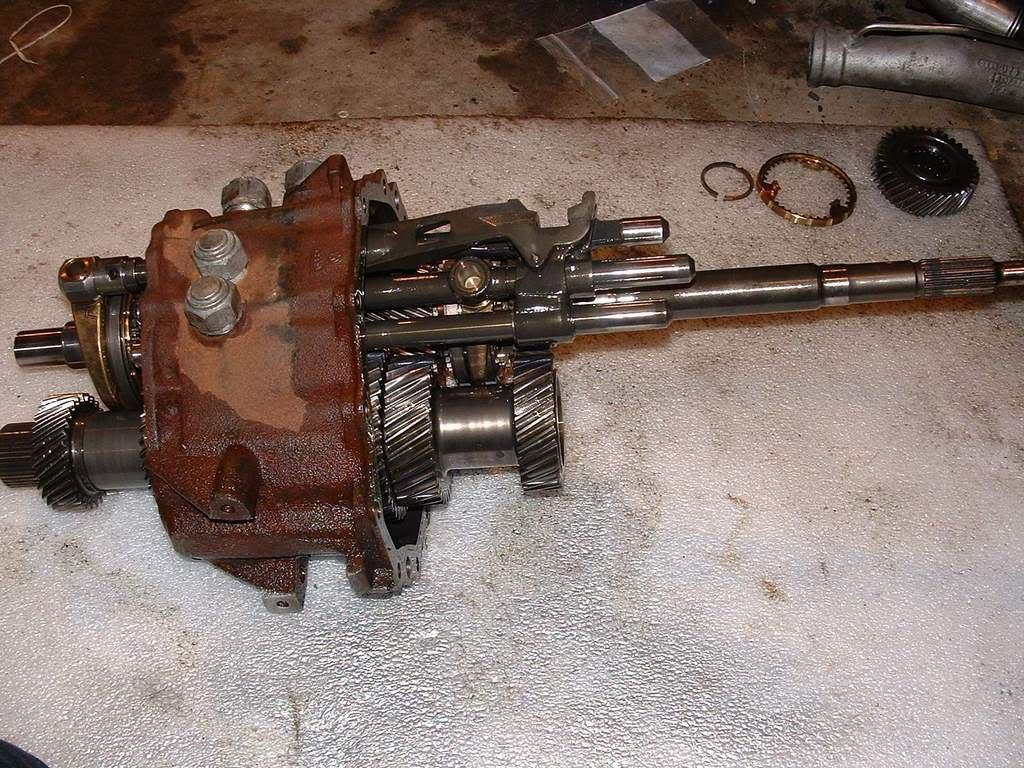
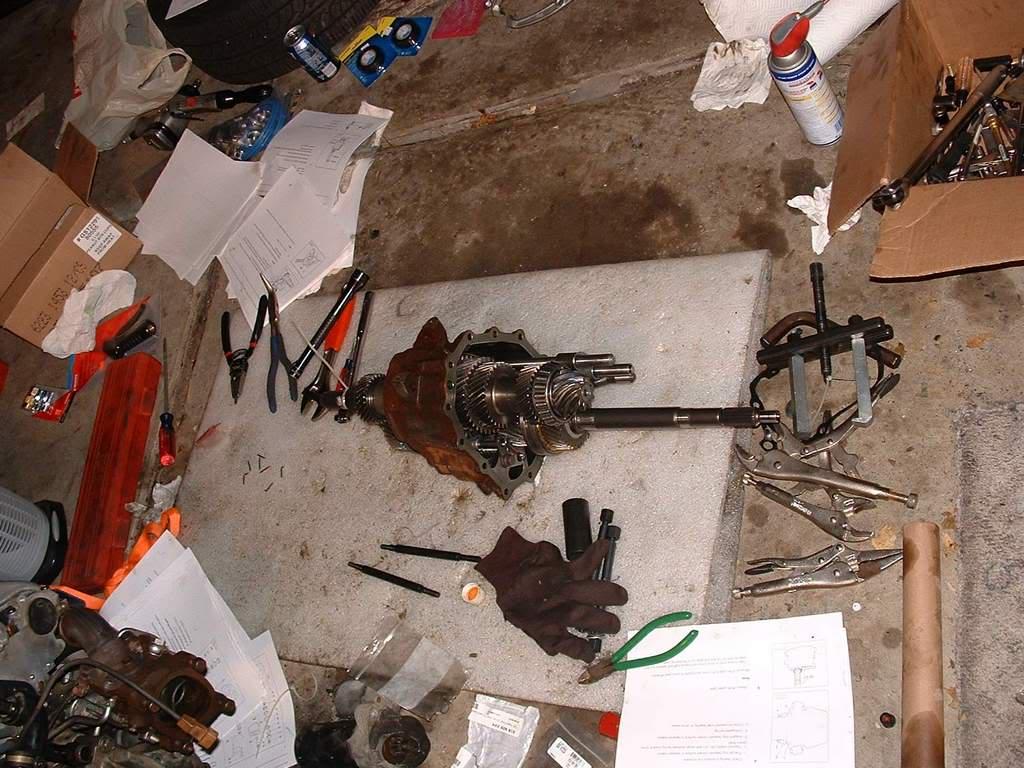
The nut-like assemblies you see on the side of the gear cluster case are actually
the spring-loaded ***** that maintain a fork in a selected position. There are 6 total.
These have to be marked when removed and must go back in their original position.
Two of them have to be removed when you remove the selector. The other 4 are for
the 4 selector forks: reverse, 1-2, 3-4, 5-6.
There are quite a few picks skipped here too but the summary is the following:
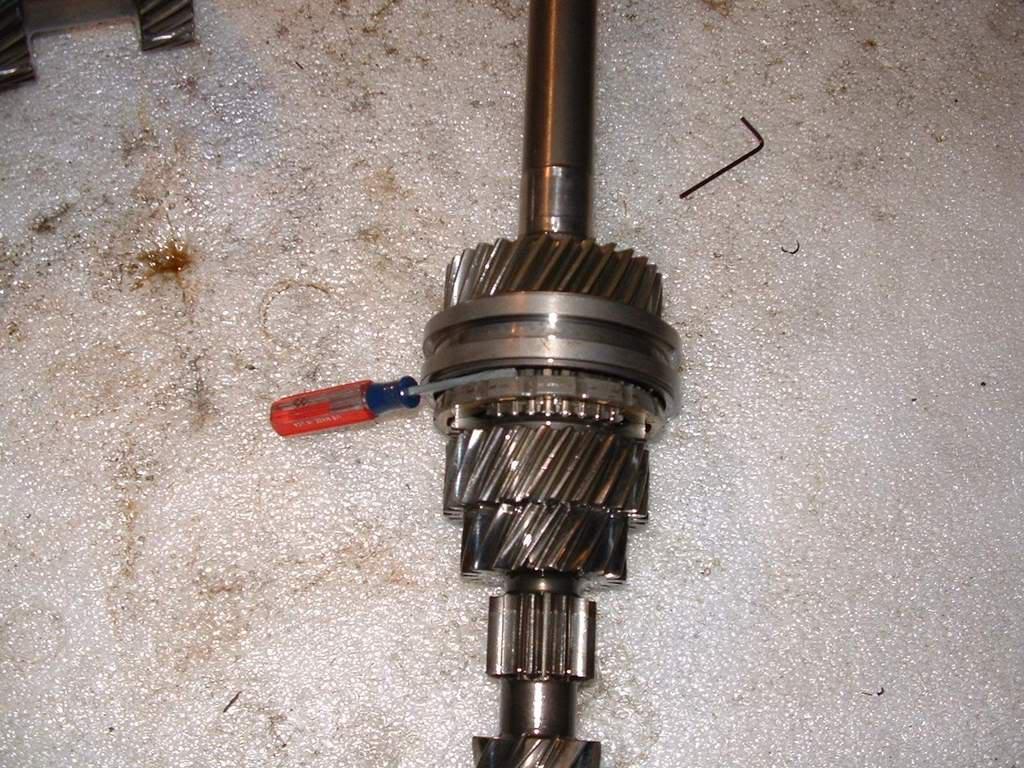
start removing the 5th and 6th fixed gears. Also, you will have to press out the
roll-pin that holds the 5-6 fork in place. Audi says not to drive it out
because you'll damage the shifter fork roller. What i did was, i supported
the rear of the shifter fork from behind and slowly drove the rollpin out.
It worked and no damage was caused.
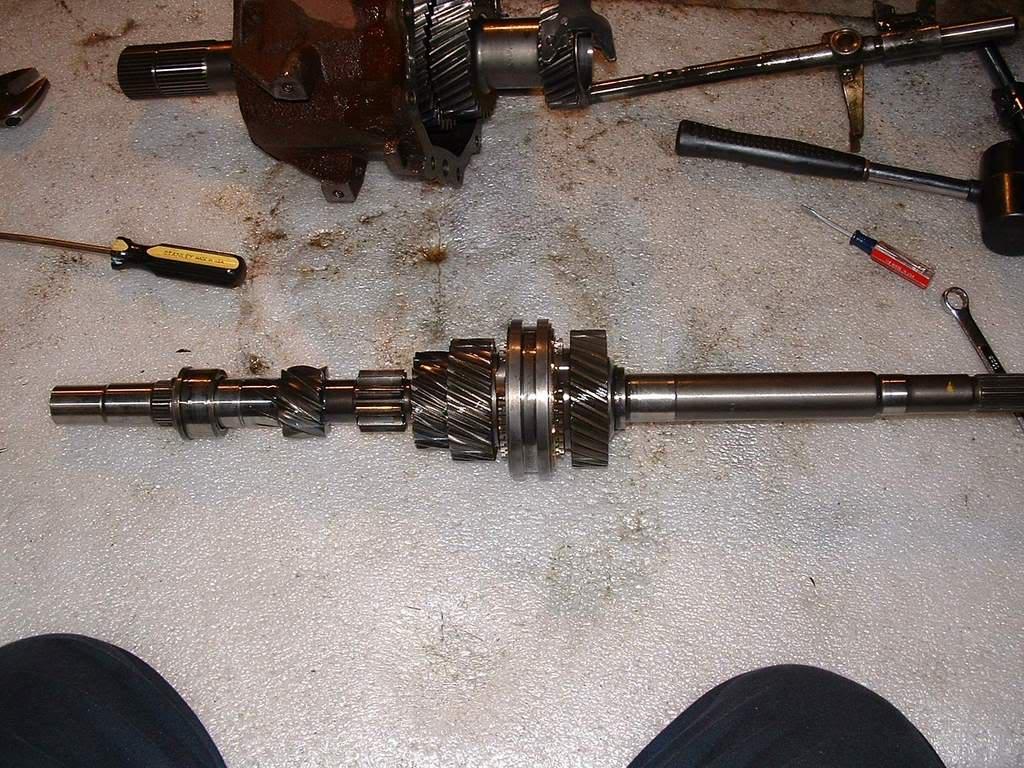
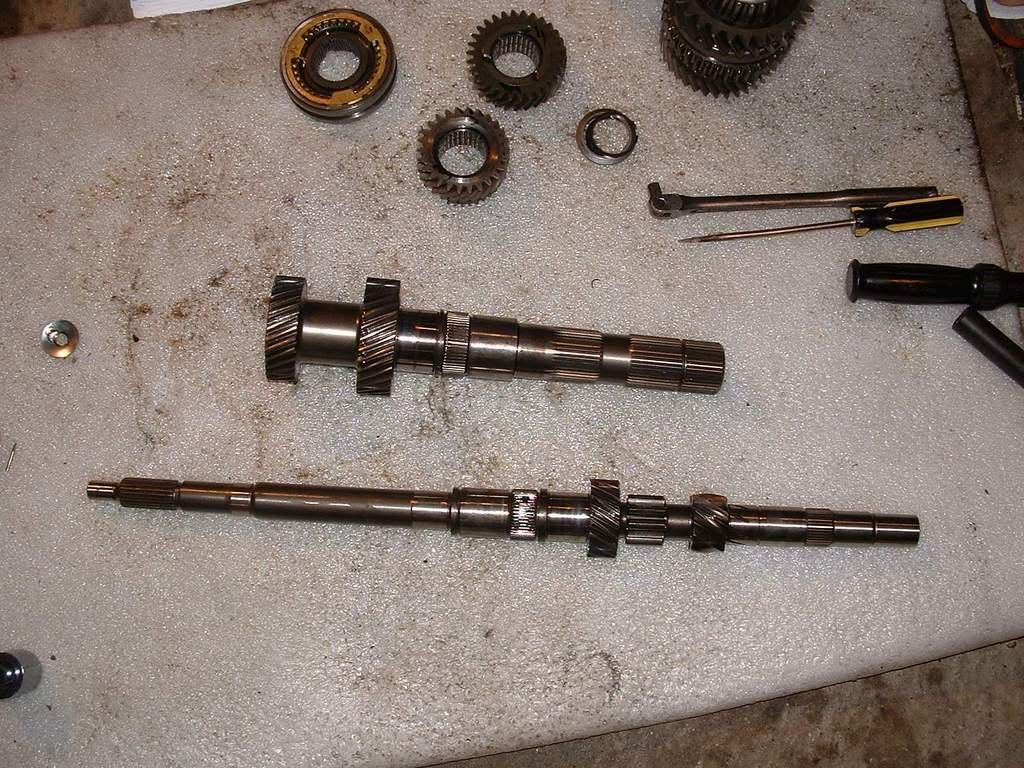
In this picture you can see the input shaft together with the 1st and 2nd fixed
gears that are cut on the shaft, and the 3th and 4th sliding gears and collar.
I was very happy that 1st and 2nd gear wer looking great.
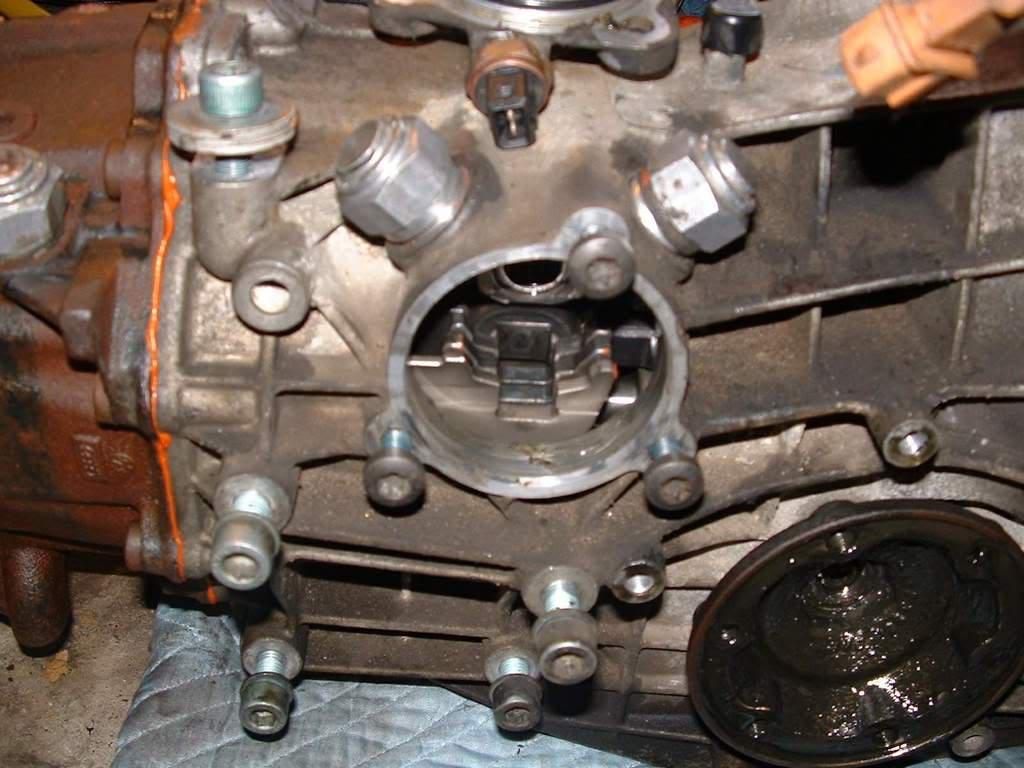
Here you can see the reverse idler gear assembly. There is a cone shaped surface
on the idler gear that mates to a "synchro" as named by audi. I'd personally
call it an idler wheel brake since all it does is slow down the idles so reverse
engages without grinding. That is also why engaging reverse while still moving
makes noise. The brake stops the idler gear and input shaft but the output shaft
is still moving = grind noise
Please remember the positions of all parts before you remove the reverse idler assembly

Here's the output shaft. Quite a solid piece. Not the humongous 1st and 2nd
gears and sliding collar.
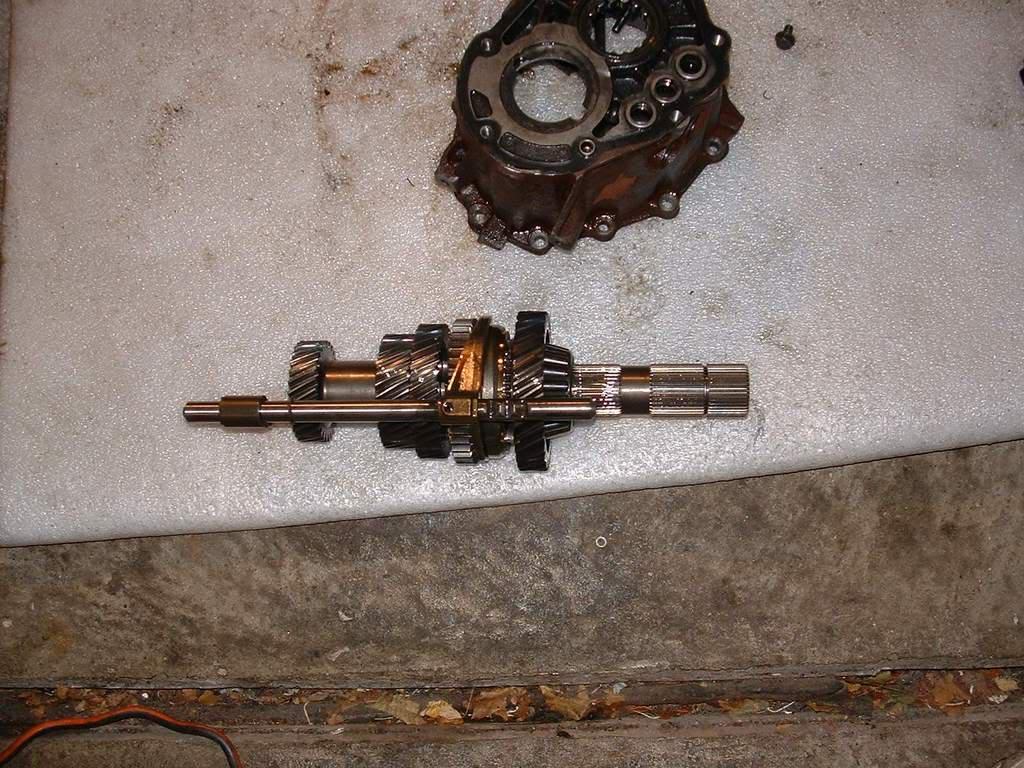
Here's how gears 1 to 4 mate together inside.
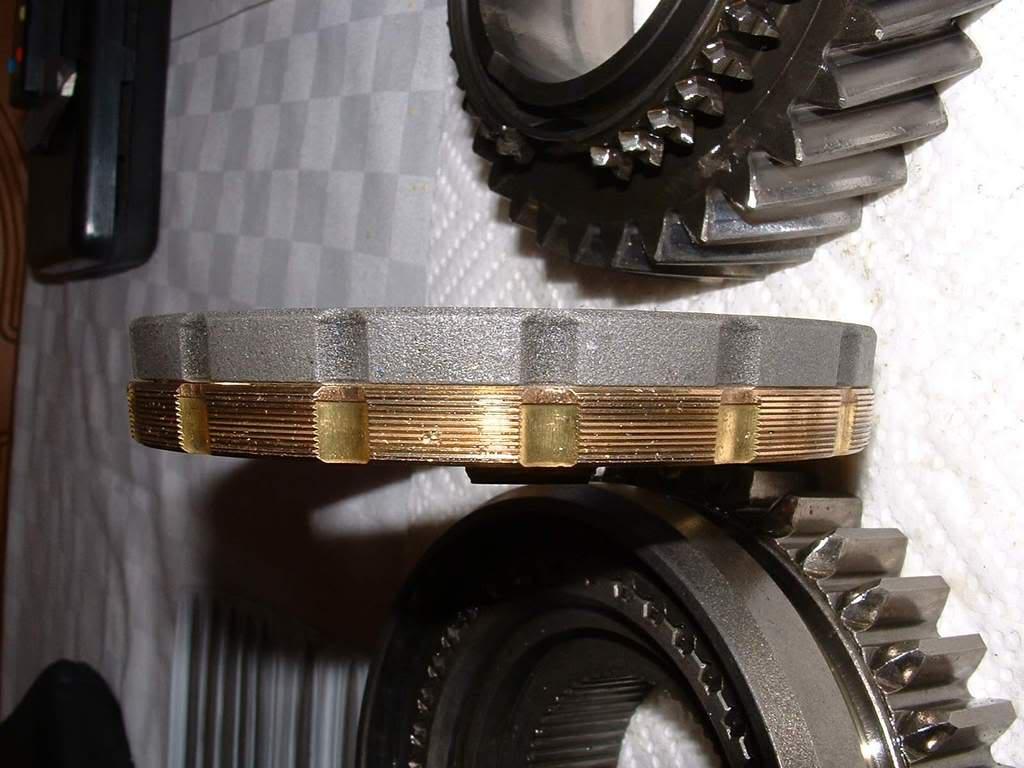
This is the 3rd gear synchro... no wonder it was not doing any work. It's worn
and it's surface is slippery. Please note that the 2nd and 3rd synchros are coated
in molybdenum. The procedure outlined by bentley is to seat the synchro in it's hub and
measure the seating gap. I will say that if you're at this point, just replace the dang thing
I tested by seating the synchro in it's hub, pressing a bit on it and trying to rotate.
As i expected, i could do that fairly easily...
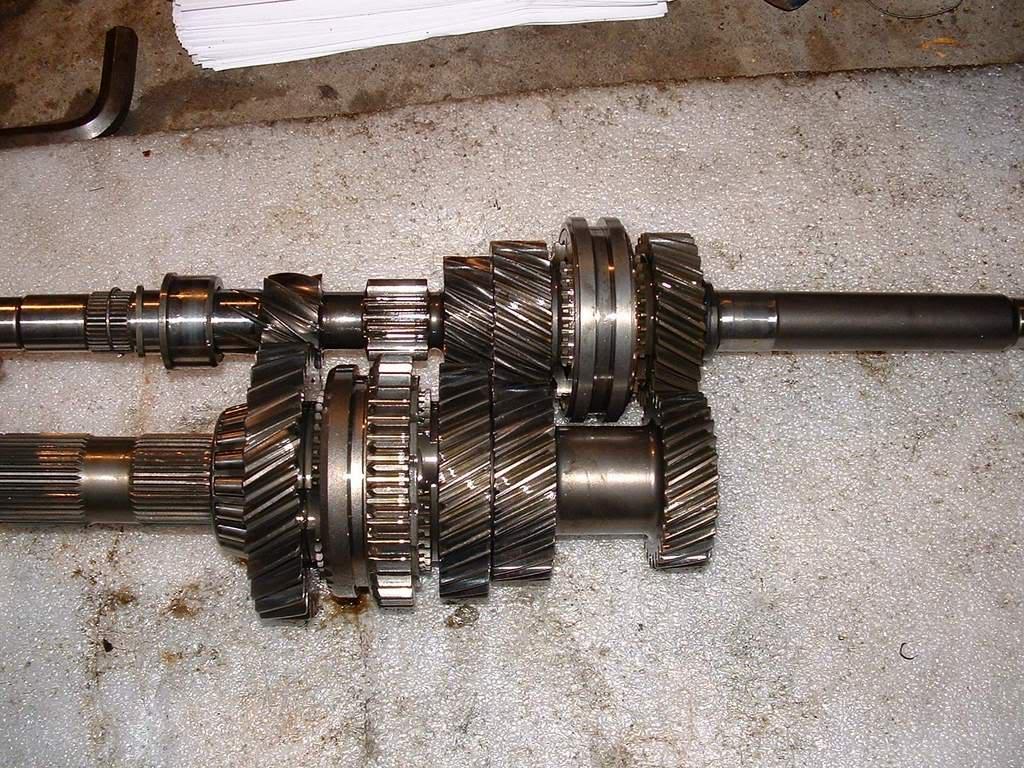
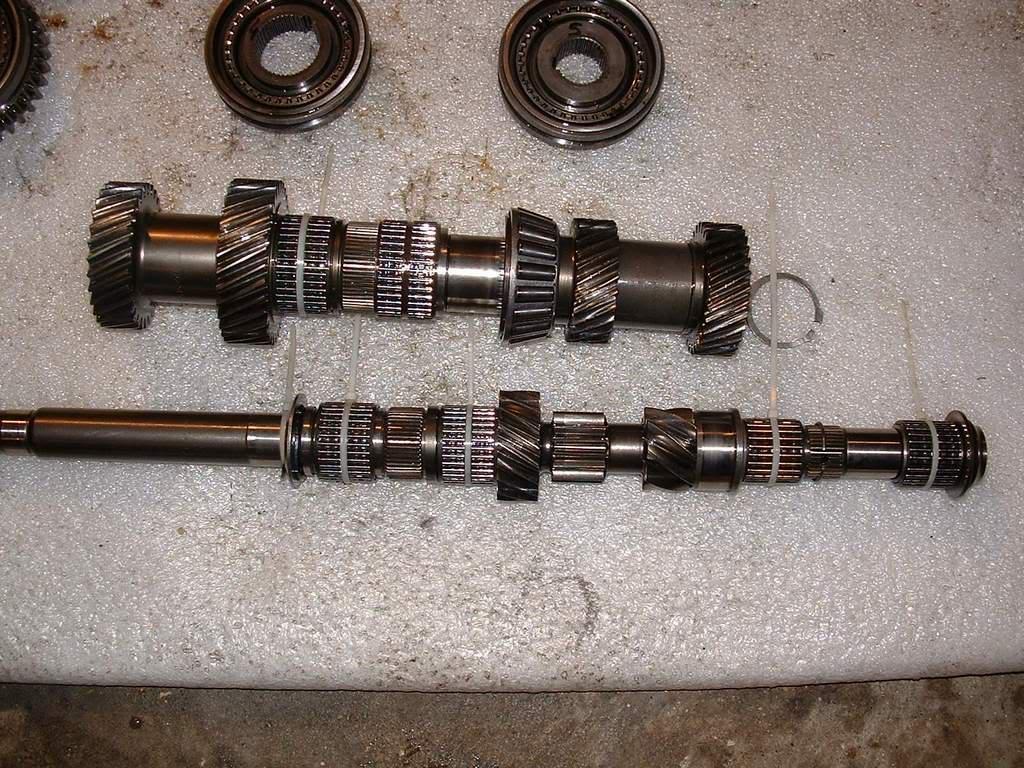
Here are the input and output shafts "naked" after removing all the gears on them.
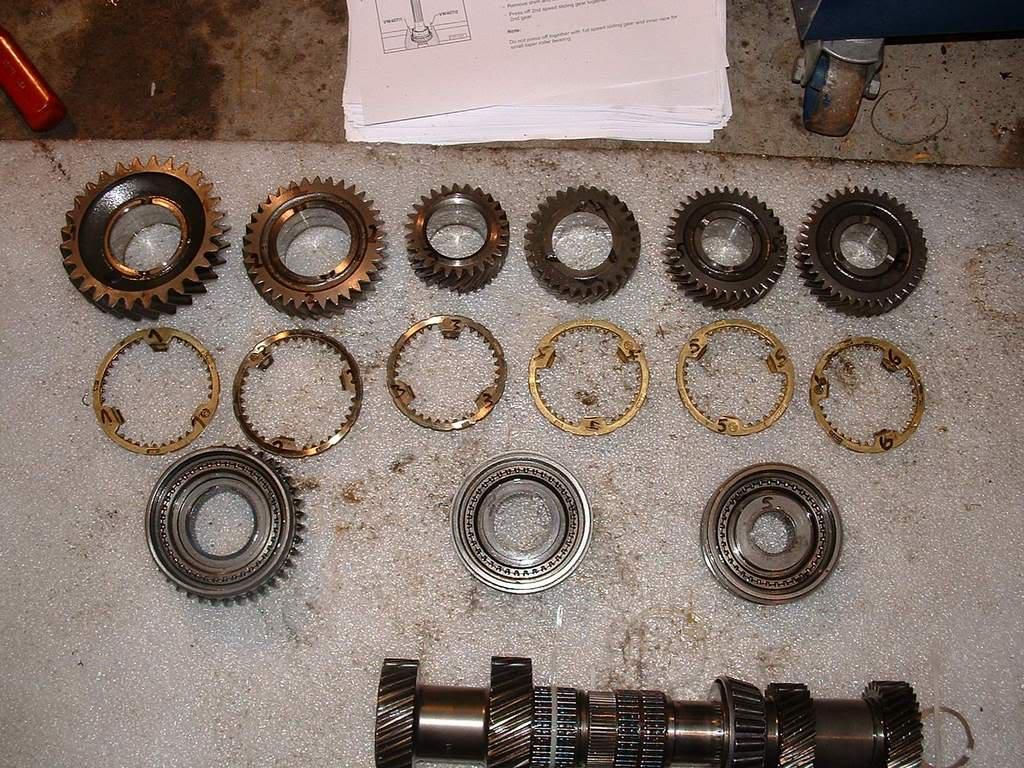
This picture shows all the slidign gears, sliding collars and synchros. Please
note that the 3-4 sliding collar is the same as the 5-6 one. I deburred all the
hubs and collars and swapped the 3-4 collar and 5-6 collar since i figured the 5-6
one would have less wear.
This is what i did to keep the needle rollers safe and not forget where they go.
Here are the synchros for gears 3 to 6 from top to bottom
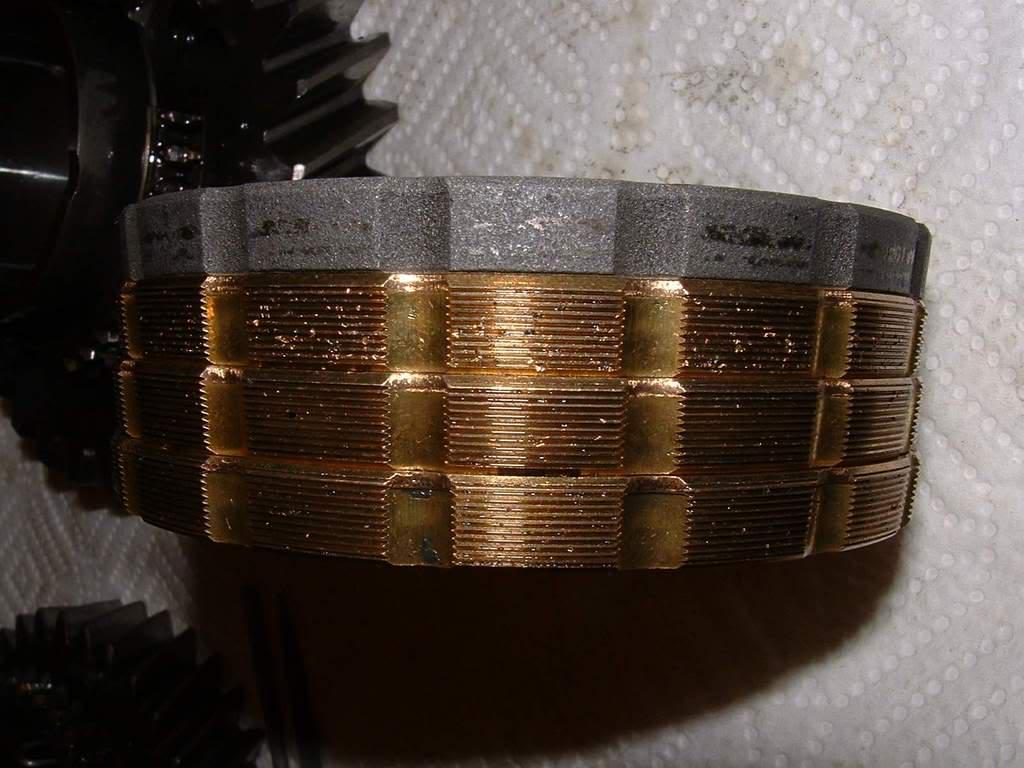
Here are the synchros from gear 2 on top and 1 on bottom.
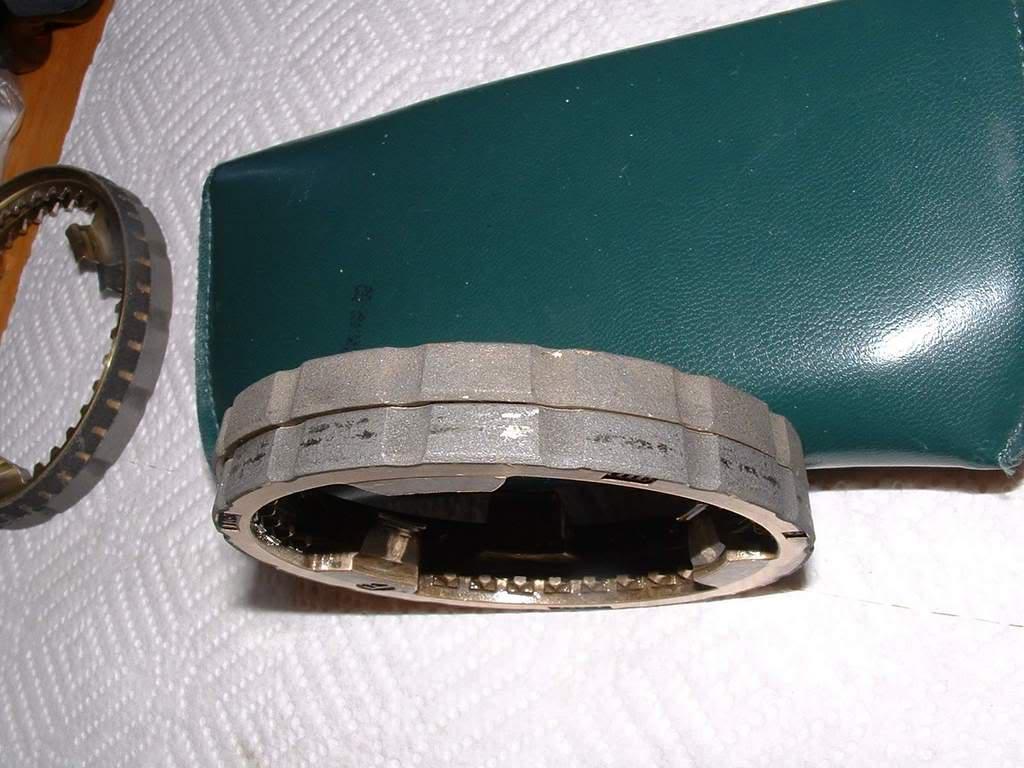
Here's the big surprise!
The new 2nd gear synchro (on top) looks wuite different. I guess the original
design must have had issues.

Here's the new 3rd gear synchro on top and the old one on the bottom.
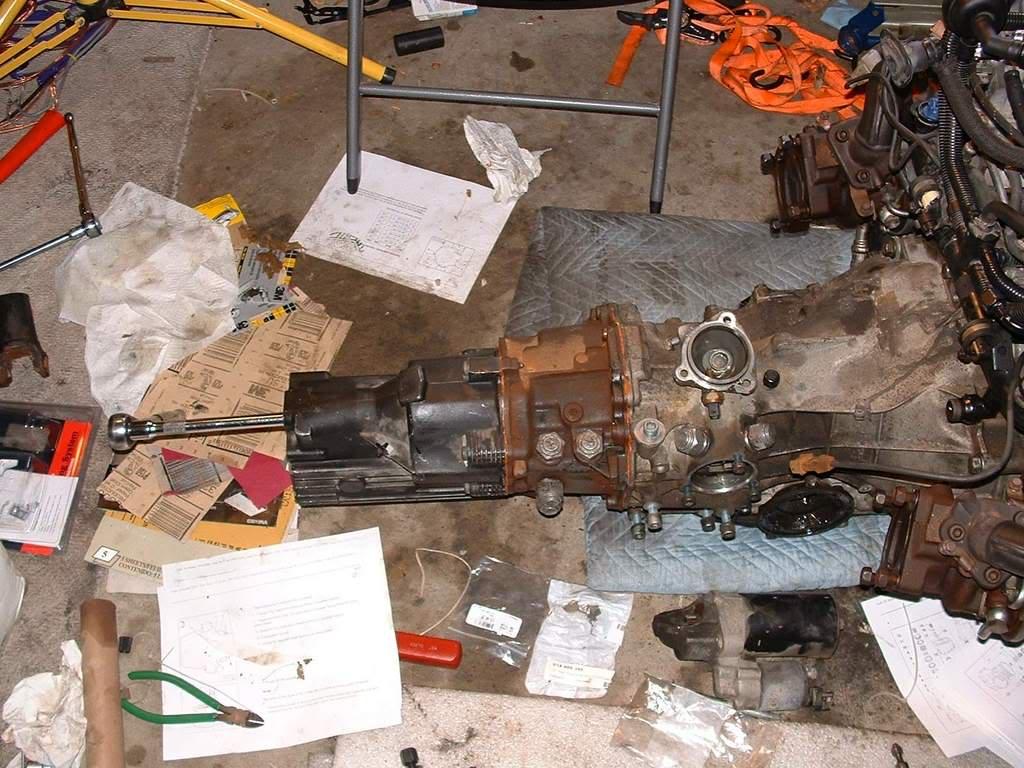
This is where i started putting things together. I did it in a different way
than most people would. I attached the trans case to the engine first.
Again, lots of images skipped... and the gear cluster is back together.
The 2nd and 3rd gears got new synchros and the 4th gear got the 6th gear synchro
since it had the least use. The sixth gear got the 4th gear synchro since it barely
needs one anyways. Both synchros for 4 and 6 though were in good shape.
Another pic of the gear cluster. Here i used a zip tie to make sure the
front differential input shaft stays well in the output shaft since those
pesky loose tapered rollers are right in between them.

Here the gear cluster is reattached to the main casing. I used cooper based gasket maker
to seal the mating surfaces and make sure temp and oil won't "eat" the gasket

Here i verified that the selector forks align properly. If they don't then you
goofed up big time.
Here i attached the torsed housing.
Here the torsen was reinstalled and the rear cover installed.
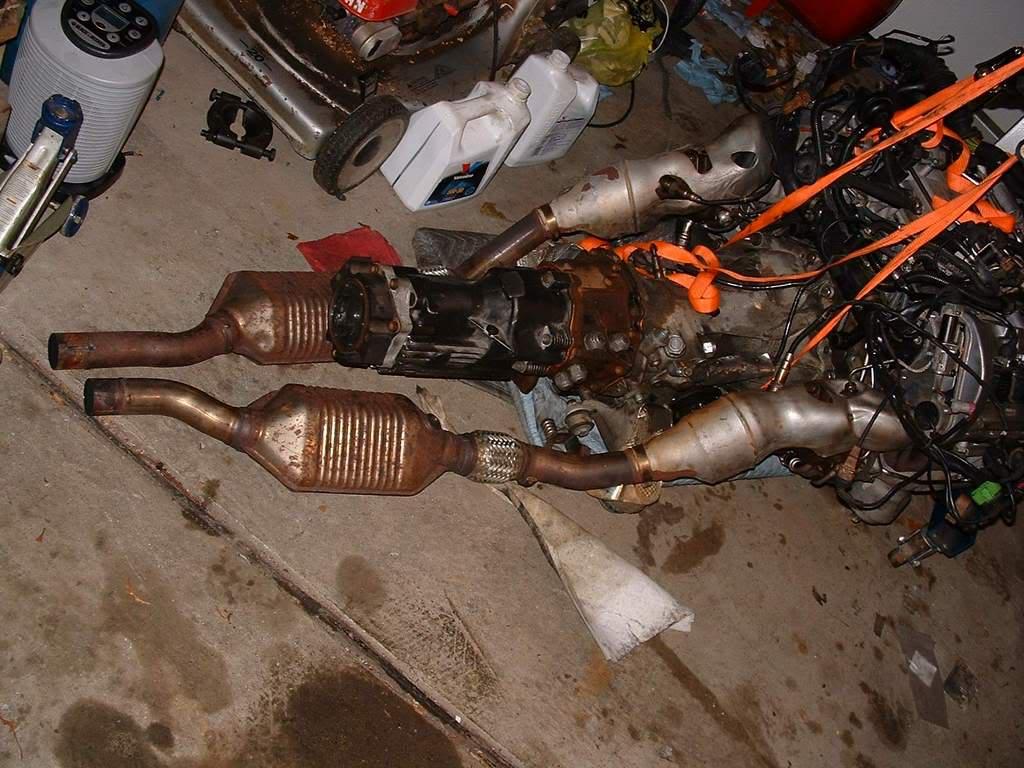
At this time i reinstalled the downpipes and cats and got everything ready for
reinstalling in the vehicle.
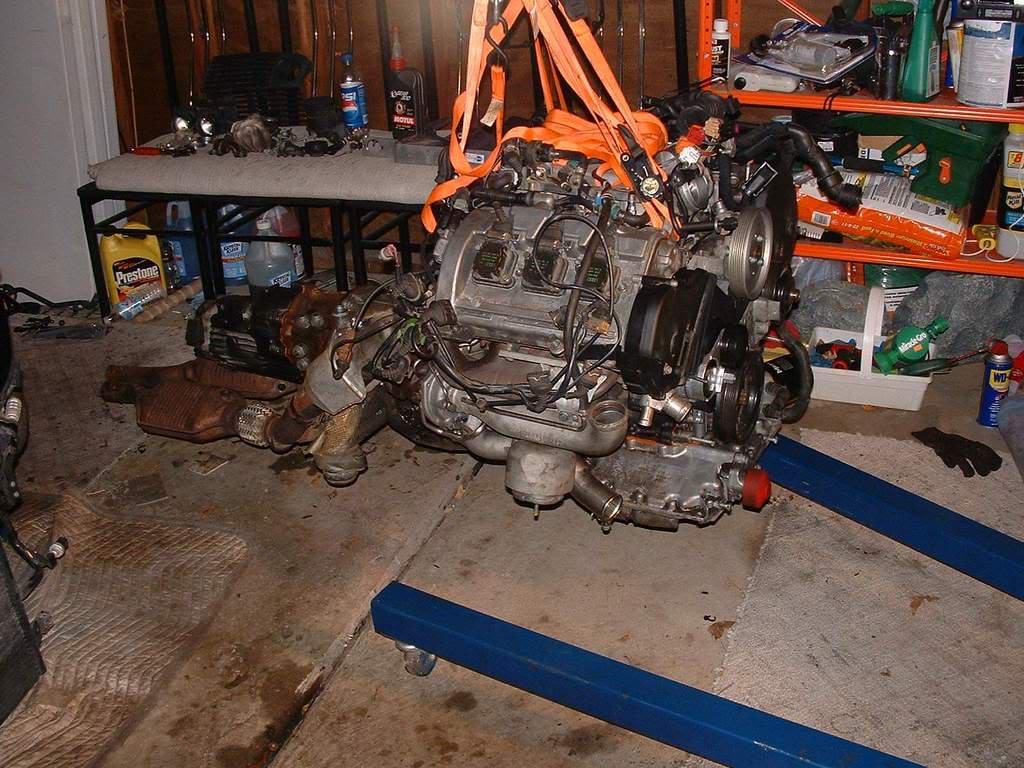
It's on its way in...
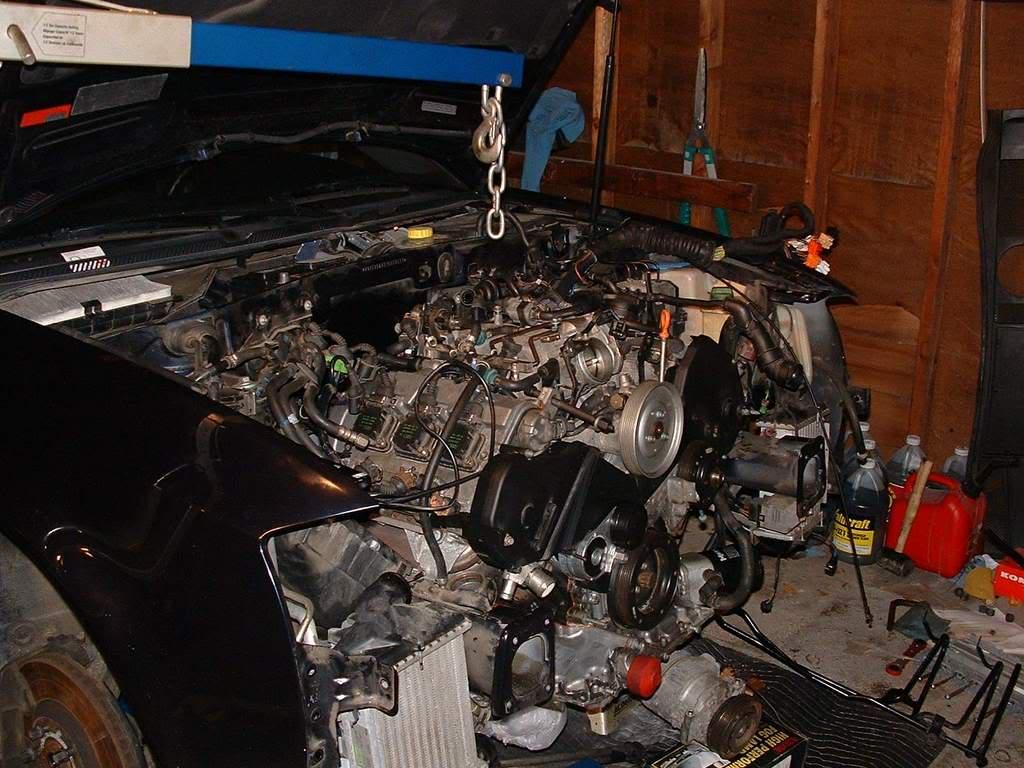
After about 20 minutes, since i was by myself, everything is in it's place
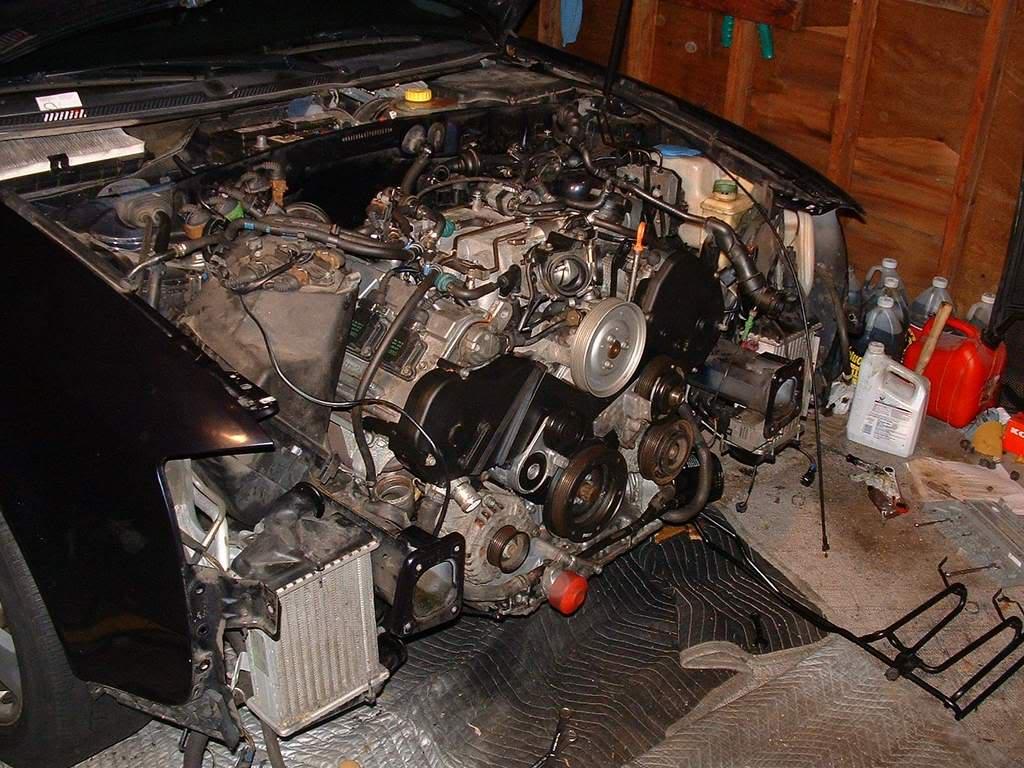
Almost there... starting to look like a car again...
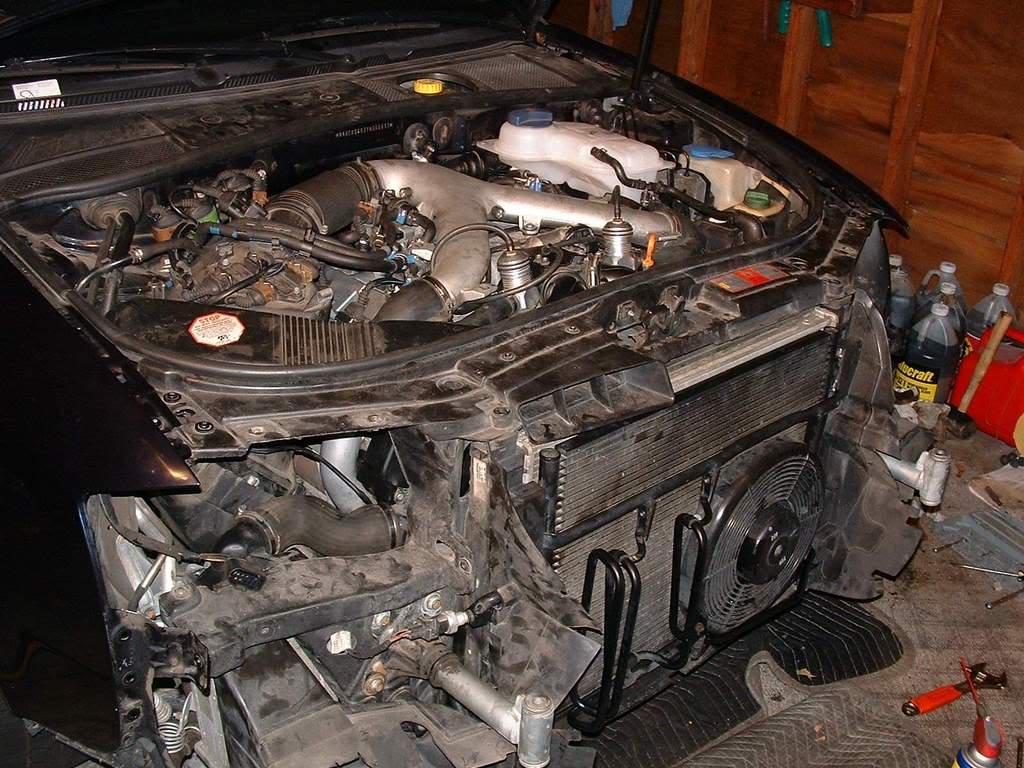
A few things left but looking good.
Again, i would like to emphasize that this post is not a complete guide to rebuild your
transmission. It only shows a summary of steps i went through for who is curious
about what the rebuild implies. I might post a very detailed guide about how to do it
since i took pictures at every step but the time involved would be quite long and i don't have it.
If forum members will demand the detailed explanation i will put in the effort
since i got a lot of help here too.
Now... time to test drive the car. The first time i started the car i was super
cautious because i did quite some work on the engine and transmission and wanted to make sure
everything is ok. To my super enchantment, there were no issues at all and so far,
after about 3k miles, still no issues and no leaks.
Since the clutch was new, it needed to be broken in for a few hundred miles.
Initially the clutch pedal was soft since the SAC mechanism was not yet in it's
operating position. The transmission was refilled with the motul 300 synthetic oil.
In my opinion, it is better than the redline mt90 because it does not have the cold
weather hard shifting issues that redline does. In the first hundred miles i was
a bit scared since the transmission was hard to shift and hard to engage.
All i had to do though is keep driving it because i felt it was getting better
and better. I was going easy on it to avoid missed shifts. After about a hudred
miles the trans became the super trans it is supposed to be.
I have short shifter and even with that it is easy to shift. I was now able
to go in 2nd even at 50mph (not that i ususally do that) when before i could hardly
get in 2nd at 25. 3rd was engaging smooth and no more grinding. The higher gears
were the last to come back to normal and i think it's just that they were less used.
At this point after about 3k since the rebuild i'm very happy with the result and the
parts only cost about $300 total for the transmission.

Great build with pictures and details!
Posted by Diggymart on 12/31/19 @ 7:40:20 PM