You must be logged in to rate content!
3 minute read

Alternator Replacement DIY – A4 B5
Compliments of A4 2000 @ audiforums.com
Tools needed
-10mm wrench or socket(battery connection)
-6mm allen (top alternator bolt)
-8mm allen (bottom alternator bolt and fan pulley bolt)
-1/2" wrench (alternator wire connection)
-flathead screwdriver (throttle body hose and alternator sensor removal)
-wrench for belt tensioner (I used an adjustable wrench)
-something thin to put through fan pulley (I used a thin allen wrench)
The first thing to do is to disconnect the battery using a 10mm wrench or socket. You don't want to forget this later when removing the wire connected to the alternator. Now use your flatheadscrewdriver to remove the two clamps holding on the hose going to the throttle body. Another thing to get out of the way is the cover going over the power steering reservoir. Next step, remove the belt going over the alternator pulley by moving the tensioner clockwise with your left hand while removing the belt with your right. To make things easier later, I left the wrench on the tensioner by wedging something in there.
To remove the bottom alternator bolt, removing the fan pulley makes life a lot easier. To do this you need to remove an 8mm allen bolt. To keep the pulley from moving, find something thin that fits through the small holes on the pulley.
Now just pull the fan and pulley towards the radiator.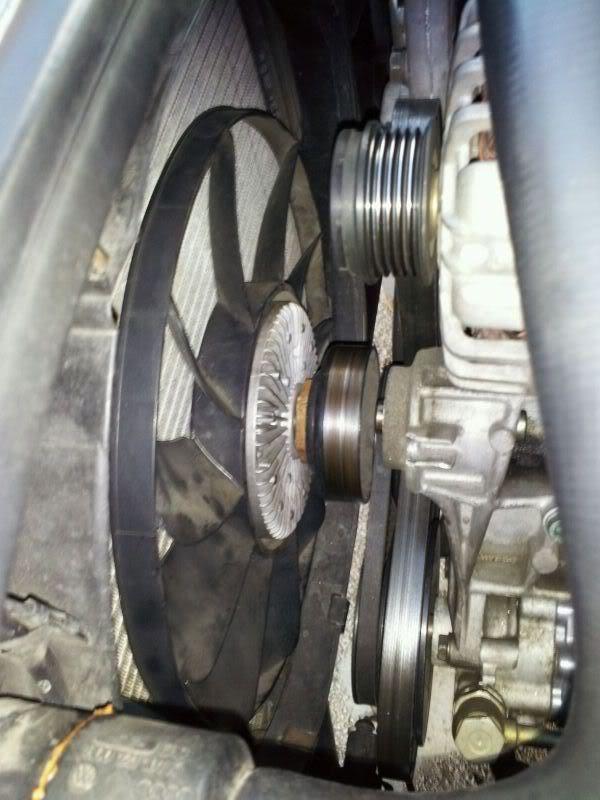
Now that you have full access to the lower alternator bolt, remove it with an 8mm allen (preferrably allen socket since these bolts are on super tight).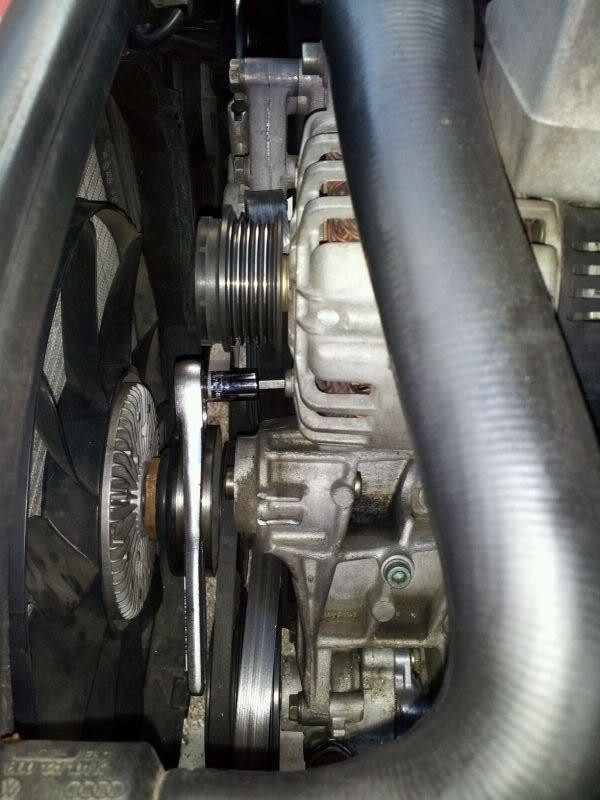
The top bolt is next which needs a 6mm allen. I used an actual allen wrench since I didn't have an allen socket for that size.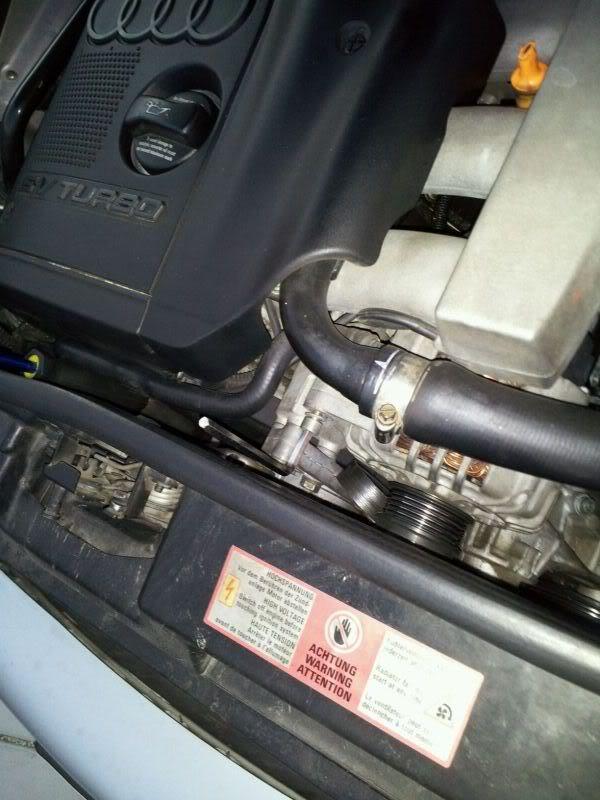
Wiggle the alternator and slide to the right. This might take a little persuasion. Now rest it pulley side down and remove the nut with a 1/2" wrench. You have to get at it at an angle since there is plastic around it. The sensor harness needs to be pried off using a flathead screwdriver. Mine was stuck on there like there was glue on it for some reason.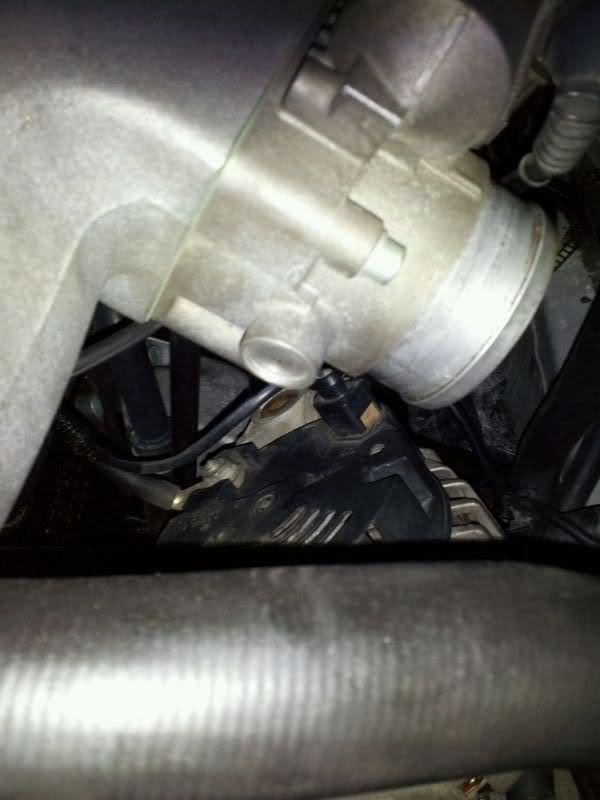
Now you can pull it out carefully and install the new one in the reverse order.