You must be logged in to rate content!
5 minute read
Replacing front sway bar - A4 B5 1.8T
Compliments of BaseDrifter @ www.audiforums.com
Not responsible for any **** you **** up. Proceed at your own risk, your car, your problems. Enjoy.
Car: 1997 A4 1.8TQM
------------------------------
This is my first official DIY, so if you have a suggestion don't hesitate to let me know.
About a year ago I picked up a set of S4 sway bars for ~$100. I immediately noticed an improvement in body roll and handling overall.
Flash forward to last week. I had the car out for a night time mountain run and was really noticing my understeer when cornering. Tonight I opted to remove the front S4 sway bar and put the A4 bar back on.
There is a significant difference between these two bars. Outside diameter is the same, but the A4 bar weighs 9.5lbs while the S4 bar weighs 16lbs.
Note: If you decide to replace the sway bar using jack stands, you will most likely have to remove a wheel or two to relieve pressure on the bar. If done on ramps, this is not necessary. The new bar should slide right into place without any movement of the suspension or wheels.
Tools Necessary
Floor jack/jack stands or ramps
13mm wrench or socket (for the 4 nuts holding the middle of the sway bar to the car)
16mm and 17mm open end wrenches or sockets for the end link connection
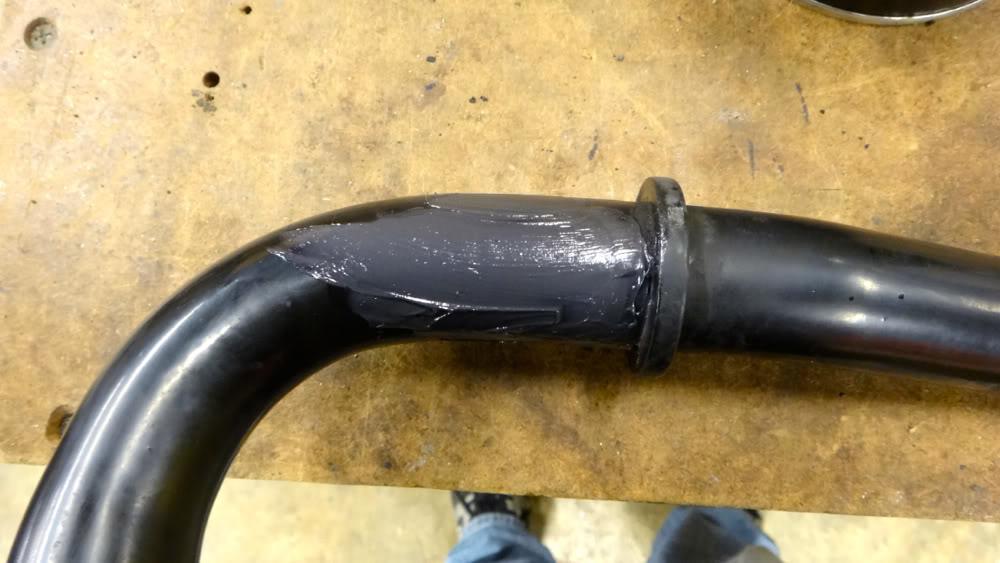
Grease for sway bar bushing
Step 1
Either jack up the car and place on jack stands or use ramps. I chose to use ramps (and almost always do, it's just much simpler if I don't need the extra space jack stands provide.)
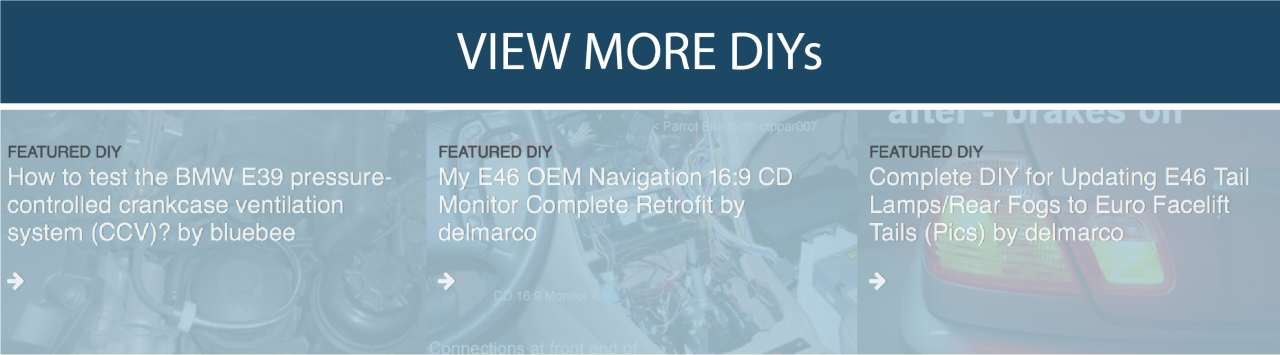
Remove wind tray/engine cover.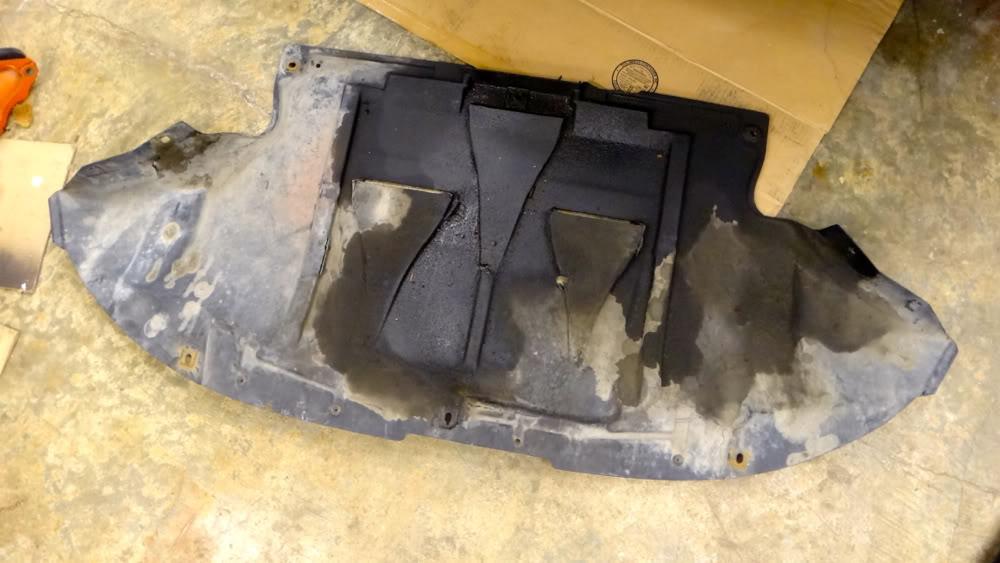
Now show your car how much you love her and clean the crap out of that disgusting oil and road grime soaked cover. (It is also very clear I have an oil leak. Seems to be coming from my oil cooler, add that to my to do list...)
Now with that completed climb back under the car and grab your wrenches.
Step 2
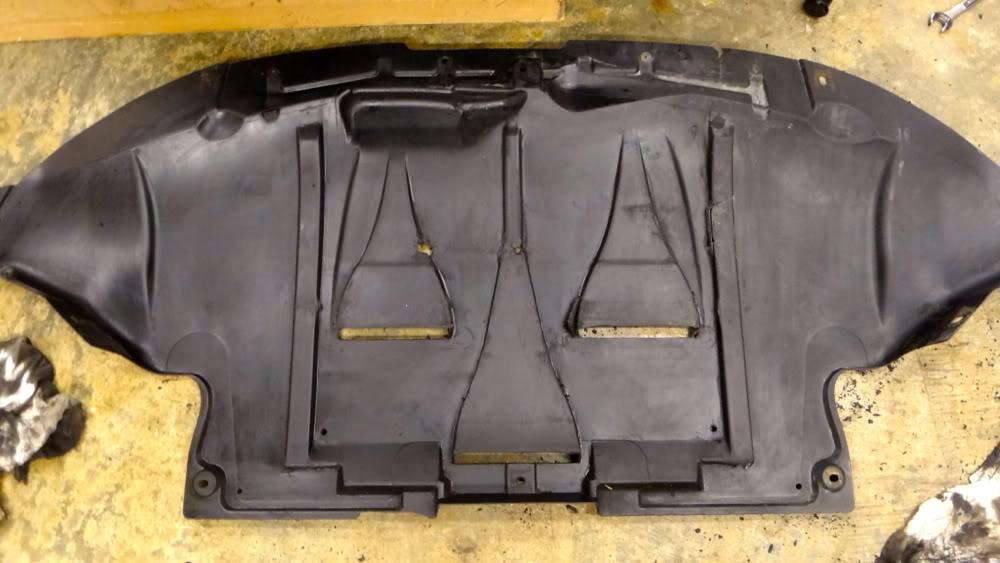
Start by disconnecting both end links. On my car the bolt head was 17mm and the nut was 16mm. Loosen both sides and remove the bolt. Note the nice and shiny new control arms! Yours can look like that too! Do it.
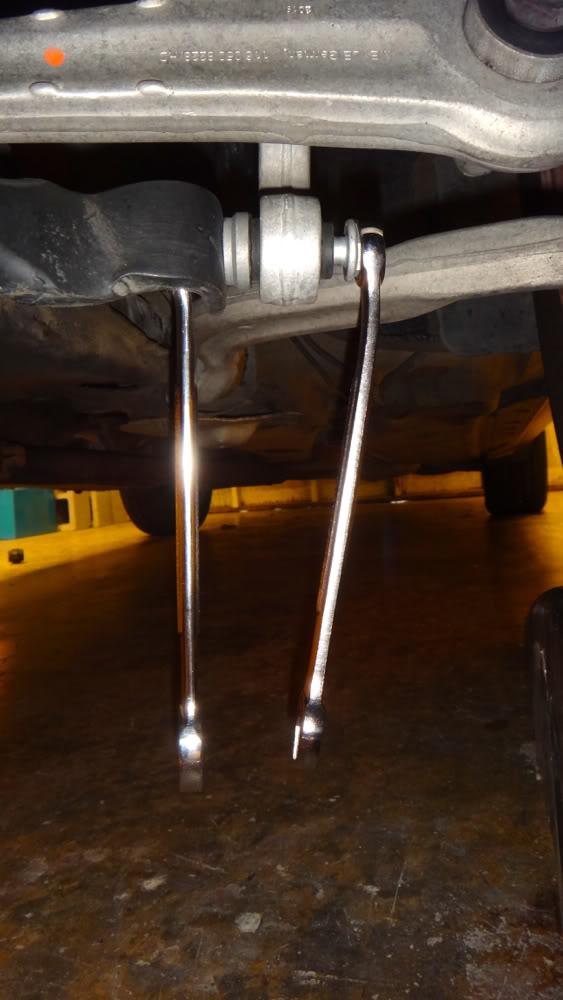
Now you can remove the 4 13mm nuts holding the bar to the car.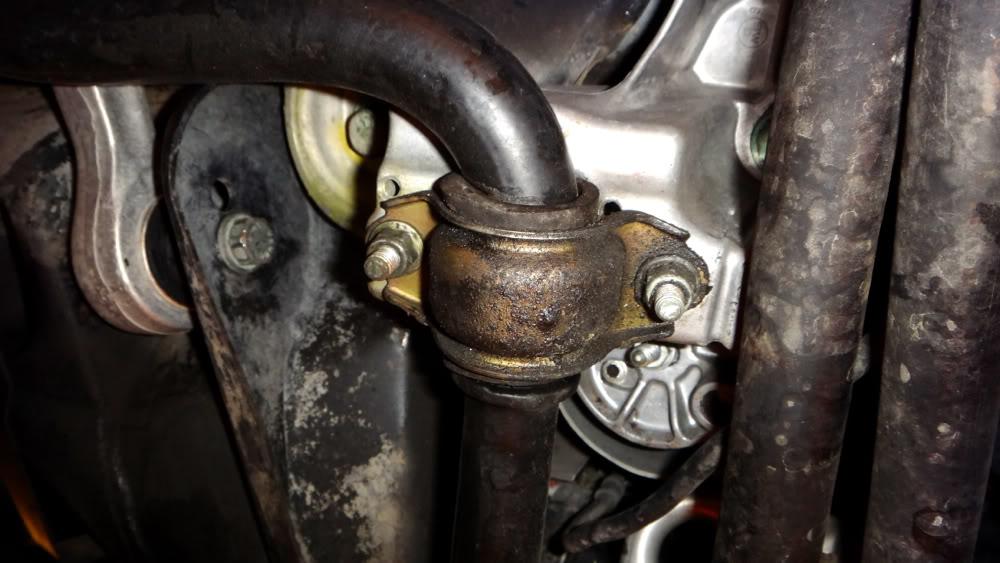
Thats it! Remove the sway bar.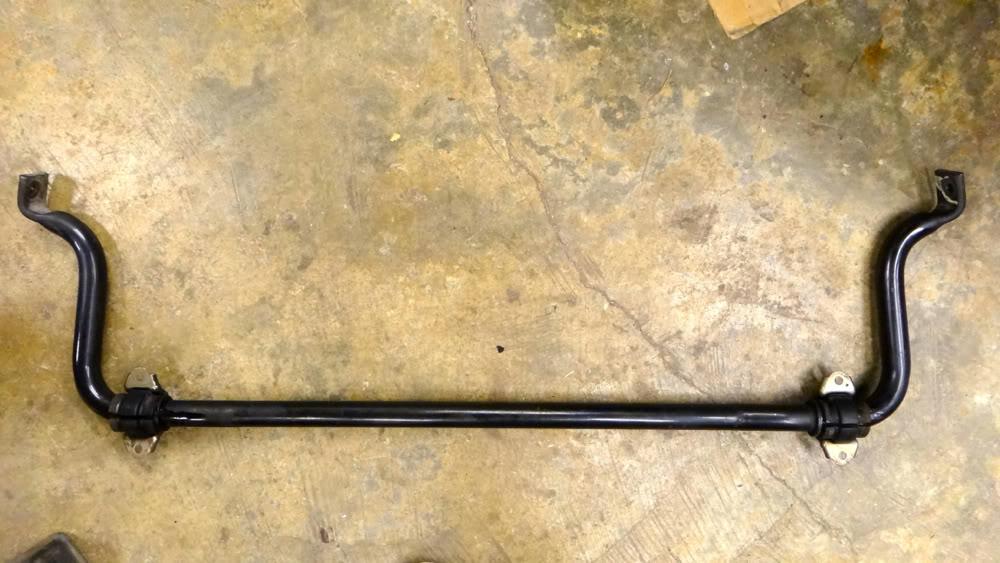
Because we all love our cars and want only the best for them. Take the time to clean up the sway bar mounts & bushings and give them a nice regrease.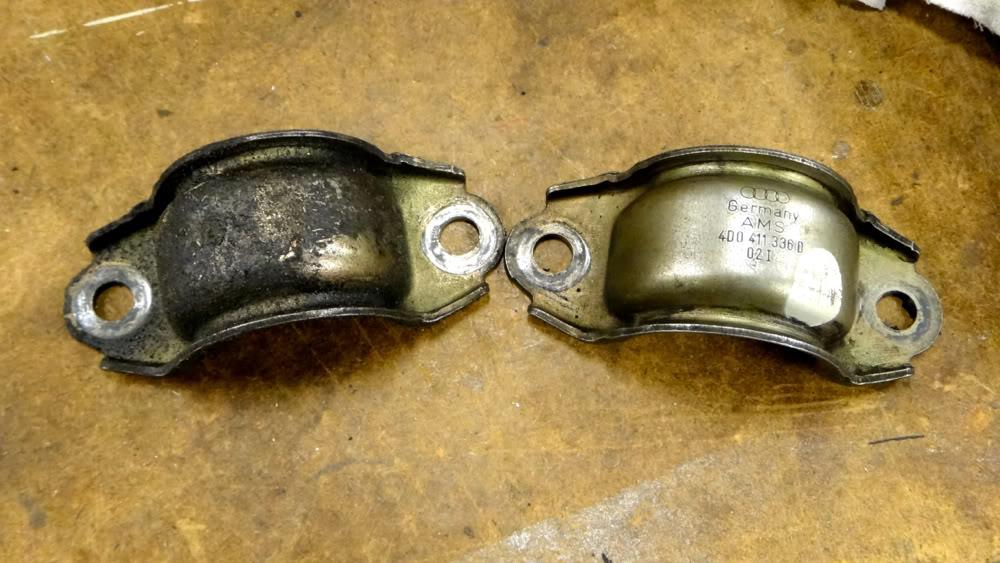
Prepare the new bushings and mounts and proceed to installation. Reverse the above and have fun doing it!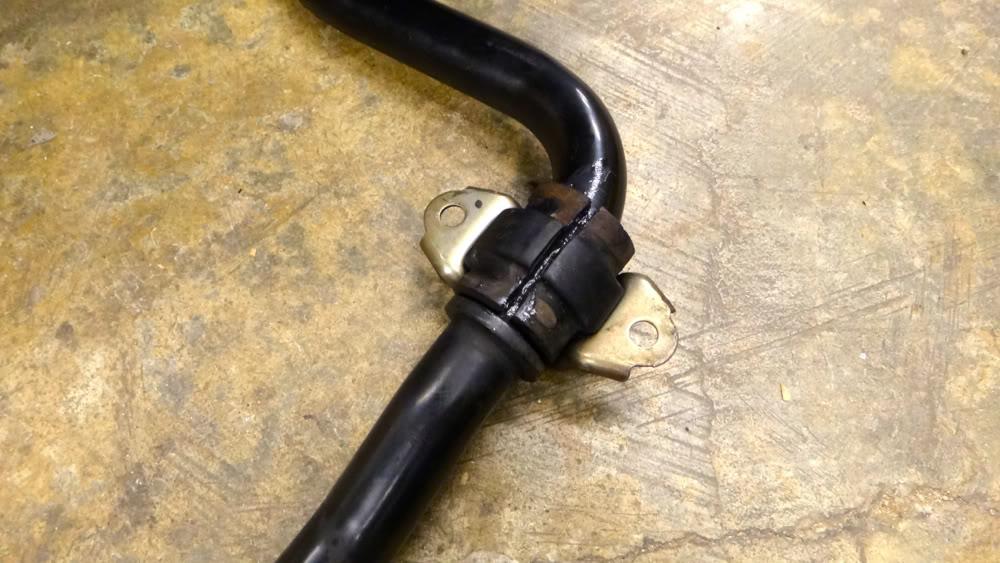
Additional notes
The end links should be torqued to ~75 ft lbs. Tighten the end links and then finish tightening the mounting nuts.
You should also replace the sway bar end links at this time. I had the original end links at first and after installing the S4 bars had a knocking when going over bumps due to the worn out end links.
Installation may differ if you are installing an aftermarket bar. Be aware of rear subframe cracking if you upgrade to a larger than OEM rear bar.
It is always a good idea to come back and check all the bolts/nuts and make sure nothing has started to back itself out.