Audi UR Quattro Rally Build


( 13 )

4 minute(s) of a 379 minute read

6-19-2025

Next, after shimming the doors level and getting most of the body lines lined up, we focused on the fenders. Oh boy! it seemed we may have BMW M3 fenders; they were that far out!
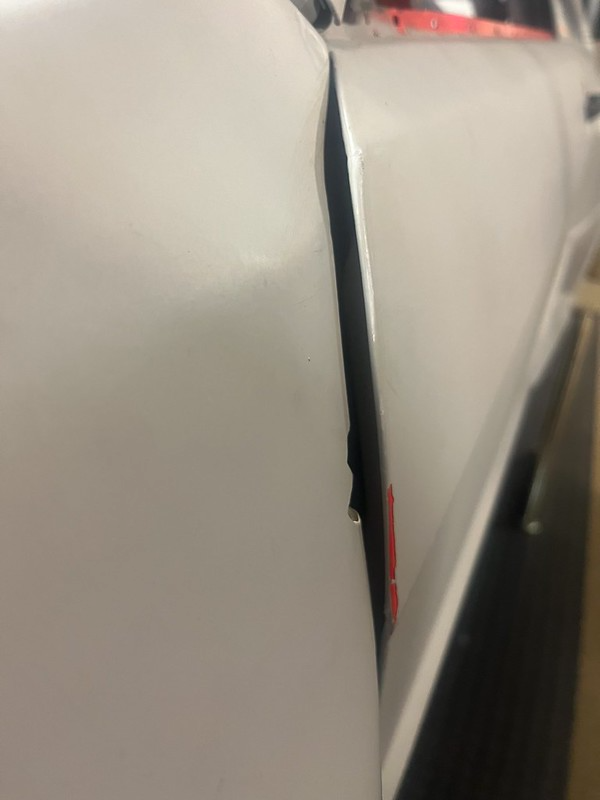
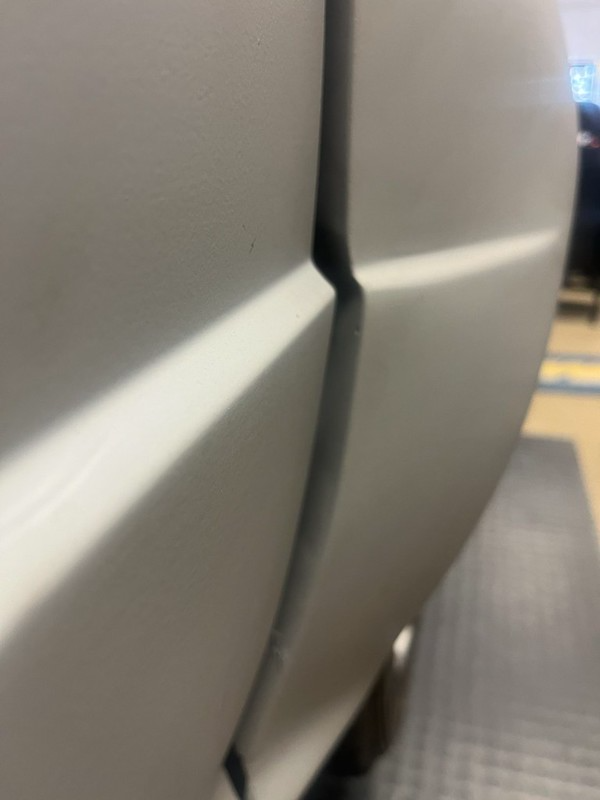
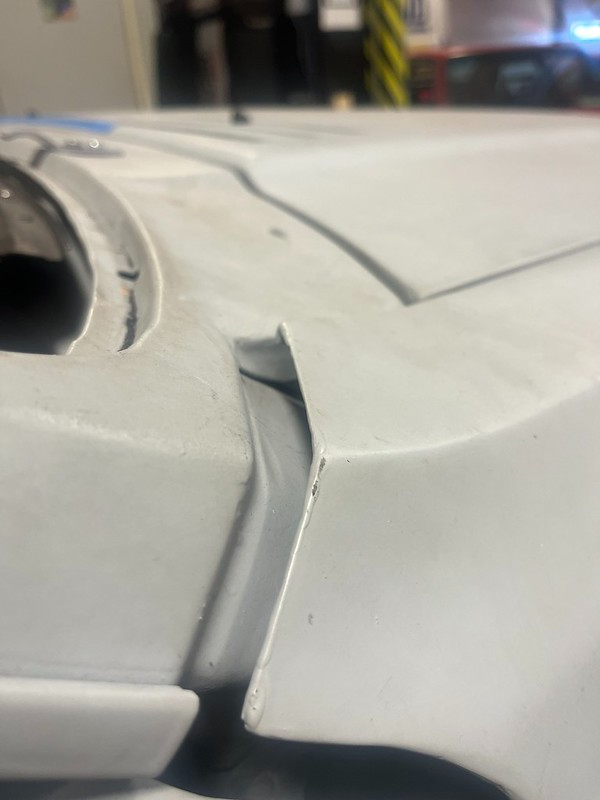
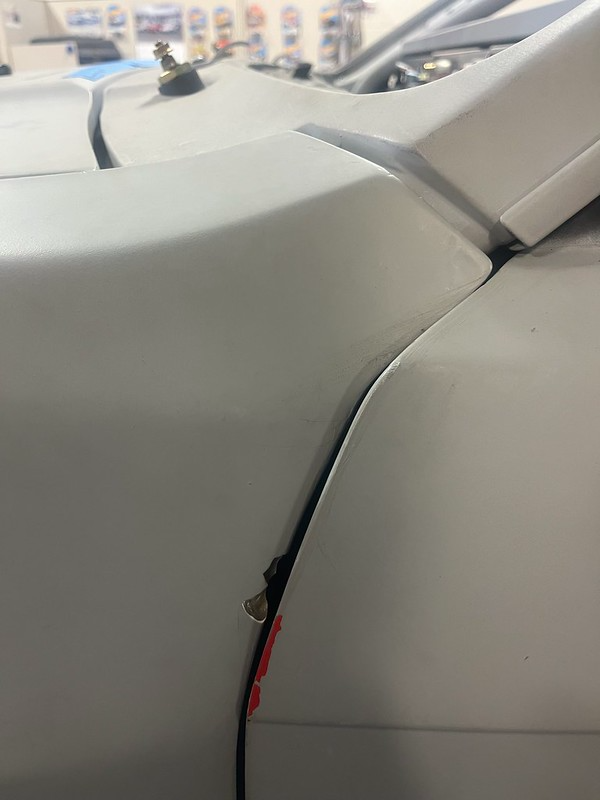
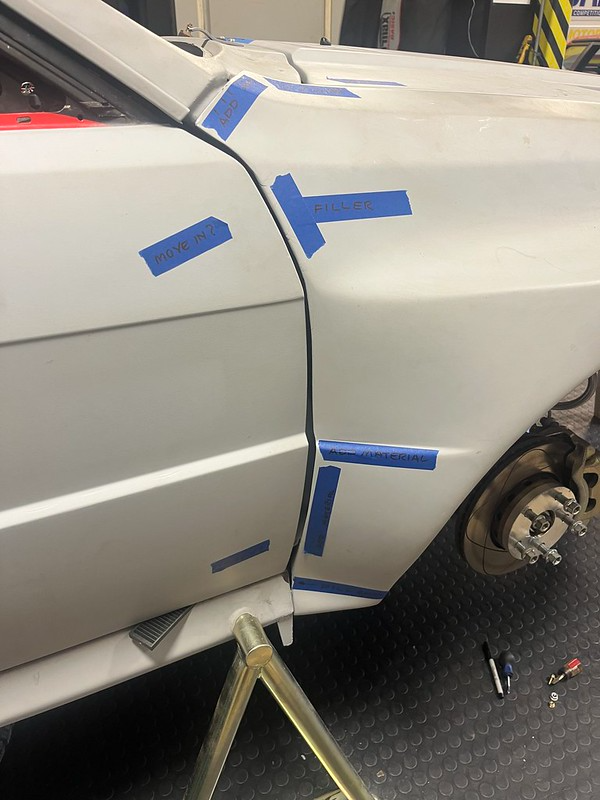
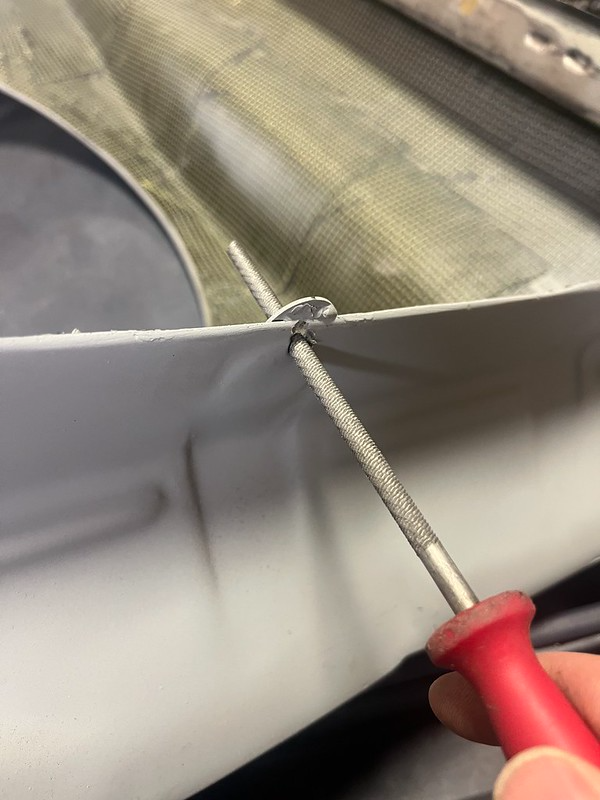
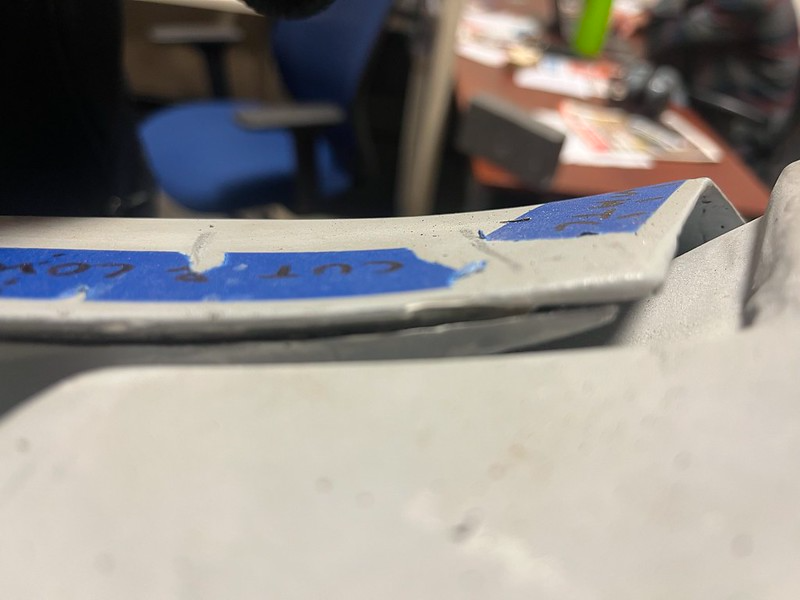
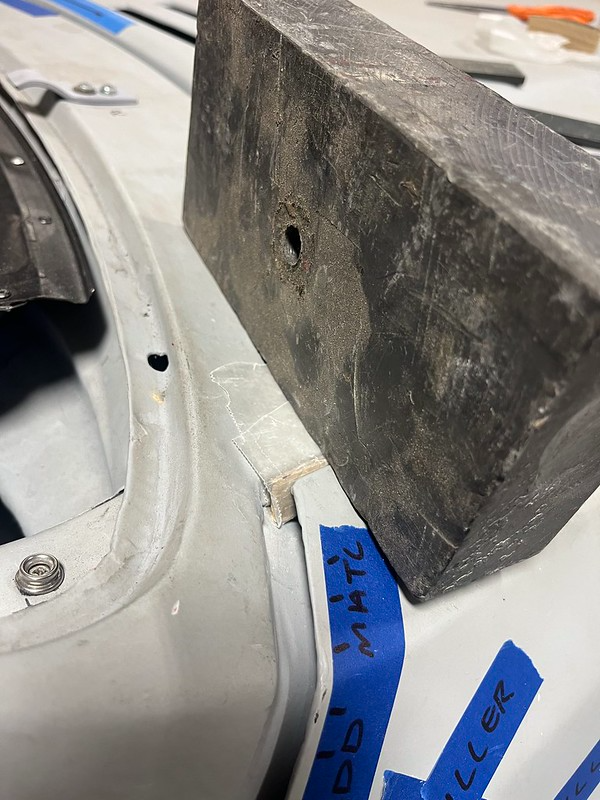
Firstly, we "adjusted" the fit as best we could by adjusting the mounting holes that were once in the right place. That improved things a bit but still left a lot of filling, cutting, grinding and sending left. And that was just to achieve a somewhat race car level of fit. If this was a concours build we would have had to start from scratch.


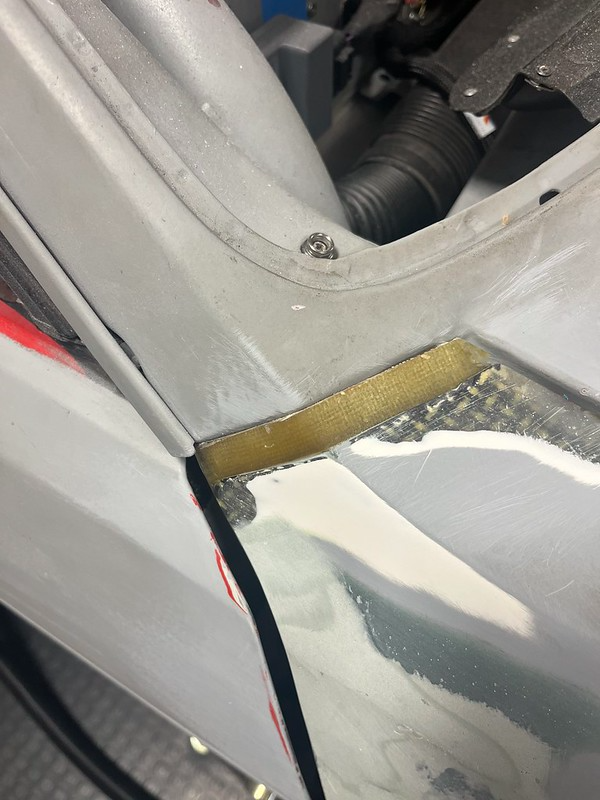
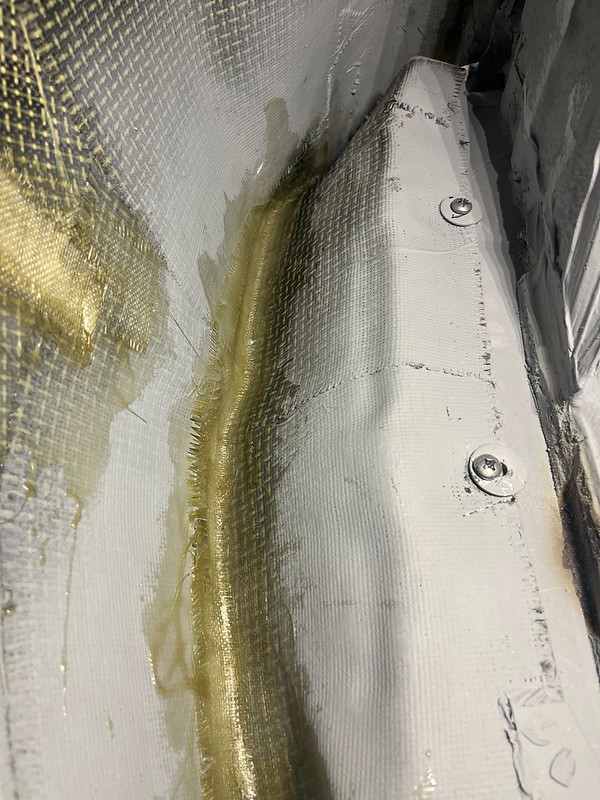
To lower the tops of the fenders where they meet the a-pillar we first cut a long, thin wedge out about a foot back, squished it down with lead weights and fixed it in place with some fiber glass matt and resin on the underside. We also had to extend both these surfaces to actually get close to the a-pillars. This was followed by fill, sand, fill sand, many times over.


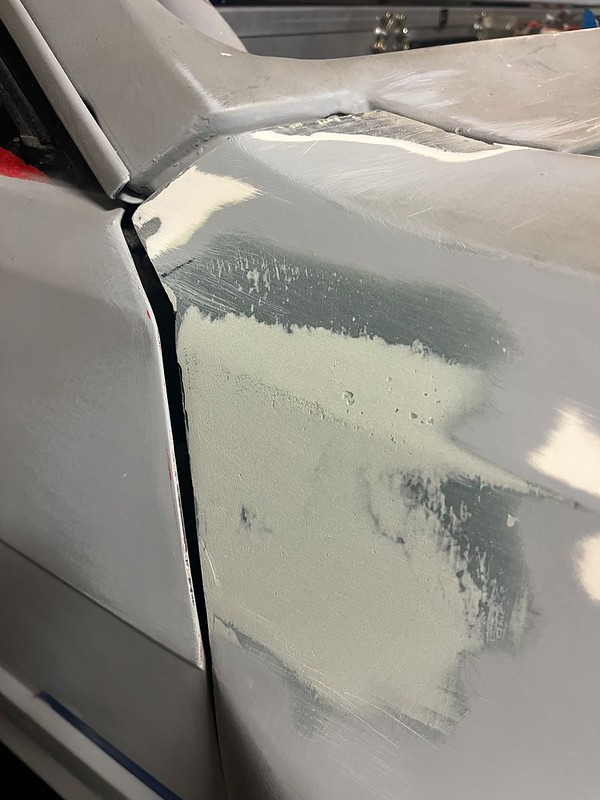
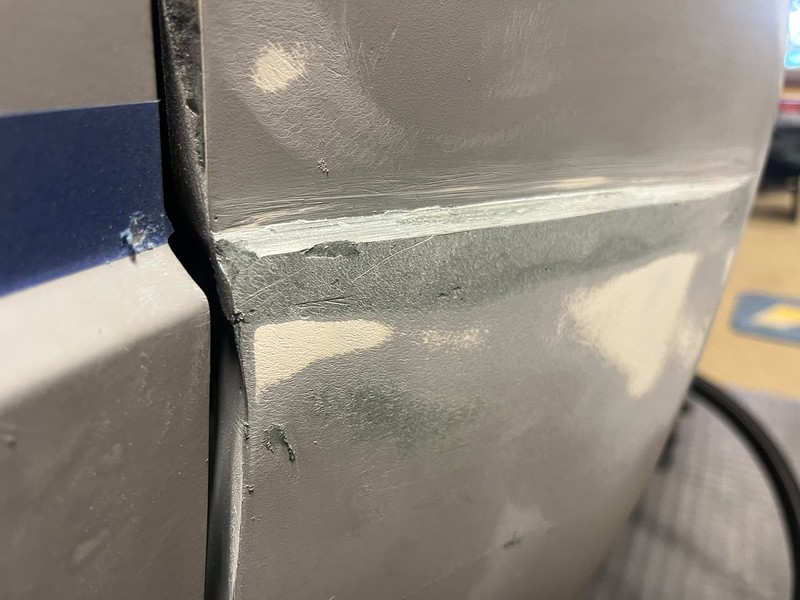
We fixed the sides by adding lots of filler and sanding it down till the panels were in something approaching the same plane as the doors.


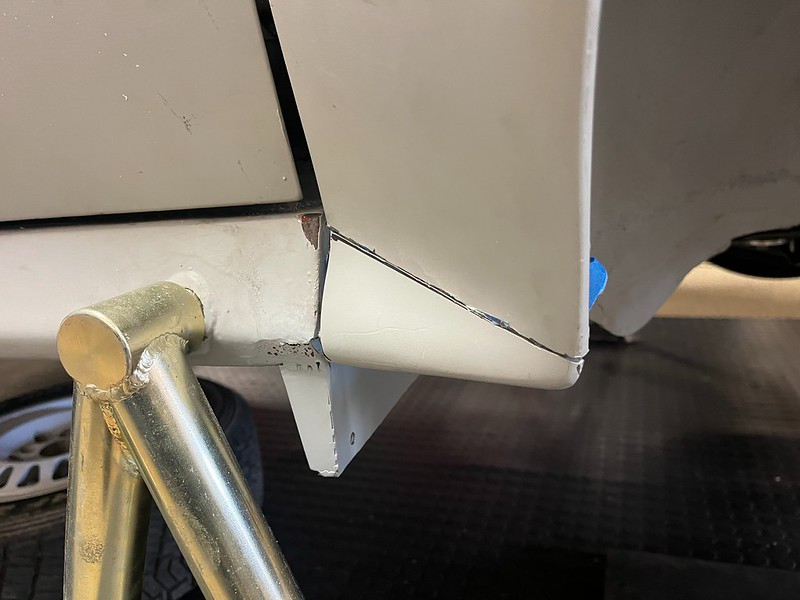
We fixed the bottom part that kicks out by cutting it off. Taking a wedge out of it and glassing it back in the right place. Of course, plenty of filling and sanding was also required.


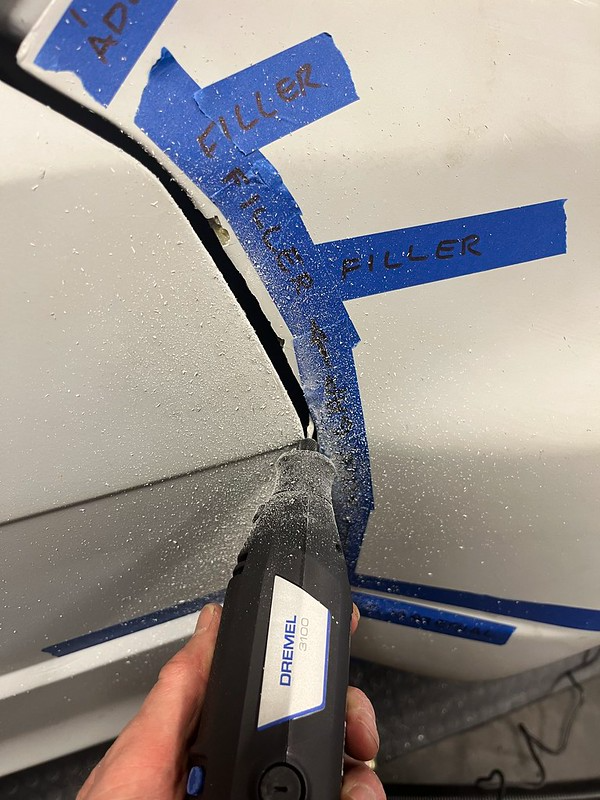
We fixed the door gaps with the Dremel but had to remove so much material that we created holes. We added a lot of fiber glass matt inside this area to restore integrity. Then more filling and sanding, of course.


The lowest and smallest crease on the fenders was so low we had to rebuild it 1/2" higher!


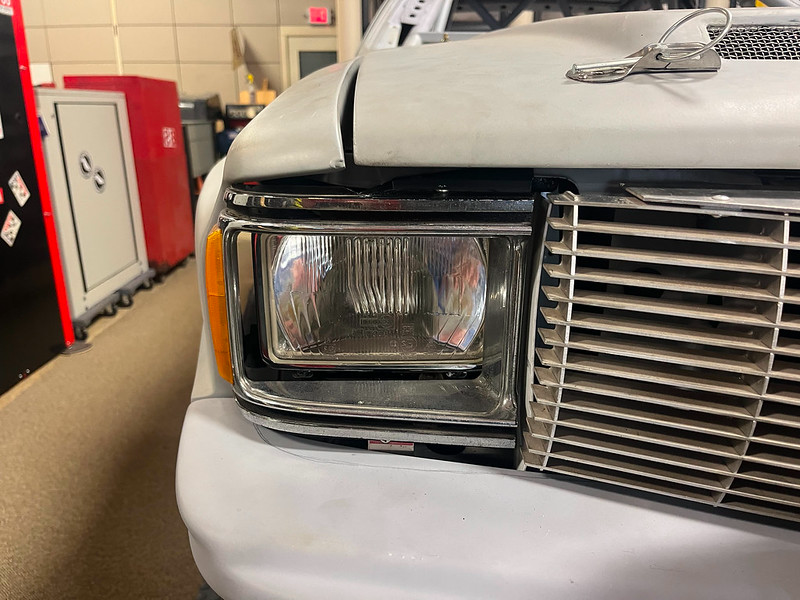
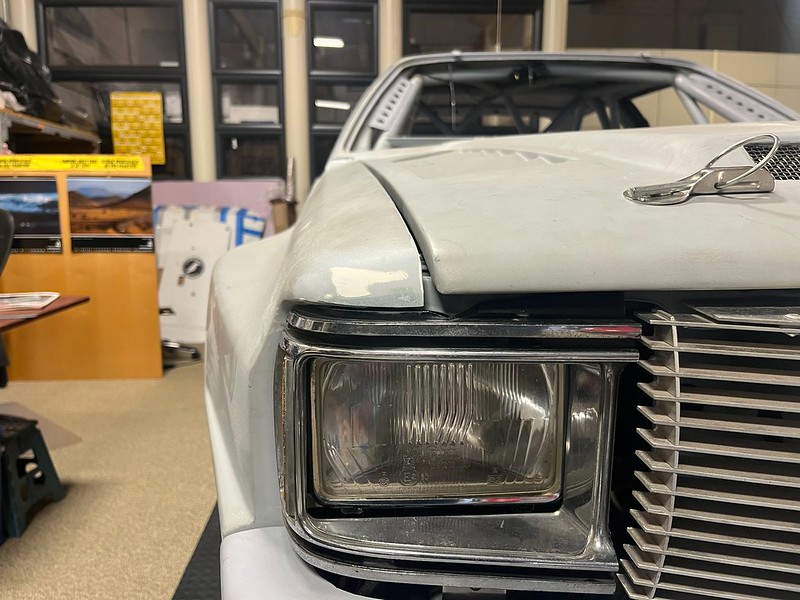
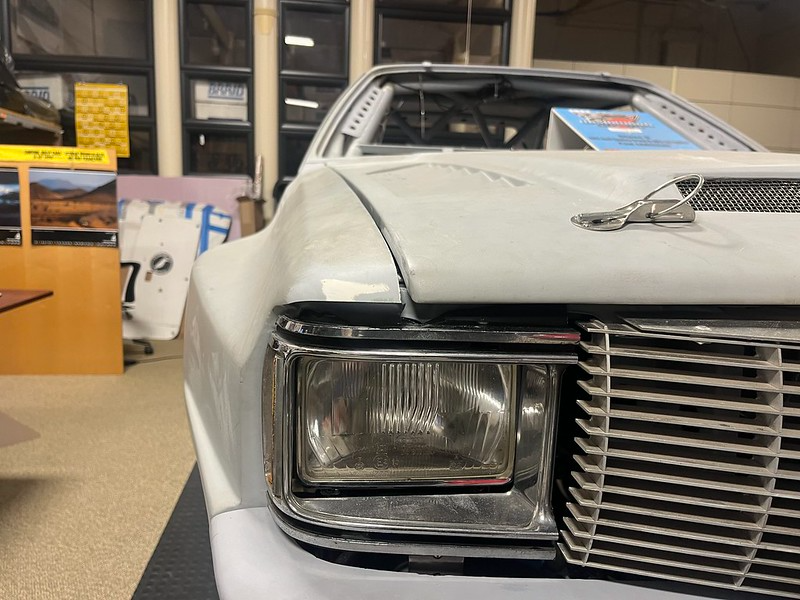
This one made us laugh. We wanted to fix the droopy eye look over the headlights so added material to make them level. This only made them too deep and they no longer lined up with the bottom of the hood return. We decided, at least for now, to hide this issue with black electrical tape. It's quite effective and may become permanent!


Finally, we were happy with the fit and decided to stop. We could always improve it but at some point, you have to remind yourself that it's a rally car and not a show queen. That and the realization that we could tidy it up during paint prep if we really felt the need.


Comments

Lookin good. Pride in work and attention to detail

Posted by Cyphercrash on 3/5/23 @ 8:59:32 PM

Great update!

Posted by Diggymart on 10/10/21 @ 10:31:32 PM

Great build

Posted by tmprod on 3/4/21 @ 6:44:07 PM
Thanks for updating Paul! Ill have to check out your new shop soon!

Posted by diyauto on 12/24/20 @ 5:08:37 PM

Anytime.

Posted by team illuminata on 12/24/20 @ 6:34:09 PM

This will be a beast when finished, looking forward to it.

Posted by MPower on 10/12/20 @ 2:15:11 PM
Great build!

Posted by DIYauto_Admin on 9/9/20 @ 12:08:22 AM

Hey hi Sue!

Posted by Diggymart on 2/14/20 @ 4:12:57 PM

Looks like it’s coming together!

Posted by Diggymart on 11/21/19 @ 2:49:00 PM

Those stands look nice!

Posted by diyauto on 11/21/19 @ 2:47:08 PM
Incredible build! Love the photo's

Posted by MoonpieMagic on 11/8/19 @ 8:00:45 AM

Thank goodness for friends carrying precious cargo!

Posted by Diggymart on 10/10/19 @ 11:40:08 PM

Woo! Excited to check this thing out soon :)

Posted by diyauto on 9/13/19 @ 1:37:14 PM

Great teamwork!

Posted by Diggymart on 7/29/19 @ 3:11:58 PM

Great build!

Posted by Diggymart on 1/17/19 @ 7:24:29 PM

Thanks

Posted by team illuminata on 3/4/21 @ 10:30:06 PM