You must be logged in to rate content!
5 minute read

AUDI A6 94-97 INSTALLATION INSTRUCTIONS
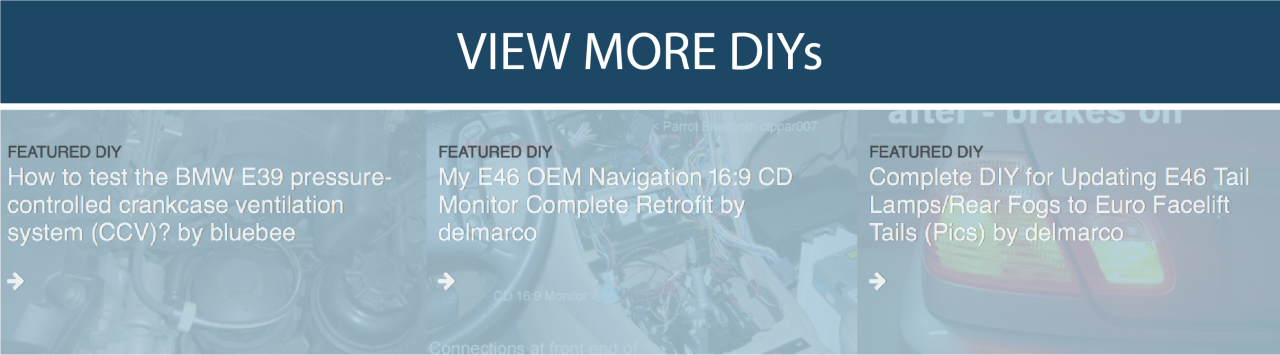
1. Remove shifter knob by turning it counterclockwise.
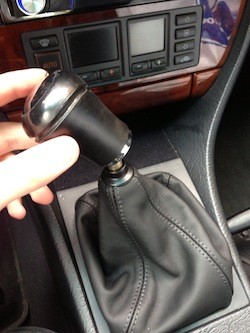
2. Remove the shifter boot together with its retaining frame by gently prying on the rear part of the frame. (Yes, this is the correct procedure according to ElsaWin, nothing breaks).
If you are only replacing the shifter boot you can skip steps 3-12.
3. Remove two screws holding the rear part of the center console.
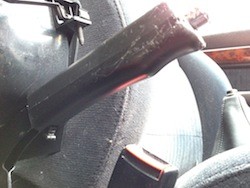
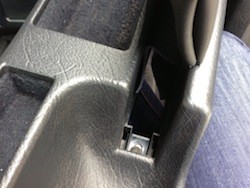
4. Unclip the e-brake handle by using a small flat head screw driver. Gently pull the plastic handle off. Twist it a little and it will remove easier.
5. Gently pry of the rear cigarette lighter cover. (Again according to ElsaWin).
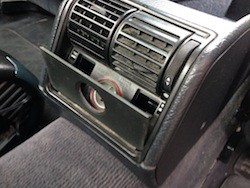
6. Remove two screws. The cigarette lighter panel comes off.
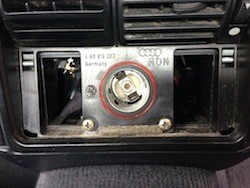
7. Disconnect the cable.
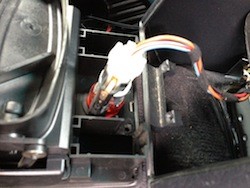
8. Move seats all the way forward. Remove one bolt on each side.
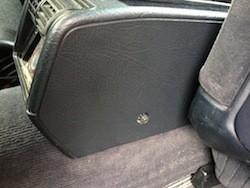
9. The entire rear center console can now be removed. Start by lifting the rearmost part to free it from the air vent tube. Then move the entire part forward so that it can slide off of the hand brake.
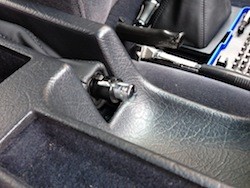
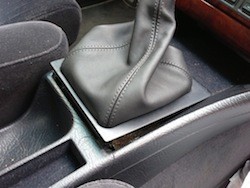
10. There is one bolt and one screw holding the boot to the console. Remove the bolt in the front. Its hidden under a small piece of plastic.
11. Turn the rear center console upside down and unscrew the rear screw.
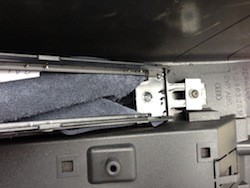
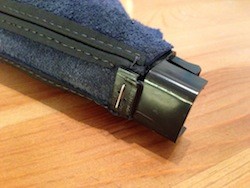
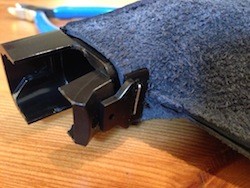
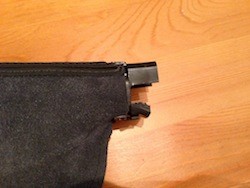
12. Remove all the metal clips from the boots, holding them to the plastic parts. To do this for the shifter boot, you have to remove four screws from the bottom of its frame.
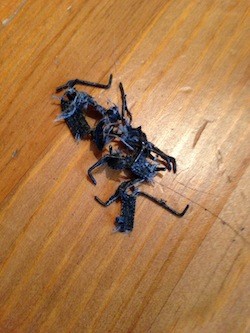
13.All parts are now removed. You should now have two round plastic parts from the top of the shifter boot and a two part frame. For the hand brake you should have a plastic rectangle from the front and a large plastic frame.
14. Screw the two round plastic parts to the top of your new shifter boot. Use a regular stapling gun to mount the new boot to the plastic shifter boot frame.
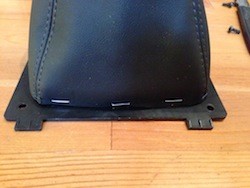
15. Put the two bottom plastic frame parts together using the 4 screws.

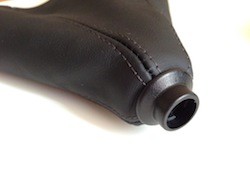
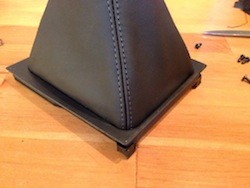
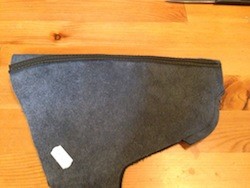
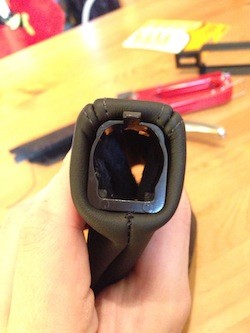
16. Finished shifter boot.
17. Carefully turn the hand brake boot inside out.
18. Staple the hand brake boot to the small plastic rectangle that went around the hand brake handle.
19. Pay attention to the orientation.
20. This is what you should be looking at if you did this carefully.
21. Carefully turn the boot inside out again. The result should look like this.
22. Staple the rest of the boot to the larger plastic frame.

Reassemble your interior by following steps 12-1 in the reverse order.
ENJOY YOUR NEW LEATHER BOOTS!
Useful tip
You have installed a product made out of genuine leather. As you know, to maintain a leather product in good condition, you should take care of it. We suggest occasionally (every 4-6 week for example) applying some leather conditioner/UV protector to keep your leather from drying up in the sun and cracking.
Redline Automotive Accessories Corp. will not be held liable for any labor, incidental or consequential damages of any kind. Proceed at your own risk.