You must be logged in to rate content!
4 minute read

MAZDA6 2013-16 REDLINEGOODS SHIFT BOOTS - INSTALLATION INSTRUCTIONS
Tools needed:
ü Plastic pry bar / trim removal tool ü Philips screwdriver
ü Knife
Trim removal (applies to both boots)
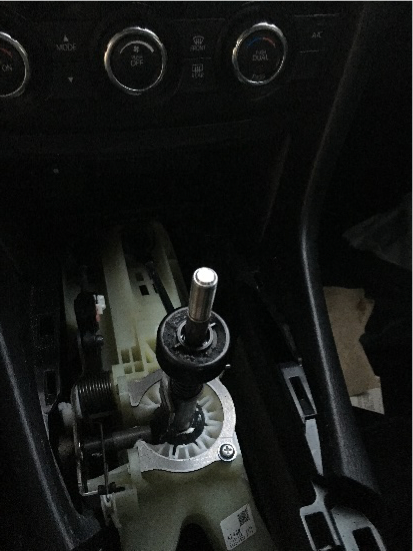
Remove the shift knob by rotating counter-clockwise.
Pull the ebrake up as high as it will go. (just give it a good yank – don’t go crazy)
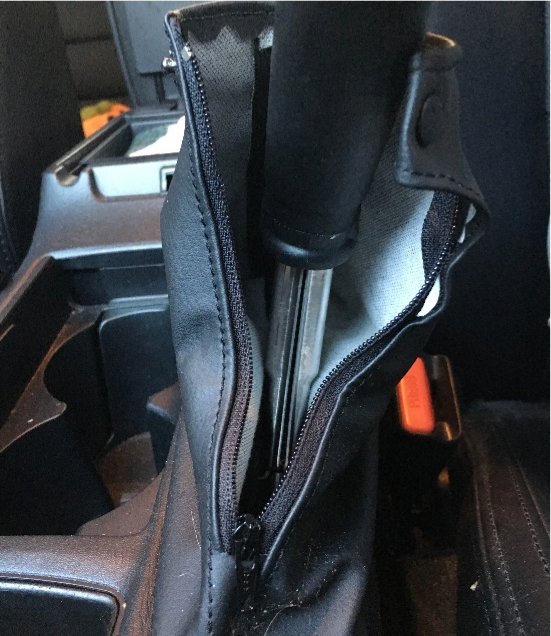
Un-snap and un-zip the ebrake boot
Lift the armrest lid and slide a prybar in between the console trim and the storage box. Carefully pry up the trim.
(not shown) If you have the commander knob installed, disconnect the cable connector from the bottom of the unit.
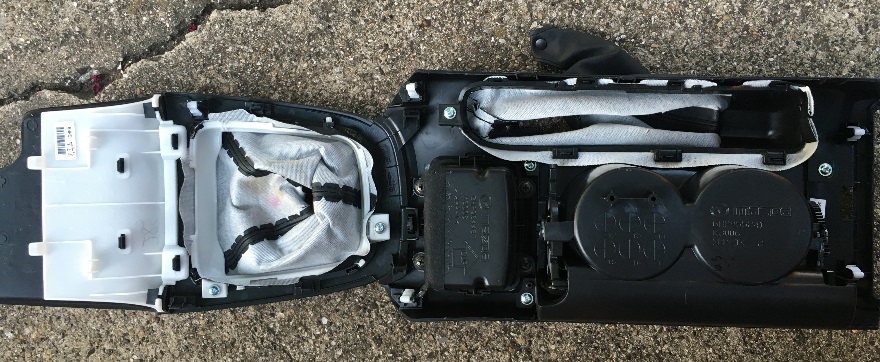
Red circles show where all of the connectors and tabs are.
There are also small teeth along the outer edge of the floor console trim running parallel to the cupholder and ebrake boots

Ebrake boot replacement
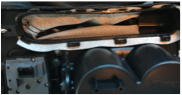
Remove the screw from the hole circled in blue.
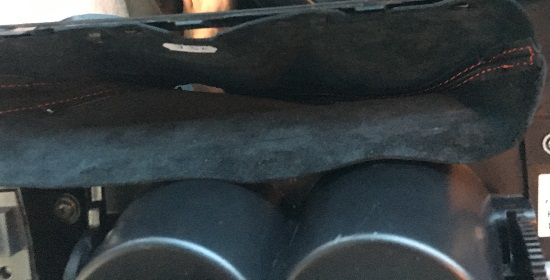
Then, carefully separate the ebrake boot retaining ring from the console trim by loosening all of the teeth and tabs around the ring.
Now you can remove the OEM ebrake boot
Line up each side of the OEM boot with your new boot from Redline Goods.
Make sure all of the cutouts in the OEM boot are present and opened in your new boot.
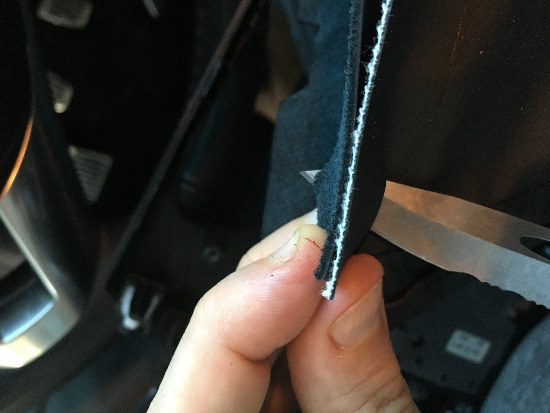
Use a knife to transfer / enlarge the cutouts in your new boot, where necessary.
Line up your new boot with all of the teeth and tabs in the console trim.
Reinstall the e-brake boot retaining ring. Be sure to get all of the teeth (especially the large tooth at the rear of the boot. Properly seated.
Use your knife to adjust/enlarge any of the
booth cutouts, if needed.
Re-attach the single screw that connects the e-brake boot retaining ring to the console trim.
Re-install the console trim. Installation is the reverse of removal. Enjoy!
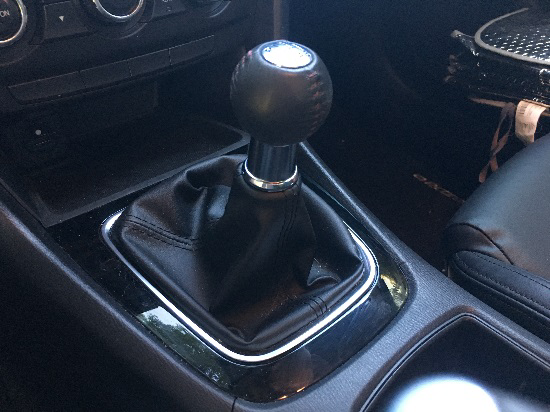
Shift boot replacement
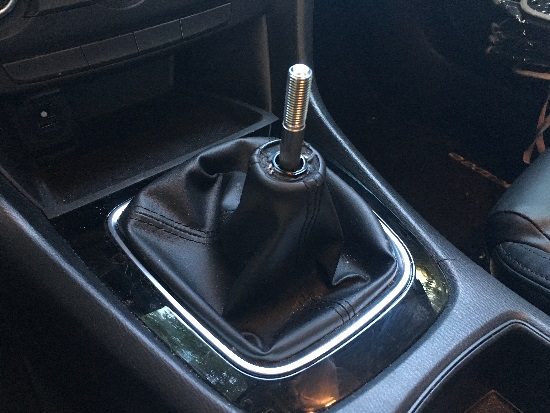
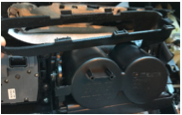
Remove the two screws circled in blue.
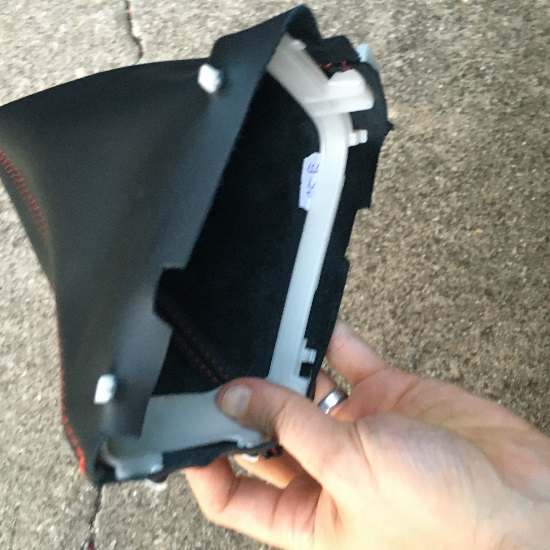
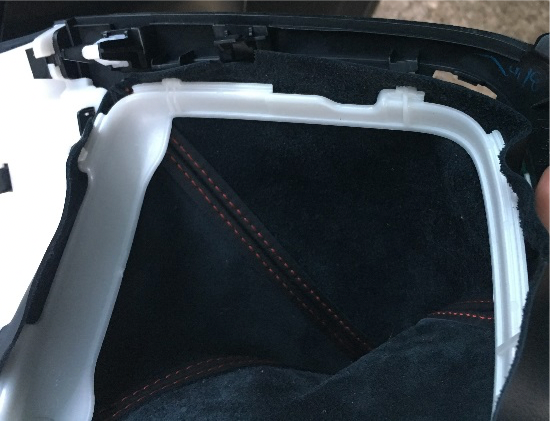
Lift the white plastic shift boot retaining ring and the shift boot away from the shifter console trim.
In addition to the circled screws, the ring is held in place by two teeth, indicated by the arrows.
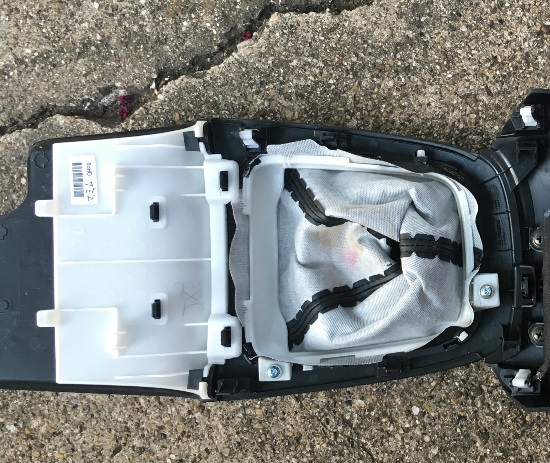
Now, remove the OEM shift boot from the plastic ring.
Turn the OEM shift boot inside out, and use your knife to carefully separate this plastic ring from the top of the shift boot.
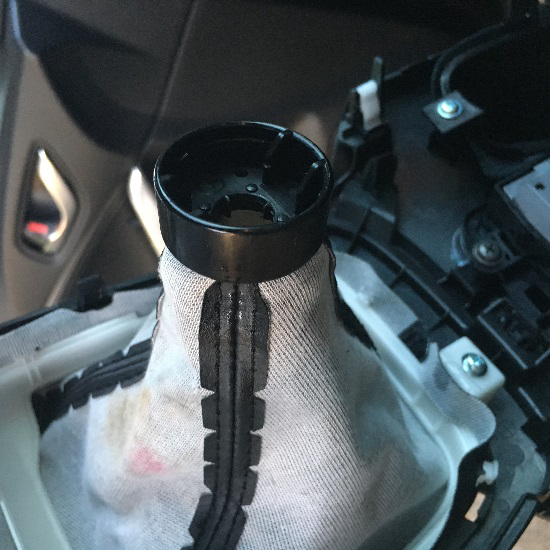
Install your new RedlineGoods shift boot on the plastic retaining ring.
Re-attach the shift boot/retaining ring to the shifter console trim. The teeth (circled here) need to go in first. Then you can re-install the two screws.
Install the plastic ring you separated from the OEM shift boot on your shift lever.
Now you’re ready to re-install the shifter console trim with your new boot attached. Installation is the reverse of removal. Enjoy!