- - Philips screwdriver
- - Philips screwdriver bit or stubby screwdriver
- - Leather safe glue
You must be logged in to rate content!
3 minute read
ARMREST COVER Mazda 2 INSTALLATION
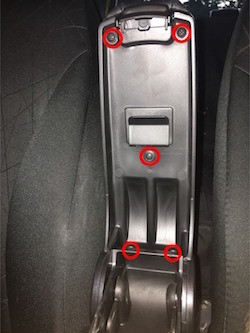
1. Remove the OEM armrest pad by opening the lid and removing the 5 screws that hold it in place. In order to remove the bottom 2 screws, the lid needs to be partially closed - this is where the stubby screwdriver or bit comes into play. The screws are not tight, but the bottom two require some patience.
2. Line up the new leather cover directly over the OEM pad, ensuring that the overlap at the front lines up with the overlap of the original vinyl cover.
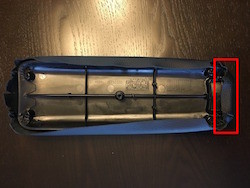
3. Once you're satisfied with how it's lined up, you can begin gluing (only the front) applying glue directly to the underside of the armrest pad on the overlap of the OEM vinyl cover, the pressing the new leather cover into place.
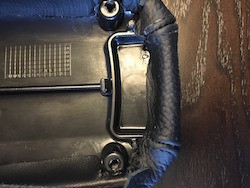
4. Once the glue has had time to set, pull the leather cover tight towards the rear, and once properly lined up, glue at the rear using the same method.
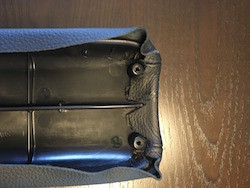
5. Repeat with each side, one at a time, ensuring that the cover is pulled tight as you go. Pay close attention to the two rear corners, ensuring that you fold them in a way that will not interfere with the screw holes.
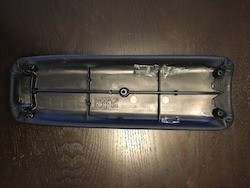
6. Reinstall the pad on the armrest lid using the same 5 screws.
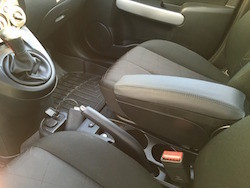
ENJOY YOUR NEW LEATHER BOOTS!
Useful tip
You have installed a product made out of genuine leather. As you know, to maintain a leather product in good condition, you should take care of it. We suggest occasionally (every 4-6 week for example) applying some leather conditioner/UV protector to keep your leather from drying up in the sun and cracking.
Redline Automotive Accessories Corp. will not be held liable for any labor, incidental or consequential damages of any kind. Proceed at your own risk.

