- Contact cement
- Old paint brushes or foam brushes
- Padded C Clamps
- One or two small beanbags, hackey sack or similar item
- Clips (clothes pins work well work but anything that won’t damage the leather will work)
- 3M Blue Low Tack Painter’s tape
- Exacto blade
- 5 minute epoxy
- Craft glue injector (available in most hobby shops and craft stores)
- Kitchen shears or other sharp scissors for cutting leather
- Cat (optional)
- 3M #80 headliner spray adhesive (optional)
You must be logged in to rate content!
11 minute read

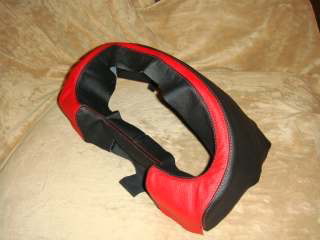
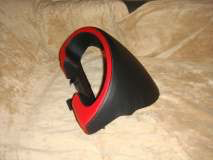
Mazda Miata Leather Gauge Hood installation instructions
Working Notes
Read over all these instructions before you get started. Every gauge hood from Redline is
handmade, so a good fit will require some manipulation on your part. There are some suggestions in these directions that will help you get the best possible fit for your new gauge hood cover.
The goal here is to get the hood to stay put. You do not have to brush contact cement everywhere. Excess glue will take longer to dry and may also limit your ability to stretch the leather into place. Contact cement can be forgiving, so don’t be afraid to pull the leather away and reposition it with a little more glue. Try not to reposition the leather more than once. Reposition it too much and your corrections will show through the leather.
Keep your fingers clean of contact cement at all times. Contact cement can be messy. The glue is not good for your skin and will leave shiny marks on the leather that you will not be able to clean off. Wearing gloves will help, but you may not have as much control manipulating the leather into position. Always be mindful of what’s on your fingers when working with the leather.
Contact cement has very strong fumes and is flammable. Be sure to work in a well ventilated area with no open flames.
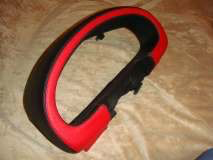
The gauge hood cover can be a little tricky to mount to the hood. There are plenty of places where the leather can bunch together. Work slowly and methodically and be sure to think ahead. Work from the interior of the mouth of the hood outward, keeping the stitch lines even with the mouth of the hood as you go.
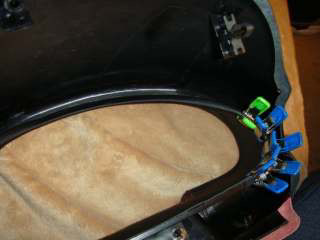
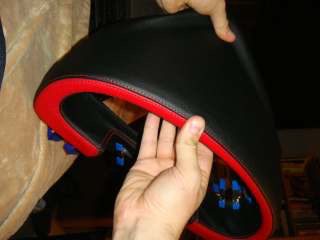
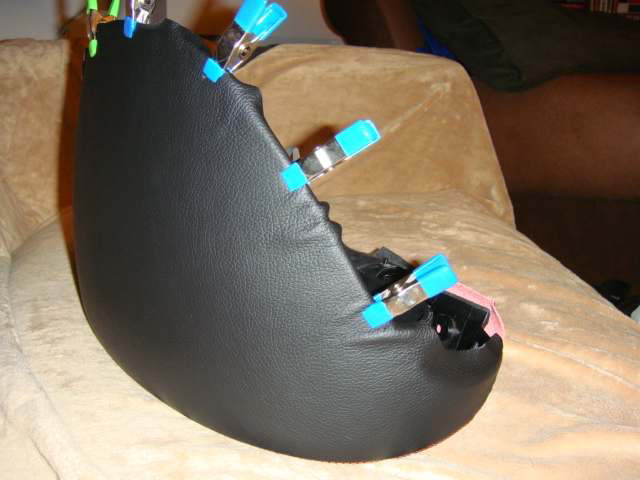
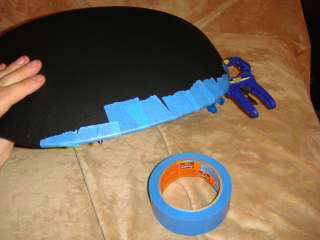
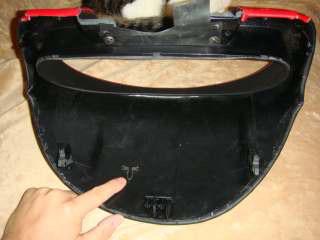
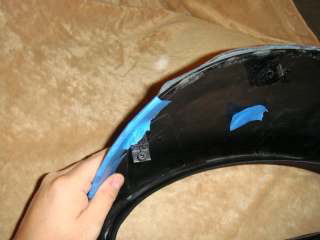
Start by stretching the leather and getting it into position on the hood. Be careful with any clamps. Squeeze too tight and the plastic will crack. It’s a strong plastic but also brittle and the hood costs over $100 to replace with a new one.
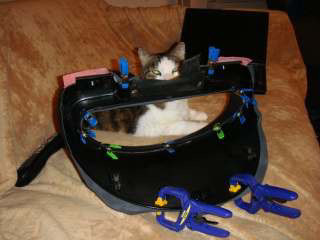
Remove the clamps from the upper part of the mouth of the hood (blue clip between the two green ones in the previous photo) and tack down the leather as indicated in the photo below. Work from the middle of the mouth out to the sides.
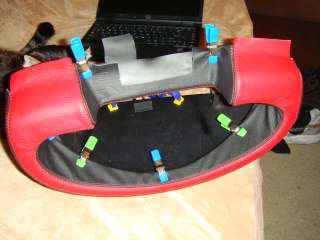
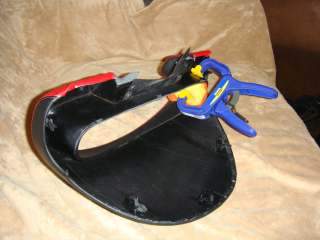
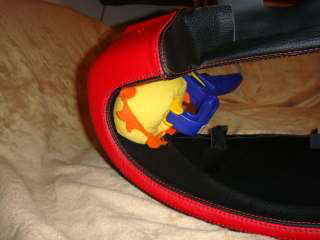
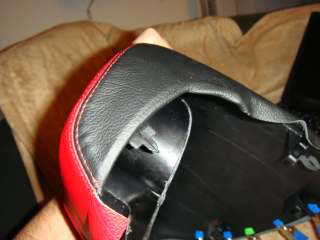
It may be difficult to get the leather to lie down smoothly against the plastic. Focus on avoiding wrinkles in the leather and use the clamps to stretch the leather against the plastic. Brush the contact cement on a section and press down the leather as you go. The hardest part to glue into place is the left and right interior of the mouth of the hood. Use a bean bag and C-clamp to apply pressure and stretch the leather into place. This method works very well to spread the pressure. Contact cement usually sets quickly, but leave the clamp in place for 30 minutes or so to be sure the leather won’t pull away. This is a good time to take a break.
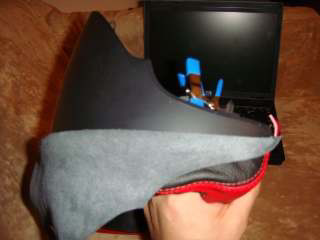
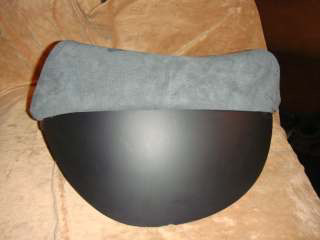
Once you have the interior mouth of the hood glued down, start spreading out the leather over the bottom and sides of the hood. The fit is very tight. If you flip the leather over and expose the underside, you can brush glue on the parts which have to stay taut. As you pull the leather with one hand, you can push the leather with the thumb of your other hand and leverage it into position. You won’t need a clamp to hold the leather in place.
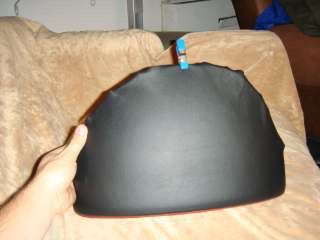
Now that the mouth of the hood and the bottom and sides are glued into place, you can focus on gluing down the leather that runs to the back of the hood. Pull back the leather flap that runs down the back of the hood it covers the mouth and exposes the hood. Brush a line of contact cement along the leather where and work the leather over the hood.
If you have spray adhesive and a steady hand, you can spray the hood and rub the leather down in one shot. Contact cement is recommended for its flexibility and forgiveness if you make a mistake. Also – no worries about overspray.

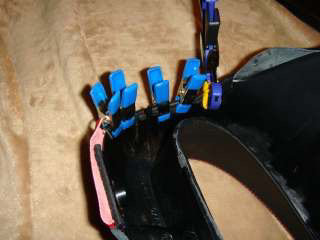
7. Paint a stripe of cement along the centerline of the hood from front to back. Pull the leather over the back center of the gauge hood and glue it down. Clip the leather into place as indicated by the single blue clip in the picture below. Work each side of the hood and add more clips as indicated below. You may find the leather bunches together. This is okay because you will pull the material under the hood and stretch out the leather for a smooth finish.
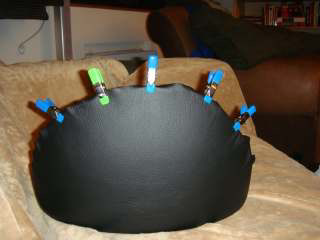
8. You should now have an overlap of leather on all sides. Fold this overhang under the hood and glue into place. If you get a wrinkle, cut the flap with your exacto blade to make two flaps. You can overlap these flaps as you glue them down – pulling out the wrinkle in the process.
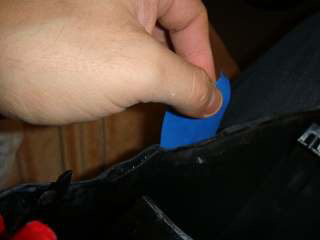
9. Check your work and look for any loose leather flaps on the rear edge. There isn’t a lot of excess material to go around. This is where the painter’s tape comes in handy. Glue any loose flaps down and use the tape to hold the flaps in place while the glue dries. Painters tape is strong enough to hold the leather down, but comes up without leaving any residue on the leather.
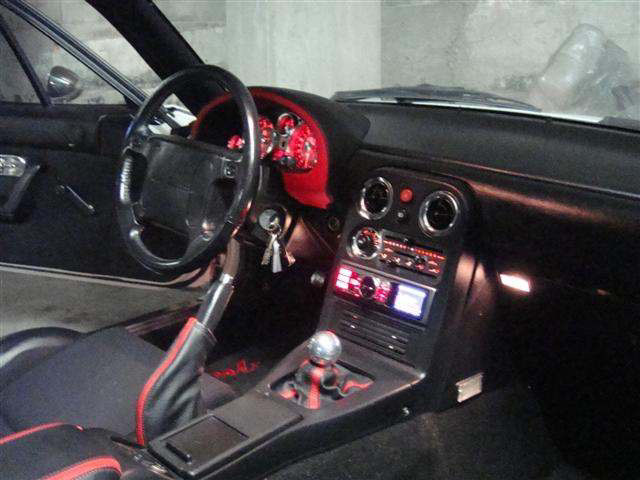
10. Let the glue dry for an hour or so and remove the tape and clamps. Admire your handiwork for a few minutes. Now put the gauge hood back in your Miata and show off your new hood to all your friends!
Addendum:
Some customers have reported that they were not able to successfully install their hood easily using the directions above. In some Miatas, there is not a lot of room for the extra leather between the hood and the dashboard. If your hood does not stay in place, consider doing the following:
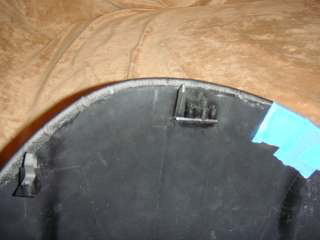
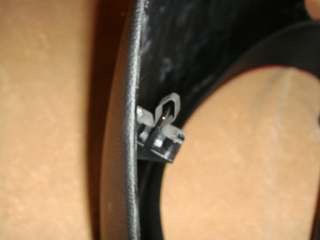
Reinforce your retainer clips
If your retainer clips have popped out, (a possibility since the hood was never supposed to be removed!) they will need to be replaced and reinforced. Mix a small amount of epoxy and place a drop or two into each of the holes that hold the retainer clip. Reattach the retainer clip and let the epoxy cure. Epoxy is very strong. If the posts for the retainer clip are intact, you will not lose your retainer clip again!
.
Remove your leather lip from the underside of the hood
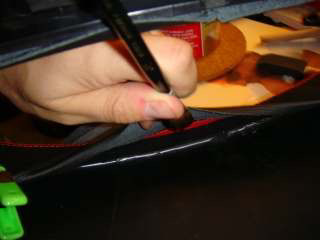
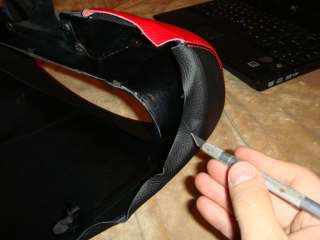
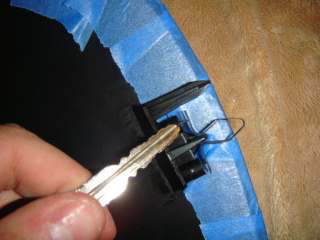
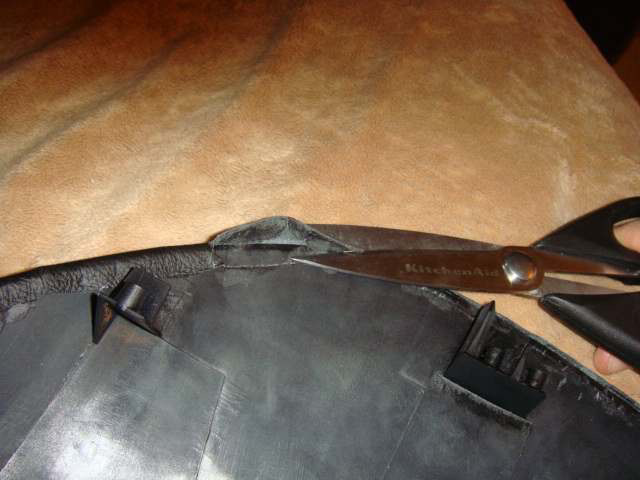
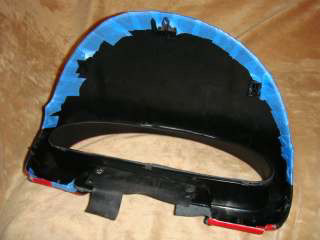
Peel back the leather flaps you folded to the underside of the hood and cut them cleanly just over the
edge of the hood plastic. Do not cut back too much of the leather. You still need the skin to cover the outside of the hood and your mistake will be visible though the windshield for the whole world to see! Keep the scissors floating close to the underside and trim away the leather as indicated below.
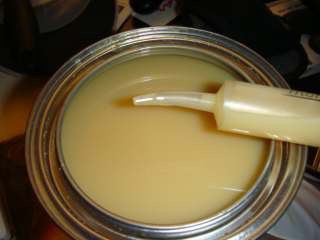
Draw some contact cement into your glue injector. You may want to cut the tip of your glue injector to increase the flow of the contact cement. (They were designed for wood and paper glues) Be careful when injecting the glue. You don’t want to overfill the crevice and stain your leather.

Tape the edge down securely as you had before, pressing down the leather to squeeze the contact cement to the very edge of the gauge hood and leather cover. Fold the leather down with the tape again. It’s okay to get cement on the tape on the underside of the hood.
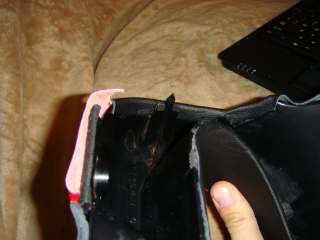
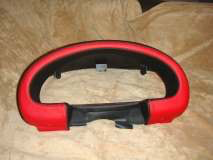
Allow the glue to cure and remove the tape. You should have a cleanly mounted leather cover with no air bubbles. The leather should appear to fold over the edge and disappear. It should look like what you see below and slide in easily for a factory fit!
Useful tip
You have installed a product made out of genuine leather. As you know, to maintain a leather product in good condition, you should take care of it. We suggest occasionally (every 4-6 week for example) applying some leather conditioner/UV protector to keep your leather from drying up in the sun and cracking.
Redline Automotive Accessories Corp. will not be held liable for any labor, incidental or consequential damages of any kind. Proceed at your own risk.