You must be logged in to rate content!
5 minute read
Yet another oil filter relocation thread
Compliments of allmag @ forum.miata.net
3-30-2012
Let's just get state this right up front, I know this is not everyone's cup of tea. I've read all the threads, pro and con. Even Keith Tanner says not to do it in one of his books. I wanted to do it anyway.
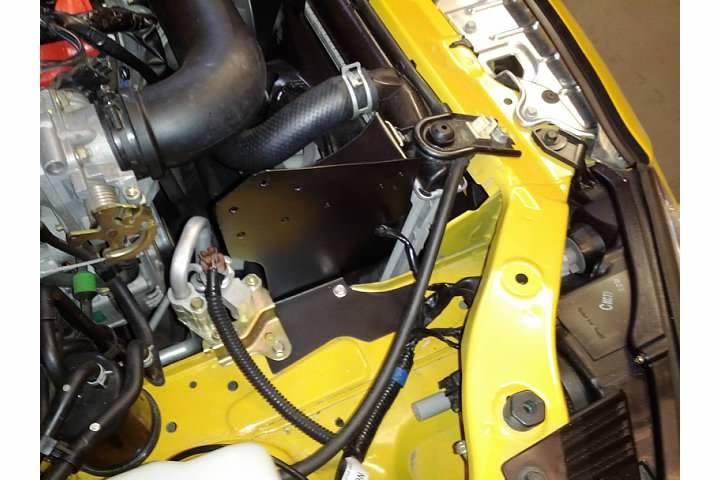
I modeled my implementation after Mal's in his thread. However since my 2002 has ABS and AC I could not use the same location. As usual I stole some one else's idea and used the same location at the Thompson relocation kit.
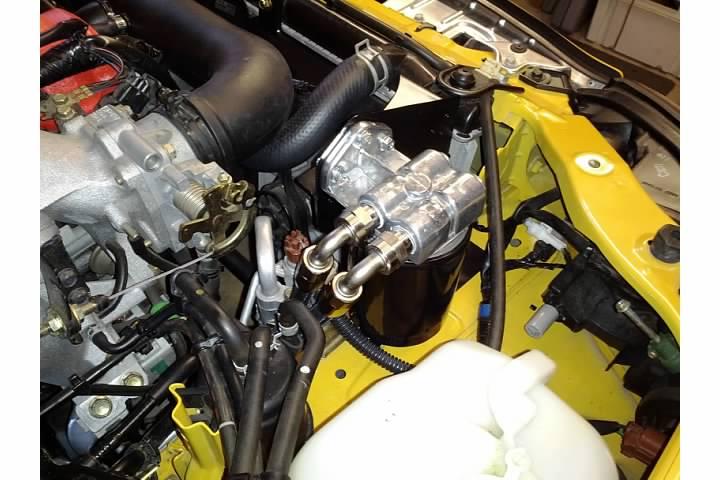
So far so good. Initially I did have one small leak. I forgot to securely tighten the oil filter nipple in the adapter. That issue has been resolved. I also split some heavy duty hose and used it as an added layer of protective wrap on the hoses where the hoses pass near the frame rail.
The bracket I fabbed up is OK, but stiffer would be better. I need better metal working skills/tools to make that happen.
The finished installation...
The difference in the oil filter...
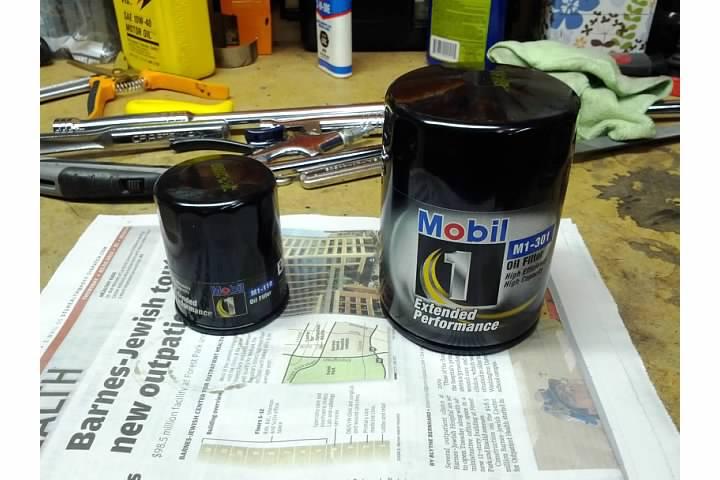
Pay no attention to the Penzoil bottle in the background. I just use that for shop lube. It's Mobile 1 5W-30 for my baby.
The next project is to install real oil pressure and oil temperature gauges in an A pillar pod using the extra ports on the remote filter adapter.
3-31-2012
Some filter manufacturers list the relief valve spring strength in PSI. The recommended Fram filter (PH6607) for the Miata lists the spring strength as 13 PSI. The equivalent Fram filter (PH8A) to the Mobile 1 I'm using (M1-301) lists a value of 12. It *could* be opening a bit earlier, but I doubt it. Using 5W oil should also reduce the chance of bypass on cold start up. I don't usually drive the Miata in temps under 40F. It's not my daily driver. It's my fun car.
Manufacturers don't list the flow rate (that I've seen). I think that is a non-issue. I suspect an old, dirty filter would be a bigger cause for concern in that regard. Using a larger filter provides more filter surface area so I think that would be less of an issue. Of course frequent oil/filter changes are the best protection.
With this setup I can easily reach in and spin the filter off without removing anything, without spilling oil all over the belly pan, without being a contortionist and without losing skin off my arm. That wasn't my primary reason for the project, but its a nice secondary benefit.
Perma Cool is still around. I got the parts from Perma Cool and Summit. The URL for Perma Cool is: http://www.perma-cool.com/
I was able to leave the oil heating ring in place on the block.
4-22-2012
My reasoning is that the bigger filter has more filter surface area and holds more oil.
It seems like more surface area would be less restrictive and be less susceptible to clogging. Clogging should never be an issue if oil/filter changes are done frequently.
More oil capacity is usually a good thing. It helps keep things a bit cooler and perhaps keeps the oil cleaner or at least keeps the grung more diluted.
Neither of those reasons are enough to justify the relocation. You could certainly go with the same size filter with a different adapter. Since I was going to do it, going to a bigger filter seems like some extra insurance and did not change the complexity or cost.
I really did the project to get set for the next project which will add real oil pressure and temperature gauges in an A pillar pod. I weighed the pros and cons of relocation vs a sandwich plate and decided to go this way. I can more easily do the install and keep an eye on all the connections.
Access is more limited, but that's nothing compared to loosening that damn bottom bolt on the alternator. Geez that thing is a pain.
If I need full access I can just unbolt the filter adapter from the bracket and move the whole thing to the side. The bracket is attached with 3 bolts. I can do all that in about 5 minutes.
1-6-2013
Phase 2 of the oil filter relocation
Well after almost a year I finally completed the second part of the grand plan. I installed real oil pressure and oil temperature gauges in the A pillar. I used the extra ports on the oil filter adapter for the sensors. The wiring was a PITA. I had to run an extra ground wire for the pressure sender. It wasn't getting a good ground through the threads.
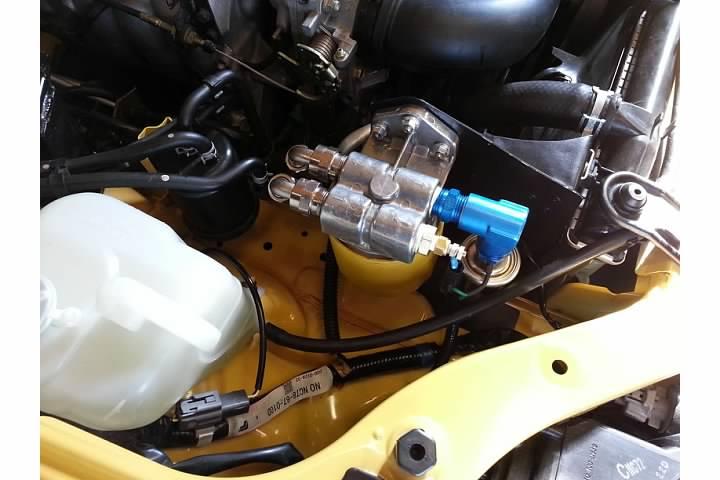
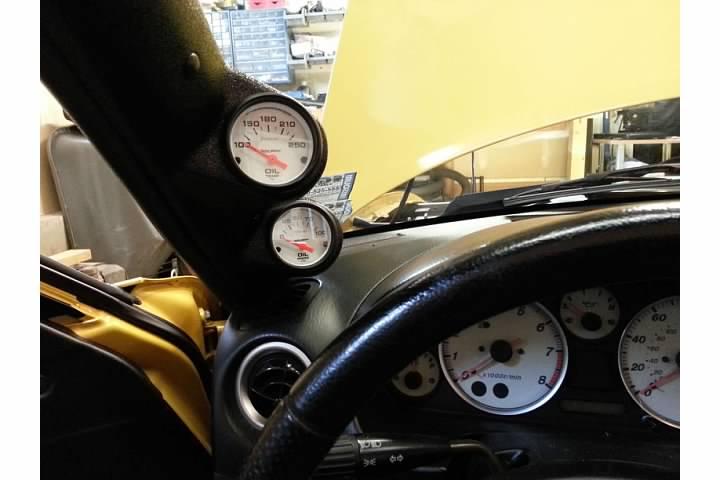
I'm pretty happy with it. I'm probably going to make a new bracket using heavier aluminium and maybe an inch shorter. The pressure sensor clears the hood, but not by much.