You must be logged in to rate content!
7 minute read
Heat Shield for AEM Intake
Compliments of allmag @ www.miata.net
So... I got an AEM Intake for my 2002 SE for Christmas. I also got Keith Tanner's new book "How to Build a High Performance Mazda Miata". Looking closely at the cover picture I noticed the heat shield. Hmmm, I bet I could build something like that and since I was looking for a winter project I decided to give it a go.
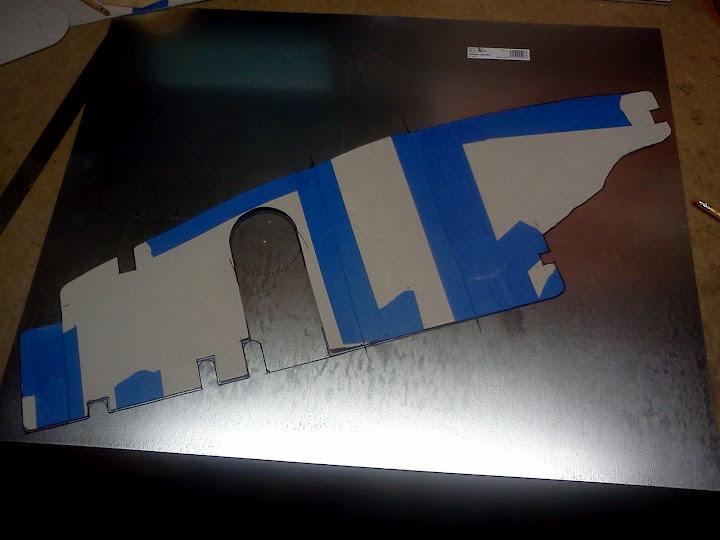
After installing the intake, the next step was to build a cardboard pattern for the shield. After many trial fits, cuts and yards of blue tape I had something that I thought would fit and that I could build. I wanted to minimize the bends since I don't have a break.

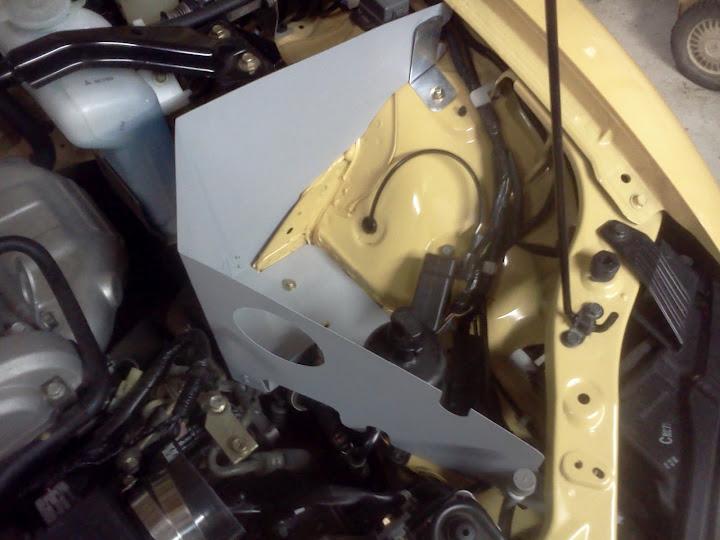
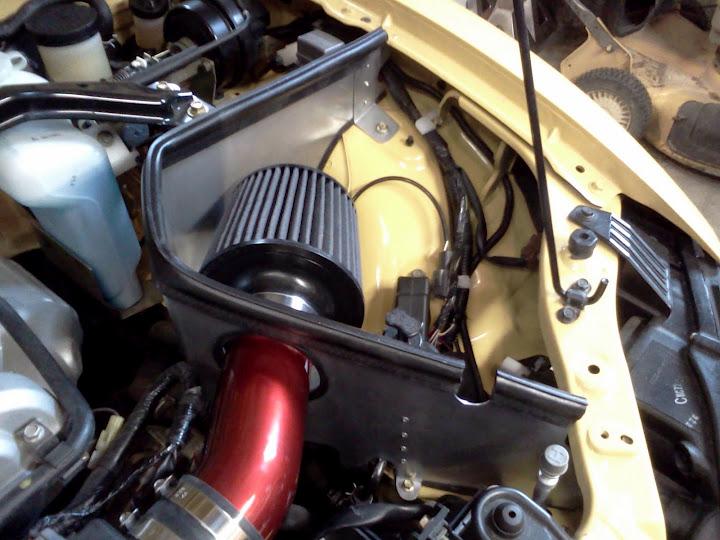
As you can see this car has AC so the I had to work around the little cannister (not sure what it's function is). You probably know that there is a hole below the driver side headlight that provides cool air for the stock intake.
I left the template extra tall since I wasn't sure how tall to make it to seal against the hood. I never did figure out a way to do that accurately. I just kept removing a bit and test fitting till it didn't hit.
Next I unfolded the template and transferred it to sheet metal. I actually ended up building the shield twice. The first time I just use cheap zinc plated steel I got from the local big box store. It was thin and easy to work with. The second time I used 6061 T6 aluminium 0.63" thick.
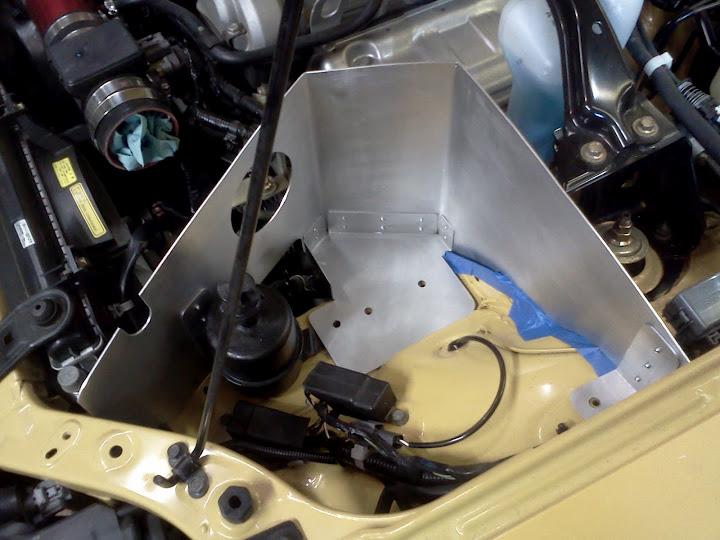
In this picture you can see all the notches for the power steering (as Jesse1999 points out) hoses and other obstructions.
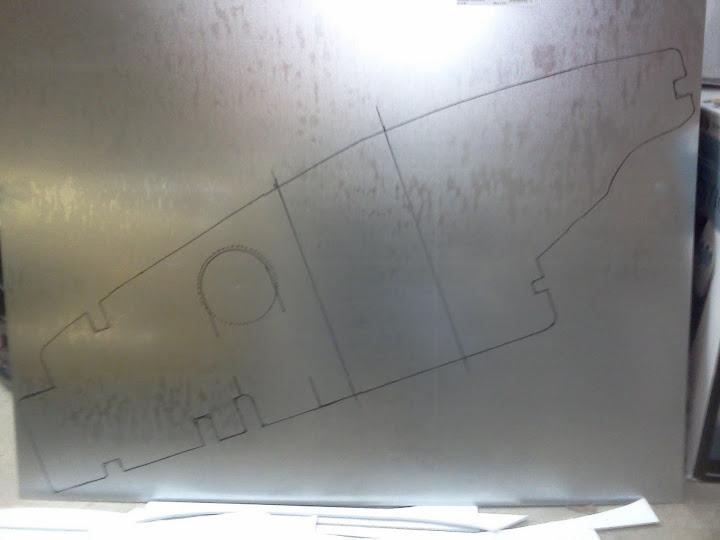
Next was cutting out the shape. I mostly used a jigsaw with a metal cutting blade and a 1" hole saw to cut out hole, interior corners and starter holes.
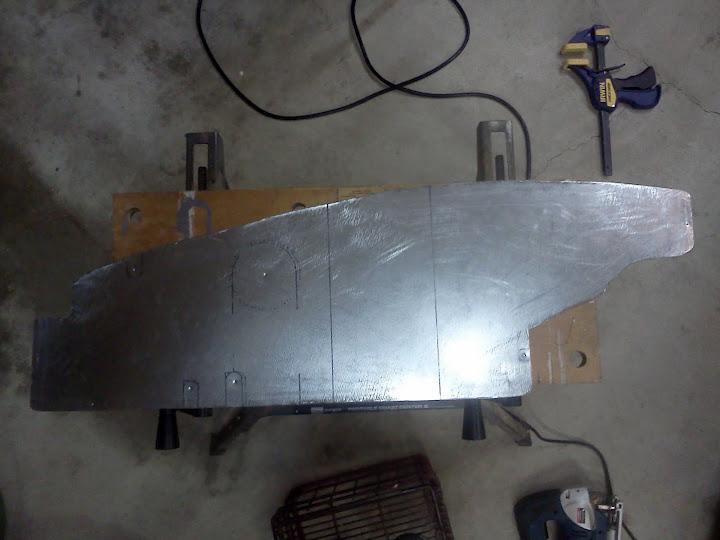
A couple of bends and I had the main shape.
With some more fiddling I had the bottom plate.

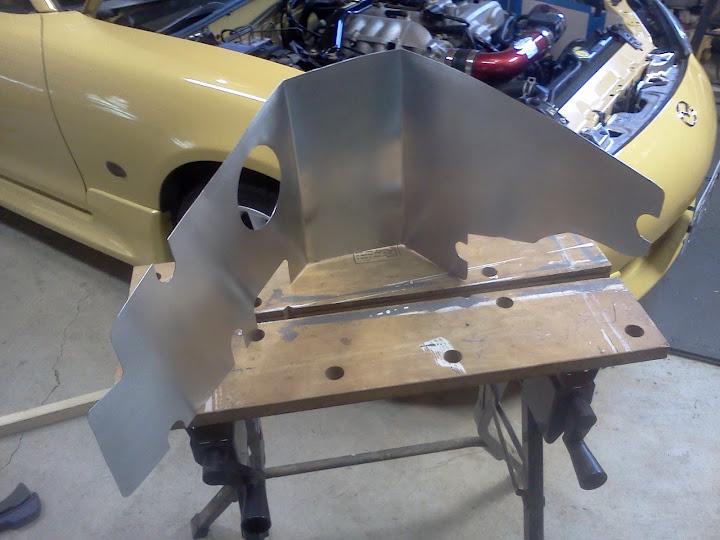
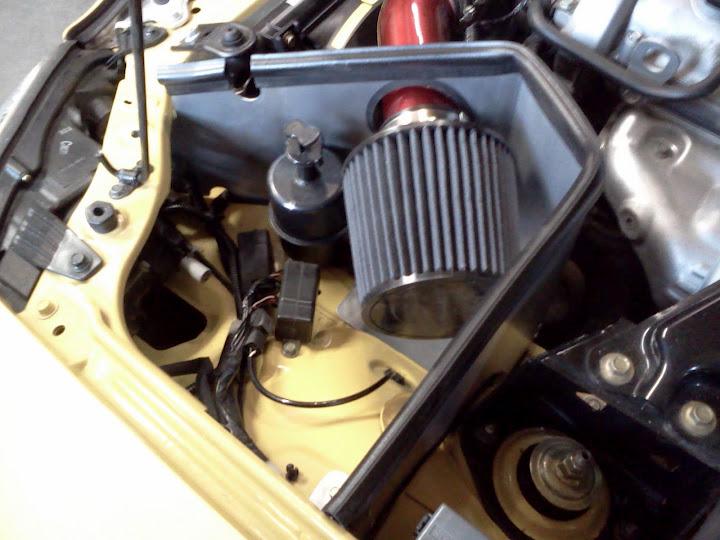
Below is an early test fit of the assembled shield with the brackets. Before I figured out that the sheet metal I bought was plated, I thought I'd paint it to match the car. Needless to say that didn't work out so well.
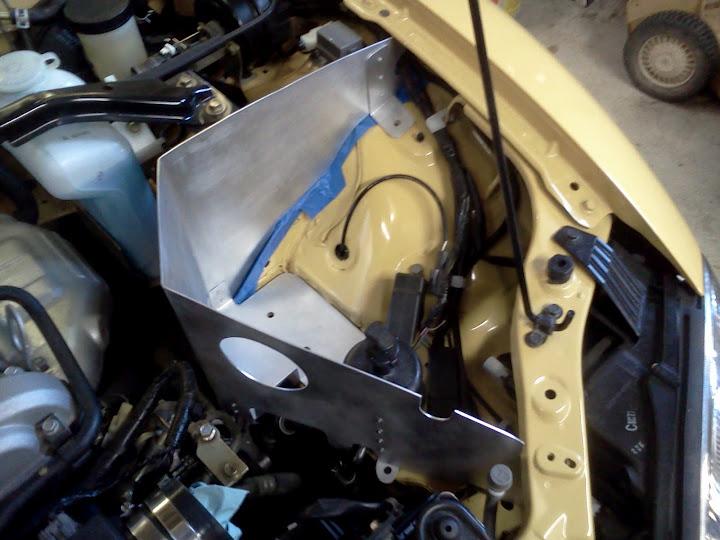
Once I figured out my mistake with the plated sheet steel, I started over with aluminium. It went a lost faster this time
After much searching for weatherstrip to seal the top against the top, I emailed Keith at Flyin Miata to ask him about the intake in the cover photo. I was amazed when he answered just an hour so later. Flyin Miata had the gasket material in stock and sold it by the foot. A phone call and it was on it's way.
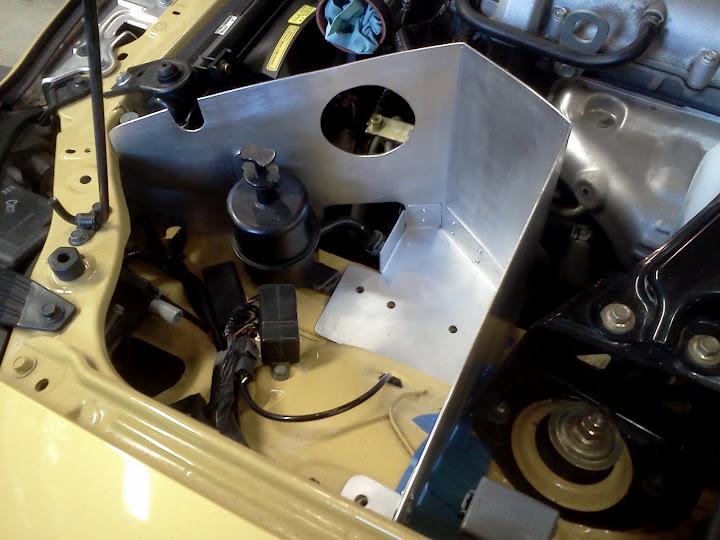
The top gasket works great. I'm using some edge trim from Trim-Lok I found on eBay along the bottom edge, but I'm going to try something else.
So far so good. Once I had the top gasket on I had to trim the top edge a bit more. I just used some tin snips to trim a bit off at at a time until it fit.
BoB 55 asked about digital plans for the shield. I had MLK day off so I thought I'd see if I could build the plans in Google SketchUp. For those unfamiliar with SketchUp it is a free 3D modeling tool available from Google.
It went better than I was expecting. The major pieces are complete. I've attached images of the model to this post so you can see them, but I doubt that the images will be very useful. I haven't been able to figure out how to make the dimension line text look good in the images. I was not able to attach the SketchUp model to the post. It's not a file type supported by the forum.
If you really want the plans, PM me and I will send the SketchUp file to you. Of course you will need SketchUp to open and view it. Hopefully that will work for you.
I suggest the following steps:
- Transfer the plans to cardboard
- Fold the cardboard template at the indicated lines to create the angles
- Use the cardboard template to fit and tweak the plans to your specific vehicle. It should be close, but some tweaking will be needed.
- Once you have the cardboard templates fitting well, transfer them to sheet metal of your choice.
- Center punch all the hole centers and use a 1" hole saw to cut the holes.
- Center punch all the mounting holes and use a 3/8" bit to drill the holes
- Use a jigsaw (or bandsaw) with a metal cutting blade to cut out the shapes
- Use a flat and half round file to clean up the edges and round off the corners. Good tin snips are also handy.
- Bend the main piece of the shield to match the angle of your cardboard template the way its sits in the vehicle
- Bend up the bottom plate and two brackets
- Test fit everything until you are completely sure of the fit
- Mark the location of the brackets while all the parts in the car
- Remove all the parts from the car and mark and drill holes for the bottom plate and brackets
- Use pop rivets to attach all the bottom plate and brackets
- Triming the top edge is the trickiest part. BE CAREFUL not to close the hood all the way until you have it right or you may dent your hood! I just kept lowering the hood and using a flashlight to look in the crack to check clearance. There must be a better way. Something soft that would conform to the shape of the hood would be ideal.
- Polish and attach the weatherstrip and install
WARNING Be very, very careful about closing the hood completely until you have clearance. Remember the gasket will take up some space. The plans on the dimensions that worked for my vehicle, but you should still be careful with that step.
Apologies in advance to our metric friends. The measurements are all in inches. I believe SketchUp can covert the dimensions to metric, but I do not know how.
The top gasket material can be purchased from Flyin Miata. Ask for the FM 2 airbox gasket. The bottom edging material can be found on eBay. Search for Trim-Lok in the automotive section. JEGS and others should also have it, but I found their sites harder to use.