You must be logged in to rate content!
4 minute read
Master Cylinder Brace DIY 10 steps
Compliments of Darth_Firebolt @ forum.miata.net
3-5-2010
for those of you with the factory shock tower brace (STB), this is a write up for you.
step 1) mark where the hole needs/ can be drilled. note: it will not be directly in line with the master cylinder. try to get it as close to in line as you can, though.
step 2) drill the hole.
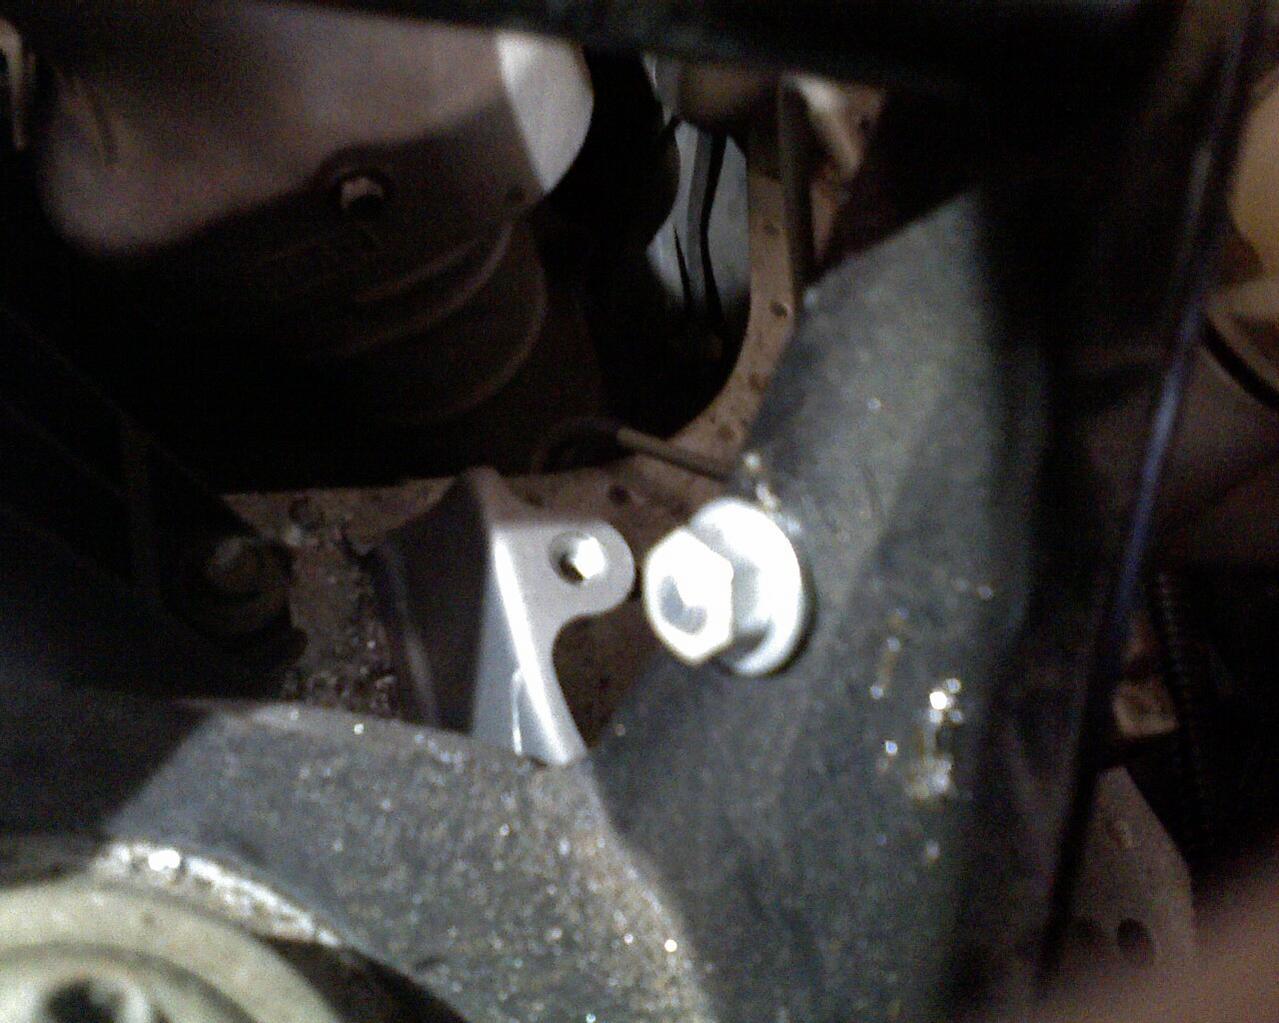
step 3) unbolt the shock tower brace from the drivers side of the car at the base (IIRC they're 12mm), the entire brace and mounting bracket should then swivel up.
step 4) place your bolt with one nut and a washer into the hole with the bolt head toward the master cylinder (MC) and the threaded end inside the STB mount.
step 5) put the other washer and nut on
step 6) reinstall the STB
step 7) using two wrenches (the open ends), hold the bolt head stationary and "loosen" the nut closest to the master cylinder. this will make the bolt extend toward the MC, which is what we want.
step 8) when the bolt gets very close to the MC, put a piece of thin rubber or other abrasion resistant material between the bolt head and master cylinder. i used a piece of old bicycle tube i had laying around. whatever you use will be compressed enough in step 9 that it doesn't cause noticeable mushiness in the brake pedal. it's just there to keep the steel from squeaking against the aluminum (found that out the hard way).
step 9) continue loosening the nut closest to the MC until you notice the MC no longer moving when your partner stomps on the brake pedal with the engine running. give it an extra 1/4 turn, just for good measure.
step 10) tighten the other nut (lock nut). this nut is to keep the other nut from backing off over heat cycles/ vibration. (this may cause the bolt to become slack, depending on the washers you use. if it becomes loose, back the lock nut off, "loosen" the nut closest to the MC, and try again until the bolt keeps pressure on the MC.)
mine has gone over 4,000 miles without needing tightened (after installing the patented anti-squeak device), and it works like a champ. i flushed my brakes, drove the car for a week, then installed my MC brace. the difference between fresh fluid and old fluid was amazing, and the MC brace was only slightly less spectacular. it really makes a positive difference.

:EDIT: my car is a 2000 model Hard S. yours might not look the same. : ] :/EDIT:
well, i saw some other STB being sold with MC braces, so i wondered just how much flex there actually was when you stomped on the brake pedal. i had my friend stomp on my brake pedal while i watched the master cylinder, and it looked like it moved anywhere from .25 inches (car off) to about .5 inches (car on). i didn't take a ruler to it, but it was VERY noticeable with the car on.
overall, there's better modulation of the brake pedal. it's really difficult to describe, but my mom can tell the difference between her 2005 and my 2000 with the MC brace while driving, and her car has the bigger factory brakes on it. it just "tightens" everything up. try it; you can always take the bolt out if you don't like it. and if you don't like it, you've "added lightness" equal to the metal you drilled out of your STB. 
i was annoyed by the squeaking (very rough roads here), so i put the thinnest piece of rubber i could find there. it's about the thickness of a note card, stopped the squeak, and with the preload i put on the bolt, doesn't flex much.
i'm not tracking my car, but if i was i would remove the rubber.