You must be logged in to rate content!
3 minute read

93-97 MAZDA MX6 SHIFT BOOT/E-BRAKE INSTALLATION INSTRUCTIONS
1. Use screwdriver to pry small piece out of main trim.
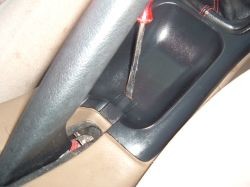
2. Take out small piece pic
3. Take off shiftknob (just twist it off counter clockwise)
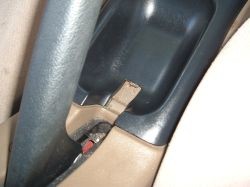
4. Unhook lower trim.
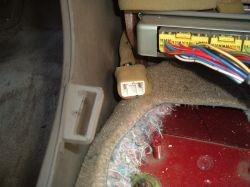
5. Disconnect wire and wiggle lower trim out around shifter and ebrake.
6. Unscrew shiftboot bracket.
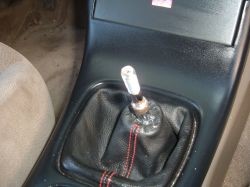
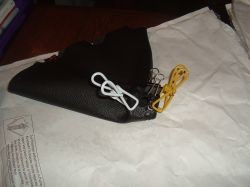
7. Remove old shiftboot.
8. Take off stock plastic ring off of shift boot and superglue onto new one pic 7
9. Put on new shitboot with seam facing back of car
10. If you are not installing an ebrake boot at this time, reconnect wires, install trim, put on shift knob and replace small plastic piece.
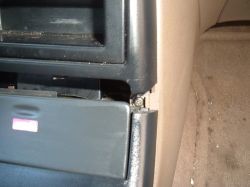
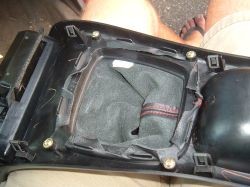
11. Remove the rear part of the center console (the one with the ebrake and armrest on it).
12. You will also need to remove the plastic guard that is attached to the underside of the center console. 6 screws.
13. Wedge the bottom of the ebrake boot between the center console and the plastic ebrake surround (guard). Punch holes in the ebrake boot as needed.
HINT: The decorative seam/piping is the topside of the ebrake boot.
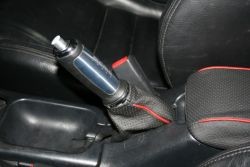
14. Reinstall the center console and all other pieces in the reverse order of removal.
ENJOY YOUR NEW LEATHER BOOTS!
Useful tip
You have installed a product made out of genuine leather. As you know, to maintain a leather product in good condition, you should take care of it. We suggest occasionally (every 4-6 week for example) applying some leather conditioner/UV protector to keep your leather from drying up in the sun and cracking.
Redline Automotive Accessories Corp. will not be held liable for any labor, incidental or consequential damages of any kind. Proceed at your own risk.