You must be logged in to rate content!
2 minute read

MAZDA RX7 ARMREST INSTALLATION INSTRUCTIONS
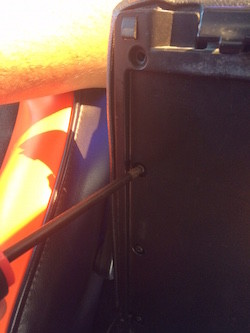
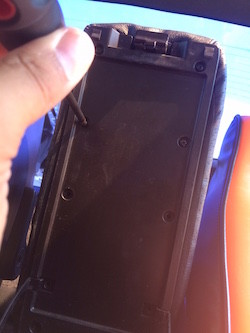
1. Remove armrest from car by unscrewing it at the hinges. Remove top half of armrest by unscrewing all ten of the screws.
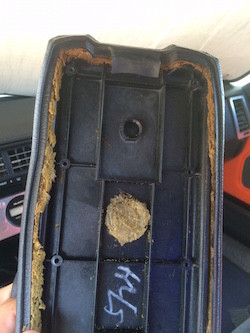
2. Do not take off the factory lid. The RedlineGoods cover goes over it.
3. Place new RedlineGoods cover over original cover.
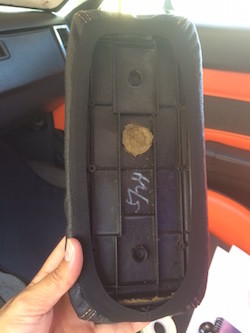
4. Pull tight and smooth out any wrinkles as best you can. Using glue to hold it down nice and flat is recommended, but if you are OK with minor wrinkles, you don't need to glue.
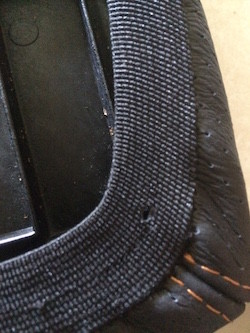
5. Take heated safety pin or other sharp pointed tool and burn small holes through the elastic band to help guide screws back.
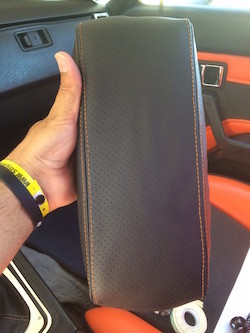
6. Place top half over armrest door and align visible screw holes and administer screws (this will allow easier install when screwing in corner screws through the elastic band). Reinstall corner screws. Reinstall covered armrest back in the car.
Useful tip
You have installed a product made out of genuine leather. As you know, to maintain a leather product in good condition, you should take care of it. We suggest occasionally (every 4-6 week for example) applying some leather conditioner/UV protector to keep your leather from drying up in the sun and cracking.
Redline Automotive Accessories Corp. will not be held liable for any labor, incidental or consequential damages of any kind. Proceed at your own risk.