You must be logged in to rate content!
8 minute read

86-92 MAZDA RX-7 SHIFT BOOT/E-BRAKE INSTALLATION INSTRUCTIONS
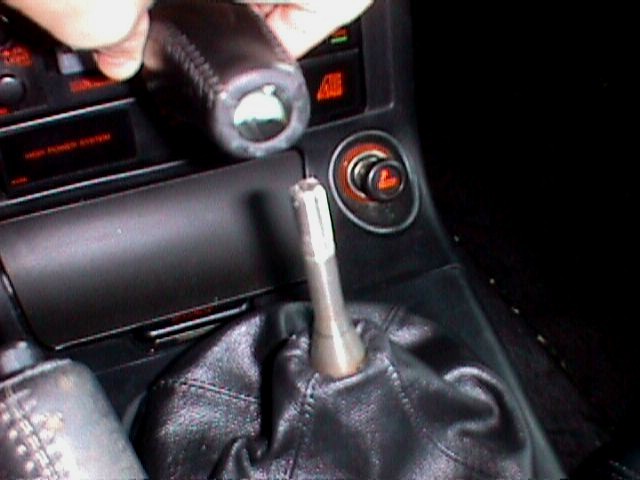
1. Remove the shift knob by turning it counterclockwise. The stock knob may be hard to turn, but should come off eventually as it is not glued in place
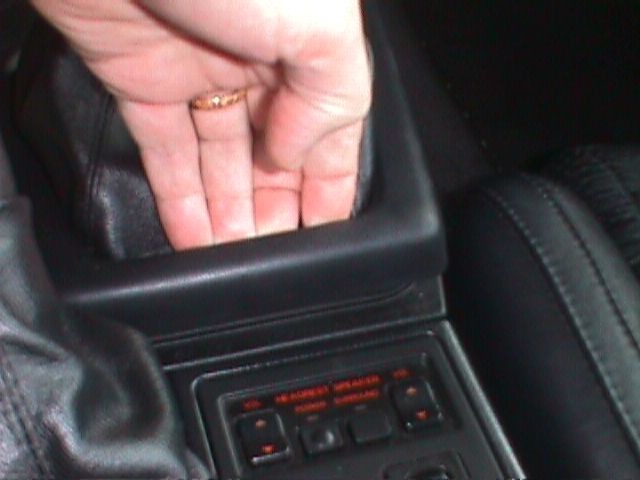
2. Lift up the plastic console frame holding the shift boot in place: There are four metal clips holding it in place on top of the console. Start by lifting at the edge closest to you from the inside, using only your hands.
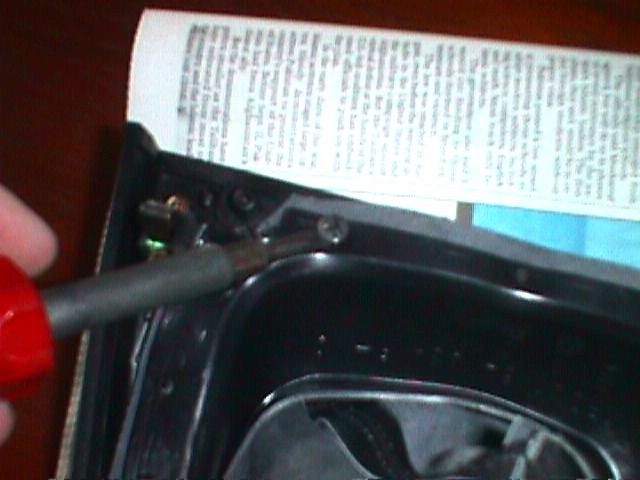
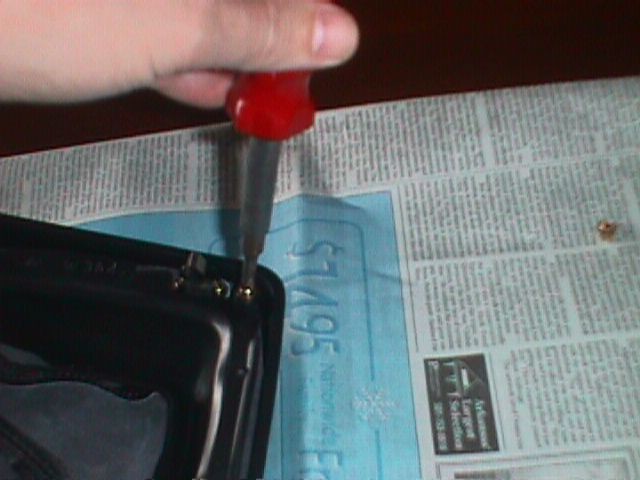
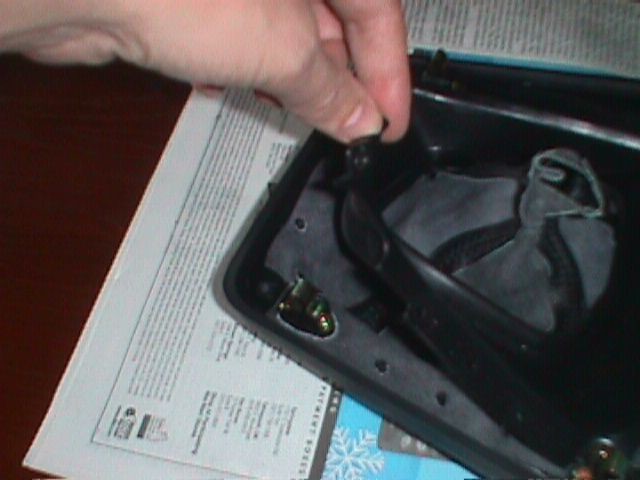
3. Turn the frame upside-down. Remove all the round metal clips holding the rubber and the old boot in place. Use a flat screwdriver and pry carefully on alternate sides of the clip. It will slowly work its way up and off the plastic pin. If you deform the teeth or bend the clips, which more than likely will happen, simply straighten them between the flat jaws of a pair of pliers. Do not discard the clips since they will be reused.
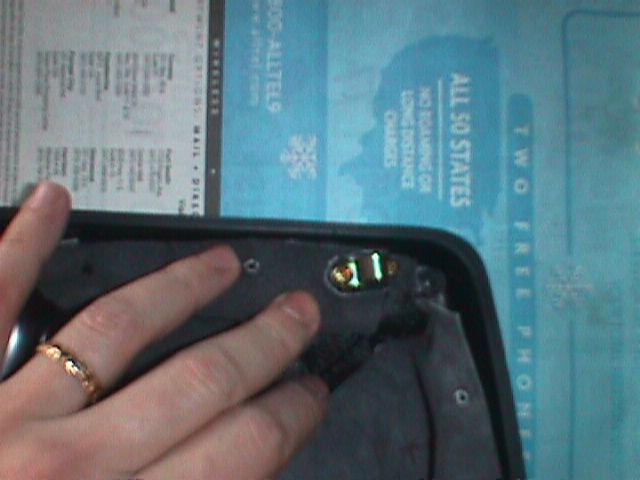
4. Unscrew the four brass bolts in the corners.
5. You will now be able to lift the soft rubber piece off the plastic pins.
6. Carefully lift the old shift boot off the plastic pins. Be careful not to break them. Lift the boot off the base of the two metal clips. Remove the old boot.
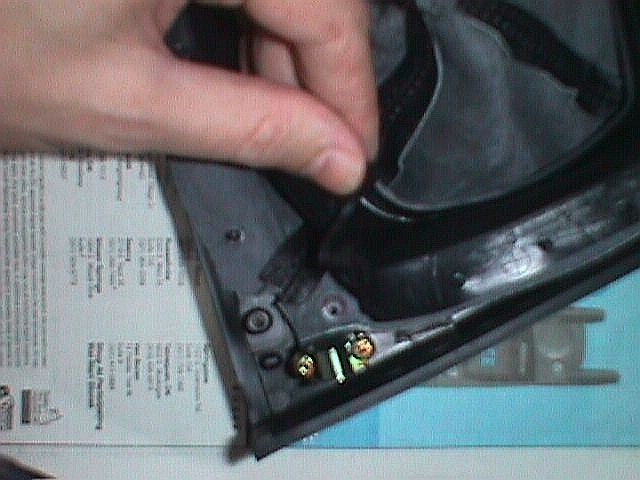
7. Install the new boot in the same position as the old one; it only fits one way as is evident from the stamped holes in the boot. We recommend you start by first slipping the boot over the base of the two metal clips, using the two largest holes, since this will make it easier for you later. The boot needs to go as far down around the clips as it can. Be careful not to tear the boot and work it into place bit by bit.
8. Now install the leather boot over the plastic pins, using the small holes. Remember that the new leather boot may not be quite as pliable as the old vinyl boot. Be careful not to force it.
9. Finally, place the rubber part over the leather boot, and fit it onto the pins the same way as the leather boot. The four brass screws will now be inserted through the holes in the rubber and the last two holes of the boot. Tighten the screws until they are snug. Do not overtighten! They do not need to be very tight. Adjust the leather boot while tightening the screws to make sure is sits straight and does not get pinched in any way.
10. Install the round metal clips onto the plastic pins. First use your fingers and then the flat screwdriver to push them down flush against the rubber.
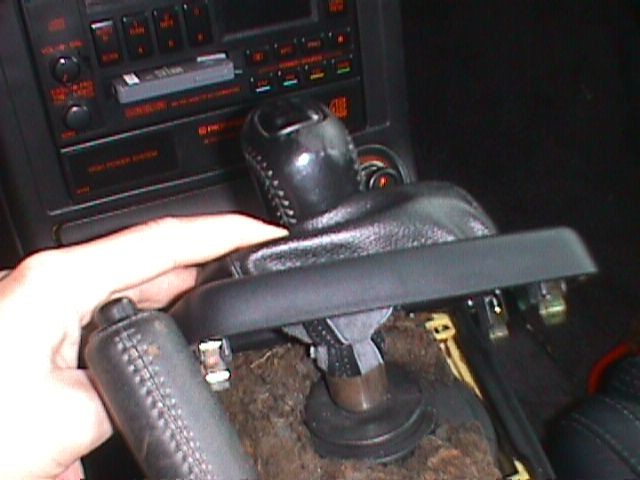
11. Push the leather boot through the plastic frame and slide it onto the shifter in an inverted fashion. Do not yet push the frame in place.

12. Install the shift knob and tighten it all the way to its final position, regardless of whether it is the stock knob or an aftermarket knob.
13. Now lift up on the frame so that you can see the top opening of the boot. Install the nylon wire tie loosely around the boot opening and the shifter and decide where you would like to fasten it over the opening of the boot (so that the top part of the boot will be held in place snugly against the base of the knob)
14. When you have found the position you want, tighten the wire tie, with the "knot" positioned toward the front of the car, and trim off the unwanted length of nylon.
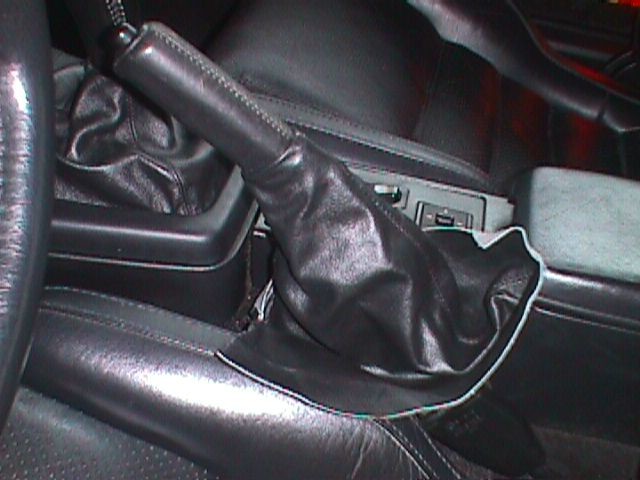
15. Lower the frame in place over the shifter, but without snapping it in place. Pull on the boot and arrange the top part until it looks good and fits snugly against the base of the knob, the way you want it.
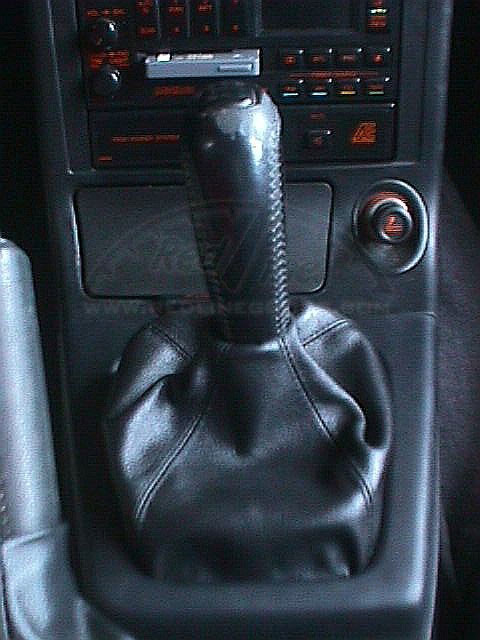
16. Snap the frame back in place onto the console. Arrange the boot however you like it to make it look good. THAT'S IT! TADA!! :-)
17. Set the emergency brake.
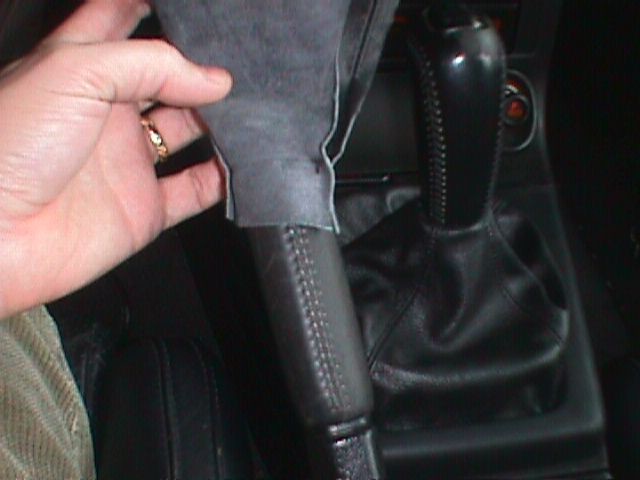
18. Turn the new leather brake boot inside out.
19. Carefully slip the small, top opening of the boot over the entire handle. This might be tight and you may need some patience (this first part is the most difficult) to work it all the way.
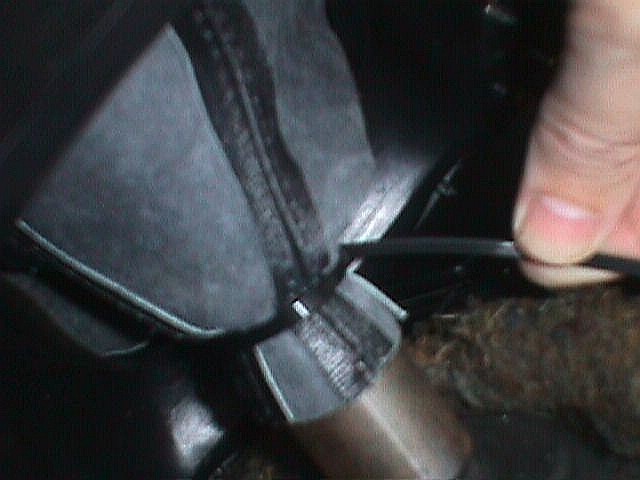
4. Make sure that the top seam of the boot is facing up. Slide the narrow top edge of the inverted boot a short distance past the point where the leather handle and the plastic lever cover intersect.
5. Secure the boot at this intersection point using a nylon wire tie. Trim off the unwanted length of the wire tie. It is recommended that you position the "knot" of the wire tie underneath the handle.

6. Now pull the boot over the handle toward the back, so that it turns right side out. Pull carefully on the boot as far as it goes until you can barely see the end of the brake handle against the top part of the boot, where the wire tie is fastened, when stretched.
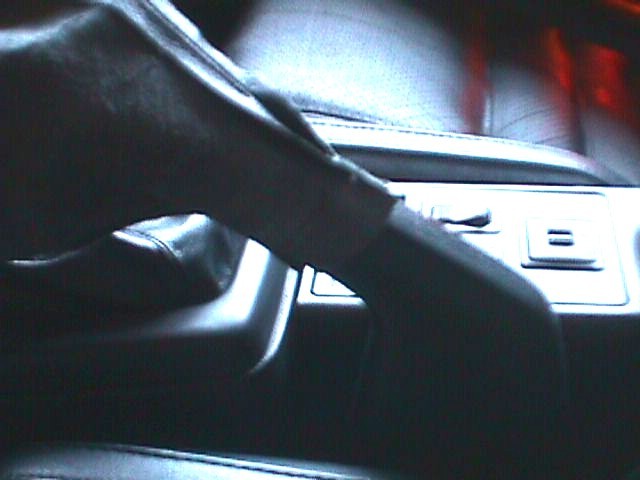
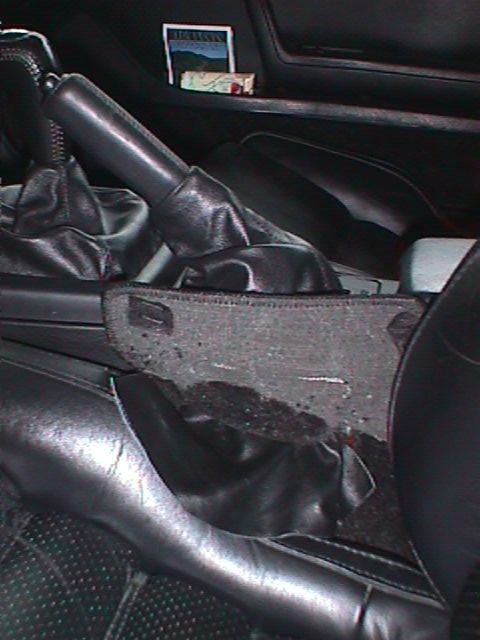
7. At the base of the brake lever there is a carpet flap held in place by Velcro. Pull up on the flap and tuck the leather boot through the whole in the flap, facing the driver's side. You may need to move the seat forward or backward to gain easy access to it.
8. Arrange the leather boot around the lever on either side: On the side facing the passenger and the center console, it should just hang freely. On the driver's side the boot should be tucked underneath the carpet, through the carpet flap. Move the flap back in place and secure it with the Velcro strip.
9. Make sure that the leather boot or the carpet does not interfere with the function of the brake lever at the front and rear points. Try the brake lever several times. The boot should not interfere in any way.
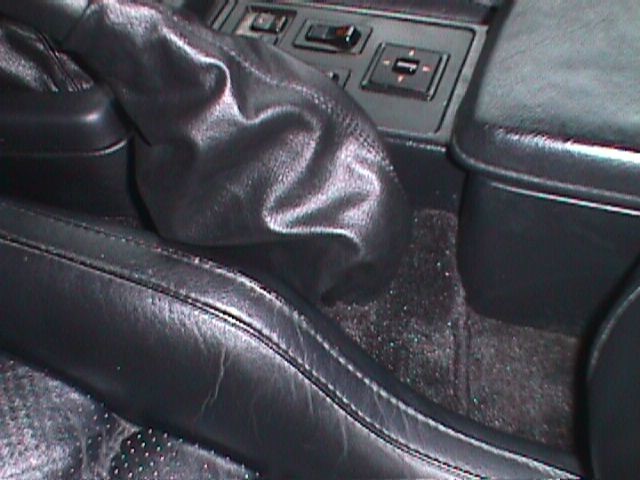
10. Finally, arrange the boot to your liking around the lever.
Useful tip
You have installed a product made out of genuine leather. As you know, to maintain a leather product in good condition, you should take care of it. We suggest occasionally (every 4-6 week for example) applying some leather conditioner/UV protector to keep your leather from drying up in the sun and cracking.
Redline Automotive Accessories Corp. will not be held liable for any labor, incidental or consequential damages of any kind. Proceed at your own risk.