You must be logged in to rate content!
15 minute(s) of a 43 minute read
6-9-2013
IV-Rotor Build: 12 plugs/ 9 bearings/ 8 ports = 1 monster
Compliments of GtoRx7 @ www.rx7club.com
6-9-2013
I posted accidentally in the FC section, and the Mods are sleeping. So I am just reposting myself in the right area.
The day has arrived, time to start the Defined Autoworks 4-rotor build thread. Some of you may have noticed our signature 3-rotor track FD hasn't been doing much. That of course is because it was being built into a 4-rotor track machine.
Since this was a long term project, I was able to very very carefully plan the whole thing one end to the other. Every single piece of data learned over the years with n/a tuning has been put into this one engine. Nothing was compromised and its built to be my ultimate vision of naturally aspirated horsepower. Because of that, certain parts of the car wont ever be photographed and are kept in "area 51" for the time being.
This specific 4-rotor is unlike any other. Its in-house name.... D26R
-Here is a cheat sheet on the specs it was built to-
Three plugs per rotor (just like the 787b 4-rotor)
Aluminum front and rear side housings
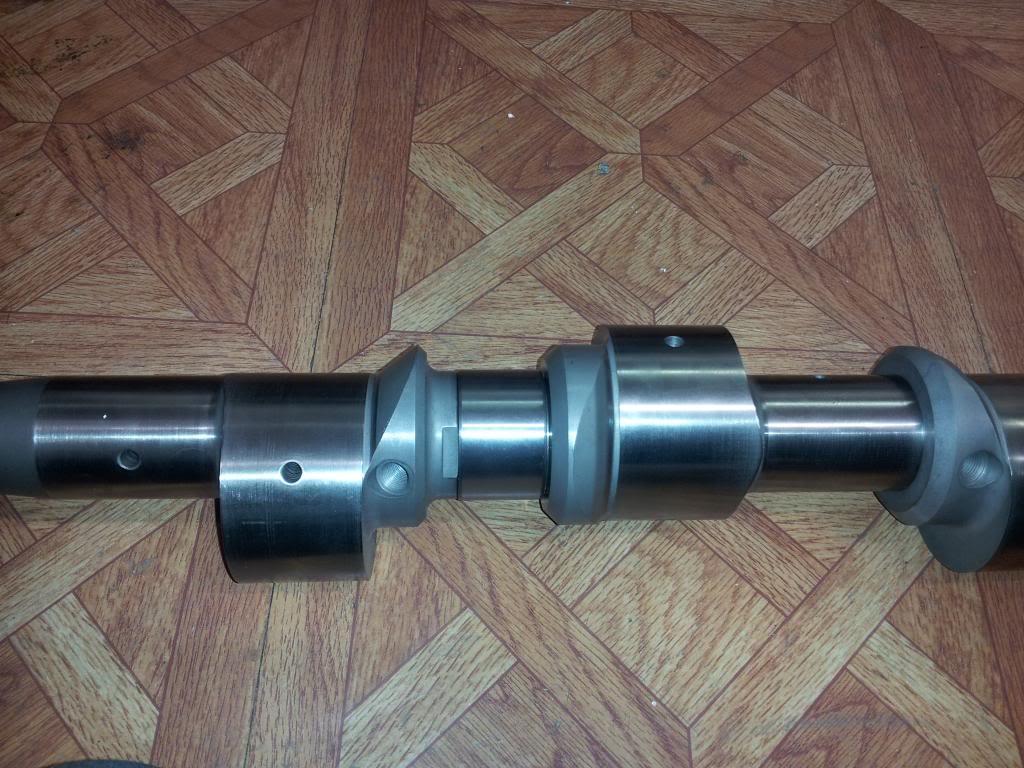
4-piece custom eccentric shaft
5-main bearings for very high rpm capacity
9.7:1 rotors, extensively lightened
race bearings throughout
2mm ceramic apex seals
Full custom p-ports in all housings
custom high strength stationary gears
Variable length intake, servo actuation (also like the 787b)
Custom slide throttle setup
4x2200cc injectors
Custom inconel header system
I've been working on this for 2 years, mostly on sundays or very late after hours at our shop. (pretty sure I earn one day a week off to work on promotional cars ![]() )
)
I will start feeding in pics over the next week or so, its hard to get any free time with all the work going on at good ol' Defined Autoworks.
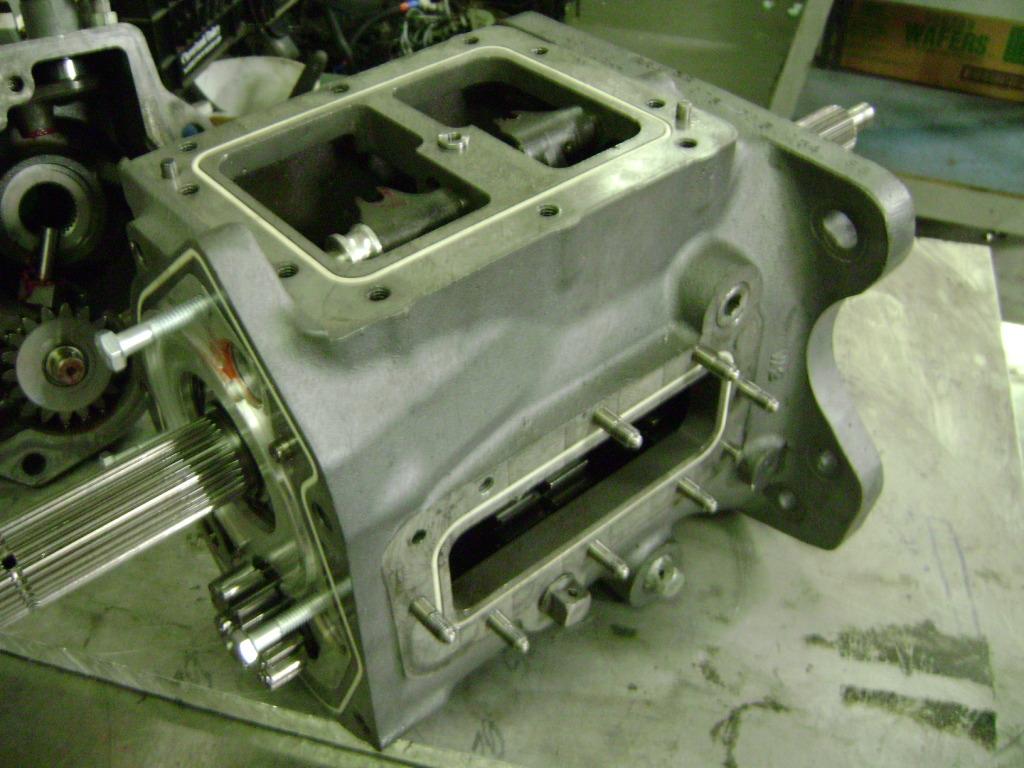
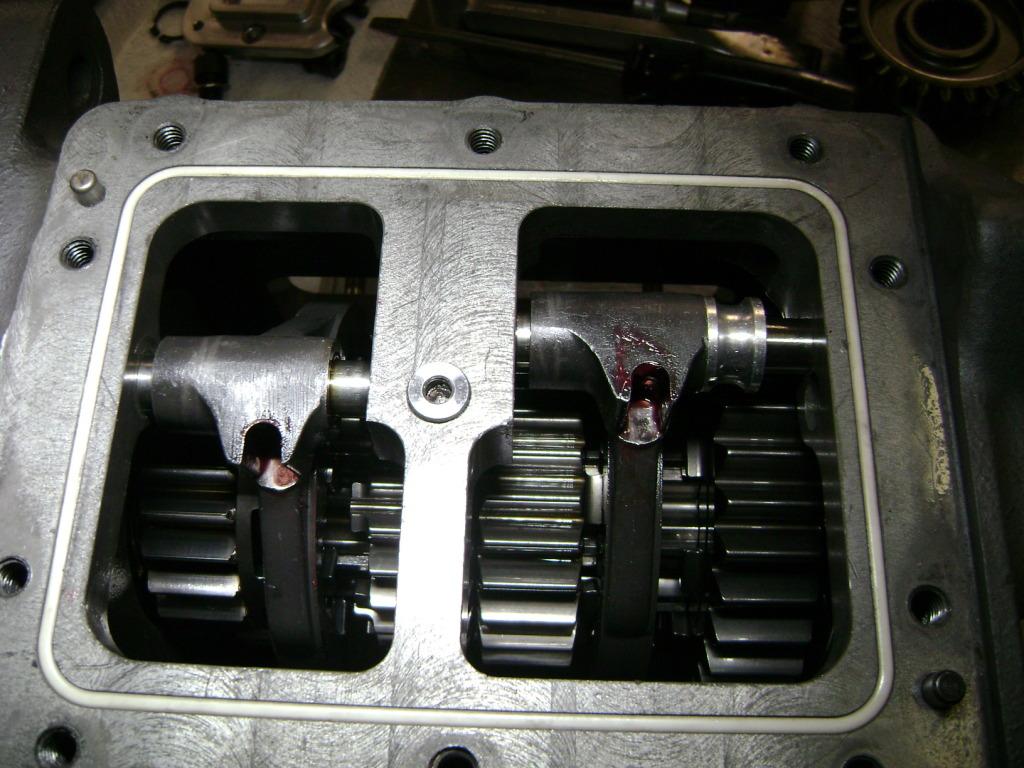
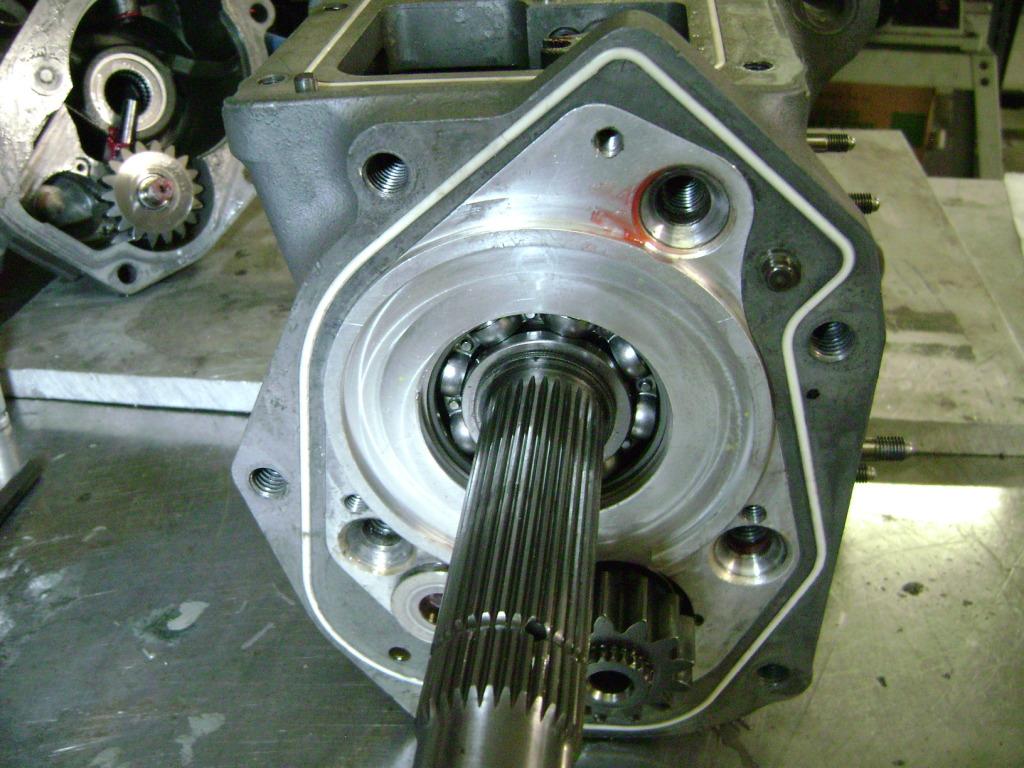
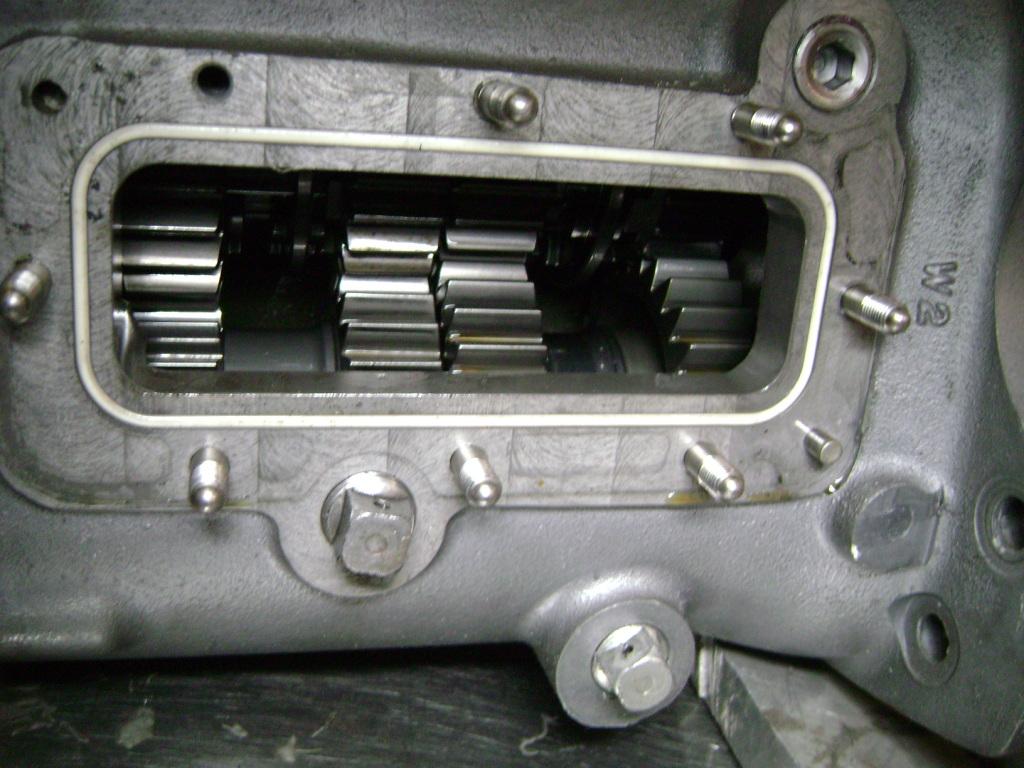
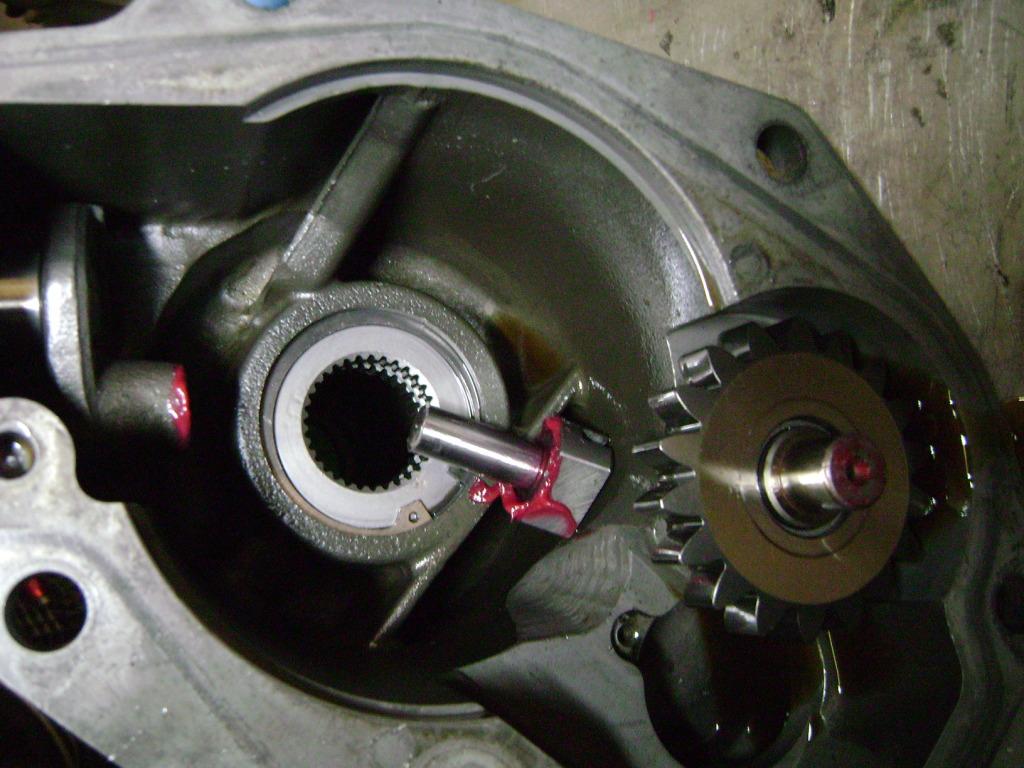
First up, the transmission. My old faithful T5 dogbox was not going to handle the 4 rotors power potential, so a upgrade was needed. Using our nascar connections was the obvious choice ![]() This is a Mid-valley engineering 4-speed unit. I tore it apart to inspect it..... okay I tore it down because I wanted to see how badass it was! Gun-drilled high strength massive trans shafts. All needle bearing support, internal oil pump, ultra lightweight gears, reem polished. This thing is a work of art!
This is a Mid-valley engineering 4-speed unit. I tore it apart to inspect it..... okay I tore it down because I wanted to see how badass it was! Gun-drilled high strength massive trans shafts. All needle bearing support, internal oil pump, ultra lightweight gears, reem polished. This thing is a work of art!
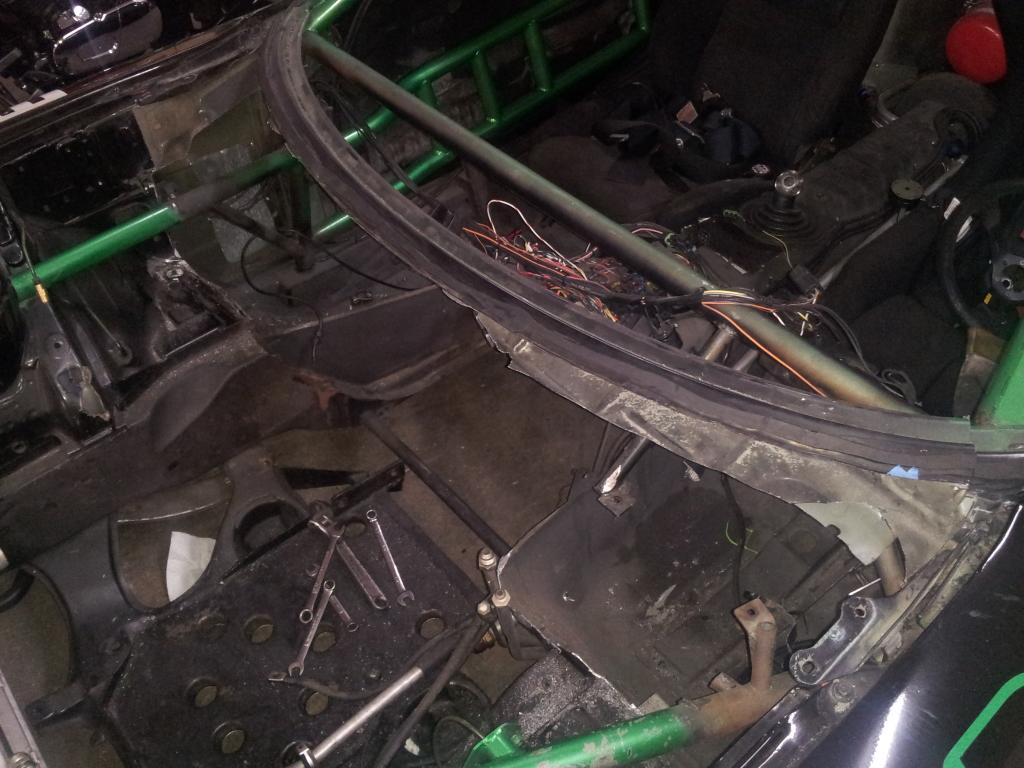
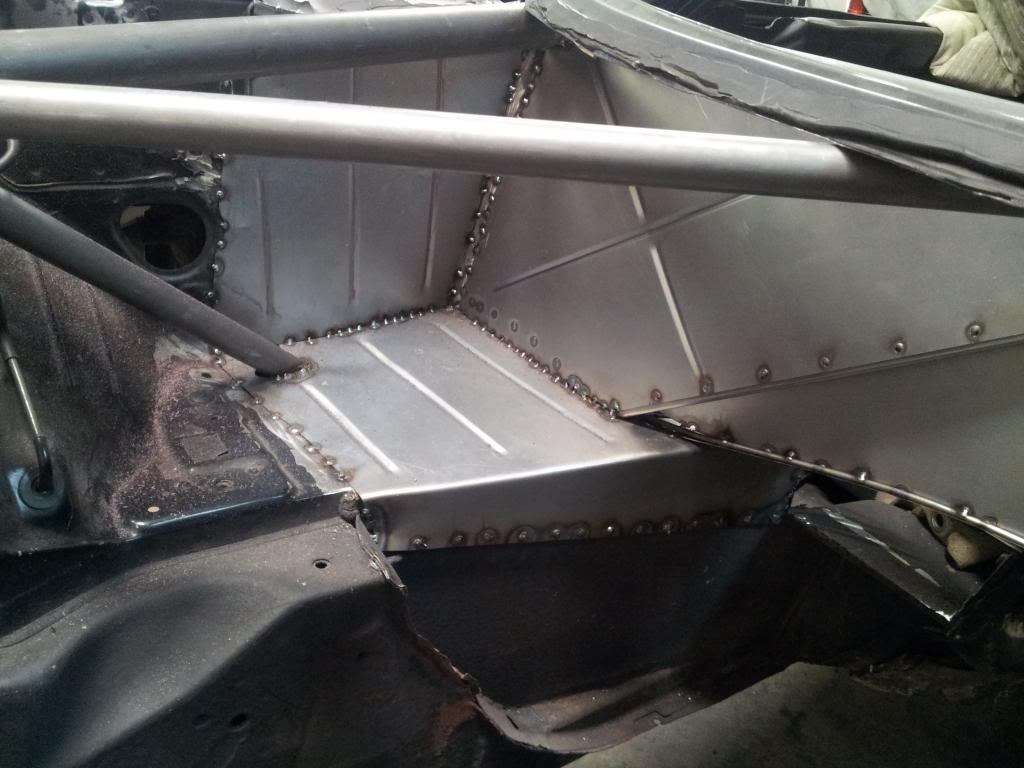
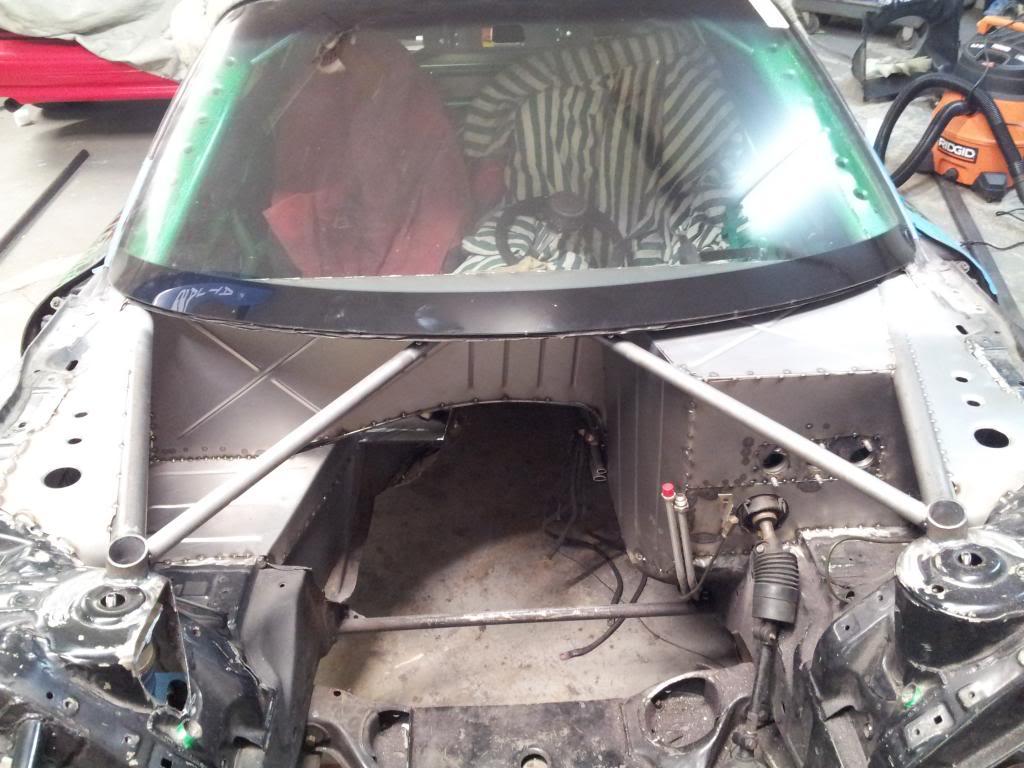
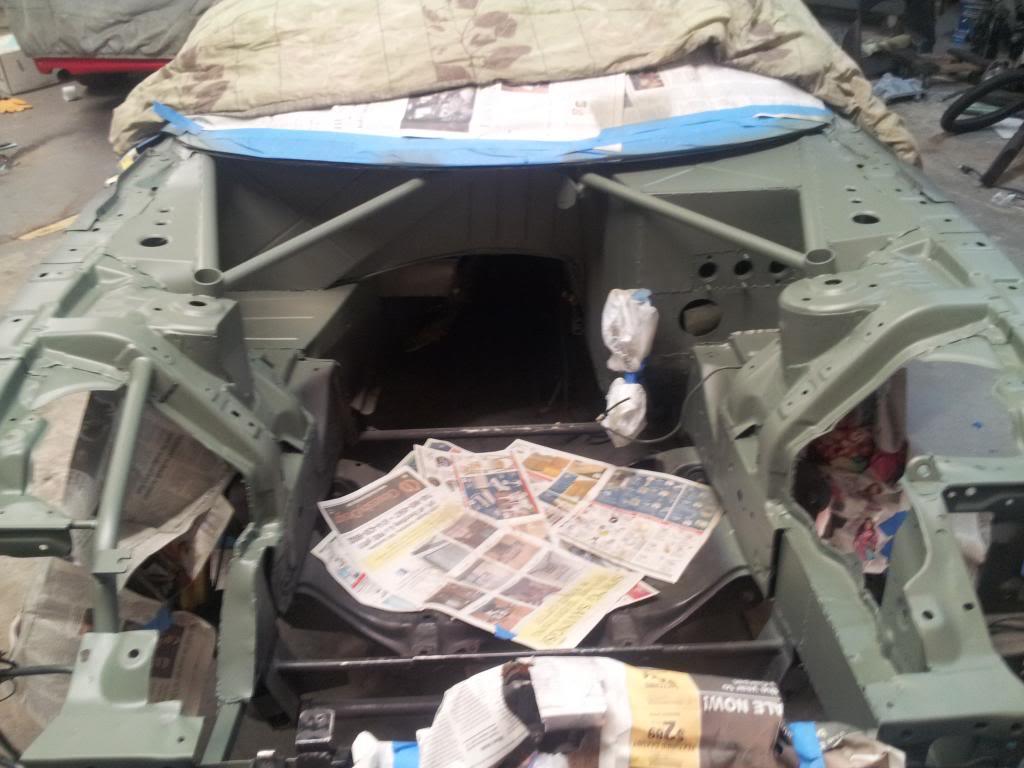
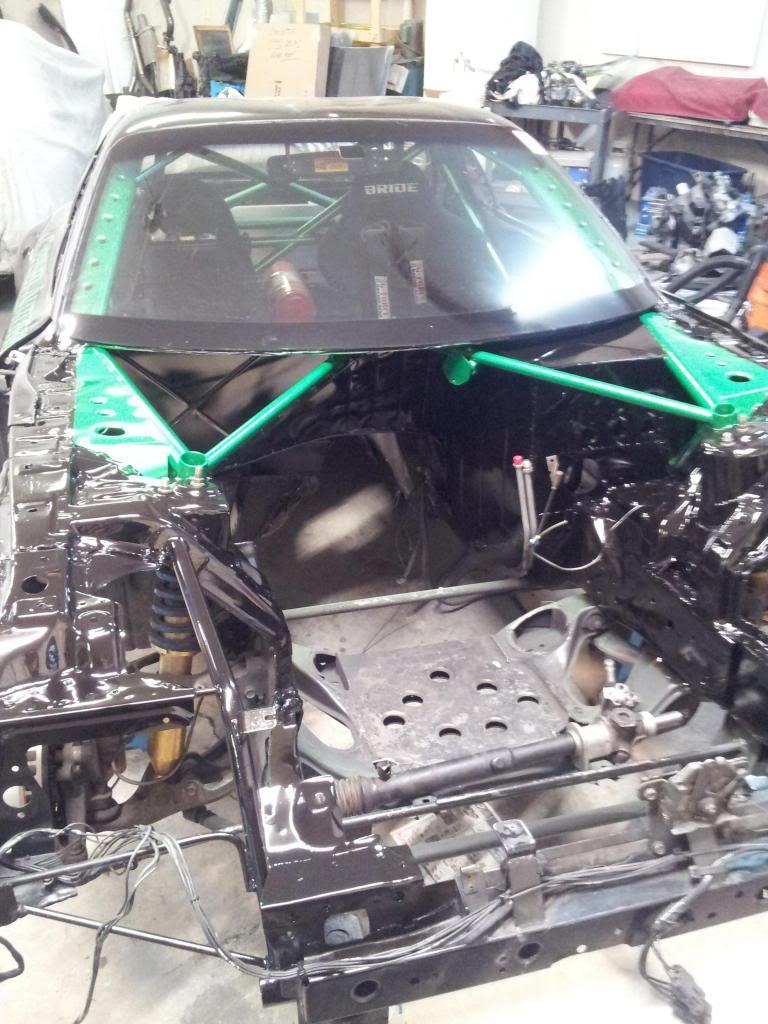
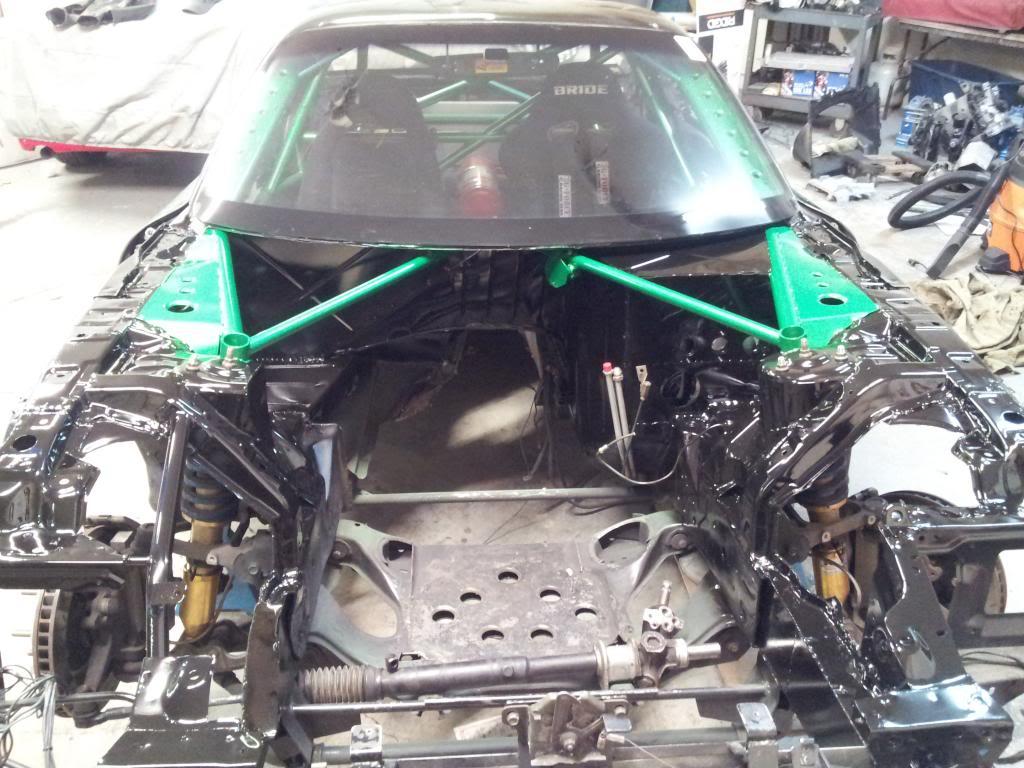
Beginning of the new cage/tube structure. This is a superior design in terms of chassis stiffness.
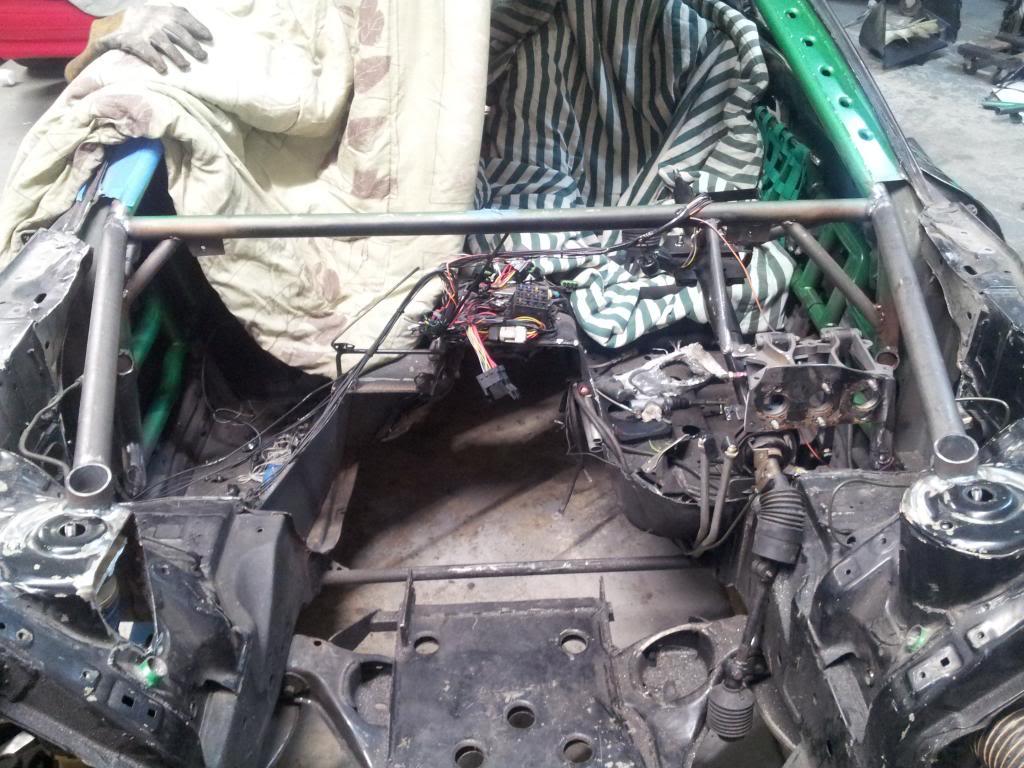
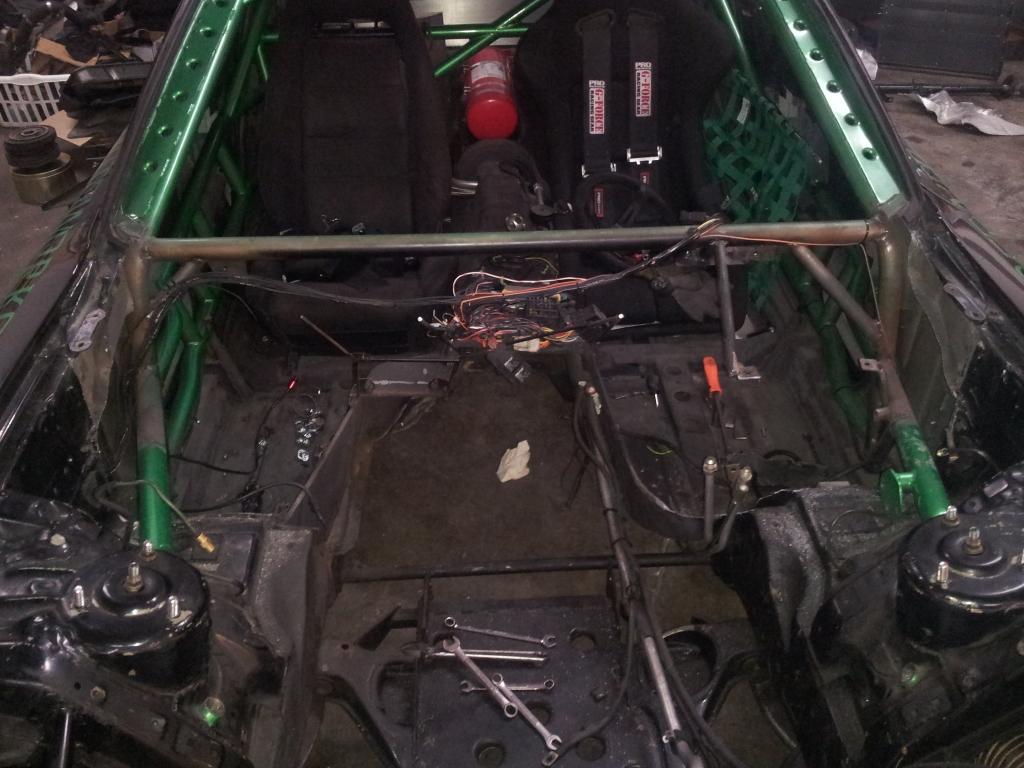
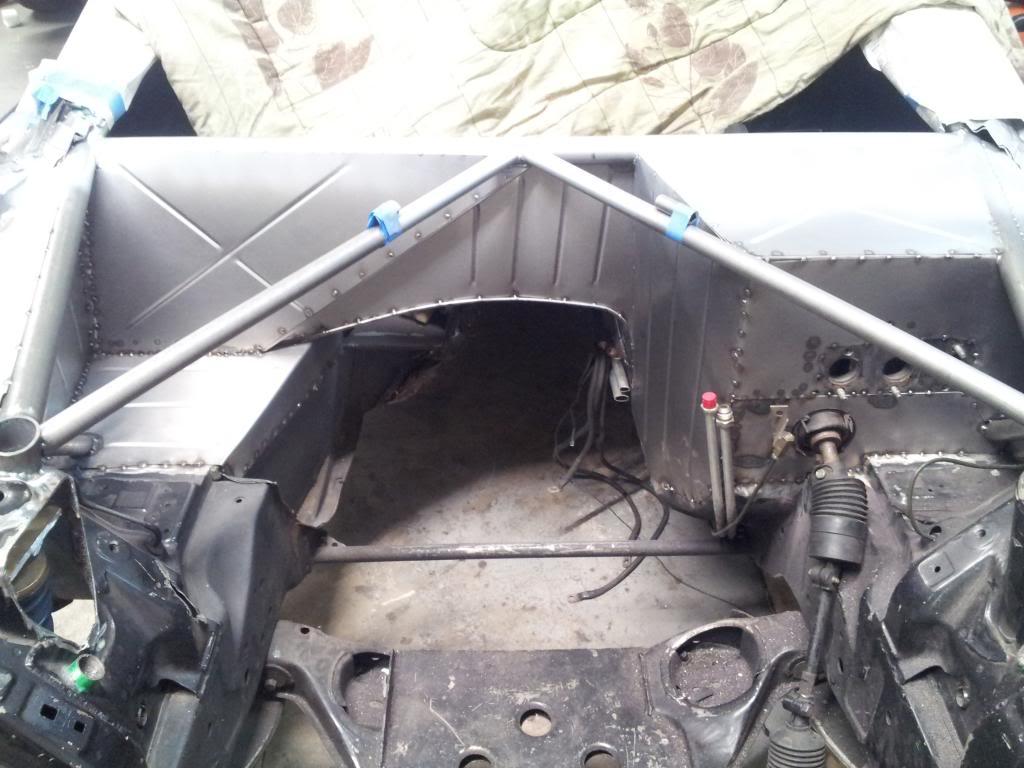
The "tripods" as I call it, fully in place.

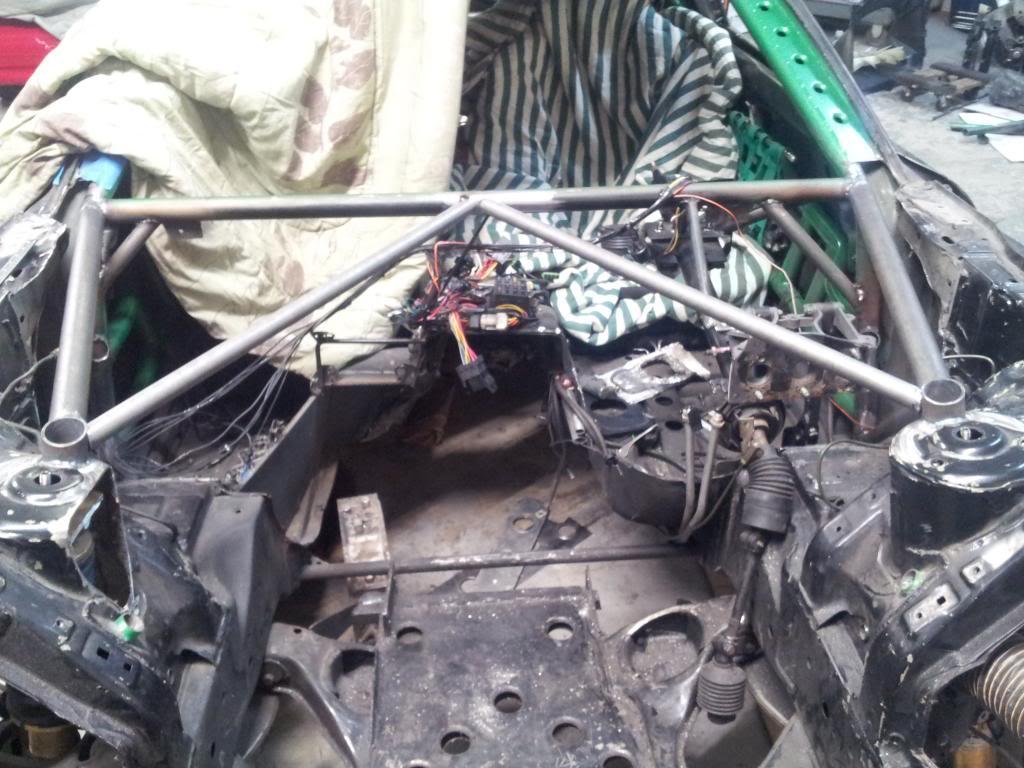
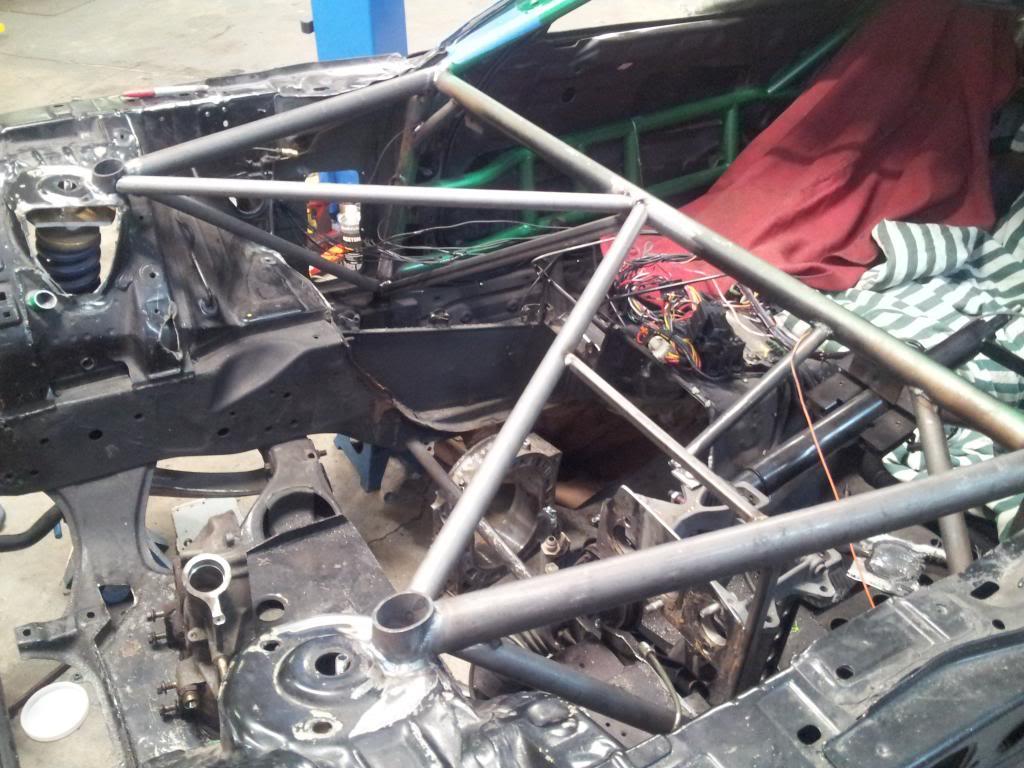
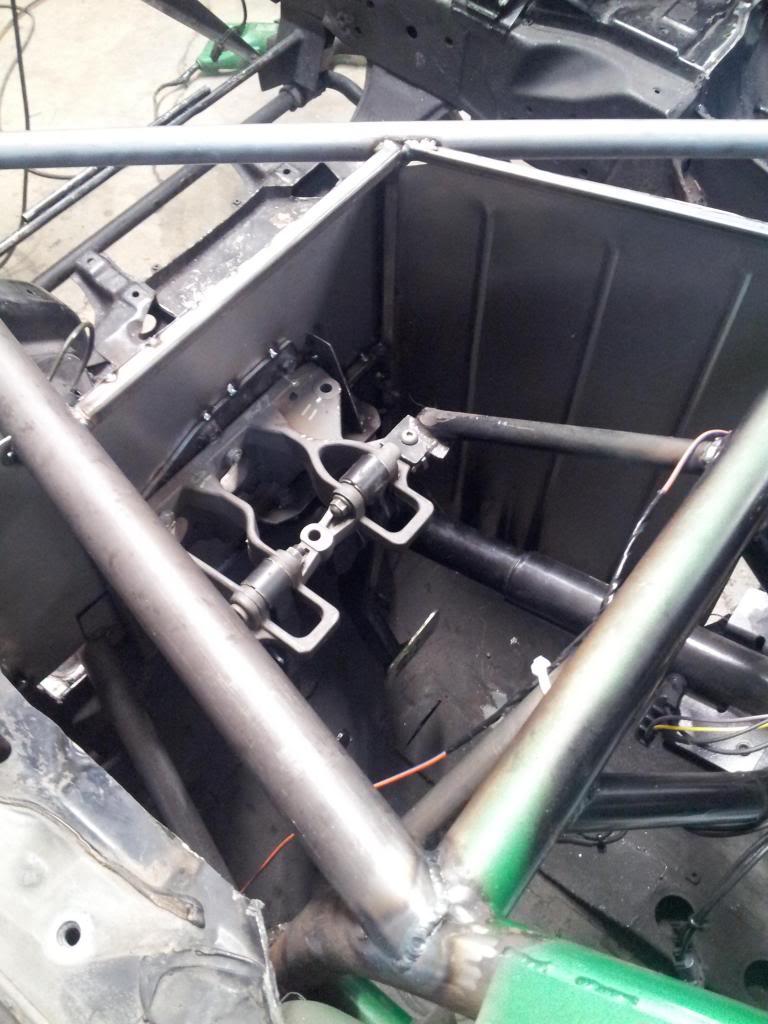
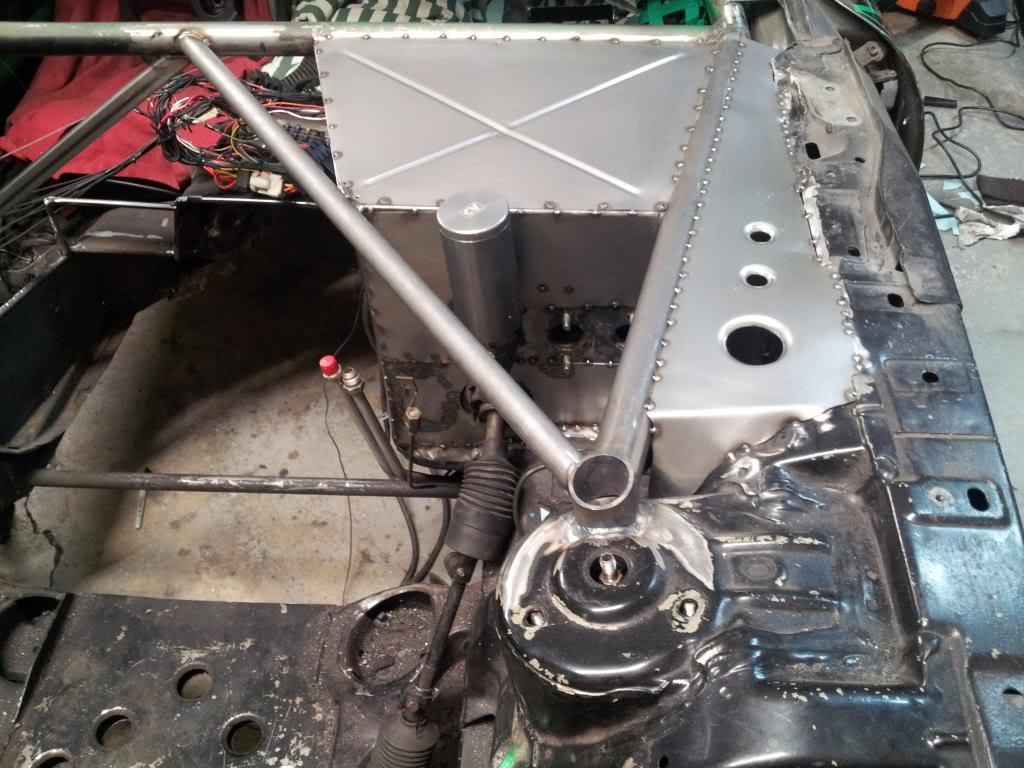
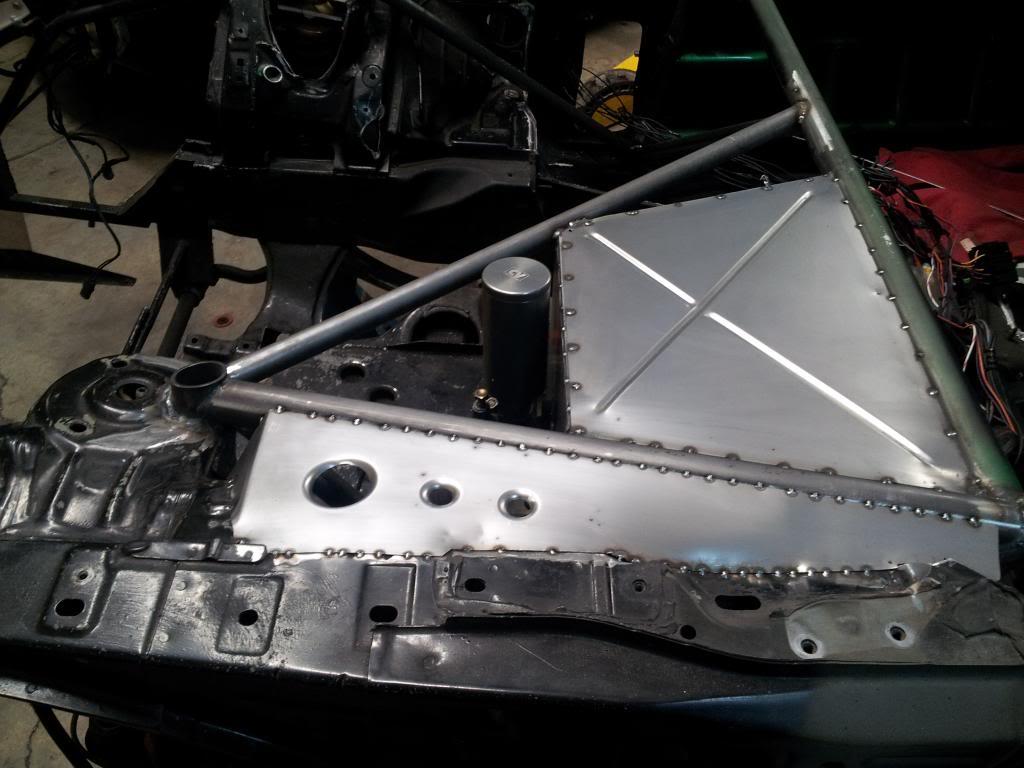
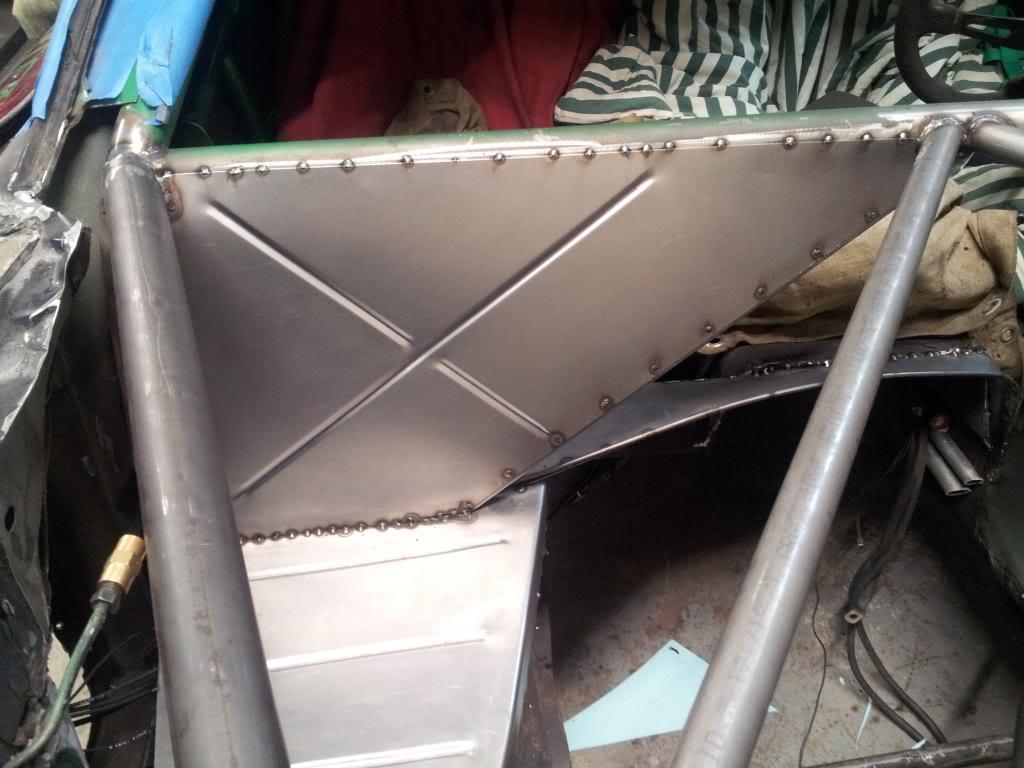

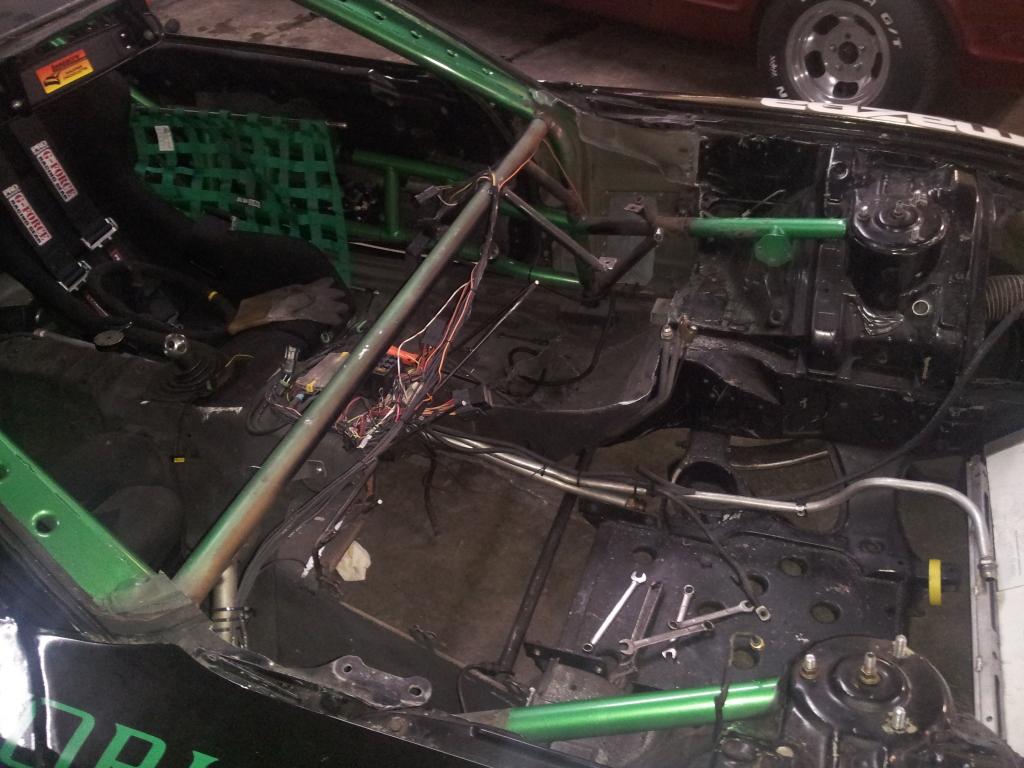
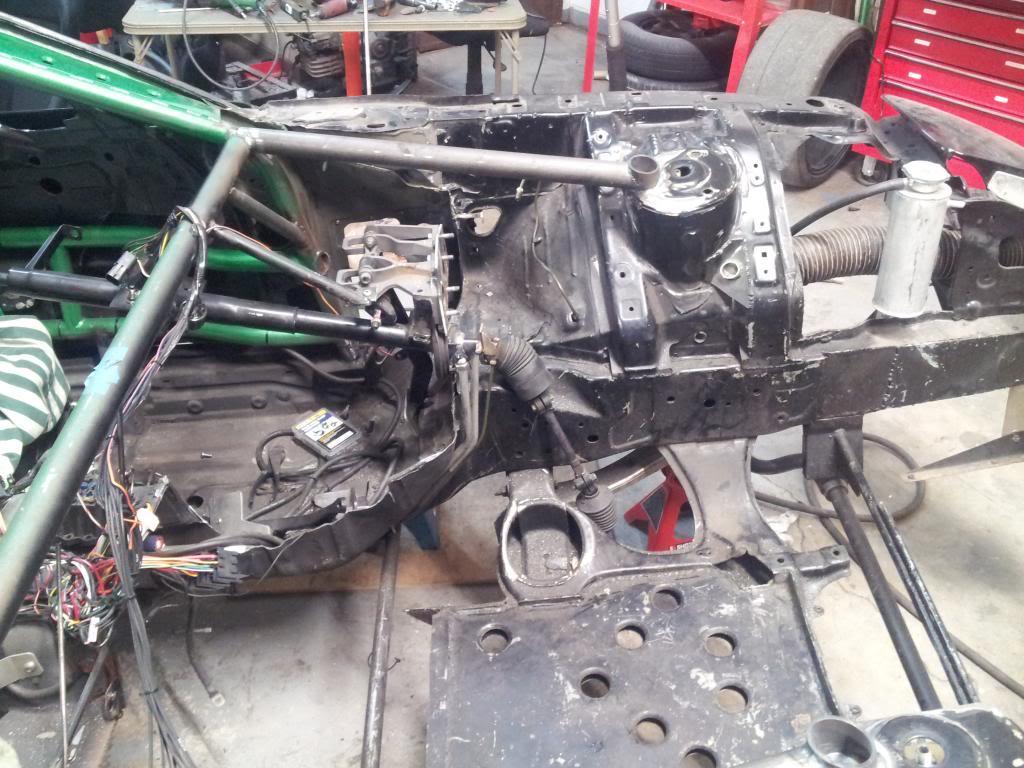
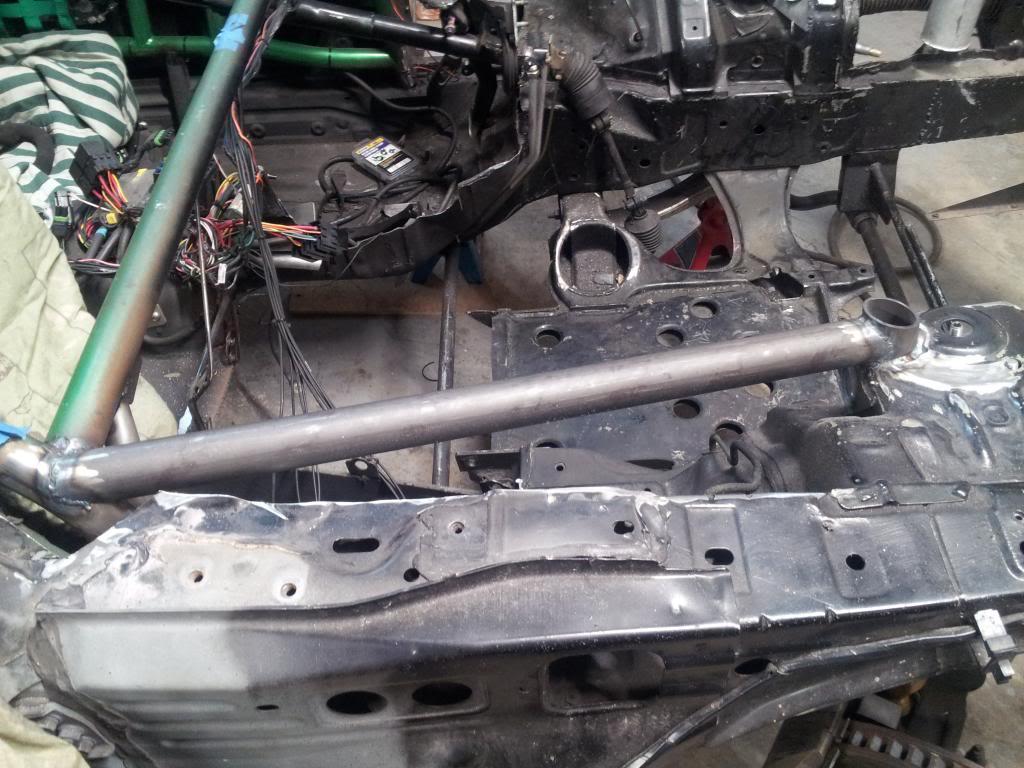
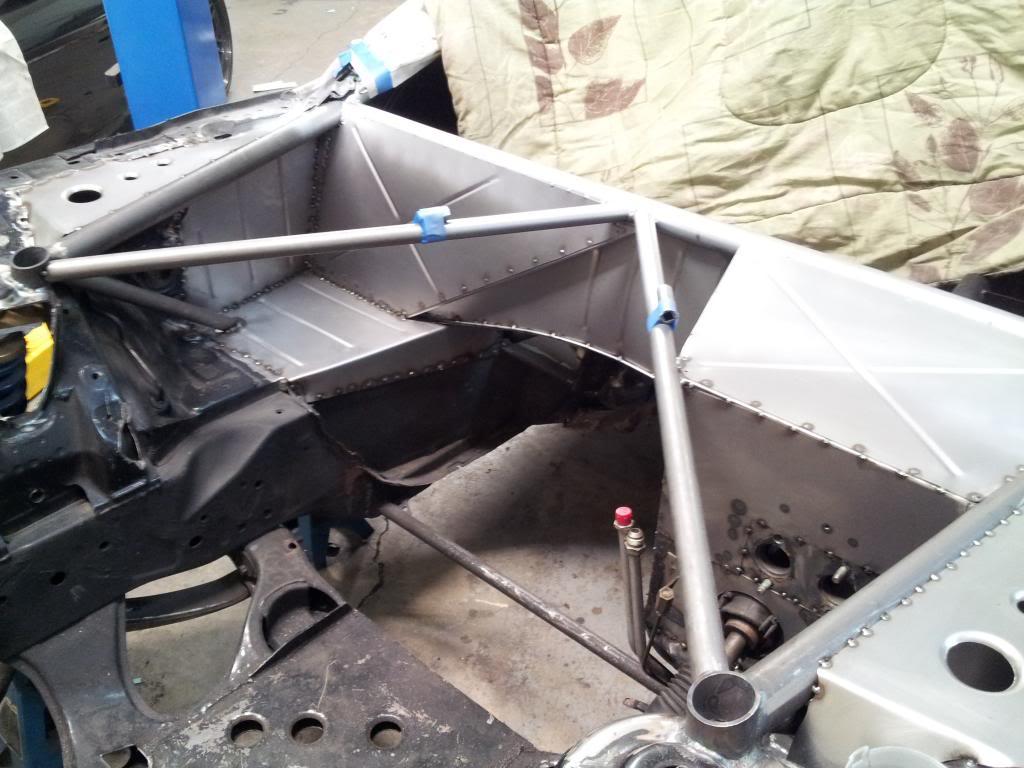
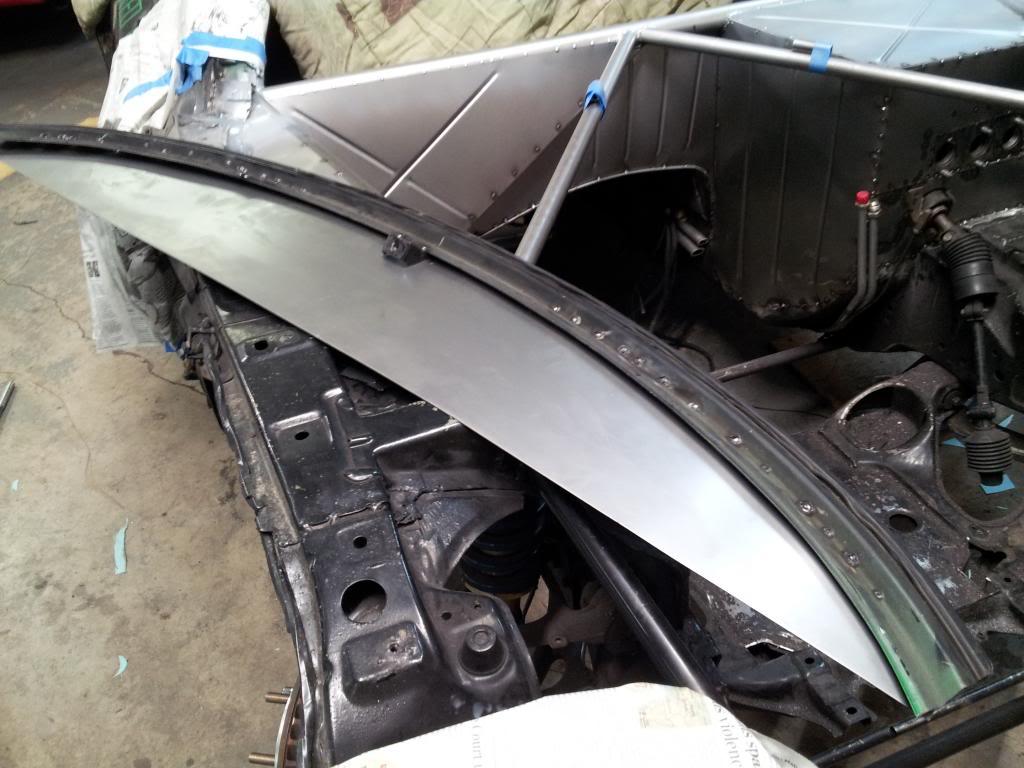
Coming together now
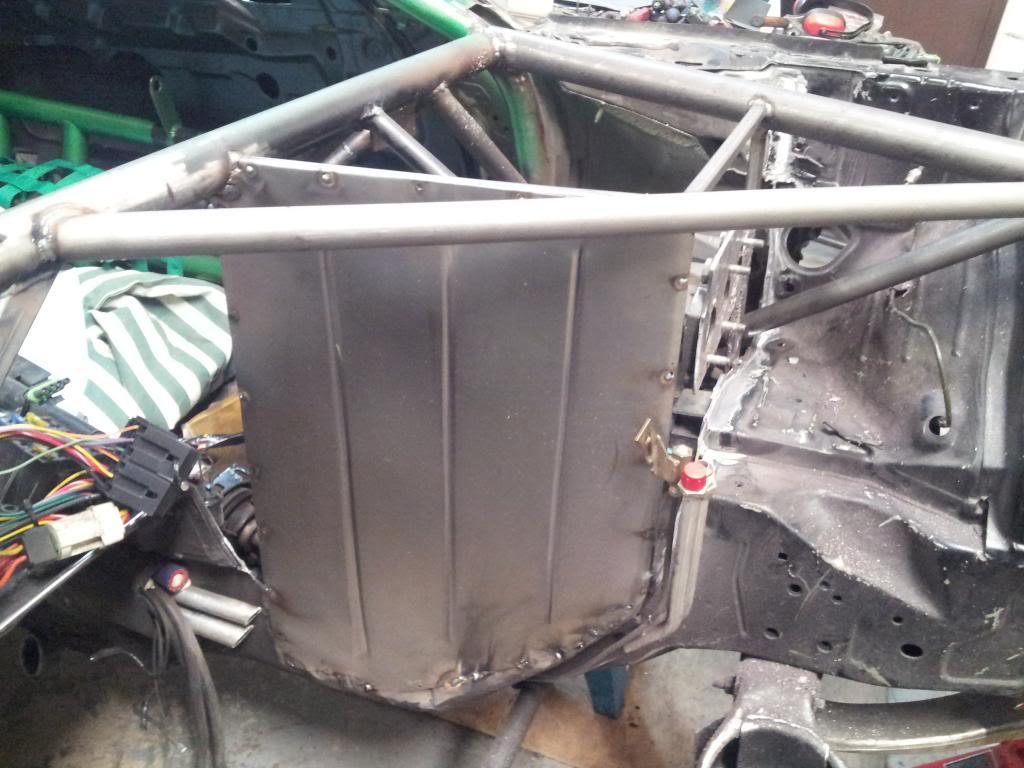
Sanded the whole engine bay, removed all the seam sealer.
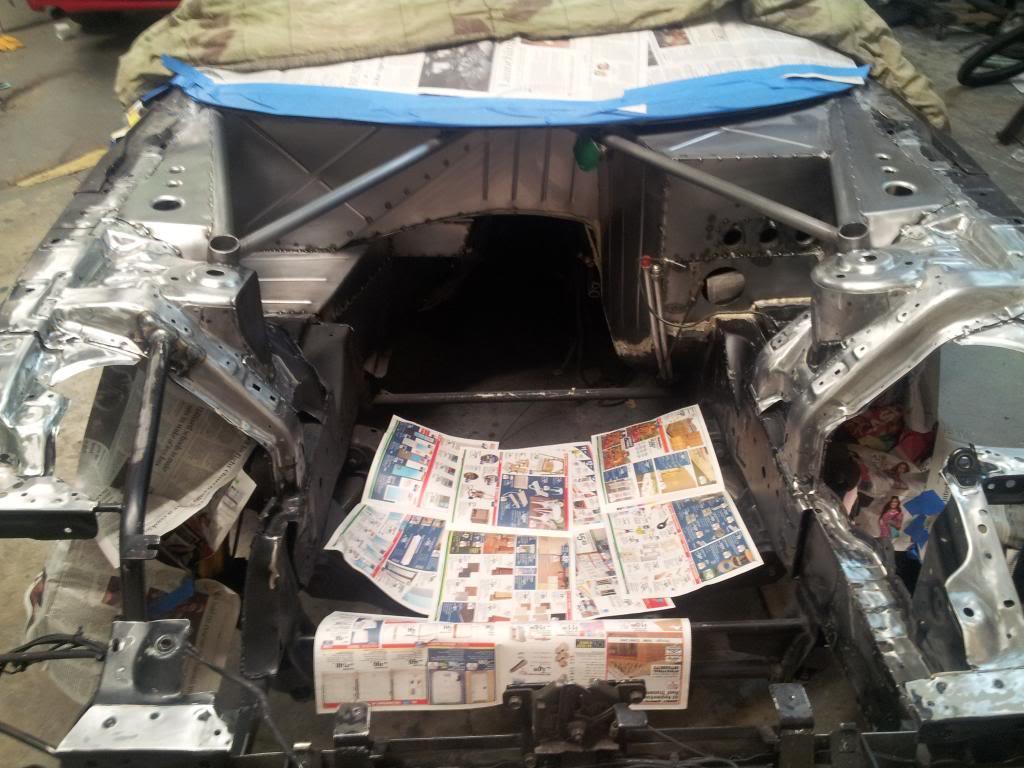
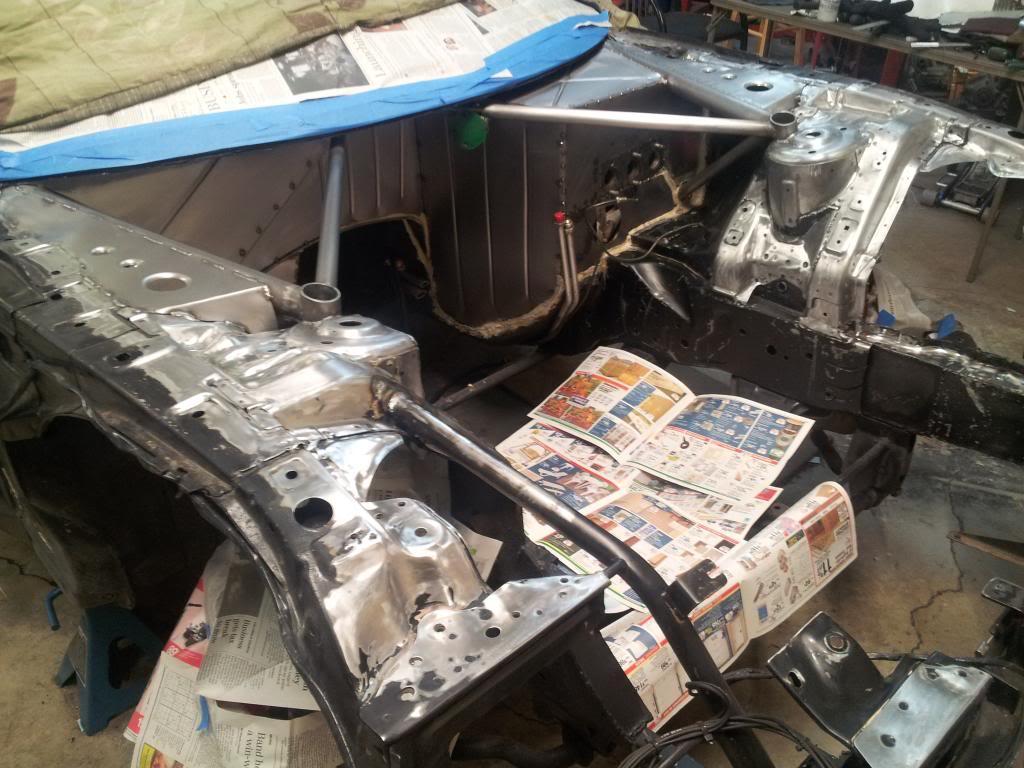
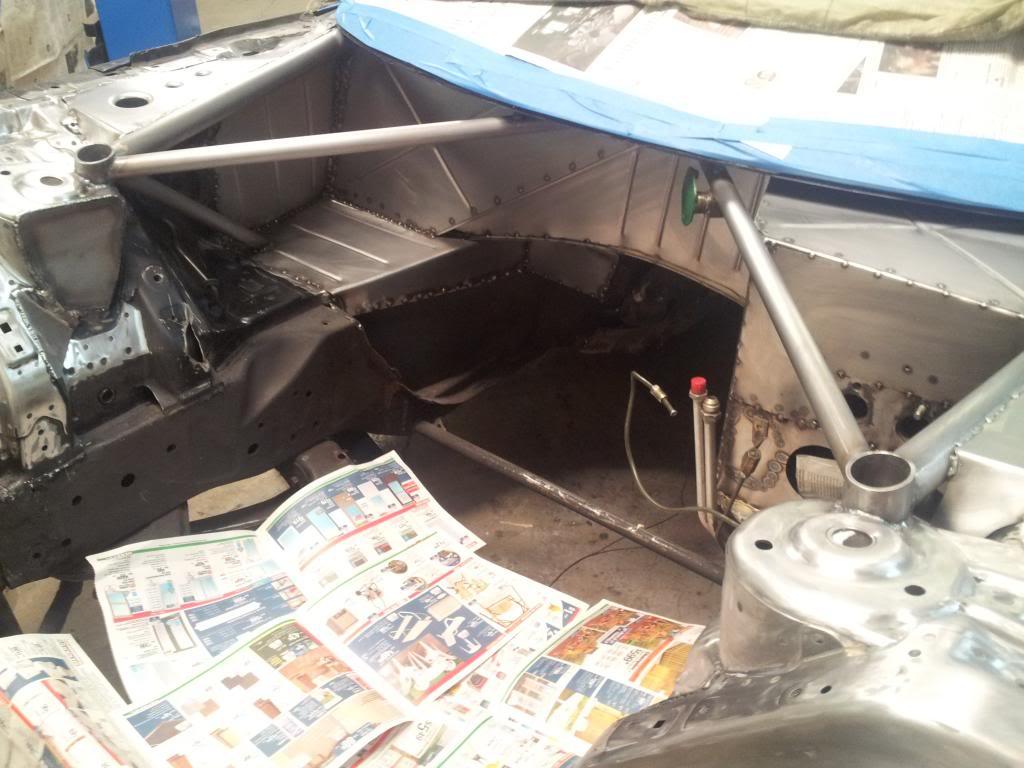
Primer!
Gotta have my signature GREEEN!!
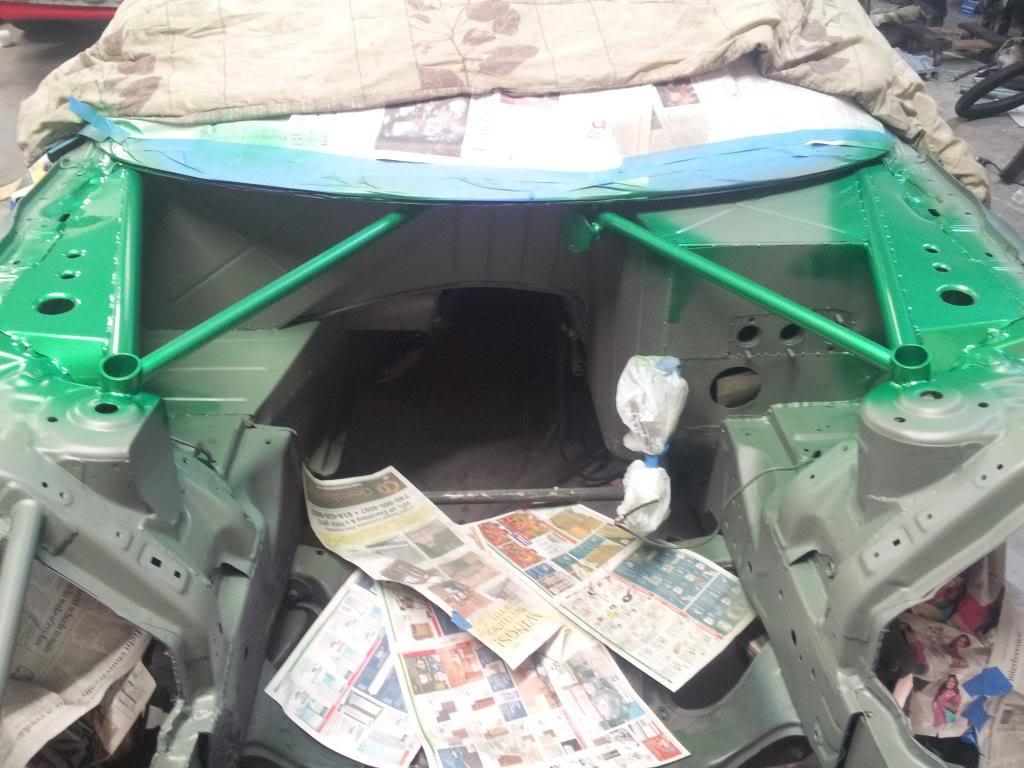
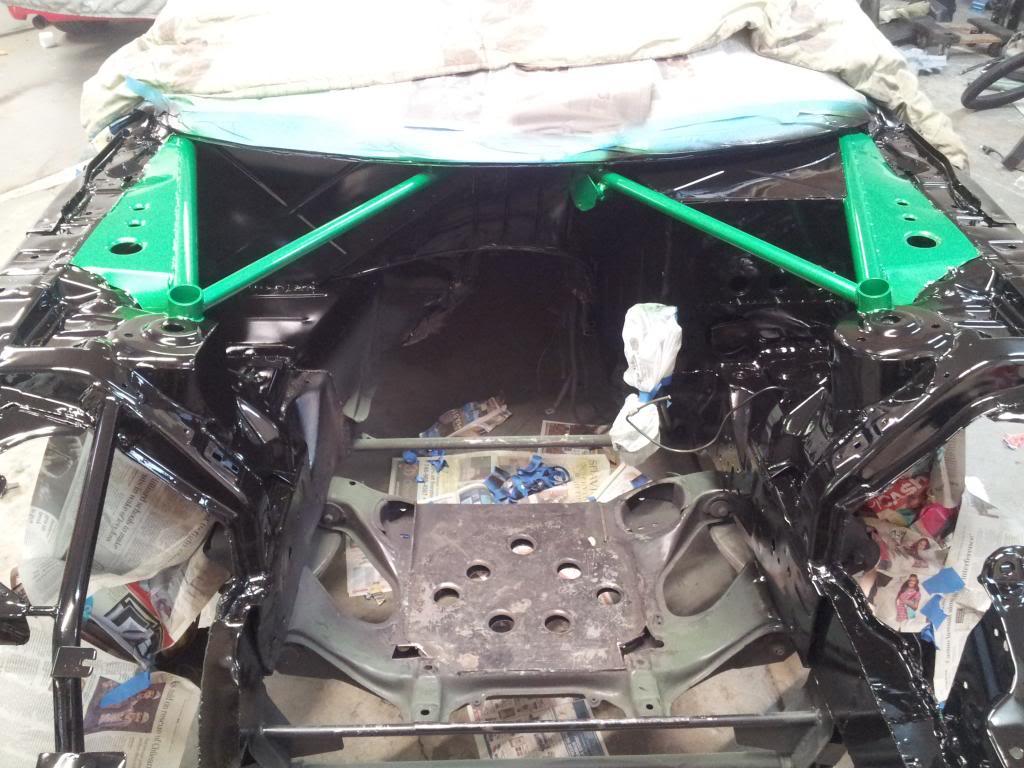
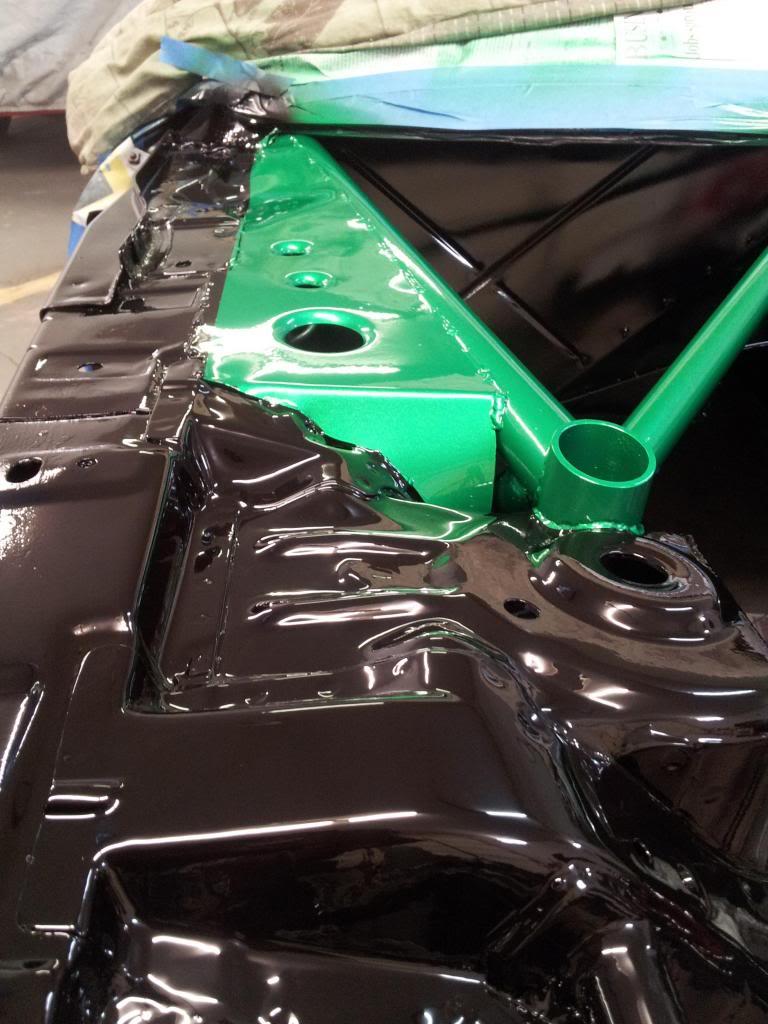
Bet you guys didnt think this was possible based off the beginning huh? I'm not a professional painter, but many guys who have stopped by think I am ![]()
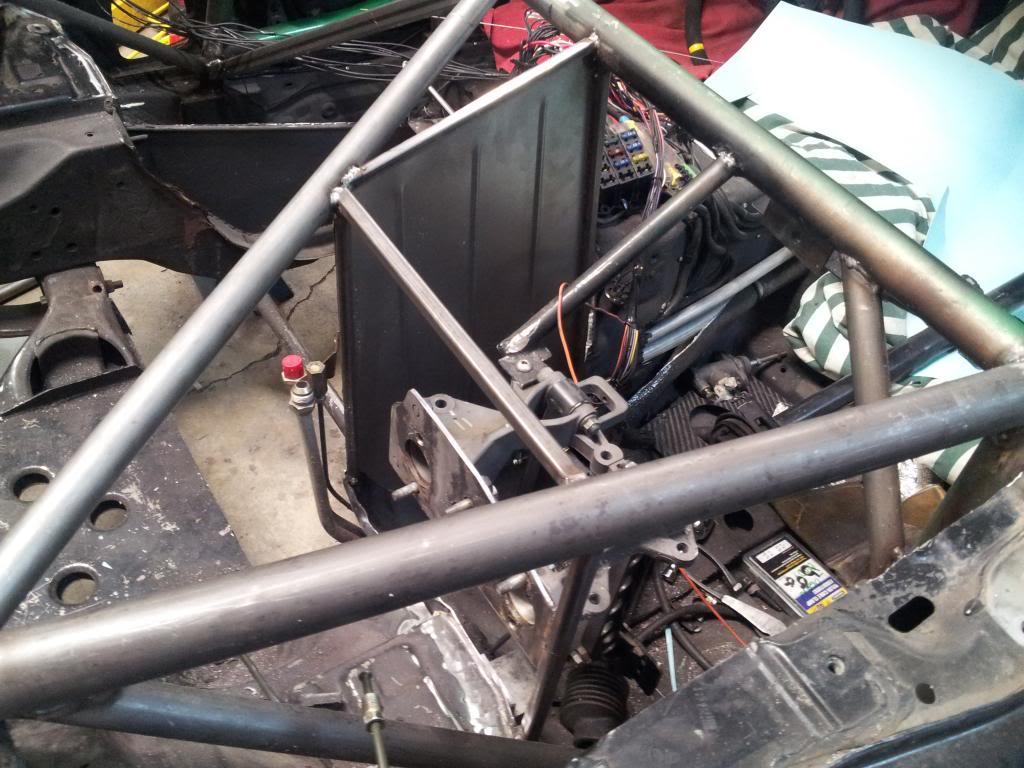
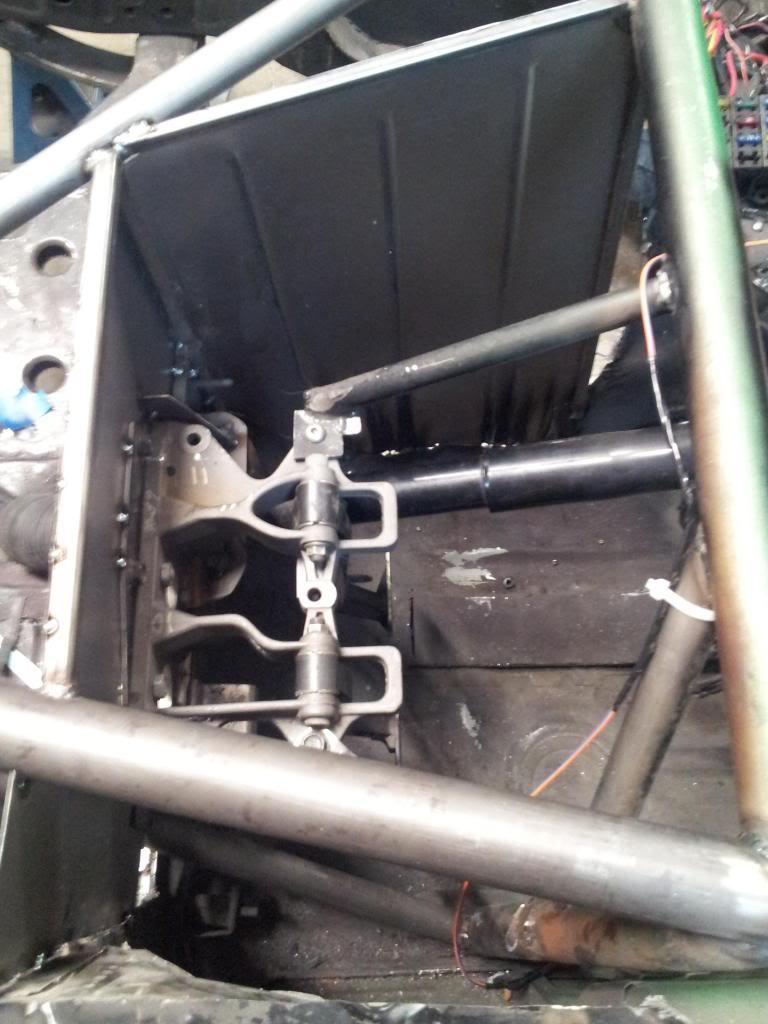
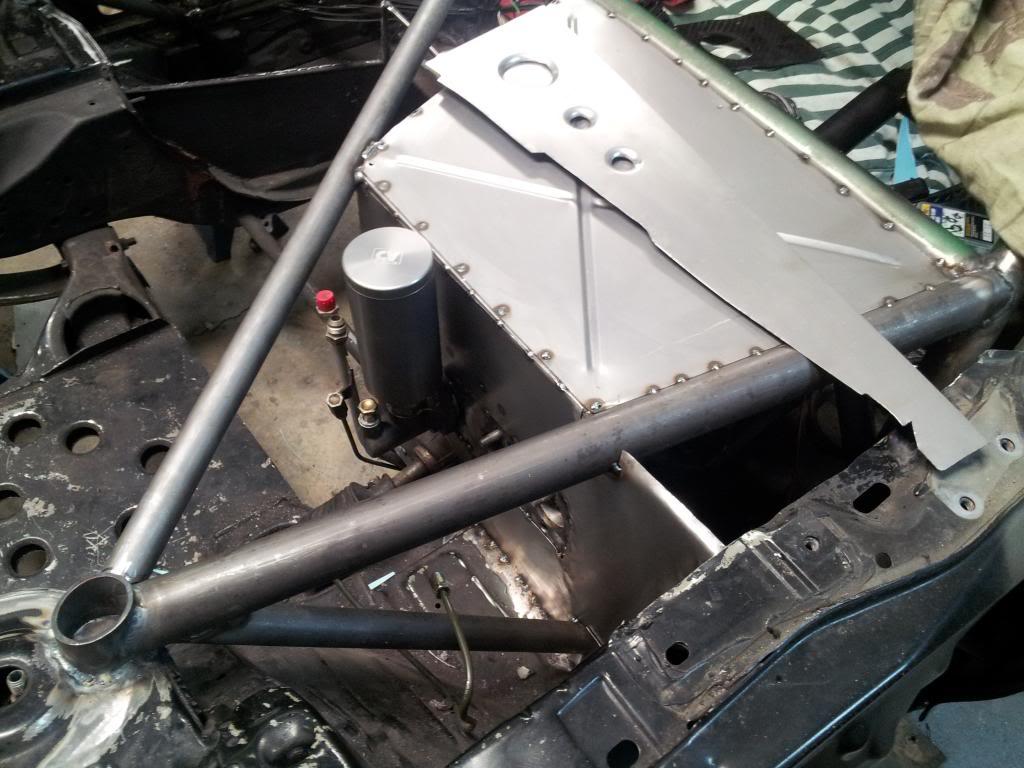
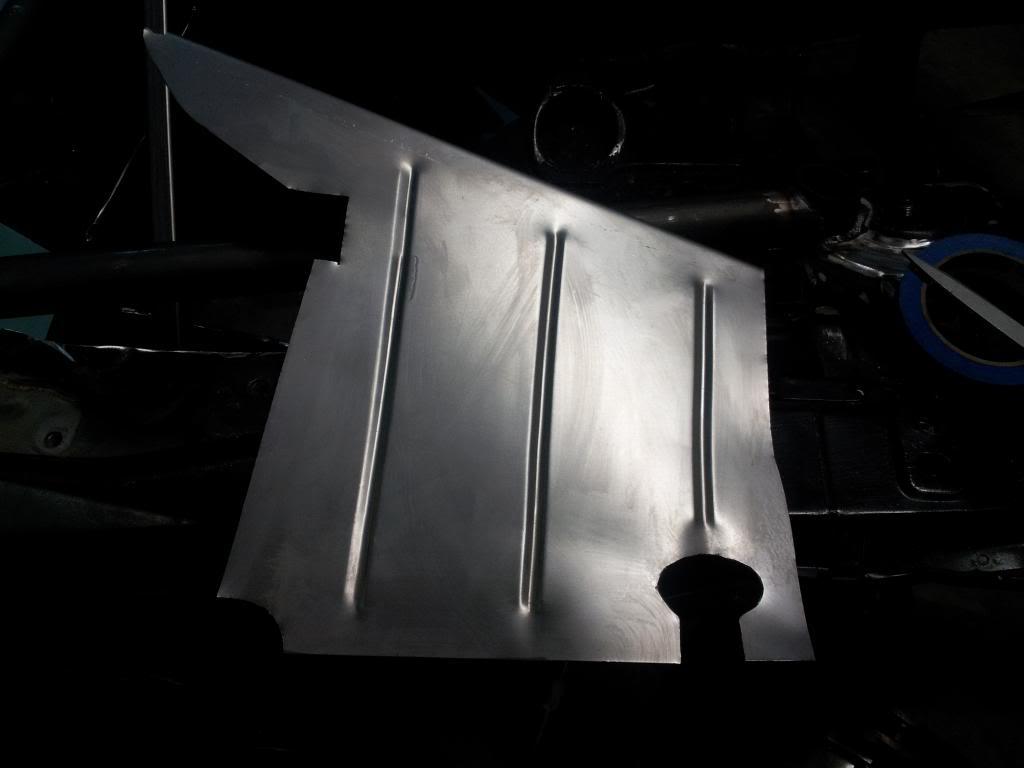
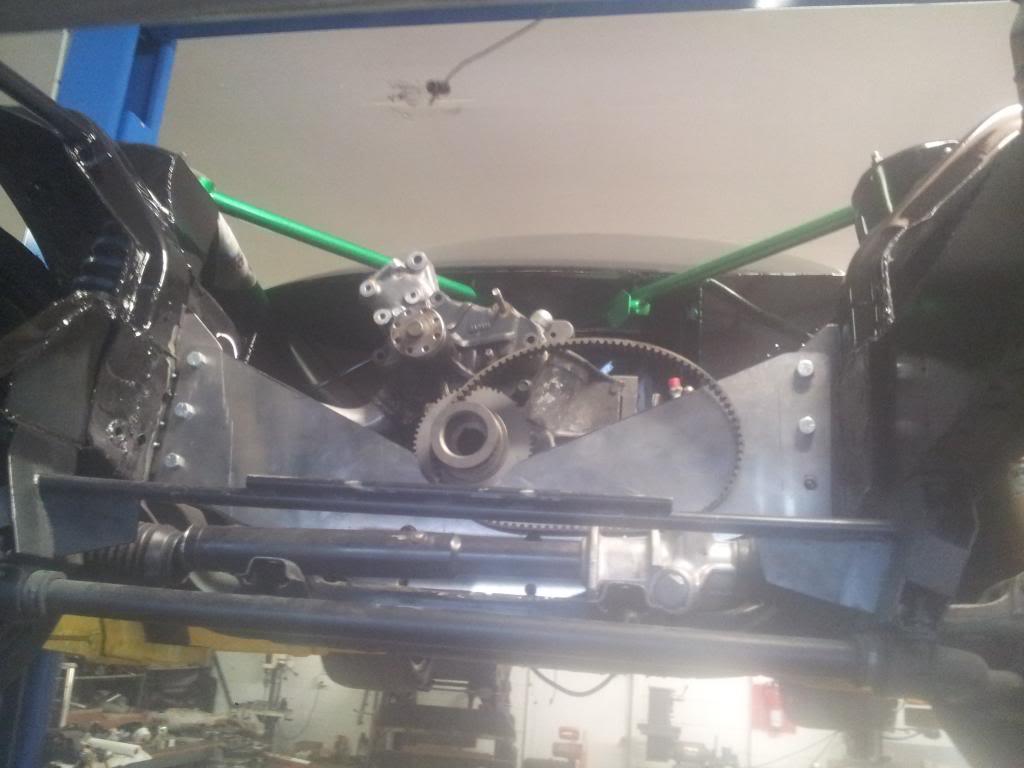
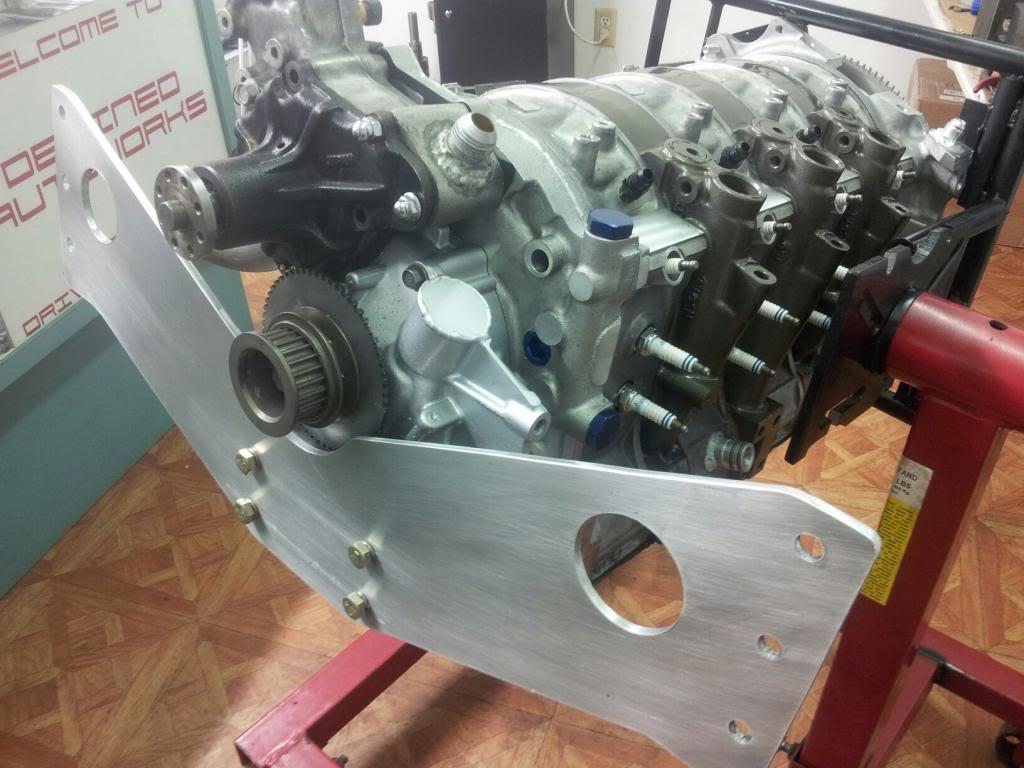
This one goes to Matt, he came up with using a motor plate idea. I liked it, and started to fabricate using the dummy engine. This made the whole package so easy to install and remove
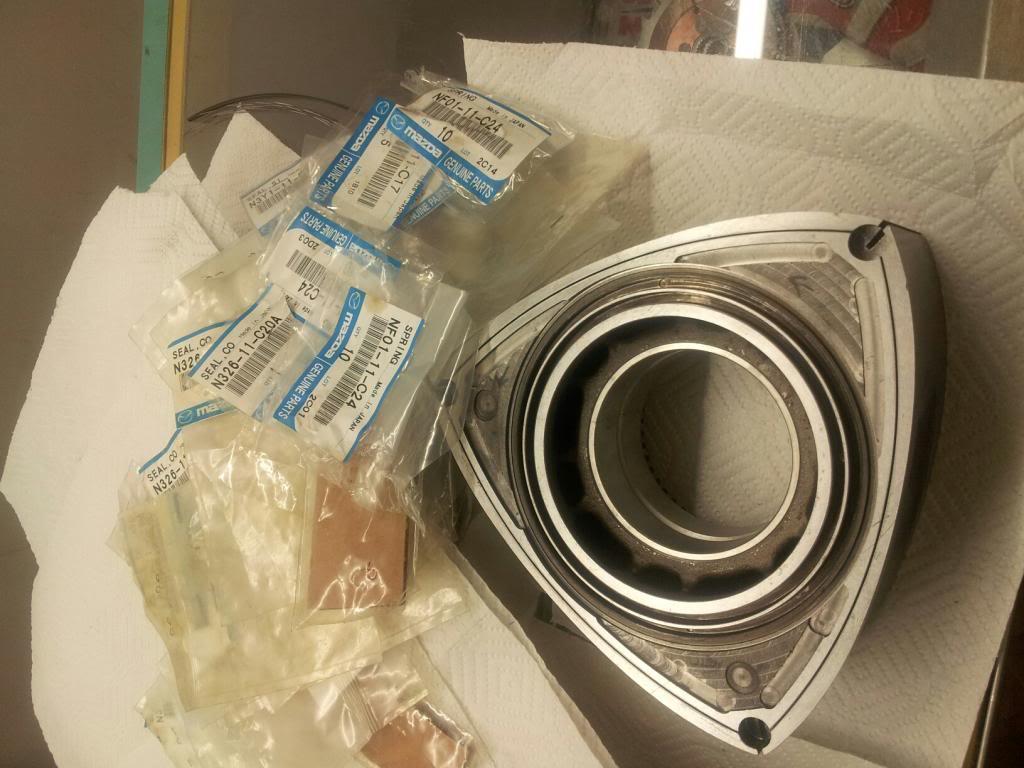
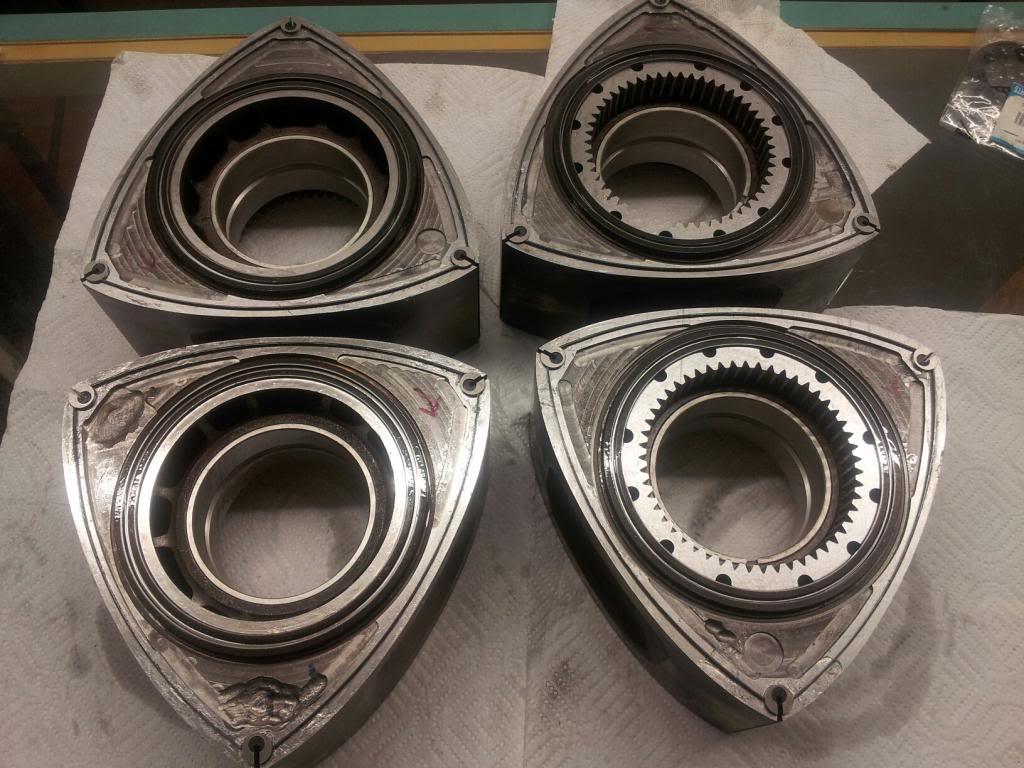
Now onto the 4-rotor! After all that is what everyone wants to see. 1st off the aluminum side housings. So light, so nice.
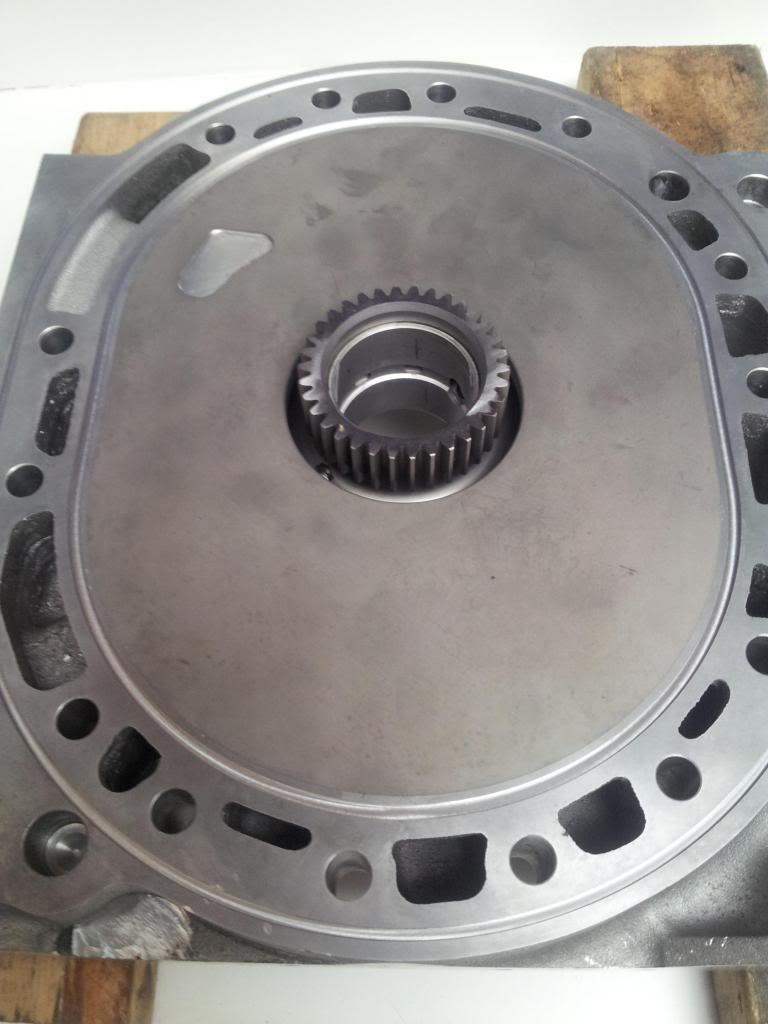
The ultra-light rotors
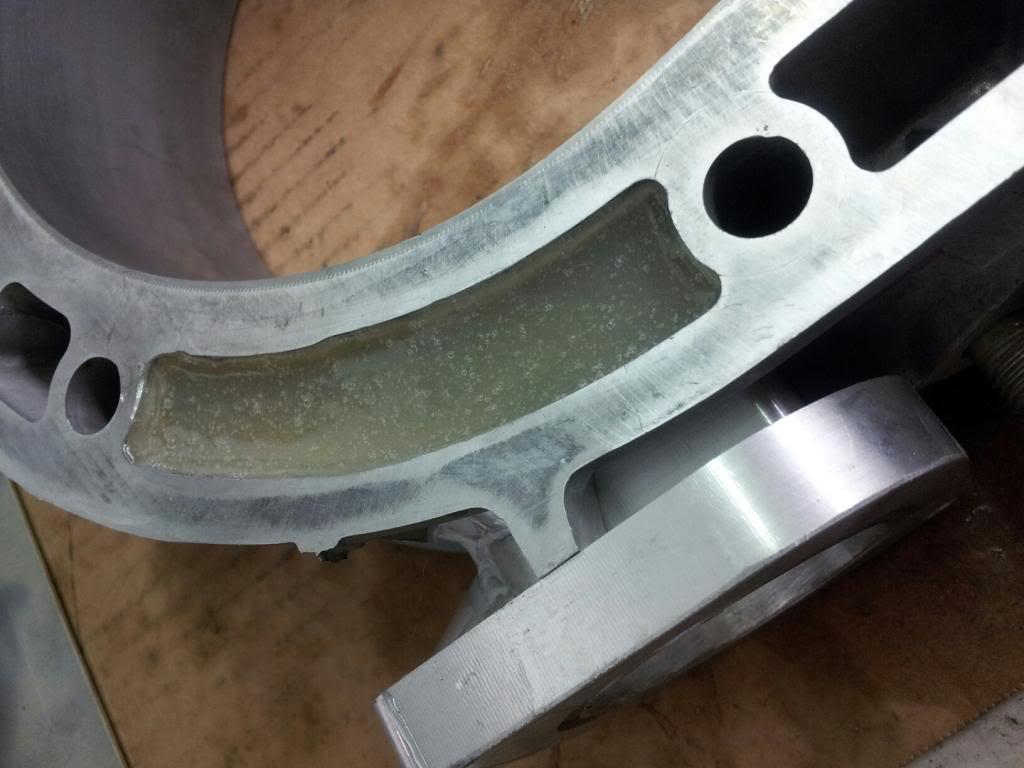
P-port all epoxy sealed
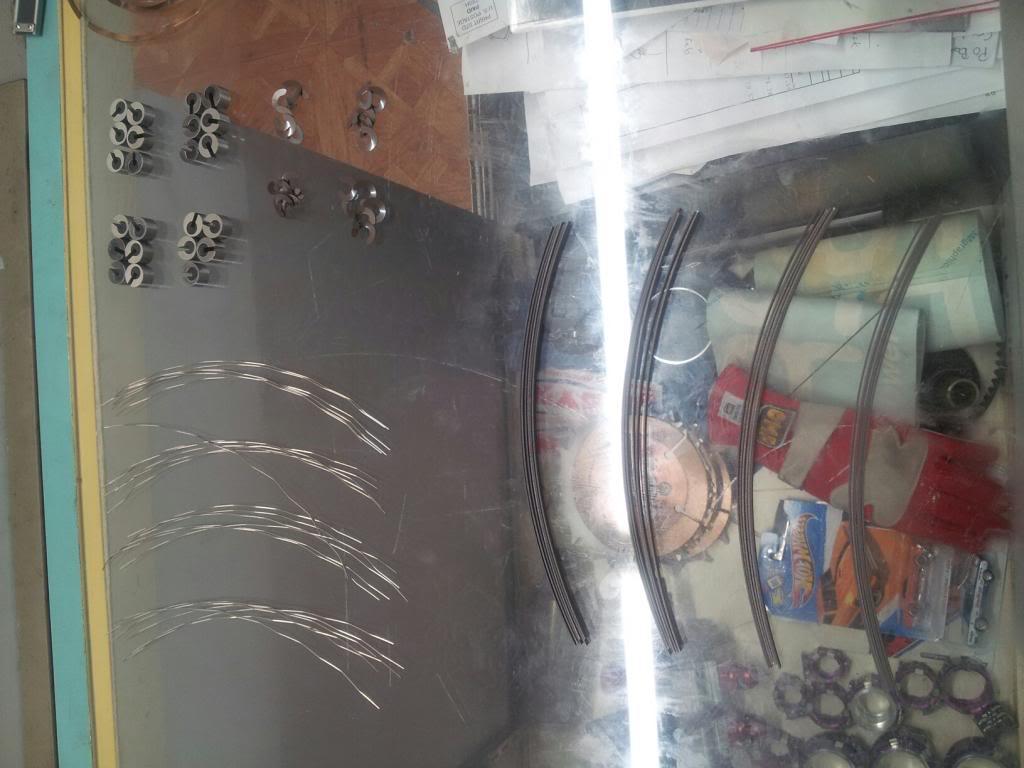
All the new seals. Too much time in clearancing side seals. I always dred it
Super lightweight rotor assemblies. 9.7:1 compresion, but almost 1lb lighter. Balanced to .2 grams of the counterwieghts. Needed for spinning possibly to 12,000 rpm!
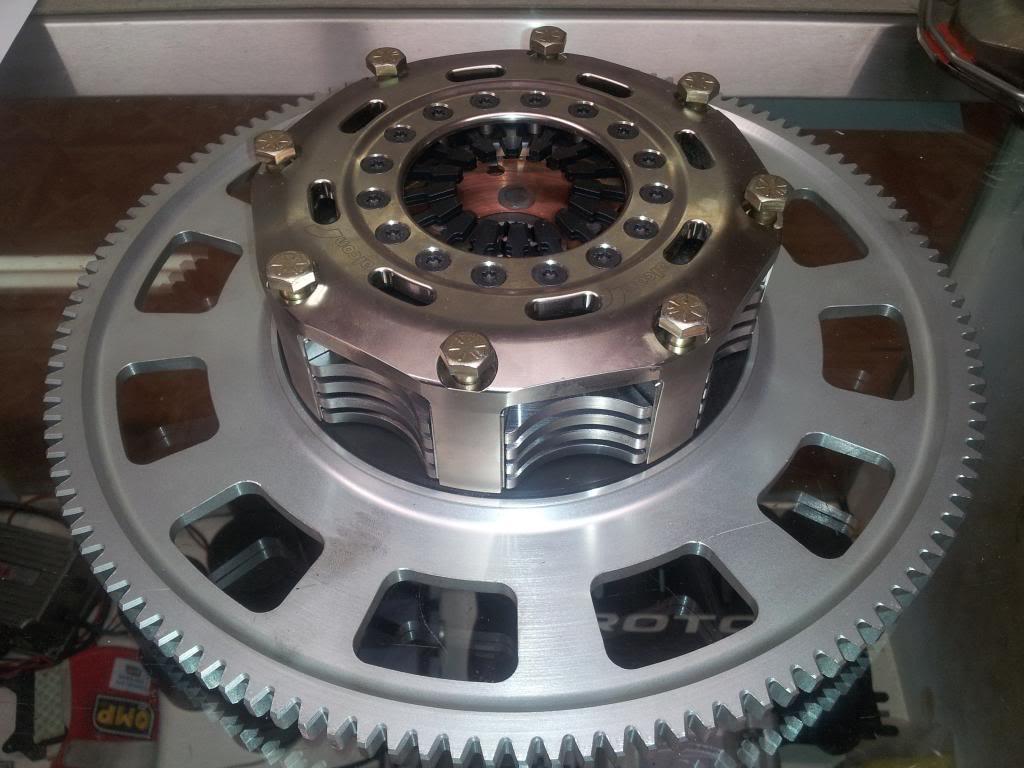
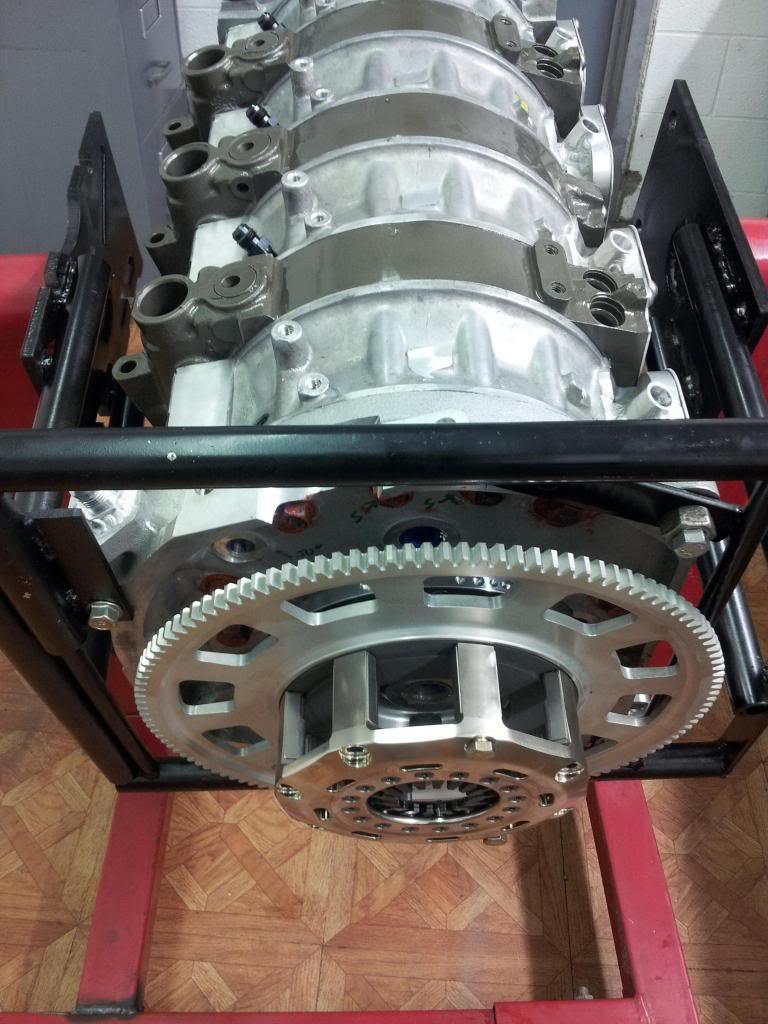
The ultra ultra lightweight clutch and flywheel. 4.5lb flywheel and 9lb clutch. Alcon makes one sexy setup
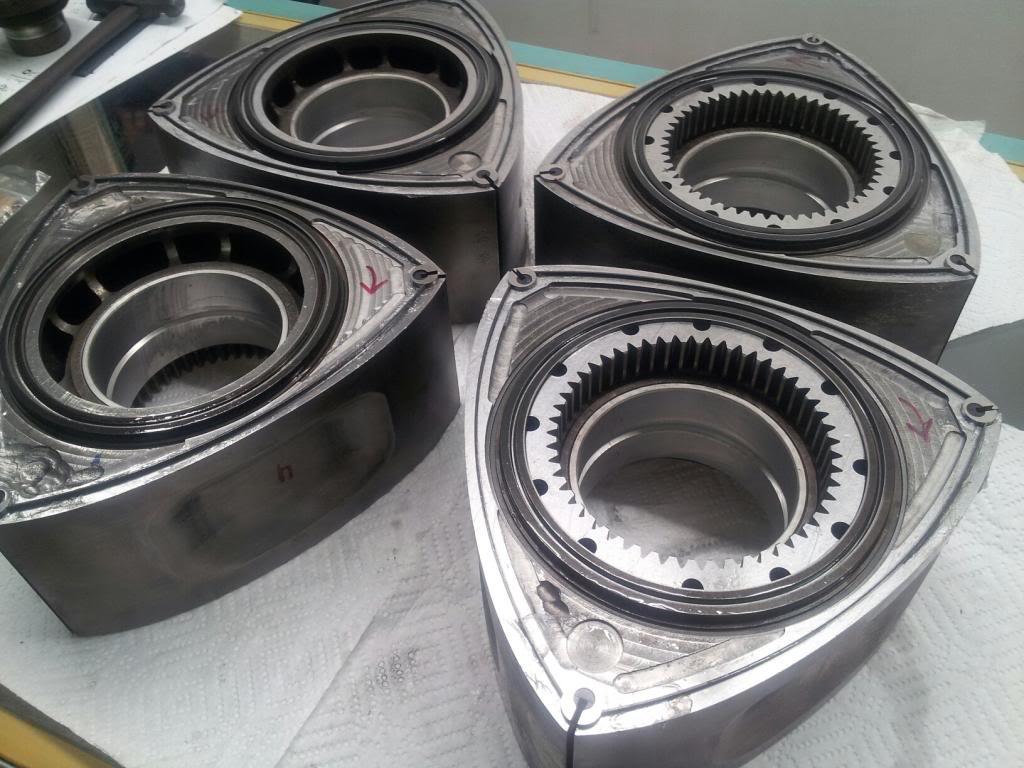
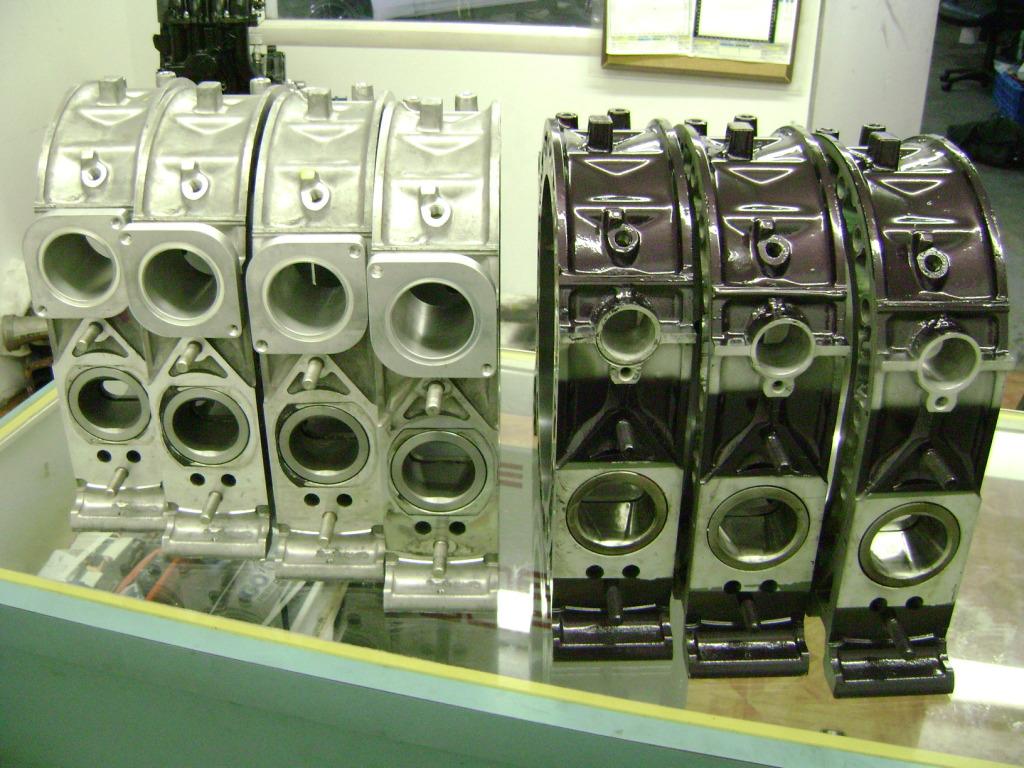
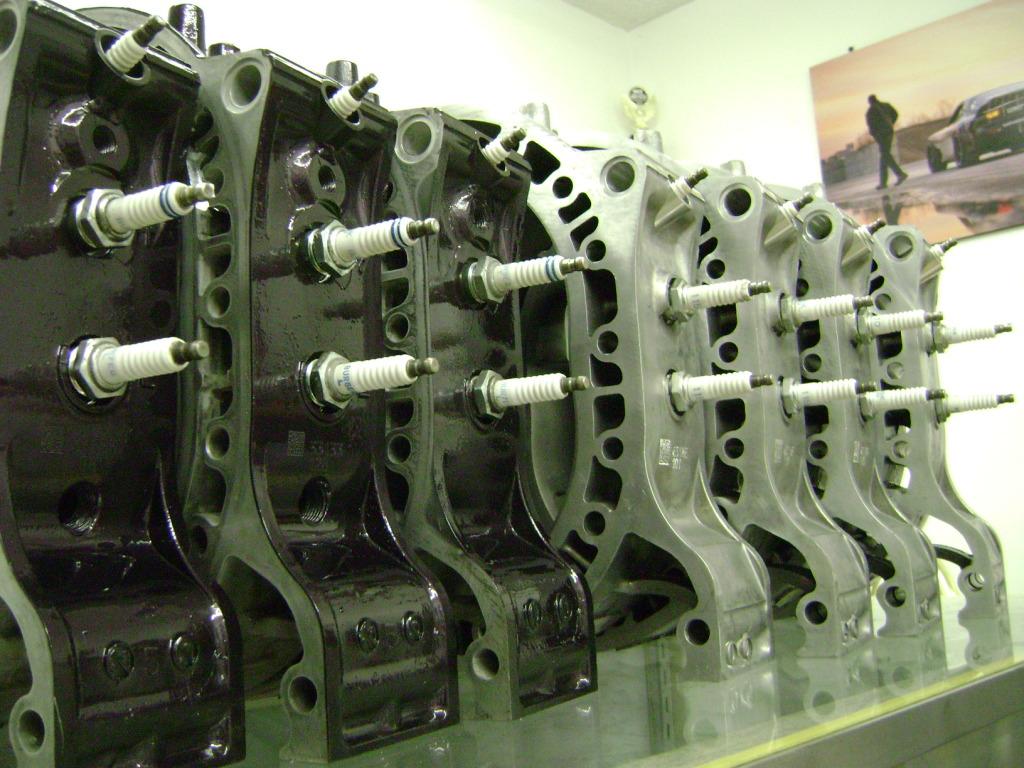
[b] The IV-rotor housings next to the workhorse 3-rotor semi p-port housings.
And of course, the triple spark plugs.

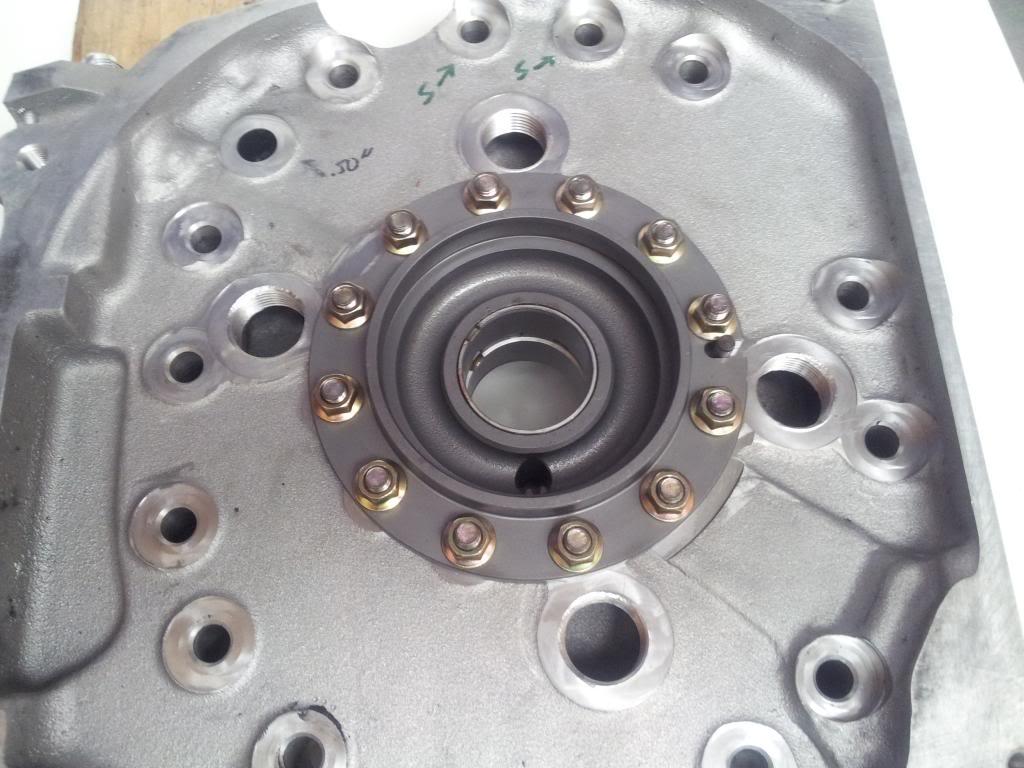
Some of the machine work for the center stationary gears
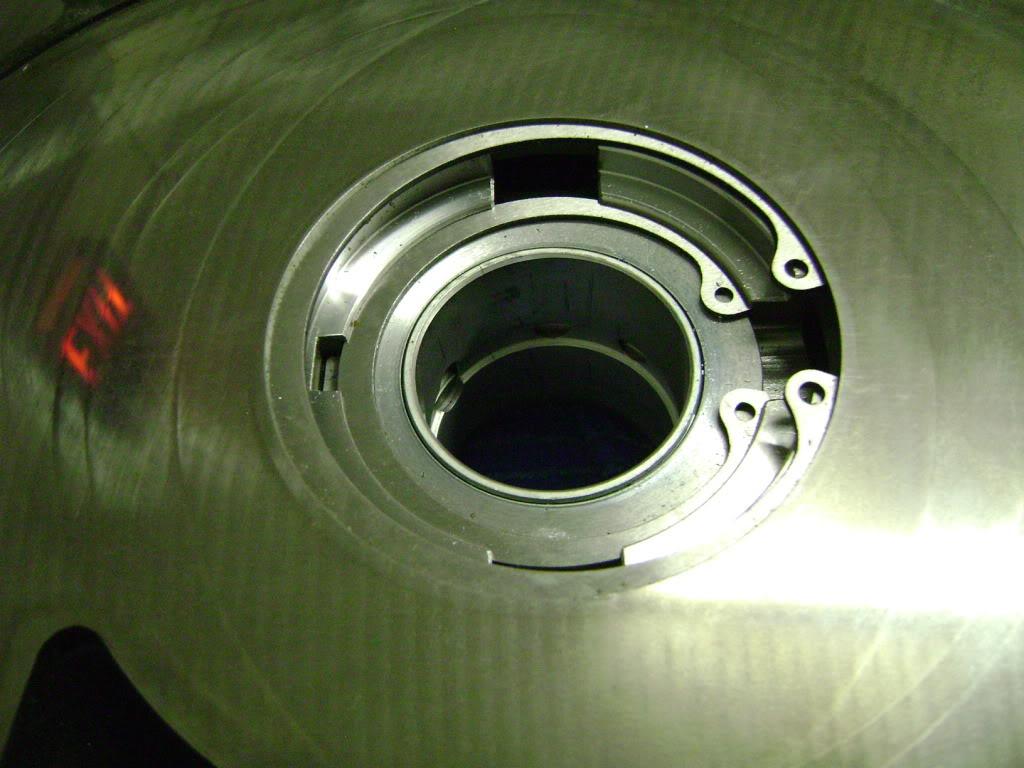
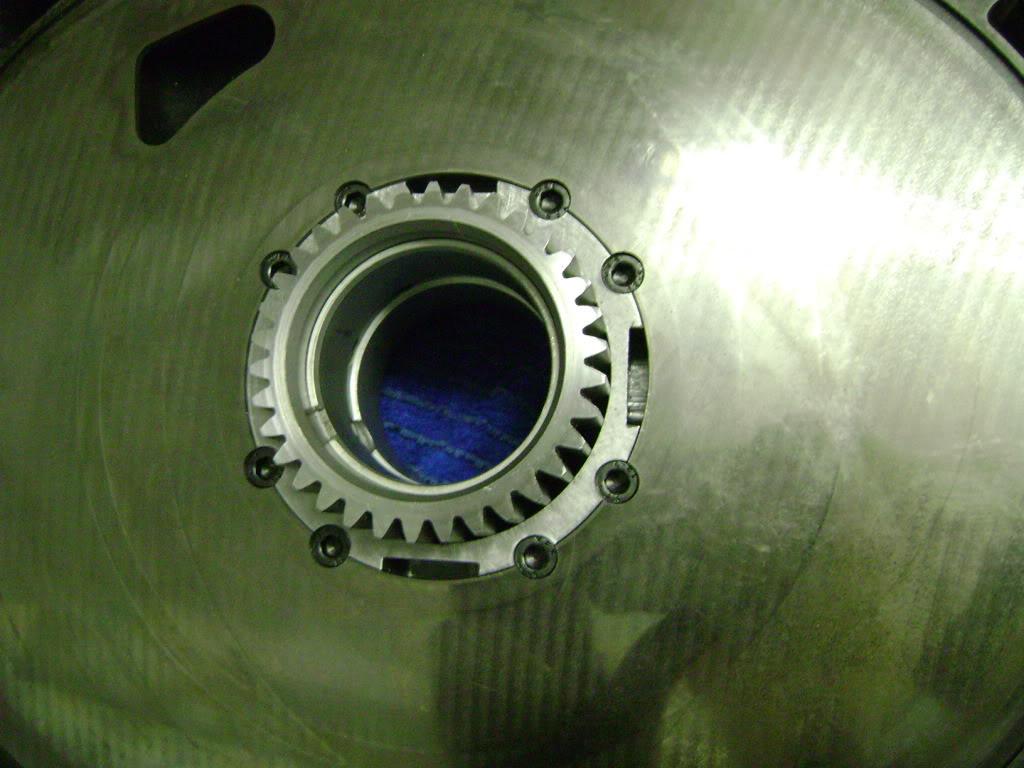
I wanted to save weight everywhere possible, and also make our 4-rotor look more "factory produced". So I shaved the center irons, which took some time to do.
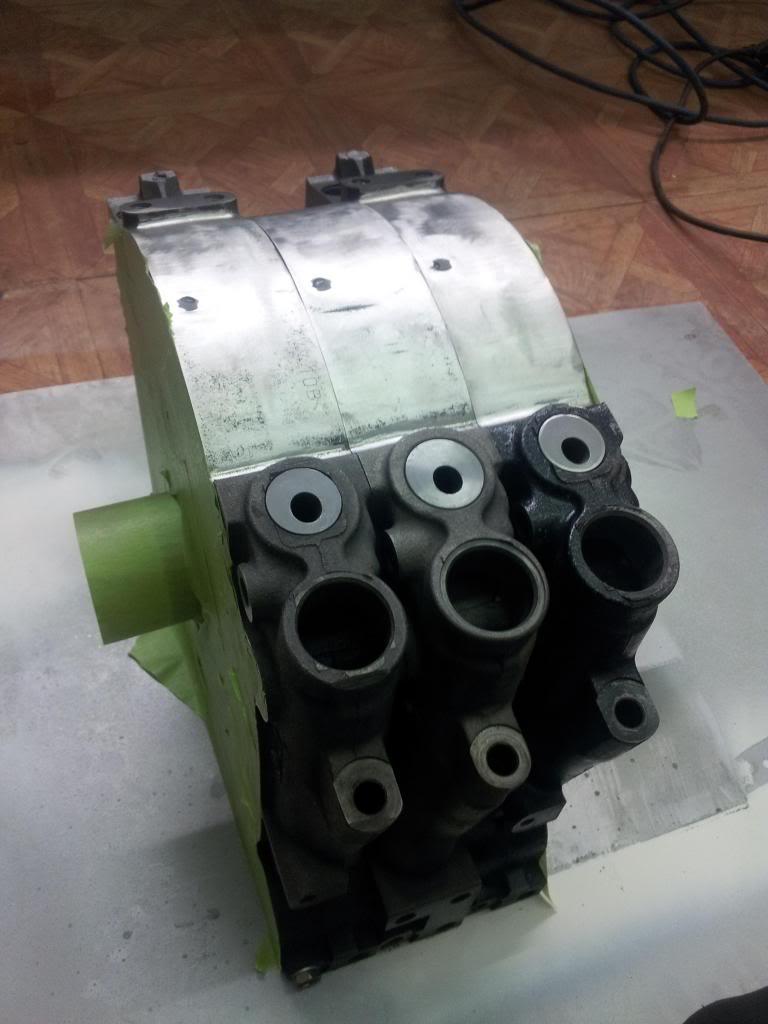
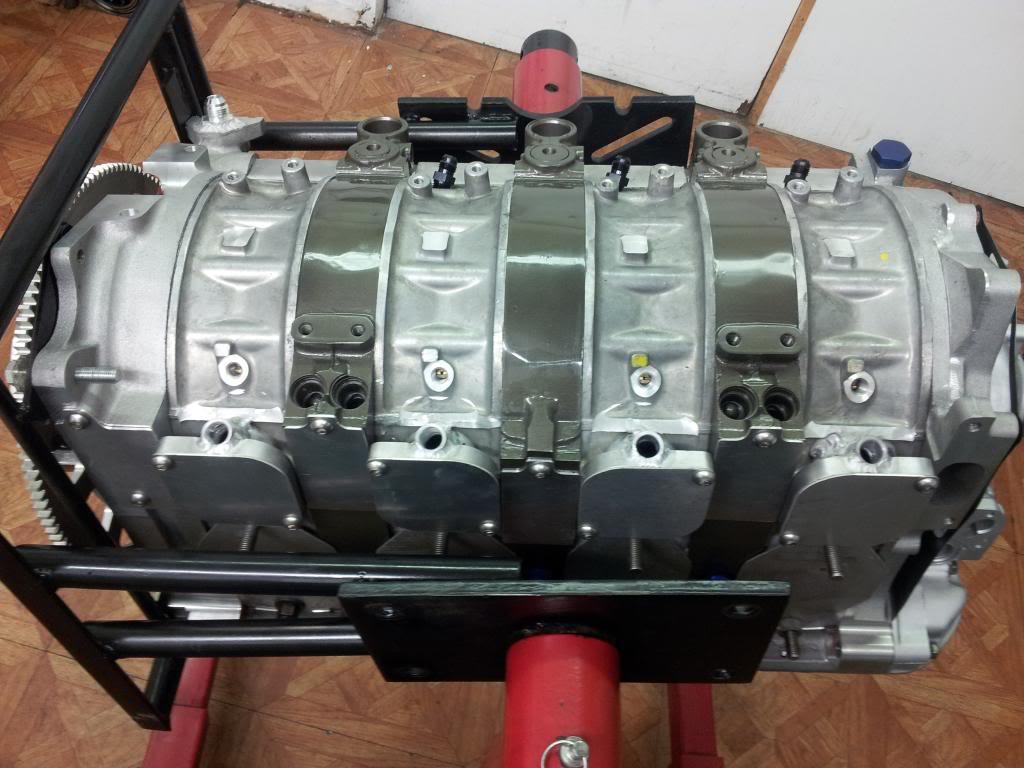
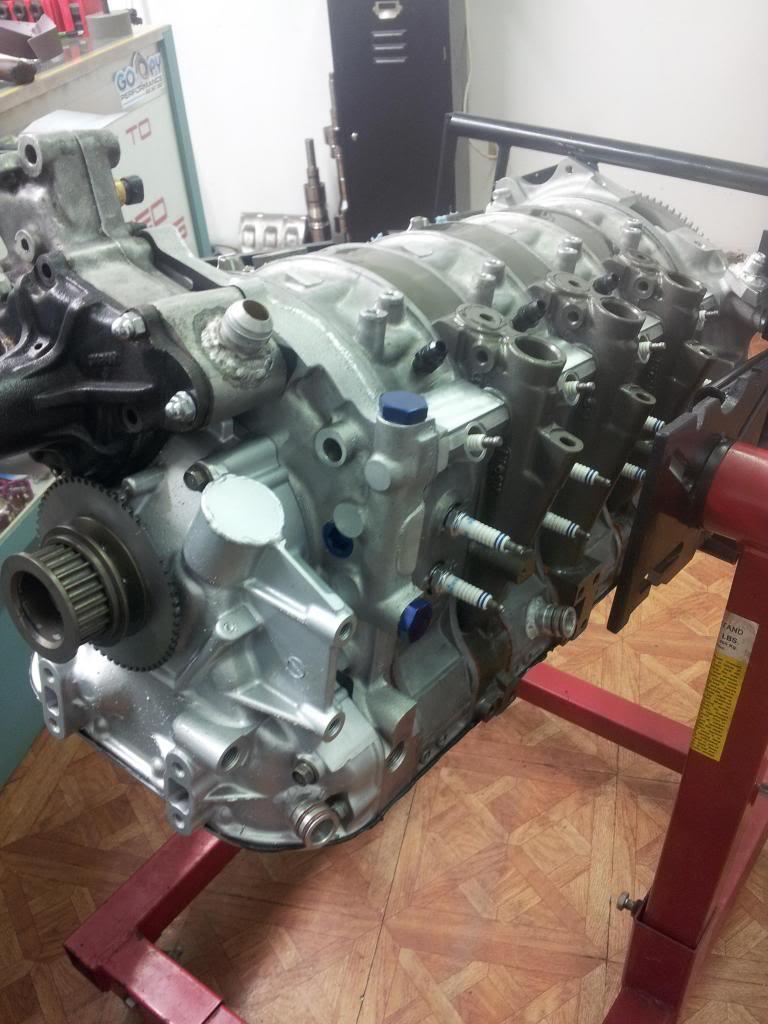
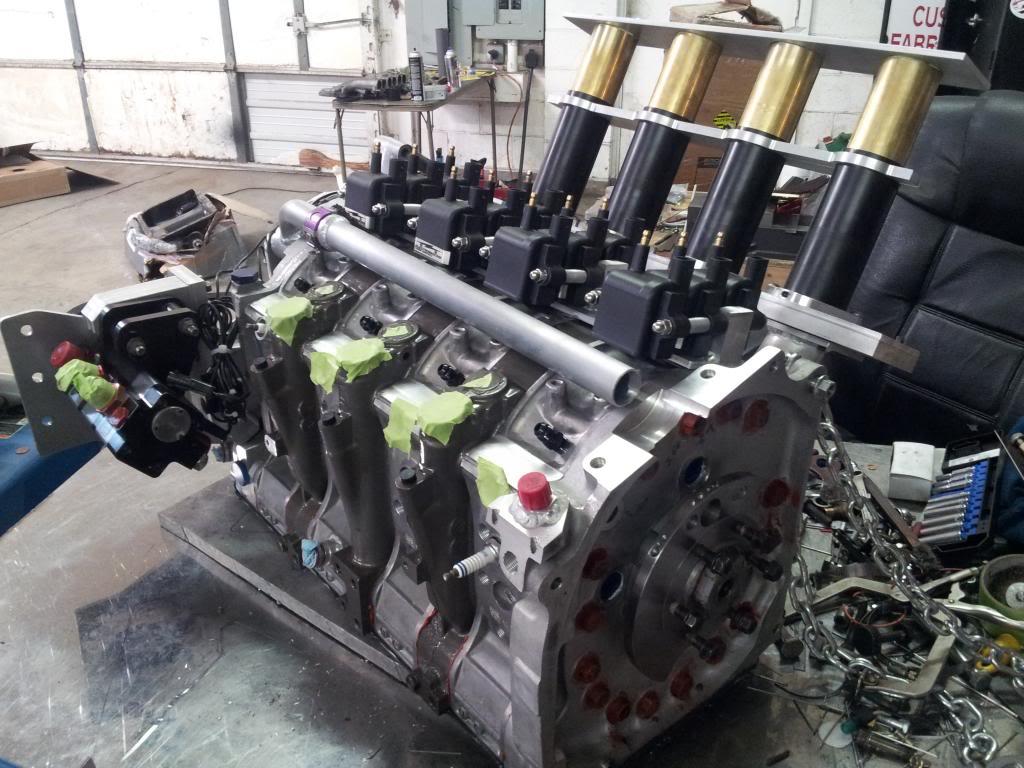
As stated earlier, there are SO many things inside the engine that I cant photograph unfortunately. The intake ports, the exhaust ports, internal cooling methods. All this made taking engine assembly pics impossible. Sorry guys! Here she is all finished and assembled.
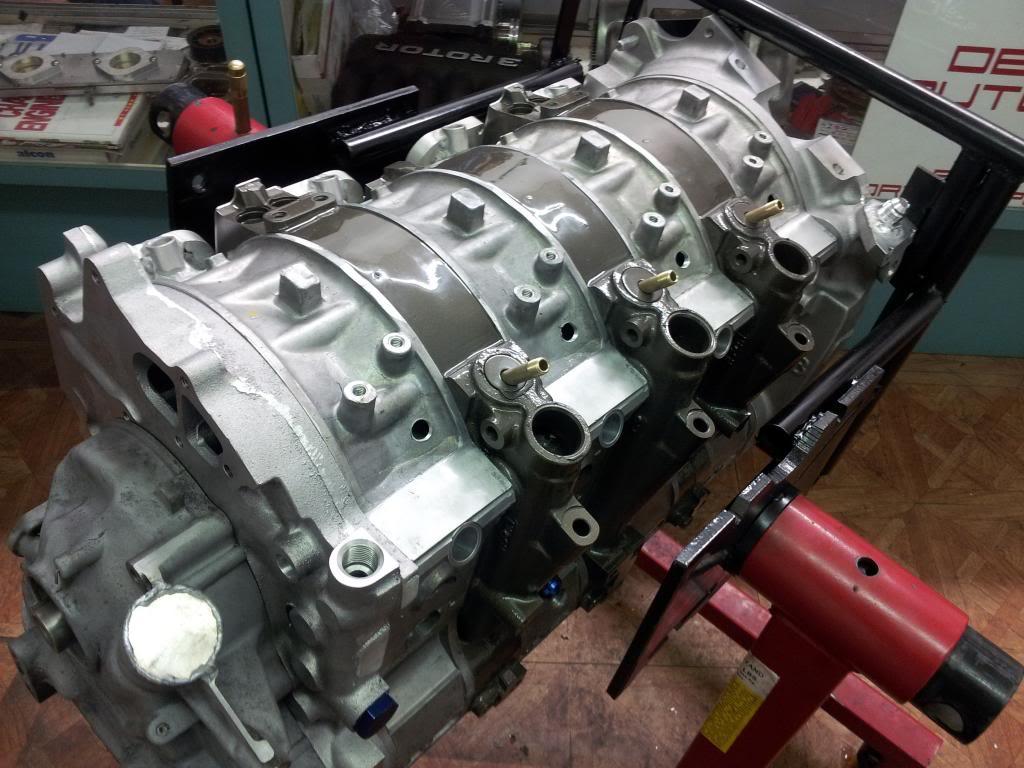
I made a fast custom engine stand to assemble the beast. Took a minute to think of a good way to do it.
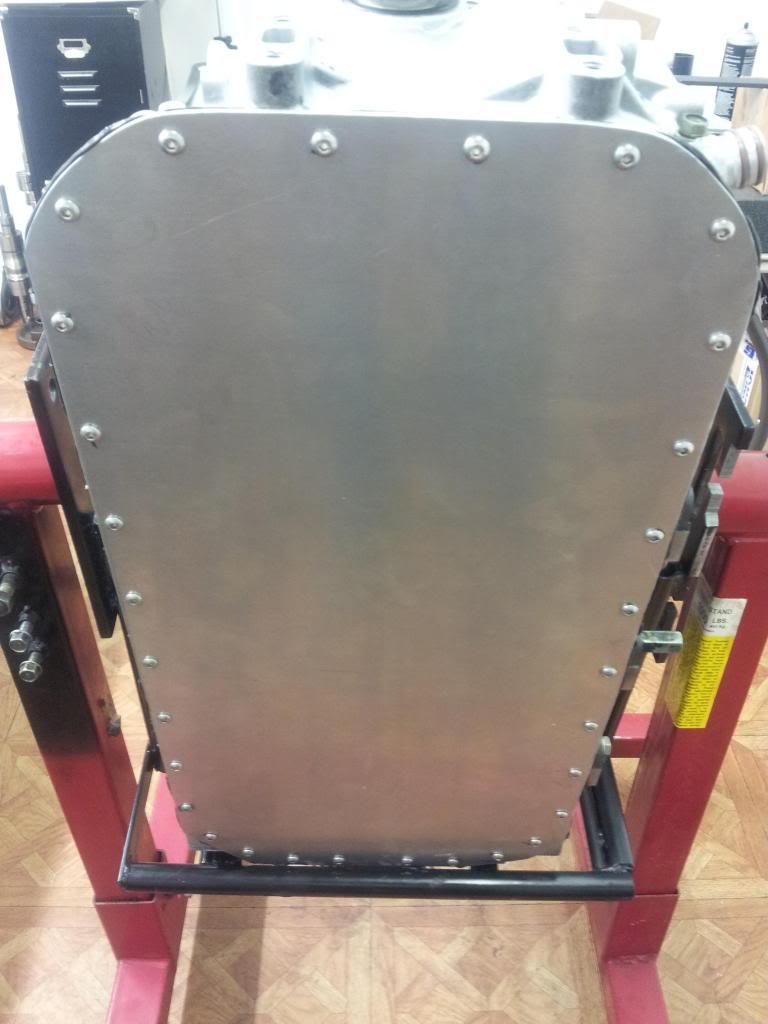
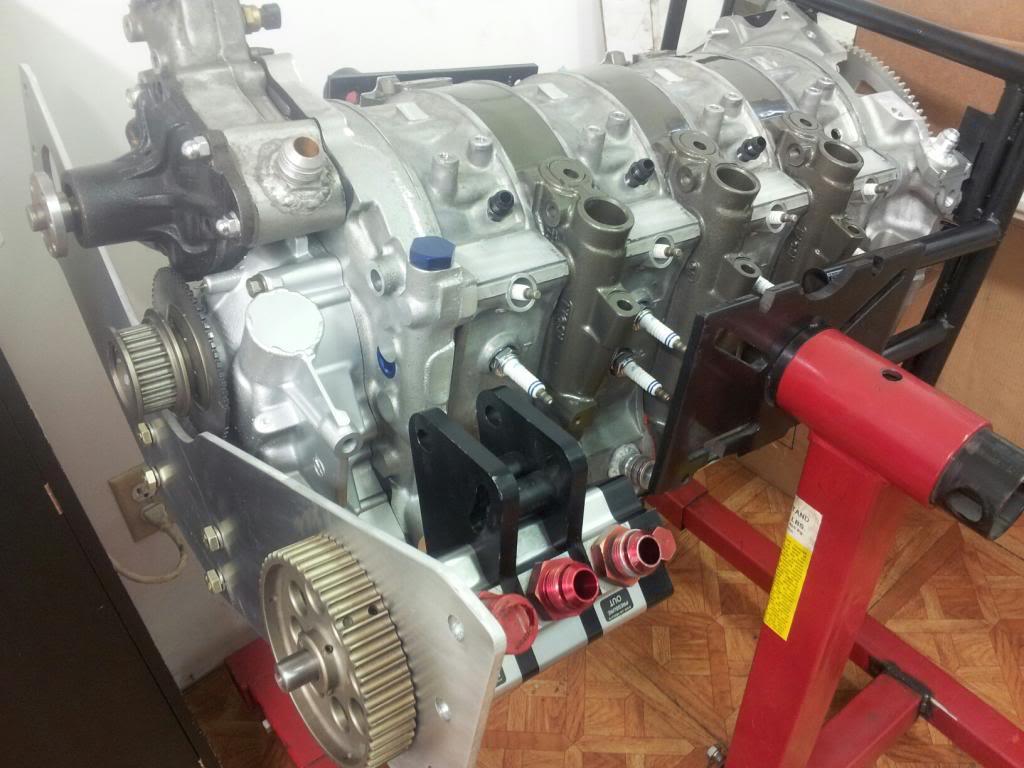
The drysump plate all bolted on and ready to scavenge some serious oil
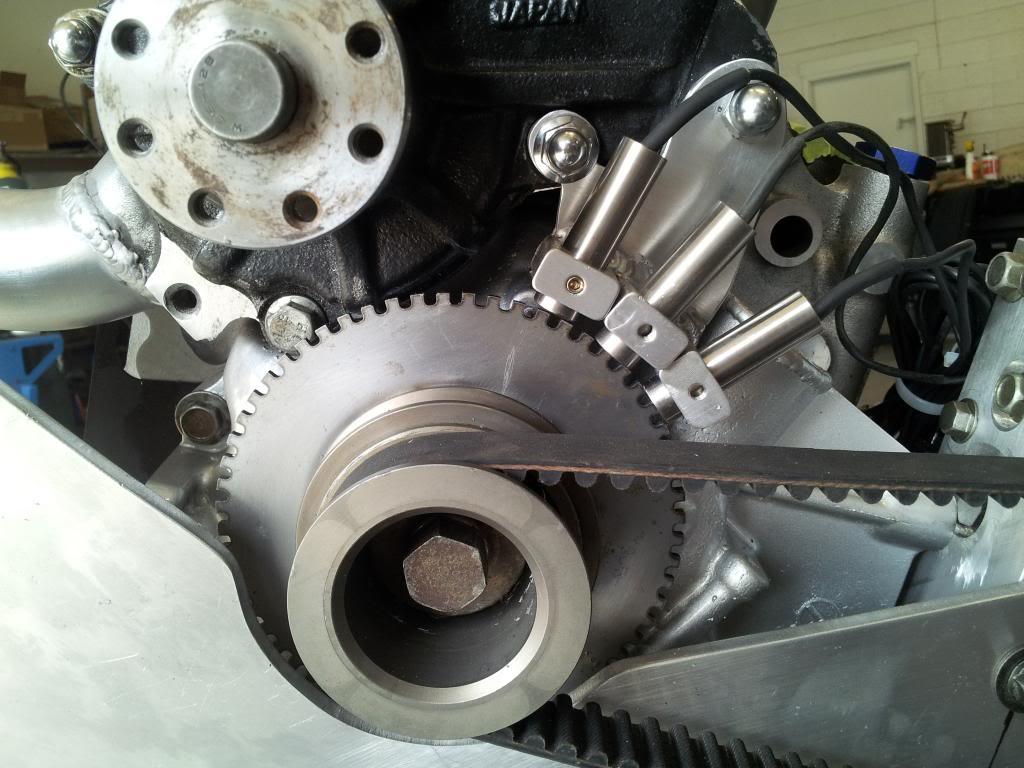
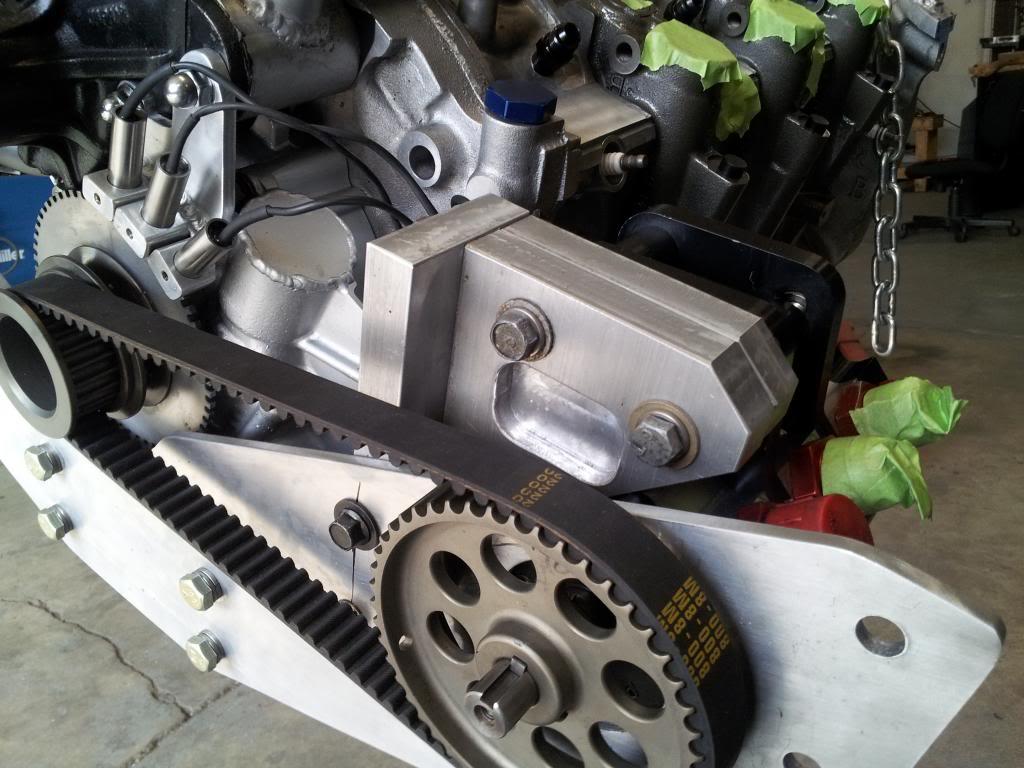
Temporary waterpump installed, front drysump pulley, custom trigger wheel for the electromotive
Think that is enough mag sensors? lol
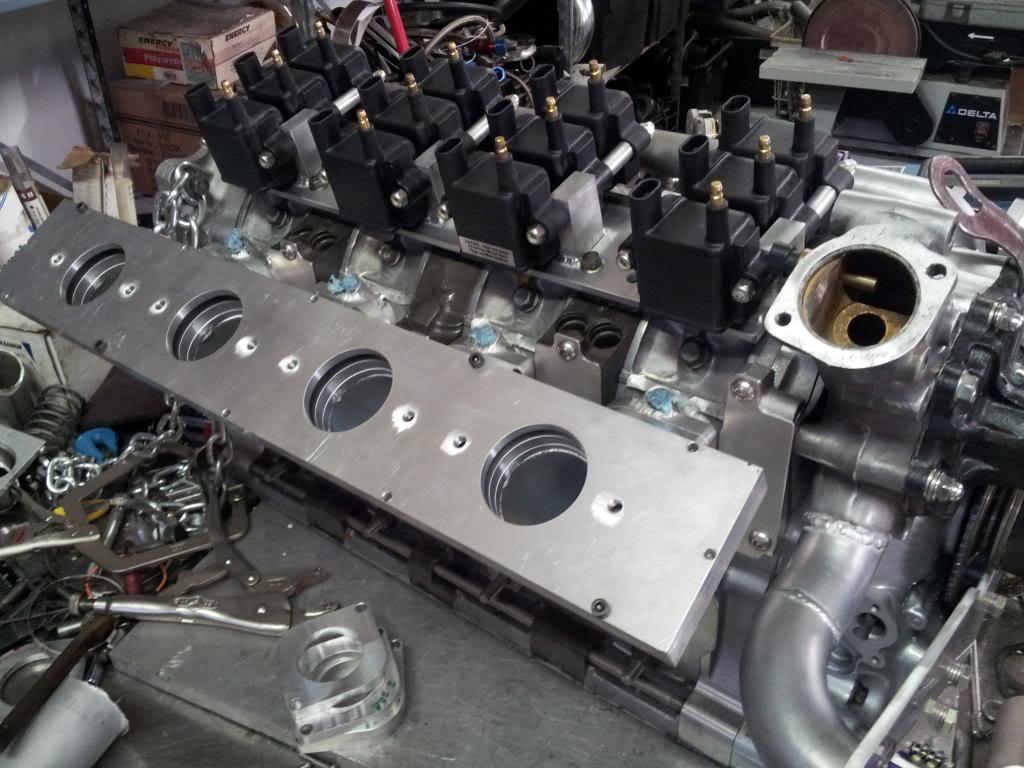
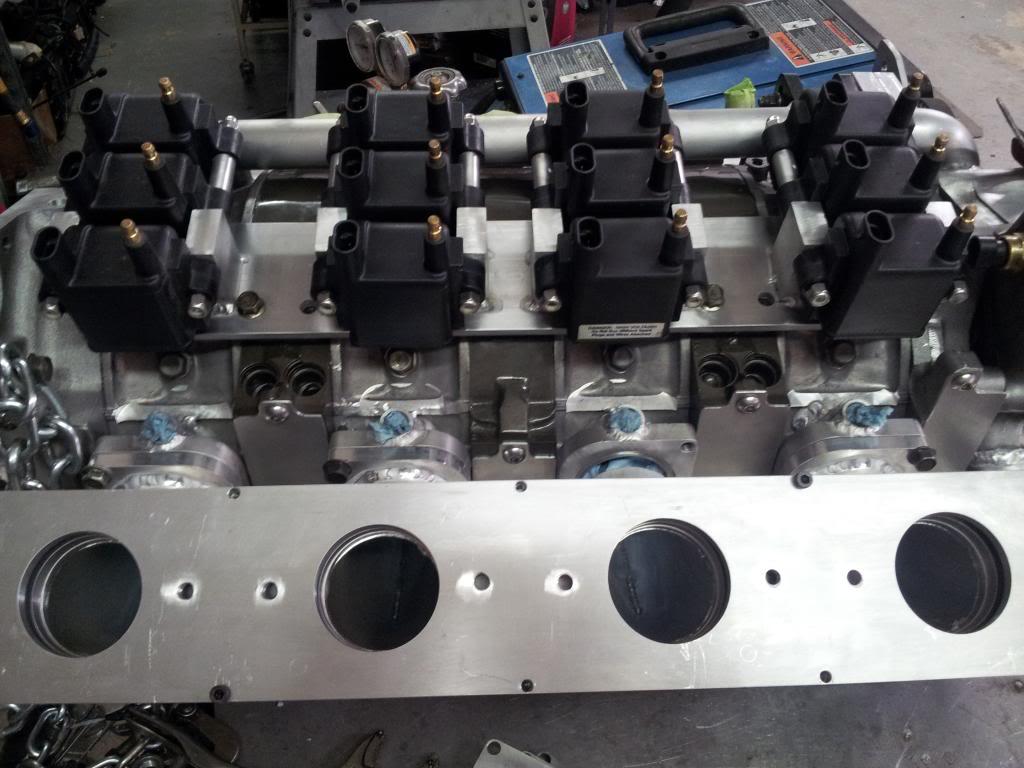
Coil mount finished (12 coils..... whew) And the slide throttle fully machined and finished. The slider is out, while I fabricated the intake manifold.
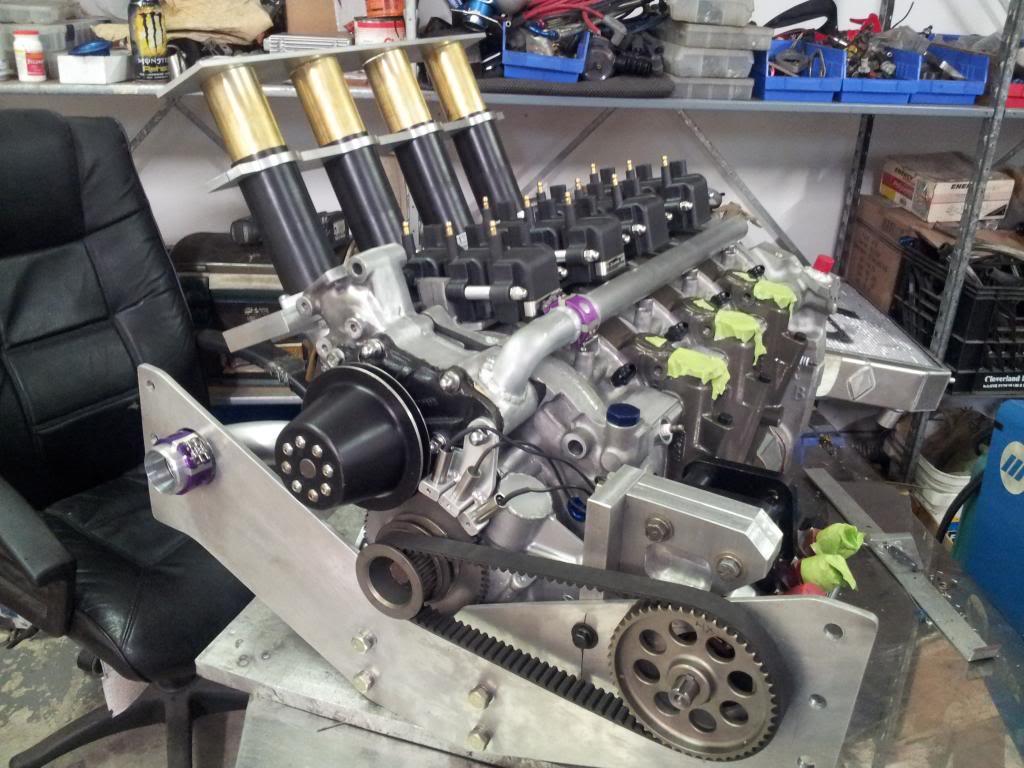
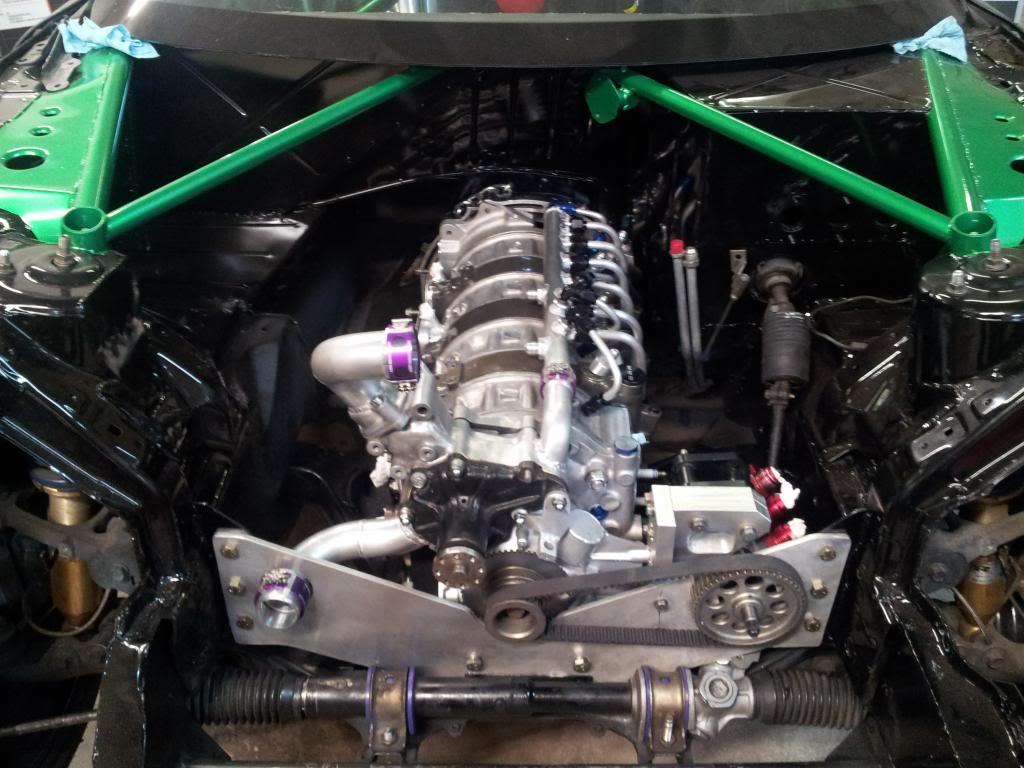
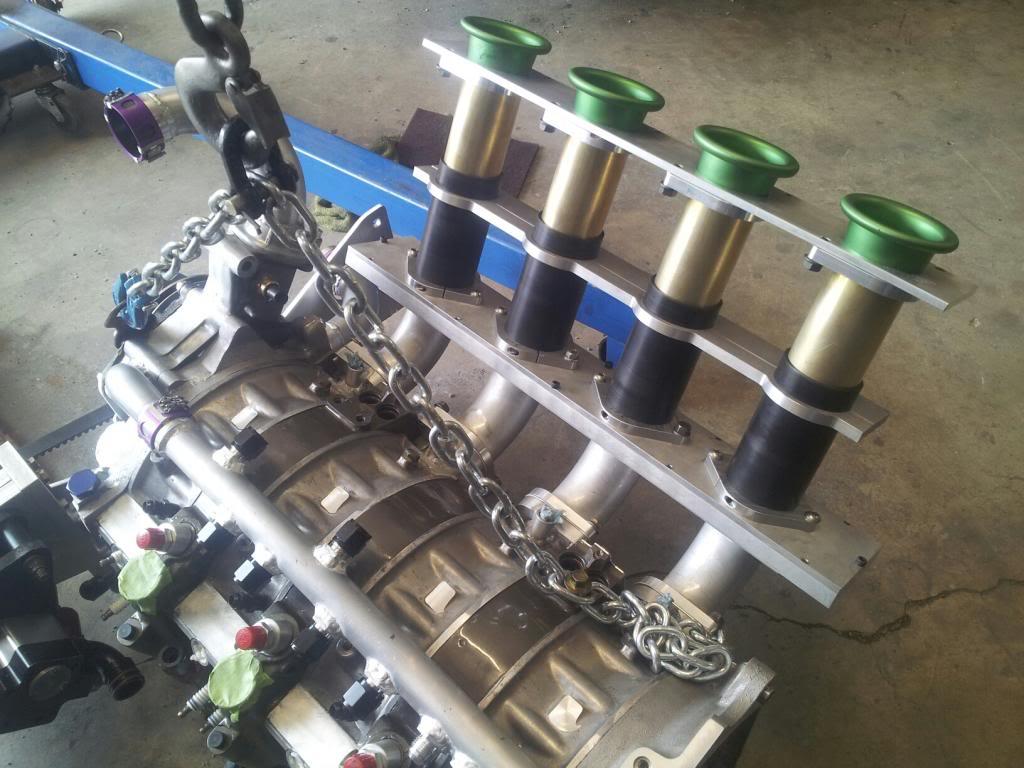
Does this look like a machine or what?? The R26b would be proud. Notice the very straight shot intake manifold. This was the reason for all that chassis modification.
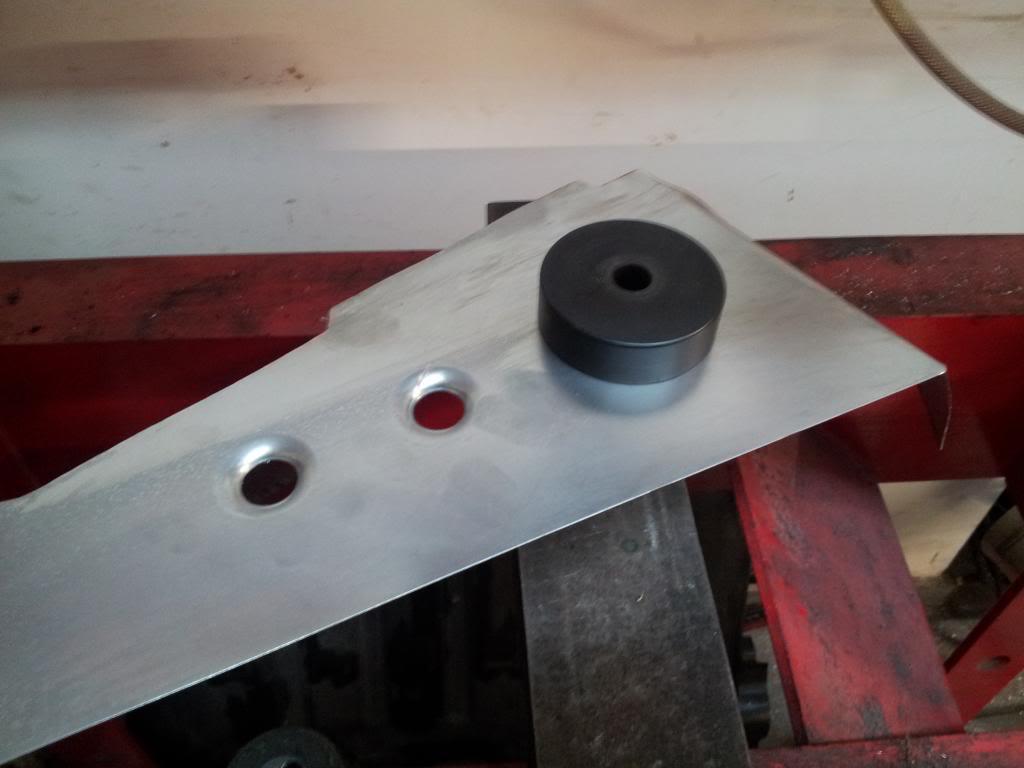
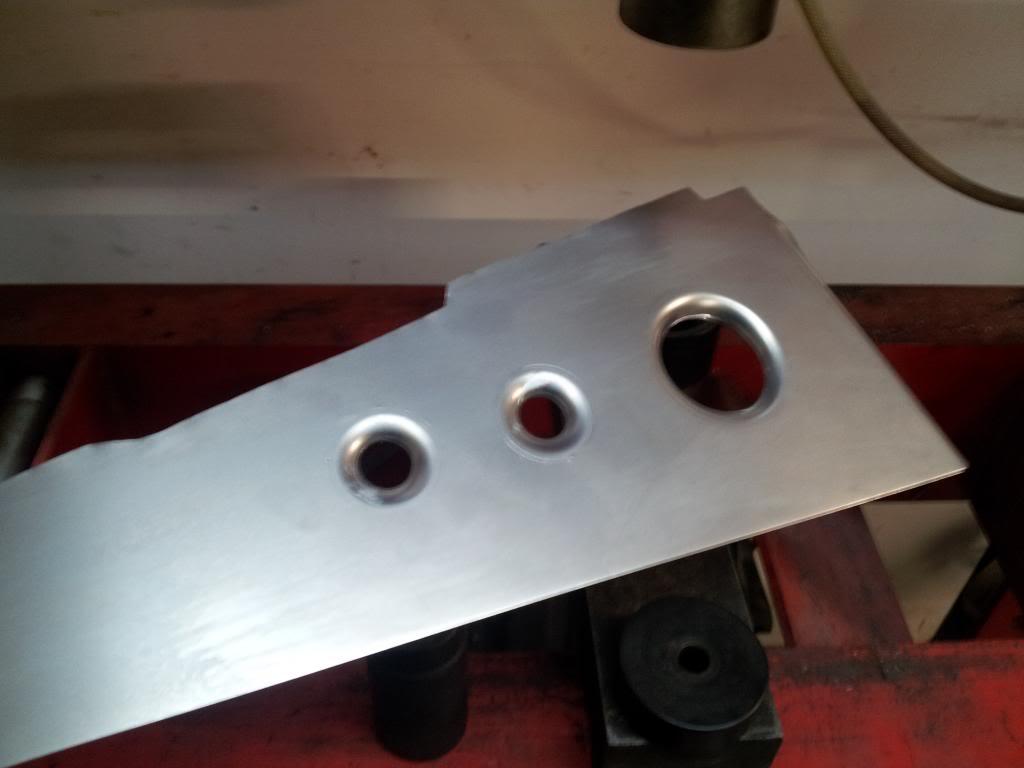
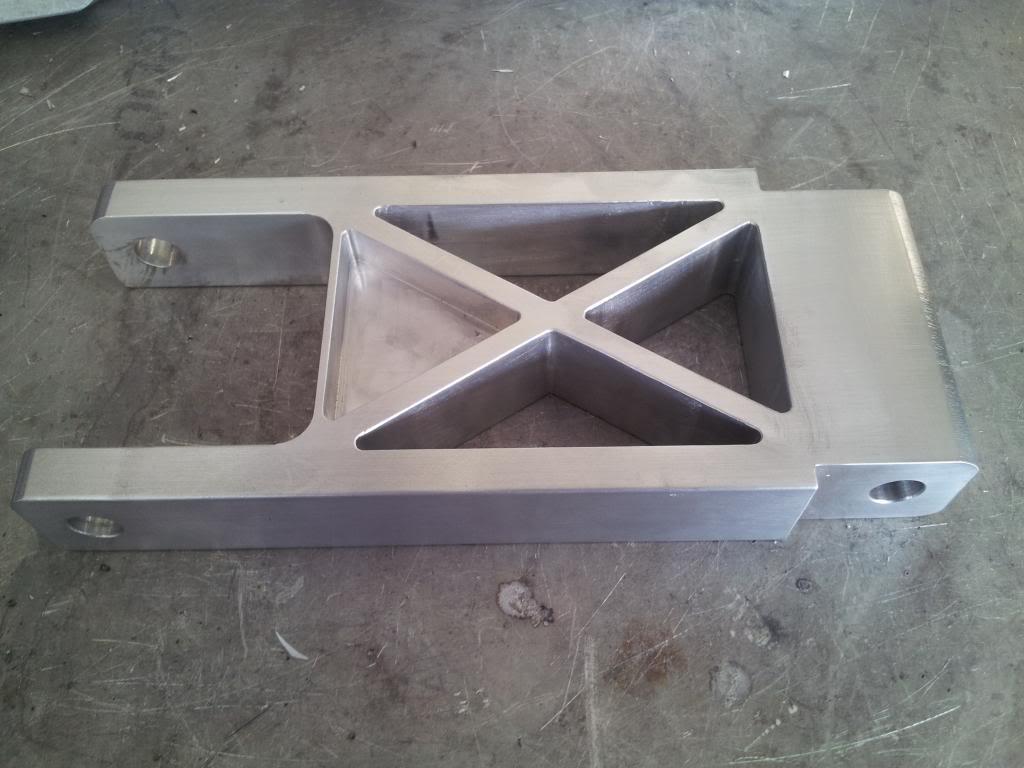
Wanted a nice lightweight alternator relocation bracket, so designed this one. All cnc of course. The aluminum front irons do not have any bolt provisions, so mounting brackets are little more difficult.
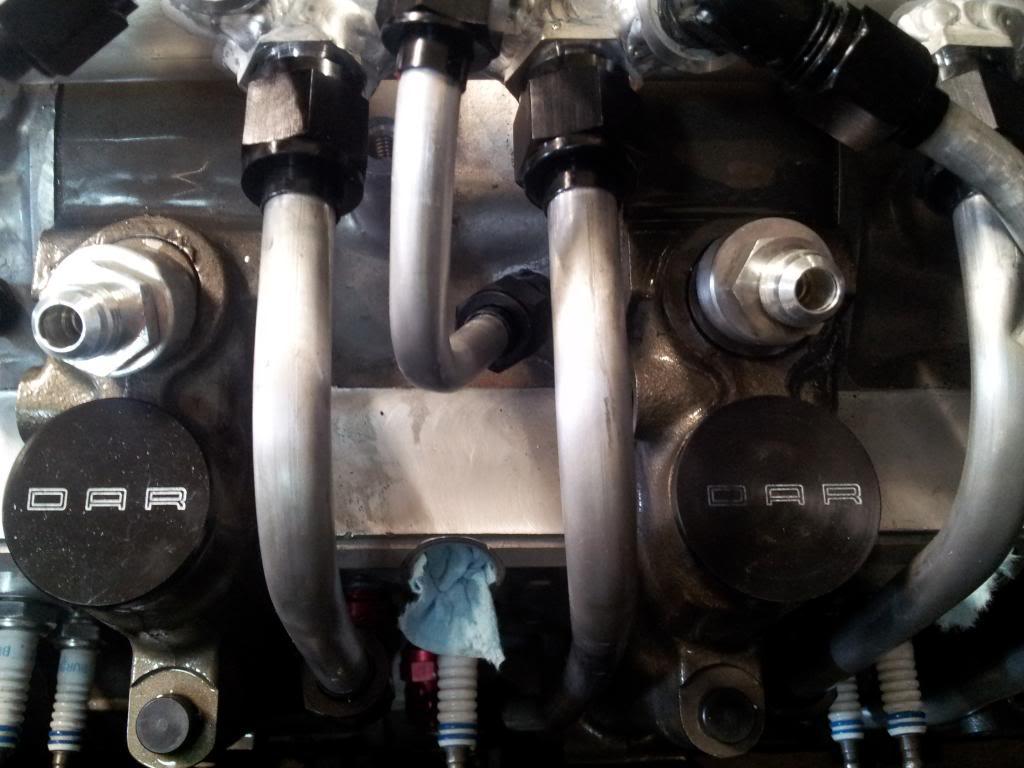
This is an endurance engine through and through, so I had to think out extensive planning on cooling methods. Having 1.5 years timeframe, it gave me time to come up with very clean and creative ideas. Here is a pic showing all the coolant feeds, and oil feeds. Once nice tight package considering there is 15 lines there!
CNC oil port plugs. Had "DAR" cut into them. Defined Autoworks Racing of course ![]()
Had to go old school on this one, the ITB airhorns were anodized the same green as my very first 20b back in 2004.

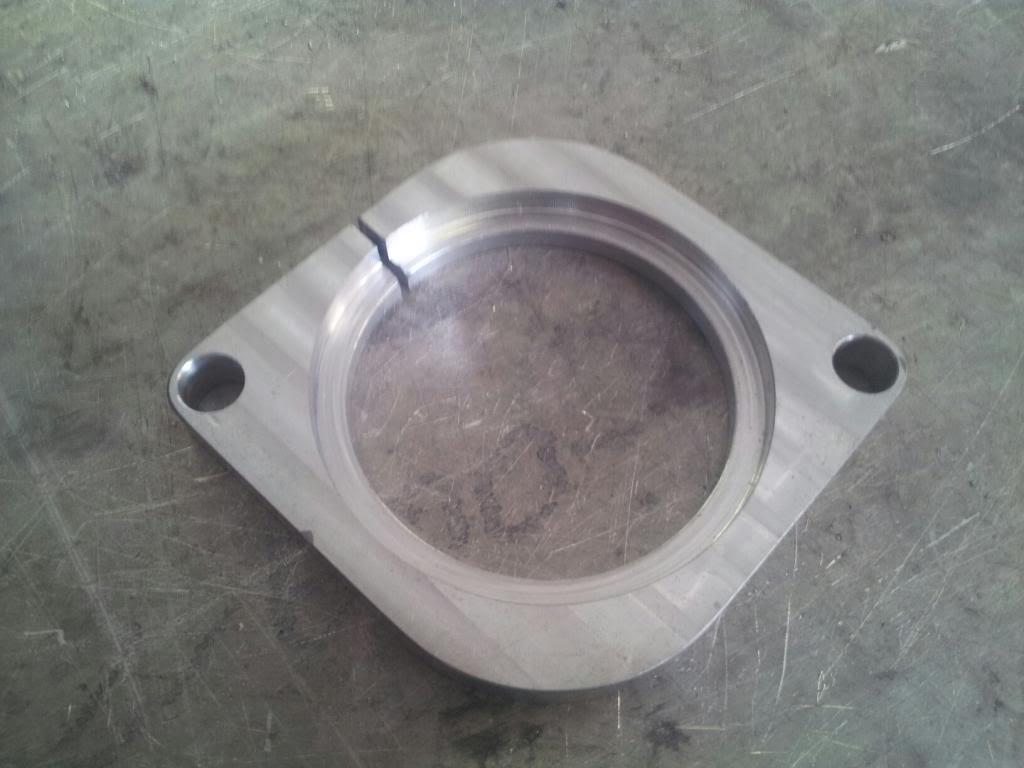
Another challenge was the variable intake. Uses metals that cant be welded, so I had some split flanges cnc cut. Notice the counterbore, this gave 1/4" more travel on the intake.
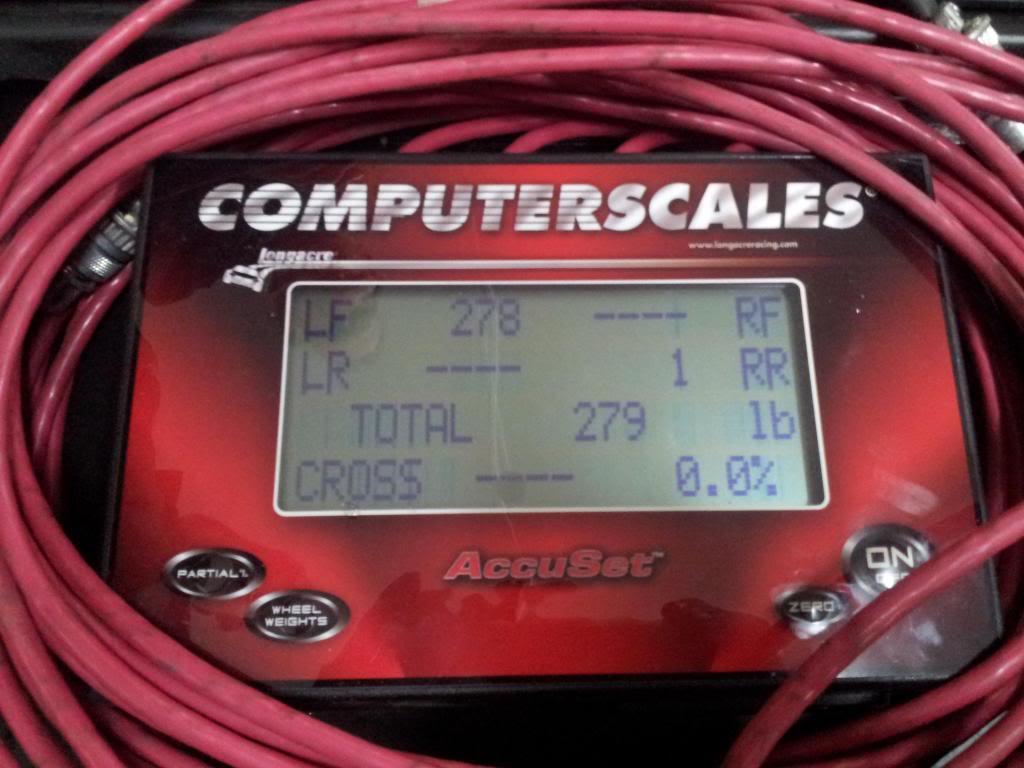
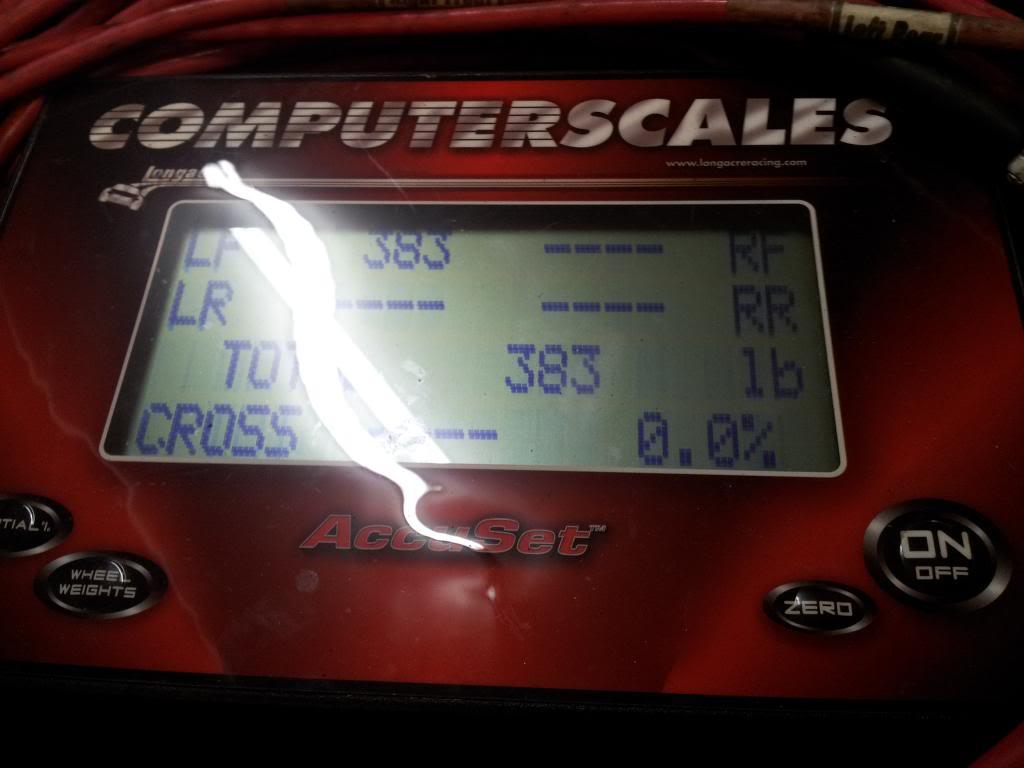
Originally I had a goal of the 4-rotor being only 20lbs heavier than the 3-rotor it replaced. Once I started to weigh individual items I estimated 5lbs might be possible. The end result of all that work and special lightweight items?? 6lbs. That is correct, this 4-rotor is 6lbs heavier than my previous 20b, which is pretty damn light already! I'll post some weight scale pics sometime soon
The famous n/a 3-rotor weight (same type 5.5" clutch, waterpump, lightweight flywheel etc. ) Impressive at 279lbs.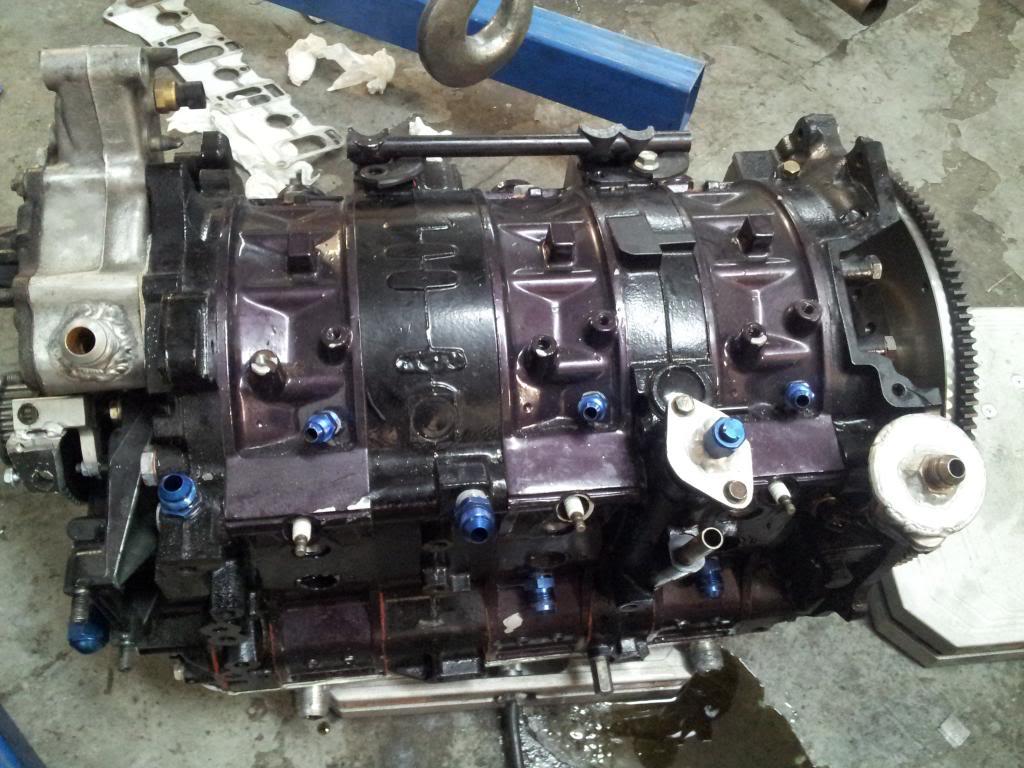
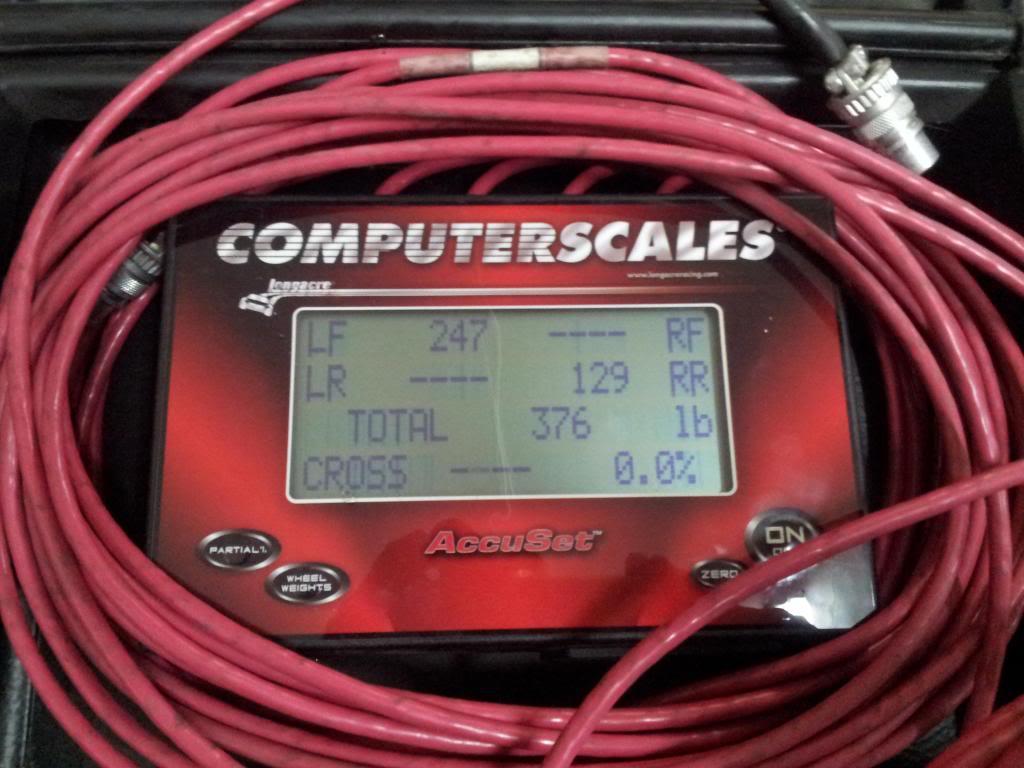
With t-5 dogbox tranny is at a low 376lbs.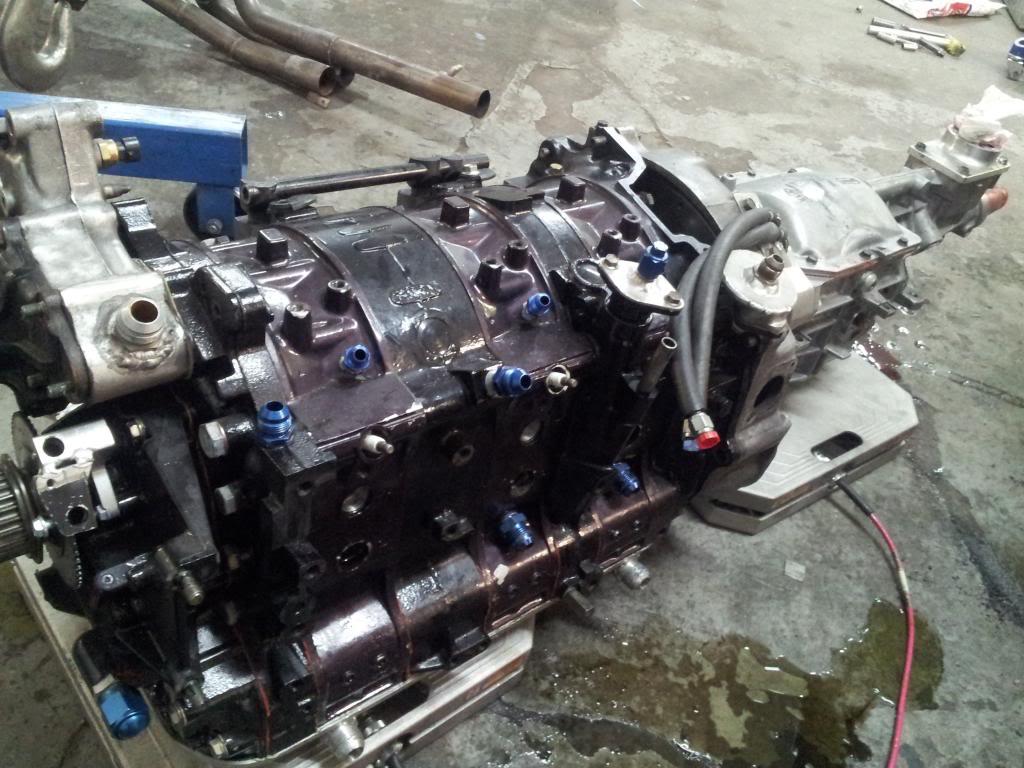
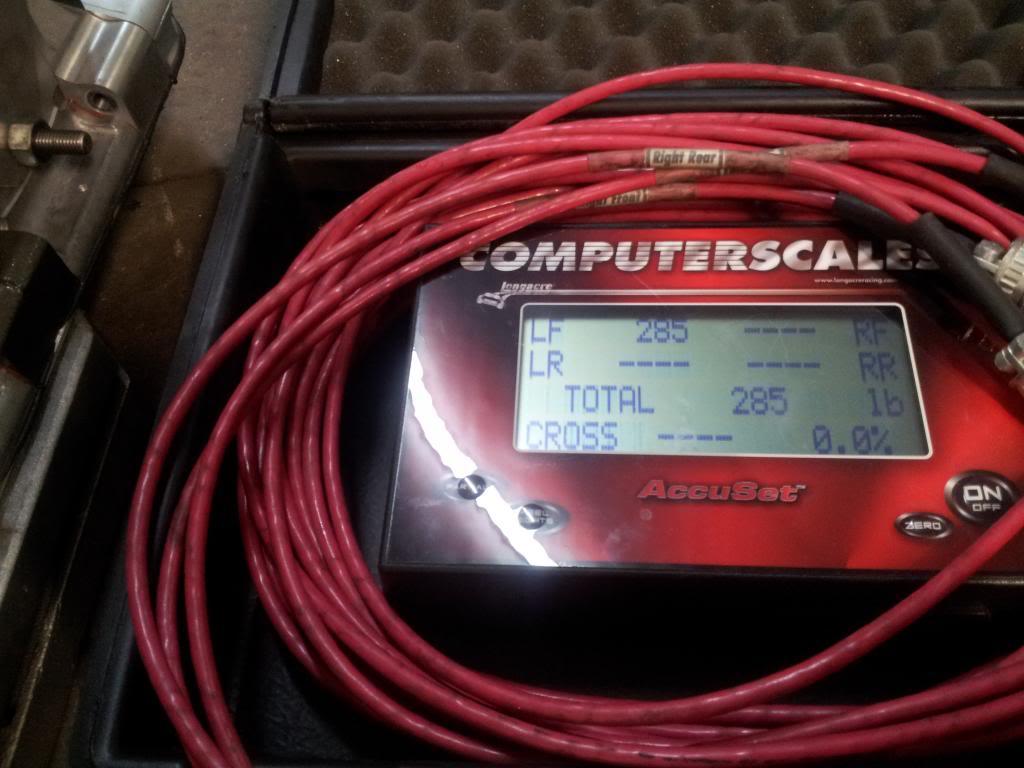
And here is the assembled 4-rotor, 285 lbs. 6lb increase over race 20b.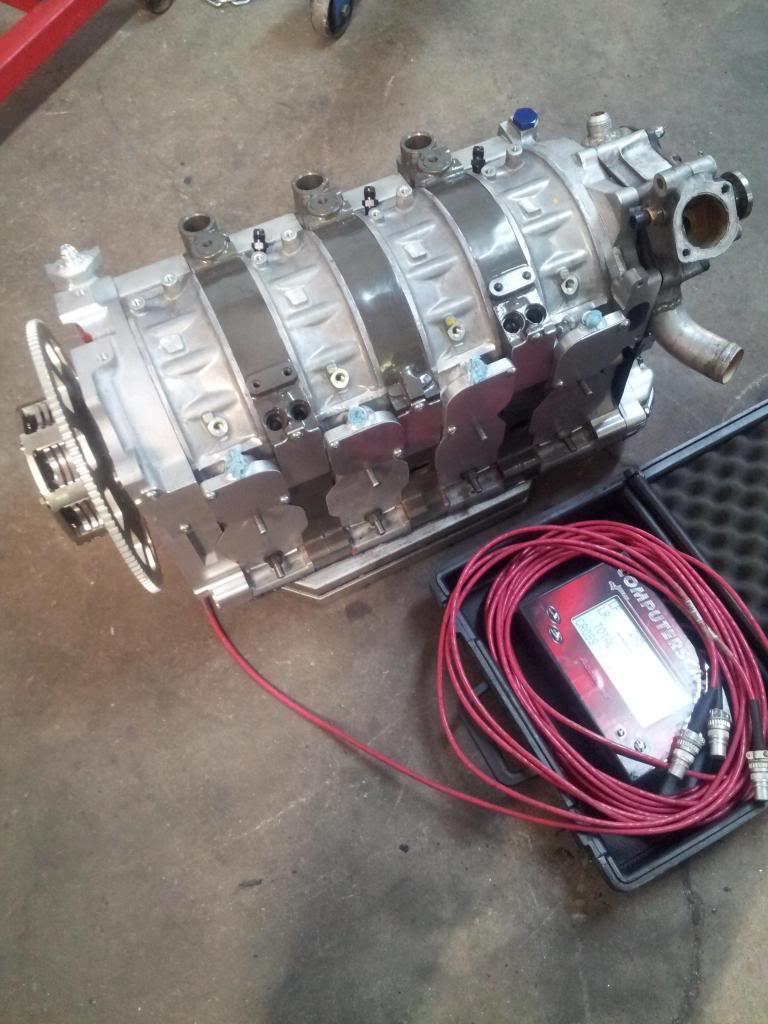
And also weight with ultra heavy duty mid valley transmission. Still only 7lbs heavier.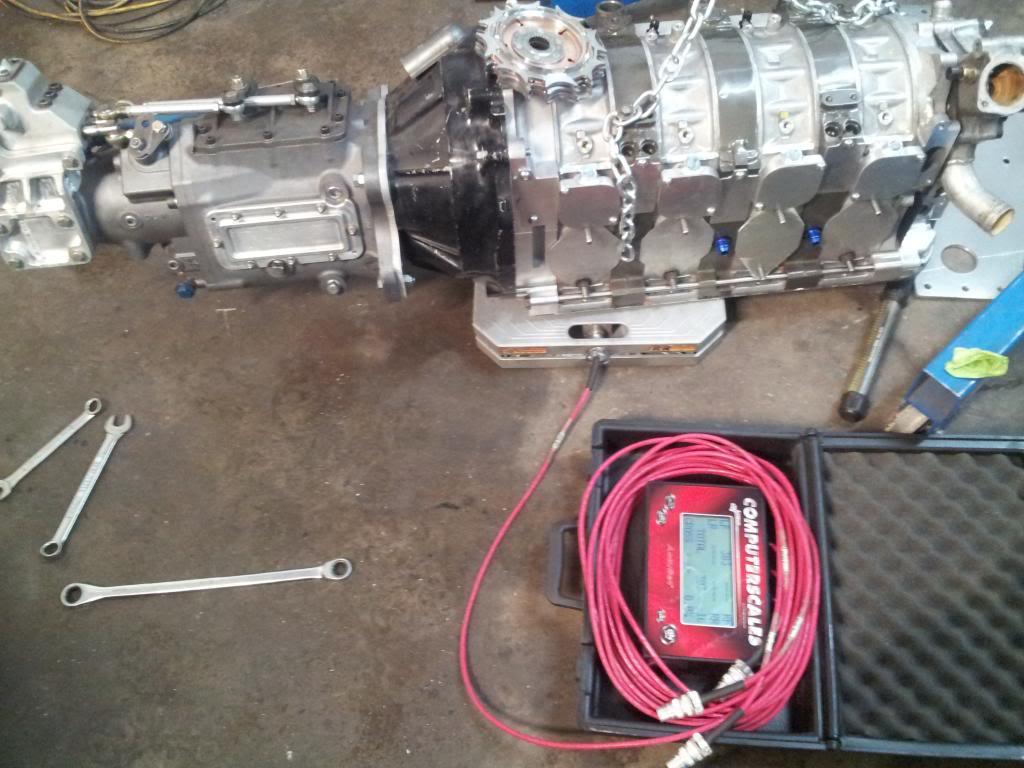
6-13-2013
Figuring out the details is always fun. Hearing it run involves no thought process lol.
Turns out I was wrong on the e-shaft photo, I found one. Technically two. The video will go into much more detail, guess this is a temporary fix ![]()
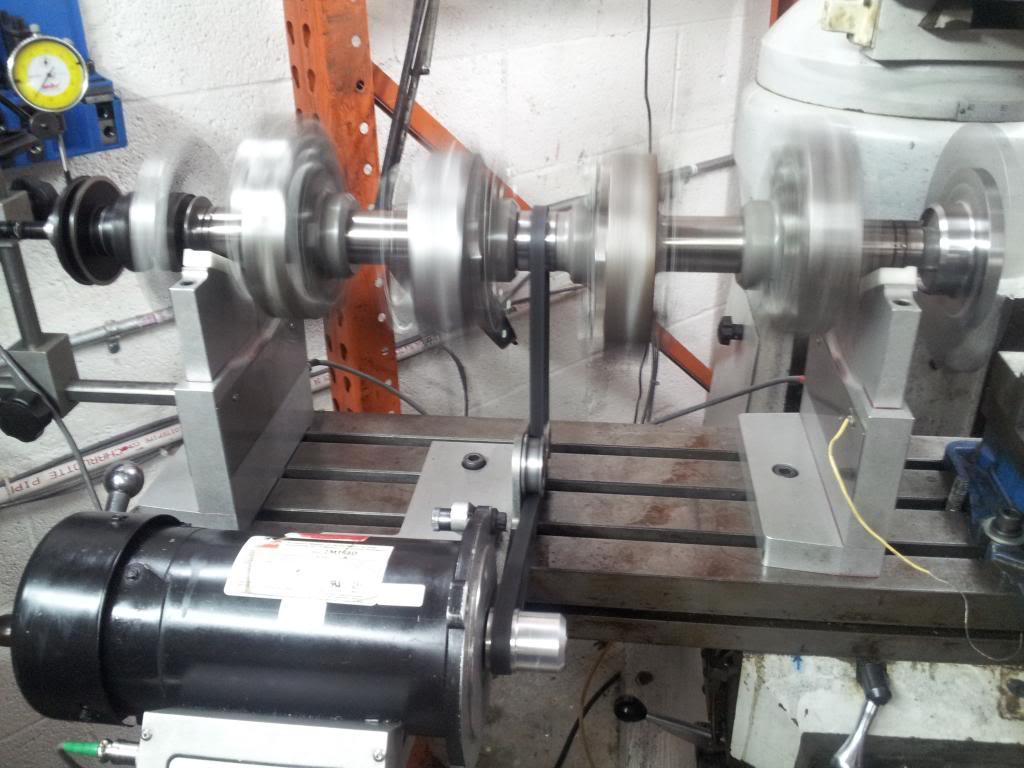
Here it is being balanced at CLR.

Another shot of the intake, Also some wiring in the works

Great detail
Posted by Diggymart on 9/16/19 @ 12:53:21 PM