You must be logged in to rate content!
3 minute(s) of a 202 minute read
5-4-2014
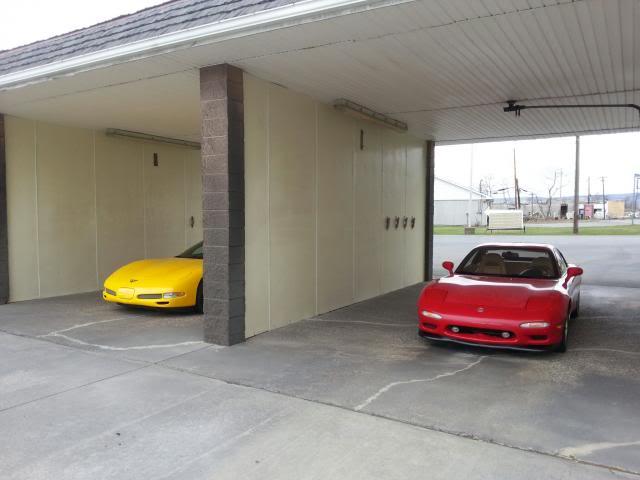
Didn't do all that much on the car this weekend because I didn't have to. Wow it's good to be able to say that. It's an unbelievable feeling for me to be able to step back and just enjoy the car for once. I took it out to do errands on Saturday and couldn't have loved it more. Now that said I did do some things on the car. touch up paint, painted wiper arms, and swapped seats. I also did some much needed work to my DD/Beater.
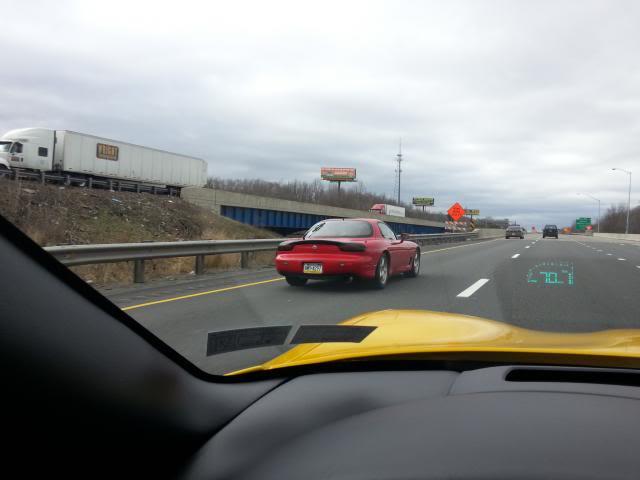
I'll start with some action shots my friend took on our cruise to the show last week.
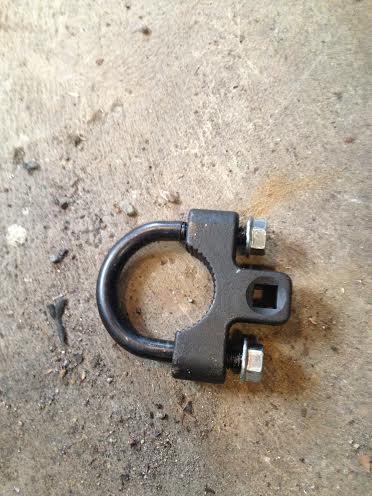
Now I'm going to vent a little about my DD. Nissan thought the standard approach to inner tie rods was too easy and decided to not put flat spots on them. Instead they made them completely round. This poses two issues, one is that you cant get a normal tool from the parts store to remove/install them. The other is that they don't use lock plates to ensure they stay in place, instead they use a ton of lock-tite
This is pure genius on Nissan's part. I applaud them for it
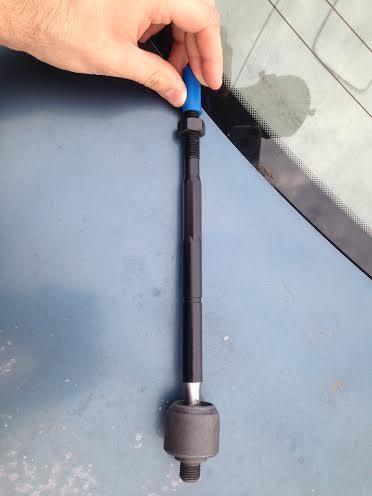
This is the 20 dollar tool I found to get the job done. Still a pita.
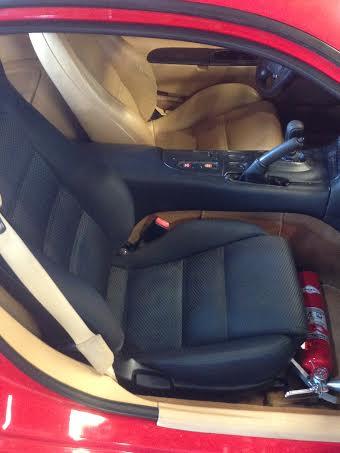
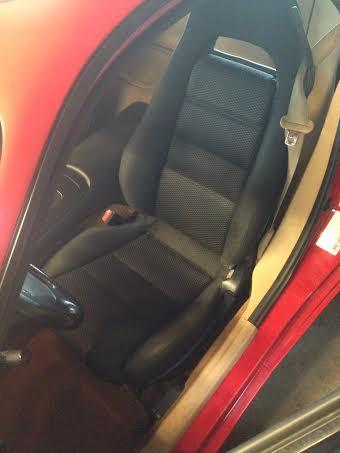
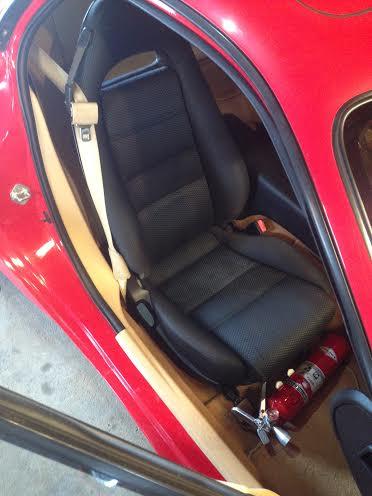
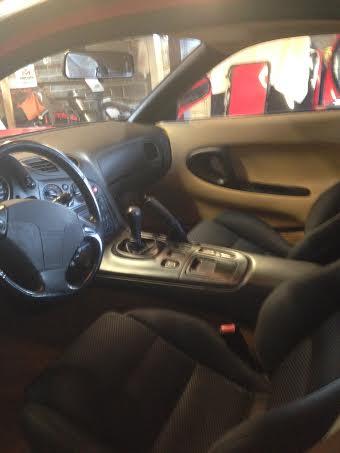
Now back to the FD. I am not at all a fan of leather. It gets hot, it gets cold, and it fades & cracks. This dislike of leather was also combined with a dislike of the tan interior, causing me to make a change. Luckily I had a set of cloth seats that were planned to go into the old car stored in the attic (also more head room for my 6'2" self). My family didn't like the idea and wanted me to stick with the tan but once they saw it they changed their opinion. I might still have to swap the seatbelts to black but that should only take about an hour.