You must be logged in to rate content!
6 minute read

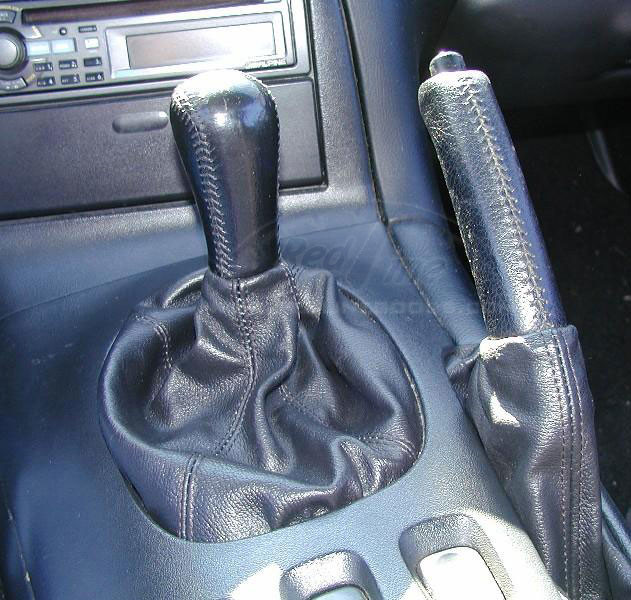
93+ MAZDA RX-7 SHIFT BOOT/E-BRAKE INSTALLATION INSTRUCTIONS
1. Remove the shift knob by turning it counterclockwise. The stock knob may be hard to turn, but should come off eventually as it is not glued in place.
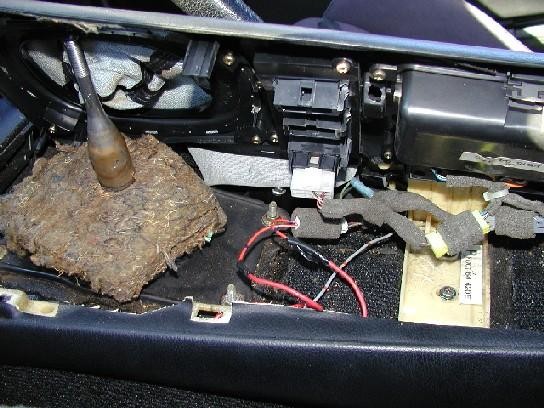
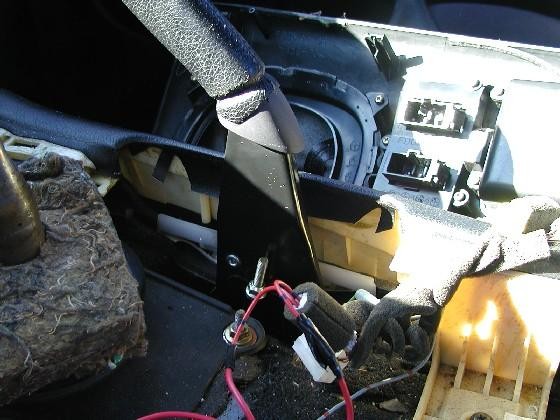
2. Remove ashtray, and lift center panel buy gently pulling up in the back first.
3. Remove 4 phillips screws holding the shifter plate. Remove the shifter plate from the car.
4. Pull the shift boot outwards on the sides to unhook it, then pull on it to remove it from the staples. Remove any remaining staples with pliers.
5. Lay new boot on top, the sides with the longer spaced slots are for the sides of the shifter plate.
6. Hook new boot on just like the original. You don’t need anything else to hold it, but if you desire you can use staples again (if you have a stapler that's strong enough) or hot glue or double-sided tape.
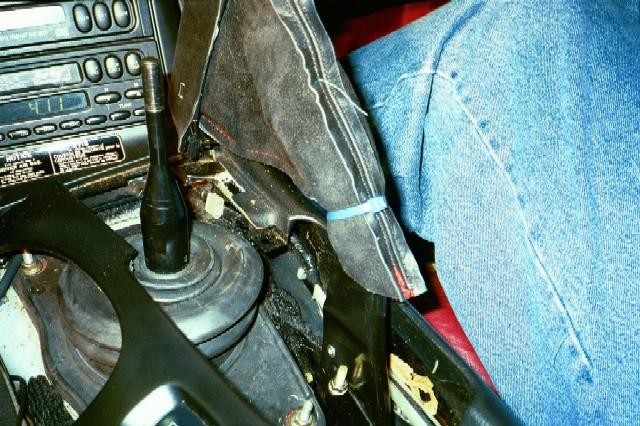
7. What you need to do now is to decide how do you want to mount the top of the boot on the shifter. You can use the plastic ring from the old boot (in that case you have to turn the old boot inside out and remove the plastic ring from it), use a zip-tie (our personal favorite) or not use anything (the leather is stiff enough to hold the boot up the shifter shaft).
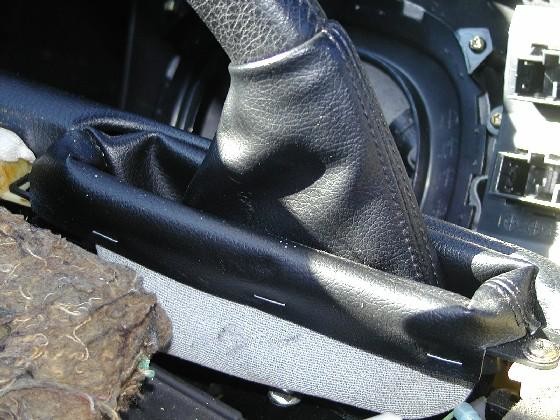
8. If you don't want to use anything, mount the shifter plate back to the center console with 4 philips screws, lay the console on its place (not completely though, just so that you can take off again), then roll the top about ½”, or experiment with not rolling it at all, or more to get the look you like best. Proceed to 11.
9. If you want to use a zip-tie, turn the new boot inside out and slide it onto the shifter while holding the shifter plate above the shifter. Mount a zip-tie around the boot and the shifter shaft. Do not tighten it yet. Lower the shifter plate onto its location (do not mount it to the center console piece yet). Put the shift knob back on (also, do not tighten it). Do you like how it comes out? If not, experiment with how high the zip-tie should be on the shifter shaft. When you get the look you desire, remove the knob again, and tighten the zip-tie. Proceed to 11.
10. If you want to use the old plastic ring, turn the boot inside out, put the ring on it and slide this construction over the shifter while holding the shifter plate above the shifter. Lower the shifter plate to it's location (don't mount it to the center console yet) and put the shift knob on. Do not tighten it. When you get the look you desire, remove the knob again. Remove the shifter plate again.
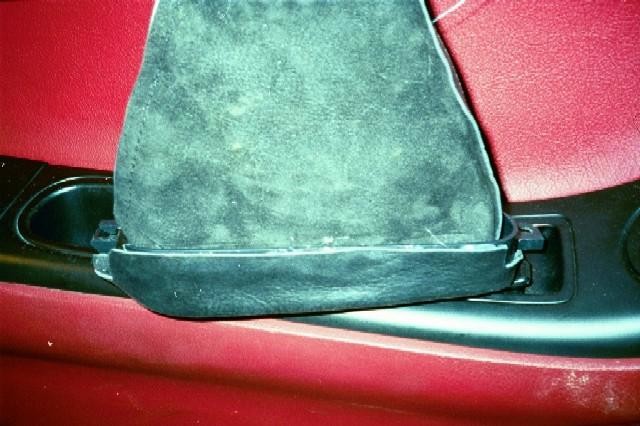
11. Now it's time to mount the e-brake boot. If you're not doing this step, remount the shifter plate to the center console (4 x philips), reinstall the center console and you're DONE!
12. Remove the phillips screw that holds the back of the boot on.
13. Use a screwdriver or something else small to push down the tab holding the front down.
14. Lift the whole thing up, making it inside out, over the top of the parking brake. It should be in the up position when you do this.
15. Cut the metal ring holding the boot to the lever with side cutters or just pry it with your screwdriver.
16. Pull boot off plastic holder and remove staples with pliers. Pay attention to which way the boot was facing and how it was installed in the ring and lay your new boot so you know which way to put it back in.
17. Turn the new boot inside out.
18. Install your new boot on to the holder just like the old one was, and use staples or glue to hold it. Hot glue gun works very well for this, or if you just have the glue stick you can hold it in front of a heater. Double-sided tape is also great for this.
19. Slide the boot, still inside out, top first over the brake lever. Use your old one to see how far down the metal ring was on the boot and use a zip tie to hold your new one in the same spot.
20. Now pull the boot down carefully.
21. Lock the front of the holder into the tab.
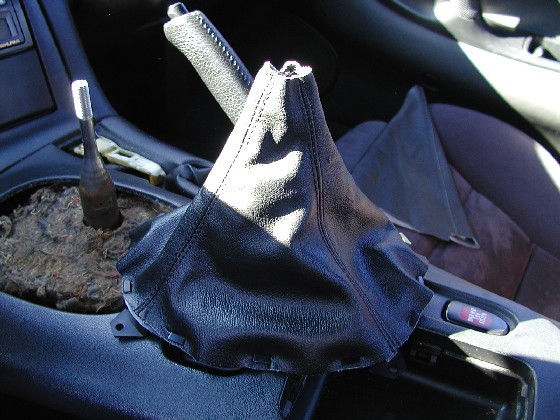
22. Install screw into the back.
23. You will have to play with the boot to make it fit the way you want it to, it is a lot more stiff than the original so it won’t just lay in there, it is just a matter of pushing the sides down though.
24. Remount the shifter plate to the center console, reinstall center console, making the front line up first, then pushing the back down. Reinstall the shift knob.
You're DONE!
Useful tip
You have installed a product made out of genuine leather. As you know, to maintain a leather product in good condition, you should take care of it. We suggest occasionally (every 4-6 week for example) applying some leather conditioner/UV protector to keep your leather from drying up in the sun and cracking.
Redline Automotive Accessories Corp. will not be held liable for any labor, incidental or consequential damages of any kind. Proceed at your own risk.