You must be logged in to rate content!
12 minute(s) of a 36 minute read
12-3-2014
Rollnnn's 2005 CLK55 build thread...
Compliments of ROLLNNN @ http://mbworld.org
12-3-2014
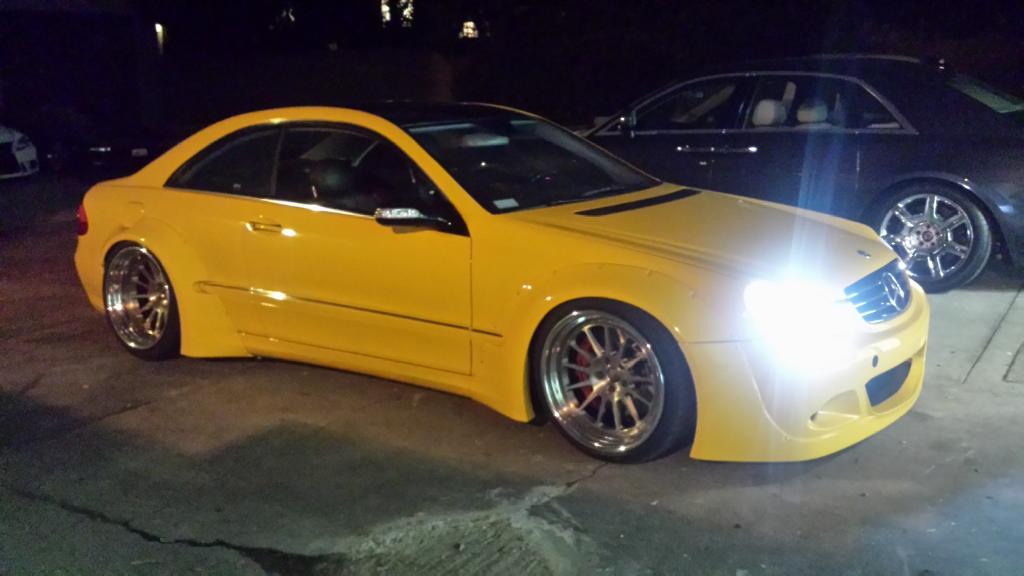
What's up Everyone, thought I would make a new build thread. First off, I just want to say thanks to everyone who helped when i was looking for the car. I picked up a black 2005 clk55 last May. It's my first AMG and 2nd MB. First MB was a w203 which was mildly modded. I would like to do more to this one. I know this is not going to be everyone's taste here but im pretty happy with it so far...
Here are a few pics of the C230:
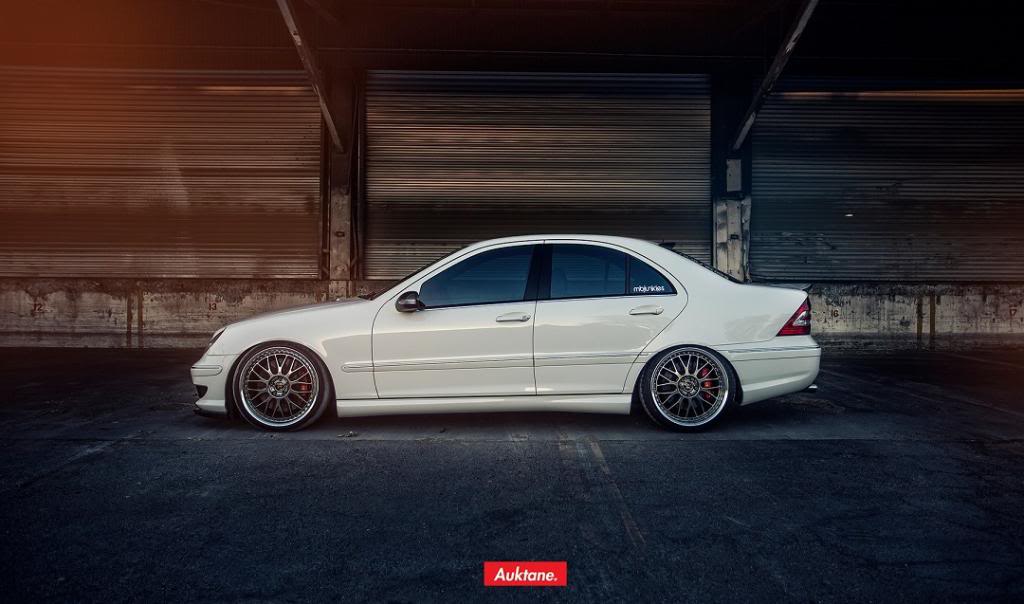
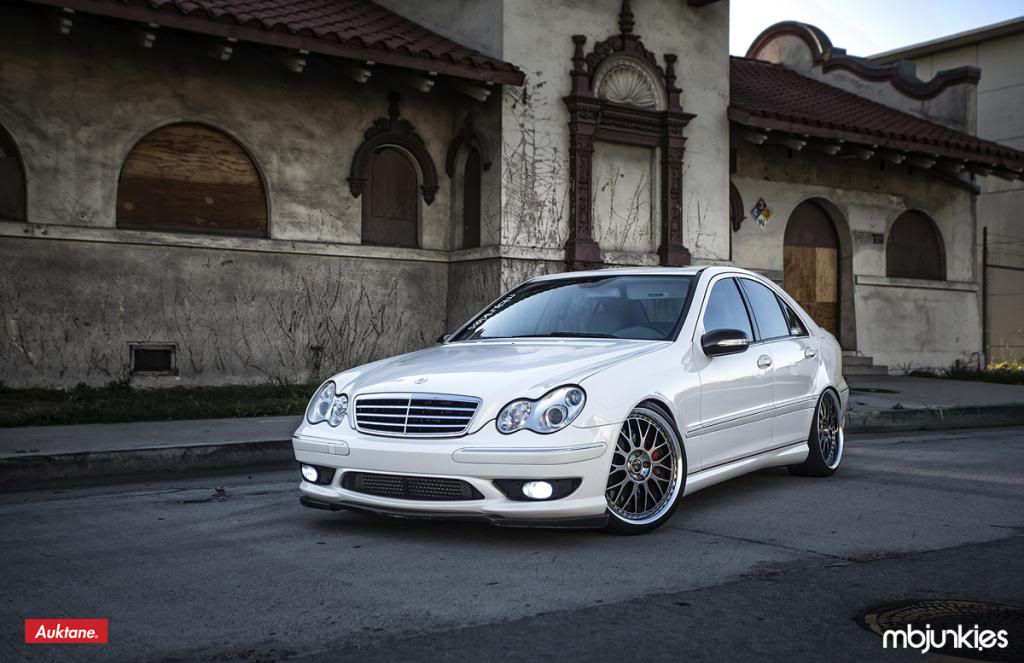
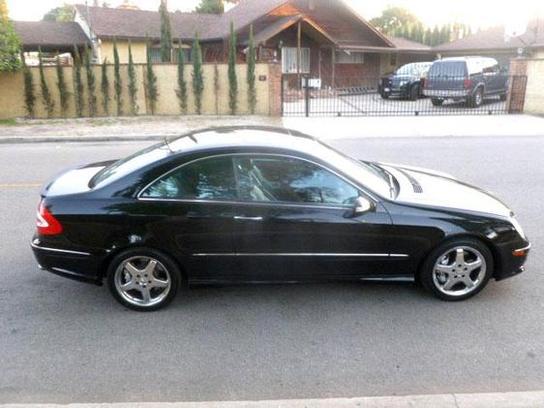
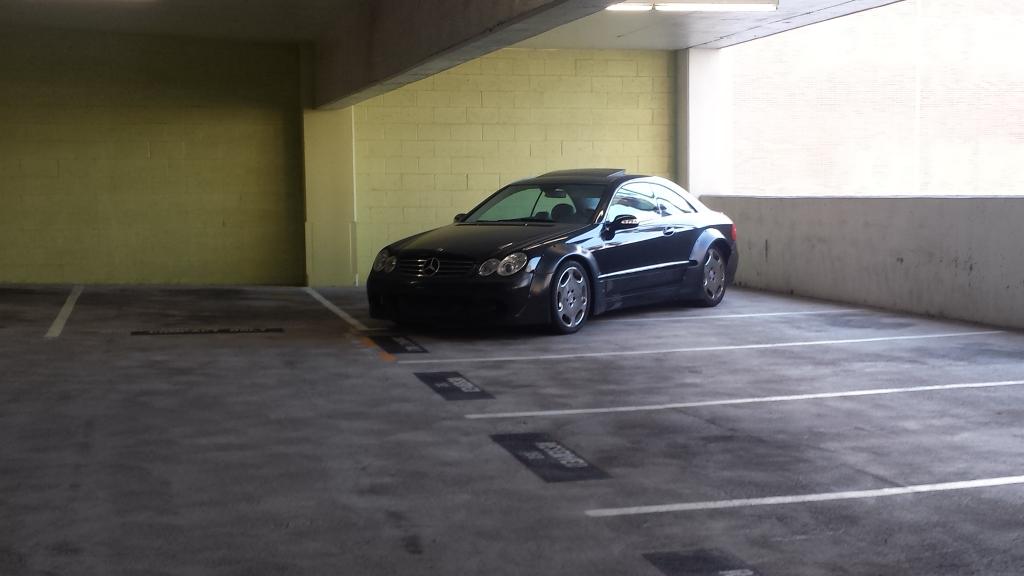
Pic of CLK when i picked it up:
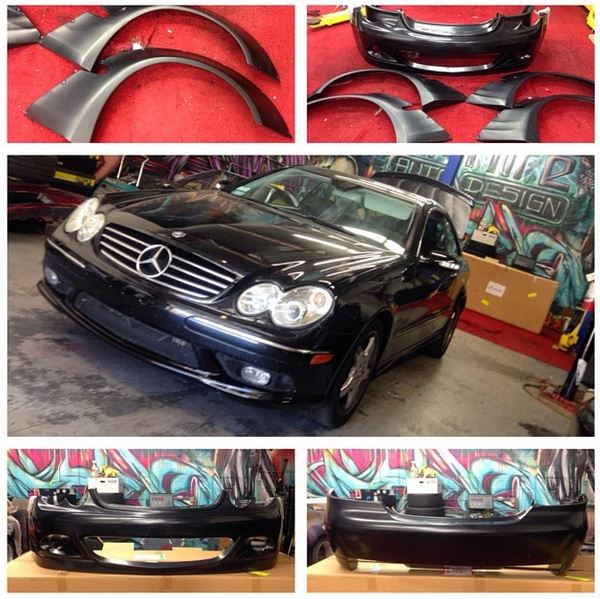
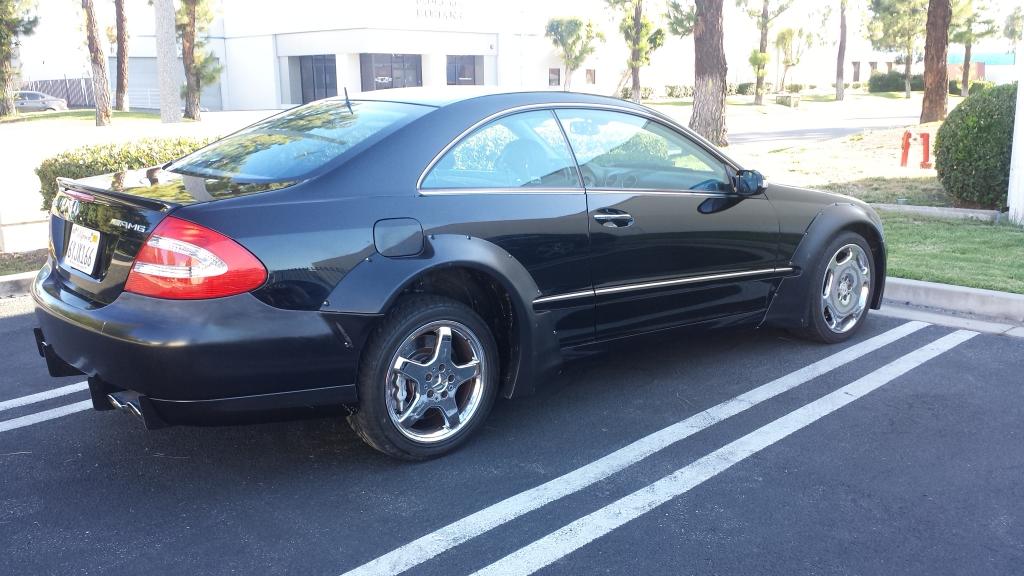
Basically the reason for buying this car, was to do the Sarto Racing rocket bunny kit. This was the first mod:
I had DTM Autobody do the install. This kit involves a lot of body work. Make sure you take it to a trust worthy shop the first time around.
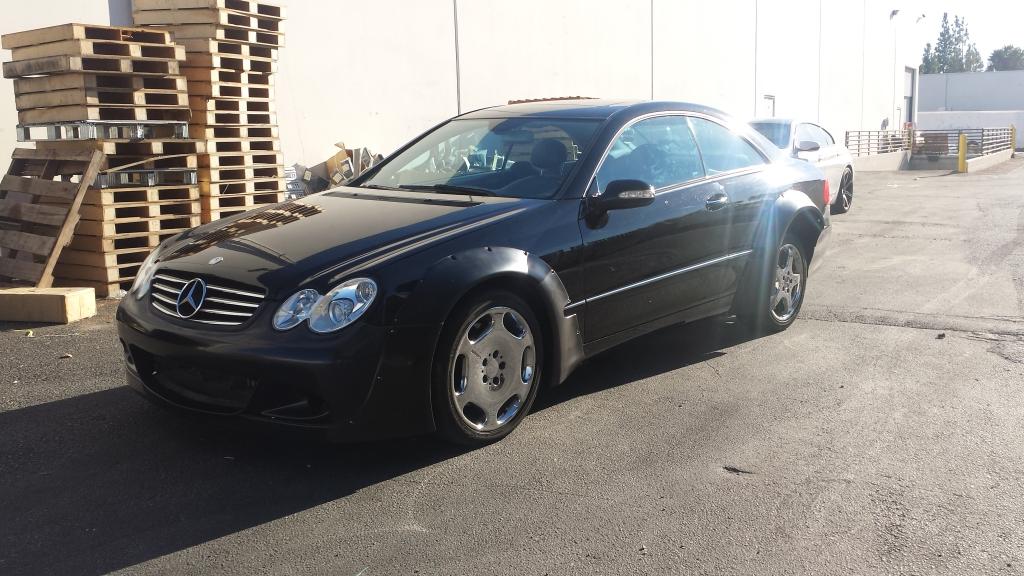
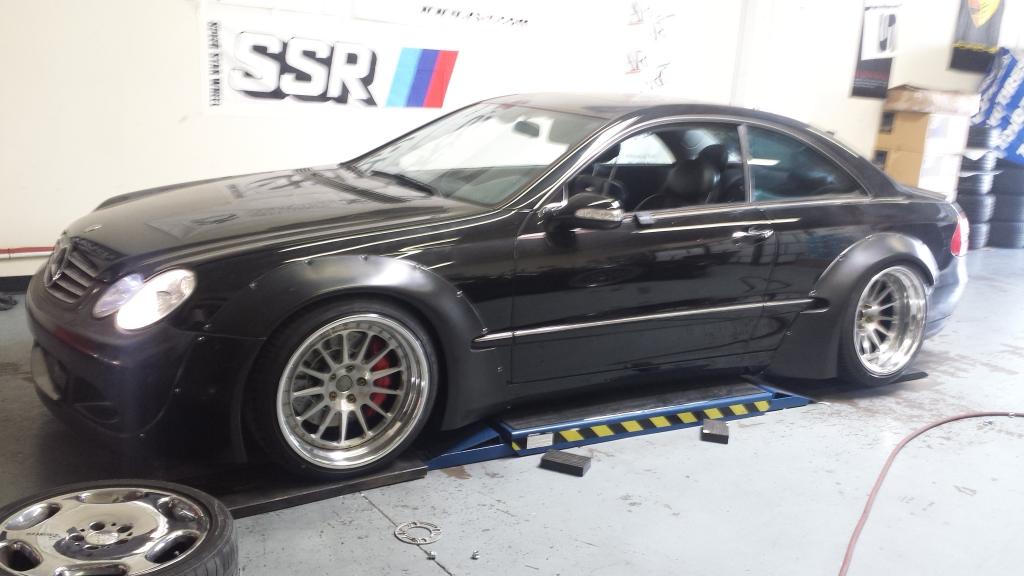
Also notice how much higher the fender is in relation to the top of the tire. In order to make the kit look right, you have to do a lot of suspension work and lower the car between 7-9 inches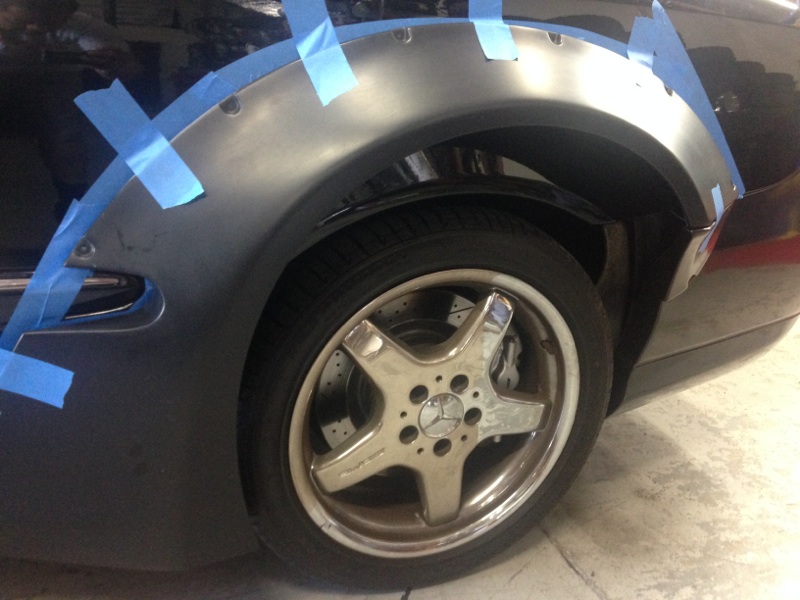
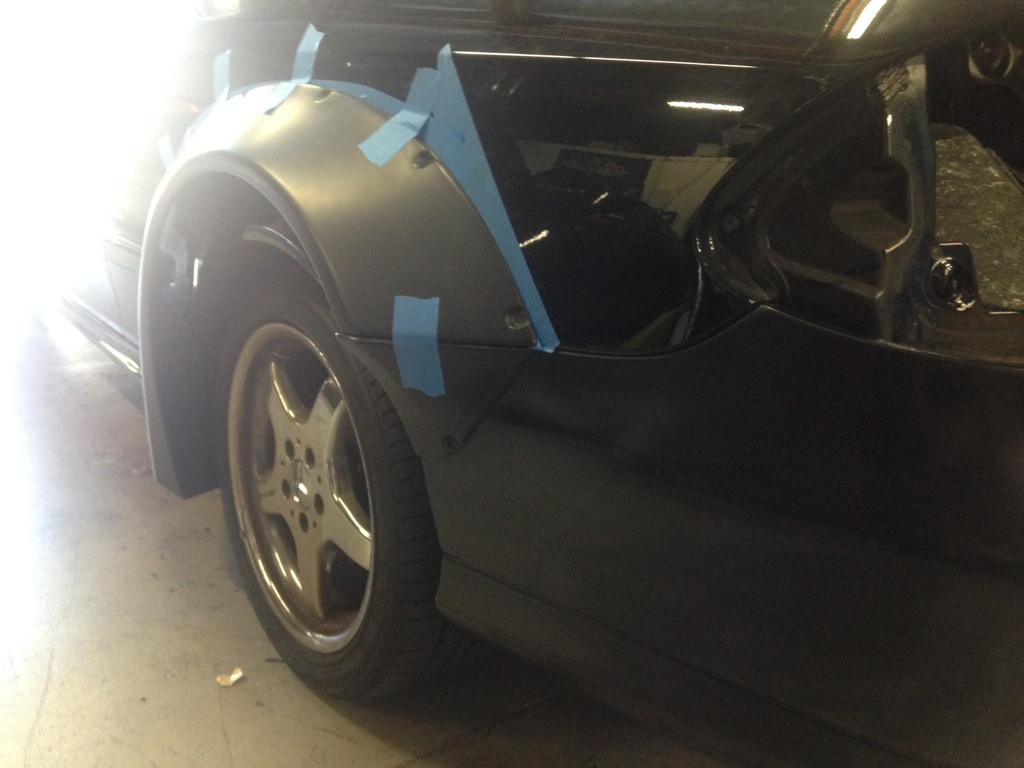
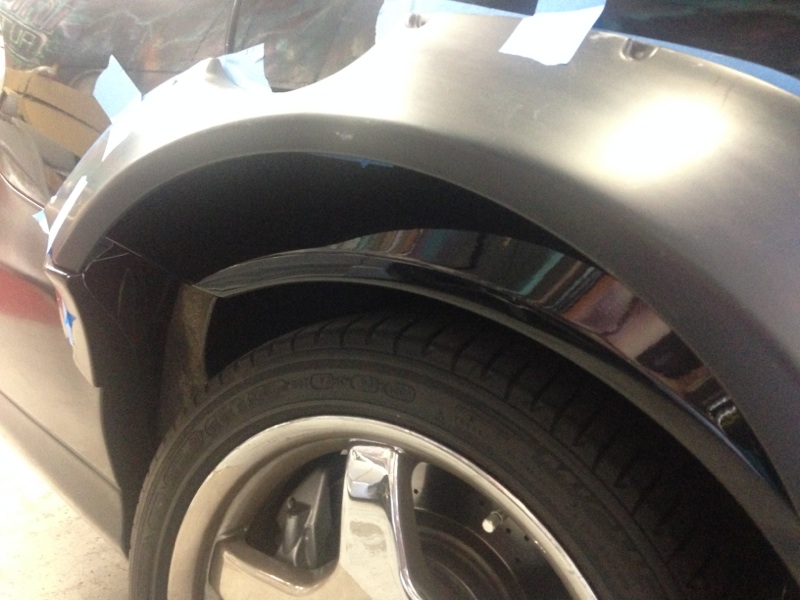
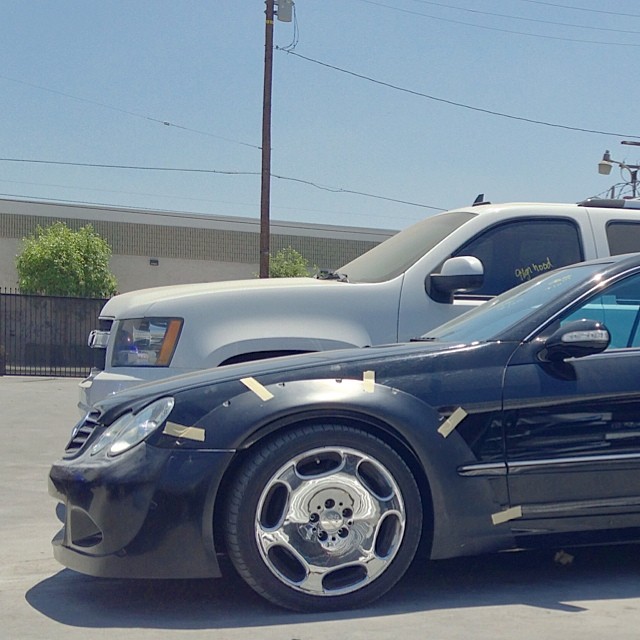
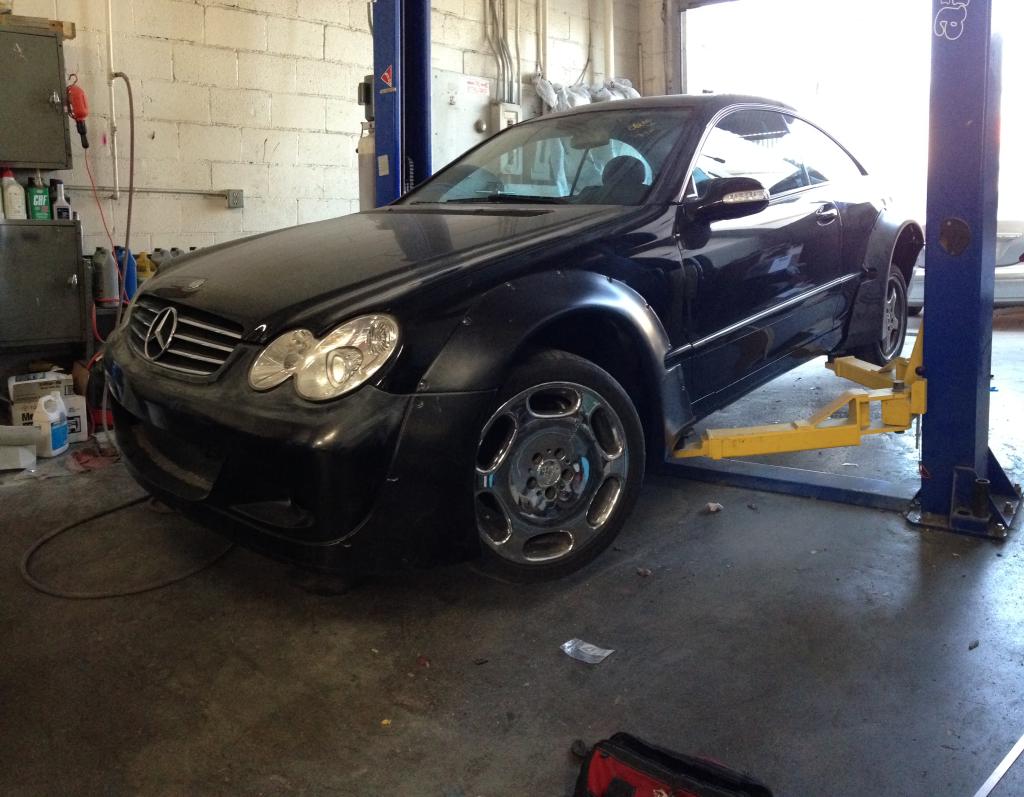
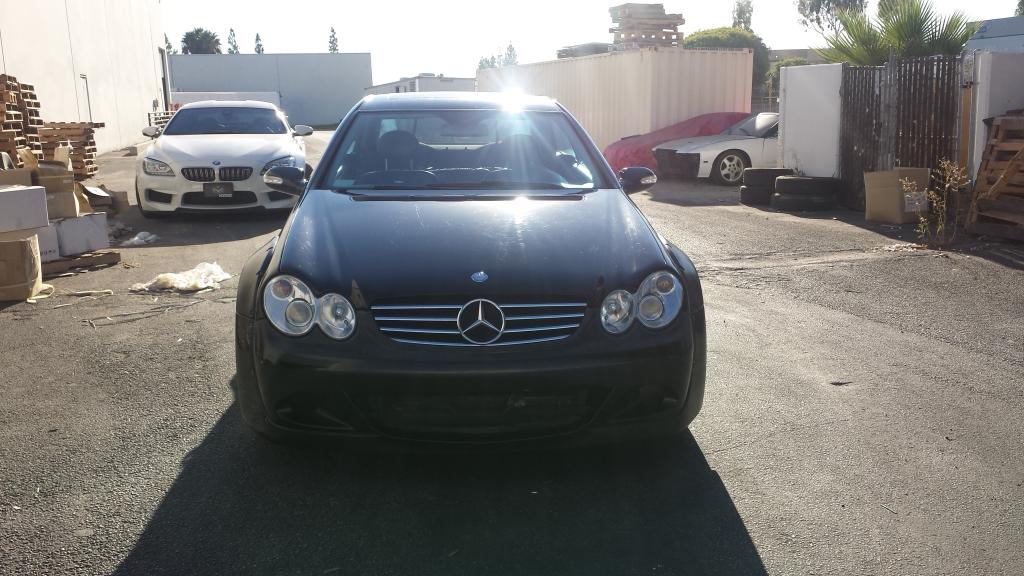
It took about a week and a half for install:
Regular lowering springs or coilovers will not lower the car enough.
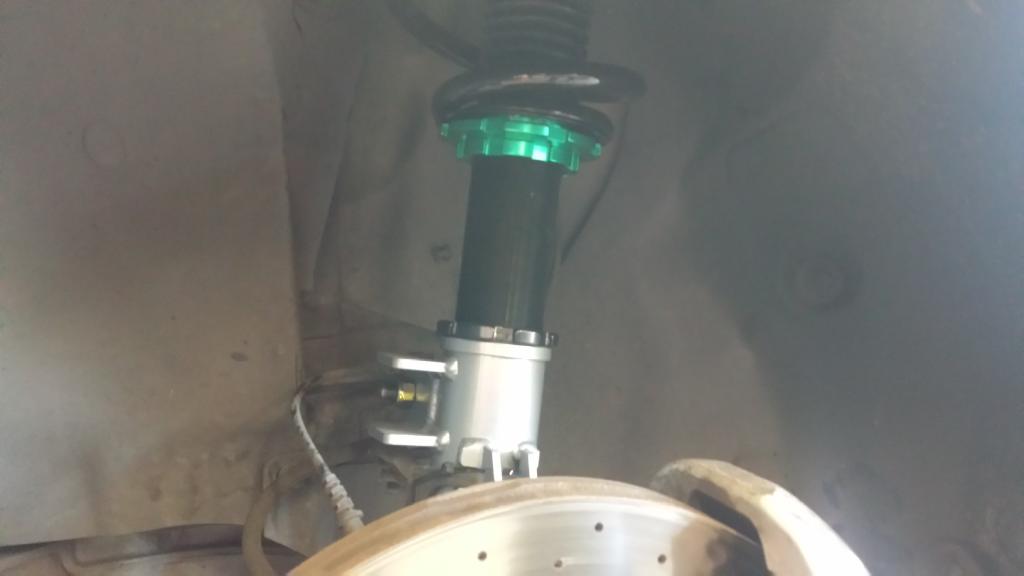
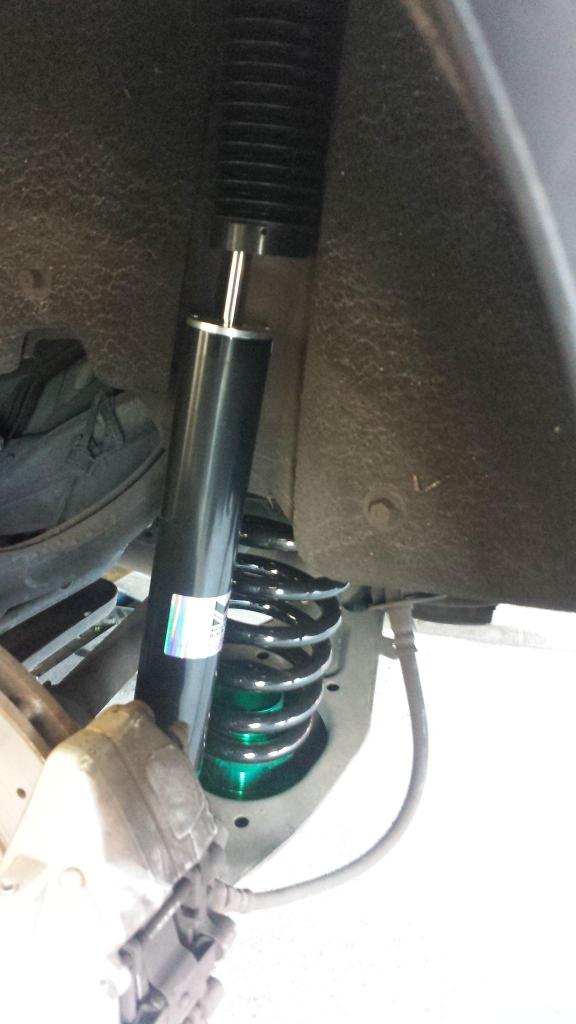
I partnered up with Megan Racing to develop the correct coilovers for this build.
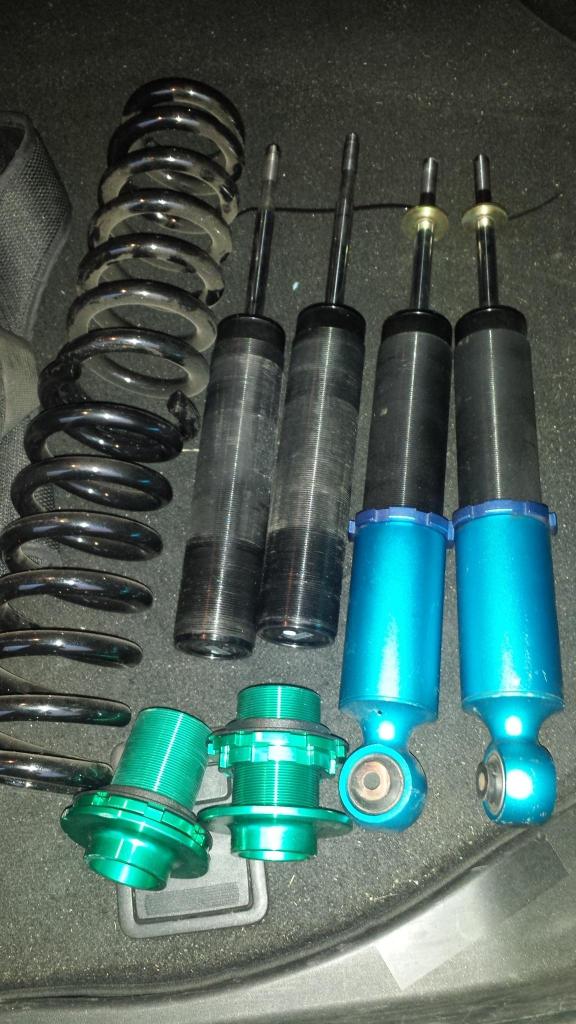
The fronts were easy, the rear was difficult. We had to use shorter inserts with shorter springs. This took about a month, R&D plus waiting for the right pieces to come in. We were finally able to get it sit right.
After driving around for awhile, i really wanted to put the car on air. It sits so low, that it was hard to get in and out of driveways.
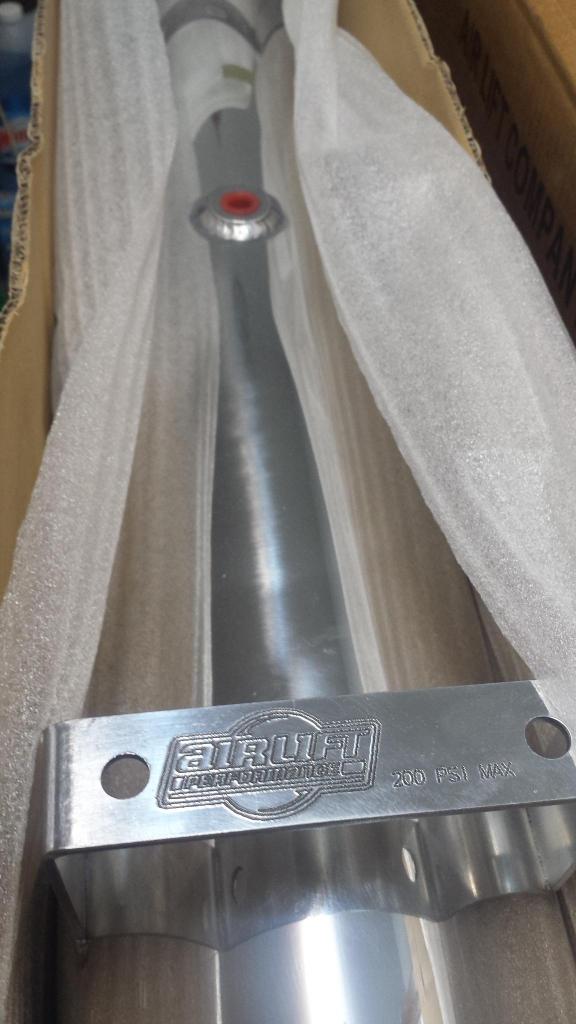
I partnered up with Airlift for the air over coilover system. For those of you interested in air, there are no dedicated kits available for the w209 or w203. You have to use universal parts. It takes a lot of custom work, but it can be done.
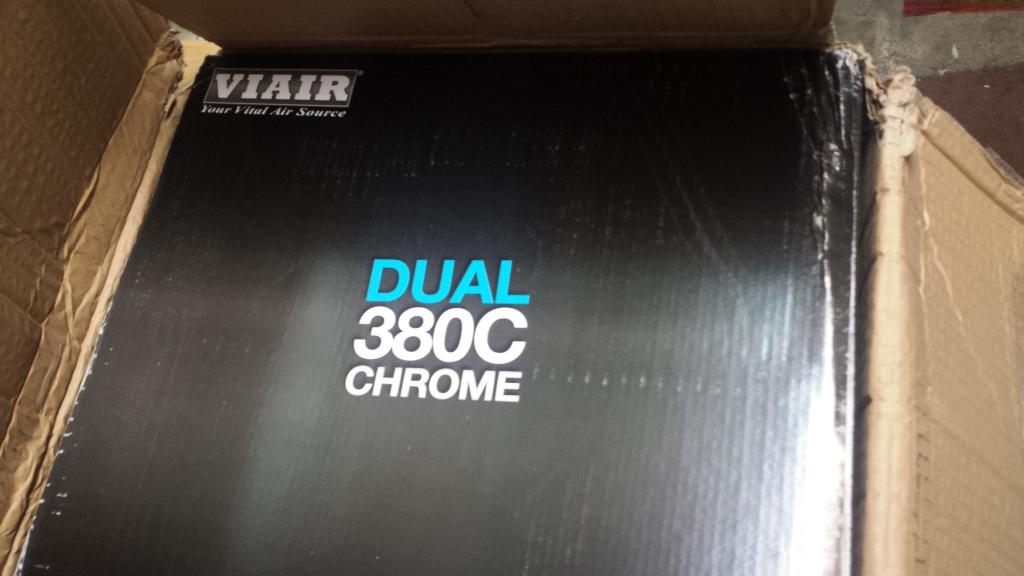
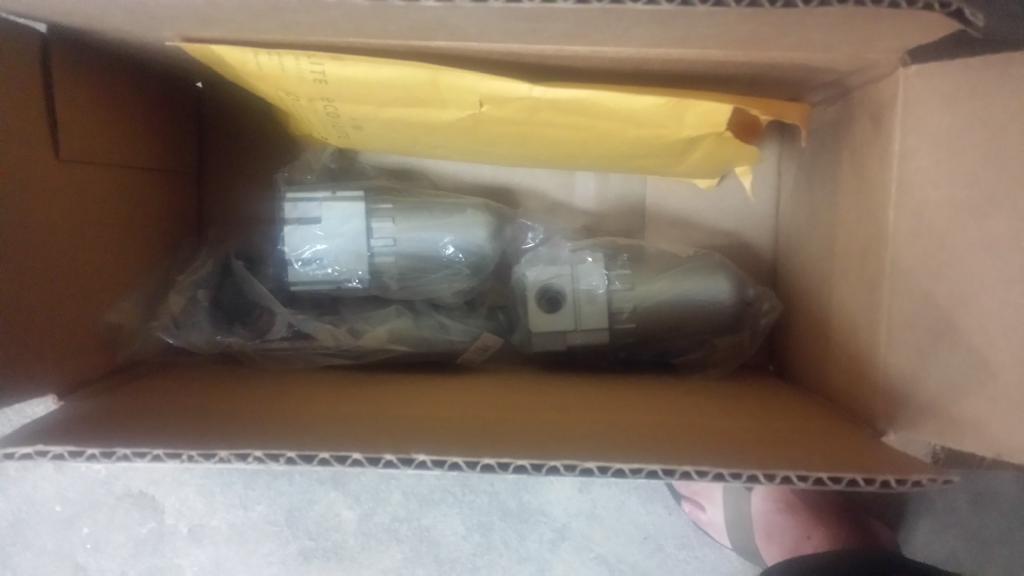
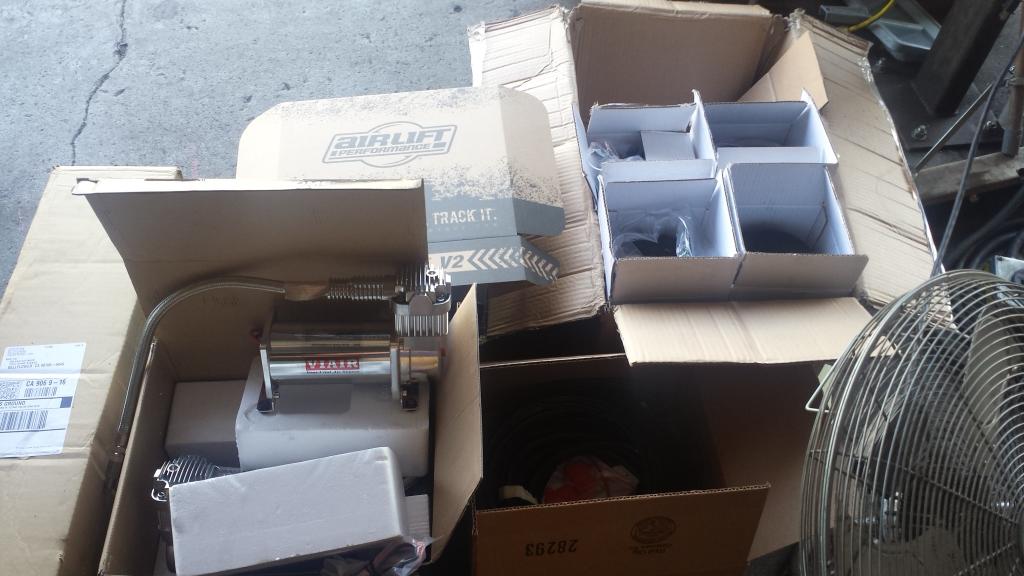
Airlift provided the V2 air Management system, tank, bags, 2 viair compressors, water traps, wiring, lines and mostly everything needed. There were a few things i had to purchase extra that airlift does not make, that is needed for these cars.
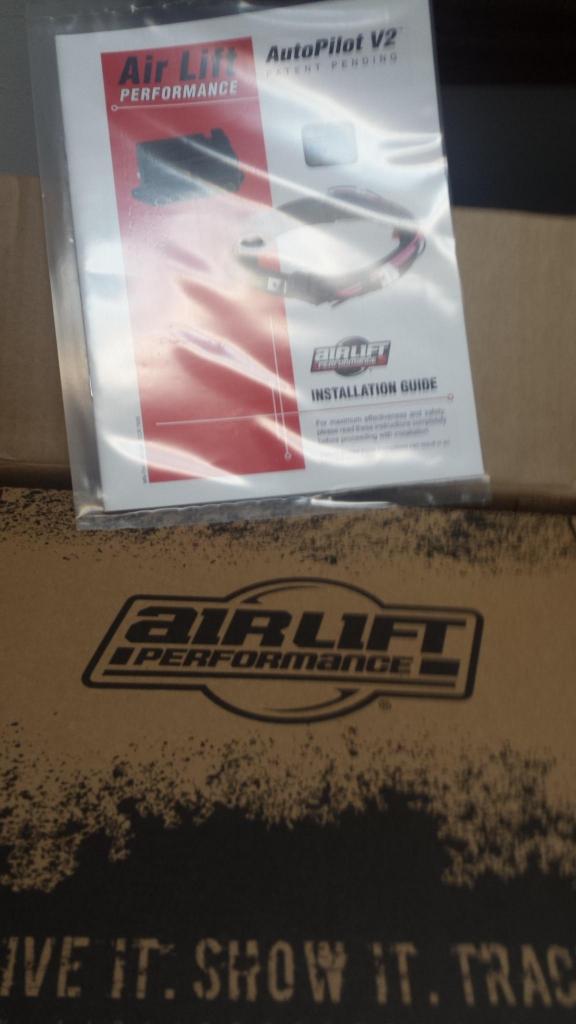
Airlift V2 management system:
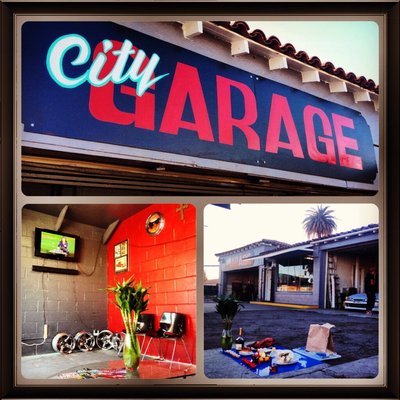
After doing some research for a good Air installer, I decided to go with City Garage in Long beach, CA. Marlon and his crew took special care of the build. They are known in the mini-truck, classics, low-rider, hot-rod scene to do great air/hydraulics installs and are all metal fabricators so i knew it would be in good hands.
Here is where the suspension gets even trickier. Ill start with the front. The way the front struts are set up, we had to drill out the front top mounts. These mounts only fit the spring, you cannot use these with an airbag.
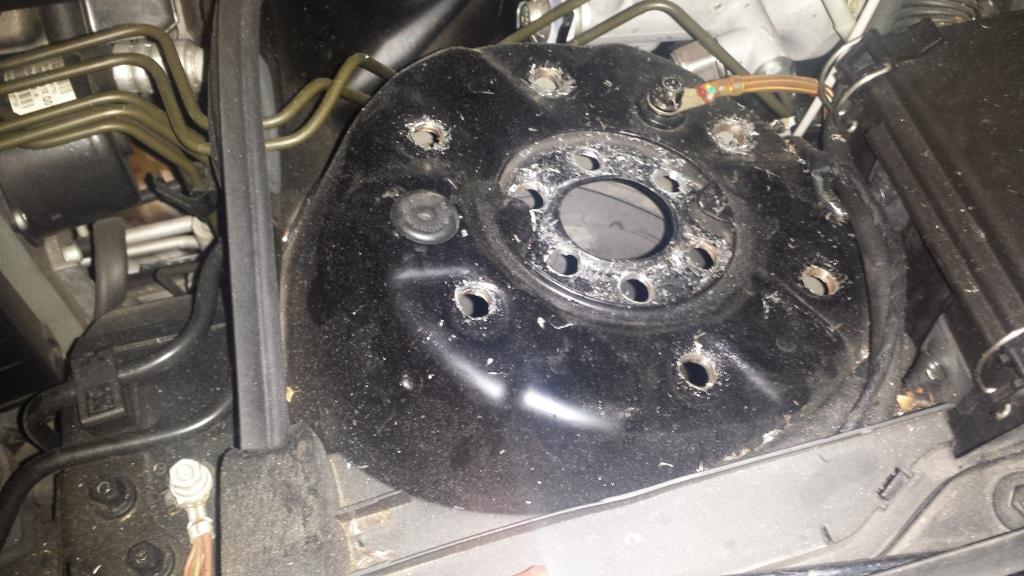
I had to purchase a new top mount that works with airbags and is designed for this car. Universal Air Suspensionmakes these:
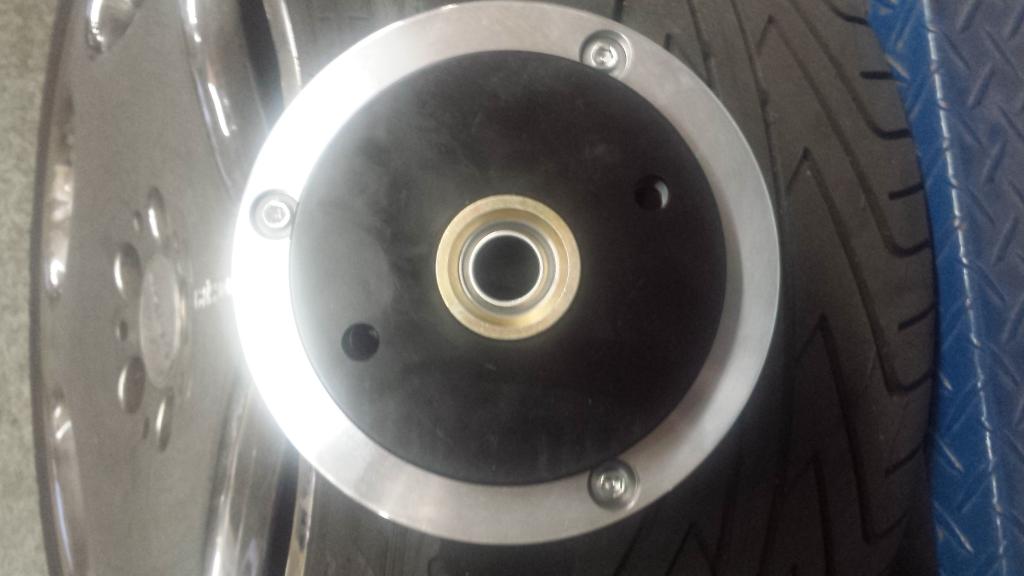
I also had to buy these plates, which is a perch also made by Universal Air, that screws onto the air bag and screws directly onto Megan Coilovers.
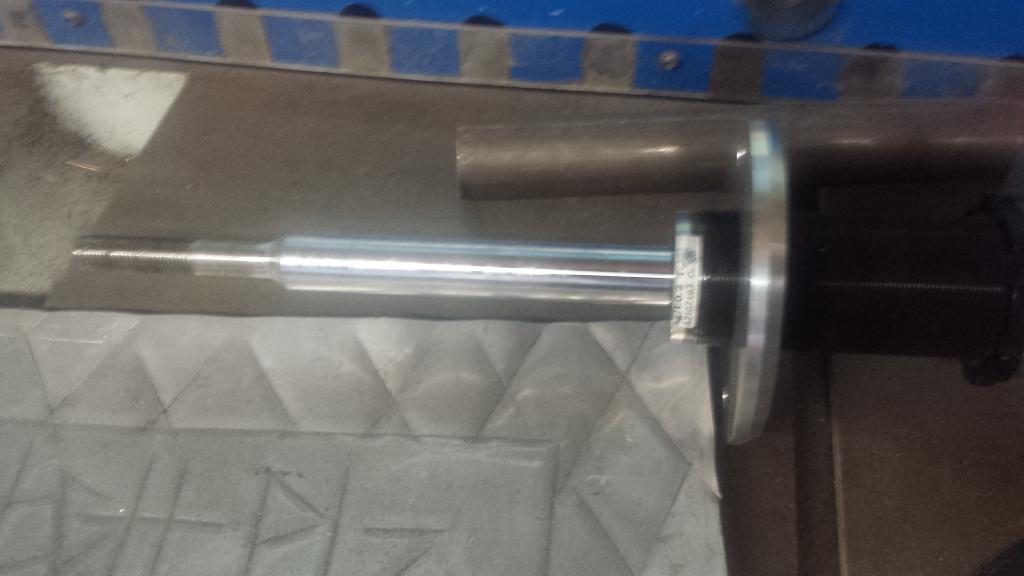
The rear shock was a big problem. I don't have any pics of the rear but in order to mount the bag they had to pull it out a little so it doesn't rub anything, so a mount was made. The bag is wider than the spring so it needs more clearance. With this body kit you only have a few inches to play with in terms of suspension travel. If you look at the rear arch it curves under the tire. If the shock extends too much and the car goes too high it will hit the bottom of the kit. In other words it has to be just right. I had to use the a short stroke shock that was provided by Megan Racing. Its the right one in the pic a couple posts above with the shocks.
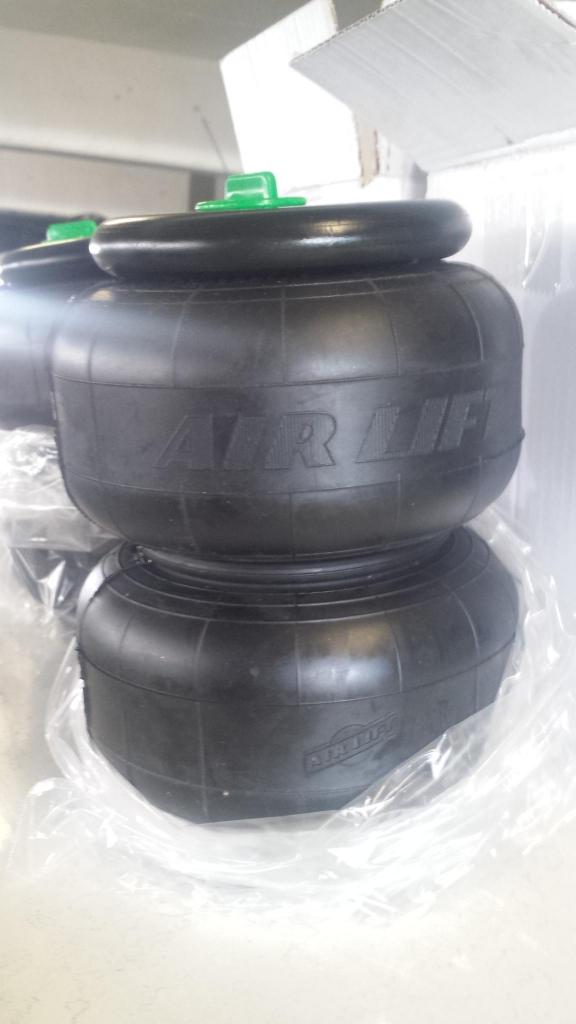
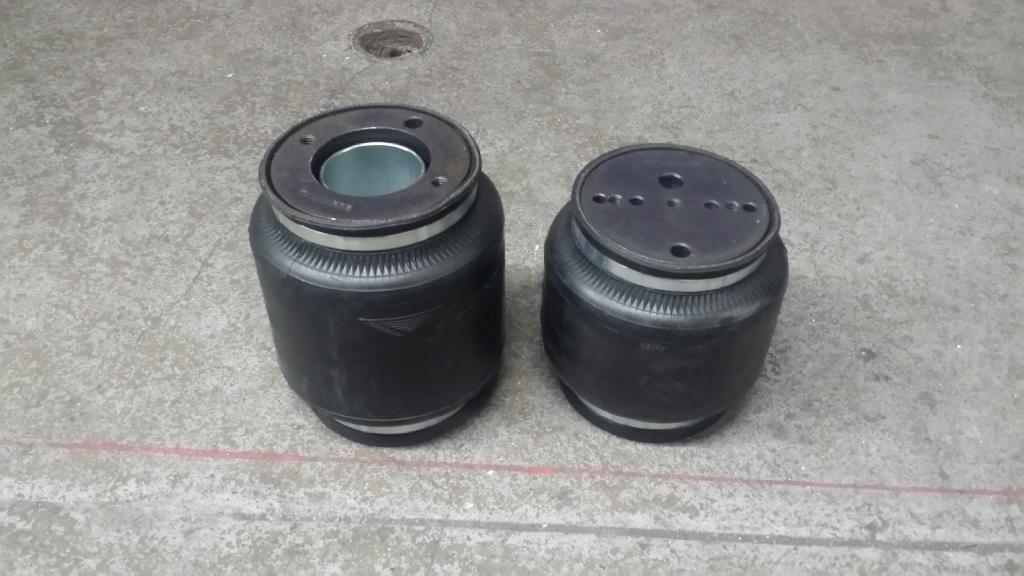
The bags provided from Airlift were also too long, so I had to trade those for some shorter single bellow Universal Air Bags:
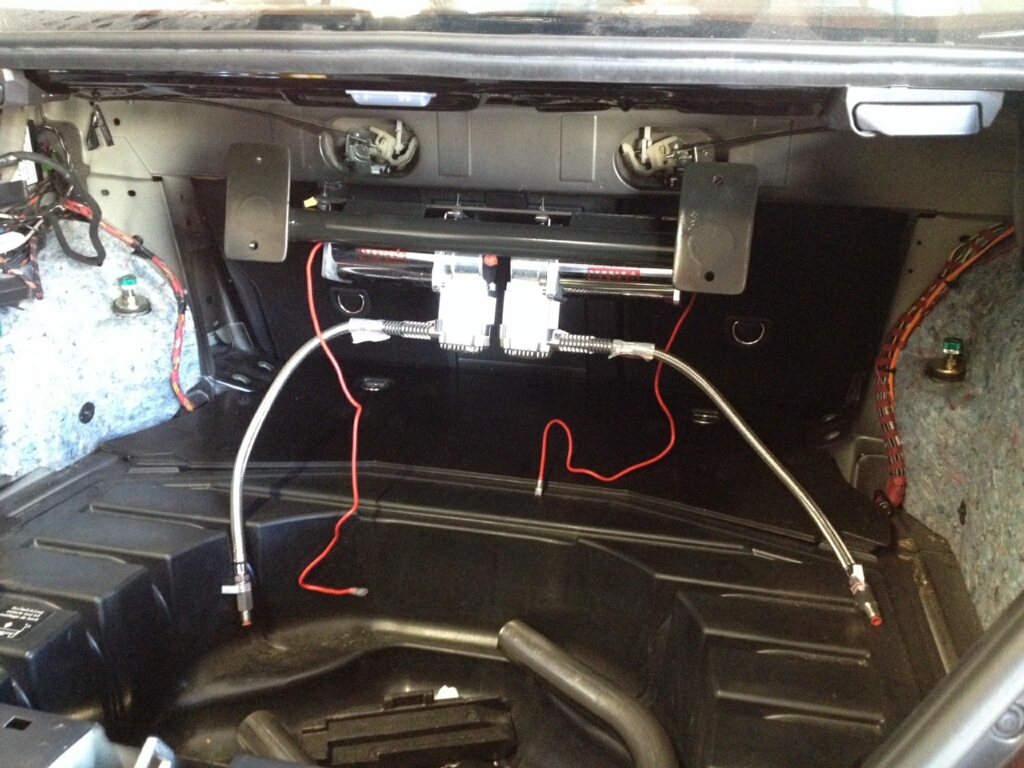
With the trunk setup i wanted to have it look good for show, but at the same time still leave some trunk space. City Garage did a metal bar setup that is welded to the top of the trunk that holds both compressors and the tank:


front view looking through rear seats:
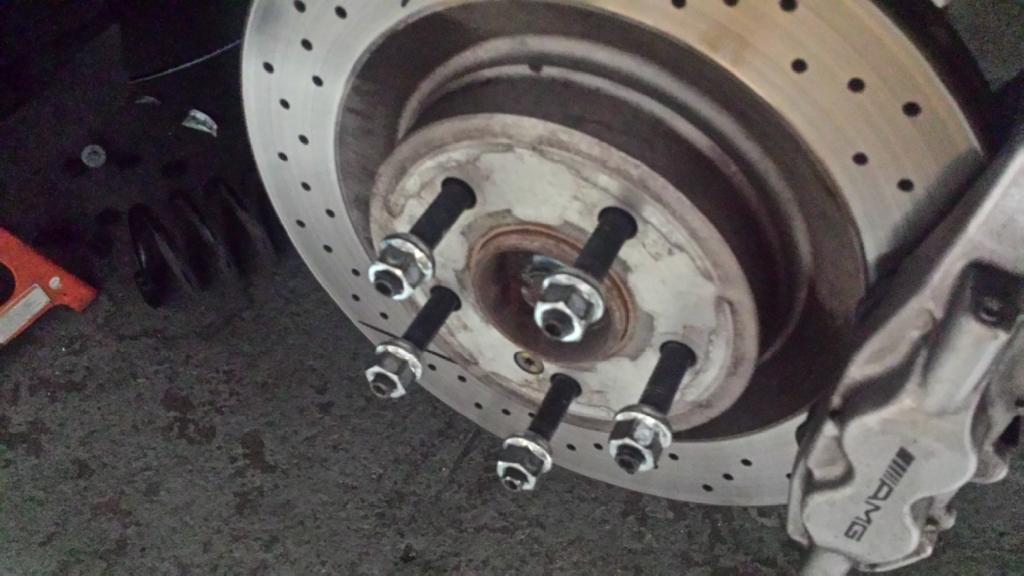
So I lied, my first 2 mods were a lug conversion and a euro license plate.
Lug conversion:
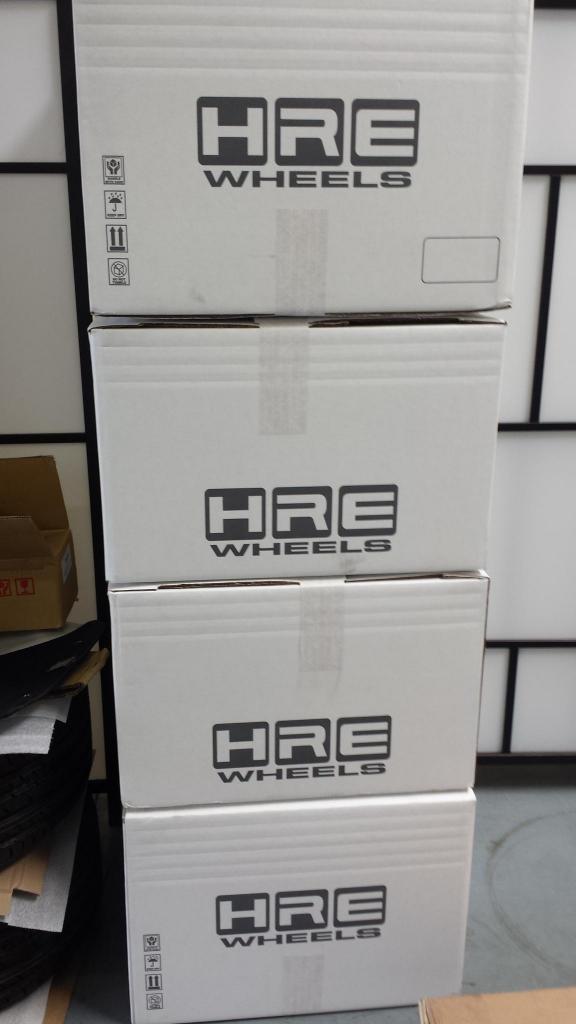
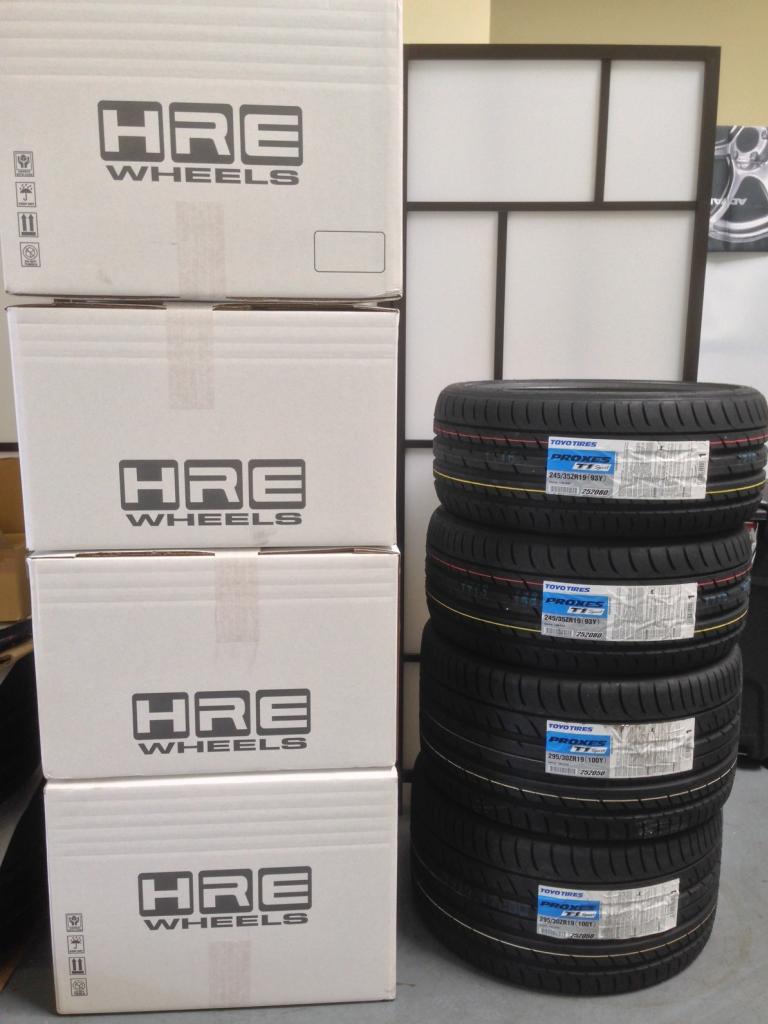
Made my way down south to meet up with my Wheel Partners, HRE Wheels.
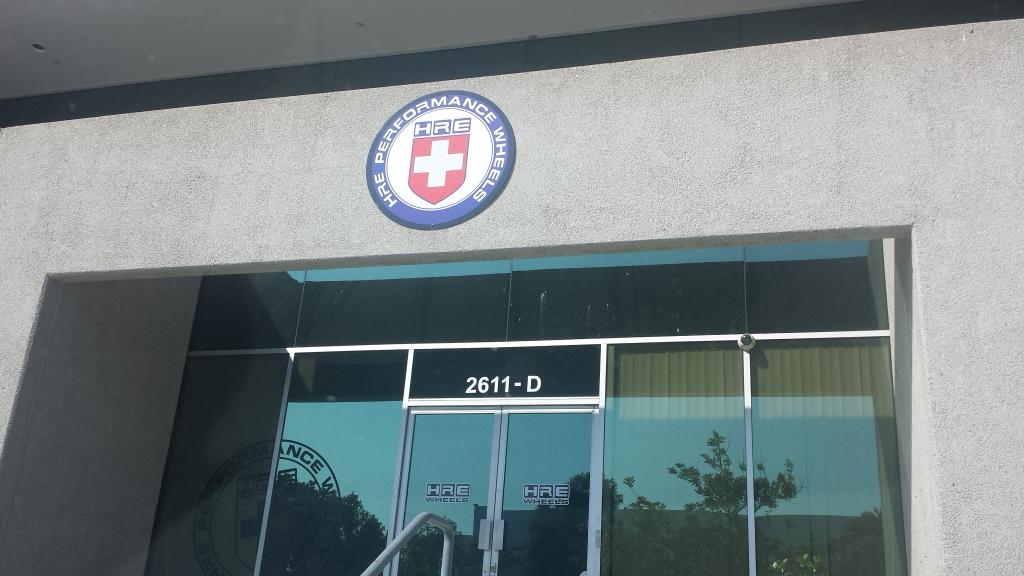
When i got there, they weren't quite done being built yet, so Yoshi took me on a tour of the facilities. Pretty cool place.
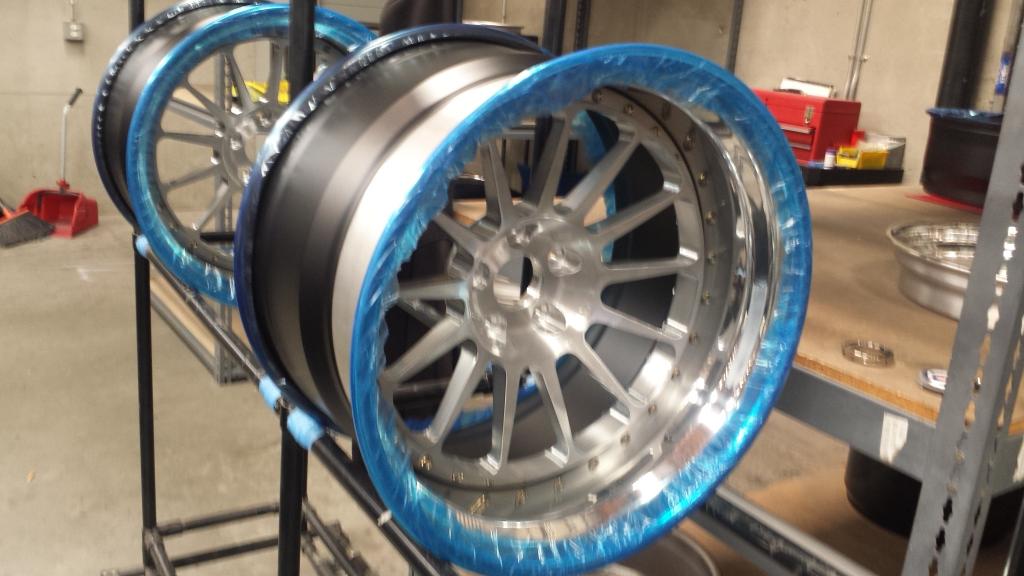
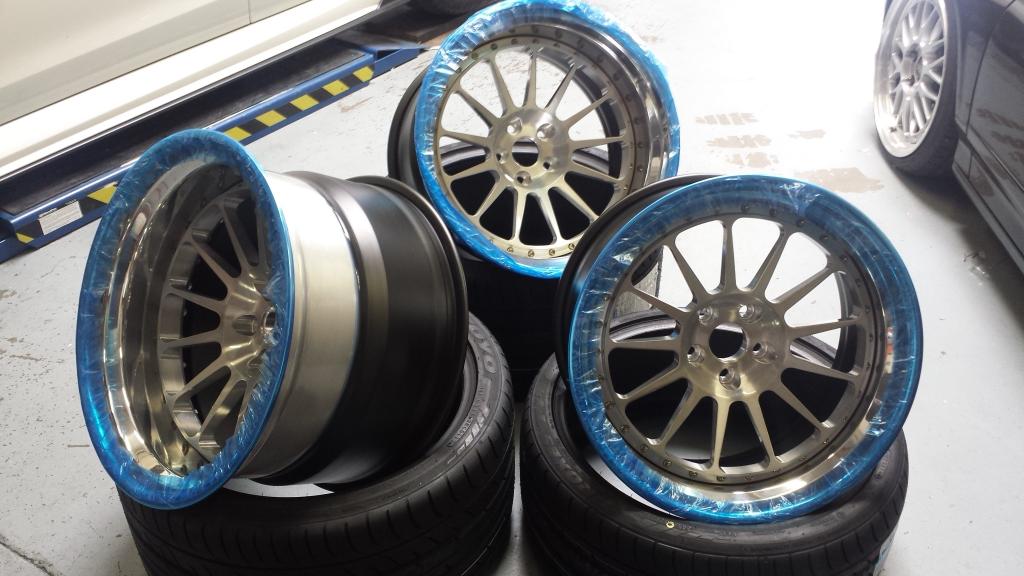
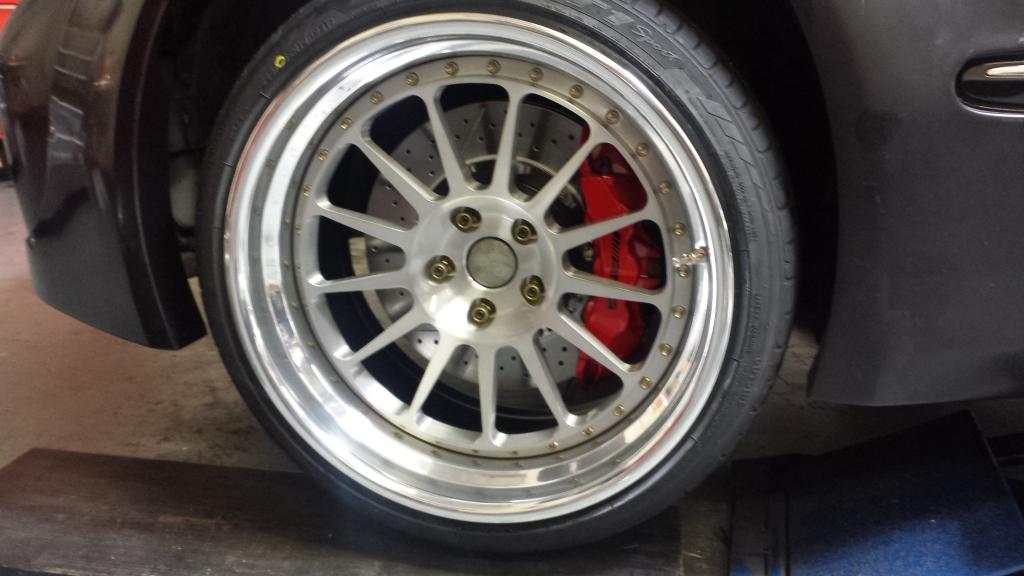
I picked up the HRE Classics 303.
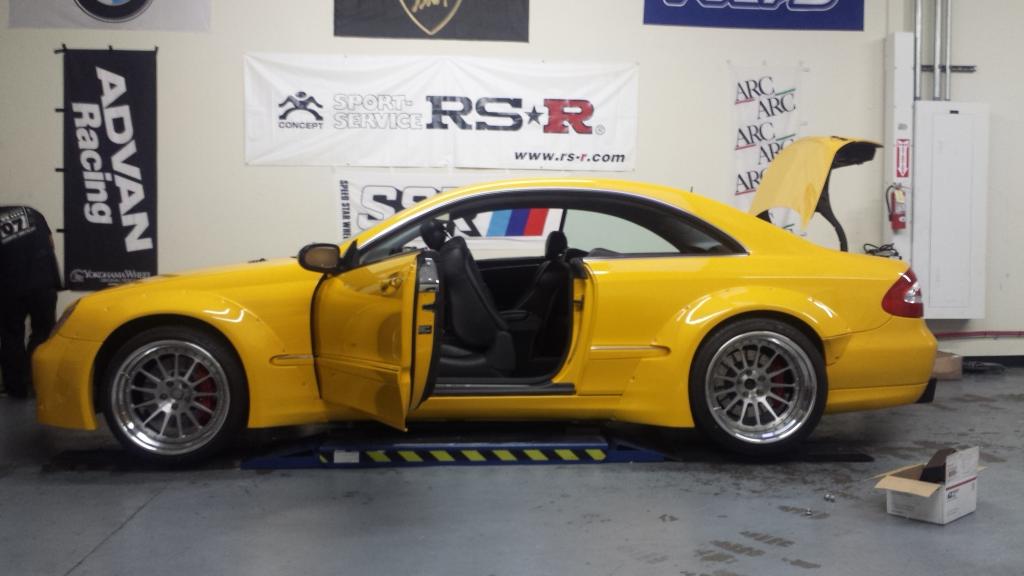
Front 19x10, Rear 19x12. High polished lips, matte black barrel, brushed tinted clear, with gold hardware.
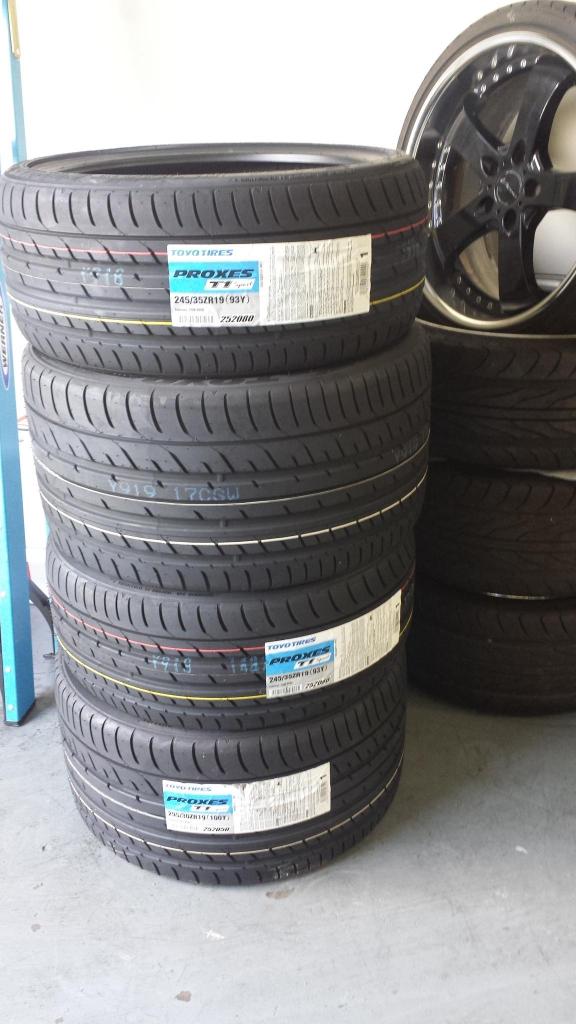
Then i had to drive down to Ontario to pick some tires from my tire partners, Toyo Tires
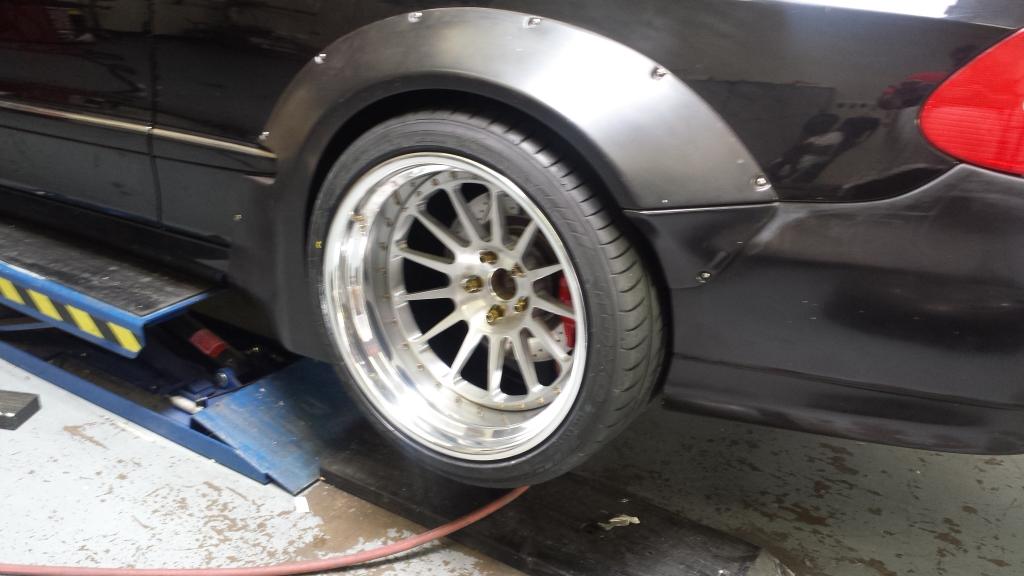
I originally went with the Toyo Proxes1, front 255/35/19, rear 305/30/19 but needed a little more clearance to fit the bags. I ended up with with Toyo Proxes T1 sport, front 245/35/19, rear 295/30/19.
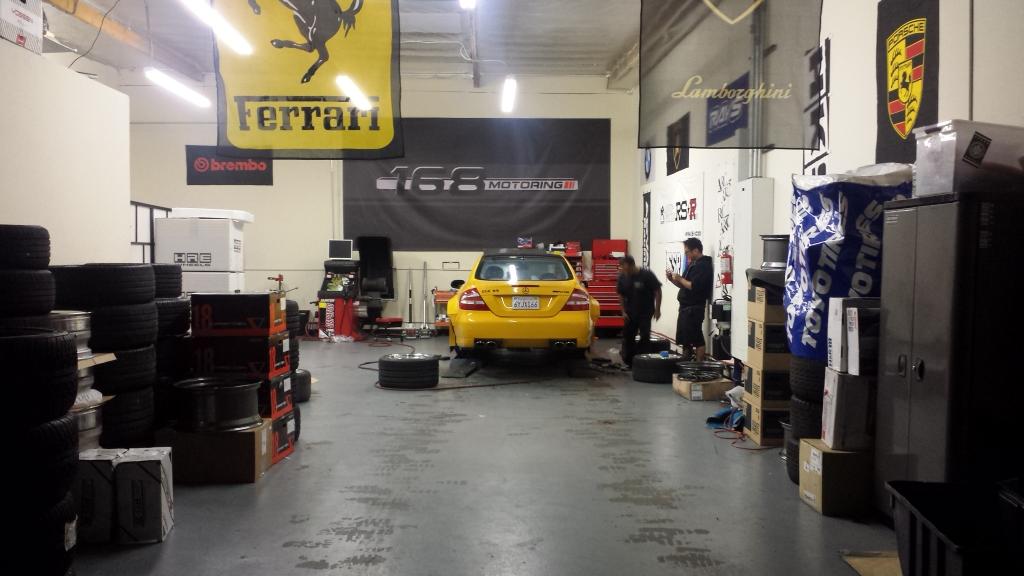
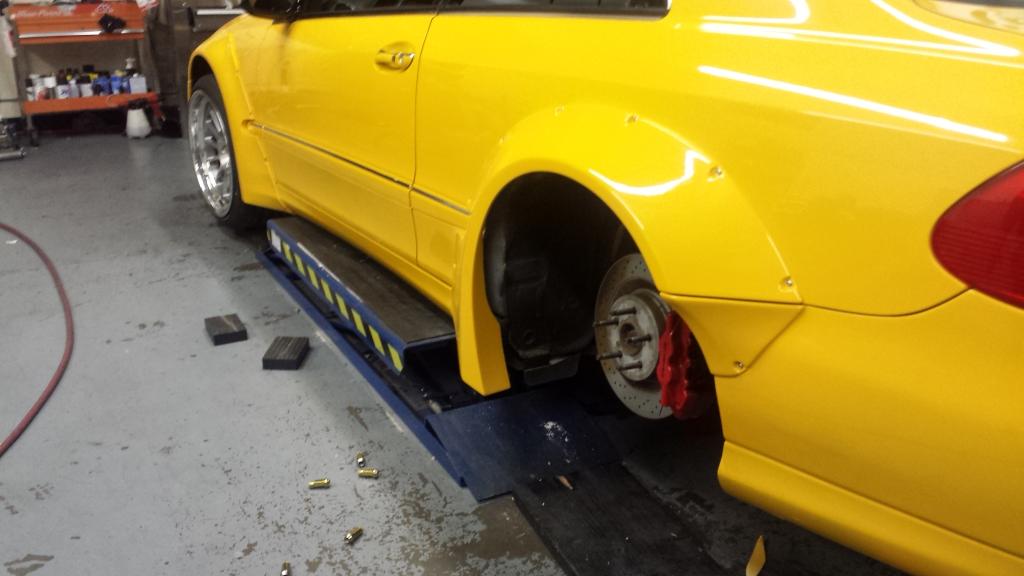
I brought everything over to 168motoring in Torrance to have them mounted. They also had to do a little trimming of the kit so it wouldn't rub.
Test fit at 168 Motoring
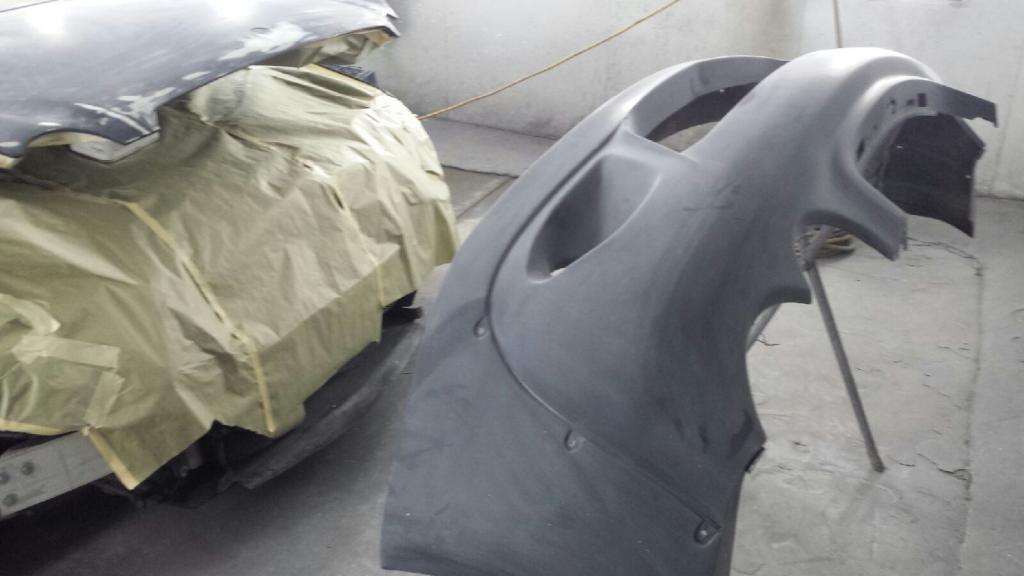
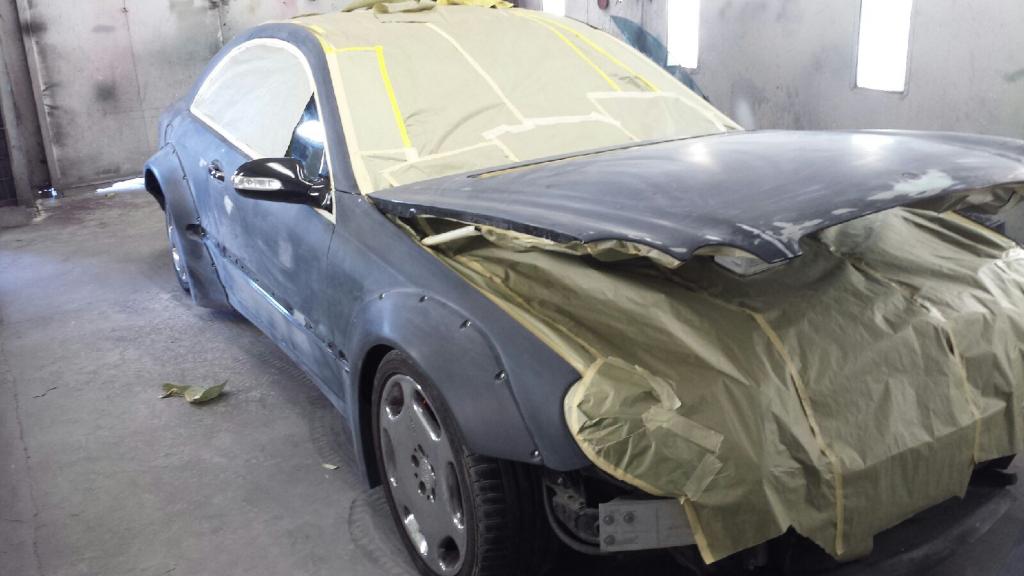
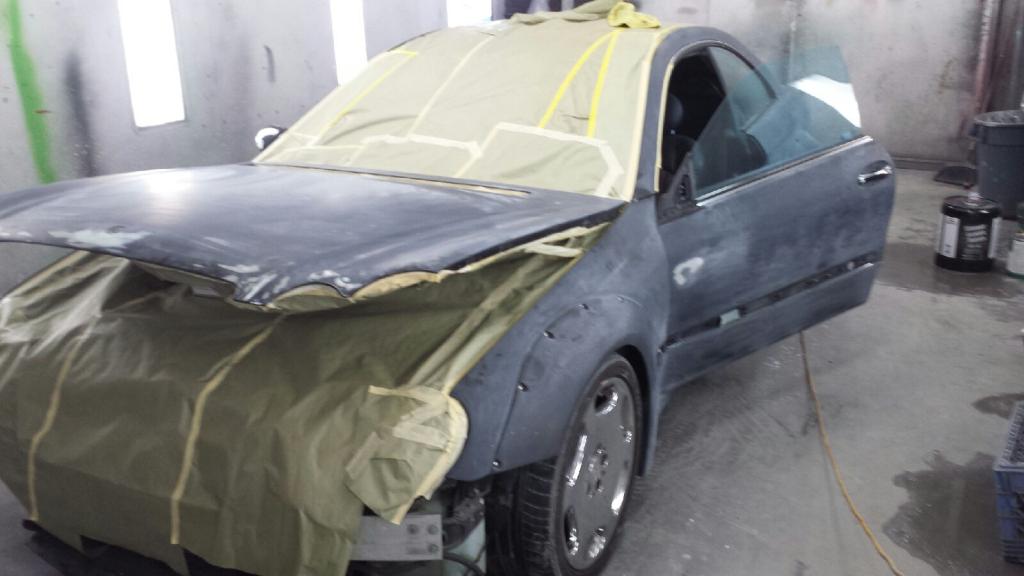
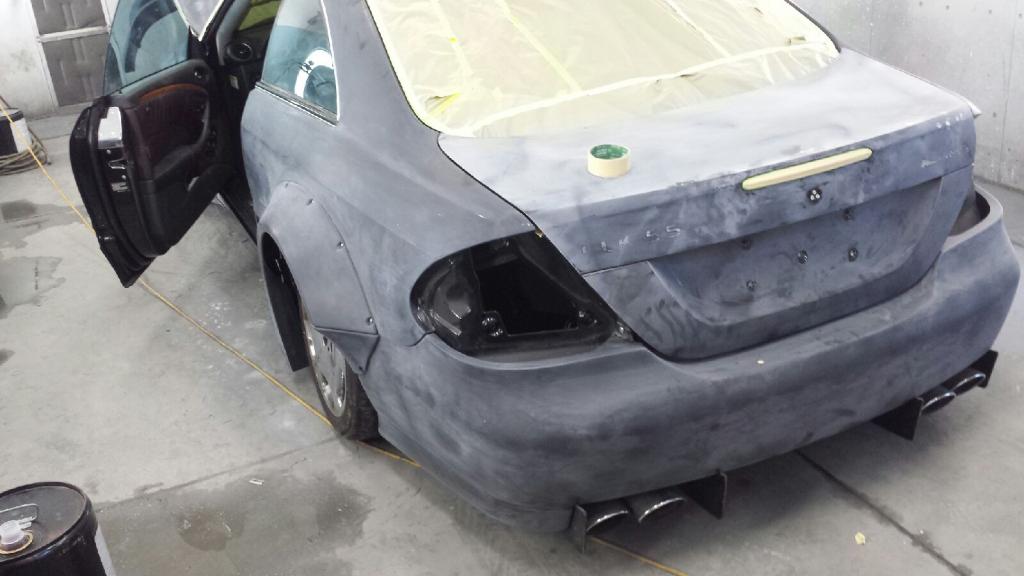
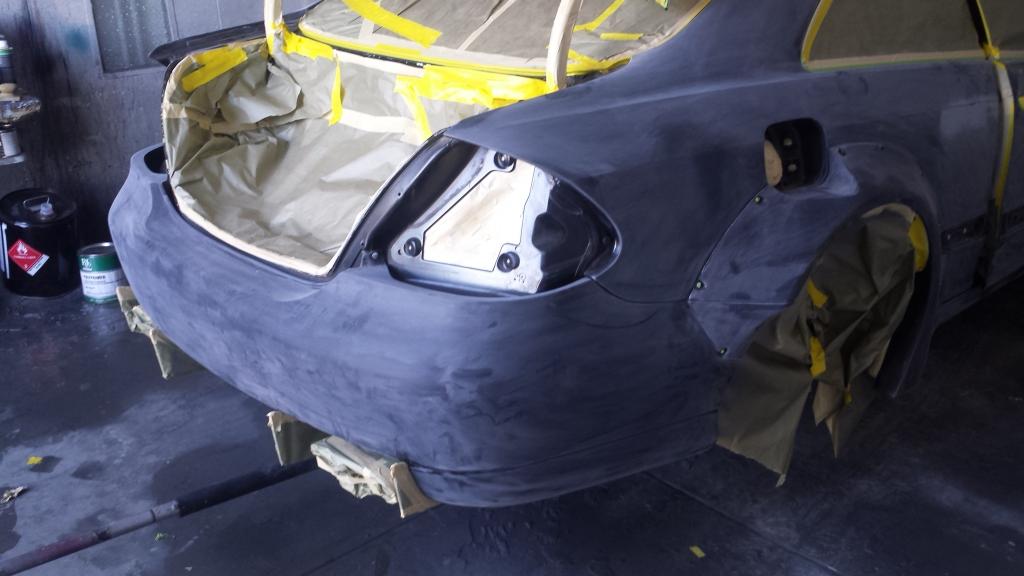
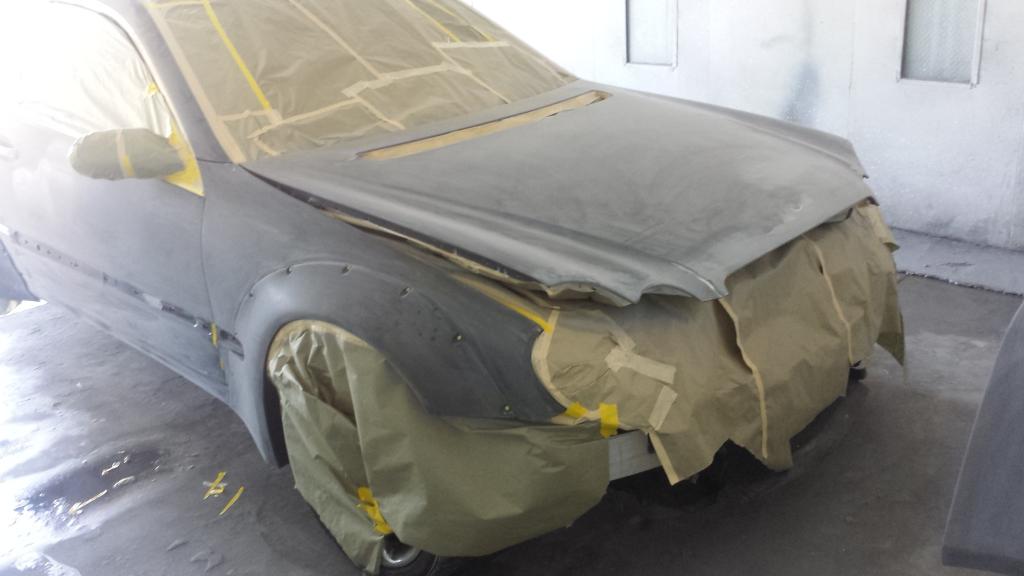
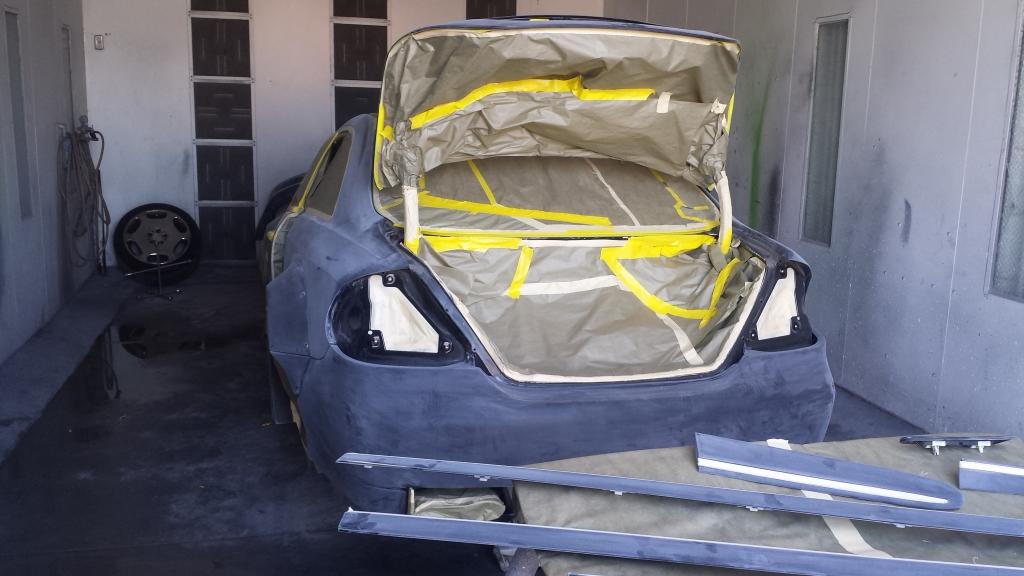
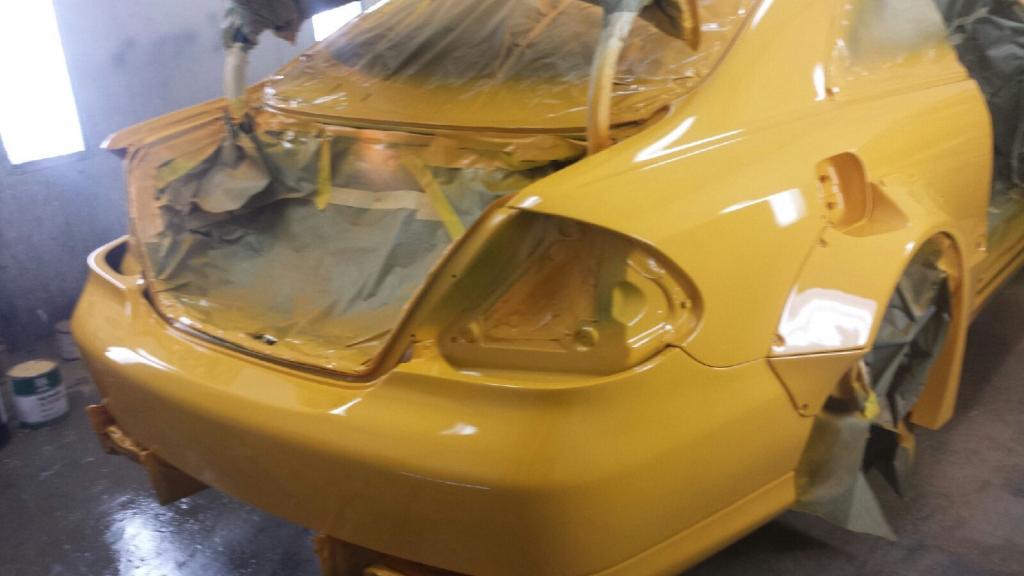
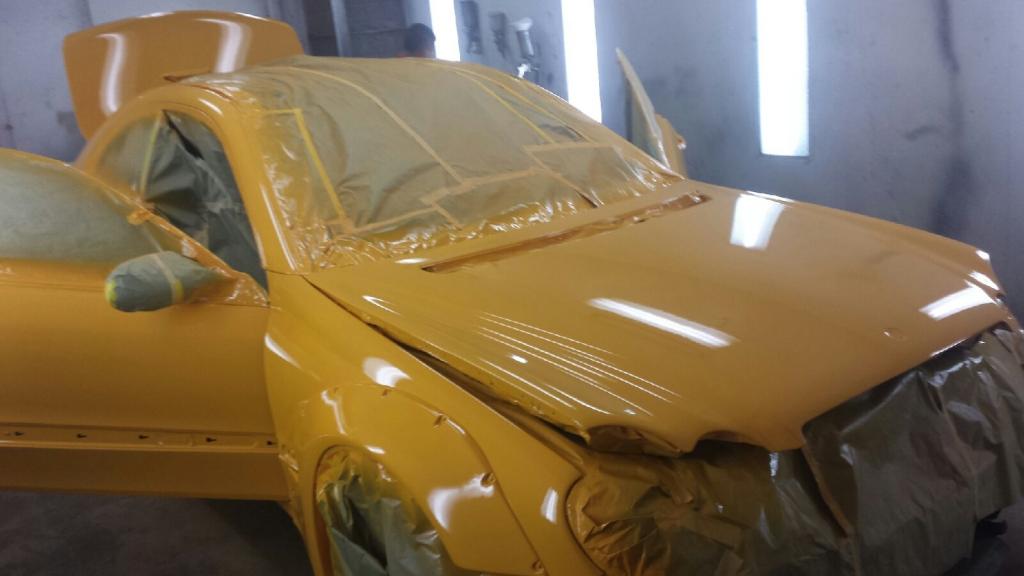
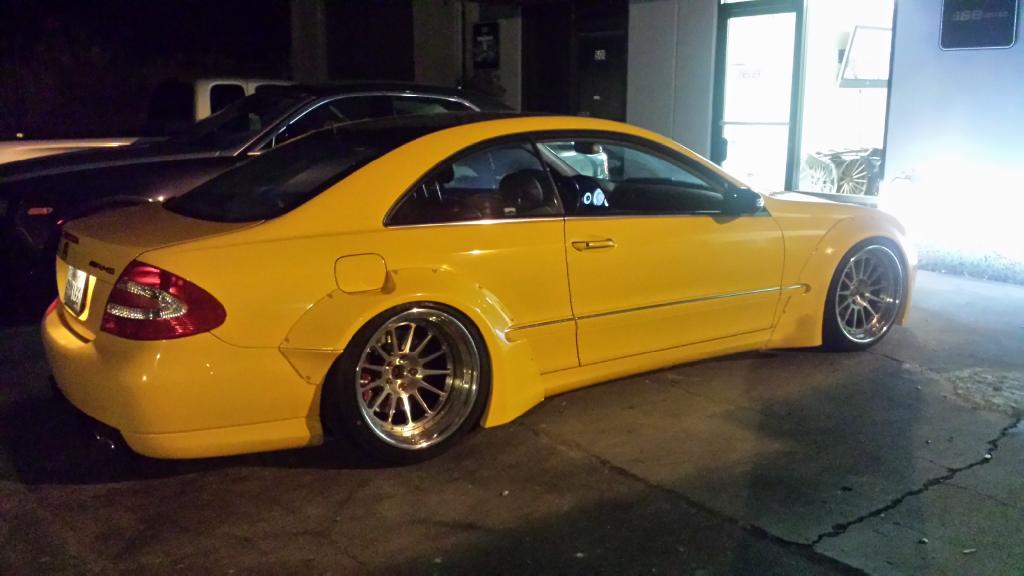
Next up paint. Had an old friend do the work. Those of you familiar with HMS, Fernando that used to do the paint work for them, opened his own shop in Santa Ana. He did a full color change except the engine bay plus my brake calipers. I only gave him a week to do it too because of sema. He did an excellent job considering. here are some pics..
Prep:
Back to 168 Motoring for wheel install
