You must be logged in to rate content!
6 minute read

INSTALLATION INSTRUCTIONS SKYLINE 1989-93 DOOR INSERT COVERS
You can use the following instructions for both the front and rear door card inserts. If you do not feel confident installing the leather inserts yourself then you may want to seek the help of a professional. The most important part of installing the door card inserts: take your time and be patient. The door card insert used for these instructions took a little over two hours to install.
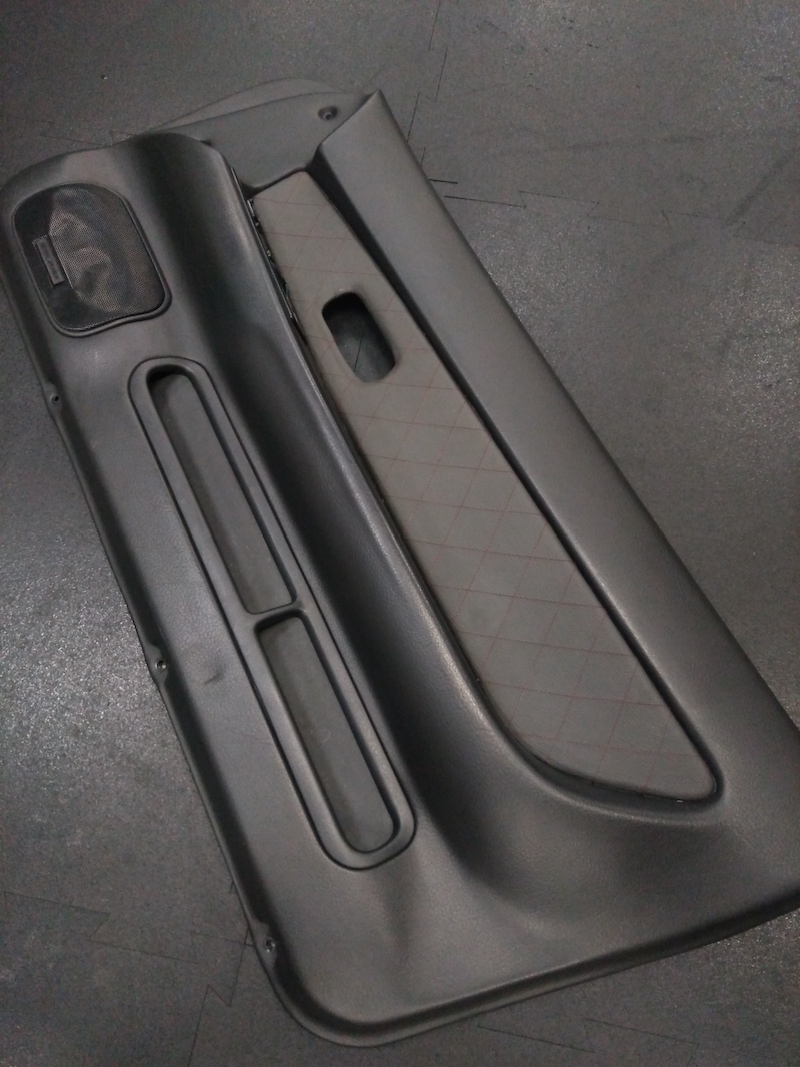
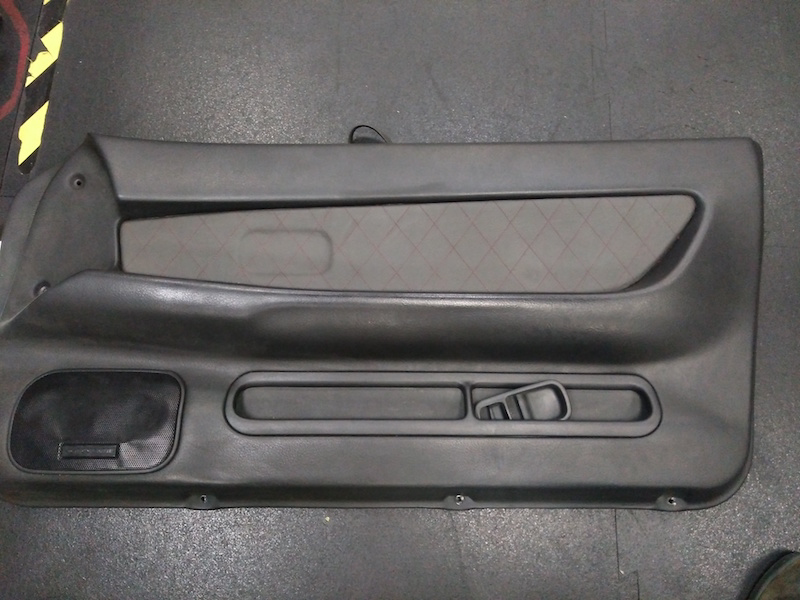
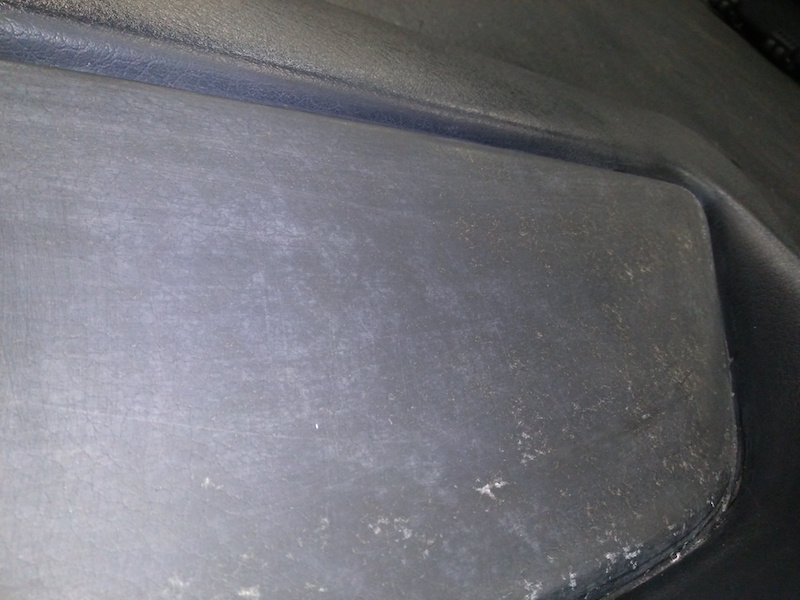
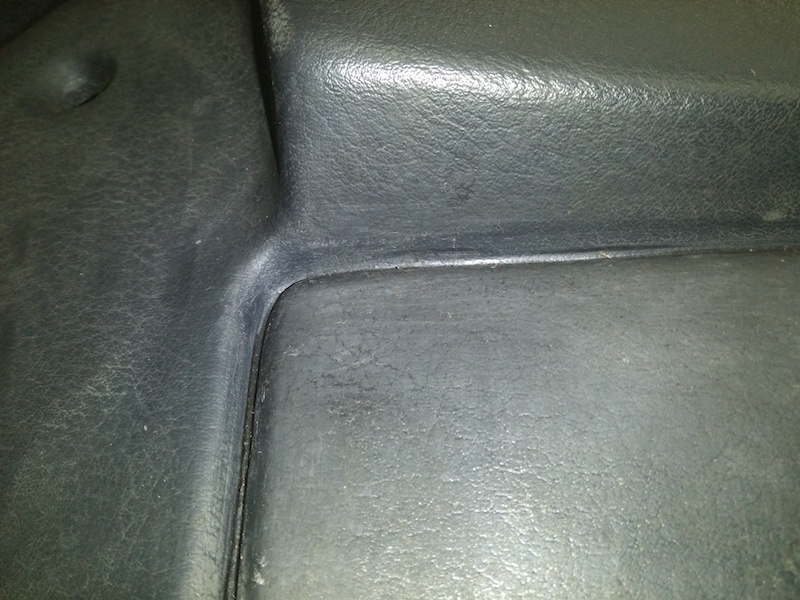
The first step is to remove the old door card insert. Take care not to destroy or distort the original door card insert as you will need it to make trimming the leather insert easier.
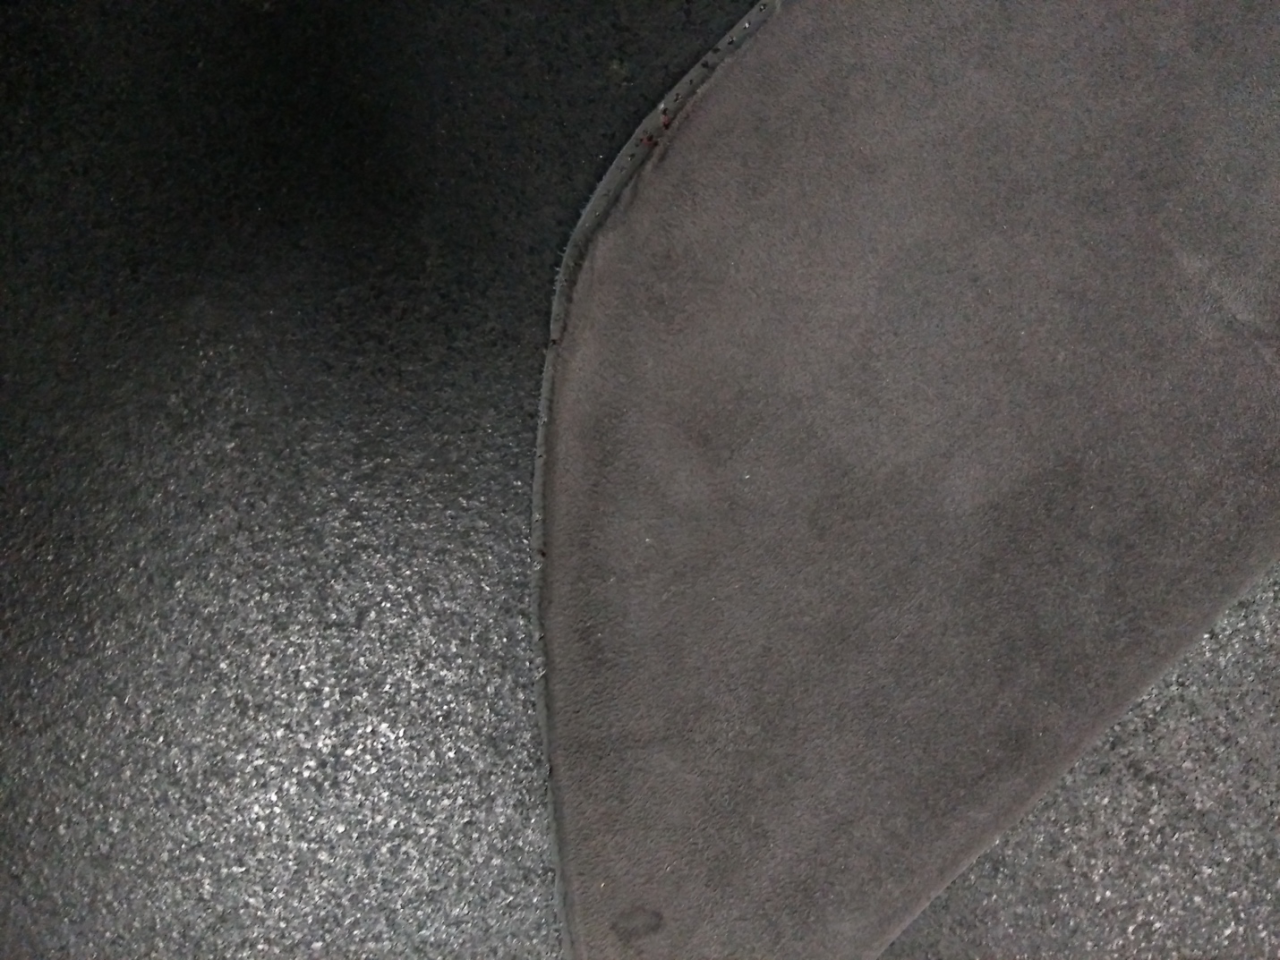
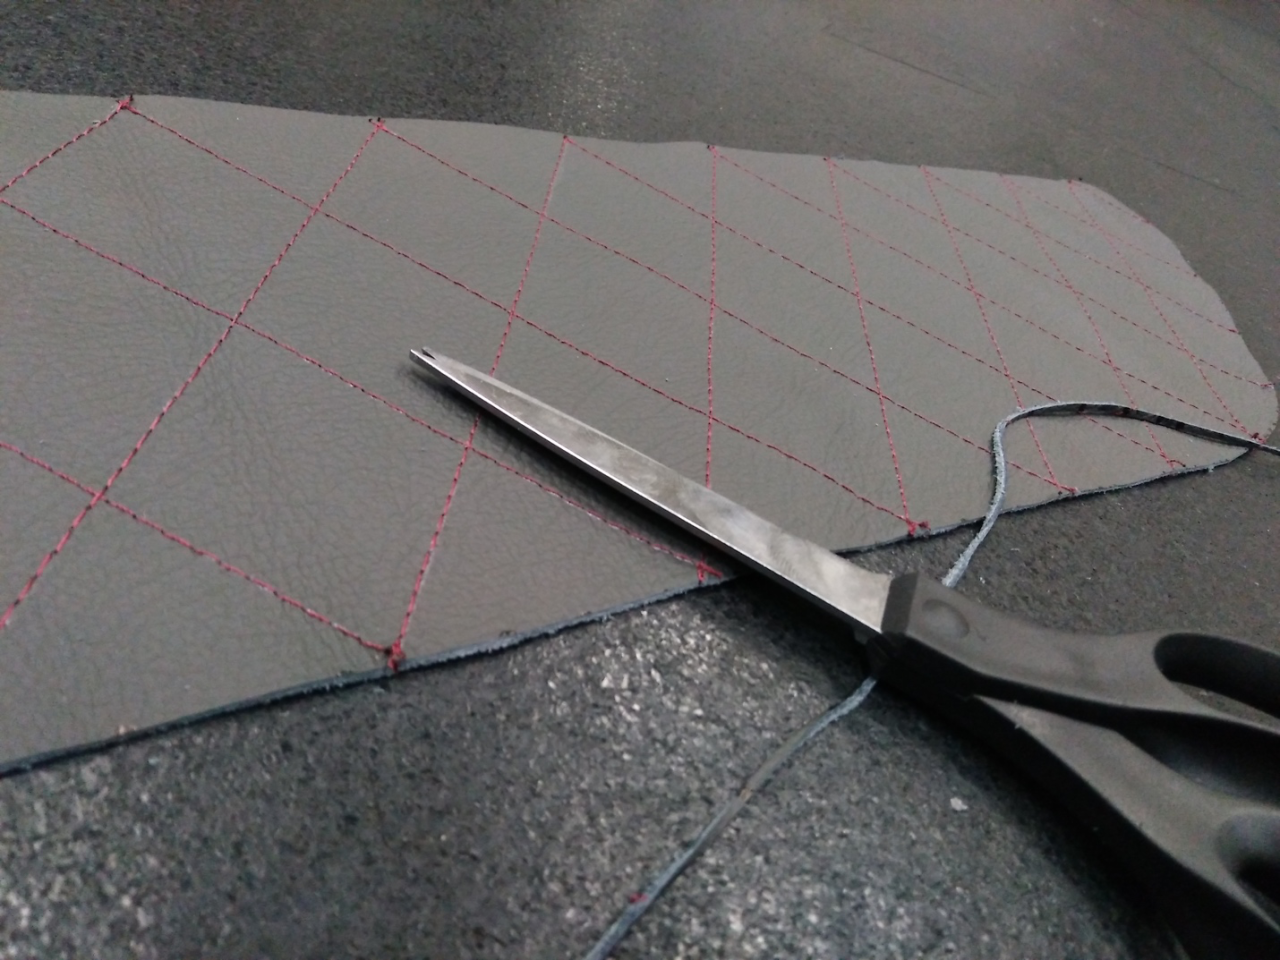
Overlay the original door card insert on top of the leather insert. Mark the door card in the areas that it overlaps. Take your time to mark it well as this is the basis for proper fitment. In picture six you can see a small piece remaining after trimming: make sure to remove those.

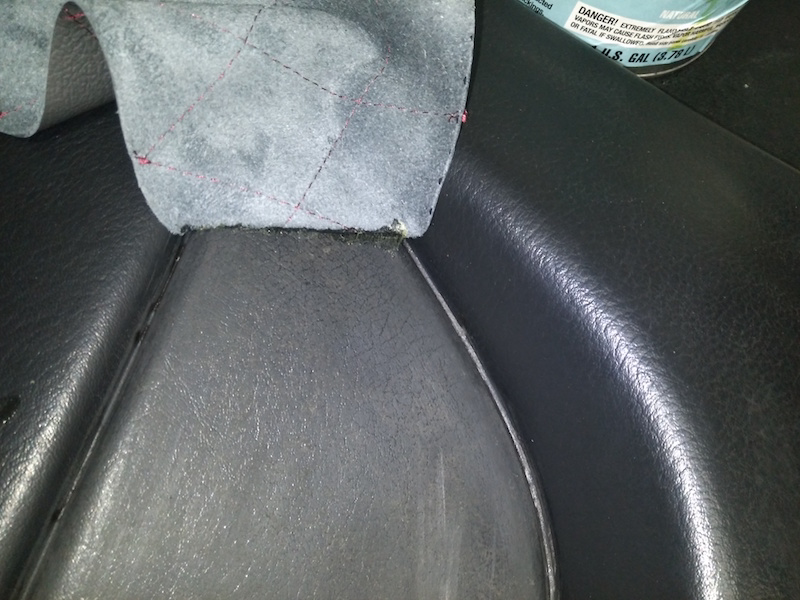
Sand the vinyl where you will be laying down the new insert with 100-150 grit sandpaper. Do not sand too rough so that you do not break through the vinyl. You are trying to remove old adhesive and pieces of the old insert that are still attached. Also, the sanding gives the contact adhesive a better surface to grab onto. Be sure to thoroughly clean the surface and edges after you sand with alcohol.
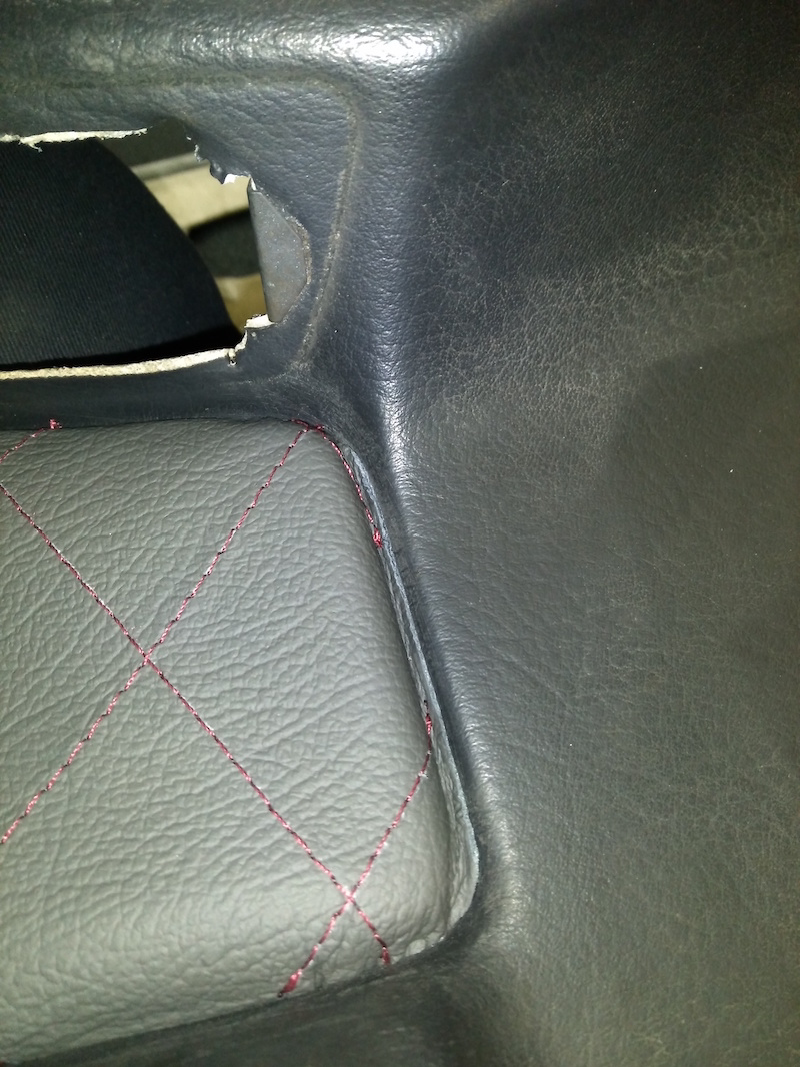
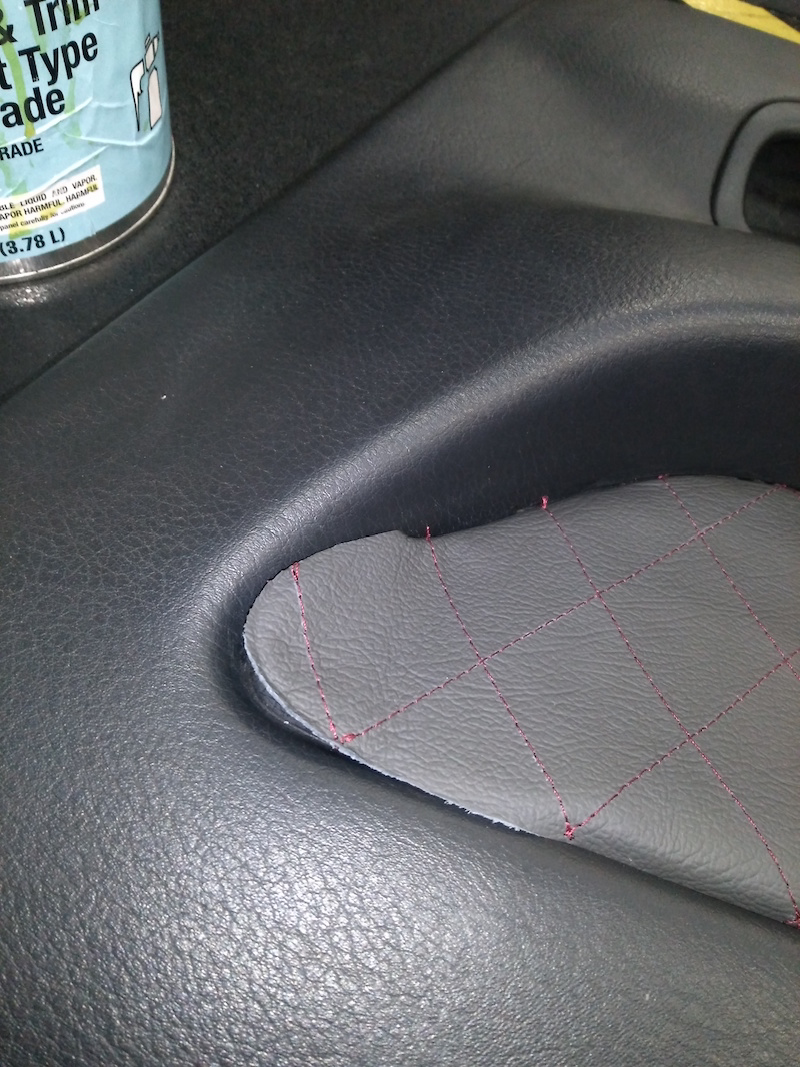
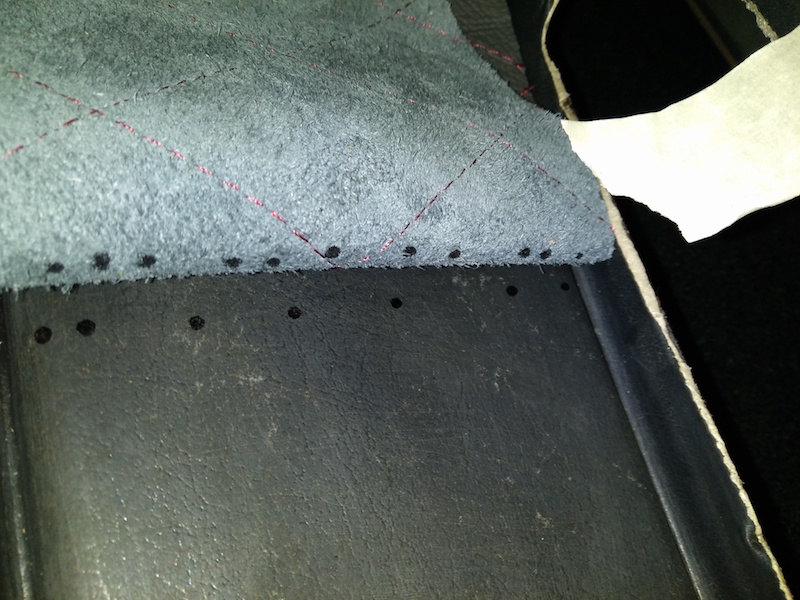
Overlay your vinyl on top. You are checking fitment and whether or not you need to trim more. More than likely, you do. Take your time to lay the insert down flat and press the leather into the edges with a dull tool. If the leather bulges out like in pictures 11 and 12 then you may need to trim more. Be careful not to trim too much; remember, you can always take away more material but cannot add any back.
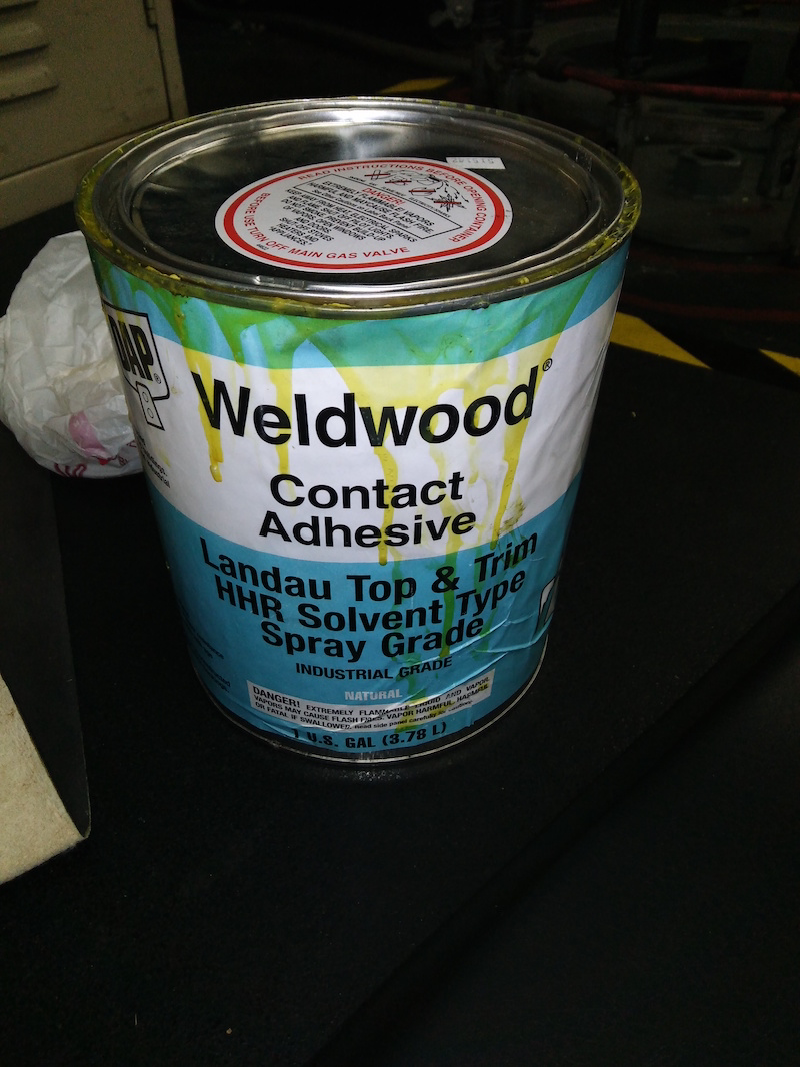
Make sure you use a good contact adhesive. The Weldwood contact adhesive that is pictured is a favorite of those that build custom auto interiors. It has a very high heat tolerance and grabs extremely well when used and applied properly. You can apply it with a small brush. Do NOT use a cheap all- purpose spray glue from an auto parts store or home improvement store; your leather will peel during the summer months.
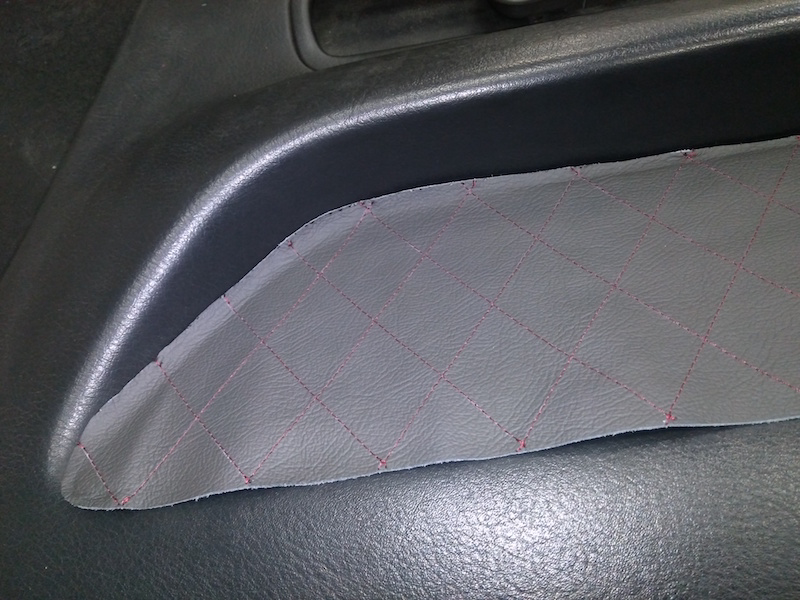
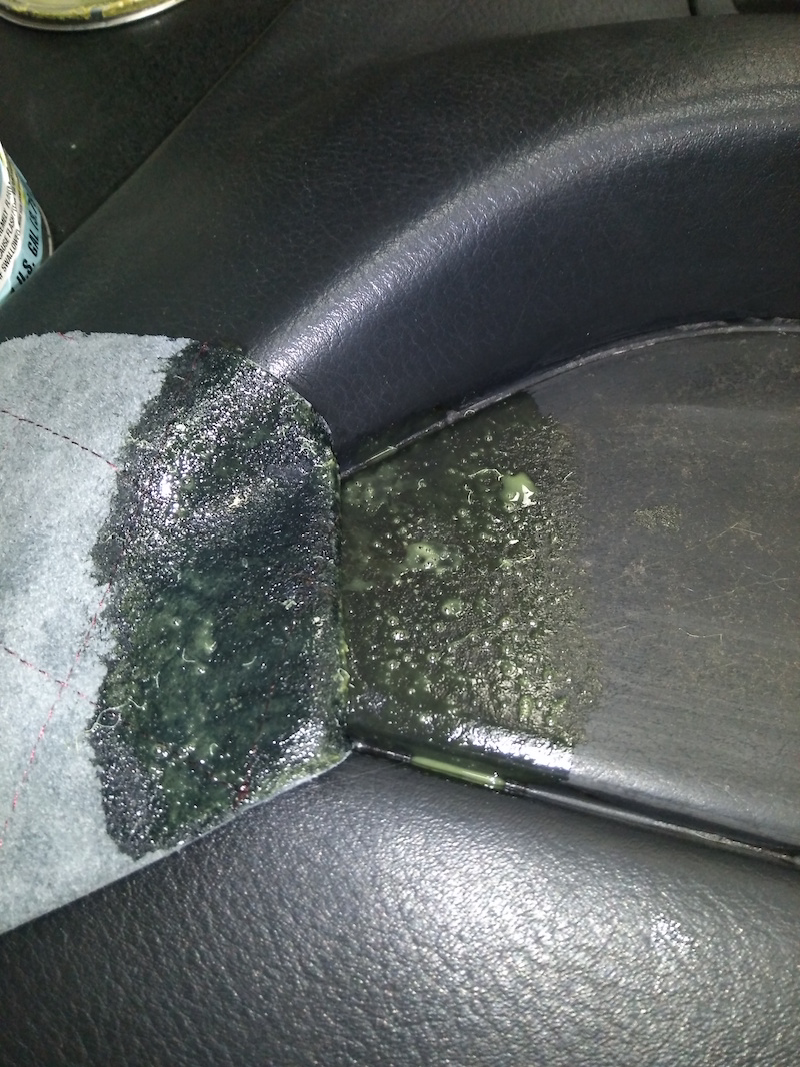
The best method to getting a good end result is to do the installation little by little. Start at one of the corners because those are the hardest spots. You can line the vinyl up into the first corner fairly easily. Be sure to take your time. Apply the contact adhesive onto BOTH the door panel and the leather insert. When the adhesive becomes tacky then you know you are then able to press the pieces together. You will need to use a dull tool or plastic scraper to press the leather into the crevices. Once the leather is in place you can go back over the areas with adhesive underneath and press firmly to make sure the surfaces are grabbing each other.
You are using the same method of applying adhesive and letting it tack up on the rest of the door panel.
Do the door panel in sections (like in picture 16) to make it easier on yourself and to get a better end result. If you look at picture 17 you can see that once you apply one corner you can line up the panel and mark out where you want to put adhesive.

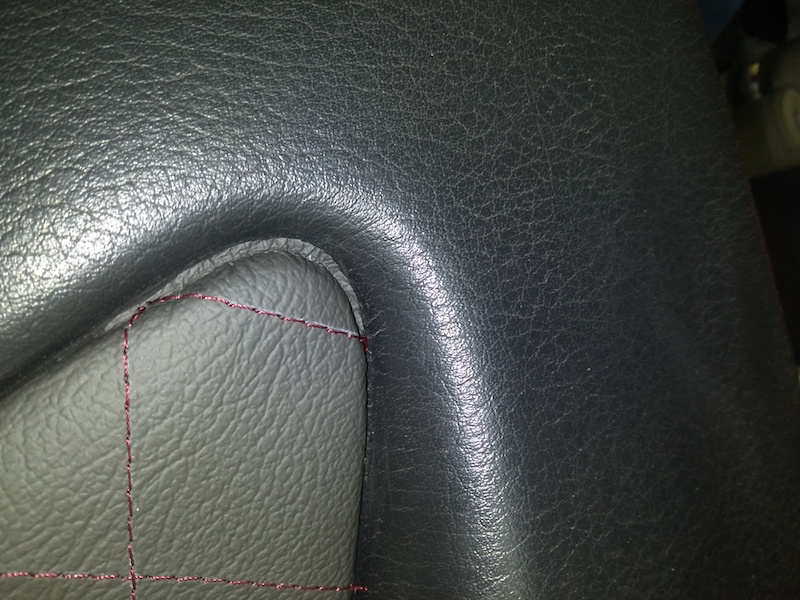
The end result is a fully applied leather door panel insert. There are a few tricks to getting the other corner of the leather to lay down correctly. Once you are about 4-6 inches from the last corners you can repeat the steps from pictures 9 through 12: overlay the vinyl with no adhesive, check fitment on the edges, and then cut as needed. Again, cut very little at a time.

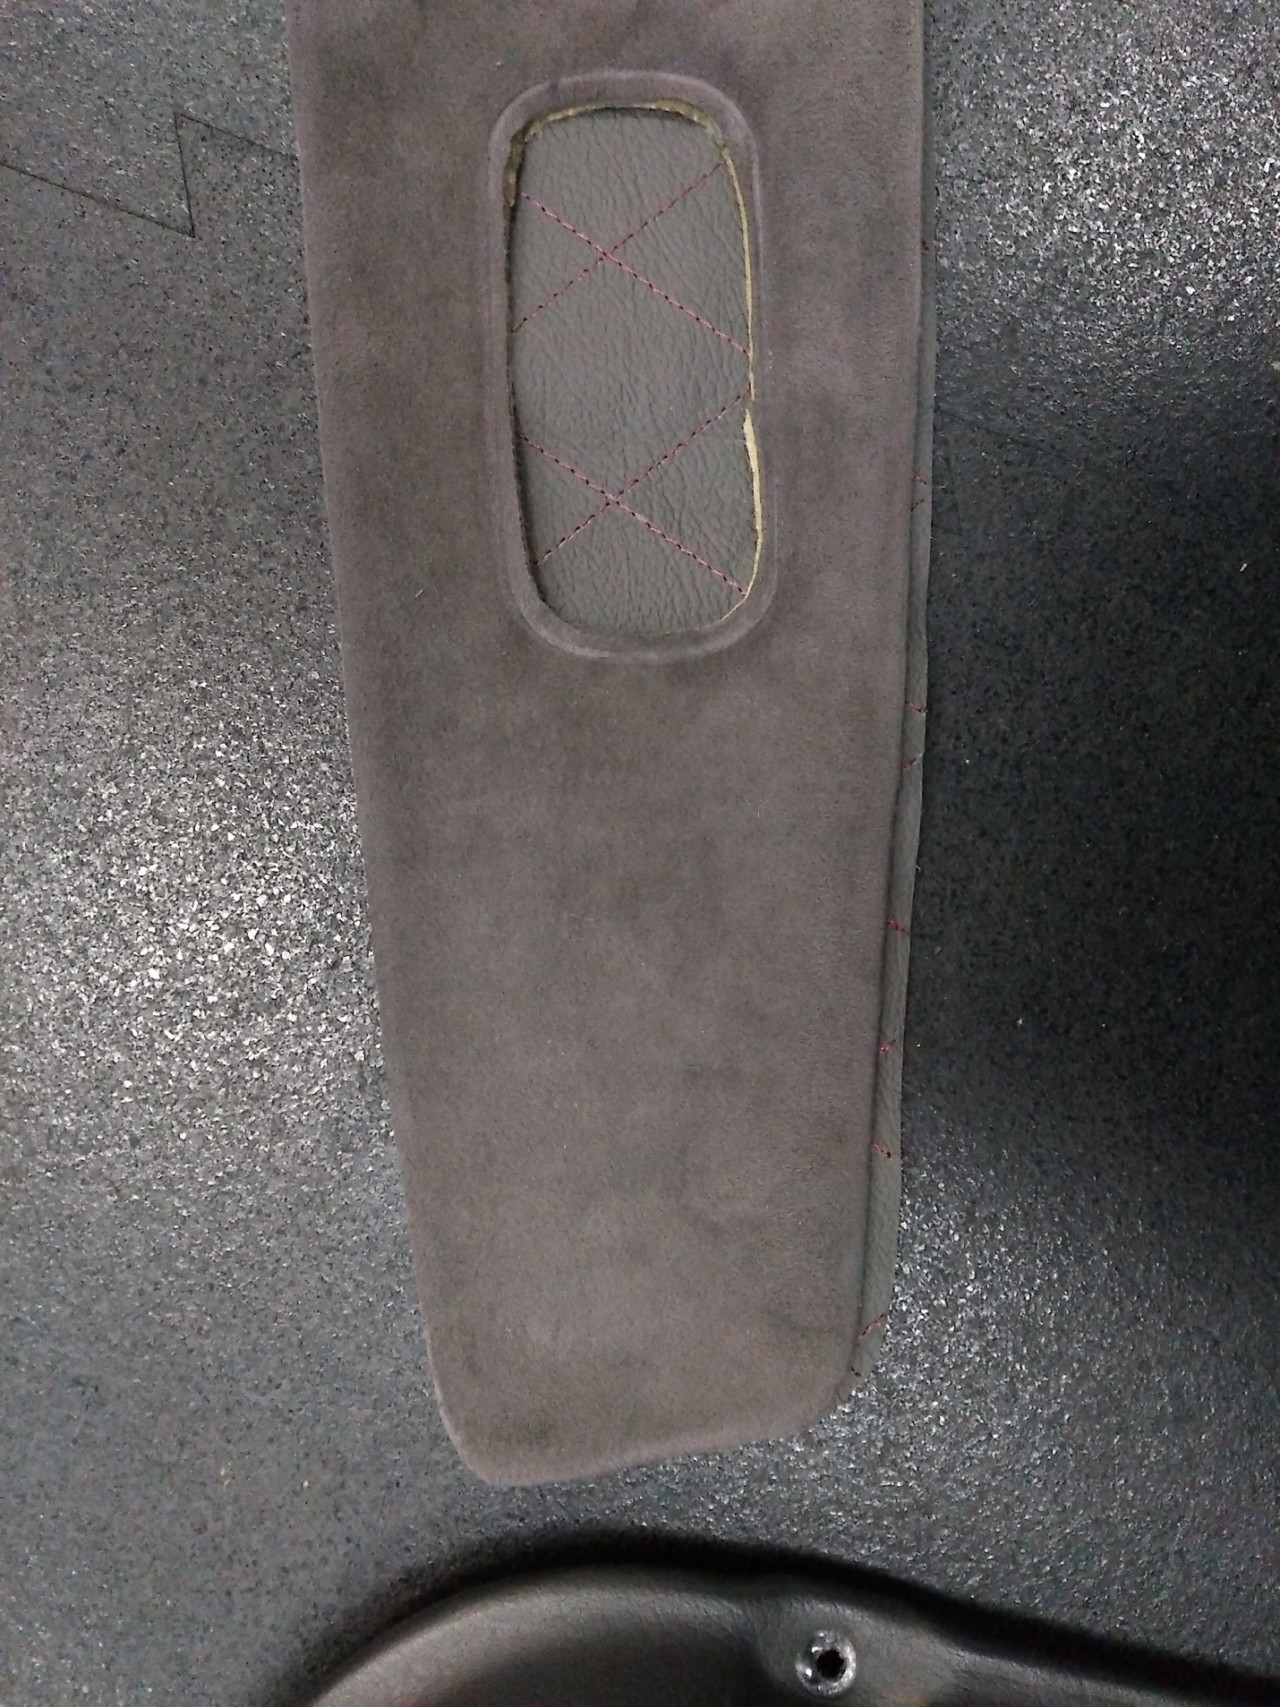
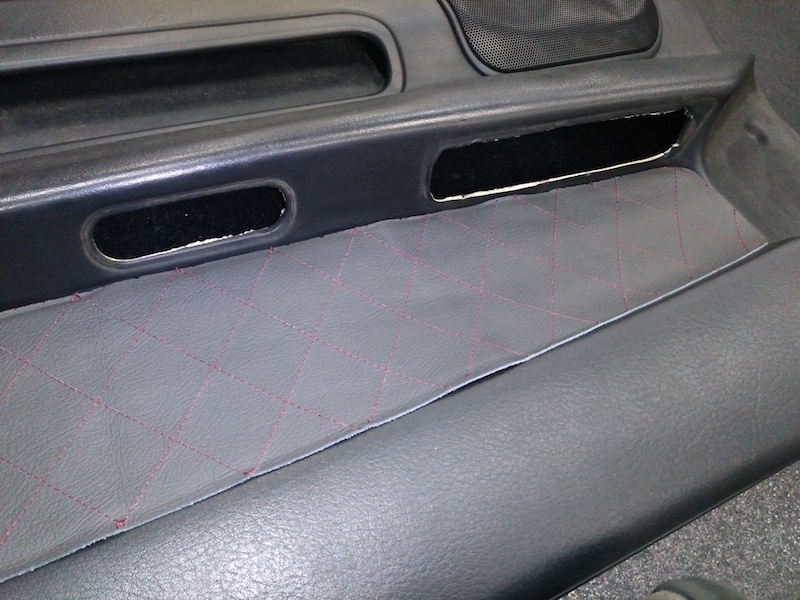
Lastly, you can cut the hole for the door handle. Be careful not to ruin your hard work and get too wild here. You can either cut the leather flush with the hole (easiest) or you can cut an X pattern into the hole and adhere the resulting triangles around to the back.
Install finished door trim in the car. Proceed to the next door. If done - ENJOYJ