You must be logged in to rate content!
3 minute read

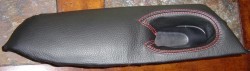
00+ SENTRA ARMREST COVER INSTALLATION INSTRUCTIONS
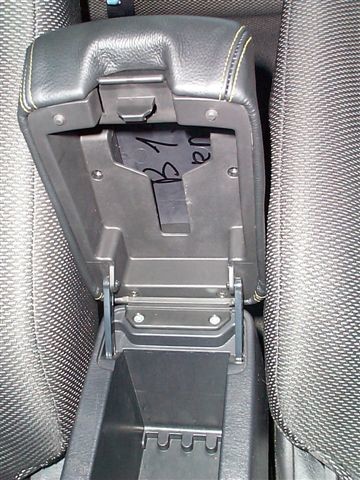
1. Open the center armrest.
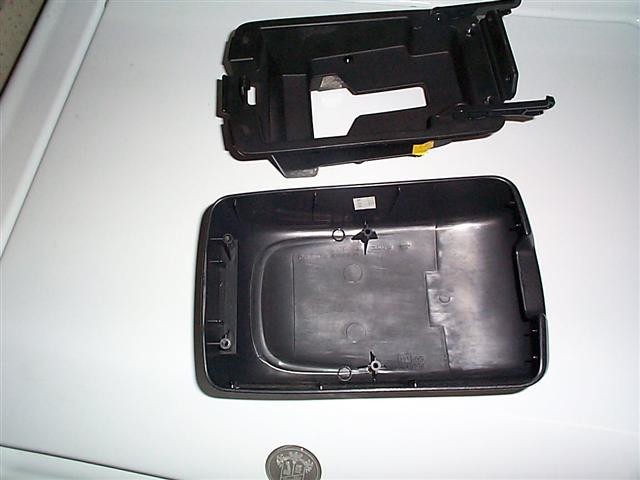
2. Remove the two screws that hold the armrest to the center console.
3. Remove the armrest from the console.
4. Remove the two screws that hold the inner bracket to the armrest. You may have to remove some of the plastic on the edges of the inner bracket compensate for the thickness of the new leather cover.

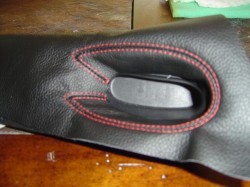
5. Place the cover over the armrest.
6. Fold the edges under the lip of the armrest.
7. Insert the inner bracket back into the armrest, holding the lip of the cover in place.
8. Reinstall the two screws that hold the inner bracket in.
9. Reinstall the armrest in the console and reinstall the two screws that hold it in.
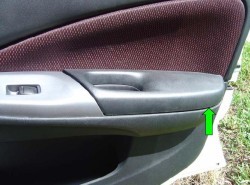
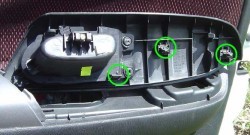
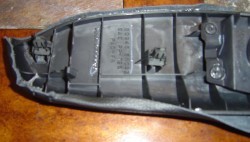
10. Remove arm rest by pulling up gently until clips release. You may need to pry up in the corner indicated by the green arrow.
11. The three clips have been circled here.
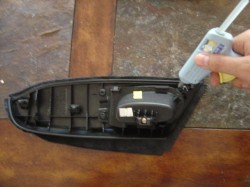
12. Glue will be necessary to temporarily hold the cover in place until it is fully installed. Hot glue allows for a good temporary bond to secure the cover to the arm rest.
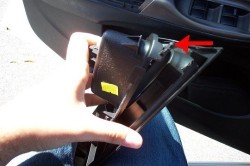
13. As you can see, there is some melted plastic on the top end of the cup (where the arrow is pointing). This initially keeps the cup from being pried away from the rest of the armrest. This plastic “weld” can be snapped, if it wasn’t done so from your initial removal. This will allow the leather to be pulled through.
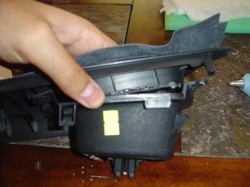
14. The cup cutout of the cover was pulled through and folded in between the cup and the rest of the arm rest. As you can see, hot glue allowed it to be held in place. Continue this process all the way around the cup.
15. Cup fully installed.
16. Flip the arm rest over and begin gluing the cover to the edges of the arm rest. Be sure to pull tight as you glue them.
17. Fully glued and ready to install. Do the same for the other armrest, then just push them back on the door of the car. TADA! :)