You must be logged in to rate content!
9 minute read

89-94 MAXIMA SHIFT BOOT/E-BRAKE/ARMREST INSTALLATION INSTRUCTIONS
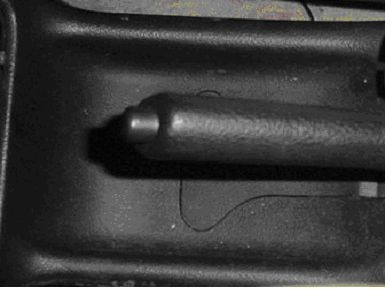
1. Remove shift knob. If this is the first time you might need to use a wrench to break it loose, but be sure to protect your shift knob with a cloth or other material.
2. Here's a view after the shift knob has been removed.
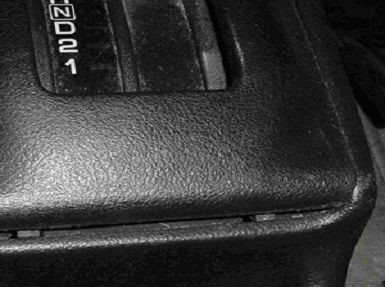
3. Remove shifter trim. Use the screwdriver to lightly pry up the trim farthest away from the dash. Don't force it, you don't want to break anything!
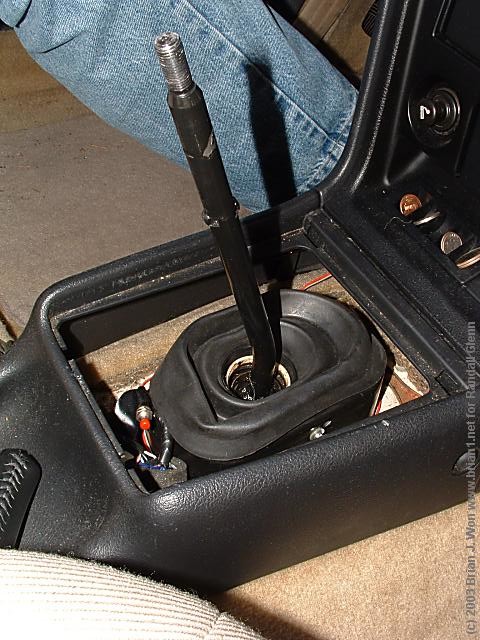
3. Remove shifter trim. Use the screwdriver to lightly pry up the trim farthest away from the dash. Don't force it, you don't want to break anything!
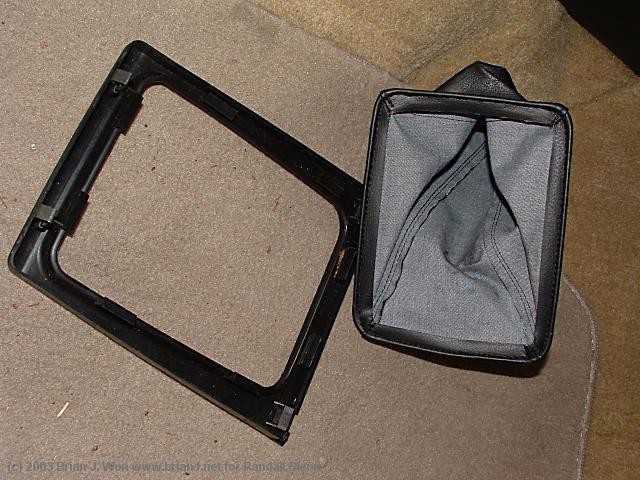
5. Remove the bottom wire ring (it's shaped like a rounded rectangle) from the stock shifter trim. The easiest way to do this is to cut the thread holding the shift boot wrapped around the ring. You can use a knife or a seam ripper. Remove the rubber band and rubber grommet from the top of the stock shifter boot. Easy!
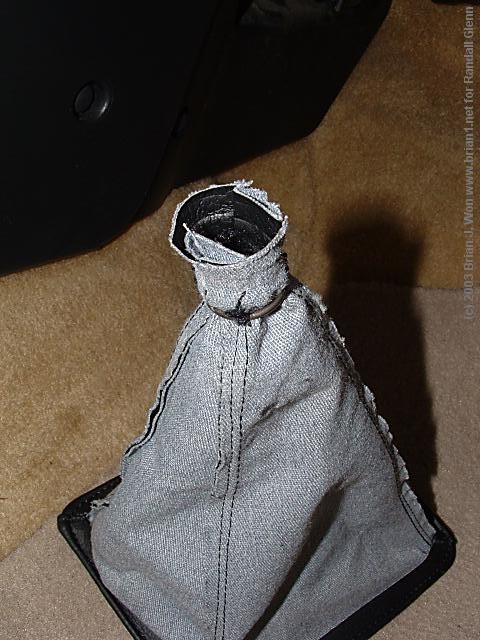
6. Cut the bottom wire ring. You will need to do this to install it in the new shift-boot. If you want to keep it in one piece, you can rip out the lower seam on the new leather shift-boot, but you will then have to sew it back up, make sure you have the tools to do this!!! Use a pair of heavy duty wire cutters on the welded section of the wire ring, it's the best place to cut. If you leave any sharp edges on the wire ring, make sure to file them down, you don't want to cut the new shift-boot!
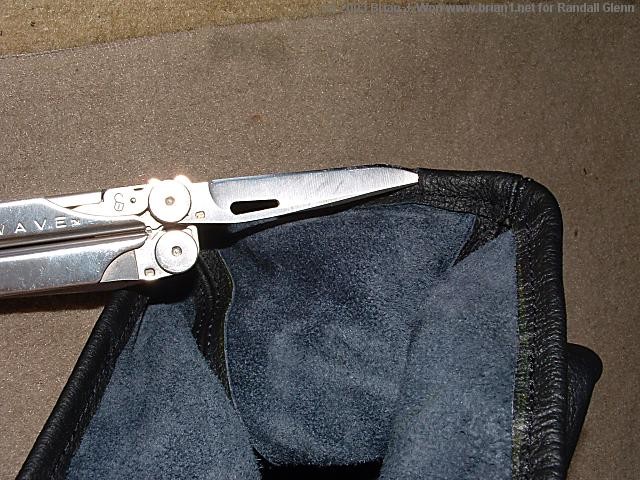
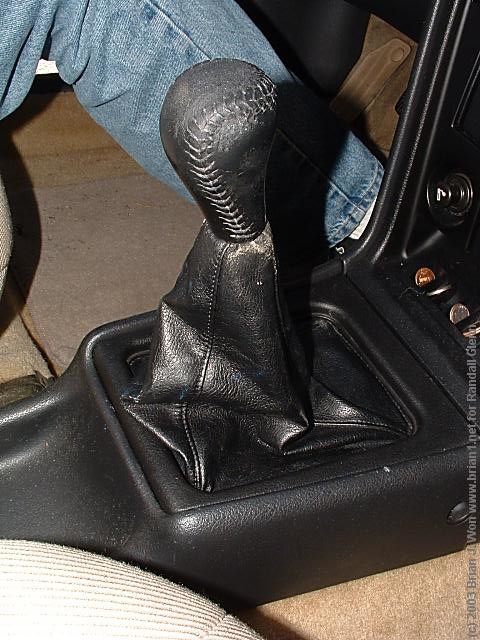
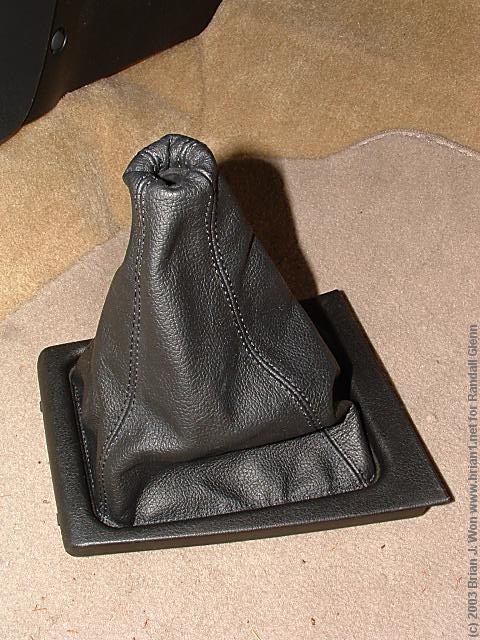
7. Insert the wire ring into your new Leather Shift-boot. To do this you will need to make a small cut in the bottom of the shift boot. The best place to cut is the part of the shift boot that matches up with the cut on the wire ring. Match the stock boot and the Leather Boot up together so you know which way the new boot will go. Then make a very small cut on the inside of the lower seam to insert the wire ring. Slowly work the ring into the shift boot, making sure not to tear the leather. Work the wire ring around until it is lined up just like stock.
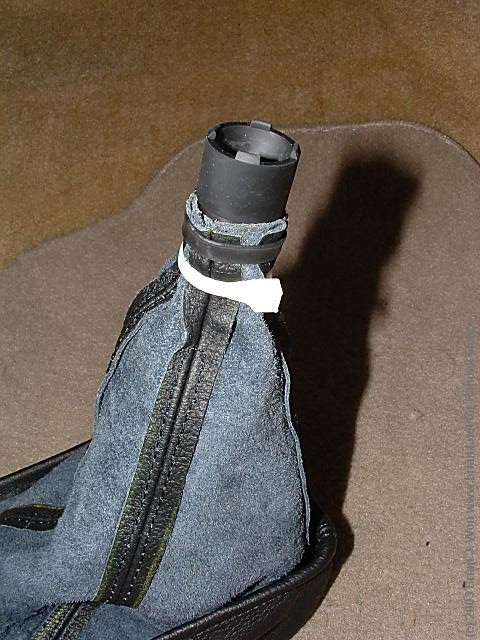
Put the rubber grommet and rubber band on the Leather Shift-boot. Just put them on the new boot like they were on your stock boot. You may have noticed the stock boot had a small metal ring above the rubber grommet. This was to hold the shift-boot up around the shift-knob. The leather boot will be too thick to use the small wire ring, so use a zip tie! Position the zip tie inside the shift boot where the small metal ring was, and tighten until it keeps the rubber grommet down inside, but still allows the shifter rod to pass through.
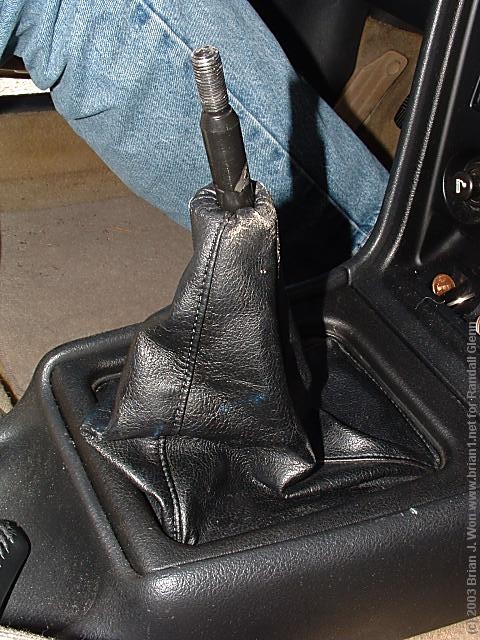
8. Install the Leather shift-boot in the shifter trim. Be careful and take your time, you don't want to break any of those small plastic pieces! Line it up to fit just like stock.
9. Put the new boot and shifter trim back in your car. Almost done! Line up that shifter trim, and snap it back in place.
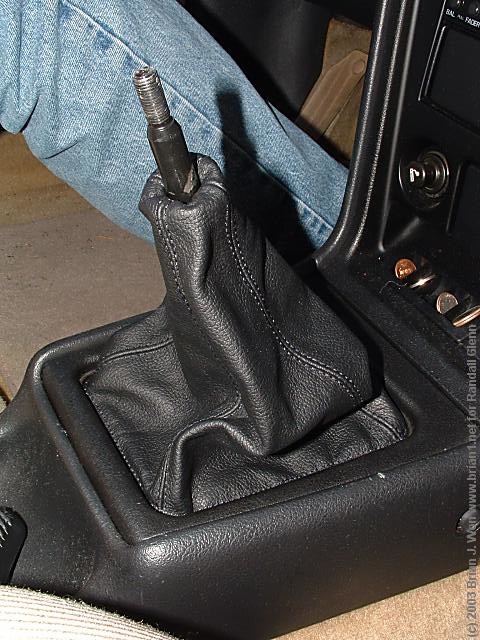
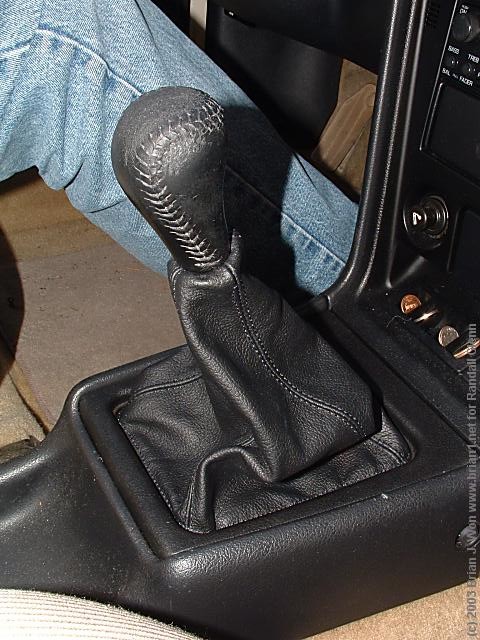
10. Replace the shift knob. Tighten it down and make sure it's facing the right direction.
11. To install the e-brake you need to remove the center console. Start by lifting up the shifter plate. Start from the rear and lift up and it will lift out.
12. Once the shifter cover is off you need to remove 6 screws to lift the center console out. First 2 screws are towards the front of the center console. There's a plastic cap covering the screw. You need to flip the cap open and unscrew those 2 screws. There's one on the driver side and one on the passenger side.
13. The next 2 screws are under this filler panel under the e-brake. Lift up the panel from the e-brake base and it will expose 2 more screws. The final 2 screws are towards the rear of the console. You will need to side the seats up to see them. They both have covers over them. Pop open the cover and remove the screws. Once the final 2 screws are out the console can now be lifted up. Be careful of the radio and other accessories. Lift up the center console and move it to a work area.

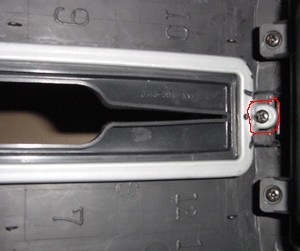
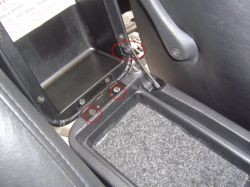
14. Flip the console upside down and you will see the silver ring around the e-brake area. The leather boot will replace the rubber please that’s currently on there. To remove the metal ring you will need to remove the 3 retaining screws (one of them circled in red in this picture).
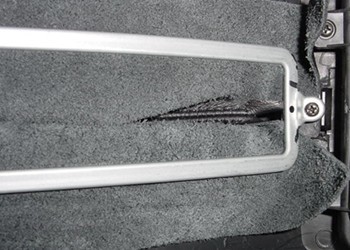
 15. Once the rubber piece is out and the metal retainer is off, position the new leather boot on the console. Verify the top and bottom of the boot to make sure it's positioned correctly. Position the boot so the metal retainer can clamp on the bottom flaps of the boot. Screw in the metal retainer to clamp the boot down. (see photos below)
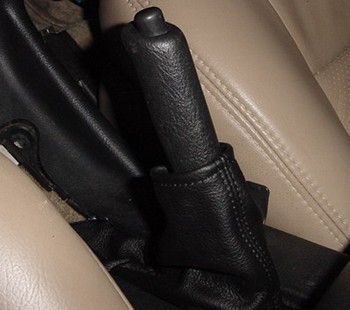
16. When the boot is in place flip it over and verify that it's installed correctly. Now bring the console back to the car and reinstall the console w/ your new e-brake boot. Pull up on the e-brake handle to ease installation. Carefully slide the e-brake handle into the boot and then position the console down to the car. At this point the e-brake is set. Replace the 6 screws and you're done.
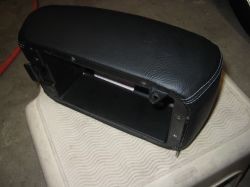
17. Remove armrest from console: 2 screws at the back hinge and the curved arm. Careful not to lose the small C clip that holds the arm on - it can be removed/pryed off with a tiny flat head screwdriver or other suitable tool. Leave the curved arm piece sitting in the square hole in the console, it makes it easier to reinstall later.
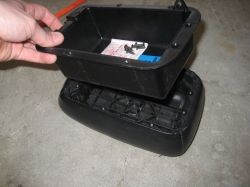
18. Remove 8 total screws that hold the plastic “box” to the armrest. 2 of those 8 screws also hold the hinge on. Also, take out the clip at the front that latches the cover shut. The plastic box piece can now come out
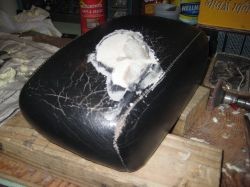
19. Pending the condition of your armrest, it may have a dug out from elbow wear, so you can fill it with the filler foam that comes in a can. Spray some liquid foam in the space and let it dry/harden/expand overnight. Once dried and hardened, it can be trimmed with a razor blade and sanded flush
20. Now the new Redline leather cover can be put on, right on top of the stock cover if you’d like. Slip the leather on and work it around until it’s even and tight.

21. Slip the leather on and work it around until it’s even and tight.

22. For the clip/latch at the front to fit back on, you’ll need to make 2 cuts in the leather cover as shown, then place the clip on.

23. Now the plastic “box” insert can be reinstalled, while keeping the leather tight around the perimeter. It helps to puncture small holes in the leather at the 8 screw locations before you re-screw it together. (Don’t forget the hinge at the back). Install the box back in the car reversing step 17.