You must be logged in to rate content!
9 minute(s) of a 731 minute read
5-25-2011
I got to work on the Z for the first time in about a week last night.
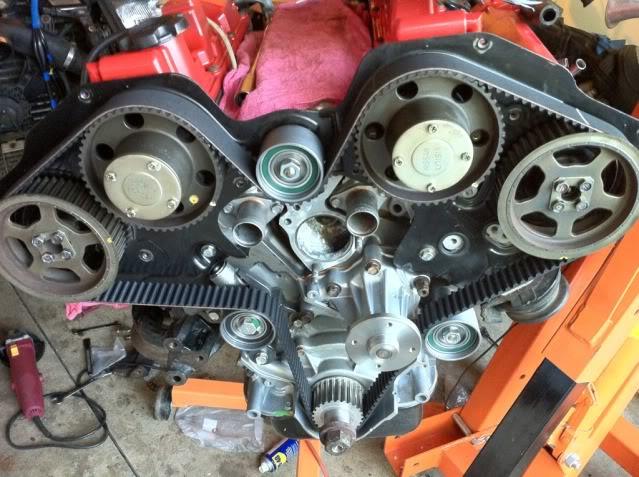
I have not had much luck with anything on this motor in the past couple weeks. I stripped the block and my RameyZ idler studs. I heard they were difficult to install, well...they were. Anyone doing this in the future PLEASE be careful. I got replacement OEM studs from Coz @ CZP and spent 80 bucks on 17mm 10x1.5 steel thread inserts, a 14mm drill bit and a 16x2mm tap. Apparently large metric hardware is expensive.
Surprisingly a drill is one of the few tools I do not own, and I don't have much experience tapping holes so I asked one of my friends at work to give me a hand. After waiting a week for all this stuff to get in, he came by after work and we attempted to drill out the block and intake manifold. The 14mm drill bit was too big for his drill, so I ran to home depot and bought myself a Black & Decker hammer drill with a half inch chuck (finally). It turns out that still wasn't big enough so we had to put the project on hold until Friday so he could turn down the base of the drill bit to fit in the chuck. I cannot catch a break. While I waited for him to show up I did manage to pull the drivers turbo to remove the oil lines and swap it with the passenger side.
FOR THOSE INSTALLING STAINLESS STEEL OIL LINES:
The SHORT hose goes on the drivers side
The LONG hose goes on the passengers side.
It's the opposite of the OEM placement. Don't know why, and they would fit much better if it was the opposite (ask me how I know) but...it doesn't work that way.
Friday he came by again and drilled out the holes and tapped them, everything went smoothly. We fit the steel inserts into the threads and they seated perfectly. I left the motor like that to let the locktite set over the weekend.
It was my birthday Sunday and my girlfriend and I spent the weekend all over Cleveland, and then we caught the Indians/Red Sox game Monday night. It was a fantastic distraction from all the stress of getting this thing done.
Last night I installed the idler pulleys and tried to figure out how to run the timing belt. Unfortunately for me, the Gates belt doesn't have an arrow indicating the front of the belt, so I had to do it the wrong way before I figured it out. I was intimidated at first, but there really isn't much to it. Line up the marks on the belt and gears, rotate the gears a couple teeth when necessary. The only hard part was setting the auto-tensioner just right to get the magic 4mm of extension. I spent about 30 minutes spinning the crank and trying to get the tensioner placed just right. All that work took longer than I expected, I didn't finish until 8pm.
I'm much more eager to work on the car now that I don't have any roadblocks holding me up. I just need to fit the front timing covers and the rest of the water pipes and I think I'll be ready to drop this back in. I just wish I had more free time.
6/7/2011
Slow going.
The girlfriend and I spent Memorial Day weekend in Wisconsin, and between getting ready for that and being sick and getting rid of my roommate I haven't had much time to work.
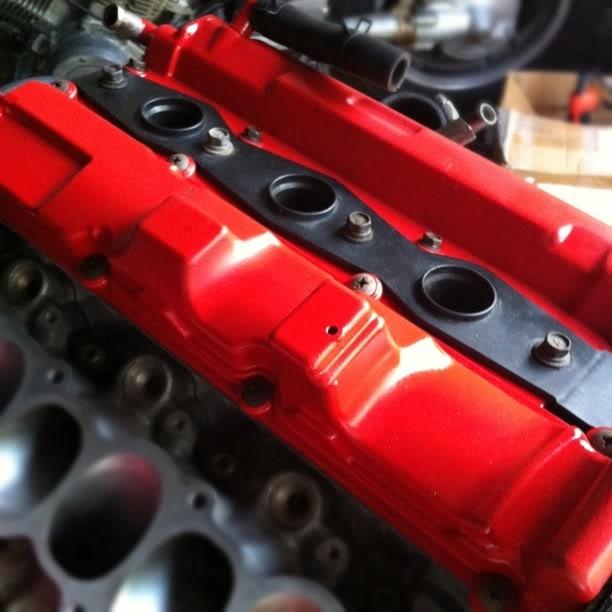
I've been chipping away at the finishing touches of the block for 30 minutes at a time, and got about an hour in last night. All I have left are some accessory brackets and that water pipe I'm waiting for from Coz.
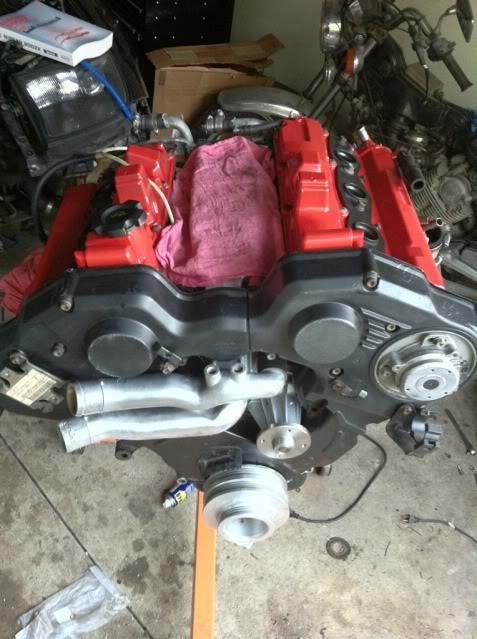
It's starting to look really good. Everything up to this point has been pretty straightforward. No difficulties with anything, just tedious things like polishing my water pipes and finding the woodruff key for my crank.
Downloaded Instagram last night and had a little fun with it.
Sadly since I'm reusing a lot of parts from my old motor this is about the only area thats pleasing to look at up close.
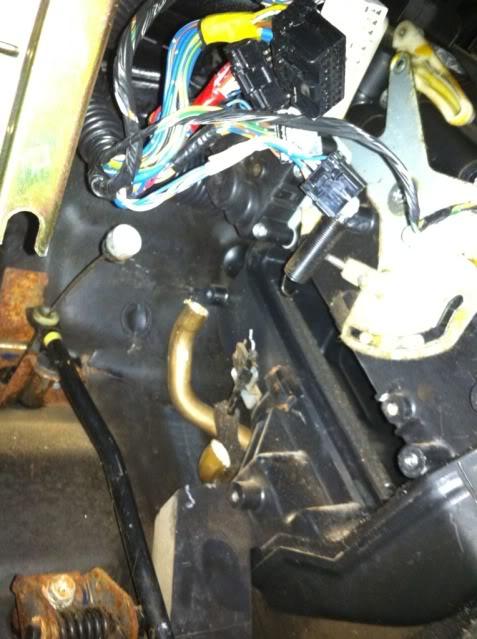
I spent some time at Harbor Freight yet again this weekend to pickup a disposable pneumatic saw to help me take care of the heater core lines up under the dash. Tonight's project is swapping the heater core and re-wiring the injector plugs. I'm hoping to put the motor in on Saturday.
Yay
6/8/2011
Finally made some REAL progress last night.
I wish I would have taken more pictures but the workspace was cramped and all I had was my Iphone which was busy pumping out tunes from my Ke$ha Pandora station. Ke$ha and flip-flops while working on the Z. I felt like a real man yesterday.
I bought a cheap pneumatic jigsaw at HF on Saturday, and attempted to use it last night to cut through my heater core hoses. The hoses are tucked too far up there to get at with a dremel. Believe me, I tried. I hooked this thing up to my 8 gallon 2hp compressor (also from HF) and with a full tank it was enough to cut through each hose. I was pretty impressed. Although initially, it took about 10 seconds to get started, I was afraid I'd have to find another tool. It just took a little force and once it dug in it went right through.
I pulled the old heater core out which just barely fit. This might have been easier pulling the dash out and replacing it the right way (kidding...sort of).
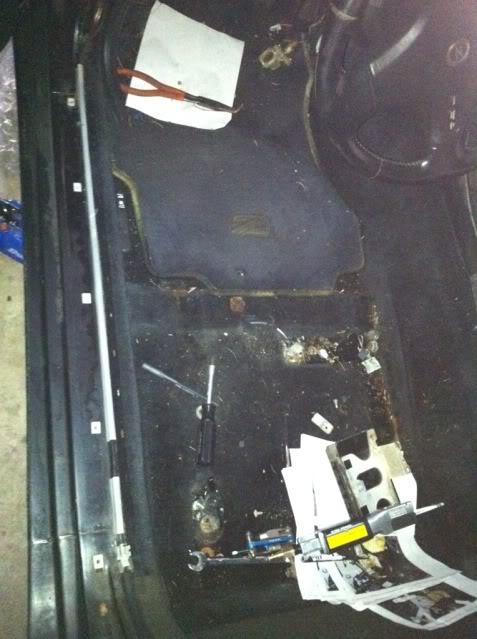
This is what I was left with:
And this was my work area:
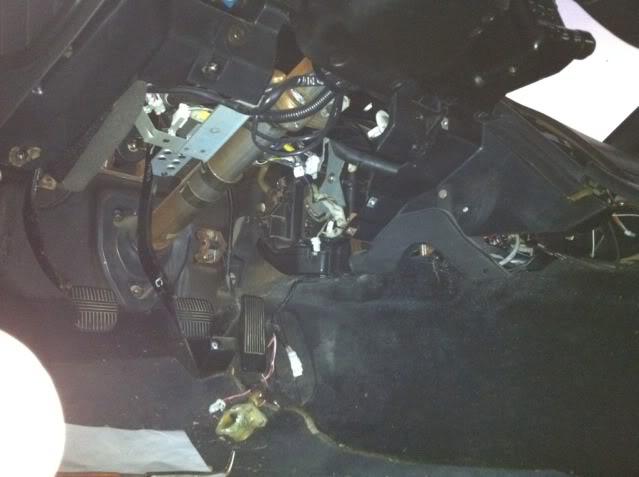
You all know how big the interior of a 2 seater Z is. Now imagine someone 6'4" crawled up under the dash. That's where I was. Not fun. For some reason Nissan left all the edges underneath the dash sharp so my forearms are all scratched up.
My cubicle:
Old heater core vs new heater core:
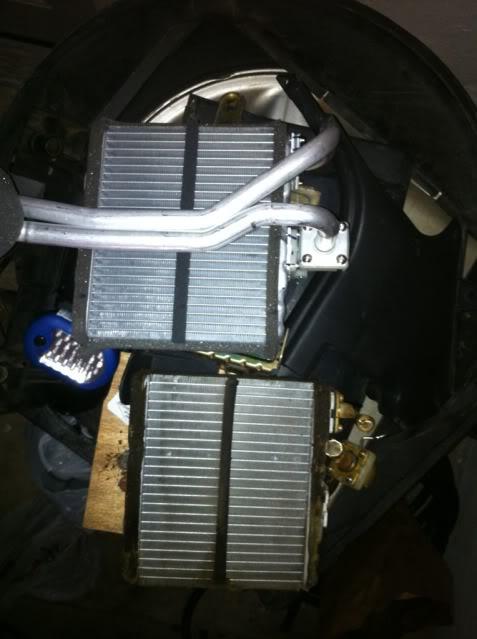
The old one didn't even look that bad, although one of the plastic adapters for the water pipes looked a little green. I'm guessing (hoping) that's where it was leaking.
I ran across the street to Lowe's (I love being so close) and picked up 1 foot of 5/8" ID heater hose and a few hose clamps. It was 5/8" ID and 1" OD, this was THICK beefy hose. I was (and still am) worried it might not clamp tight enough or leak.
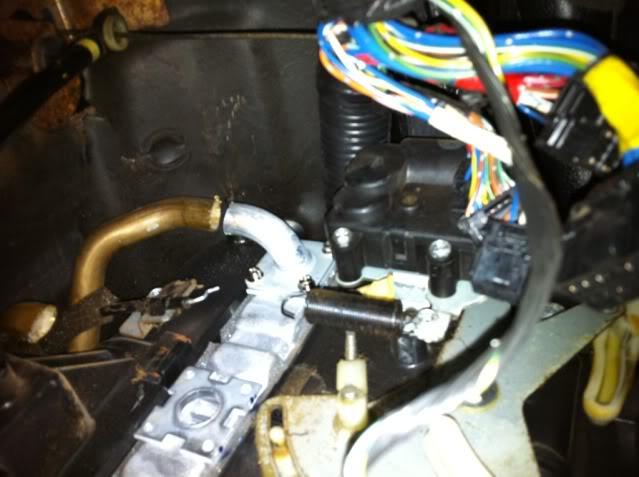
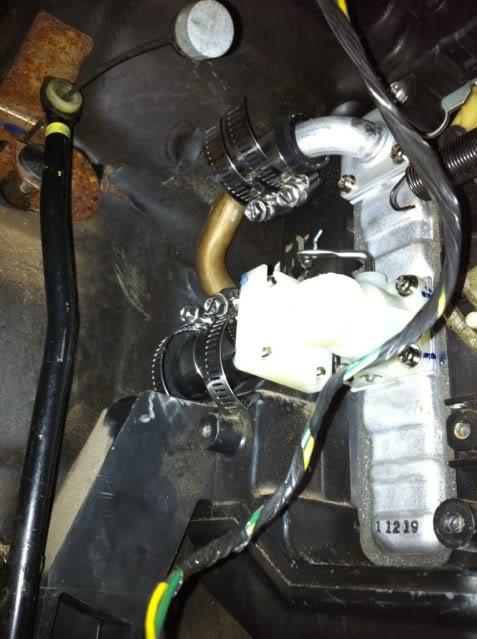
I used the saw to cut the new heater core in the same location as the old one. Unfortunately when I was cutting the old hoses I couldn't make cuts perpendicular to the hose so I had to leave the heater hose a little long to make sure I got a good clamp. But after I got the hoses cut and the new heater core wedged into place everything went pretty smoothly. There is NO room to work up there, I used the shortest screwdrivers I could find and had some good luck finding holes I couldn't see. It's easiest if you take the feed/return hoses off the new heater core before you put it in. I'm pretty sure you HAVE to take the bottom one off or you'll never get it up there.
New heater core in place with bottom hose removed:
I didn't leave the hoses as rough as they looked. I wormed some emery cloth up there and sanded down all the edges in hopes of preventing future leaks.
I got my hose clamps tightened up as good as I could and called it a night. My girlfriend got home just as I was tightening the last one and didn't feel like putting it all back together just yet. I think I want to run the car before I put all that back in to make sure I don't have any leaks. I gotta say....with the 90+ degree heat we've been having lately, I'm not nearly as excited to have working heat in my car as I was a few weeks ago. But I know come fall it'll be worth it.
Job completed! Mostly...
Now all I have to do is replace the O rings in the AC system and the dryer and the motor goes back in on Saturday! As long as the water pipe gets here in time...
Woo!