You must be logged in to rate content!
3 minute read

REDLINEGOODS CENTER ARMREST COVER INSTALLATION 1990 – 1996 Nissan 300ZX
These are the steps required to install the armrest cover on a 1990 – 1996 Nissan 300zx. Please note, you DO NOT need to remove console from the car in order to install the armrest cover.
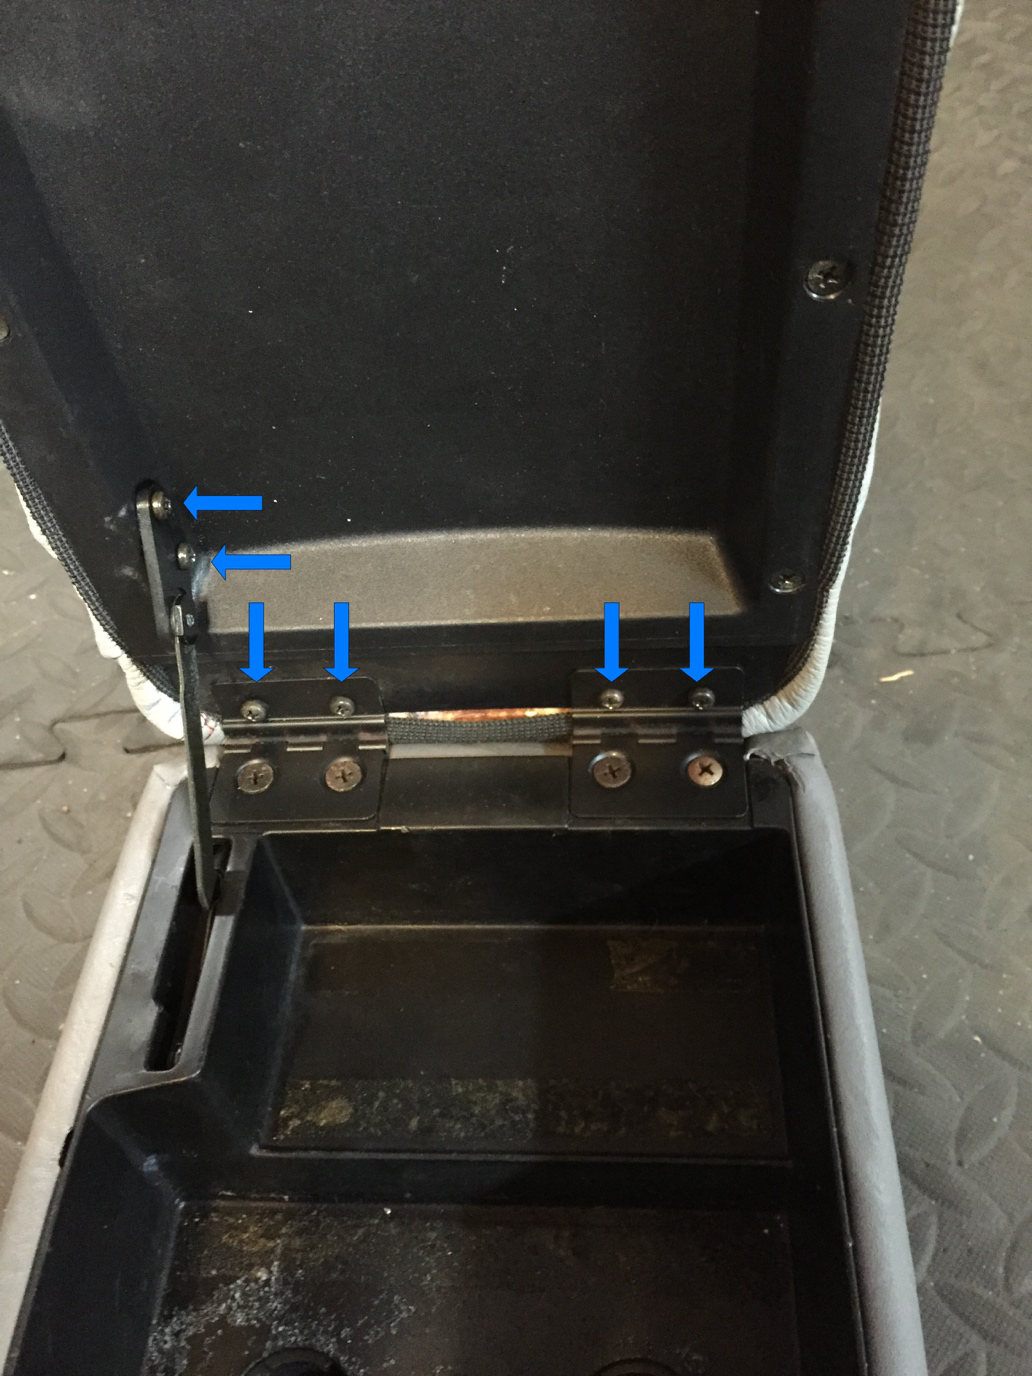
1. Remove 4 screws that attach the rear hinge to the armrest.
2. Remove 2 screws that attach the little arm to the armrest. This arm keeps the
armrest from going back to far.
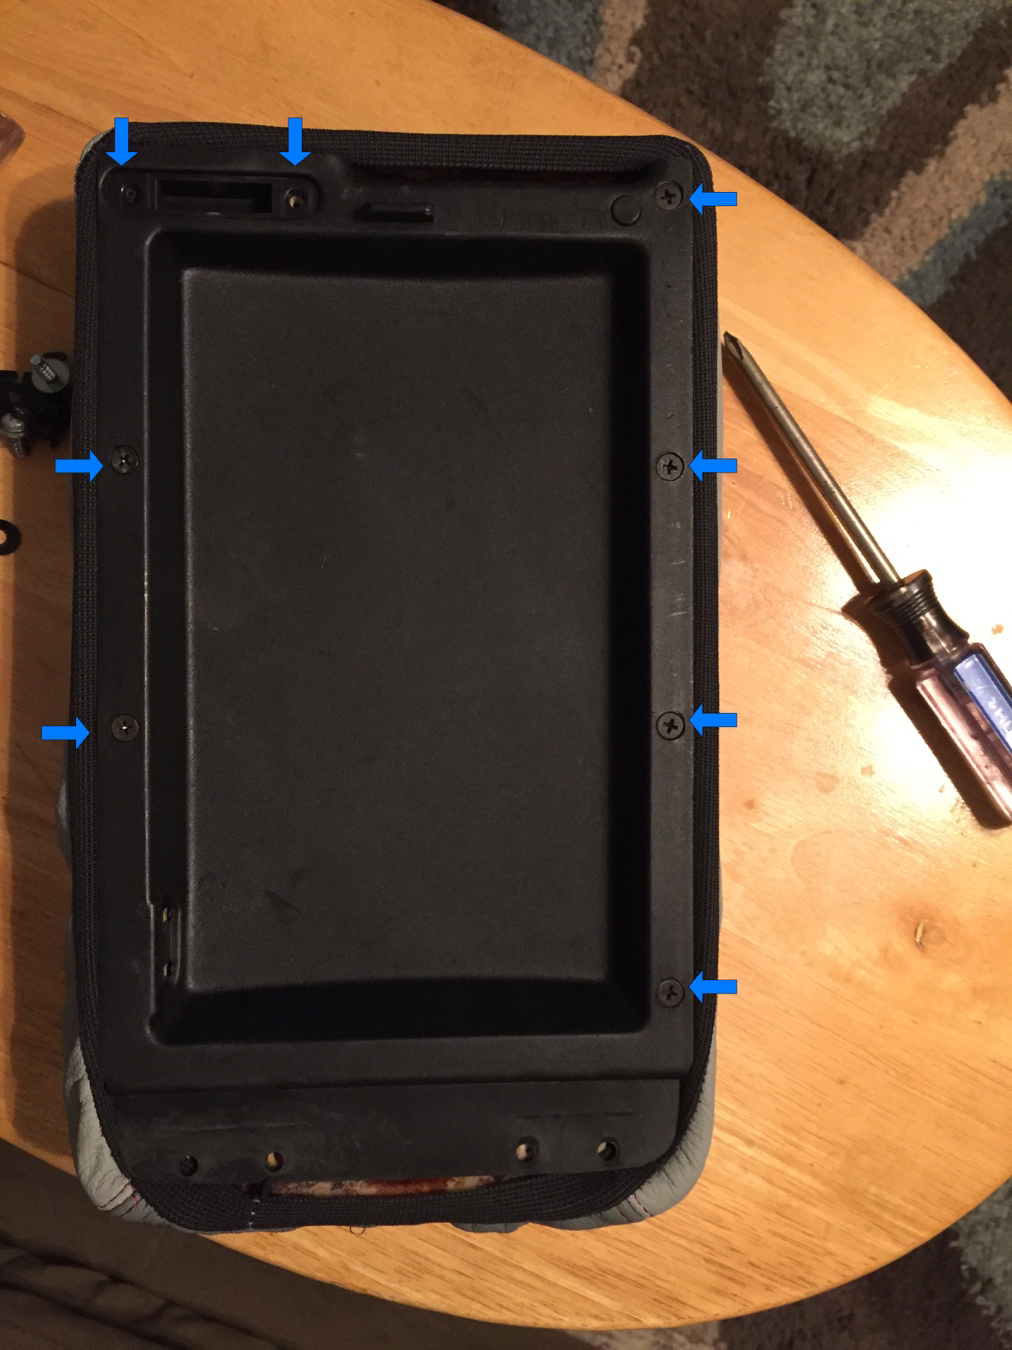
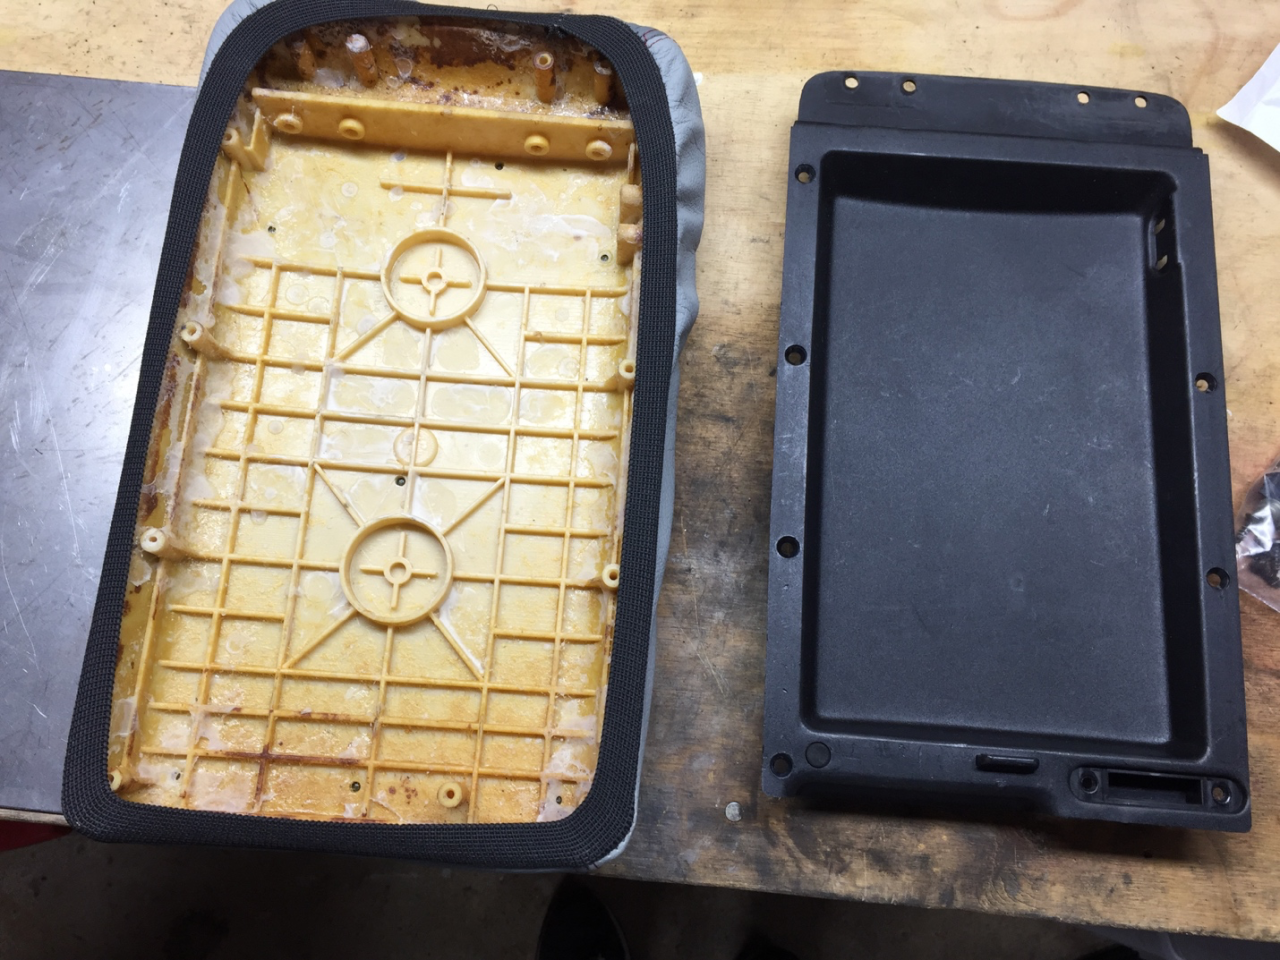
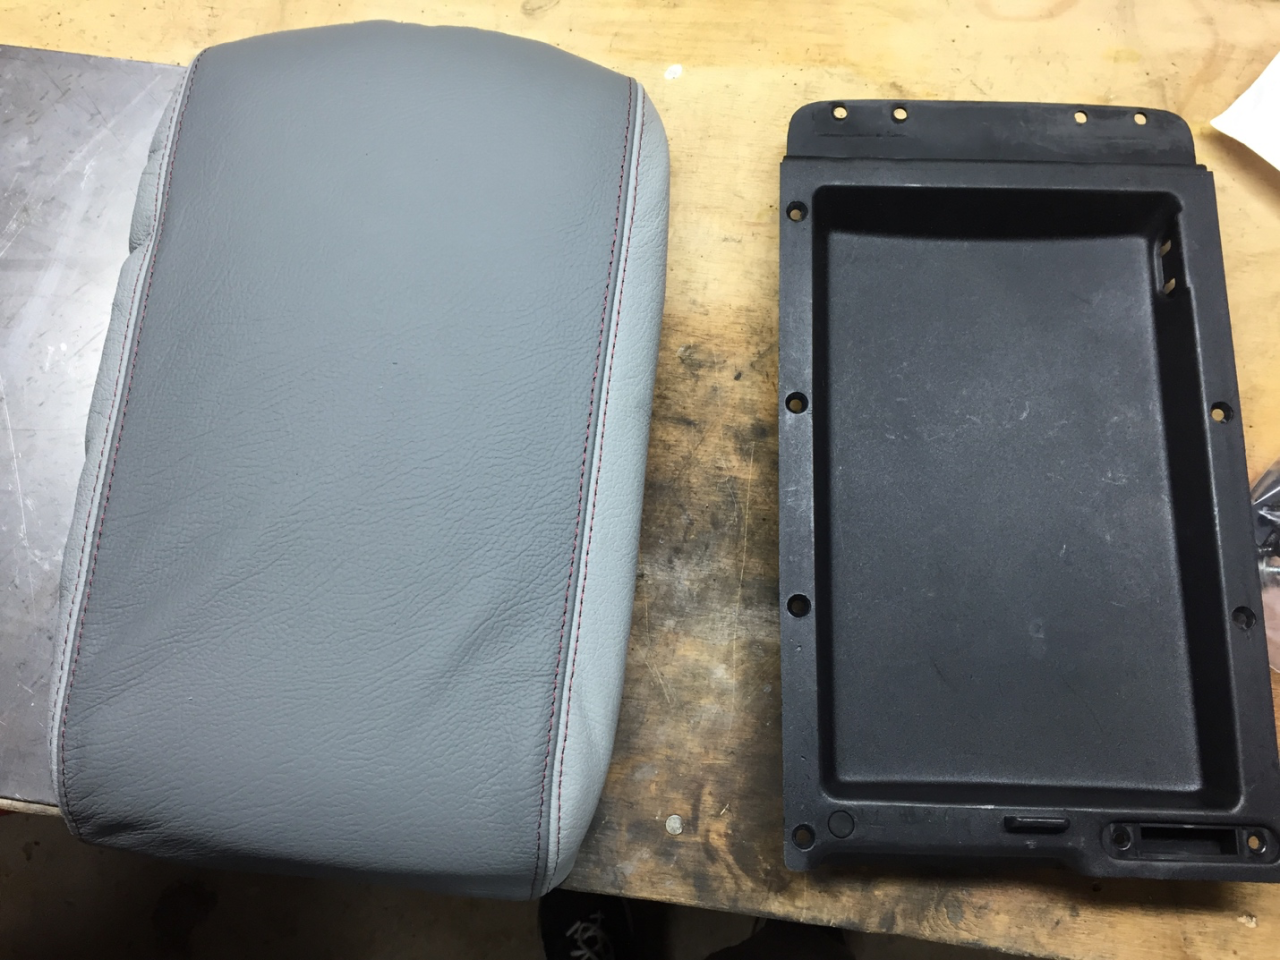
3. Take armrest to your workbench or table, so you can disassemble the armrest. 4. Remove the 8 screws that hold the black plastic insert to the armrest. This will
allow to remove the old fabric cover.
5. Slip on new armrest cover, working the leather so it stretches over the corners, and the elastic is covering the holes that the insert was screwed into.
Using an awl or punch, make a hole through the elastic at the location where the screws are inserted.
Using a 6D finishing nail put the nail thru the elastic and into hole to hold the elastic in place. You want to do this for all 8 holes. It’s possible that you can’t stretch the leather to cover all 8 holes, that is OK the new armrest cover isn’t going anywhere.
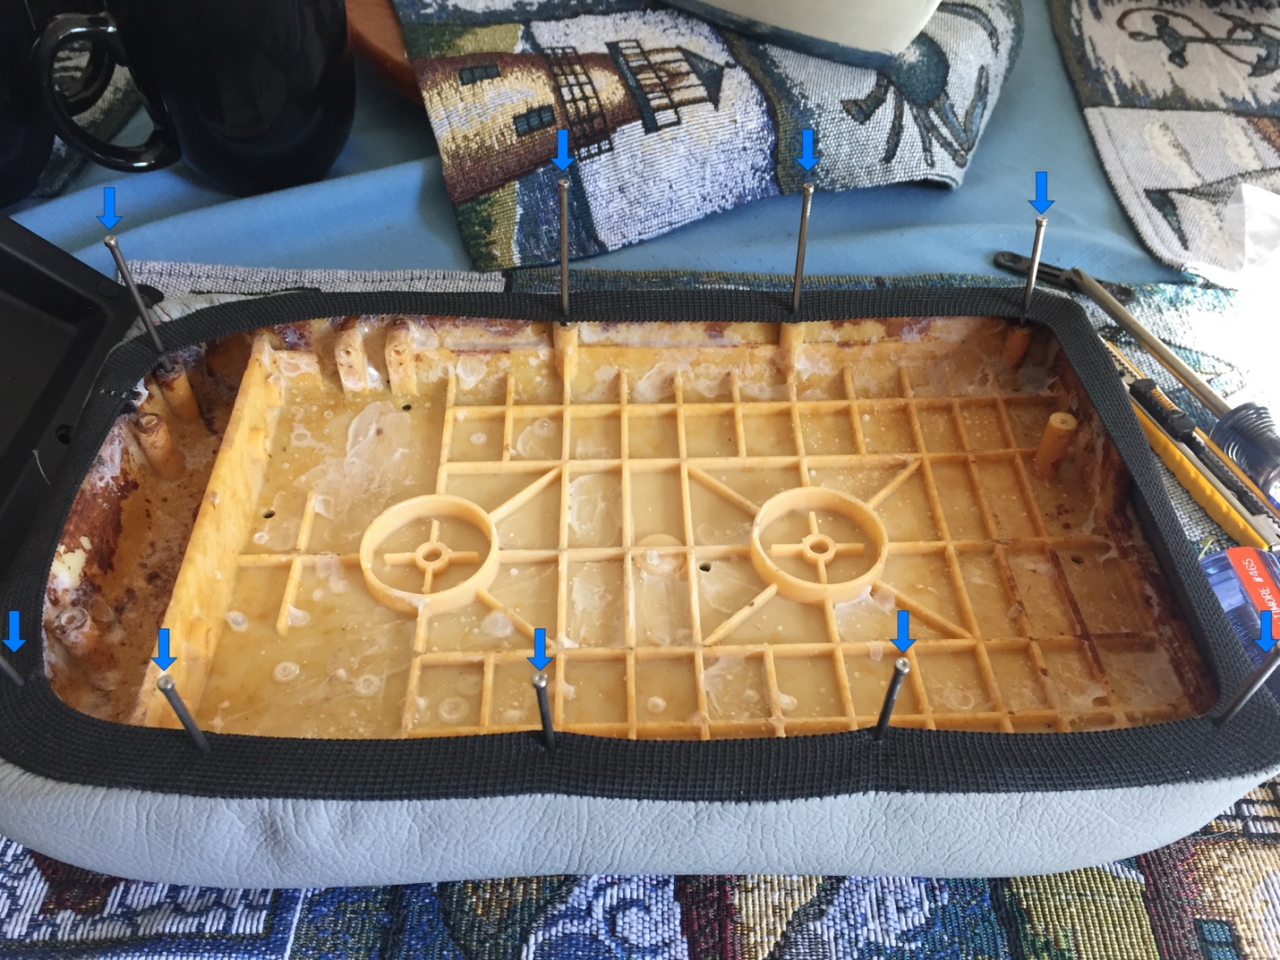
8. Leave the nails in place while you replace the black insert. This helps keep the new armrest cover in place while you replace the nails with screws, one at a time.
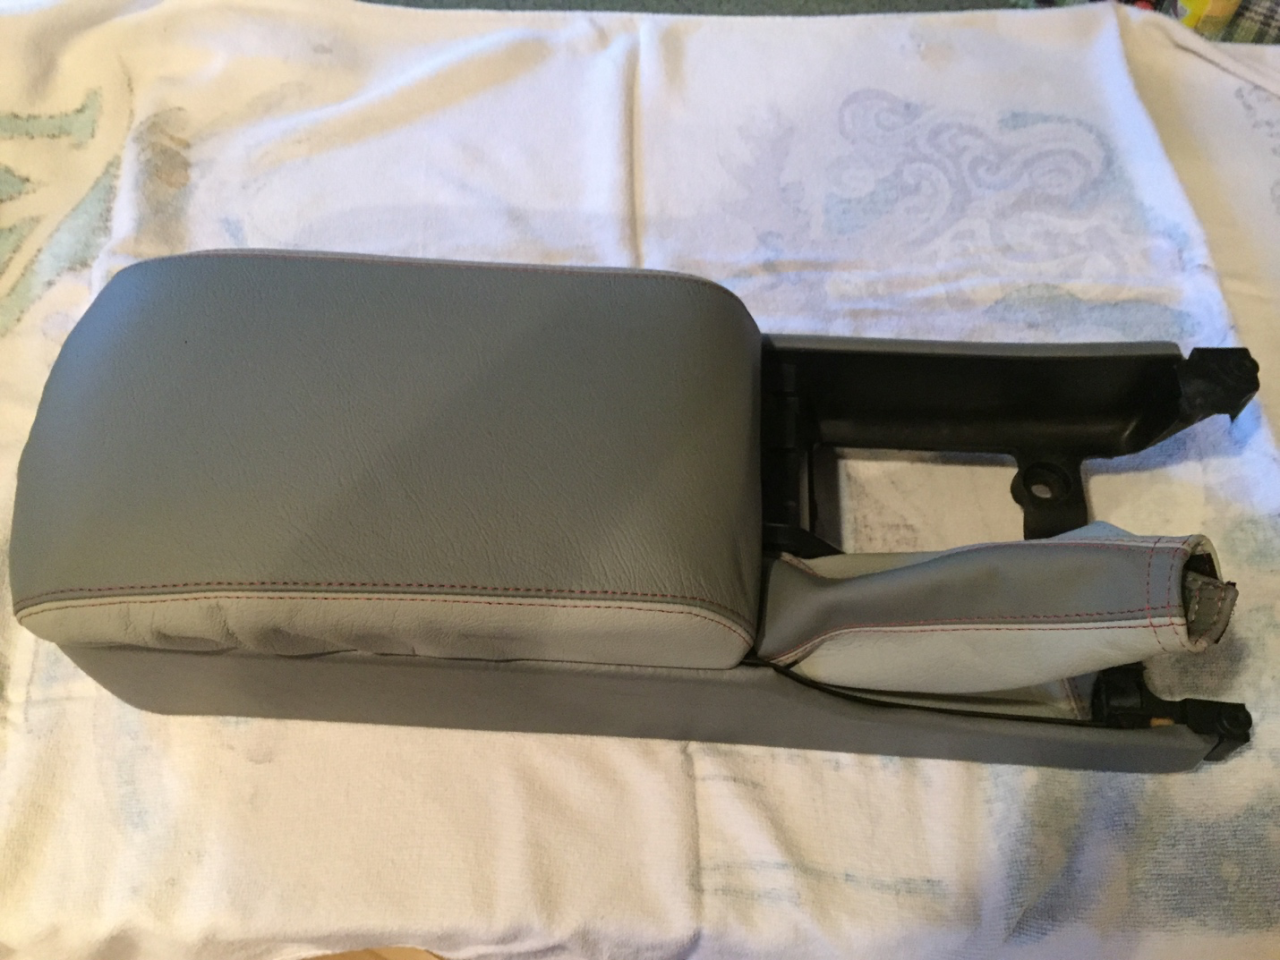
The completed armrest with the NEW e-brake boot installed with it. The shifter boot will be installed at a later date.