You must be logged in to rate content!
3 minute read
Stillen G3 Intake Install
Compliments of joshs09slvrZ @ www.the370z.com
7-30-2011
What's up guys! I ordered my intake about 3 weeks ago and now that I'm back from my wedding and honeymoon, I finally had time to install it. I had actually planned on doing it today, but when I got home last night I started removing the bumper and just didn't stop lol.
This isn't a big write up; but I did take a few pictures along the way.
Removing the bumper=super easy (1 man job).
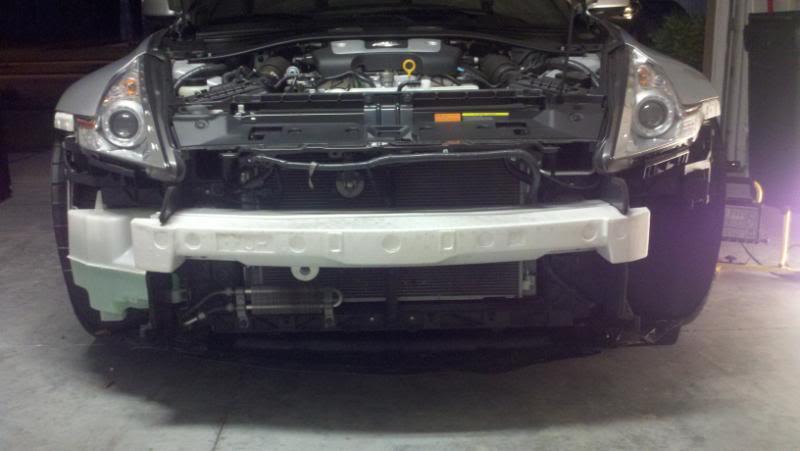
I have these little wind deflectors in front of both front tires so I had a couple extra bolts to remove than the DIY said.
Here we have the stock intakes removed:

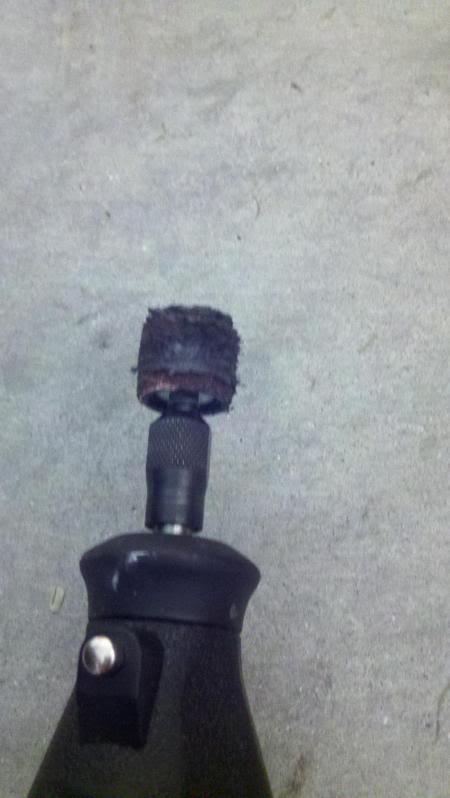
The dreaded "cutting" part of the install was super easy as well. I used a Dremel tool with a round sanding bit attached to it. I went with this versus a cutting type tip because it was easier and made the hole cleaner and was much safer around the AC lines. Here is the tip I used. This picture is AFTER I cut the holes...that's the black junk you see on the tip:
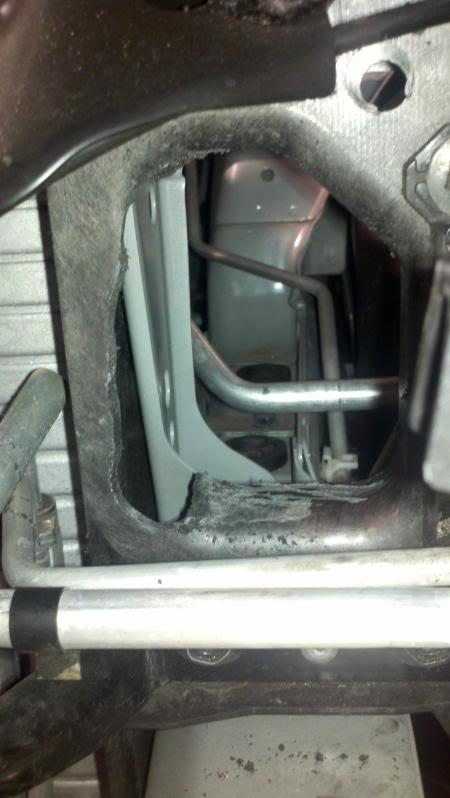
Here is the hole after I enlarged it:
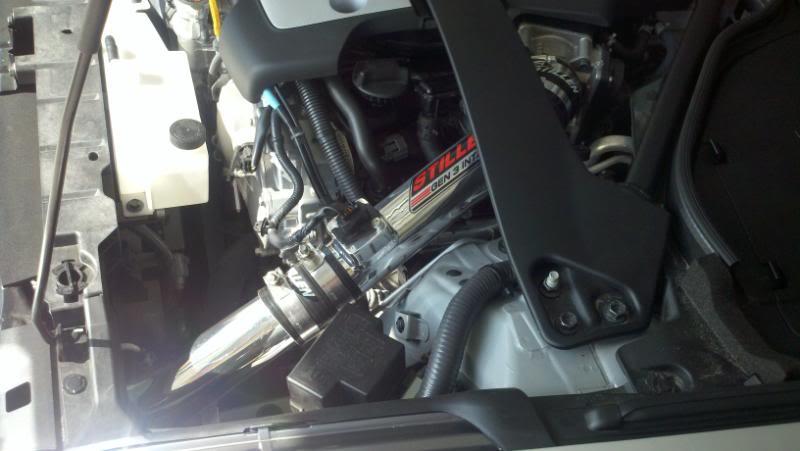
Got the passenger side installed first:
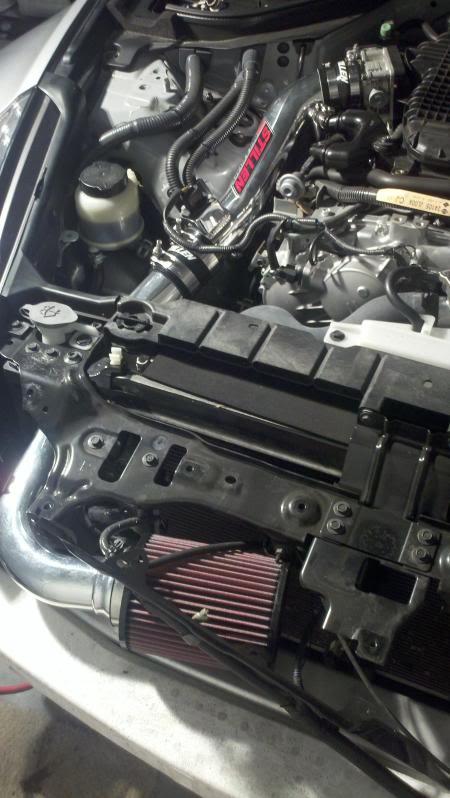
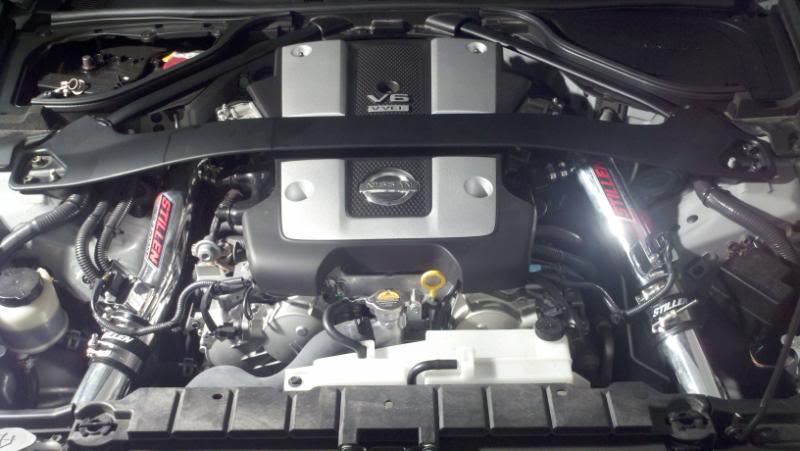
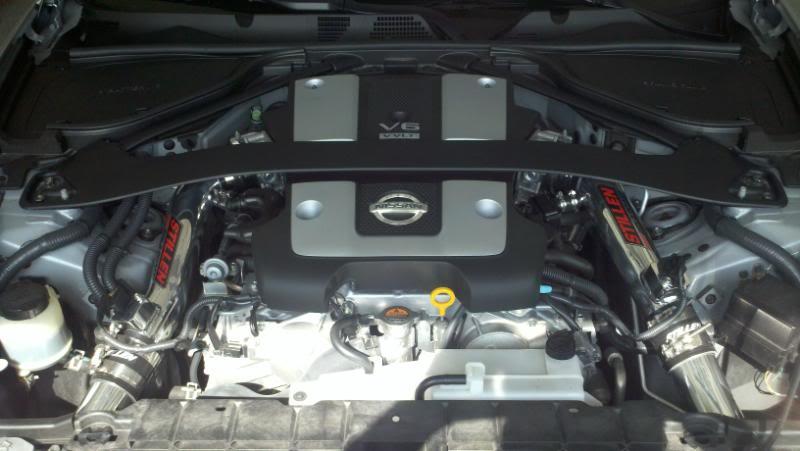
Here are the final shots with everything installed:
Driver's side:
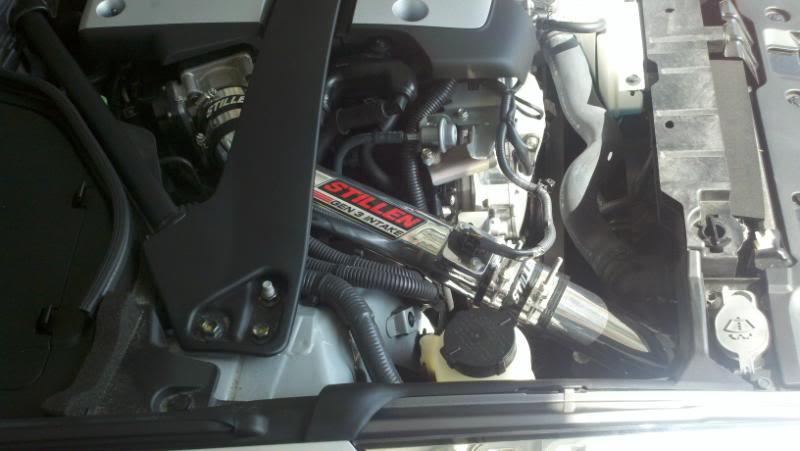
Passenger's side:
All in all, this was a super easy install. I did not use the instructions provided in the box, but instead followed AK370's write up which was very detailed and easy to follow. Also, resetting the windows and clock took like 2 minutes to do once the battery was reconnected.
I only took it for a quick test drive, but the sound and performance were definitely improved. I would recommend this to anyone who's looking for a great mod. Reasonably priced and very easy to install.
Questions and comments welcomed!!