You must be logged in to rate content!
10 minute read

PONTIAC SUNFIRE 03-05 INSTALL INSTRUCTIONS
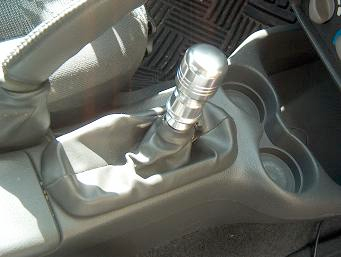
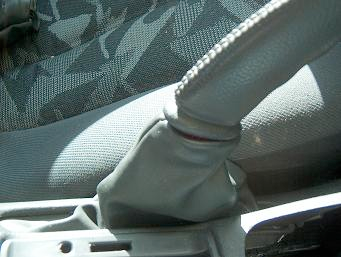
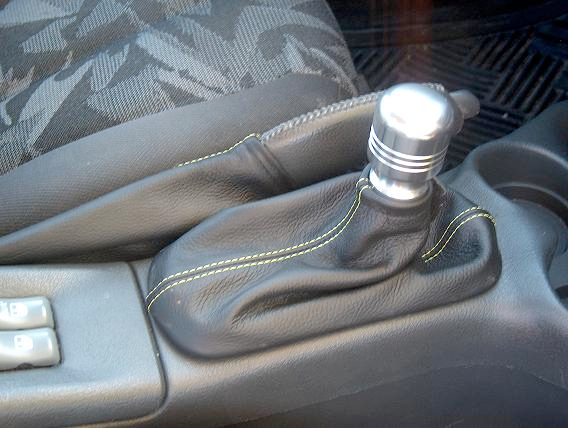
Note the car in the images has had a short shifter installed. The stock shift knob is removed by twisting counterclockwise but removal is not necessary for boot replacement.
Start by undoing the buttons at the front of the shift boot.
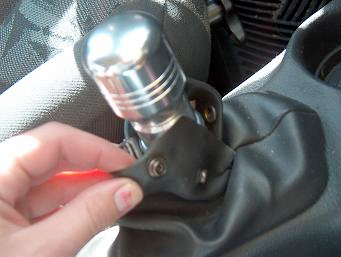
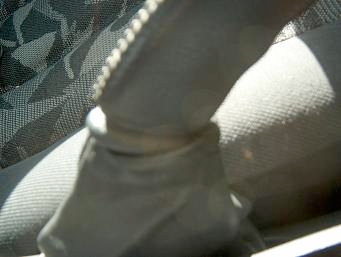
The boot can then be removed without removing the shift knob and will slide over top. Squeeze the base of the shift boot lightly and push it forward to lift it off the console.
The stock boot is glue to the ring that holds it down to the consol. Use a flat blade screwdriver or knife to pry it away being careful not to damage or crack the plastic ring.
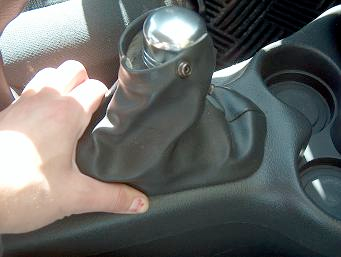
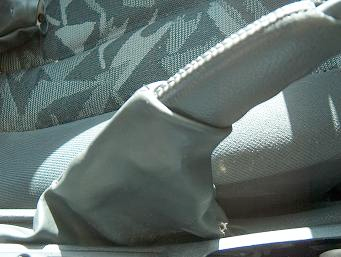
Once the ring is free from the old boot fit your new boot around it. Center your seams and bring the bottom edge of the boot so that about 3⁄4 of a cm will wrap around.
Run a seam of plastic adhesive along the outer edge of the ring to adhere the boot.
It may be necessary to use clamps the hold the leather down to the plastic. Then let dry. Reinstallation is reverse of removal. Open Velcro on the new boot and slip over shifter. Press the base of the ring down until you hear and feel it click. Wrap Velcro back up under the shift knob and reverse lock and your new shift boot is installed.
To install an emergency brake boot continue on after removing shift boot.
Pull the front of the boot up over the bottom of the handle.
Start to slide it up the handle as far is it will go.
Lift window switch off, use light force to pop the clips inside out. May use a flatblade screwdriver on the edge to pry it off.
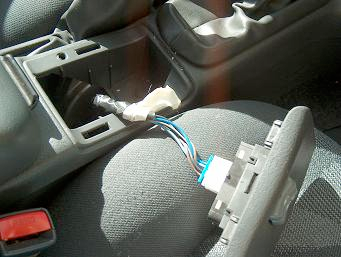
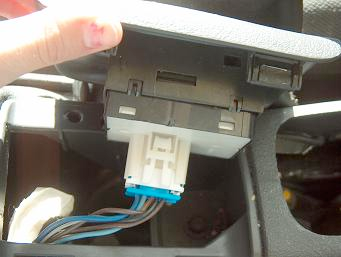
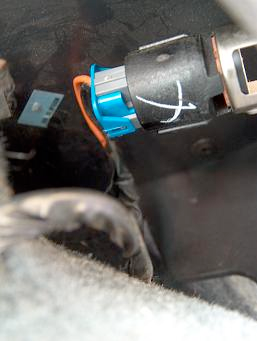
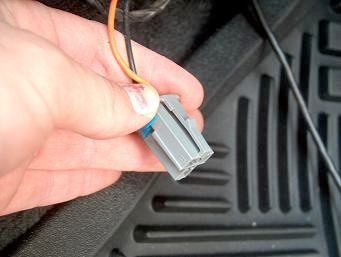
Push the clip on the side of electric plug in to unplug it and set switch aside.
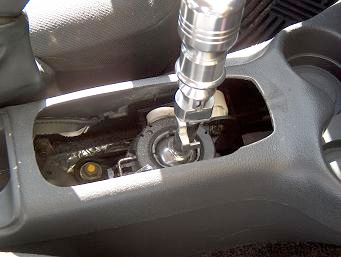
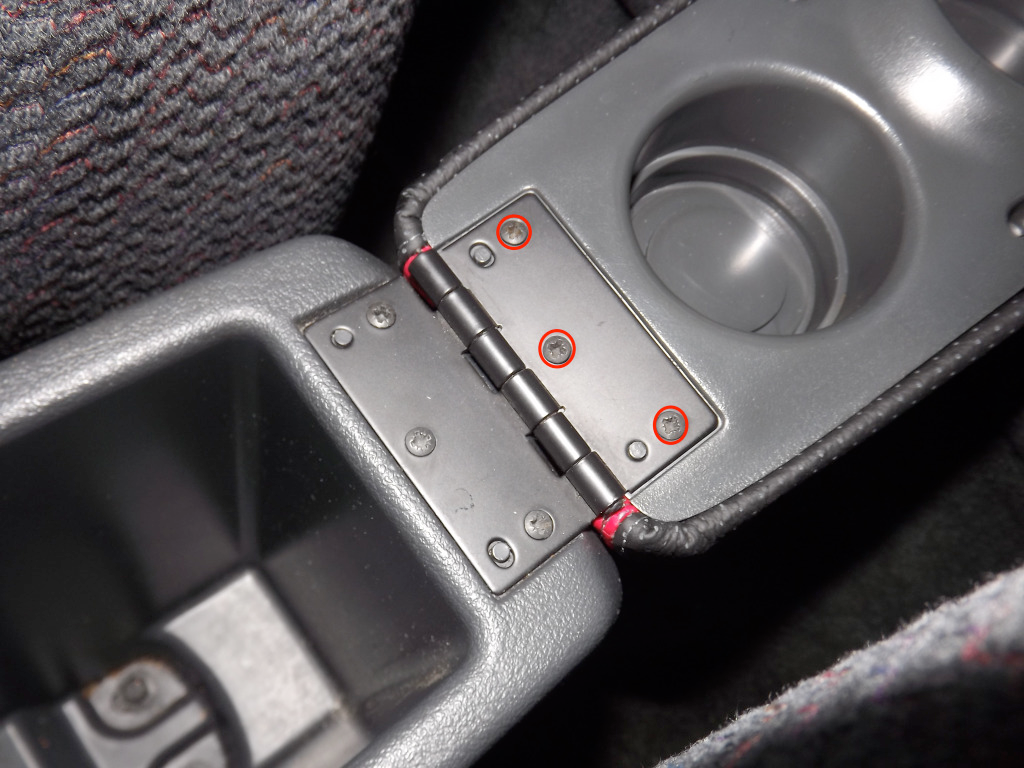
Remove the four 10mm bolts from inside the console, under the window switch and in front of the cup holders.
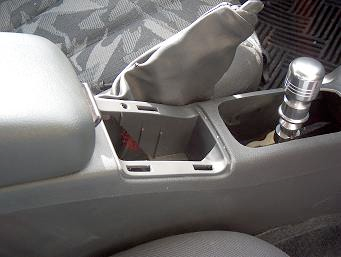
Start to lift the console, as you work it up, continue to slide the brake boot up the handle.
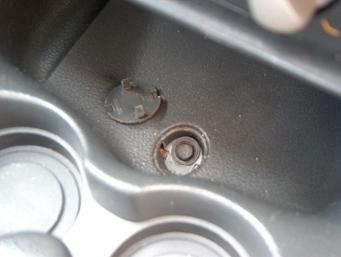
The 12v plug on the passenger side o the console must be unplugged before the console can be fully removed. There is a clip ont eh front side of the plug to push in to unplug it.
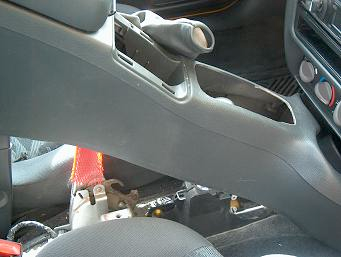
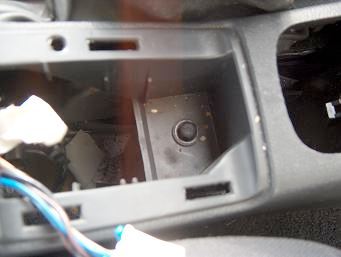
Pull the console off the rest of the way. It takes a bit of working around but don’t force anything.
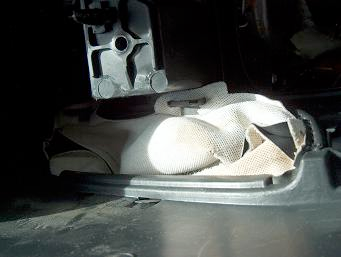
\With the console flipped over you can begin to remove the boot.
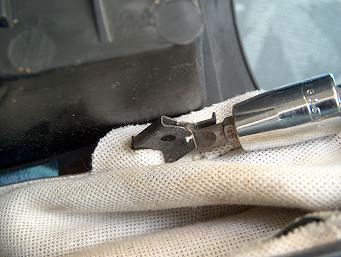
On the inner side of the boot there are two metal clips holding down the boot leather and retainer, use a flat blade screwdriver and carefully remove these. Don’t use too much force the plastic they are attached to is thin and breakable.
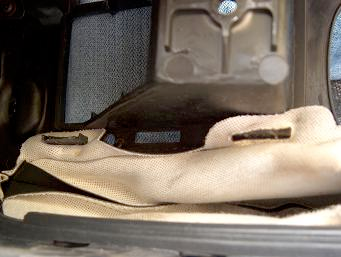
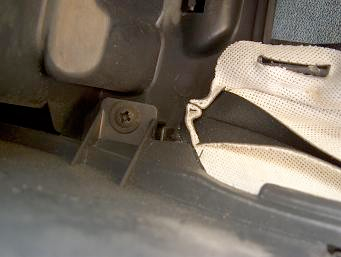
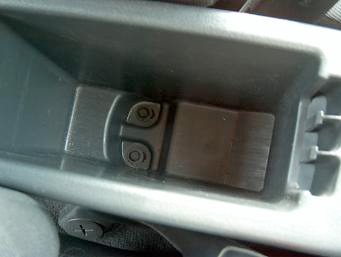
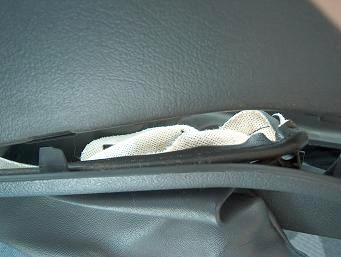
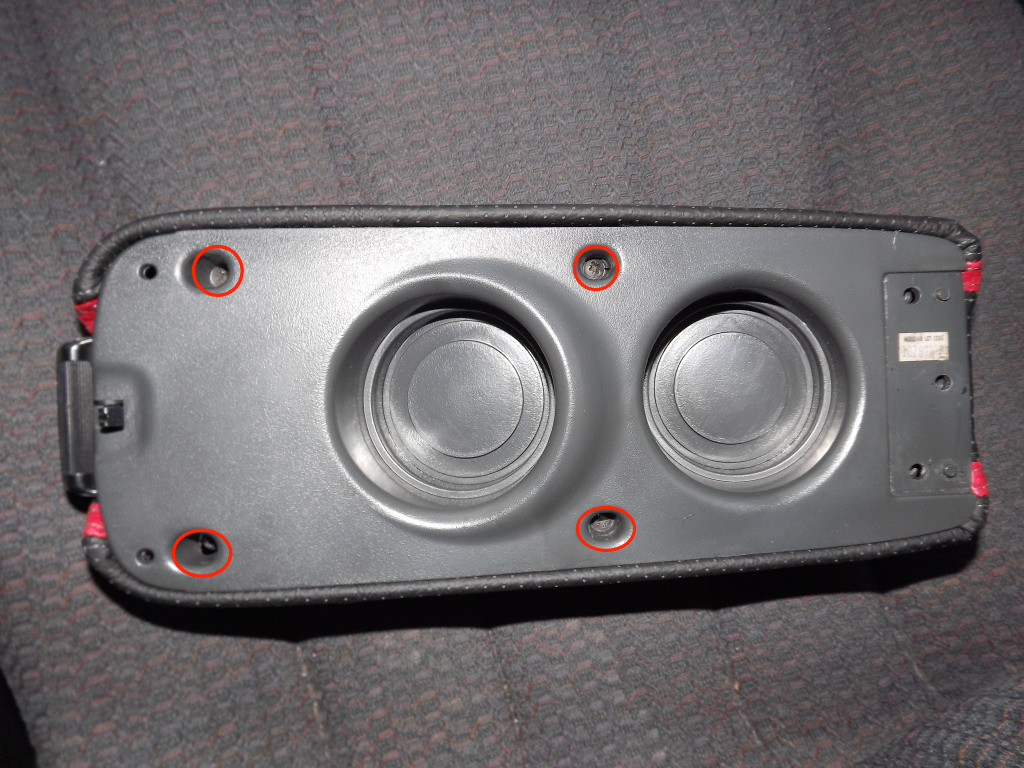
There are 8 philips head screws to remove inside the consol, these allow the bottom party of the console to lift. The outer edge of the boot is held between the two parts of the console.
Lift the side of the console apart to remove the boot.
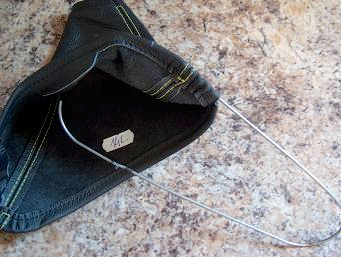
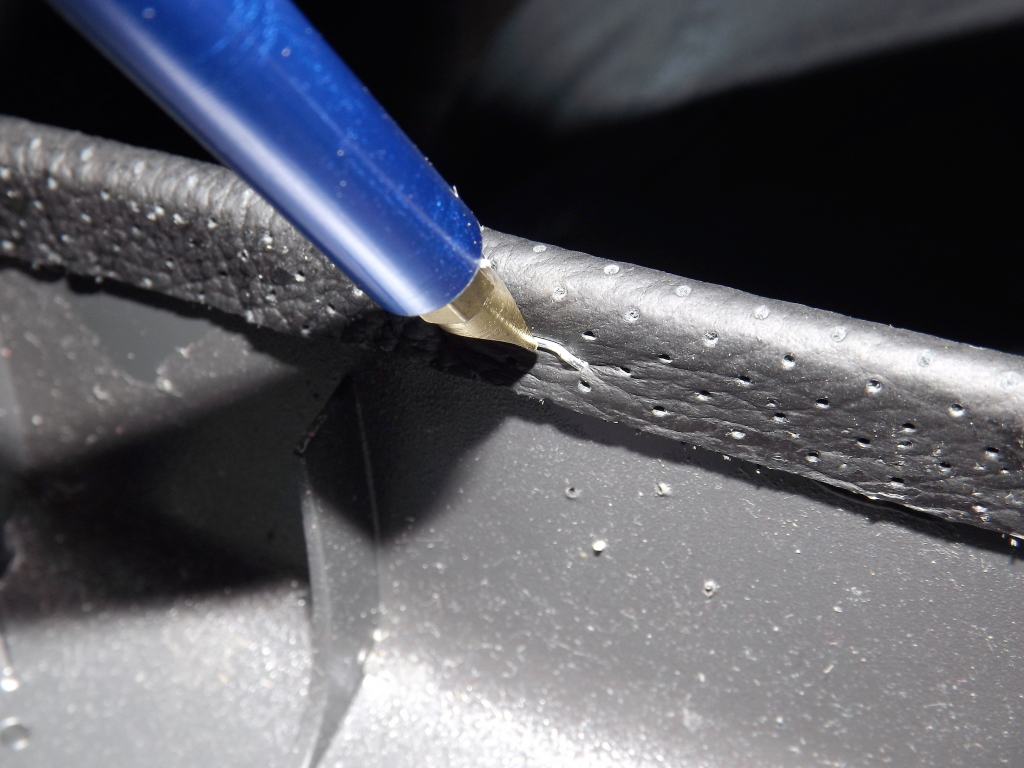
The bottom of the boot has a metal wire ring to keep the shape and hold the base down. This needs to be removed to be installed in the new boot. This requires cutting the old boot open. You can cut the threads along the whole seam to remove it or try to open up
one spot and slide it through the hole. The wire must be cut in one spot to be put in the new boot as from factory the stock boot has the ring sewn into it.
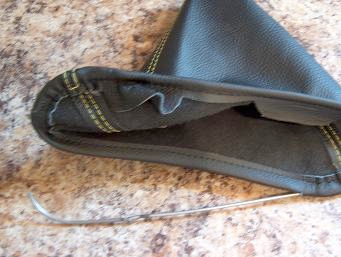
The new boot has 4 slots cut into it, pick one to begin to slide the ring into the seam.
Work it around carefully, trying not to push it through the thread or through the leather. Once you have the ring completely inside the bottom seam of the new boot try to shape the wire back to it’s original shape with the vertical seams in the middle of each bend.
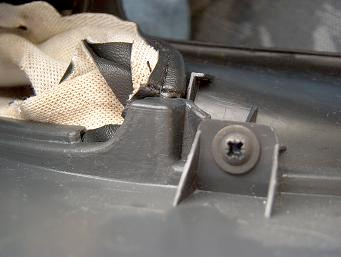
It is then ready to install. Installation is reverse of removal. Place the boot back into the hole in the console. Make sure the long edge of the boot will be on top. Put the outer edge
back in between the two pieces of the console snuggly and put the 8 screws back in to hold the two console parts together, make sure the screws are snug but don’t over tighten as it will either strip or crack the plastic. Put the two metal slips back on the other side of the boot to hold it down. Make sure there is no movement in the bottom of the boot if there is or it seems like a side may slip out now is the time to readjust before you put the console back in the car. Then put the console back in the car. Slide the brake boot over the handle pushing it down, down use the console to pull it down, this may pull the boot out of the console. Make sure to plug the 12v plug back in and pull the window plug up through the hole so it can be plugged back in. Then put the 4 bolts back in to hold the console down. Plug the window switch back in and press it back into place.
INSTALLING THE ARMREST COVER
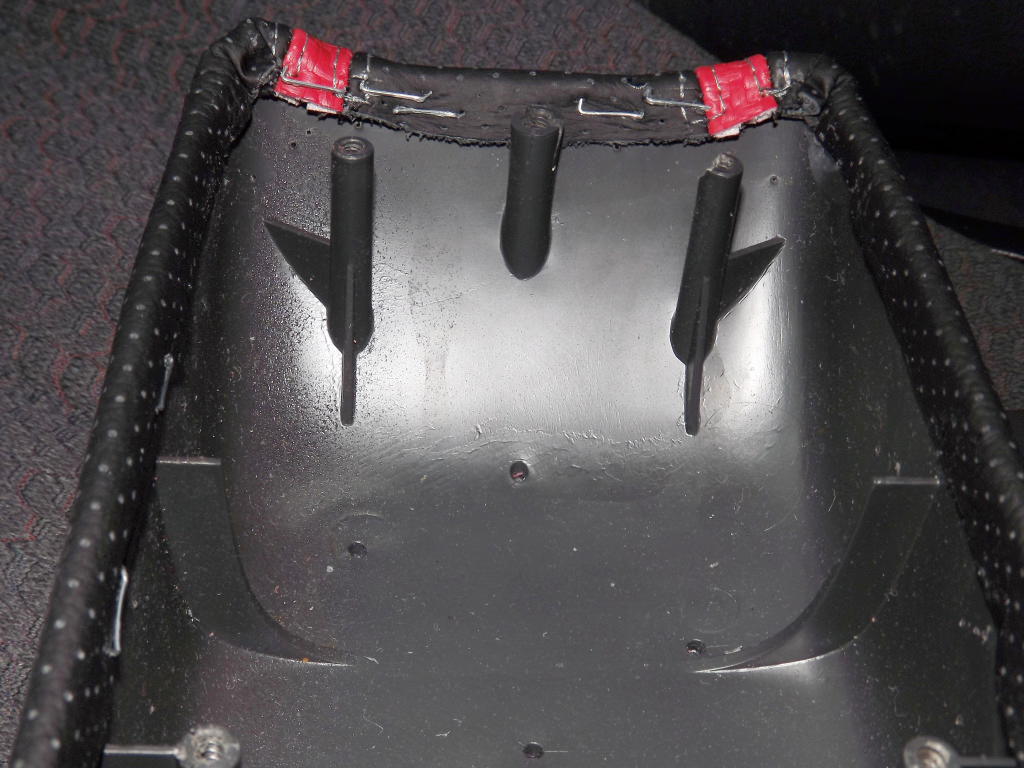
Open the center armrest to reveal a joint at the back. Remove the three circled screws. This will release the armrest from the center console.
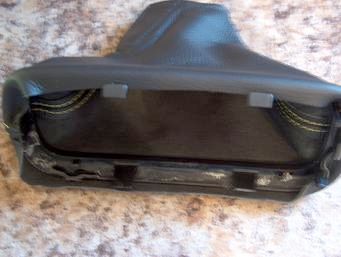
Remove the armrest and then unscrew the four circled screws. Pull out the plastic piece that this releases.
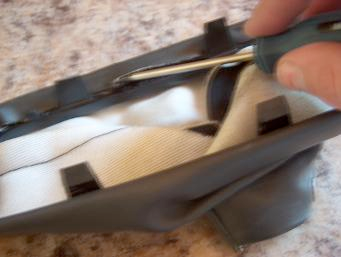
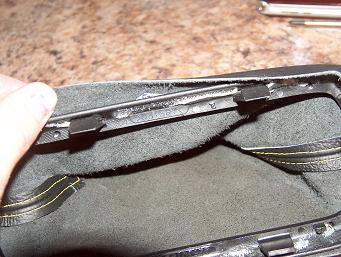
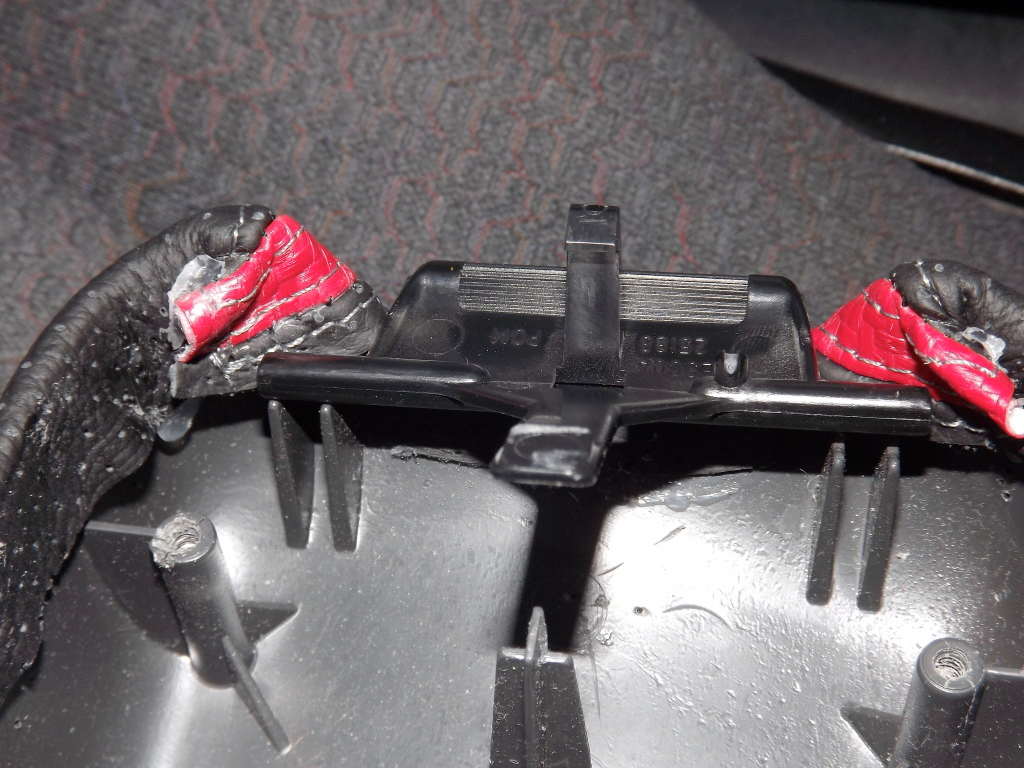
Pry off the staples holding the stock armrest cover to the plastic. A combination of needle-nose pliers and a flathead screwdriver work well here. Once all staples are out, rip the cover off (it will be held to the top by glue).
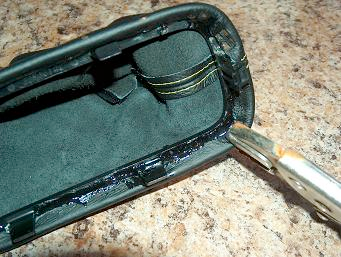
Attach your new Redline leather cover using a combination of glue and/or staples in a similar fashion to how the original was attached. (A light-duty carpet stapler will not work too well going through this
plastic)
Put the plastic “clasp” back into place as shown in the picture and then screw everything back together!
Installation complete.
Useful tip
You have installed a product made out of genuine leather. As you know, to maintain a leather product in good condition, you should take care of it. We suggest occasionally (every 4-6 week for example) applying some leather conditioner/UV protector to keep your leather from drying up in the sun and cracking.
Redline Automotive Accessories Corp. will not be held liable for any labor, incidental or consequential damages of any kind. Proceed at your own risk.
Great install
Posted by Diggymart on 7/30/20 @ 11:46:44 AM