- -Regular or philips head screwdrivers
- -ratchet and extensions
- -10mm and 7mm sockets
- -staple gun with 6mm staples
You must be logged in to rate content!
4 minute read

96-98 PONTIAC GRAND-AM SHIFT BOOT/E-BRAKE INSTALLATION INSTRUCTIONS
2. Using a regular screwdriver, remove the retaining clip holding in the shifter knob. Clip is located under the shifter button.
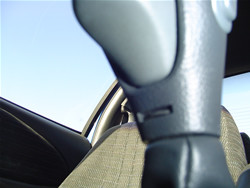
3. Using a regular screwdriver pry up the plastic trim around the shift boot retainer and gear selection indicator.
4. Using a regular screwdriver disconnect the ETS cable and remove shifter knob and cable from boot.
5. Using 7mm socket remove the shift indicator from the plastic trim piece (not necessary but make it easier to work with).
6. Unclip existing shift boot from the four clips and install new one.
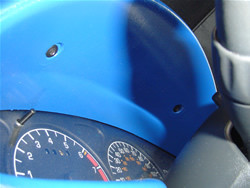
7. Remove instrument dashboard around instrument cluster and radio controls by removing two screws located by the instrument cluster and two more screws in the storage compartment under HVAC controls. Disconnect wires for fog light, dimmer switch and cigarette lighter.
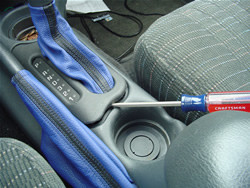
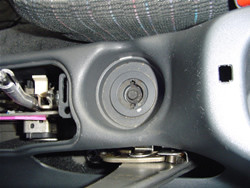
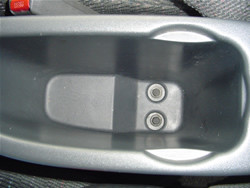
8. Set emergency brake to upright position. Using a regular screw driver remove circular plastic cover in the cup holder closest to the arm rest. Remove plastic lining from the cup holder farthest from armrest.
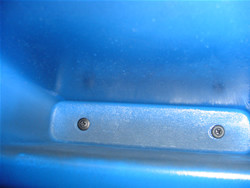
9. Using 10mm socket remove the two exposed bolts
10. Remove the two bolts at the bottom of the armrest compartment.
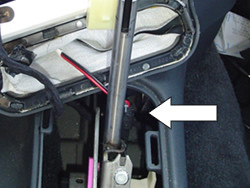
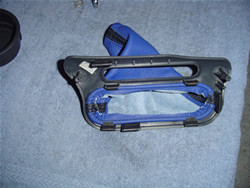
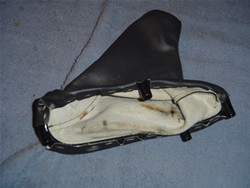
11. Using a philips screwdriver remove emergency brake boot from center console. Using a regular screwdriver or needle nose pliers remove staples securing existing shifter boot to plastic holder.
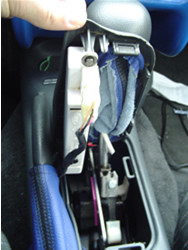
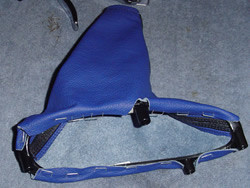
12. Line up new boot on the frame and staple the new boot to the plastic frame using the staple gun and 6mm staples. It is best to hold the frame on the edge of a counter top and start on one side and work around until it is finished.
13. Reassemble everything in reverse order and you are done.
ENJOY YOUR NEW LEATHER BOOTS!
Useful tip
You have installed a product made out of genuine leather. As you know, to maintain a leather product in good condition, you should take care of it. We suggest occasionally (every 4-6 week for example) applying some leather conditioner/UV protector to keep your leather from drying up in the sun and cracking.
Redline Automotive Accessories Corp. will not be held liable for any labor, incidental or consequential damages of any kind. Proceed at your own risk.