- Flathead Screwdriver
- Philips Head Screwdriver
- Needle-nose pliers or panel plug removal tool
- Utility knife or sharp knife
- Contact cement
- Clamps
- Epoxy type adhesive
You must be logged in to rate content!
2 minute read

93-02 FIREBIRD DOOR INSERT INSTALLATION INSTRUCTIONS
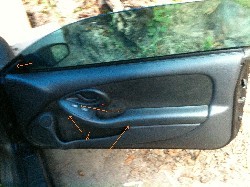
1. First, remove the door panel from the door. Start by removing the screws and clips shown in the picture.
2. Remove the soundproof mat
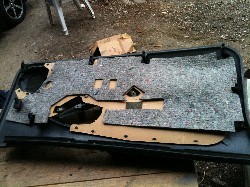
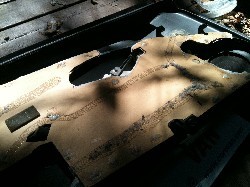
3. Remove the insert backing from the door by removing the clips holding them together.

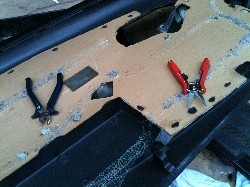
4. A tight-nosed pliers would do the job perfectly. Remove the original insert skin.
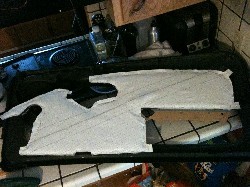
5. Fit the insert against the door and make sure you have it aligned correctly. Apply contact cement to the insert and the backing, start placing the insert on one side on the surface of the backing. A second set of hands would be very handy - one person slowly lowers the insert to the backing and you use a putty or any dull object to make sure it sits smooth and there are no air bubbles underneath.
6. Reapply the soundproof mat.
7. Reinstall the insert on the door and proceed to the other door.
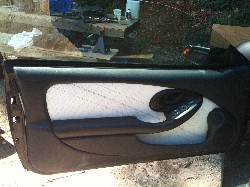
ENJOY YOUR NEW LEATHER ITEMS!
Useful tip
You have installed a product made out of genuine leather. As you know, to maintain a leather product in good condition, you should take care of it. We suggest occasionally (every 4-6 week for example) applying some leather conditioner/UV protector to keep your leather from drying up in the sun and cracking.
Redline Automotive Accessories Corp. will not be held liable for any labor, incidental or consequential damages of any kind. Proceed at your own risk.