You must be logged in to rate content!
6 minute read

FIREBIRD/TRANS-AM GAUGE HOOD 93-97 INSTALLATION INSTRUCTIONS
REMOVAL and PREPARATION:
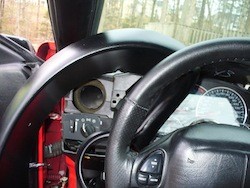
1. Lower steering column and unscrew tilt lever for a little extra space.
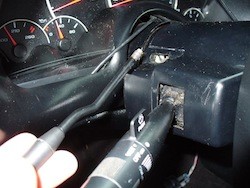
2. Remove bezel by simply pulling rearward all around...
3. ... and it will pop out.
4. While turning counter clockwise, watch the metal tabs near the instrument panel so they dont scratch the gauge cover.
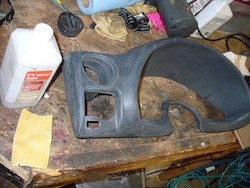
5. Get it to your working table.
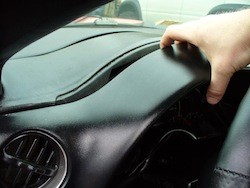
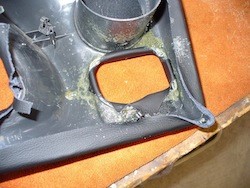
6. Remove vent by using a small flat head screwdriver and set the vent aside.
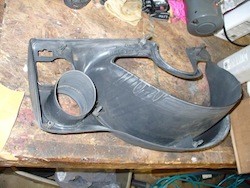
7. Use fine grit sand paper to rough up the plastic and the back where the leather will fold over. Clean it very good with iso alcohol and let dry.
GLUING/TRIMMING:
1. Use 3M 98 spray adhesive. It is the most expensive at $15 a can but the best by far. FOLLOW CAN INSTRUCTION CLOSELY! It will not bond properly if you dont so take your time!
Lay cover on bezel to get an idea of how it will fit.
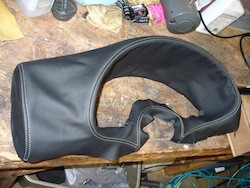
2. Only glue part of it at a time so you can keep control of it. Also use something to cover up the parts you are not working on so it doesnt get glue on it and ruin it.

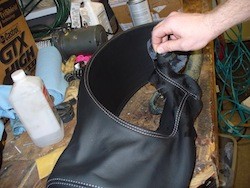
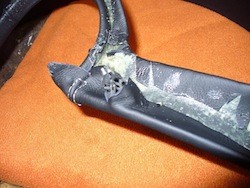
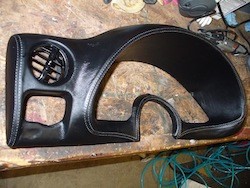
3. Keep working your way around until the front is all done. Then start on the extra that wraps around, again covering up to block overspray. Tuck the corners as best as possible, some will be too much material and need to be snipped, just be careful not to cut too much. Might use some gorilla tape to help hold the flaps if needed.
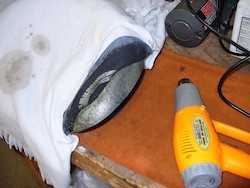
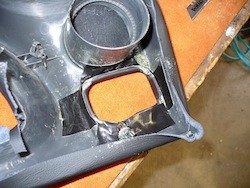
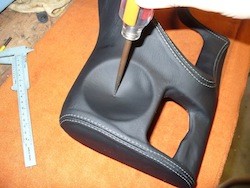
4. Moving on to the headlight switch, cut an X across the middle but DO NOT cut all the way to the edge, stop about 1/4 inch or so before. Spray some glue on the backside and wrap around after the waiting period.


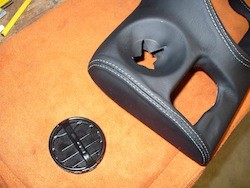
5. Now the vent hole. Cut an X like before, but a tiny bit high center, and smaller. It is best to measure from the vent ridge and the vent to see how far since the vent cant fit over the leather so it will be trimmed to stop right in front of the vent. Put a layer of blue painters tape where the vent will go, then spray some glue on the backside of the leather in the vent hole. Remove the tape and bond the leather. Reason for this is that the glue will prevent the vent from turning like it should when installed.

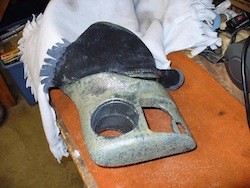
6. Care fully put the vent back in place from the front. It will be tight just be easy - do not force or you might break it, it's brittle due to age.
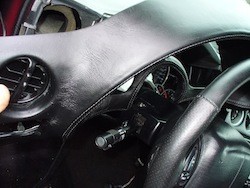
RE-INSTALLATION:
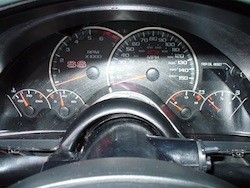
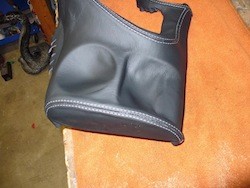
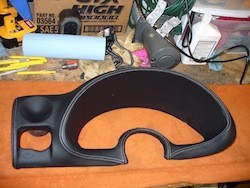
It is reverse of removal, again be very careful that the metal tabs dont scratch your gauge cluster. Wipe on some leather cleaner/protectant of your choice and deepen the black appearance and enjoy your high end interior!
Useful tip
You have installed a product made out of genuine leather. As you know, to maintain a leather product in good condition, you should take care of it. We suggest occasionally (every 4-6 week for example) applying some leather conditioner/UV protector to keep your leather from drying up in the sun and cracking.
Redline Automotive Accessories Corp. will not be held liable for any labor, incidental or consequential damages of any kind. Proceed at your own risk.